Google Docs offers you versatile options to format documents according to your preferences. A particularly useful tool is the function to adjust the indentation. This allows you to change the distance of the text from the left or right margin. Whether for special paragraphs, lists, or simply for general formatting - the right indentation setting can significantly improve the appearance of your documents. Let's go through the process step by step in this guide.
Key Takeaways
- You can adjust the indentation for highlighted text to emphasize it.
- The ruler allows you to shift and adjust the entire text of the document.
- The function to remove formatting helps you return to a clean text representation.
Step-by-Step Guide
Adjust indentation for highlighted text
To adjust the indentation for a specific paragraph or highlighted text, you need to first select the text. Click on the text you want to adjust.
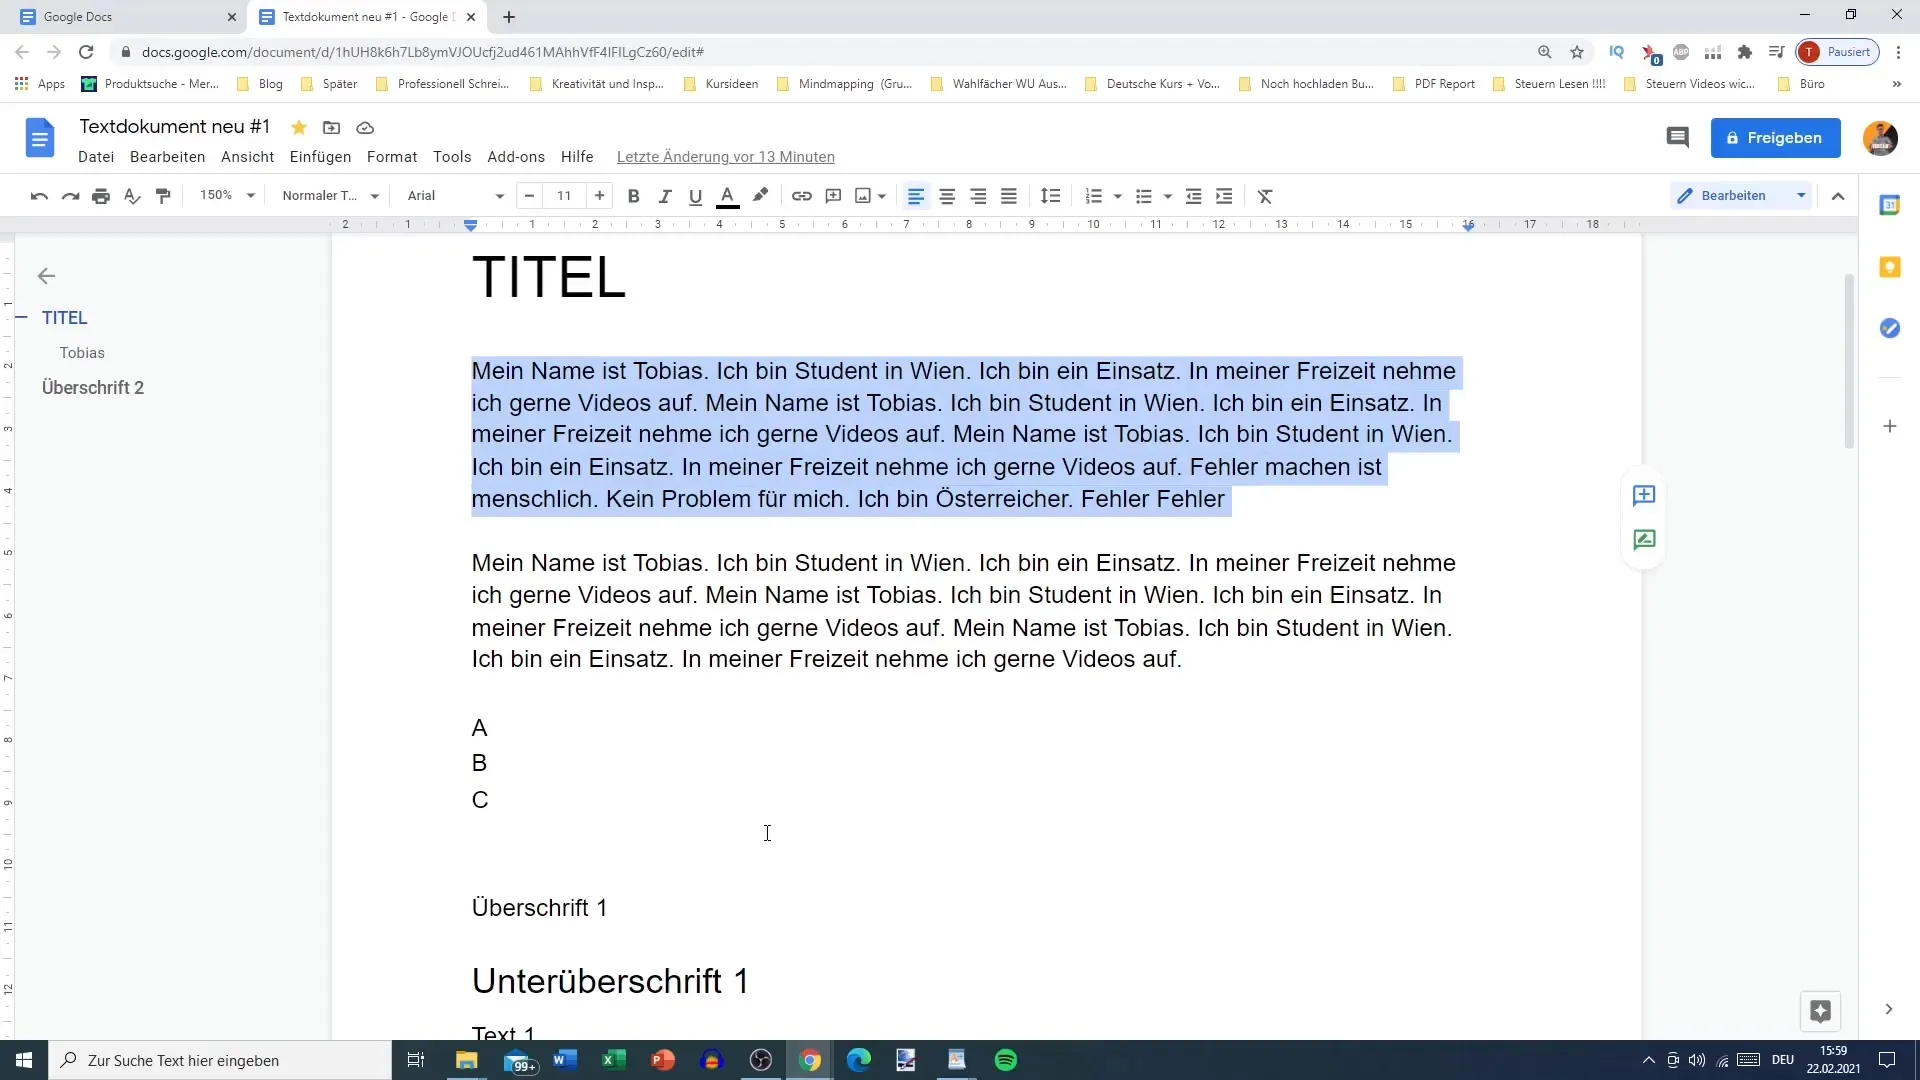
Then go to the menu and choose the "Increase Indent" option. You can do this by clicking the button multiple times to achieve the desired effect. Each click increases the indentation by a certain amount.
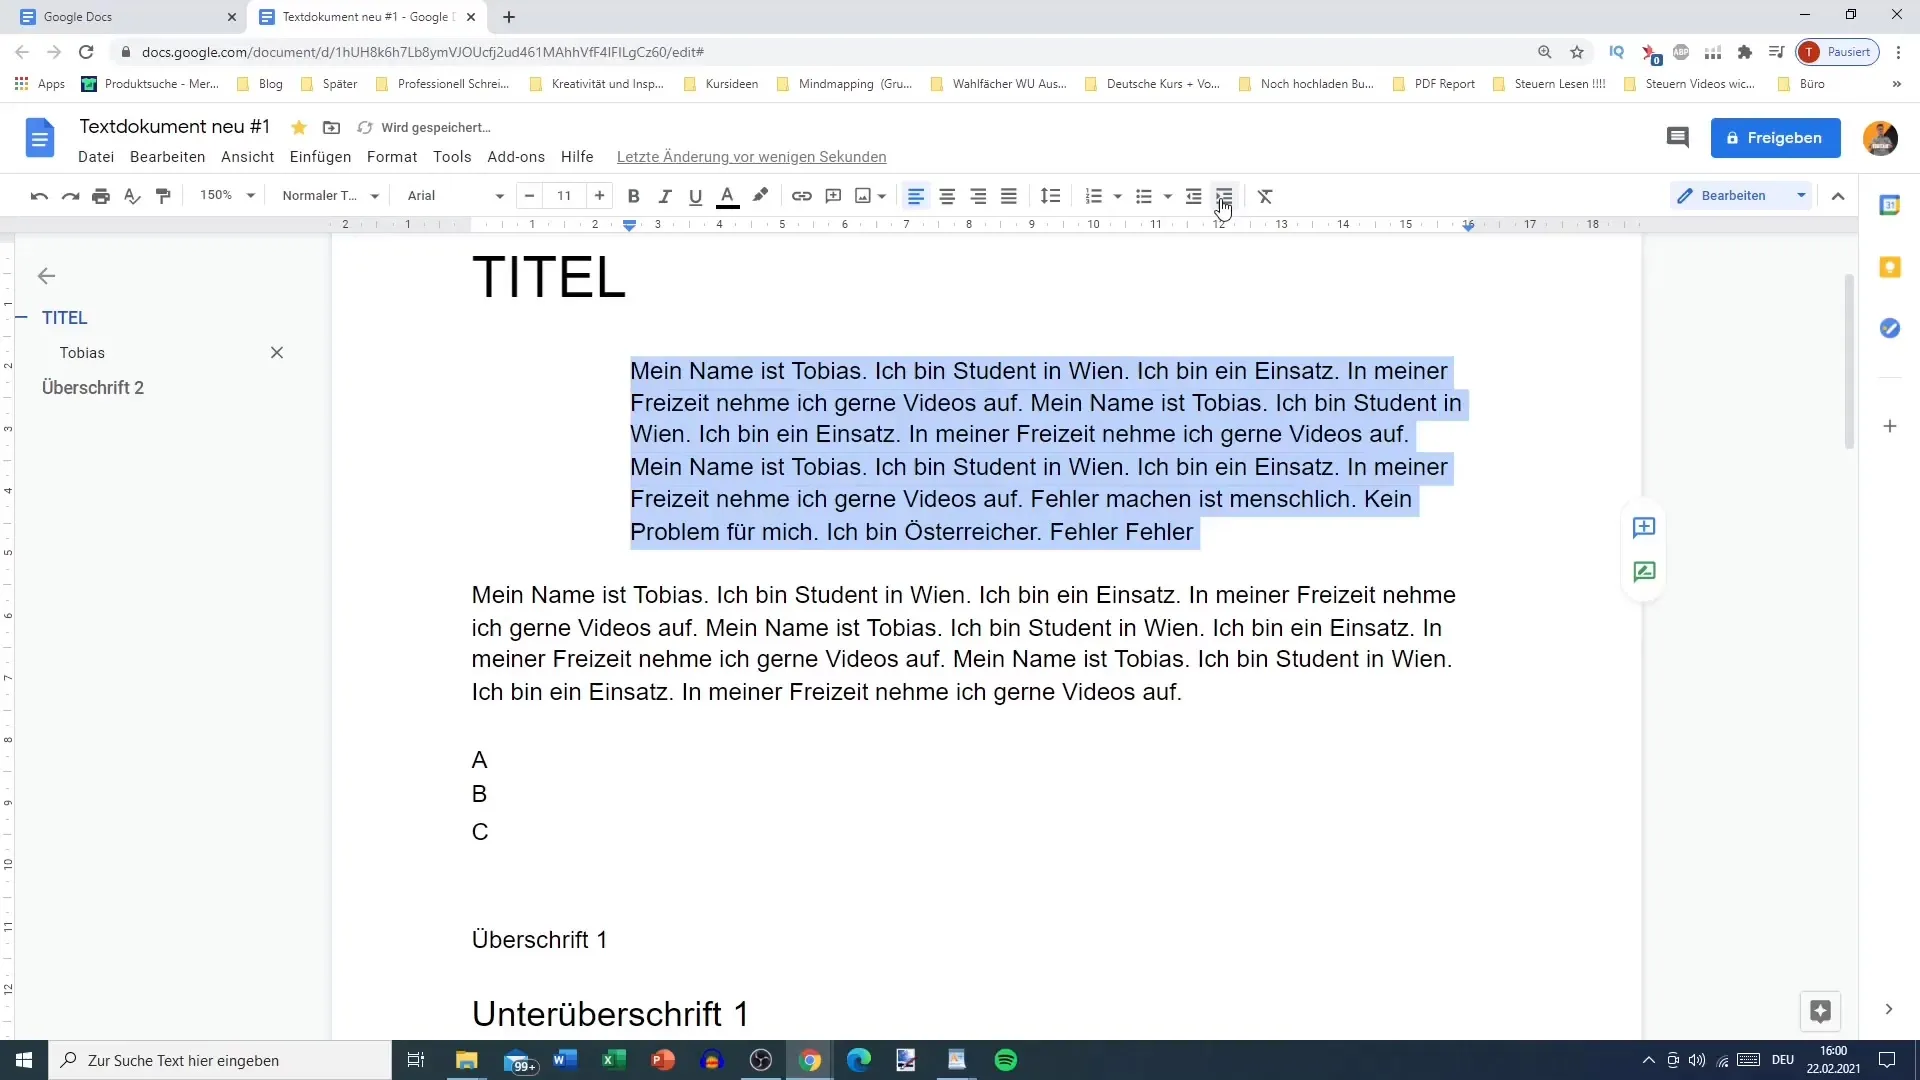
Once you have increased the indentation, you can see the result immediately. Check if the distance meets your expectations. If you want to further adjust the indentation, you can also click on "Decrease Indent" to reset the distance.
Adjust overall text with the ruler
If you want to adjust the indentation for the entire document, you can use the ruler. If the ruler is not visible, go to "Help" and navigate to the "Show Ruler" option.
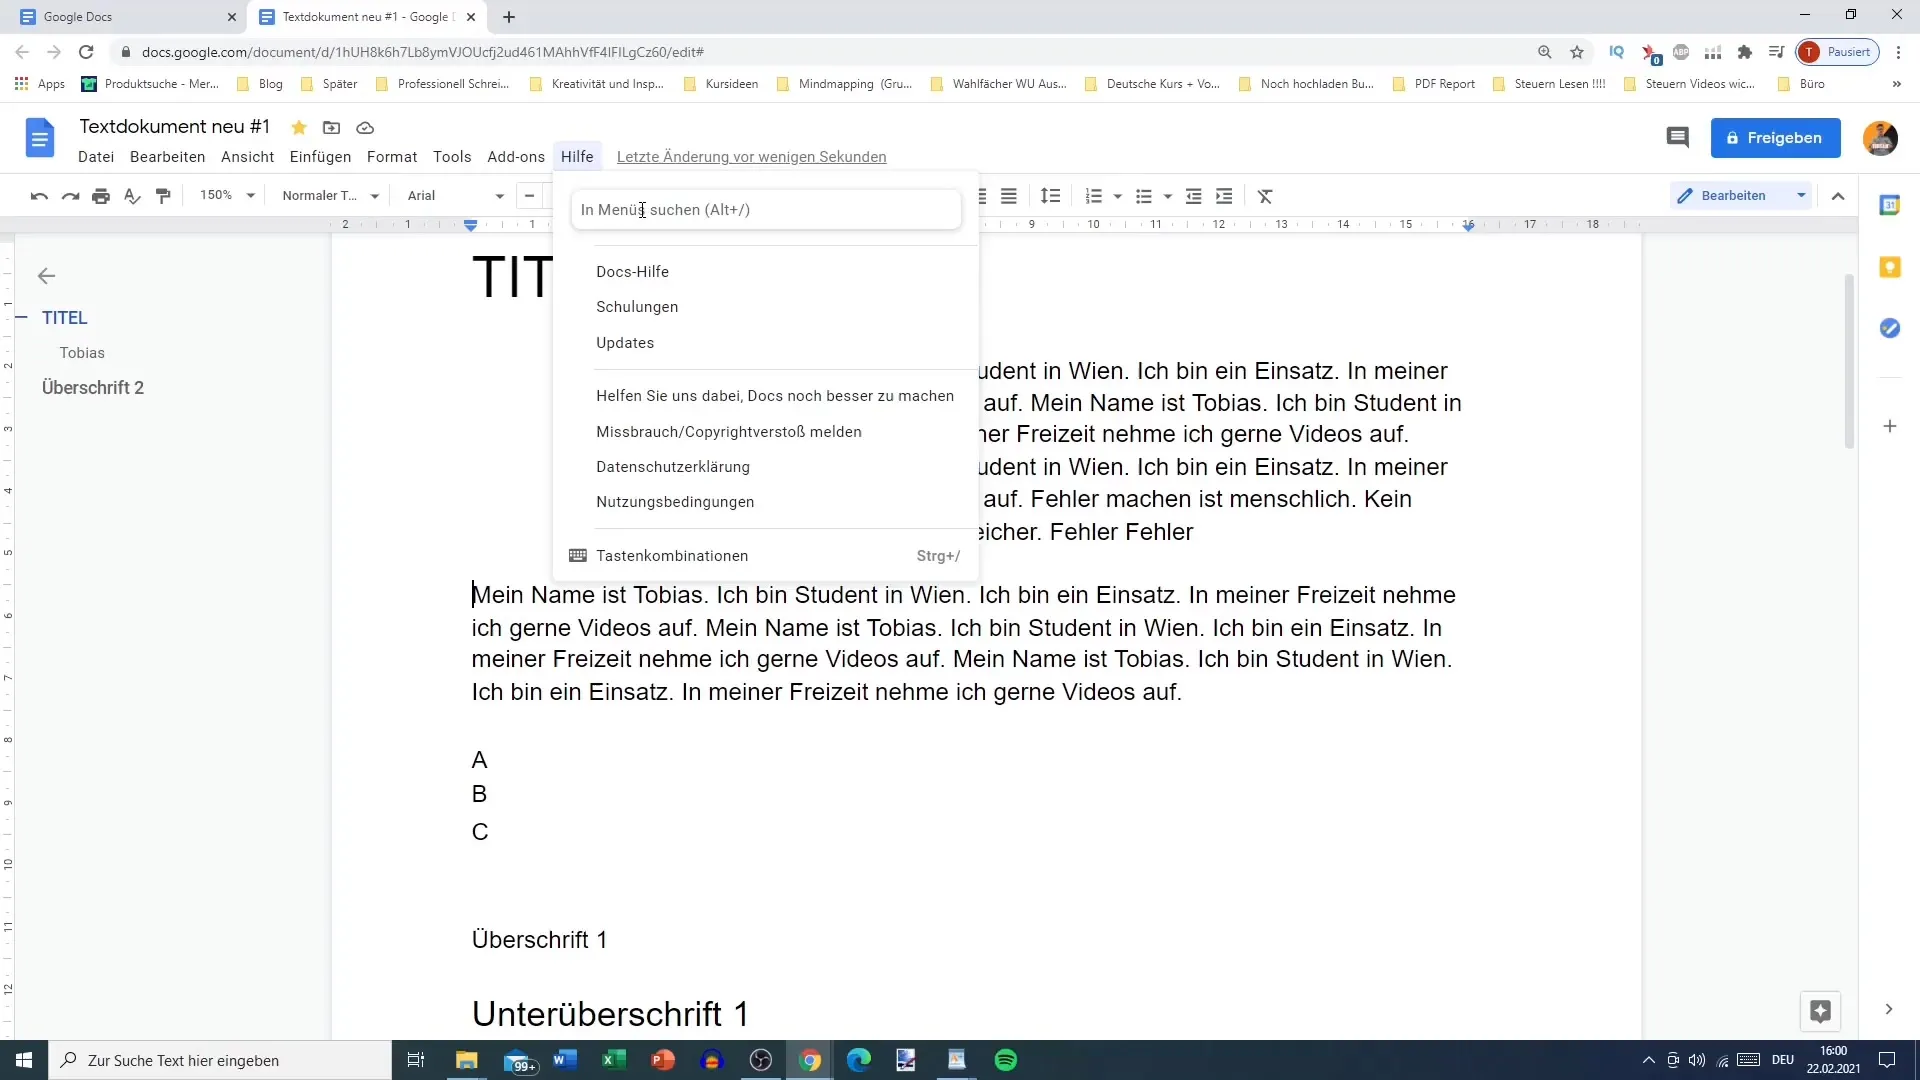
Once the ruler is visible, you can simply move the cursor to the blue arrow to shift the text to the left or right. Just hold the mouse button and drag the text to the desired position. This allows you to adjust different paragraphs in the document to a uniform indentation position.
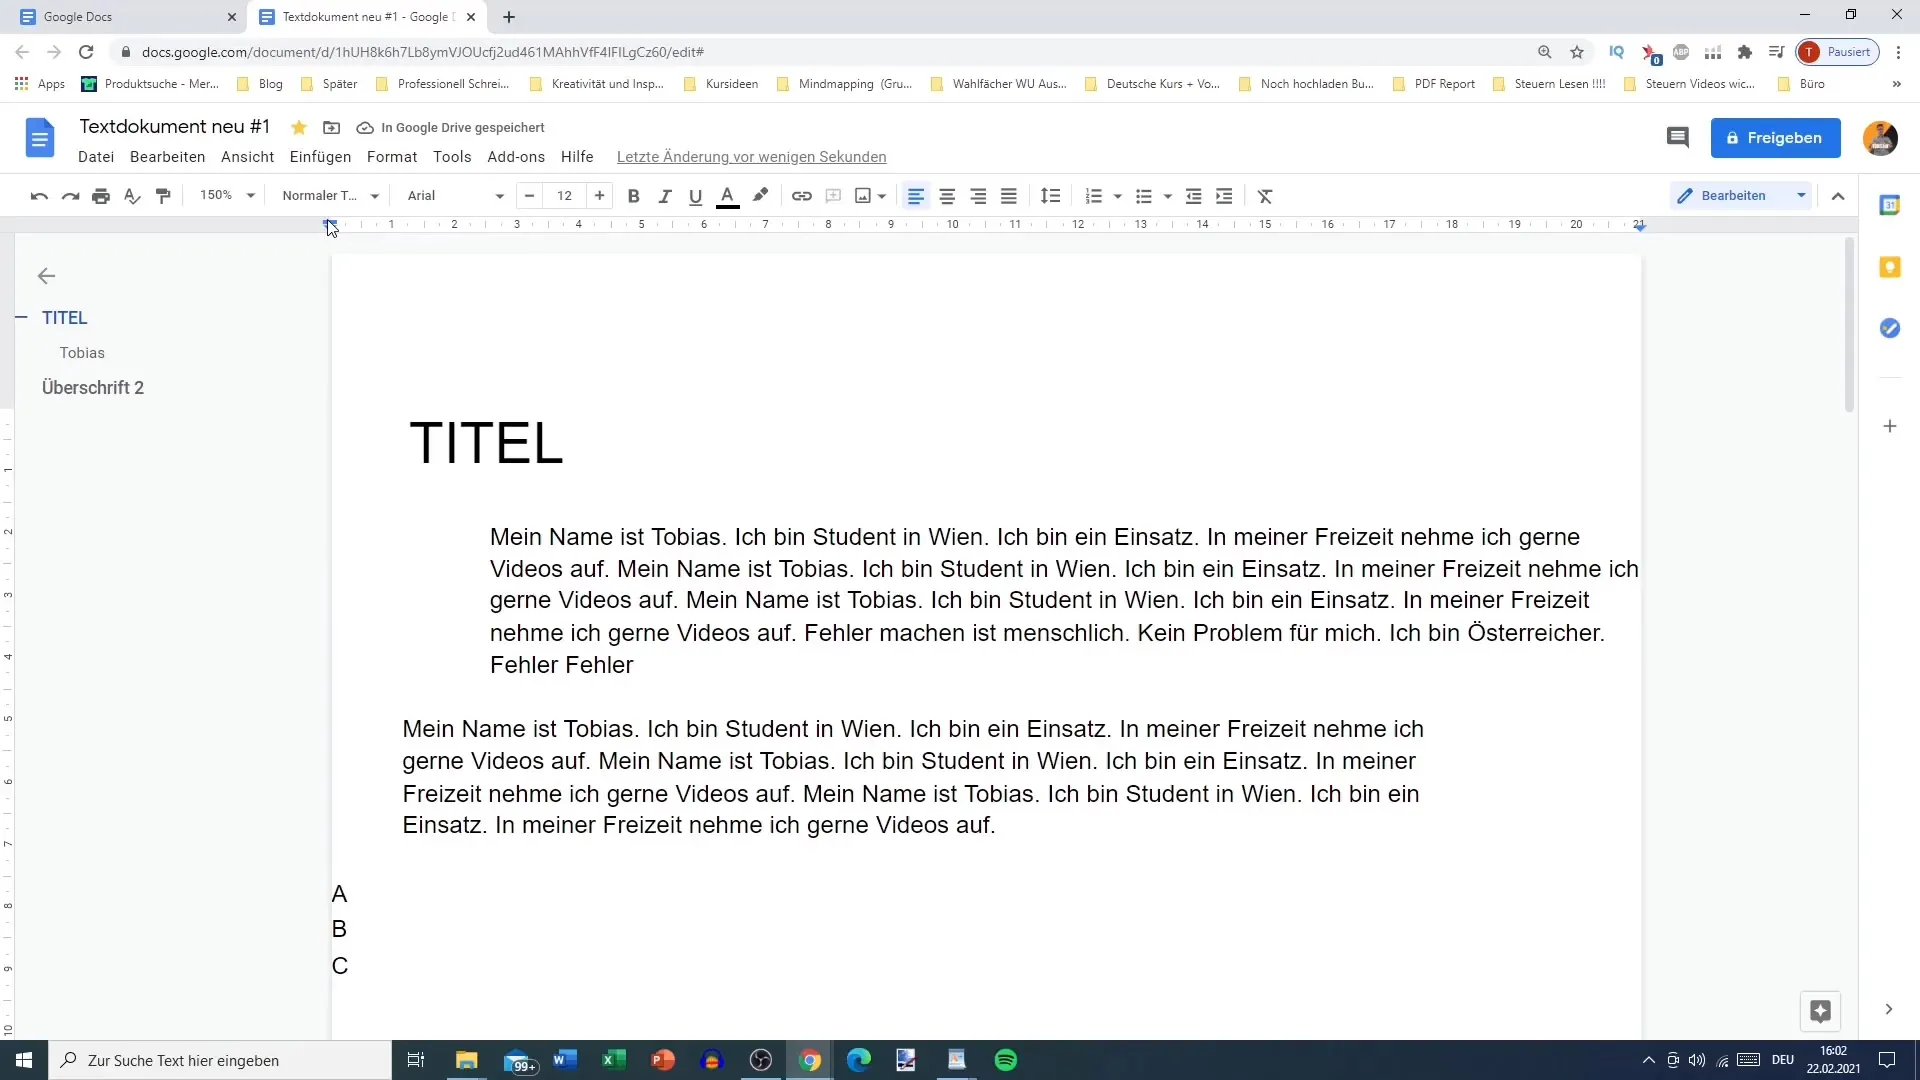
Additionally, you can also move the ruler itself. Instead of using the blue arrow, you can click and drag the ruler directly with the mouse to change the position of the entire document. This method gives you more control over the indentation of the entire page.
Make individual adjustments
With the techniques presented, you can not only adjust the indentation of the entire text but also customize specific paragraphs individually. For example, you can change the spacing for certain headings or introductory paragraphs.
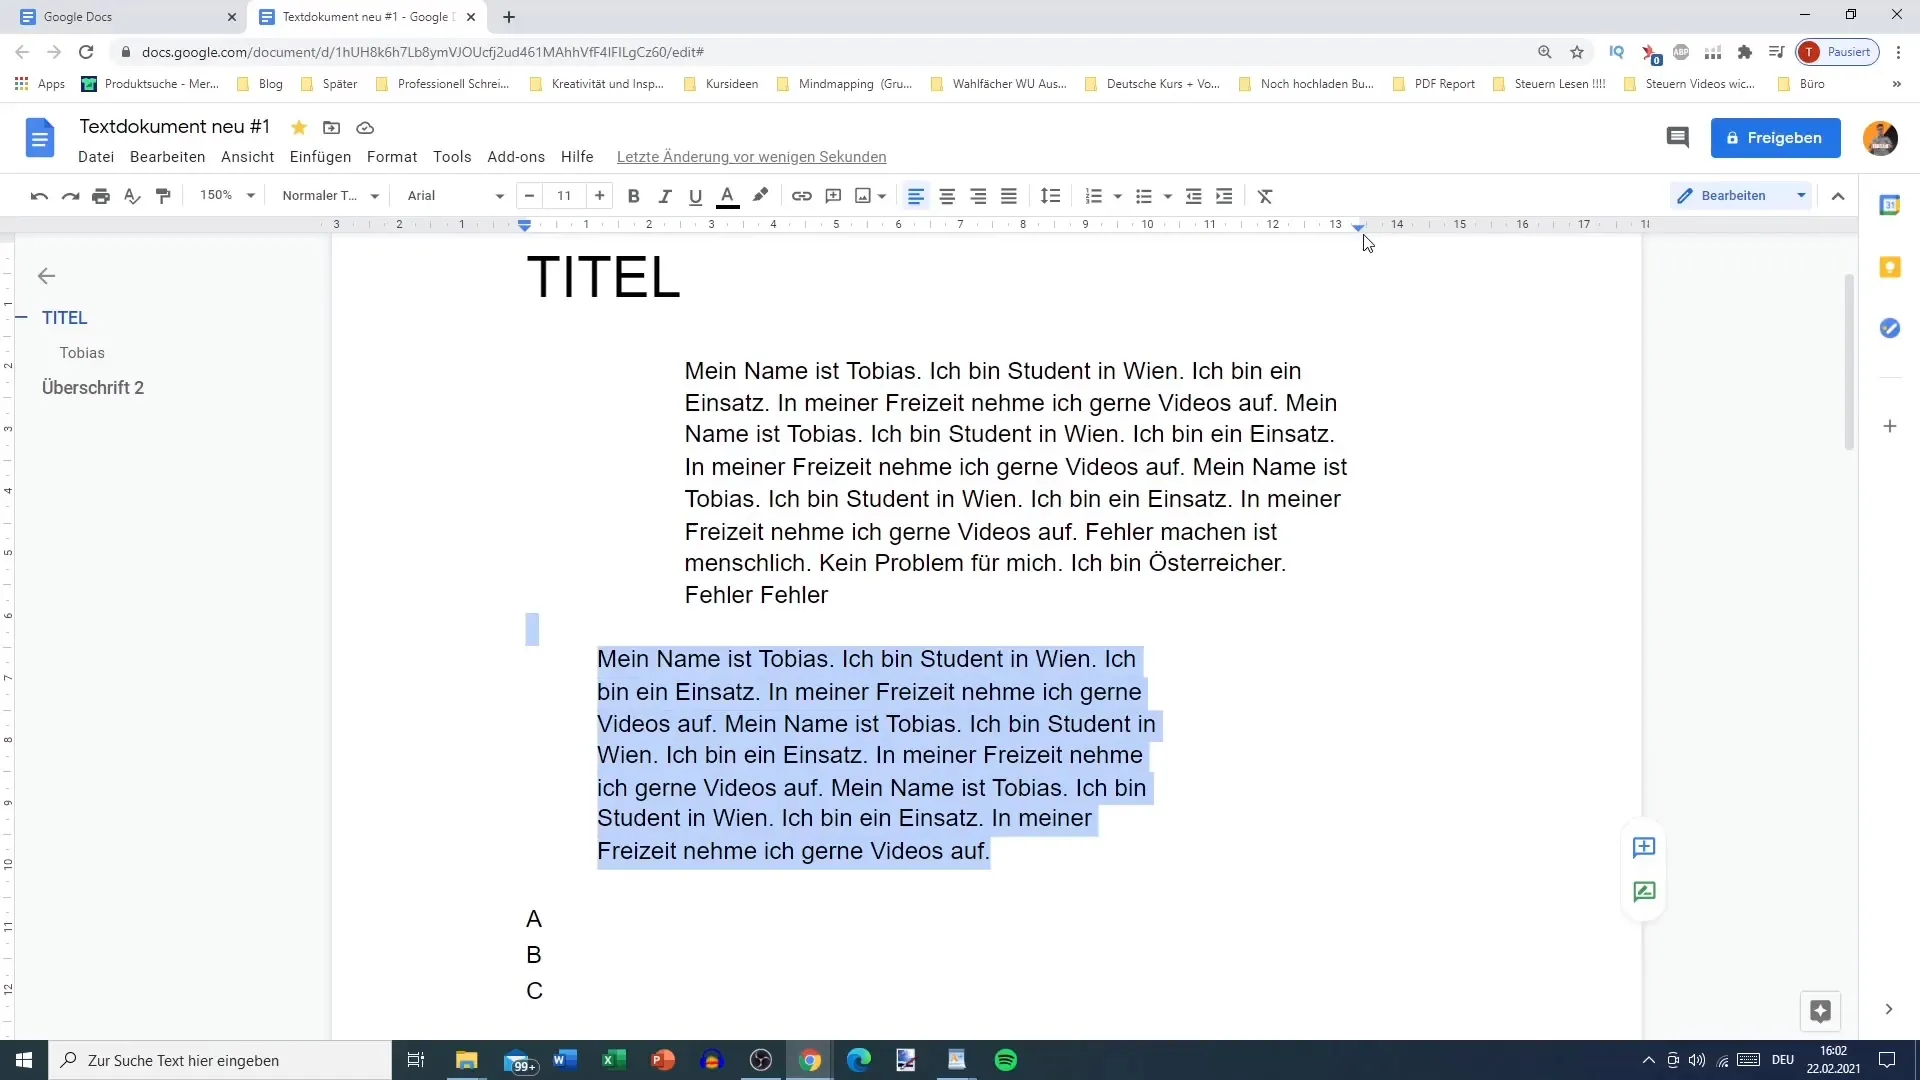
If, for instance, you want to move a title further to the left or right, it's an easy task with the ruler. You can change the position so that the distance to the side margins meets your requirements.
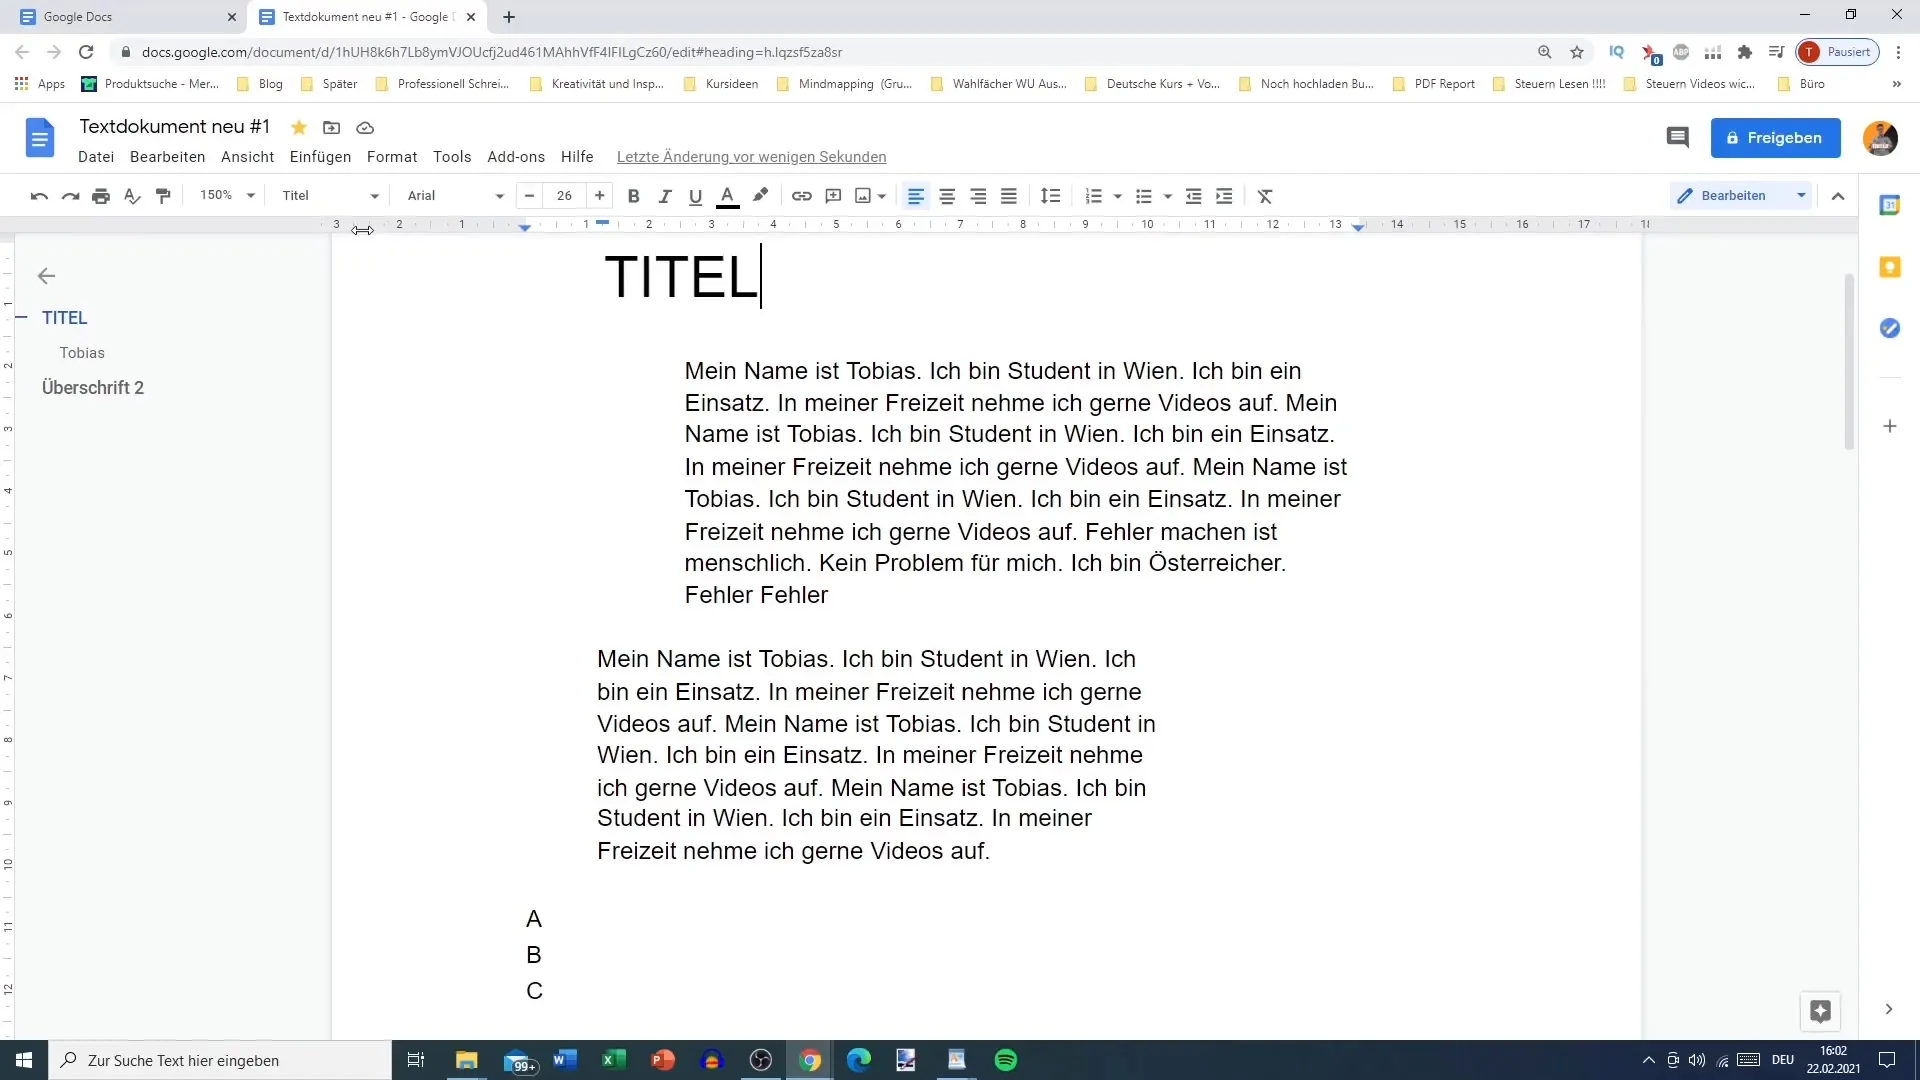
If you want to format the document according to your preferences, you can also ensure that the text areas have minimal distance to the edge. These settings give you the freedom to vary the proximity of the content depending on what you ultimately want to achieve.
Reset formats
If you are unhappy with the adjustments or want to restore the standard formatting, you can do so easily. Highlight the entire text in the document with "Ctrl + A". Then select "Clear Formatting" to delete all made indentation changes and return to the original state.
Summary
Adjusting the indentation in Google Docs is a simple yet effective way to structure and enhance your texts. Whether you want to change the indentation of a specific paragraph or reformat the entire document, the steps mentioned provide you with the necessary knowledge to design your text according to your wishes.
Frequently Asked Questions
What is the difference between increasing indent and decreasing indent?Increasing the indent increases the distance from the margin, while decreasing the indent reduces this distance.
How can I display the ruler in Google Docs?Go to "Help" and select the "Ruler" option in the menu to display the ruler.
Can I remove the formatting for all text?Yes, by pressing "Ctrl + A" and then selecting the "Clear Formatting" option.
What happens if I change the indent for all the text?All the text will be shifted according to the new indent, affecting the layout of your document.
Can I adjust the indent for a specific word only?While not directly possible, you can insert the word into a paragraph and then change the indent for that entire paragraph.


