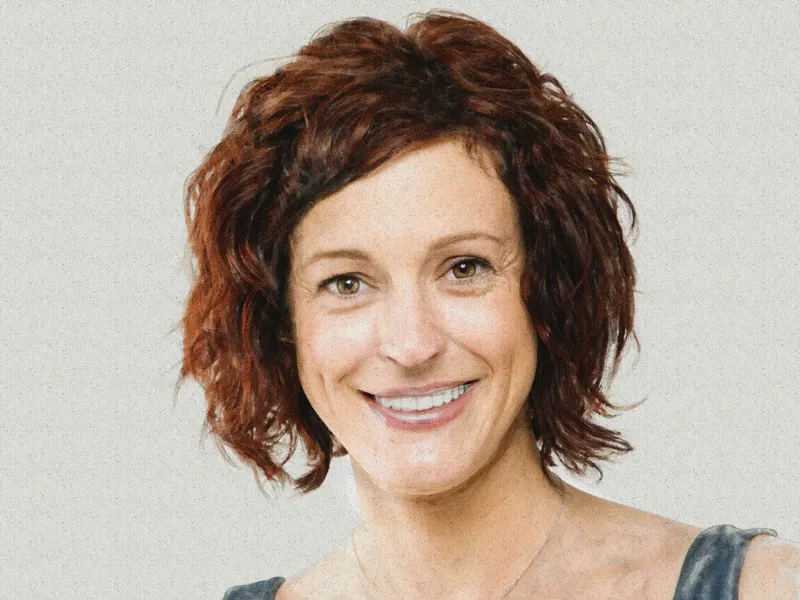
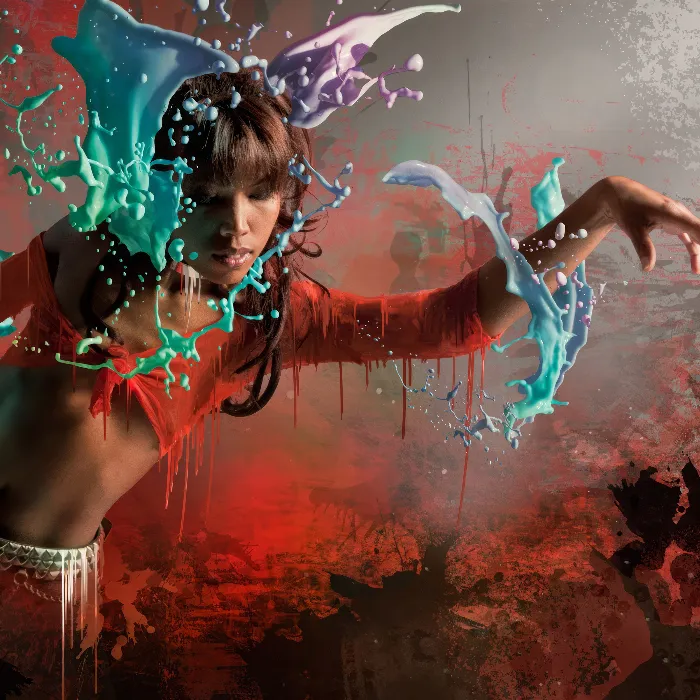
Watercolor painting effects give your images a soft, artistic touch reminiscent of hand-painted watercolor art. With Photoshop, you can recreate this look digitally by combining brushes, textures and color adjustments. Whether for portraits, landscapes or abstract designs, the watercolor effect brings a soft and vibrant aesthetic to your projects. In this tutorial, I'll show you step-by-step how to create realistic watercolor painting effects and give your images an artistic, fluid look. Let's get started and turn your designs into watercolor works of art!
Example 1: Landscape
Step 1 - Open image, create pattern adjustment layer
We open our image to be edited. Next, I'll create a Pattern Fill adjustment layer with the Watercolor pattern over my original image. We change the layer mode of this layer to Linear Burn.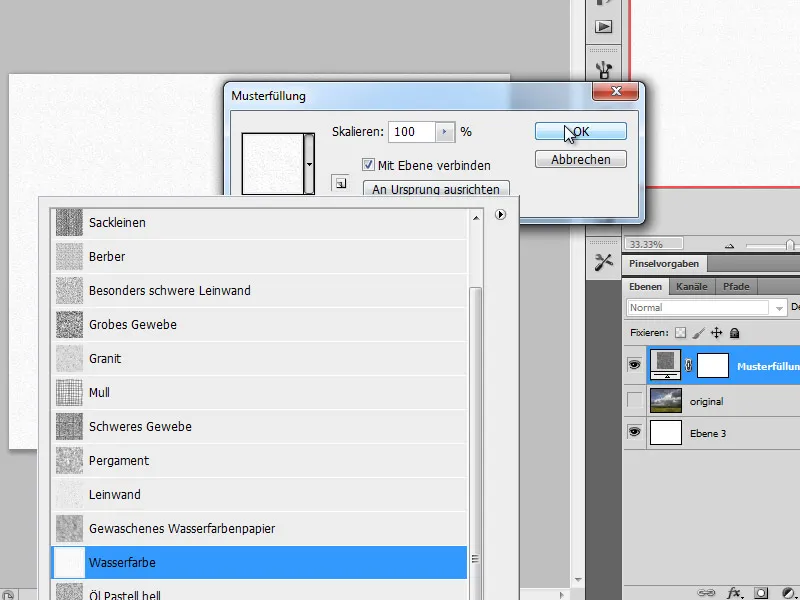
Step 2 - Duplicate image and apply filter
Next, I duplicate my original layer and apply the oil paint dabbed art filter to it.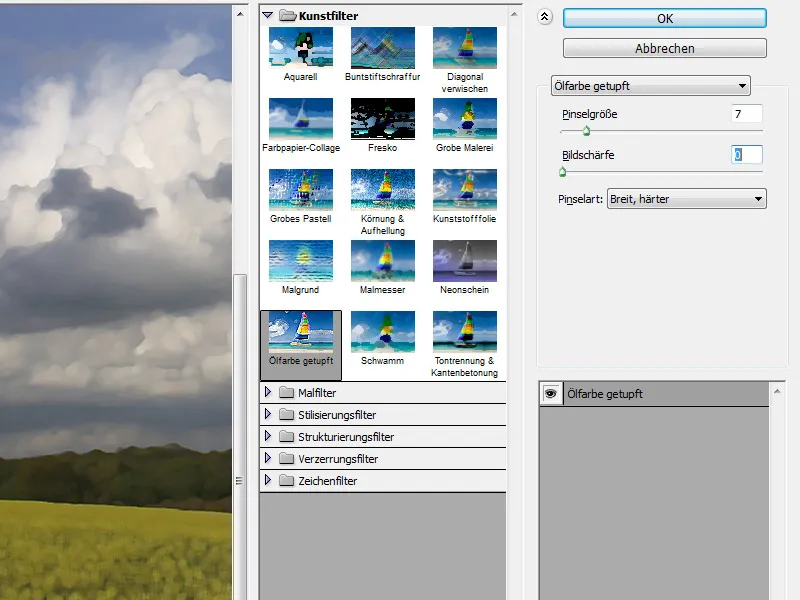
Once the filter has been applied, I reduce the opacity of the layer to approx. 70 percent.
Step 3 - Duplicate the filtered layer and blur it
I duplicate the landscape layer I have just edited by pressing Ctrl+J. I apply a Motion Blur blur filter to this layer to blur the structures in the image. To see the effect better, the layer opacity can be temporarily set to 100 percent.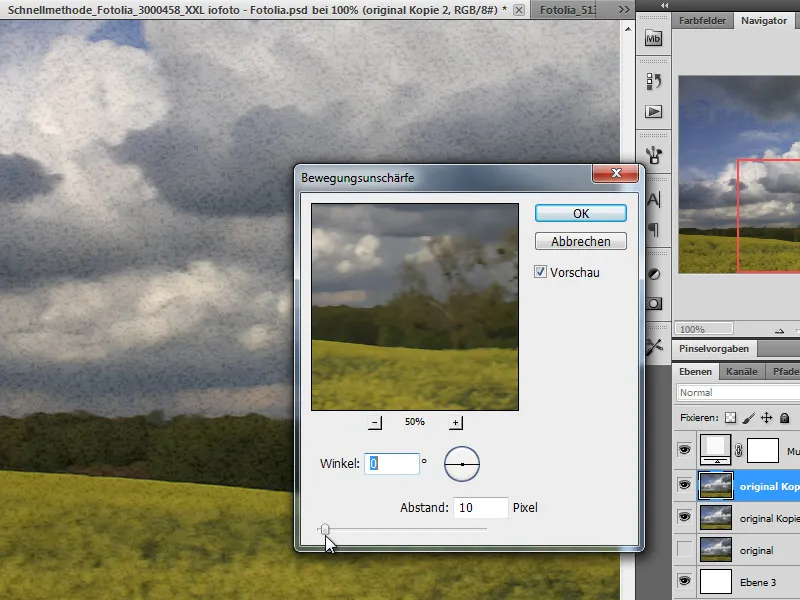
Immediately afterwards and on the same layer, a second blur is applied using the Gaussian blur filter. The radius is left at a few pixels. The layer mode is preset to Linear Burn. The opacity of this layer is reduced to approx. 70 percent.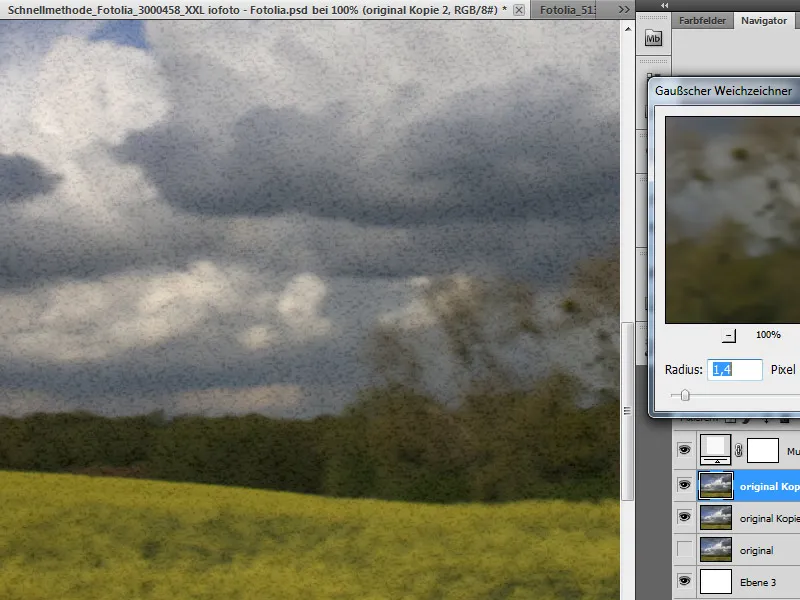
Step 4 - Create layer masks
Both landscape layers are given a layer mask. I call this up via the menu Layer>Layer mask>Hide all.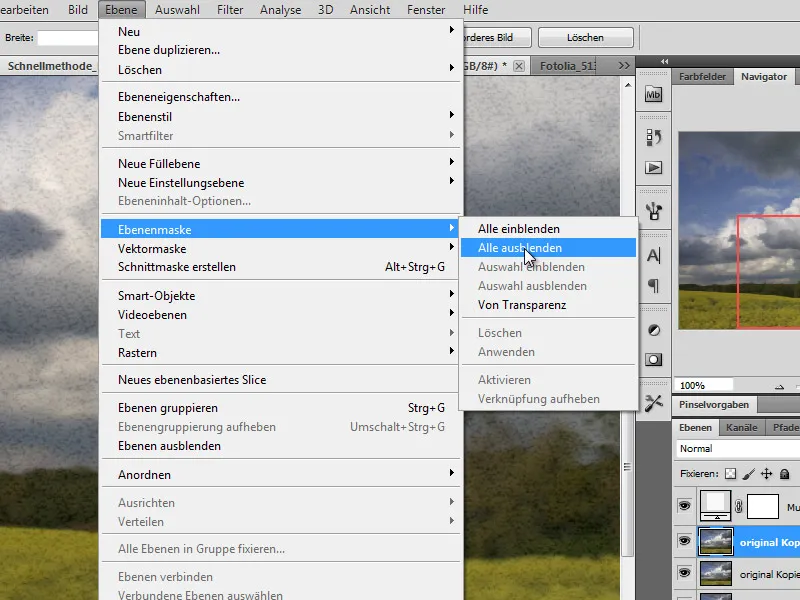
Step 5 - Paint on the layer mask
I first hide the upper filter layer temporarily and draw on the layer below with a brush from the brush set for dry colors (alternatively also watercolors).
I choose a large, coarse brush and change the foreground color to white so that I can blend in areas on the mask. I start by drawing in parts of the picture with reduced opacity.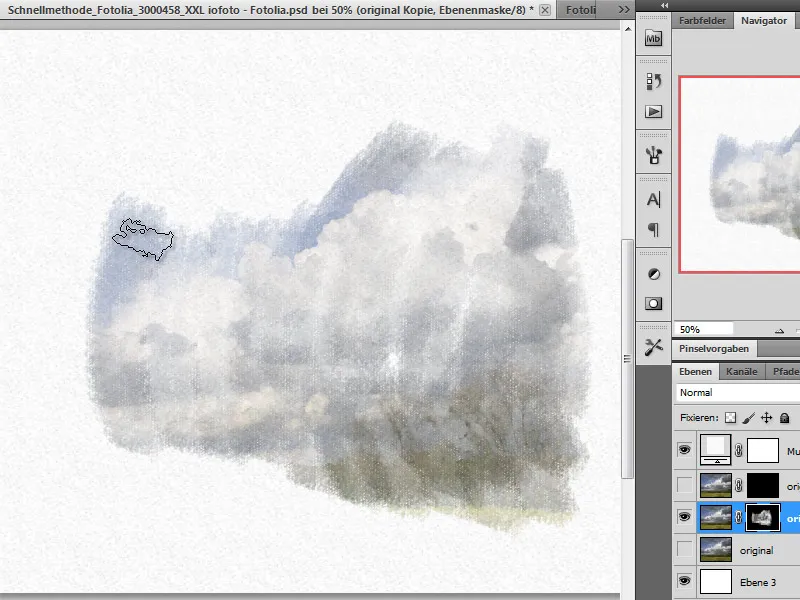
When drawing, I make sure to alternate brushstrokes to create more natural strokes. If you prefer other brushes, you are welcome to adjust your painting tool during the drawing process.
I will now activate the layer above and also draw the image areas on the mask.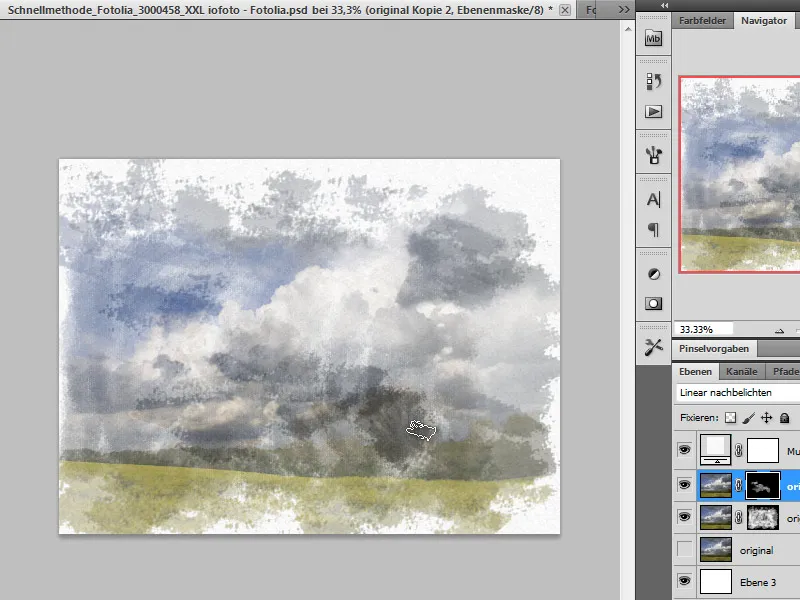
By varying the brushes, I can create different structures.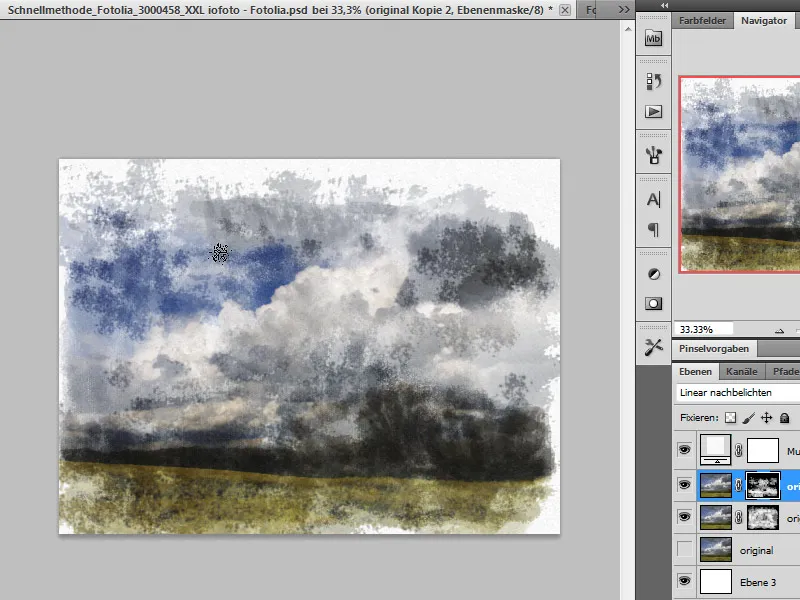
Step 6 - Create layer set and layer mask
Next, I create a layer set. To do this, I click on the folder icon in the layer palette . I move my layers to this folder and assign a layer mask to it. I now draw over my layer mask in such a way that I first hide parts generously. I then change the color to white and Blender the image from the inside out again.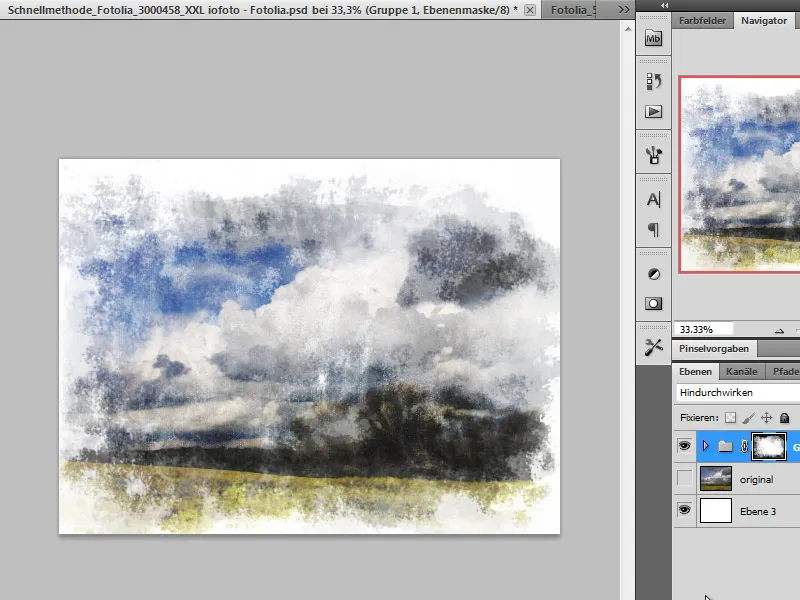
Our first watercolor is now complete.
The finished result: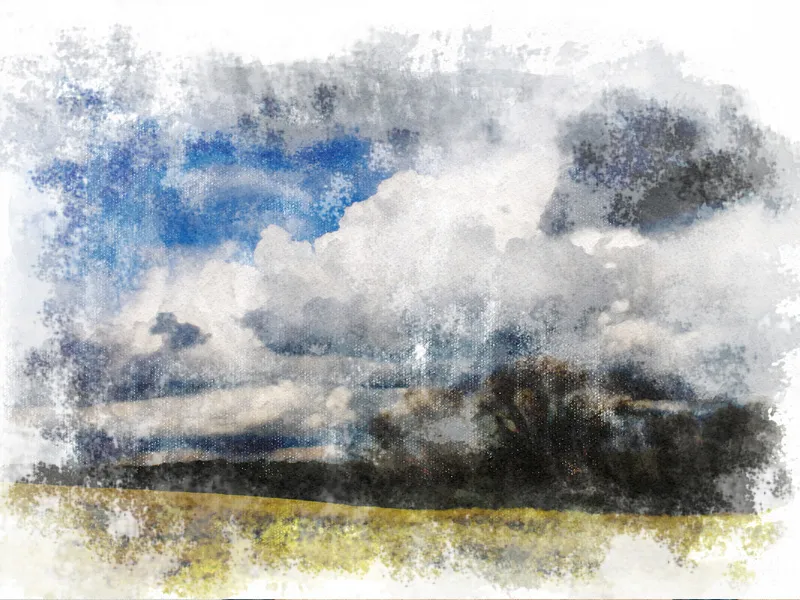
Example 2: Portrait
The following example is even more extensive than the one just shown and also requires more time to complete.
Step 1 - Open the picture
First, we open the portrait photo that is to be edited.
Step 2 - Fill the area
I now need a new layer, which I will fill with a light, yellowish gray.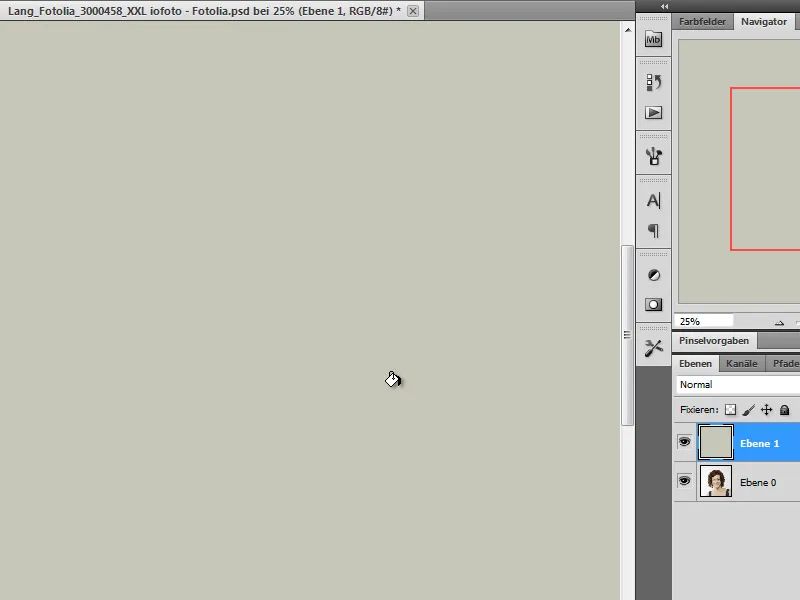
Step 3 - Duplicate portrait - apply filter
Next, I duplicate the portrait and place it over the gray layer I have just created. I assign the Luminous contours filter to this copy. This can be found under the stylization filters in the Filter menu.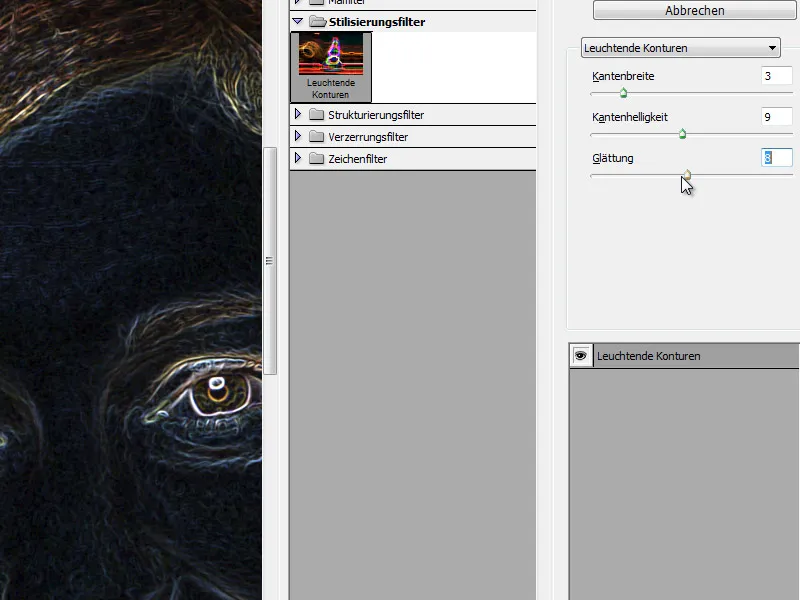
Step 4 - Reduce saturation
The image I have just edited now looks quite colorful and I now reduce the colors by removing the saturation. I can do this via the Image>Corrections>Hue/Saturation menu.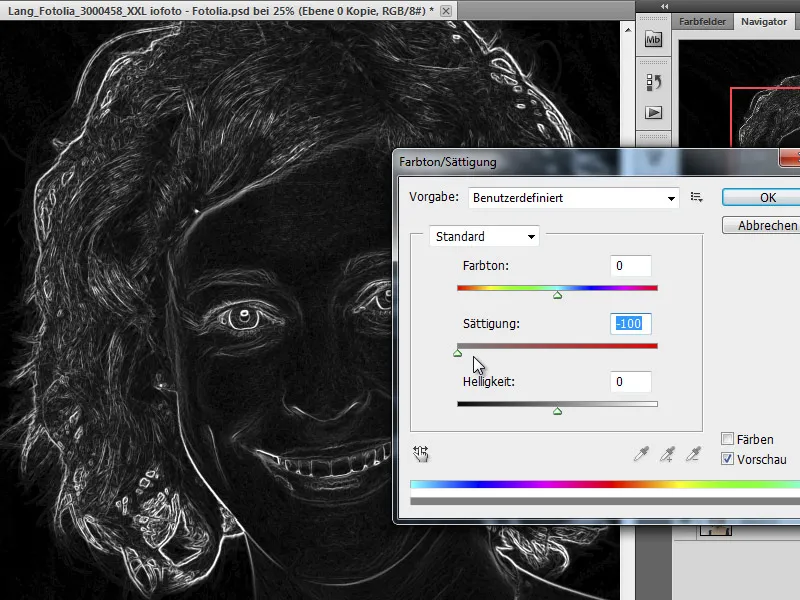
Step 5 - Invert image and change layer mode
The desaturated image is now inverted by pressing Ctrl+I. The layer mode is also changed to Soft light. As a result, our copy merges with the yellowish-grey background and already looks like a pencil drawing.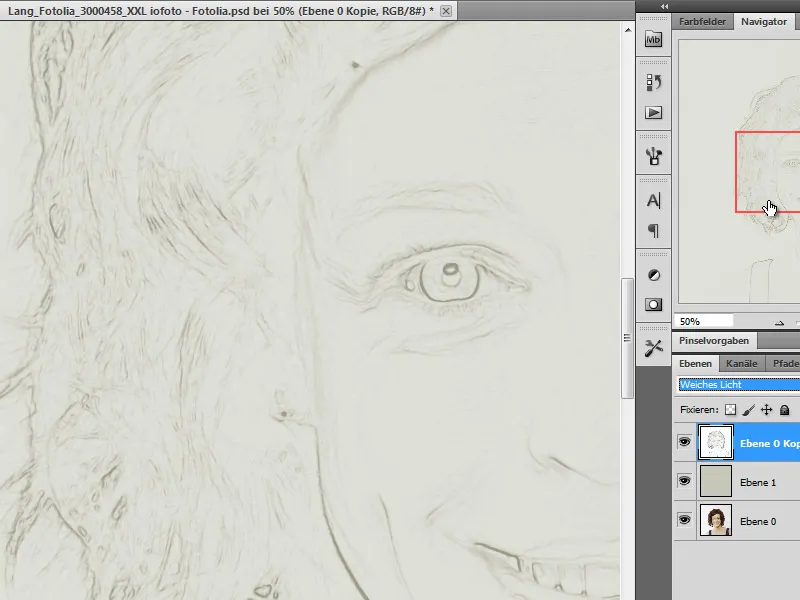
Step 6 - Copy the portrait source layer - apply the painting knife
Now I copy the portrait layer and move it to the top of the layer stack. I also use the Filter>Art filter>Painting knife.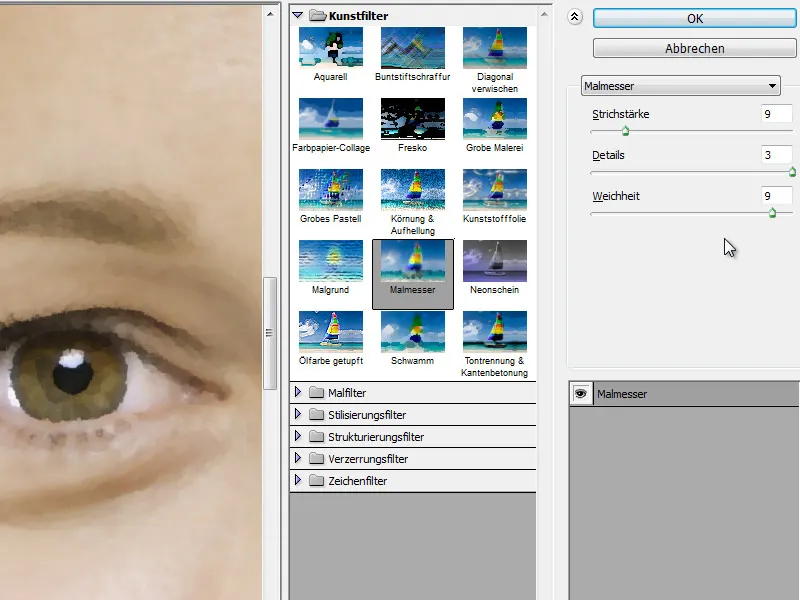
Step 7 - Gradation curves adjustment layer
To get more contrast out of the image, it makes sense to apply an adjustment layer to it.
I therefore use the Gradation Curves adjustment layer and reshape it into a slight S. To ensure that it only affects the layer directly below it, I hold down the Alt key and click between the adjustment layer and the portrait layer in the layer palette.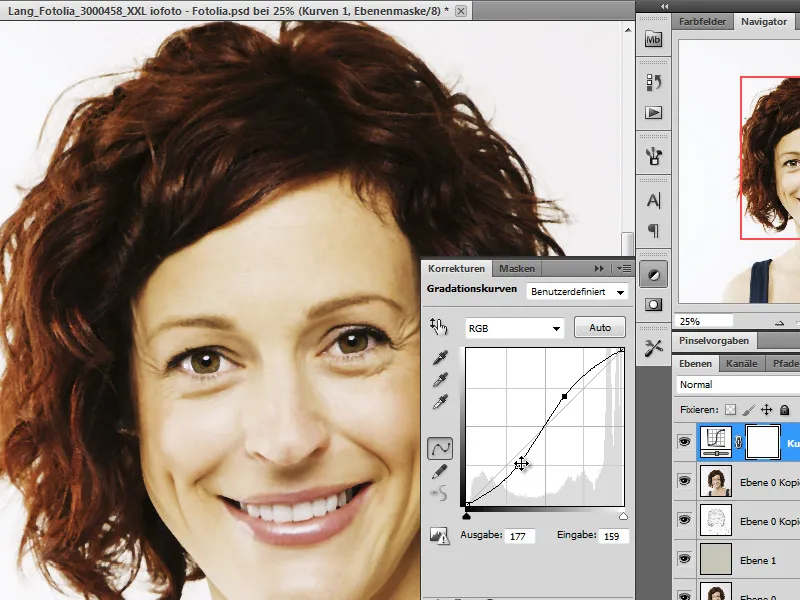
Step 8 - New fill layer pattern
I need a new layer with a fill pattern. The mode is preset to Linear Burn.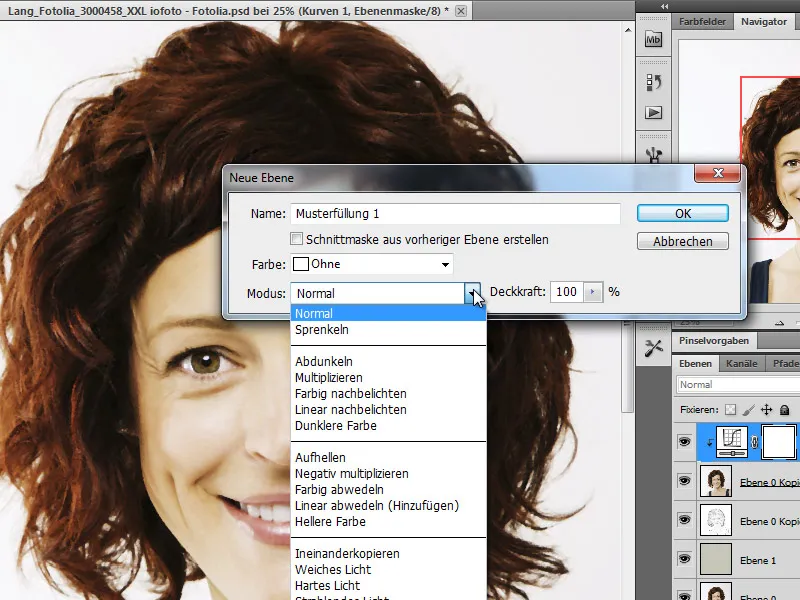
The pattern to be used comes from the set for artist paper and I select the pattern canvas with a scaling of around 120-150 %.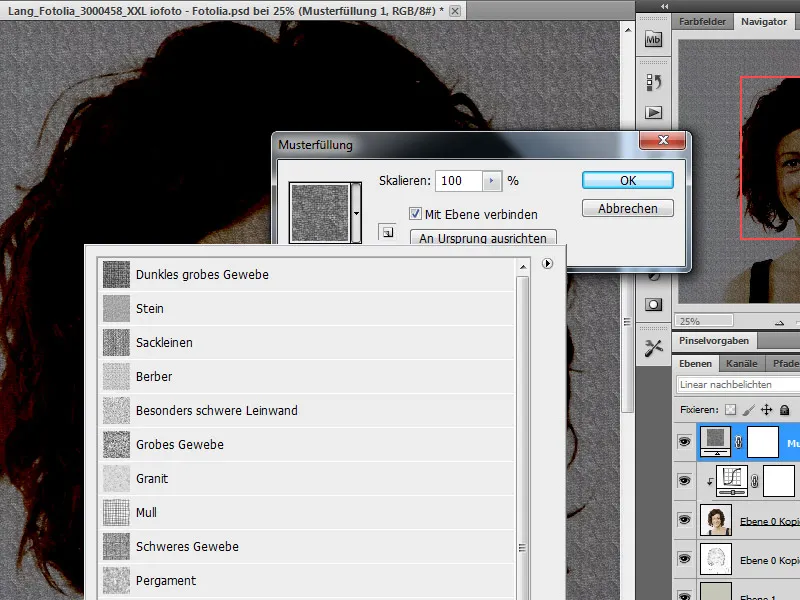
Step 9 - Edit image layer with mask
In this step, I switch to the portrait layer below the gradation curve layer and create a mask. Via the menu item Layer>Layer mask>Hide all. I draw on this mask with a custom brush.
Step 10 - Create a custom brush
I need a custom brush for the next drawing task. I will now create this. First, I call up the set for wet colors via the brush menu - also known as watercolor brushes in the higher Photoshop versions. I need the thick medium tip brush.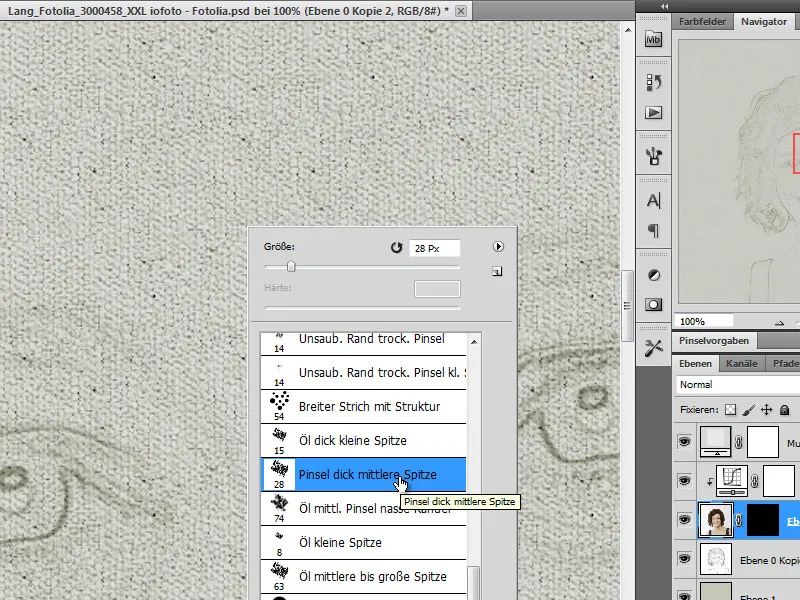
I set a few options in the brush options. Under the shape properties, I first select Control: Pen pressure. I also set the angle jitter to 30%, the roundness jitter to 50% and the minimum roundness to 30%.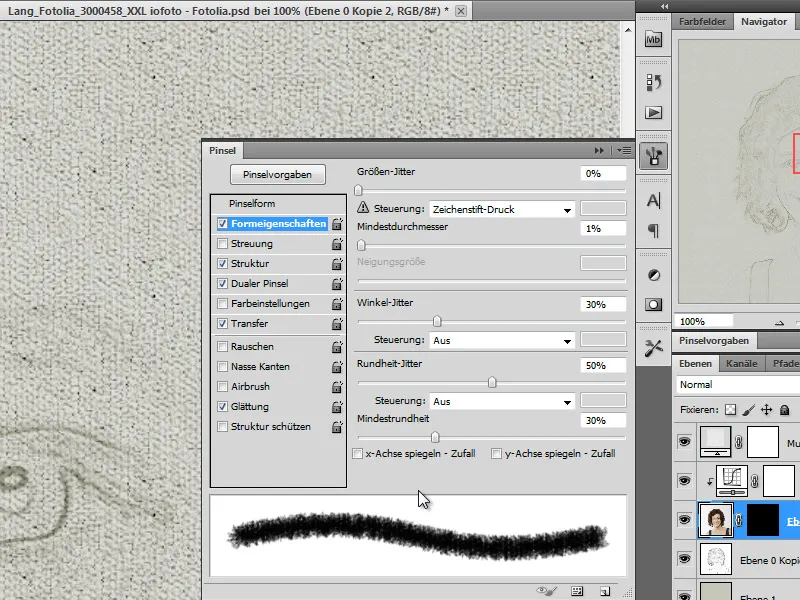
I check the Structure box and select the burlap with a scaling of 90% as the structure.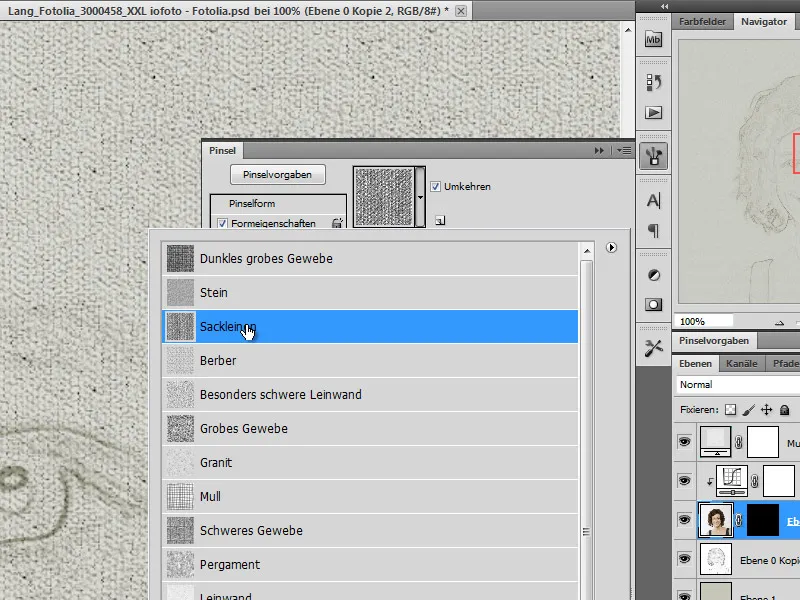
I also change the transfer options to pen pressure.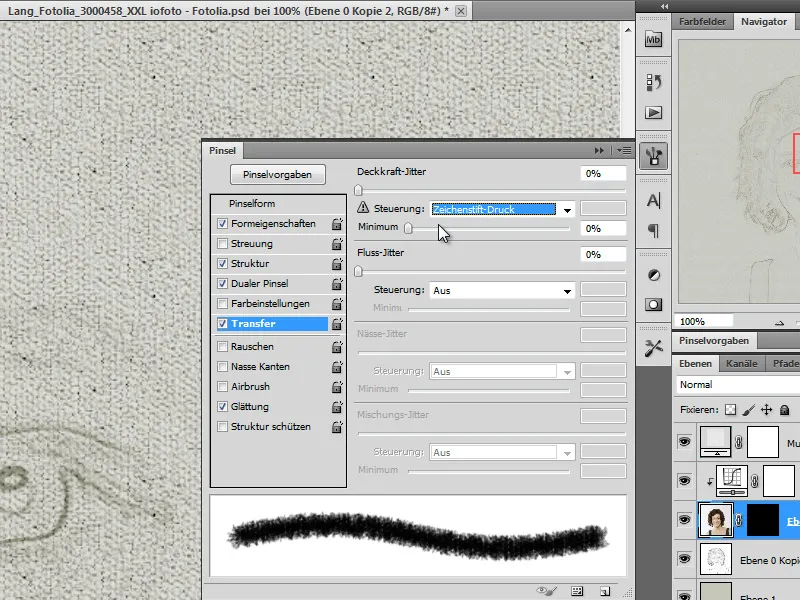
Step 11 - Draw with a custom brush
Now it's time to draw with the custom brush on our layer mask. I choose an adjusted brush tip size depending on the portrait size , set the opacity to a medium range and draw in the image areas with a white foreground color on the mask.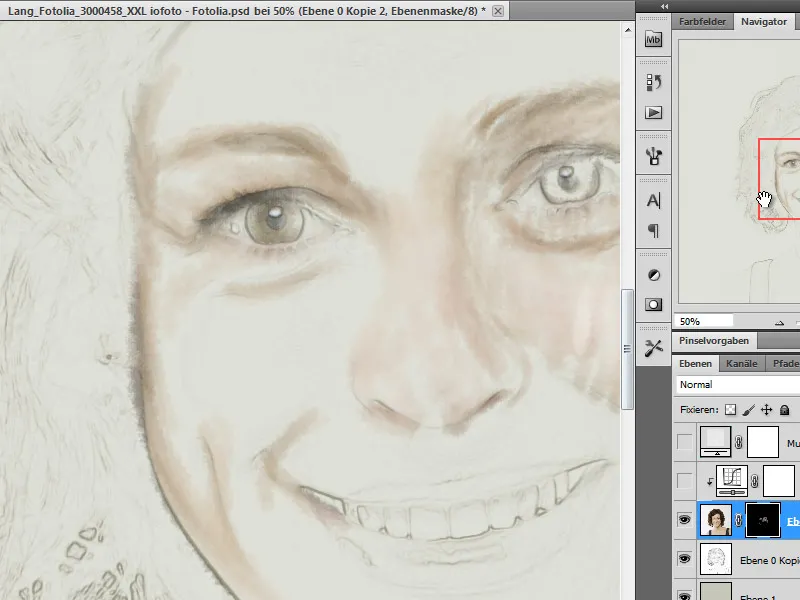
As with natural drawing, I make sure to change the brush tip size and painting direction from time to time. In the hair area, I also try to follow the line of the hair.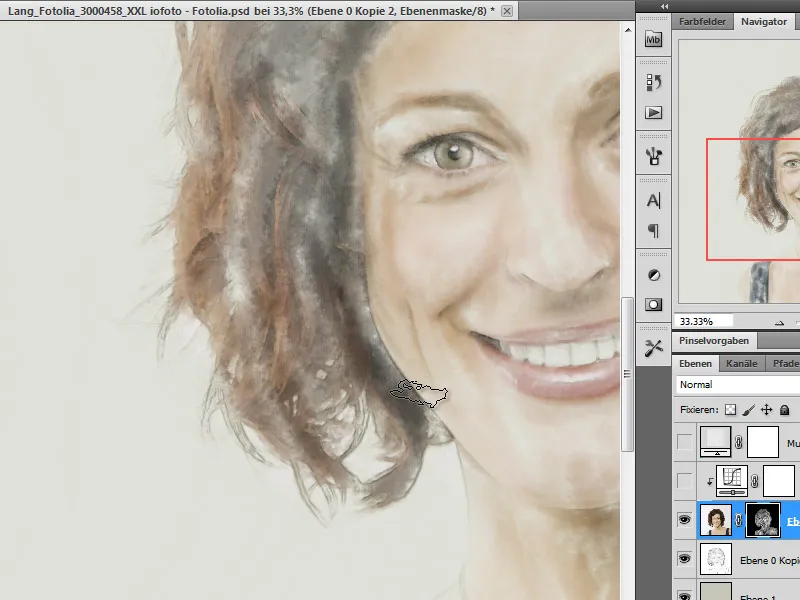
When I have finished drawing, I apply the layer mask to the image using the context menu (right-click on the layer). Before doing this, however, I save the layer as a backup copy by pressing Ctrl+J.
Step 12 - Duplicate portrait layer and apply layer effect
In this step, I will apply a layer style to my portrait layer. First, however, I need a copy of the original portrait layer and move it to the top of the layer stack. I make sure that this layer remains below the pattern fill layer.
I now apply the Flattened edges/relief effect to this layer.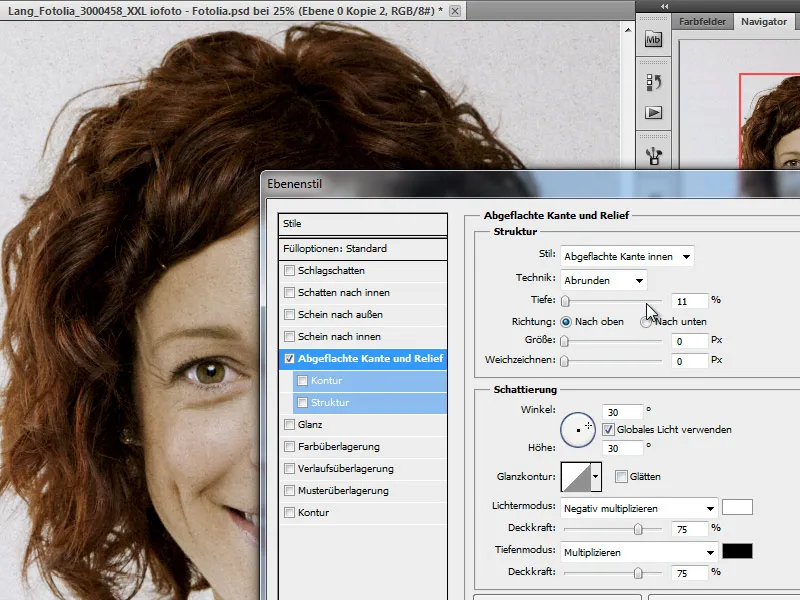
Step 13 - Painting knife
I'll apply the Painting knife art filter to the layer I've just created.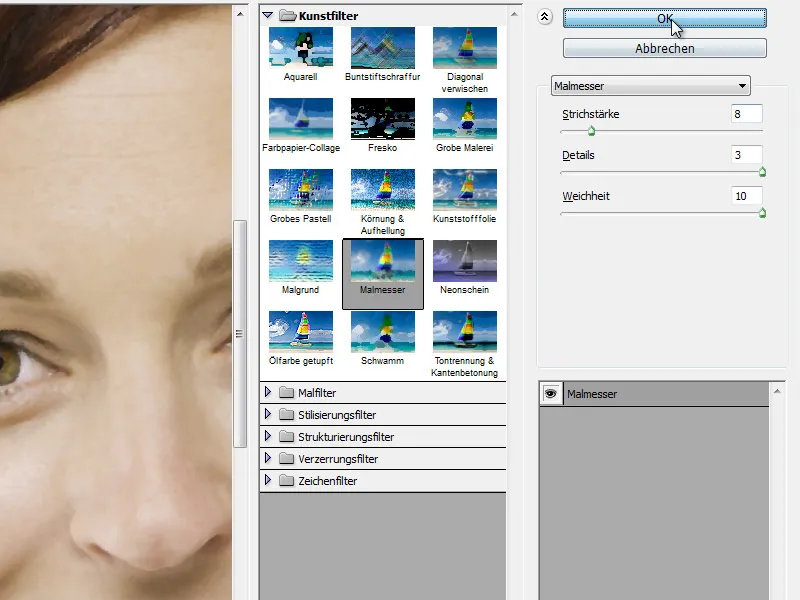
Step 14 - Tone correction adjustment layer
In this step, I would now like to influence the color design of the image once again and call up the Tone correction adjustment layer. The changes are only applied to the underlying layer using a clipping mask. To do this, I hold down the Alt key again and click between the Tone Correction and Portrait layers in the layer palette.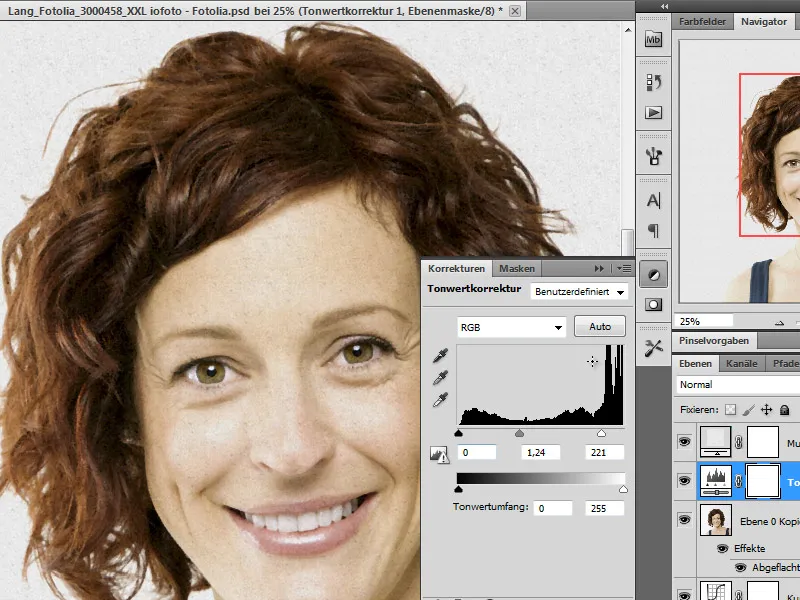
Step 15 - Layer mask on portrait layer
Now I also create a layer mask on the portrait layer.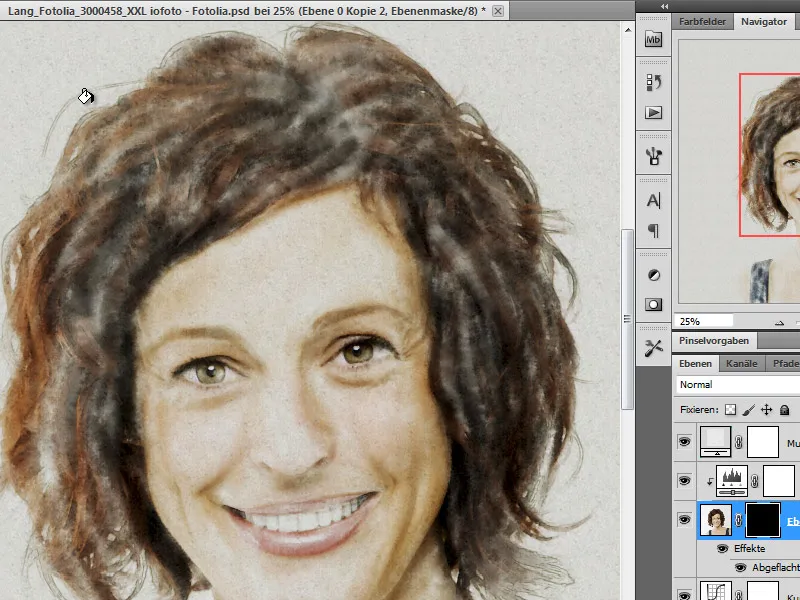
Step 16 - Draw the impasto effect with a customized brush
To simulate some structure from the paint application in the image, I will now draw a so-called impasto effect with a customized brush tip. First, I create a customized brush from the set for wide brushes. I choose the Coarse round bristle brush for this.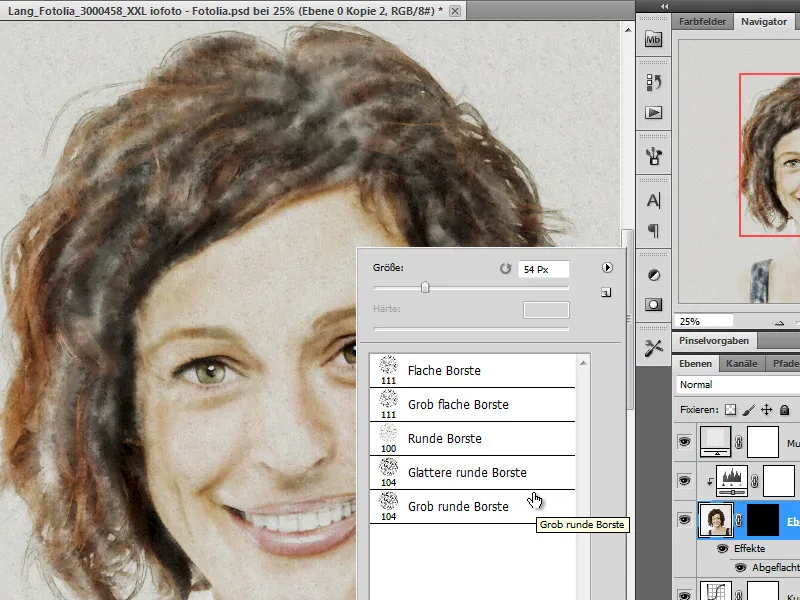
I will also apply a textured canvas to this brush.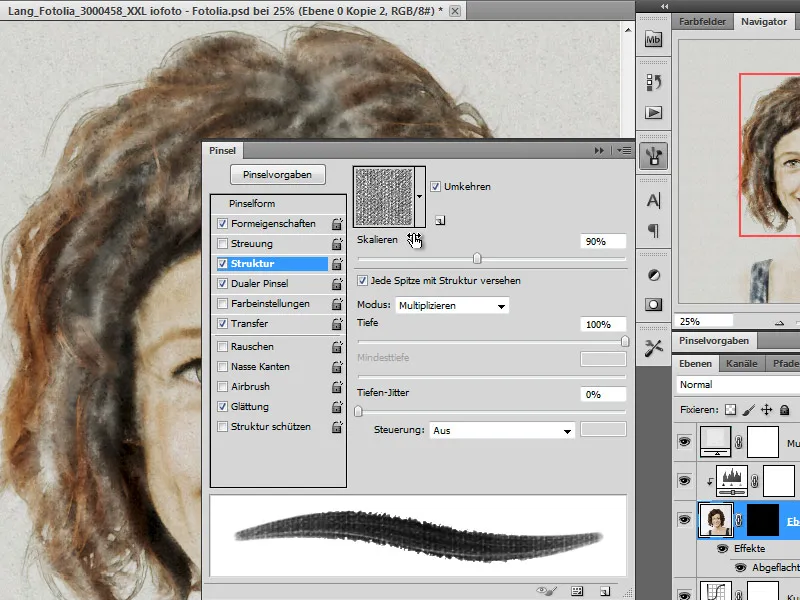
Dark areas of the picture are traced with a higher opacity, light areas with a lower opacity.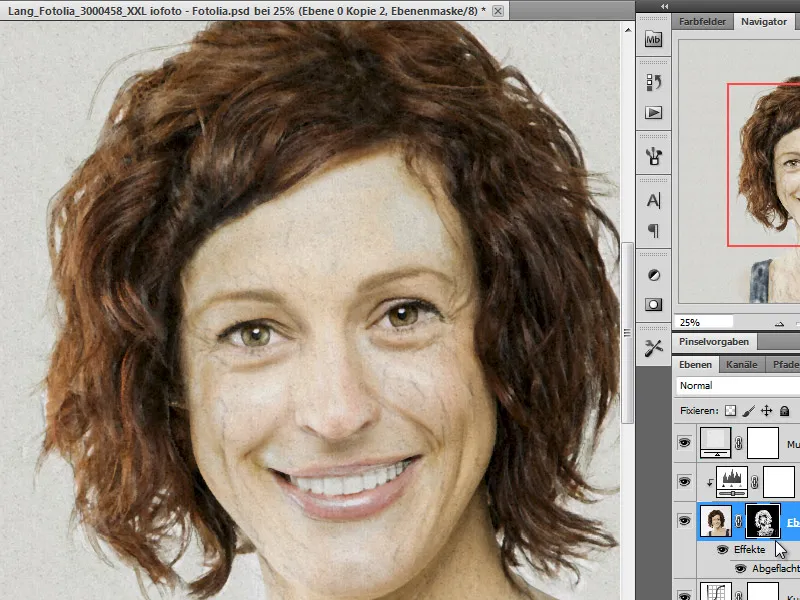
Step 17 - Copying the impasto effect
I copy the impasto layer and make sure that the layer mask is completely filled with black. To do this, I select the layer mask and go to the menu item Edit>Fill area. In the dialog box, I select Use: Black.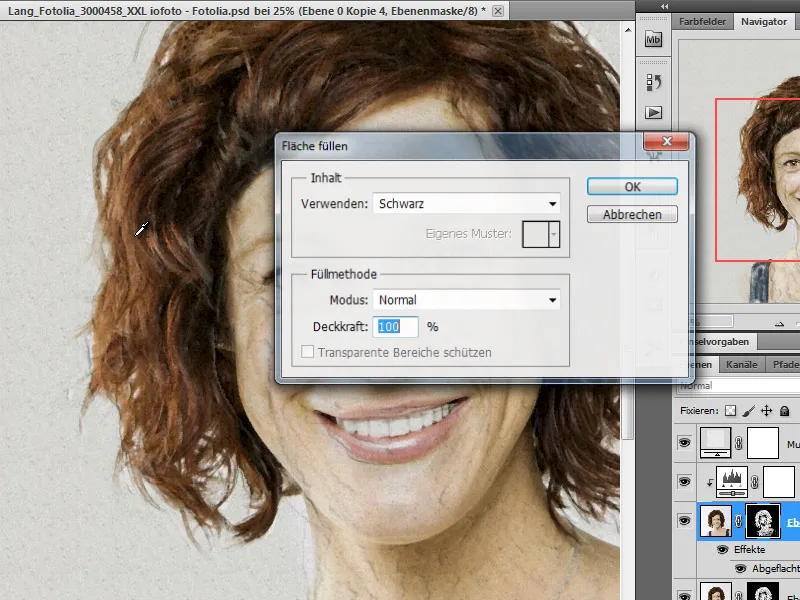
Step 18 - paint with a custom brush
The last brush I used still has a texture. I deactivate this in the brush options.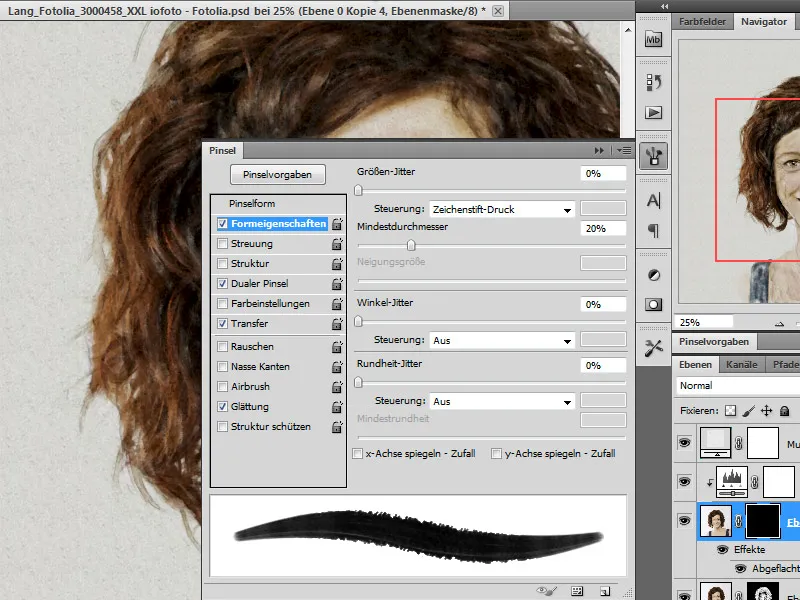
With the opacity lowered and the brush tip size adjusted, I draw on the layer mask to get more details out of the image. This procedure also underpins the impasto effect.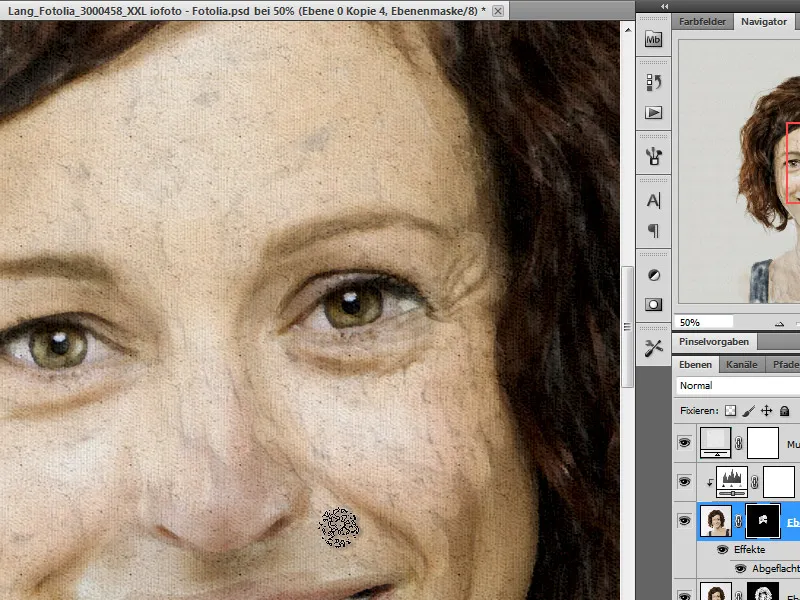
Step 19 - Combine layers and make final corrections
Our image is now basically finished. I combine all the layers as a new layer using Ctrl+Alt+Shift+E and then apply the Hue/Saturation correction mode to it.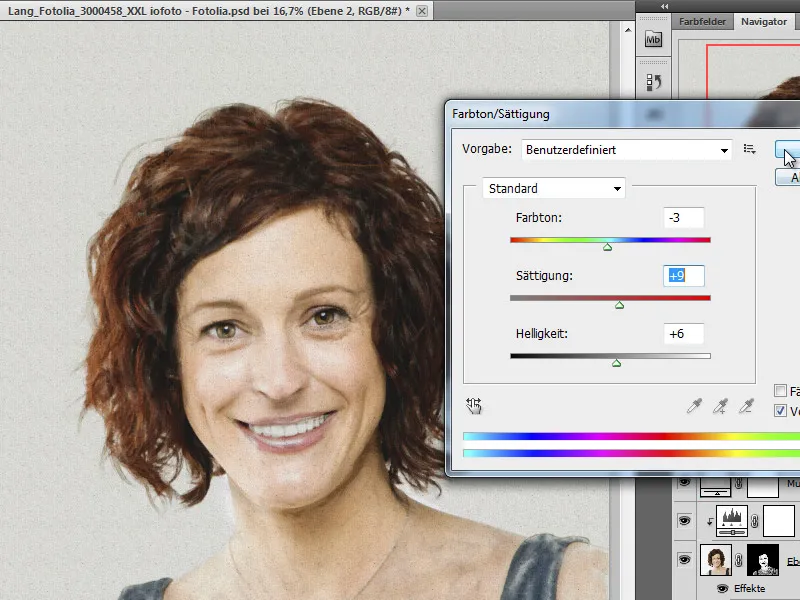
Final result: This is what our image now looks like: