A design with shining stars and glittering text brings magic and elegance to your projects. Whether for greeting cards, flyers, or posters – this effect attracts attention and is perfect for festive occasions or glamorous designs. In this tutorial, I will show you how to create stripes with shining stars and a sparkling star glitter text in Photoshop. With a few steps, you will combine light effects, brushes, and layer styles to create an impressive overall image. Let's get started and make your designs sparkle!
Step 1:
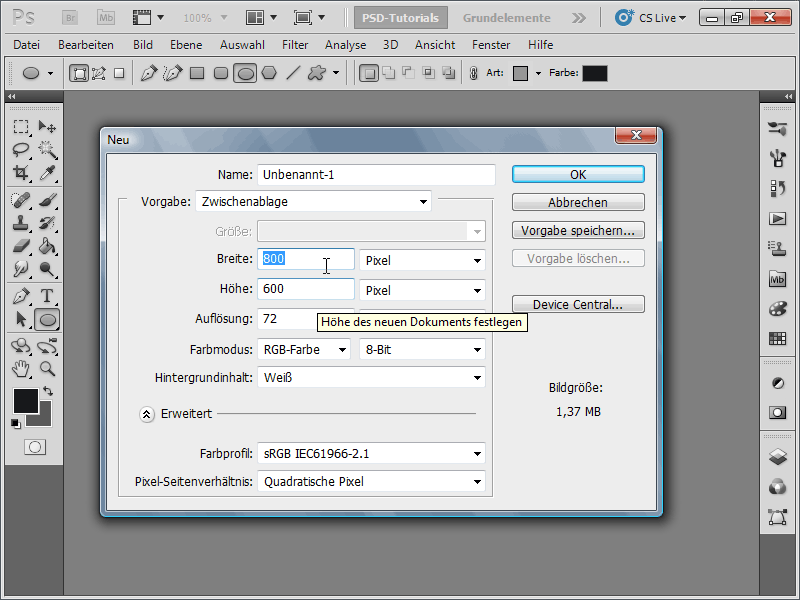
First, I create a new document; the size doesn't matter. I choose a very small size of 800x600 pixels. If you want to print this effect, the unit should be changed from pixels to cm and the resolution from 72 to 300 pixels/inch.
Step 2:
Next, I color my background layer black and then make a selection that is quite narrow but goes all the way to the full height. I save this selection as a new brush under Menu>Edit>Define Brush Preset.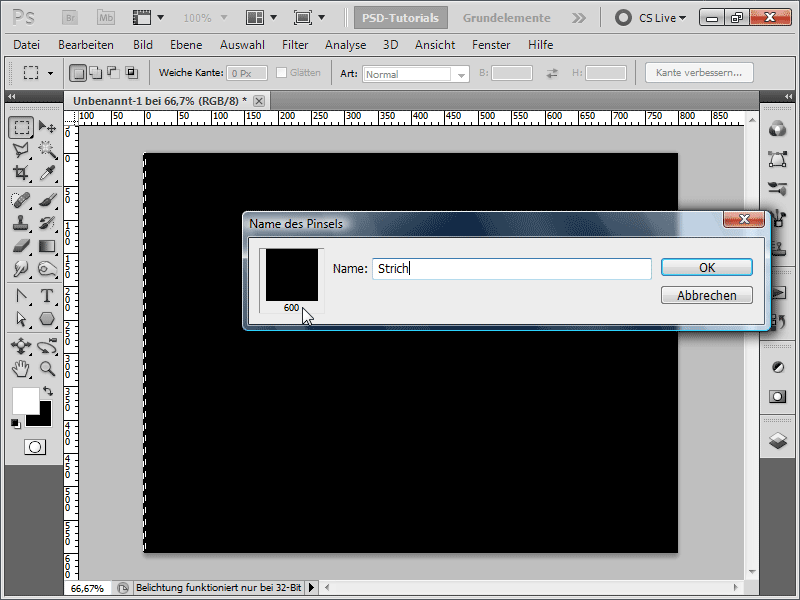
Step 3:
Now, I activate my new stroke brush and press F5 to bring up the Brush panel. There, I set the spacing to 100%.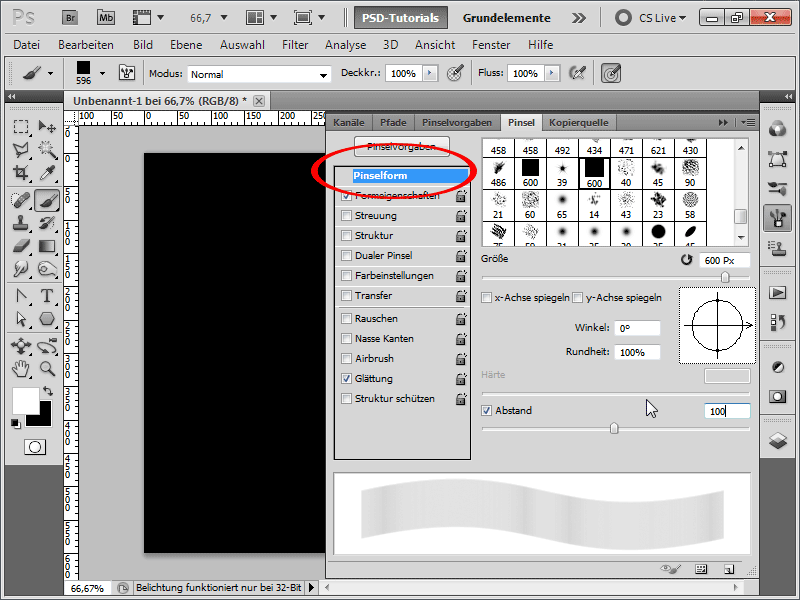
Step 4:
In the Shape Dynamics, I define the following values: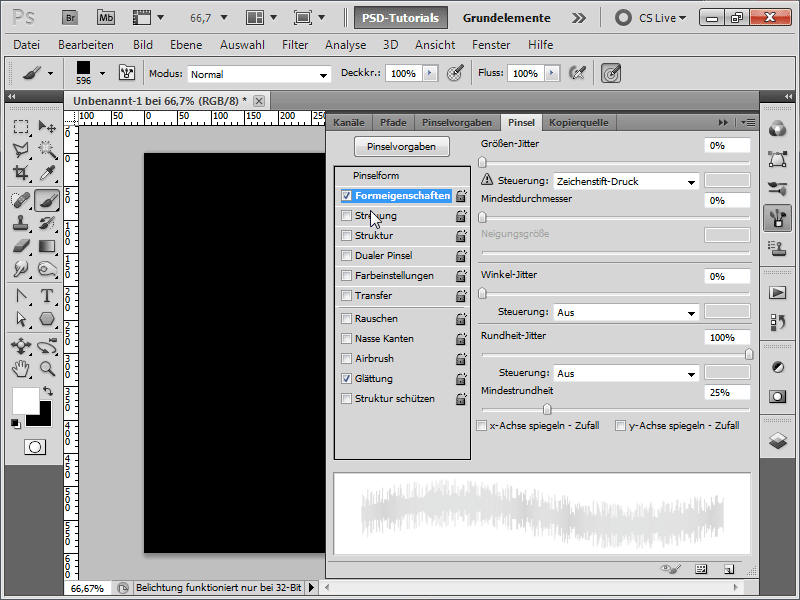
Step 5:
For Scattering, I need to enter these values: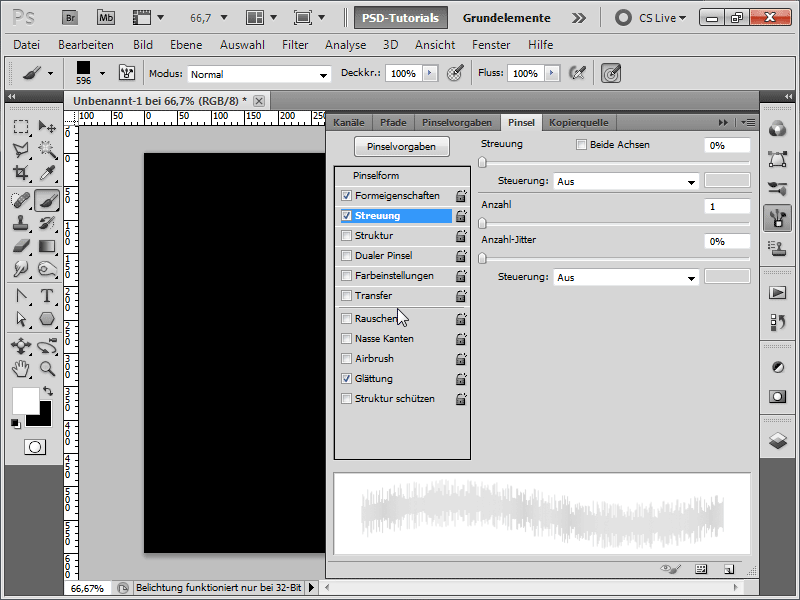
Step 6:
In the Color Dynamics, I change the values as follows: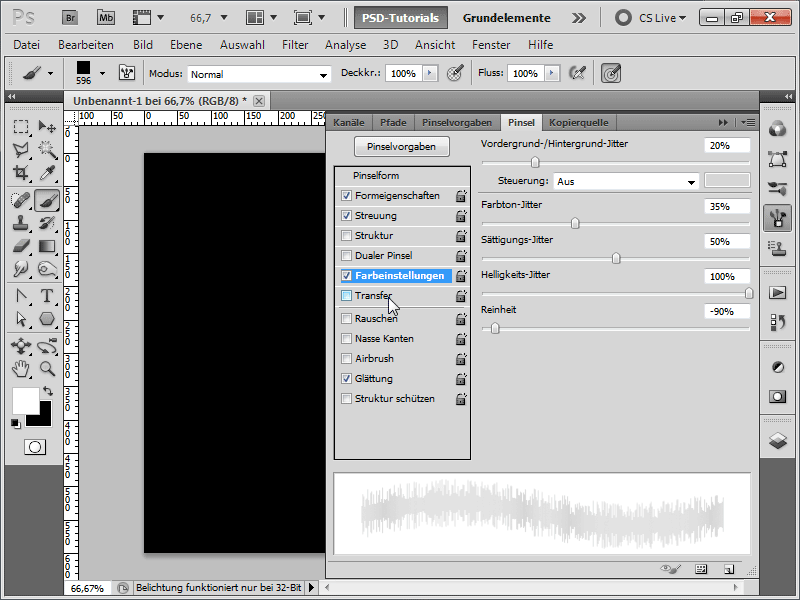
Step 7:
Almost done: In Transfer, I increase the Opacity Jitter to 90%.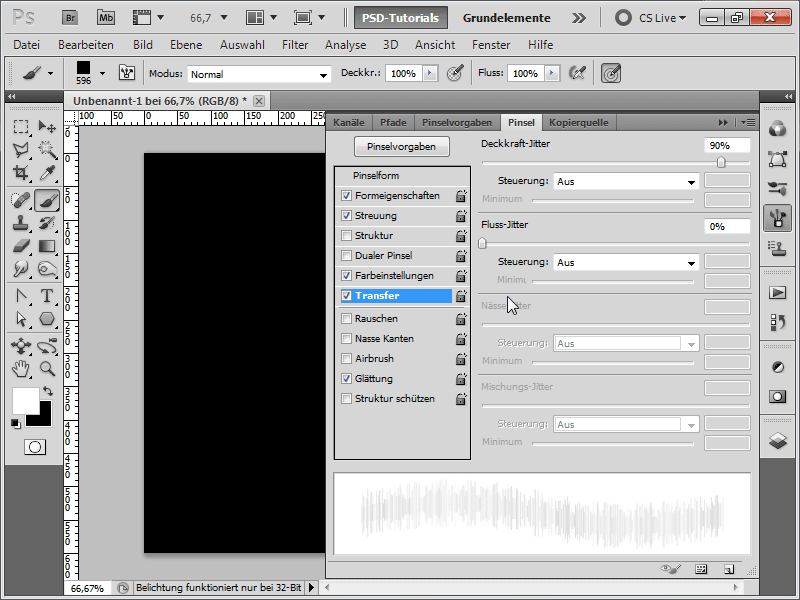
Step 8:
Then, I create a new layer and brush around with white color a few times until the result looks something like this: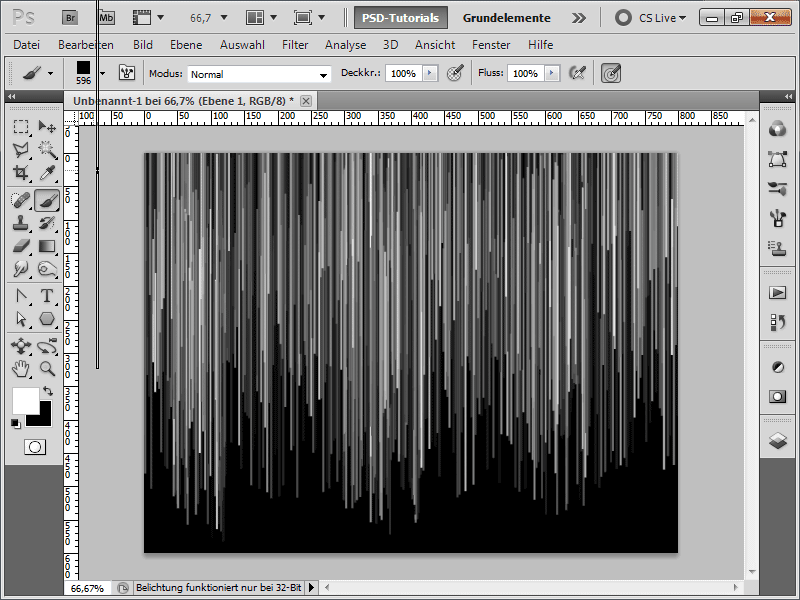
Step 9:
To soften the lines, I now apply the Blur Filter under Menu>Filter>Blur Filters and enter these values: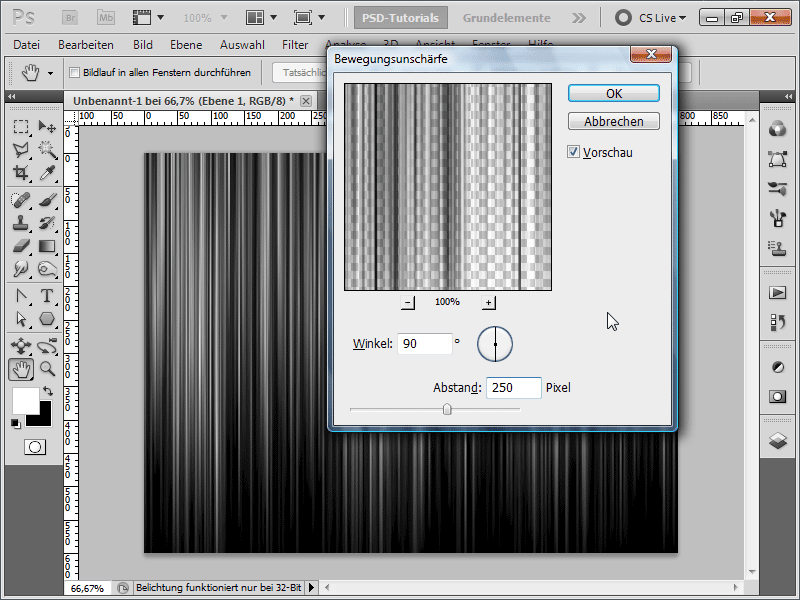
Step 10:
To add some color, I create a Gradient Fill Adjustment Layer.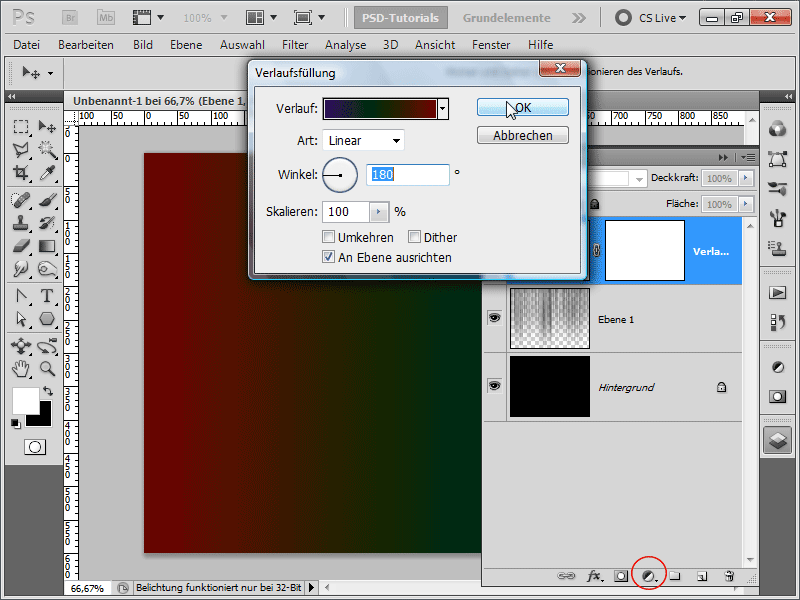
Step 11:
Now, I just need to set the Blending Mode to Lighten so that the colors affect the layers below.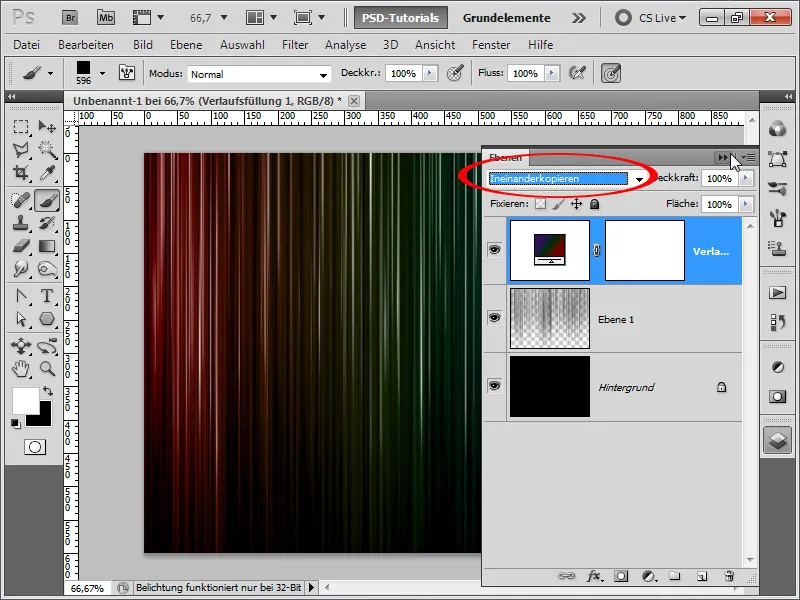
Step 12:
With a layer mask on my lines, I can use a large soft brush to slightly fade out the lower areas.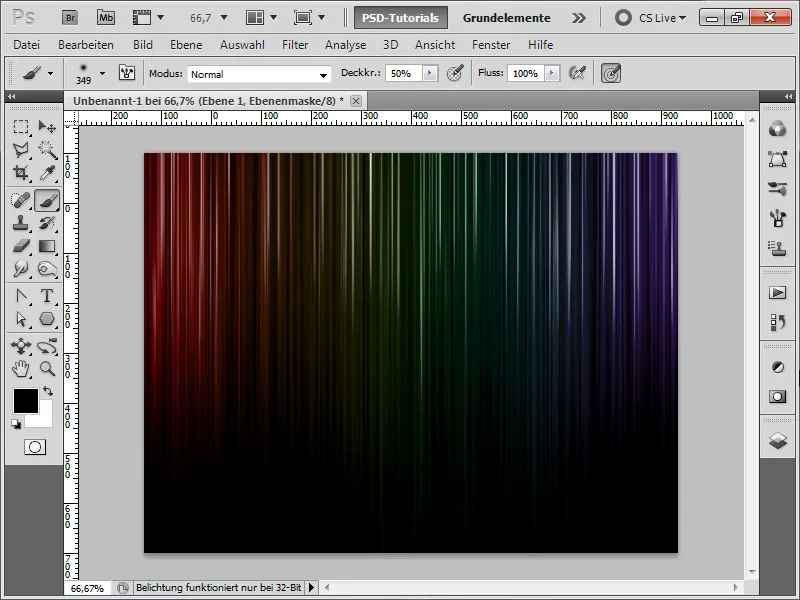
Step 13:
To make the colors shine a bit more, I create another Curves Adjustment Layer.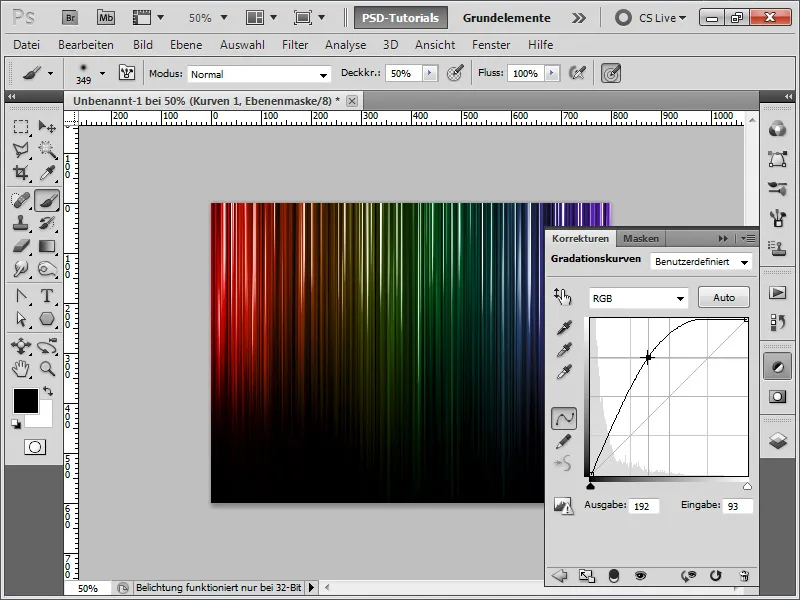
Step 14:
In the Curves Adjustment Layer, I can of course exclude certain areas from brightening in the mask again by painting with a soft black brush at 50% opacity, for example.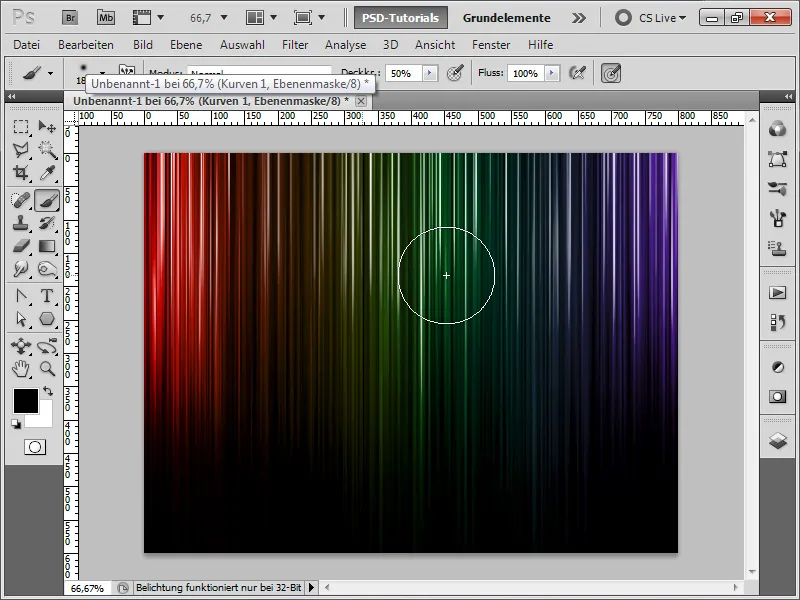
Step 15:
However, since I'm not satisfied with this effect yet, I quickly put together a star brush. For this, I create a new document and select the Polygon Lasso Tool with the following settings: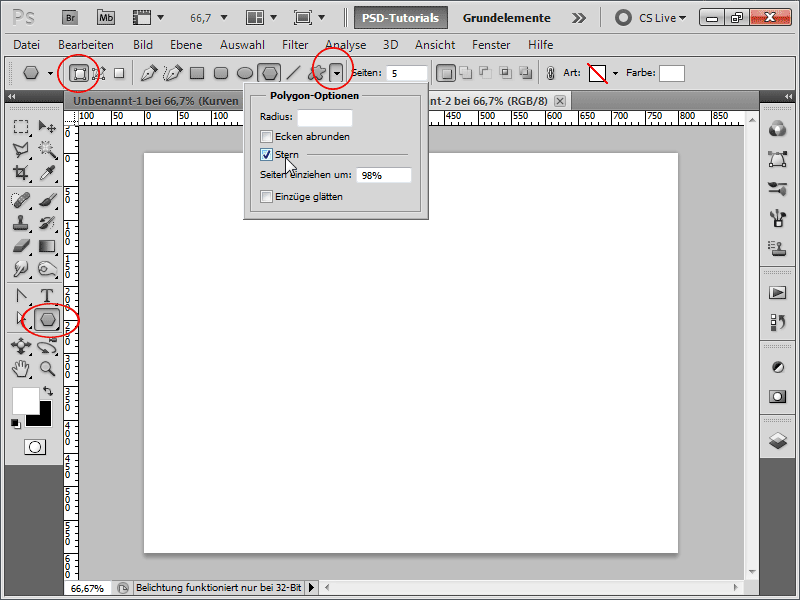
Step 16:
Now I drag two stars each (I can also move them with the spacebar during the dragging) and simply fill them in the middle on my background layer with a soft brush once with 50% opacity (in the end, I will show that it is even better to use even less opacity for the brush).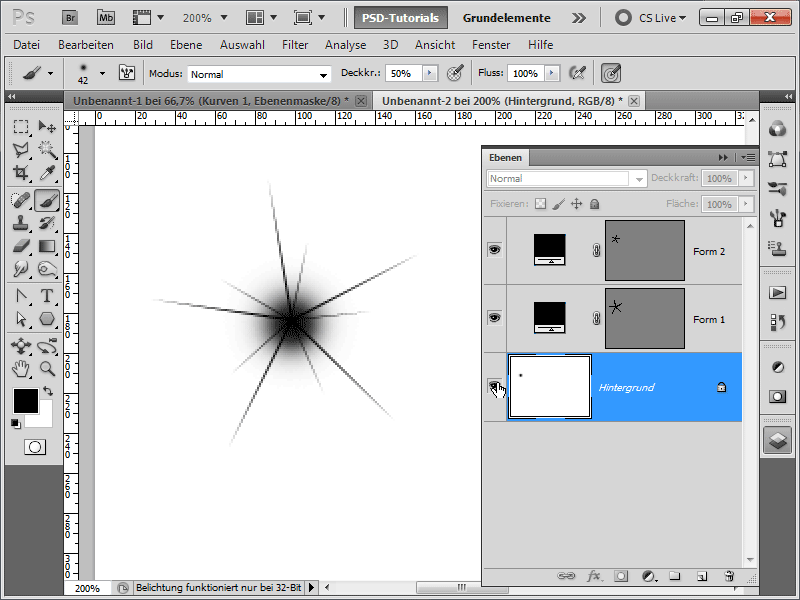
Step 17:
In order to blend the lines at the end, I need to create a layer mask for each star and fill it accordingly with a radial gradient.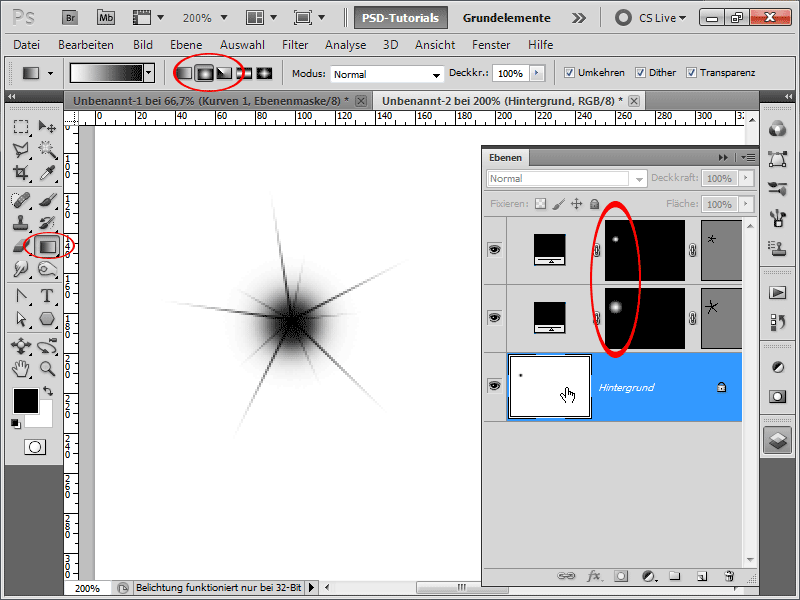
Step 18:
Next, I select the star with my selection tool and save it as a brush. Then I go back to my image, grab my brush, and increase the spacing in the brush panel (F5).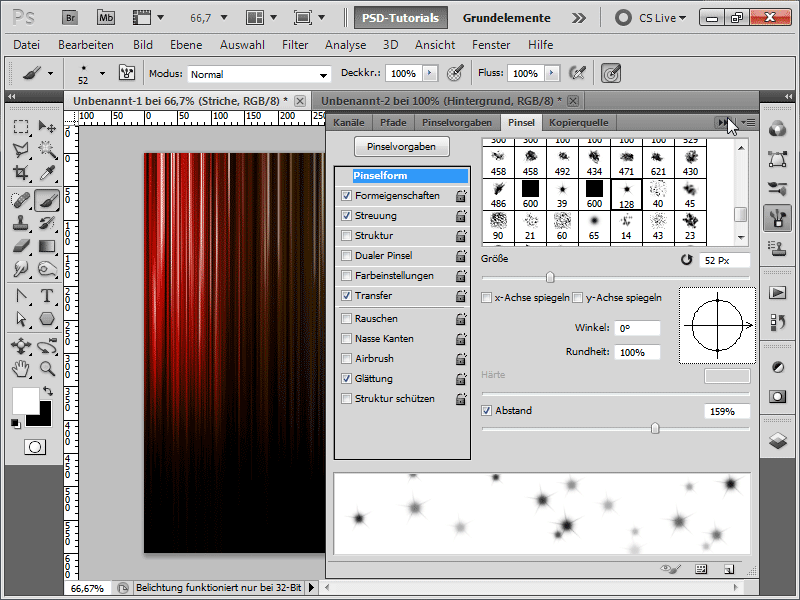
Step 19:
The scatter also needs to be increased by some values.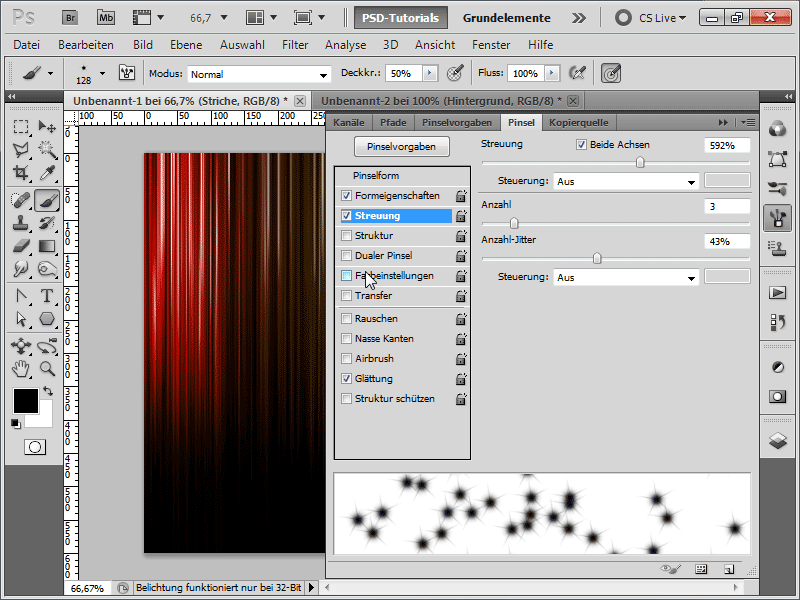
Step 20:
I can activate the transfer to subtly fade out some stars.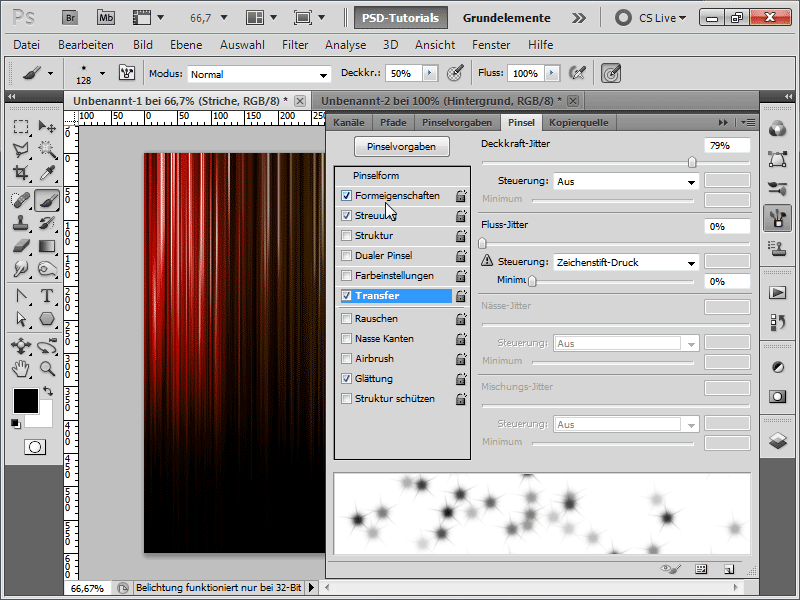
Step 21:
If I want some stars to be larger than others, I need to define that in the shape properties.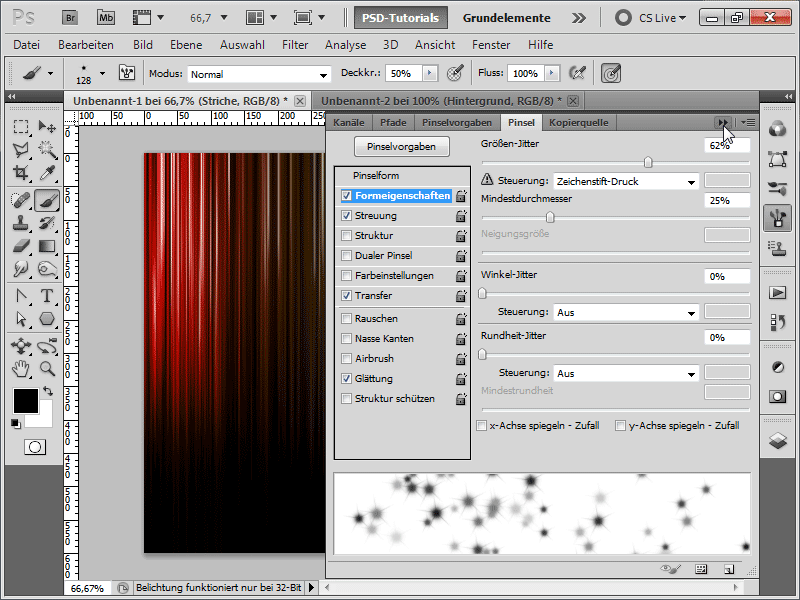
Step 22:
By positioning the stars now below the gradient adjustment layer in my new star layer, which I must create beforehand, the colors of the stars adjust accordingly.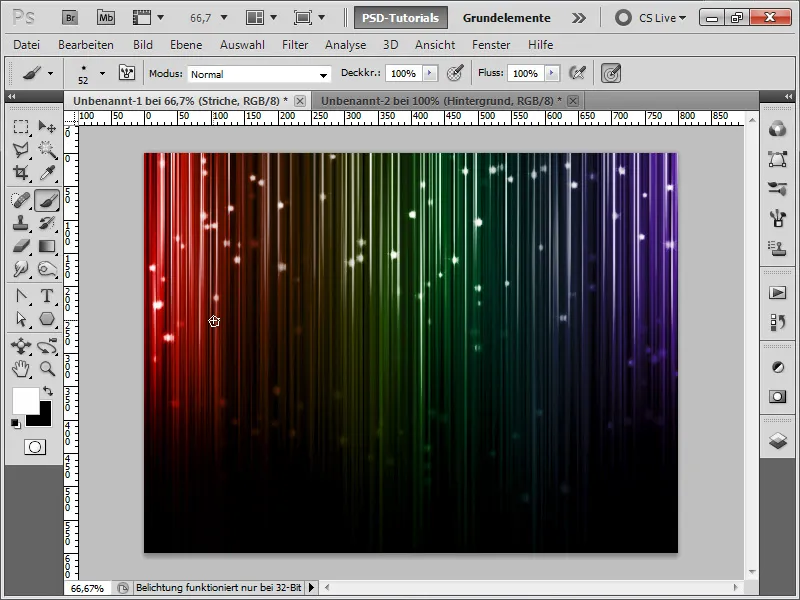
Step 23:
I can of course shorten the brush tip, then the stars will look almost like glowing snowflakes: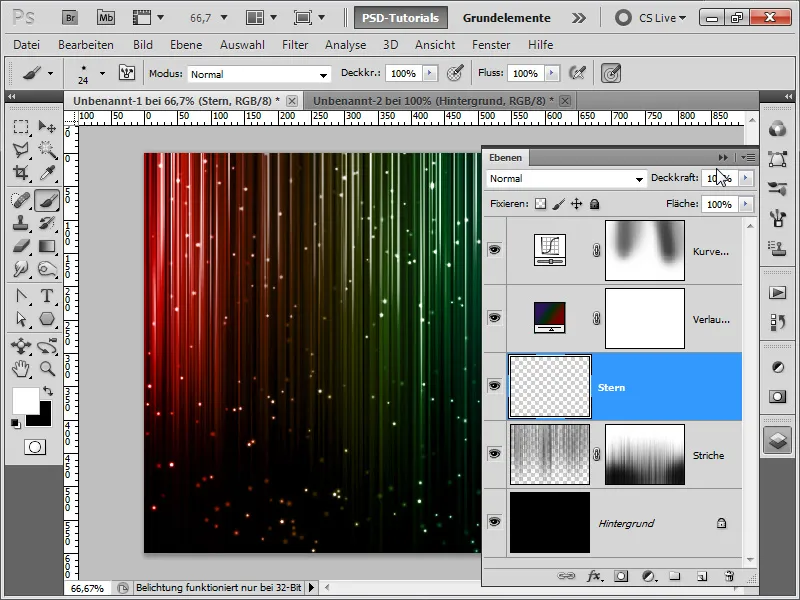
Step 24:
I can also give this layer a layer mask and fade out the stars slightly at the bottom.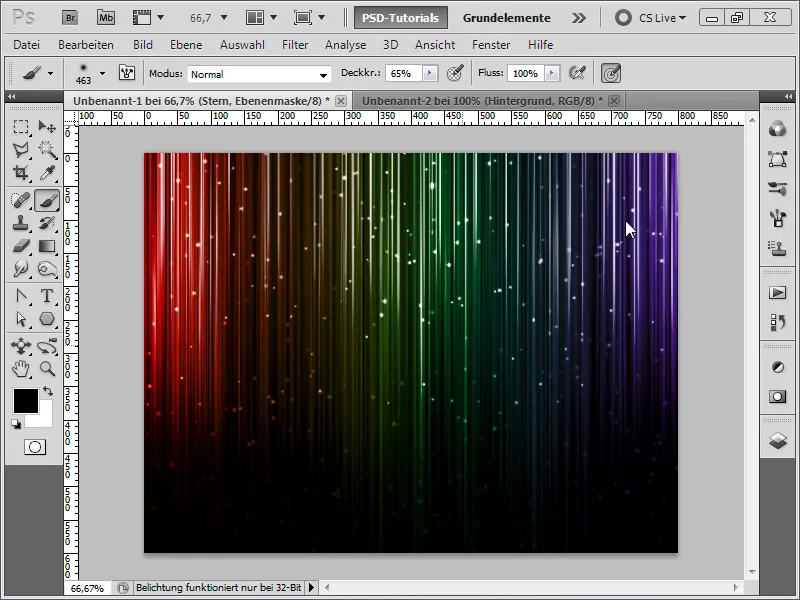
Step 25:
Ok, now it gets tricky: I could also have simply used the Photoshop 'Explosion - small' brush to achieve a similar star effect. If it is not listed for you, simply reload it in the brush library.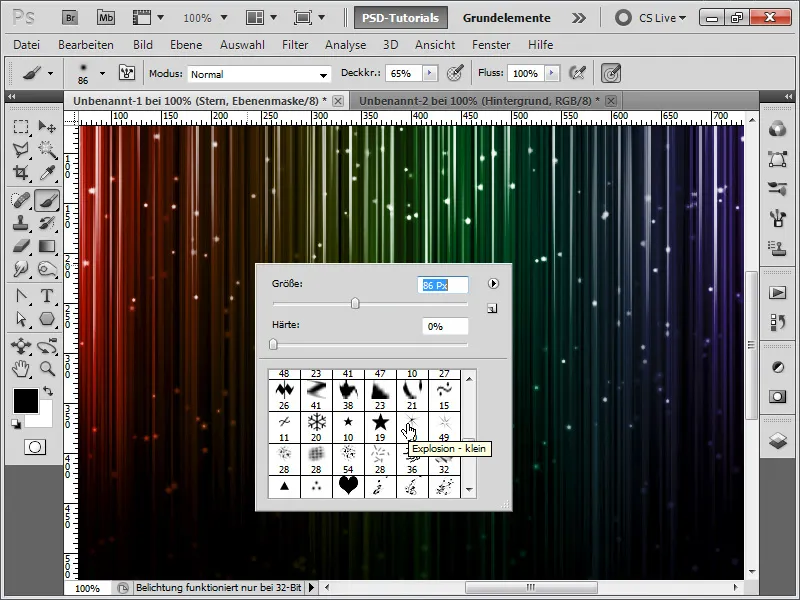
Step 26:
The result, after increasing the spacing significantly in the brush panel and activating the scatter, looks like this: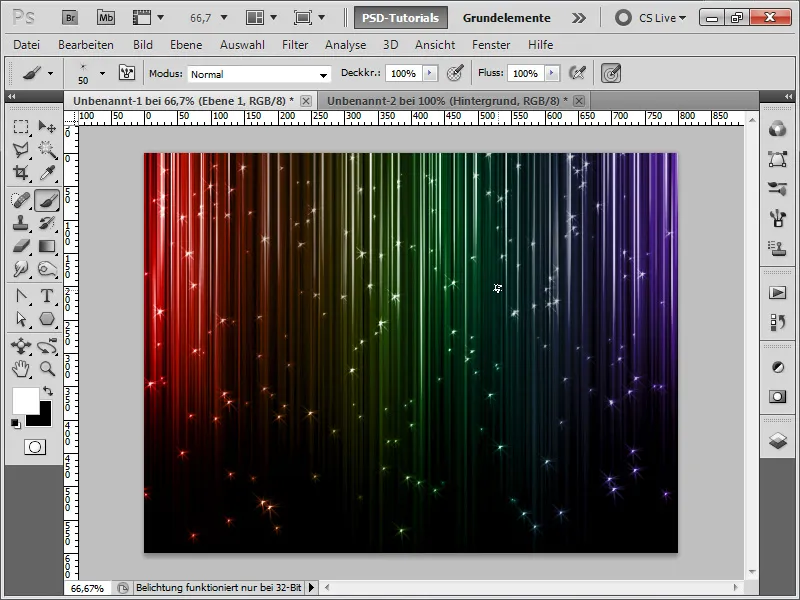
Step 27:
To add a nice star text, all I need to do is write some text and then right-click on create work path.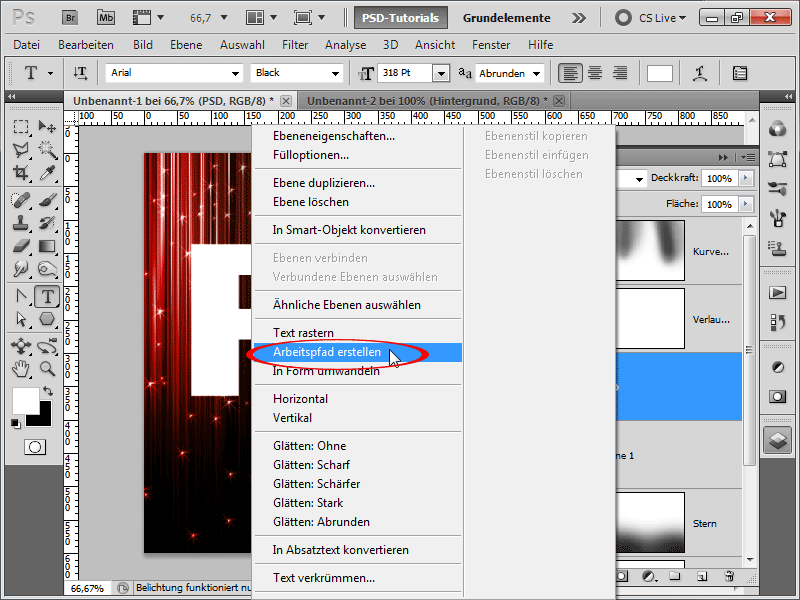
Step 28:
Now quickly open my paths panel and right-click on fill path stroke. However, before that, I should have my brush set in the brush panel so that there is minimal to no scatter activated and the spacing is at 50 - 100%.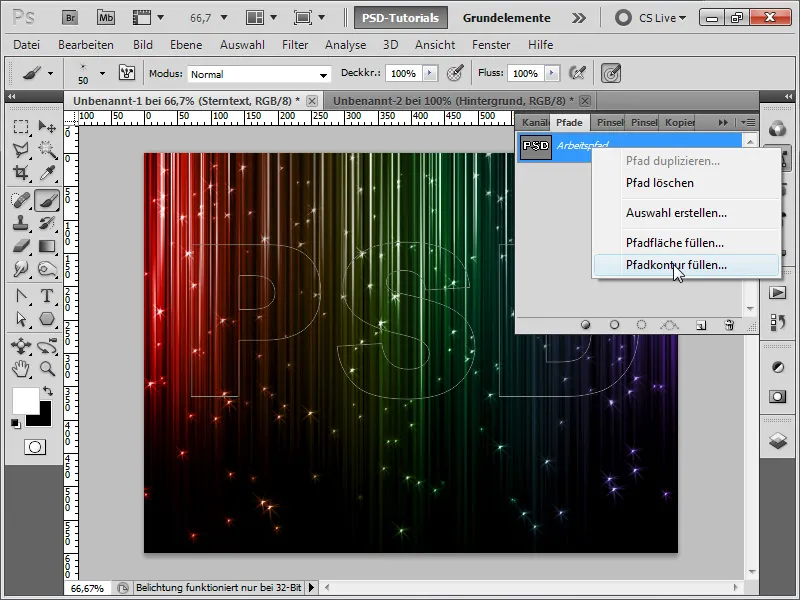
Step 29:
After deleting the path, my result looks like this: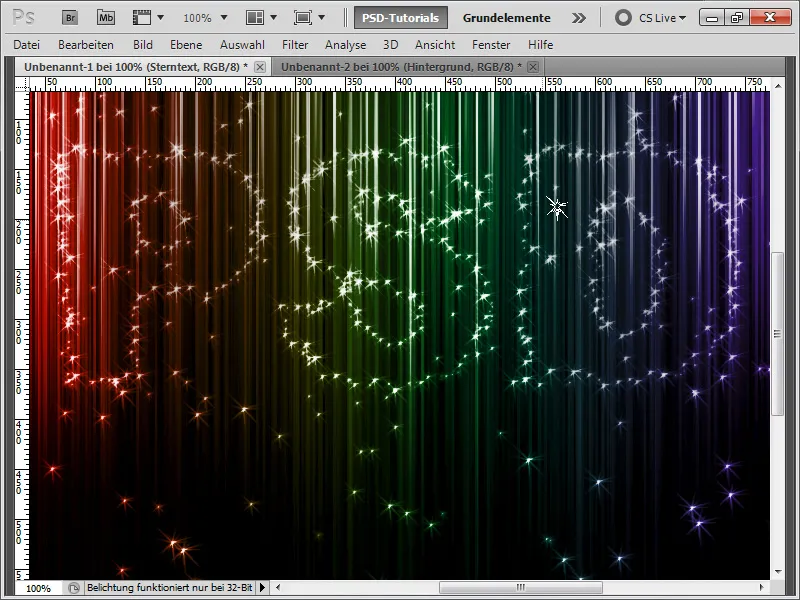
Step 30:
If I display my previously hidden text layer again and set it to about 15% opacity, it looks like this: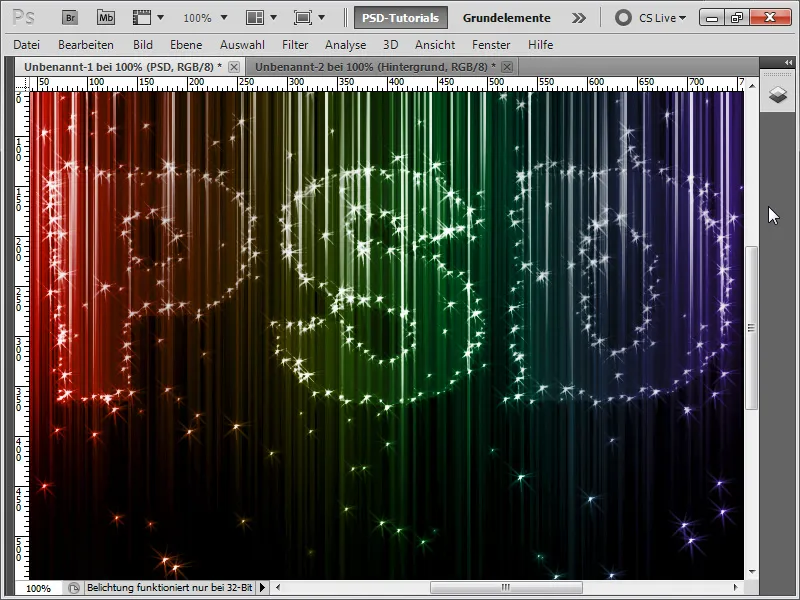
Step 31:
But I refuse to be told that my self-made brushes can't keep up with Adobe's. That's why I quickly go into my brush document, color the background layer white again, and click once in the middle with a brush at only 10% opacity, so that there will hardly be any light visible in the center. Now I save the brush again.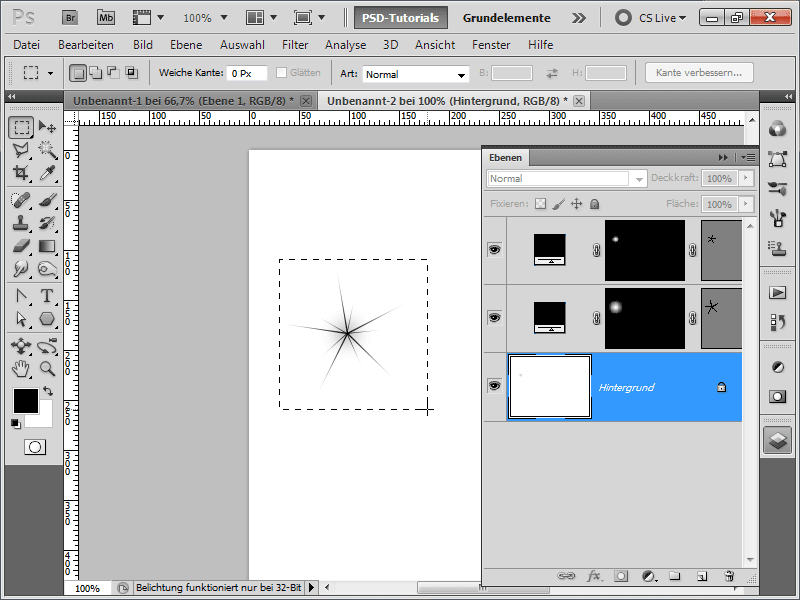
Step 32:
Then create a work path from my text layer and fill the contour with my new brush. Now quickly create a selection by clicking with the Ctrl key on my text layer and only paint inside it with a small brush tip. And this is what the result looks like: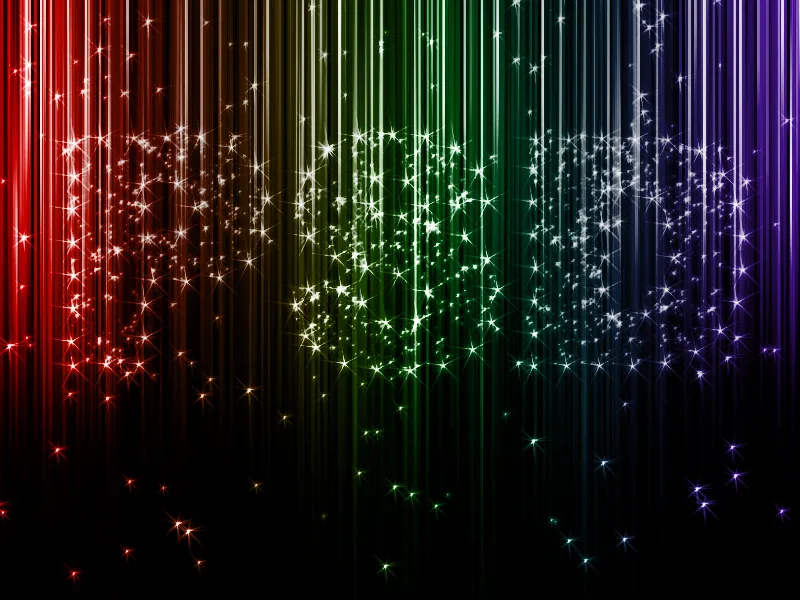
Step 33:
The whole thing looks pretty cool even without the stripes: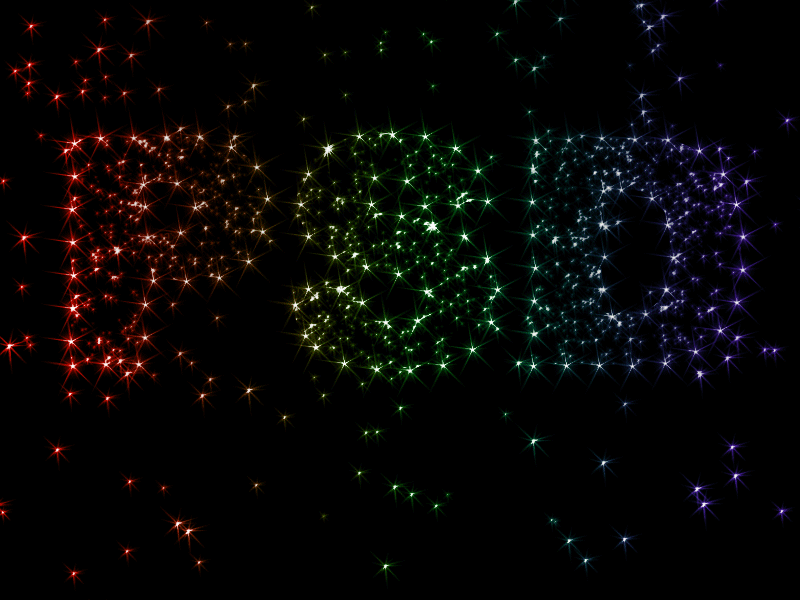
I have added my star and line brushes as working files.


