In this tutorial, I would like to show you how to place information that should not be printed at all, such as image source information. InDesign offers some great functions for this and I would like to give you a brief overview of how to put this information into the document in a meaningful way.
Variant 1: Attributes
As an example, I'll create a text box and write the image source information in it. Of course, this should not be printed.
I select the text box and go to Window>Output>Attributes. There I check the box for Not printing. At first nothing happens, ...
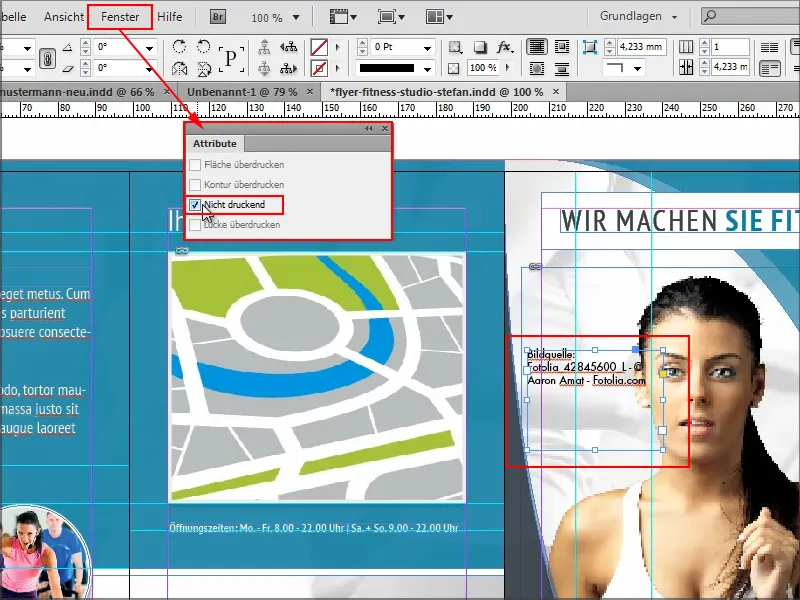
... but when I click into the preview, the text box is hidden.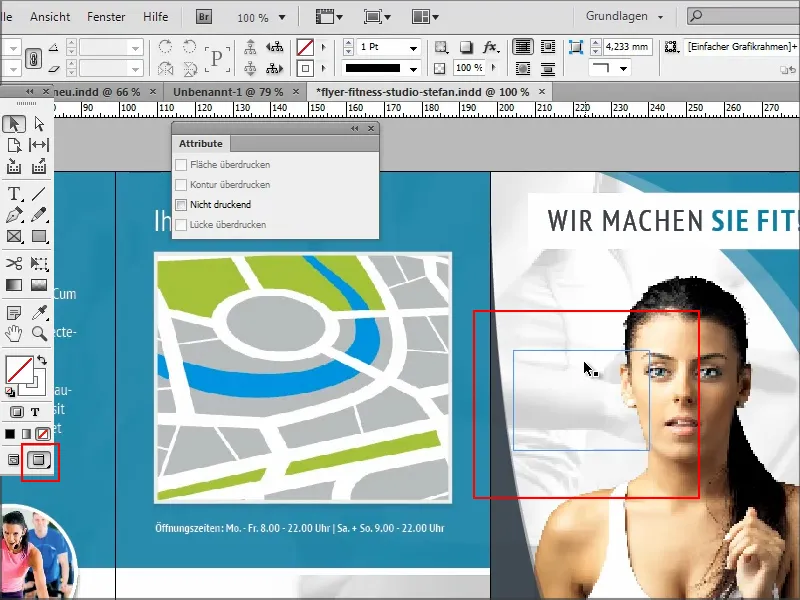
Variant 2: Export
In the same way, the text field does not appear in the print file if I go to File>Export and do not check the Include and Non-printing objects boxes. Then I click on Export.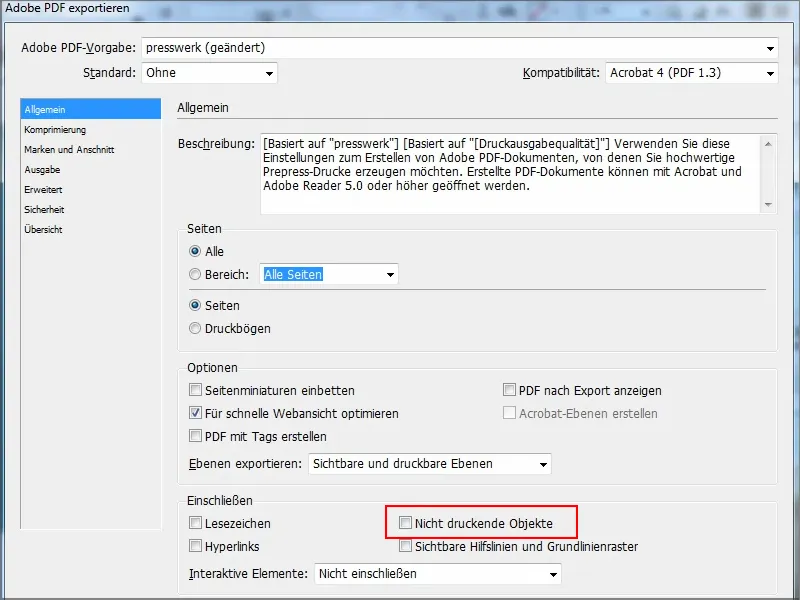
When I then open the document, the image source is not visible.
To illustrate this, I'll show you the opposite example: If I check the box for Non-printing objects under File>Export, the text box is also exported.
And I also specify here that the print sheets should also be exported, then I have the right view for me.
And indeed, the image source is also visible..webp?tutkfid=85269)
This is a good way of packaging such information.
Variant 3: Layer
The problem is, however, that if you often go into preview mode, you don't always see this.
Perhaps it would be practical to go into the layers and create a new layer for this. I call it "Not printable", for example.
I can also give the layer an extra color. Red is quite good, for example.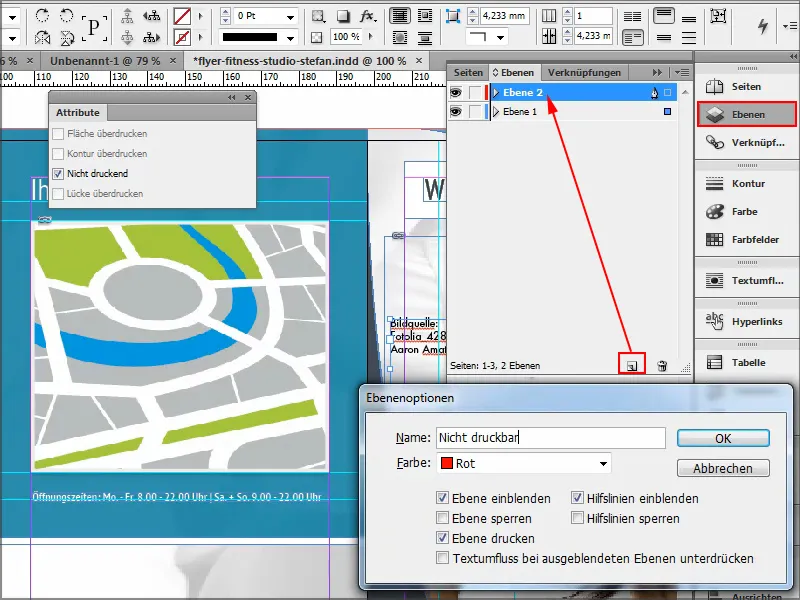
And if I move the "Image source F...45600L-..." element from "Layer 1" to the "Non-printable" layer, then I no longer need to check the Attribute and Non-printing boxes. Because ...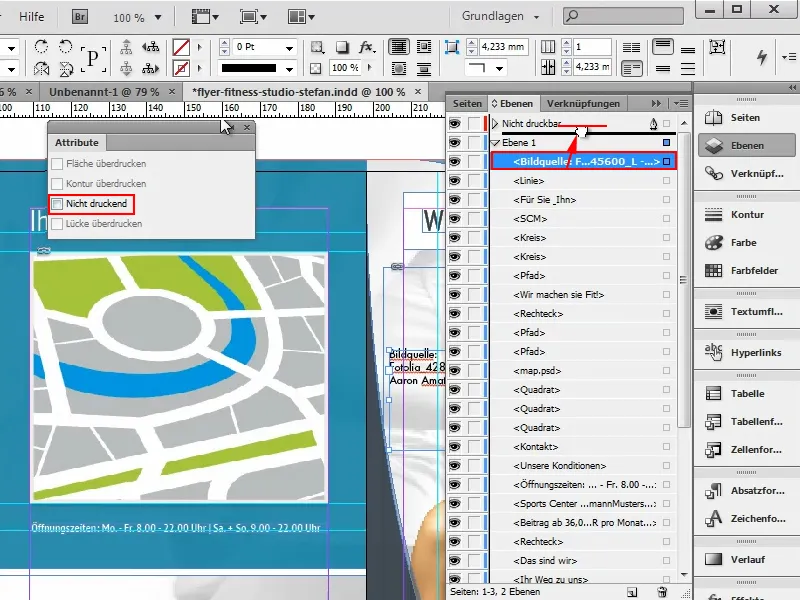
... I can make it easier for myself. Let me go into preview modeso that you can see this clearly. You can see that the text box is currently being printed.
Double-clicking on the layer takes me to the layer options, where I can say that the elements in this layer should not be printed. All I have to do is uncheck the Print layer box.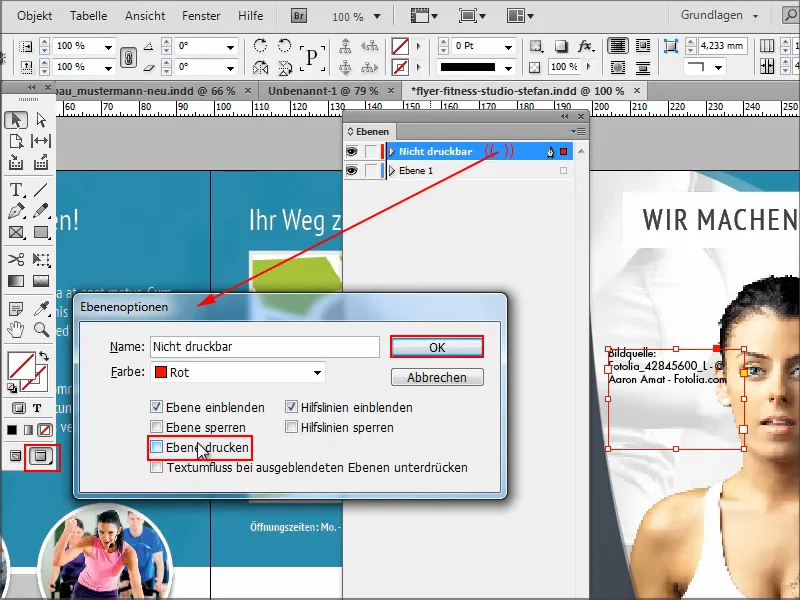
Then the text box is immediately hidden again in preview modeand shown in normal mode.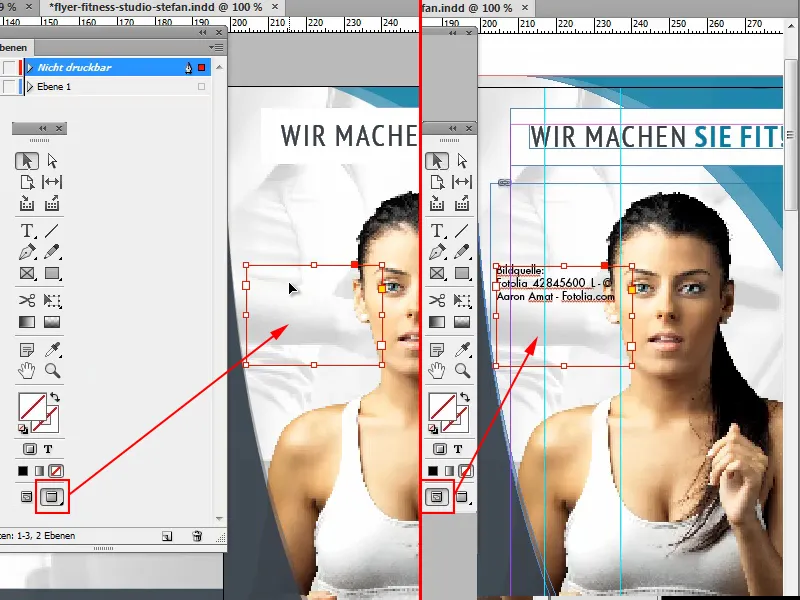
I actually prefer to work with this than with the Not printing attribute, as it gives me more control and you can see from the italics in the layer name that the layer will not be printed. The red frame around the text box also indicates that the layer is not printable.
It would be nice if there was a symbol for this - similar to the little lock on the frame that appears when I have locked an object (right mouse click on the object, lock object). A crossed-out printer, for example, would be very practical.
But since that doesn't exist, you have to make do by creating a new layer, removing the Print layer option and then marking it with a color.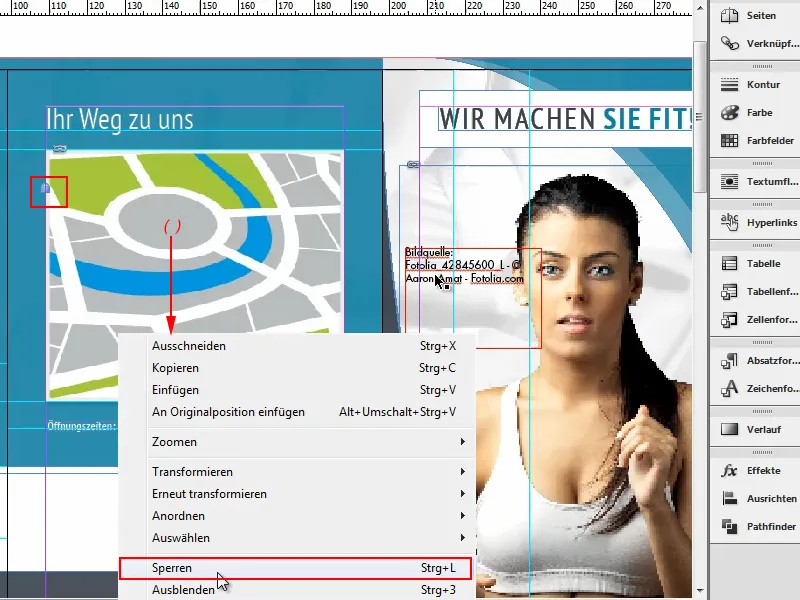
A little tip in passing for the locked layers:
If you want to unlock the layer again, a) remove the lock from the layer in the layer control panel or b) click on the lock in the frame directly in the layer.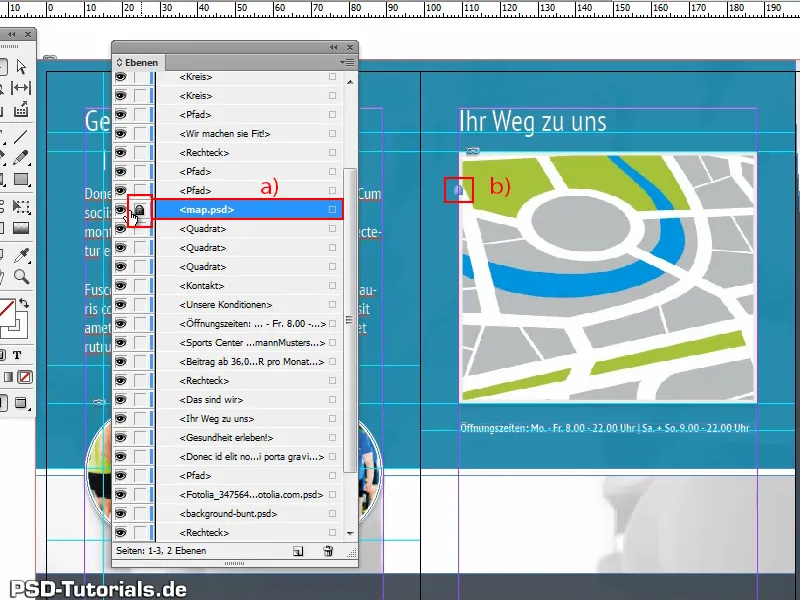
Variant 4: Info area
Another option for placing information without printing it is the info area. This is super practical.
If I create a new document via File and click on More options, I can enter an info area in millimetres at the bottom. I simply do this and activate the chain on the far right so that the value entered (30mm) is the same on all sides.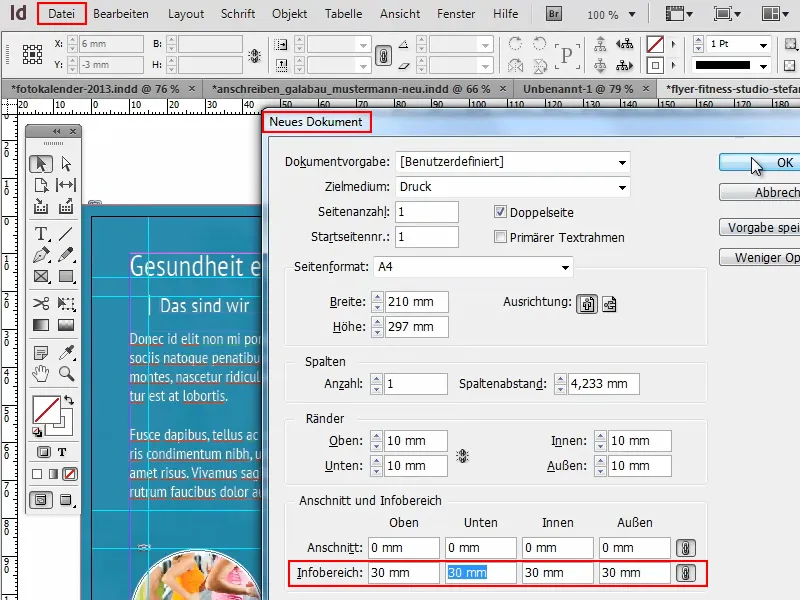
The info area is now displayed here with the blue line and I can place information there that I don't want to be printed..webp?tutkfid=85277)
Of course, I can also do this with an existing document by going to File>Document Setup and specifying the info area at the bottom, e.g. 20 mm.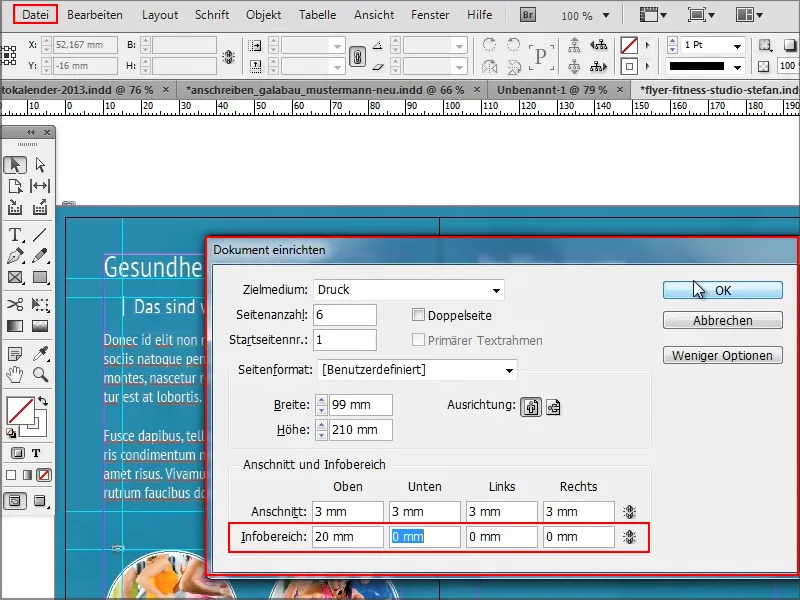
Then I have the info area at the top and can move the image source information into it. Then it no longer interferes.
With F7 I go back to the layer control paneland to the layer options of the "Not printable" layer. There I check the box next to Print layer again.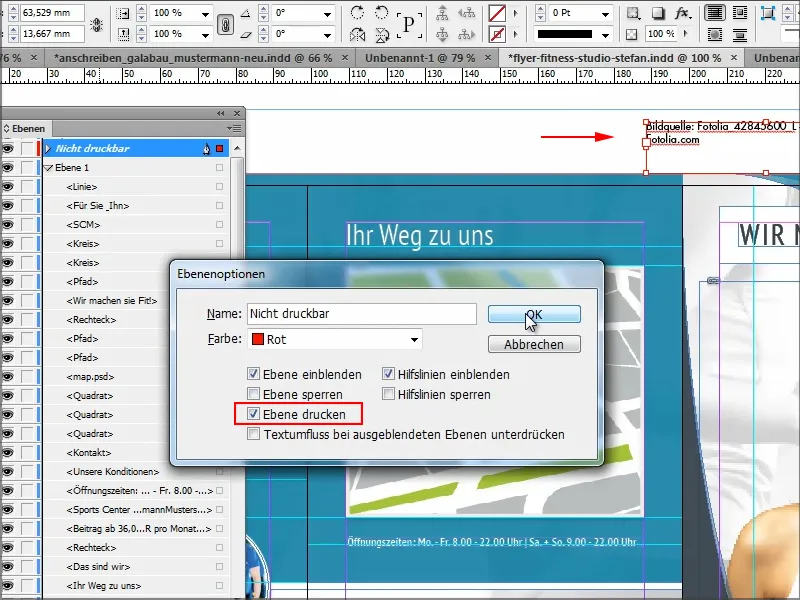
If I now want the info area to be output in the PDF file, I have to check Include info area in the Marks and bleed area under File>Export.
Then I click on Export.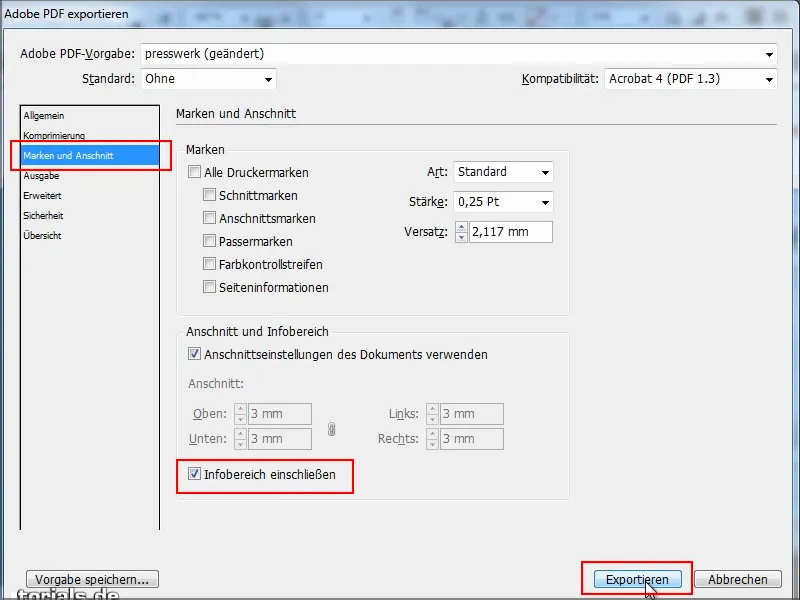
The PDF file appears immediately and then you can see the info area at the top where I have entered something. This is also output.
Only the upper area was output here because I defined it that way when I created it. If I also wanted to have a 20 mm area on the right, I could still enter that.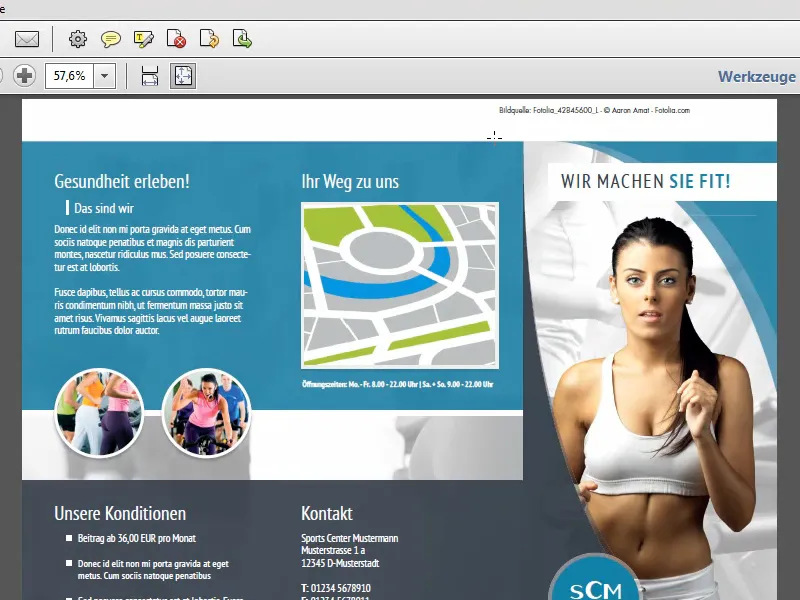
If I only want this information in the info area to be visible to me in the document, but not when exporting, then I simply remove the tick next to Marks and bleed and it is not output.
Variant 5: Notes
You can also do this in a completely different way. For example, with notes, as you may be familiar with from Photoshop. How do you do that?
I go to Window>Relational Tasks>Notes and get a note field in which I can enter notes.
It is important that before I enter a note, I first double-click on the place in the document to which the note belongs. So I click on the heading and then click on the Create new note icon.
And then I can say "Image source..."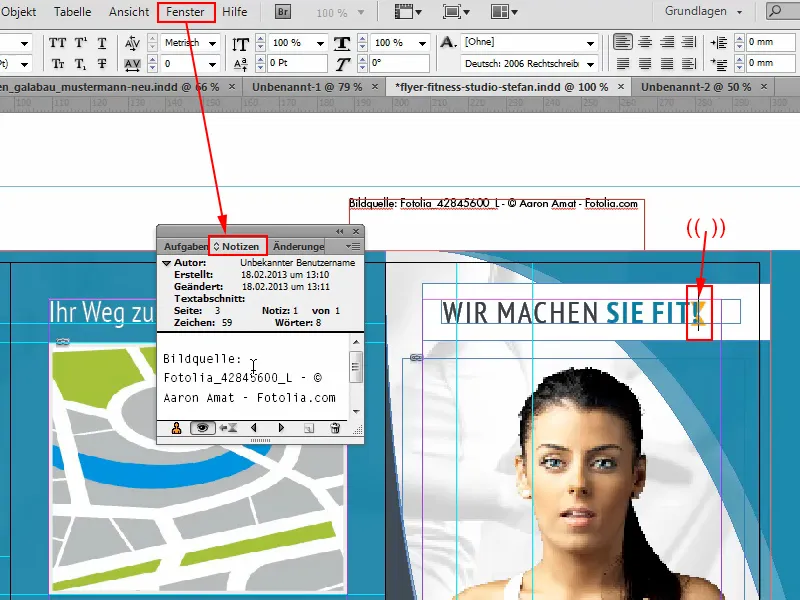
I can then close the note field again. You can't see anything of the note in the preview viewuntil I go back to the normal view.
If I double-click on the heading in the normal view, the mouse pointer changes to a hand and the note appears.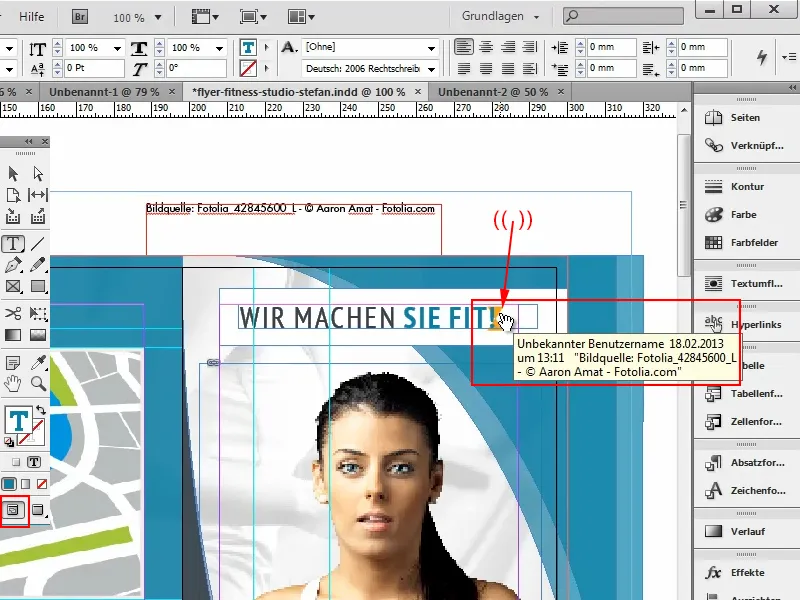
If I want to change the note, I double-click and the note field opens. I can then change or delete the note. Or even, if I click on the small menu at the top right, convert the note to text. It is then immediately created as text.
Notes are not printed out under any circumstances, they are really only used to store notes.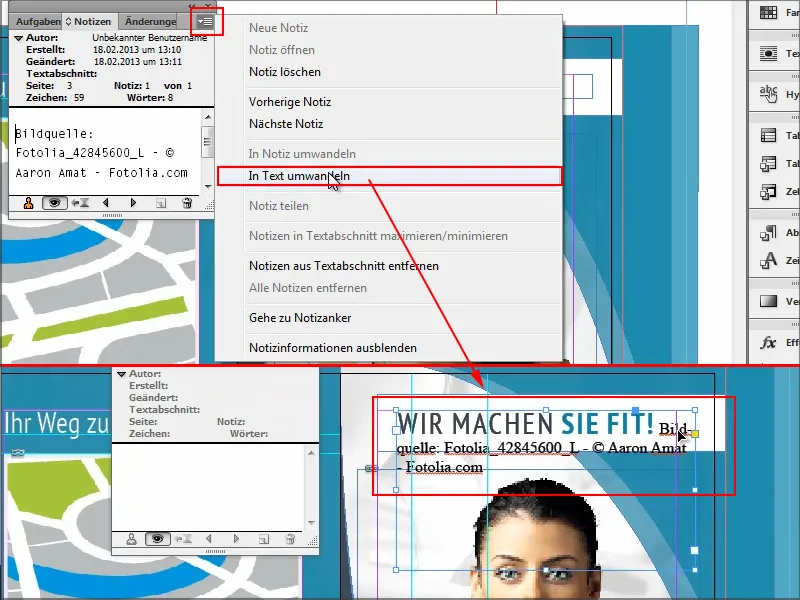
However, I undo this here with Ctrl+Z, because of course it doesn't look good.
Variant 6: File information
The very last option for adding information can be found under File>File information.
I could also enter such things there. I have a lot of tabs here that can be filled in.
I go into the descriptions and there I could, for example, enter the image source under Copyright information. Confirm with OK and then it's directly in the document.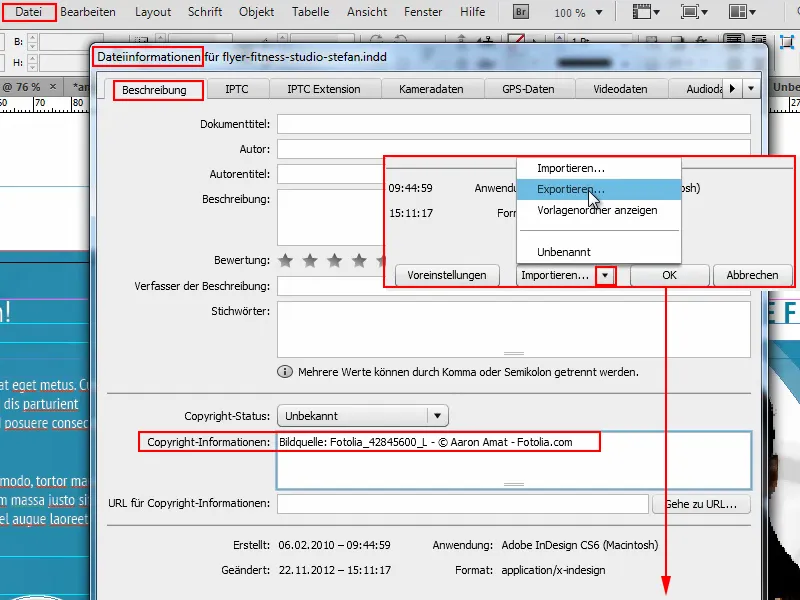
The disadvantage here is that I always have to go to File>File information to see what is stored.
Of course, if you always have the same information, you can import or export it straight away. As you like.


