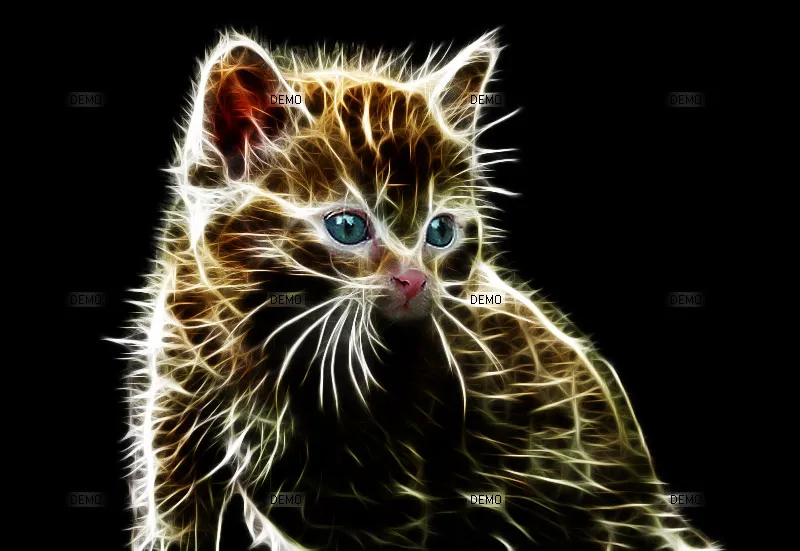
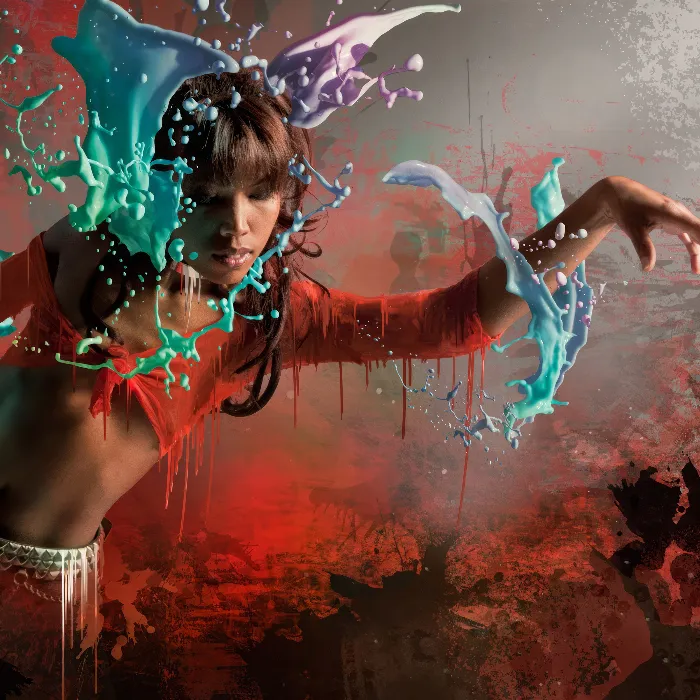
A fractal sphere effect combines mathematical precision with artistic dynamism, creating fascinating organic patterns. With Photoshop and suitable plug-ins, you can create this effect and design impressive spherical designs - perfect for digital artworks, posters, or animations. In this tutorial, I will show you step by step how to create fractal patterns with plug-ins, transform them into spheres, and give your design an extraordinary touch. Let's get started and transform your creative world into spherical fractals!
Fractal sphere effect using plug-ins
Plug-ins: Nik Color Efex Pro 3.0 Complete Demo
Redfield Fractalius Demo
In this tutorial, I want to show you a way to achieve interesting light contour effects in Adobe Photoshop using optional plug-ins in a very simple manner.
This technique is especially suitable for detailed images. Basically, this technique represents the fastest way to create such effects in Adobe Photoshop. However, considerable time should be allocated to the preparation and post-processing - especially when detaching objects from the background using layer masks. 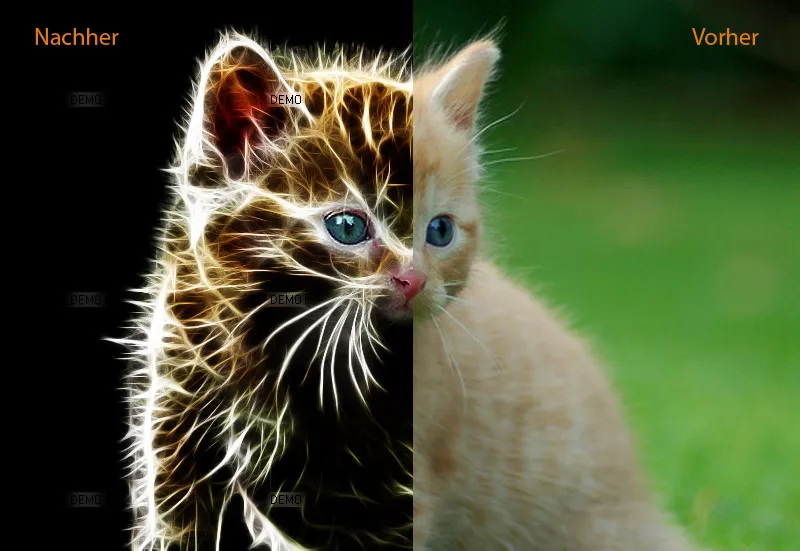
Step 1 - Open the image, sharpen
I open the already cut-out image in Adobe Photoshop and make some corrections first. This includes using the sharpening filter Smart Sharpen. With a strength of 67 and a small radius of about 0.8 - 1 pixel, as well as a corresponding threshold of around 0 - 15 levels, I sharpen the fur's structures. 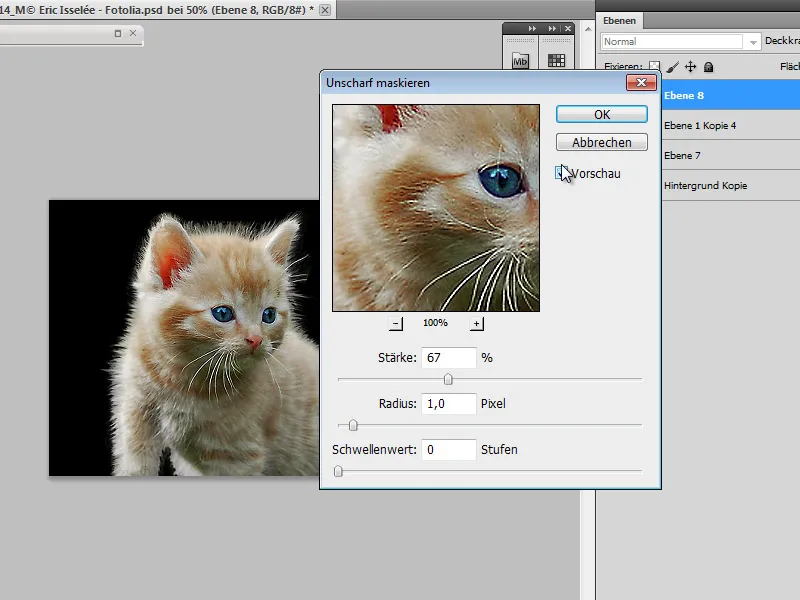
The Shadows and Highlights filter may also be applied according to the template. However, in my case, it was not necessary. I am rather cautious in the corrections made, as otherwise the contours - especially in the outer fur area - would fray too much.
Step 2 - Create a new layer, protect parts of the template from changes
Using the keyboard shortcut Ctrl+J, I create a copy of the layer. Now, to protect parts of the cat's face from changes, I select certain areas using the Rectangular Marquee tool. I select the eye and nose areas. With Ctrl+C and Ctrl+V, I copy this selection to a new layer. I now hide this layer; it will be needed later on. 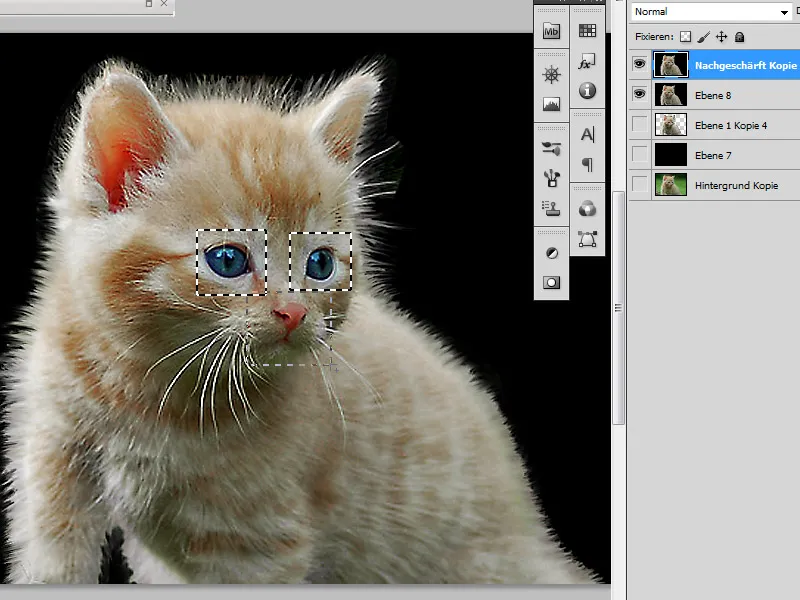
Step 3 - Apply Nik Filter "Tonal Contrast" to the image
I now apply the first filter to the freshly created copy of the sharpened layer. To do this, I launch the Nik Color Efex Pro 3.0 Complete Filter PlugIn located under Filter. Perhaps a program window is already on the working interface, allowing me to skip the menu route. I select the Tonal Contrast filter from the filter menu. In the window that now appears, I can modify the subject using the sliders to extract optimal contrast from the template.
For the source image used, I now determine by "experimenting" the optimal values for the sliders: Highlights, Midtones, Shadows, and Saturation. 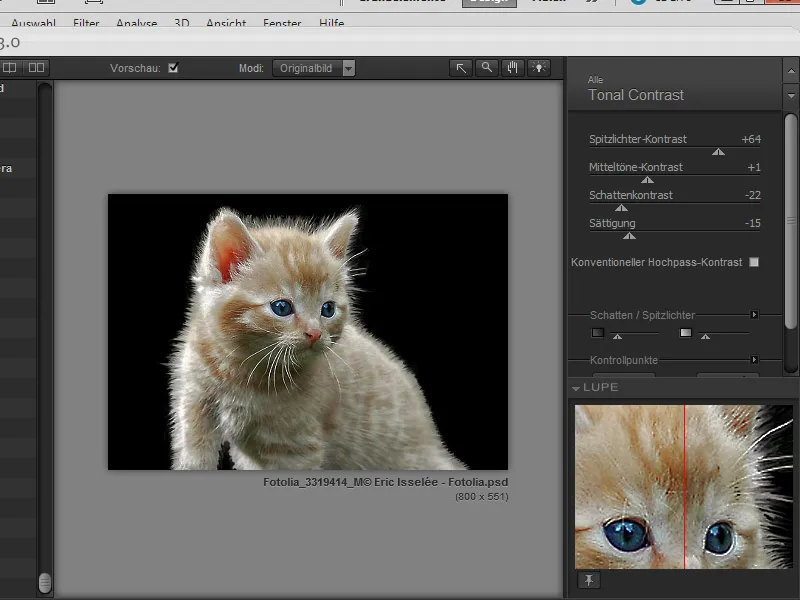
After confirming the settings, this filter creates a new layer in the layers palette. I can now, if desired, rename it accordingly. In my case, I name this layer "Cat 2".
Step 4 - Creating additional layers, using the fractal filter
Now that I have determined and set the optimal contrast of the image, I proceed to use the Redfield Fractalius filter. However, first, I create 3 layer copies of "Cat 2" by pressing Ctrl+J three times. For better orientation, I rename these layers to "Filter 1", "Filter 2", and "Filter 3". I require 3 layers to achieve the intended appearance through layer blending and using masks.
I temporarily hide layers "Filter 2" (blending mode: Multiply) and "Filter 3" (blending mode: Intersect) in the layers palette by clicking on the eye symbol on the left side of the layers palette.
Now I apply the Fractalius filter to the filter layers with the following settings: 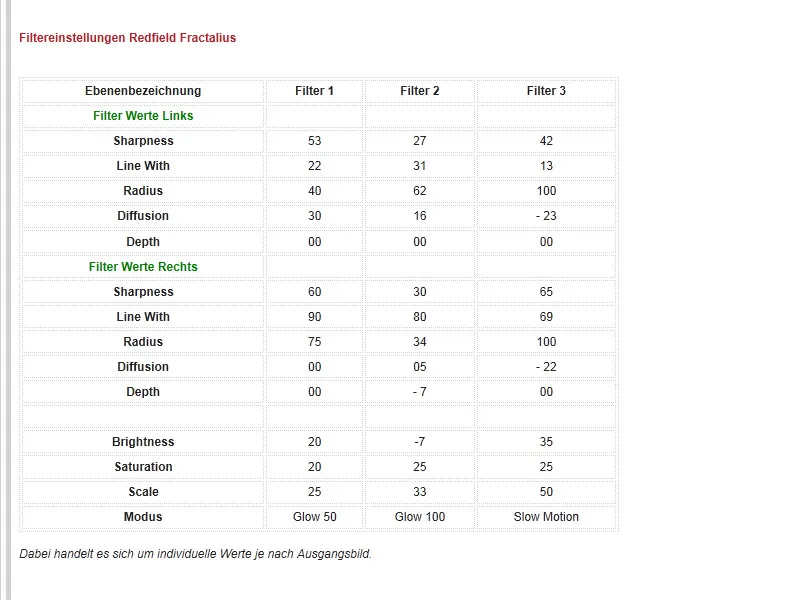
Filter Layer 1: 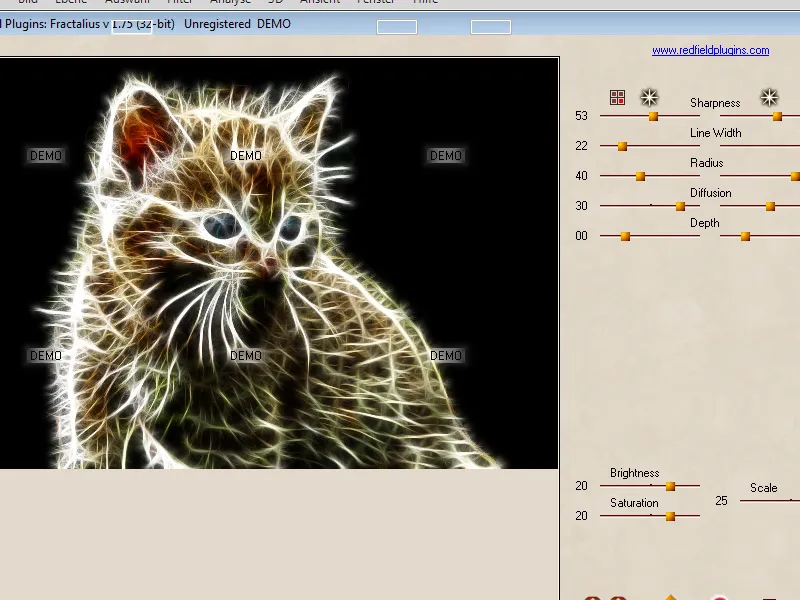
Filter Layer 2: 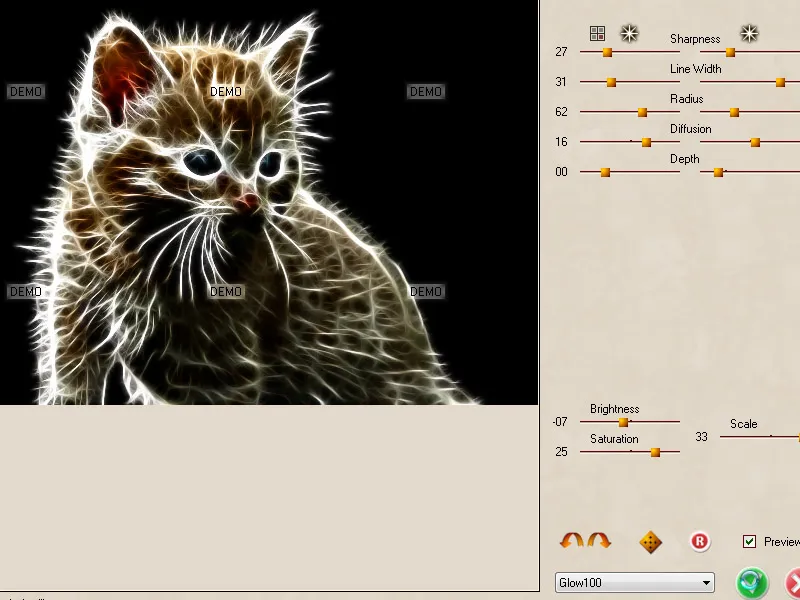
Filter Layer 3: 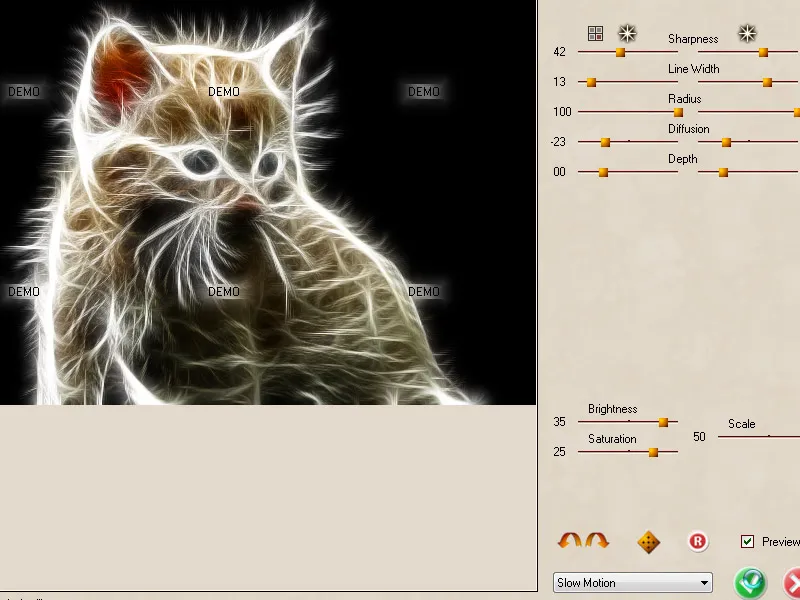
Step 5 - Layer mask
After giving the filter layers their preliminary appearance, I modify them using customized blending modes and layer masks.
Layer "Filter 2" is set to the Multiply mode and receives a layer mask. To view better, I hide layer "Filter 3". On this layer mask, I work with a soft brush and black foreground color to bring out some details from the layer underneath. I particularly pay attention to the areas of whiskers, eyes, and other details that give the image meaning. For better control over opacity and effectiveness, I optionally use a graphics tablet. 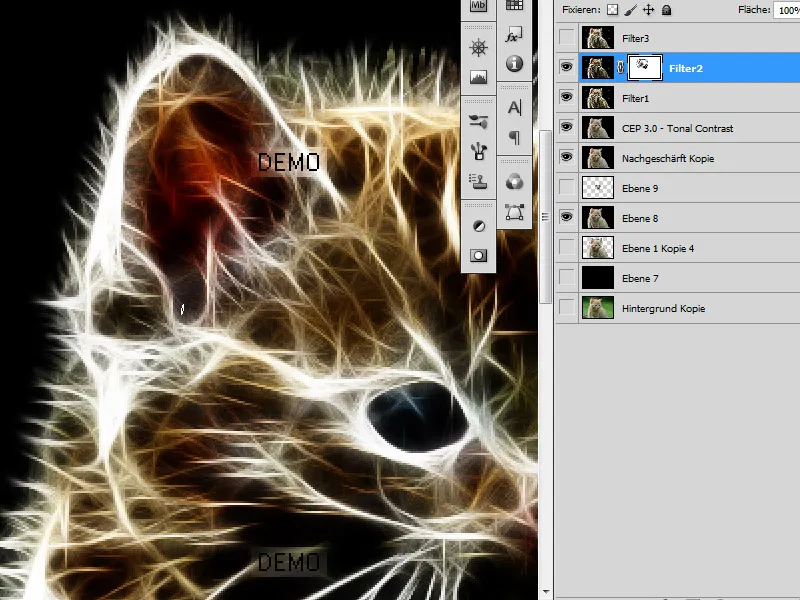
Step 6 - Opacity of Filter Layer 3
Now it's time to display layer "Filter 3". Initially, this layer is set to the Intersect mode and has a reduced opacity of about 60 - 80%. Optionally, a layer mask can also be assigned to this layer to reveal details from the underlying layers. 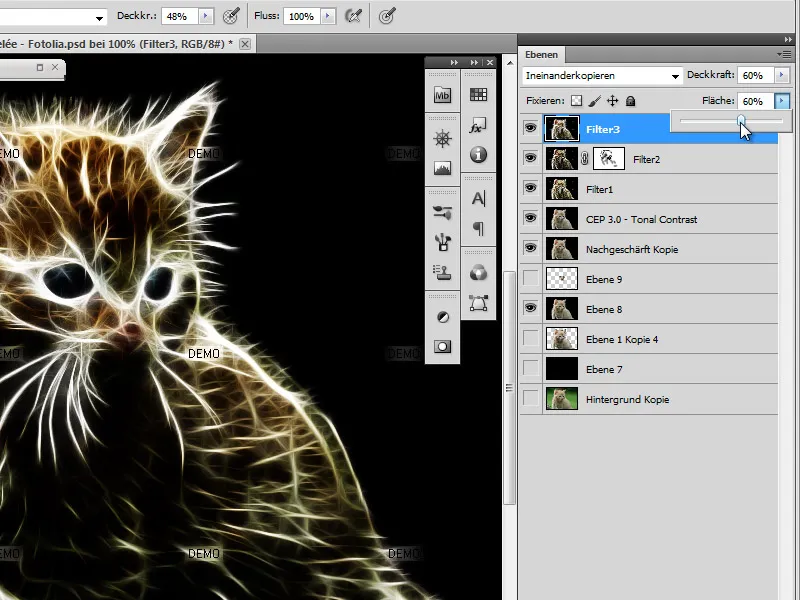
Step 7 - Merging layers and modifying tones
Basically, the effect is already complete with the step just completed. However, a better effect of shape and color can be achieved by making additional adjustments to Hue and Saturation via the Image>Adjustments menu. To do this, I reduce the yellow tones and adjust the Saturation according to my perception. 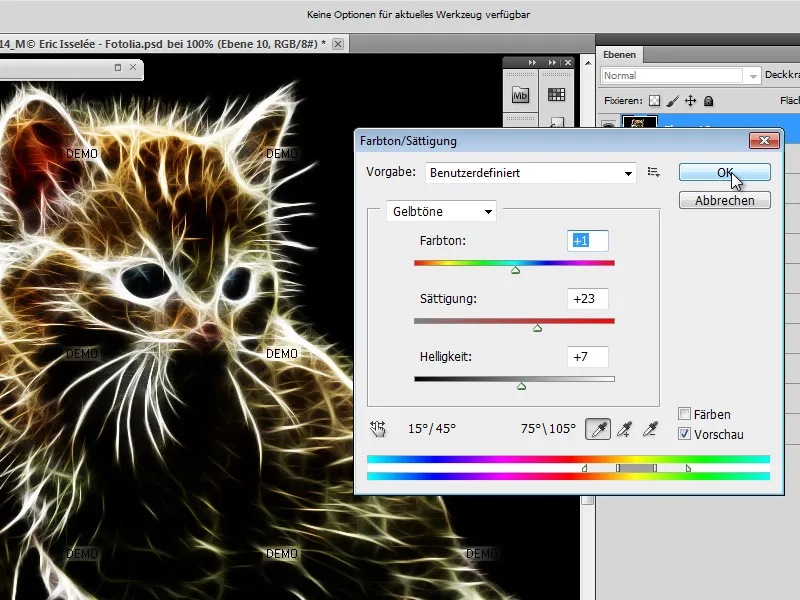
Step 8 - Display and post-processing of the eye copy
Initially, I had copied parts of the face to a separate layer and hidden it. Now, I bring this layer up in the layer stack and make it visible again. It receives a layer mask, on which I now retouch parts of the image with a soft, small brush and low opacity. I orient myself according to the glow contours. Sometimes, the color tone may not harmonize with the rest of the image, requiring additional adjustments. 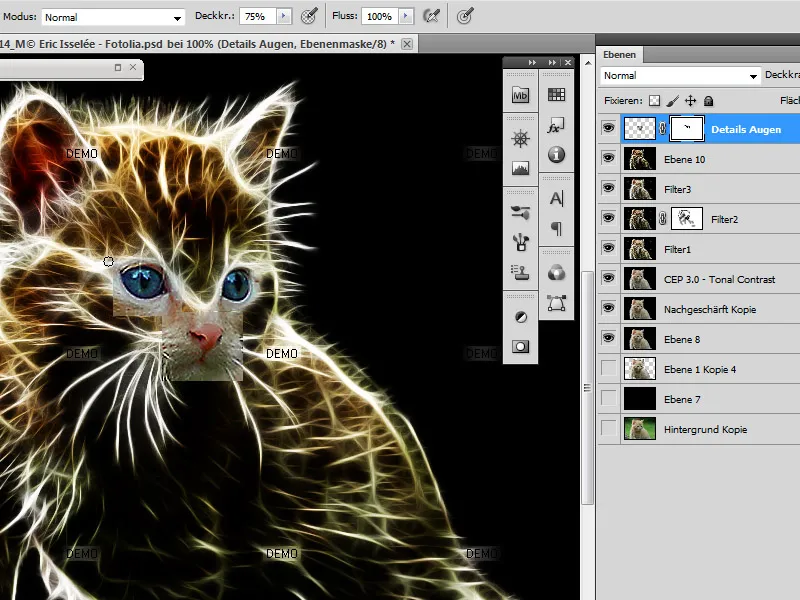
In most cases, increasing contrast and saturation via Levels Adjustment should suffice. 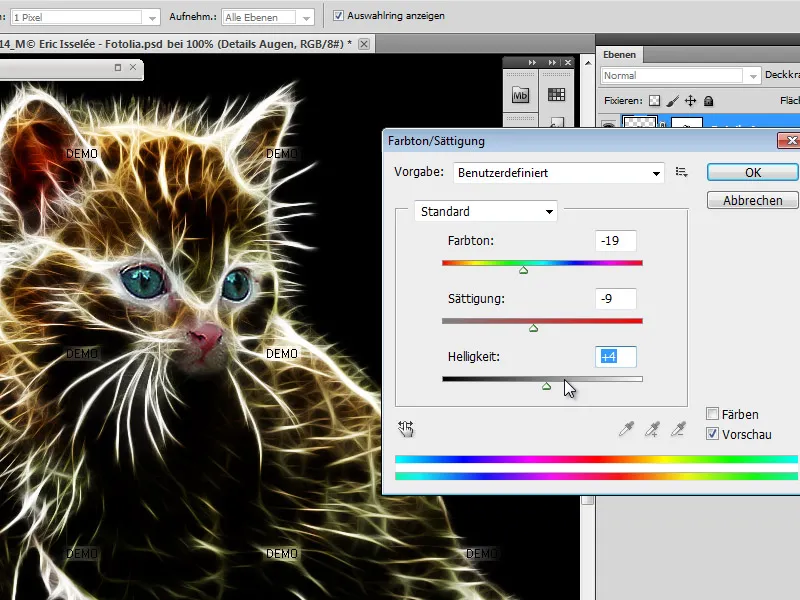
As a final touch, I focus on the eyes' shine; using a very small brush tip and low opacity, I deliberately add highlights to the pupils of my cat to enhance the gleam. 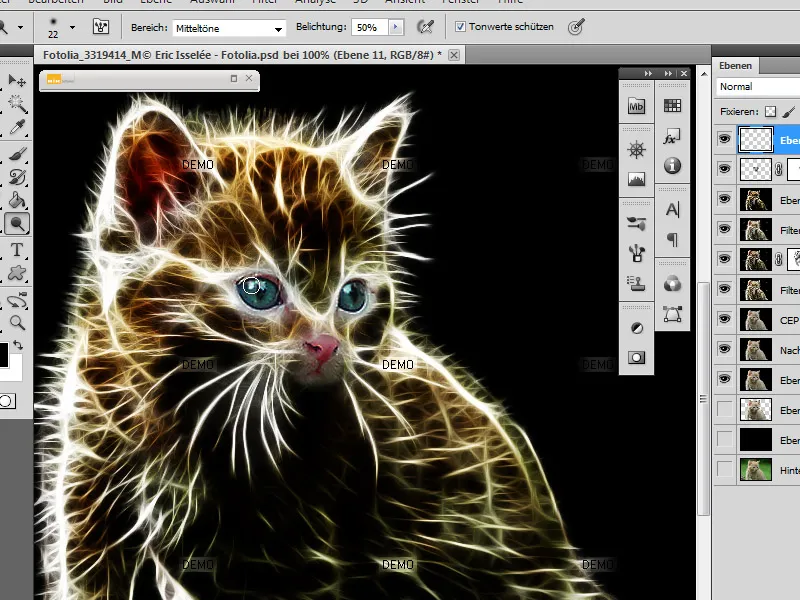
Optionally, by a further step on a new layer and with low opacity, areas that are too bright can be covered with black color.
Final Image: