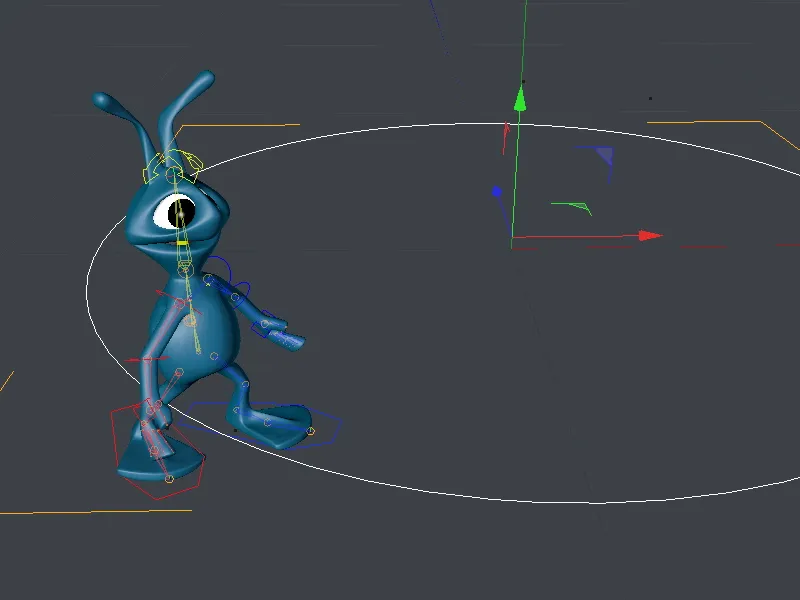
You can work through this tutorial directly after the rigging tutorial with the character templates. If you want to start at this point, you will find the final result of the rigging tutorial in the working file "PSD_C4D_R13_CMotion_Start.c4d", i.e. the starting point for this tutorial.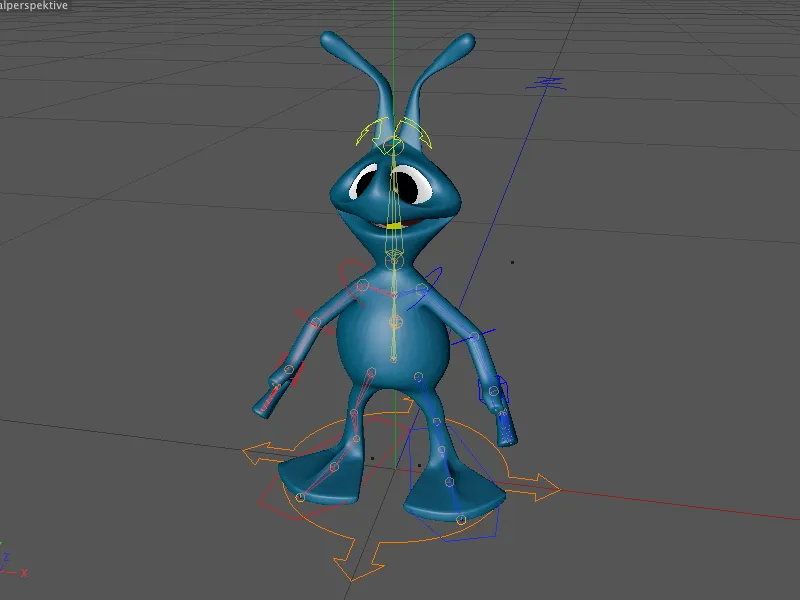
Creating the walk cycle
The new CMotion object makes it really easy to create a walkcycle for an existing character based on CINEMA 4D's character templates.
In the settings dialog of the character object, we need the animate mode on the object page. Here you will find the Create walk button, which generates a first walk cycle thanks to the character template used.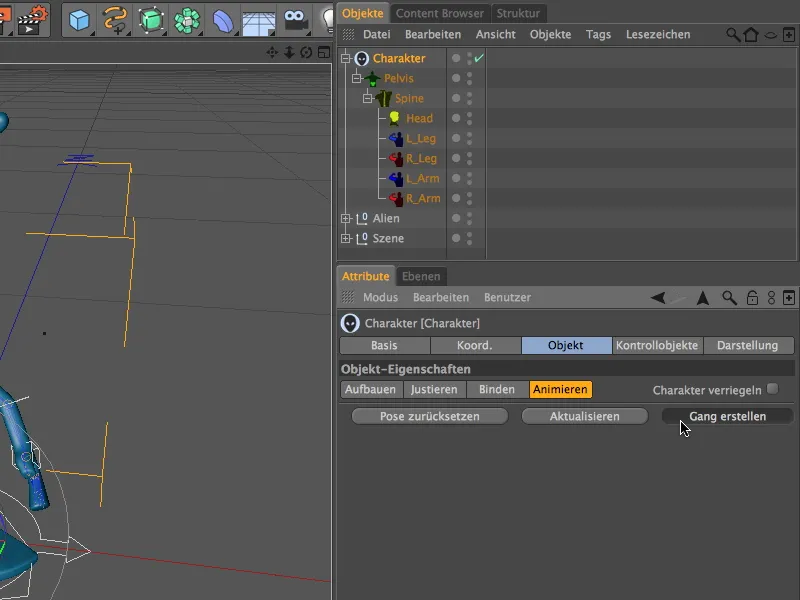
If you have been paying attention to the editor, you will have noticed that the legs of our alien have been slightly offset after clicking on the Create gait button. But much more has happened.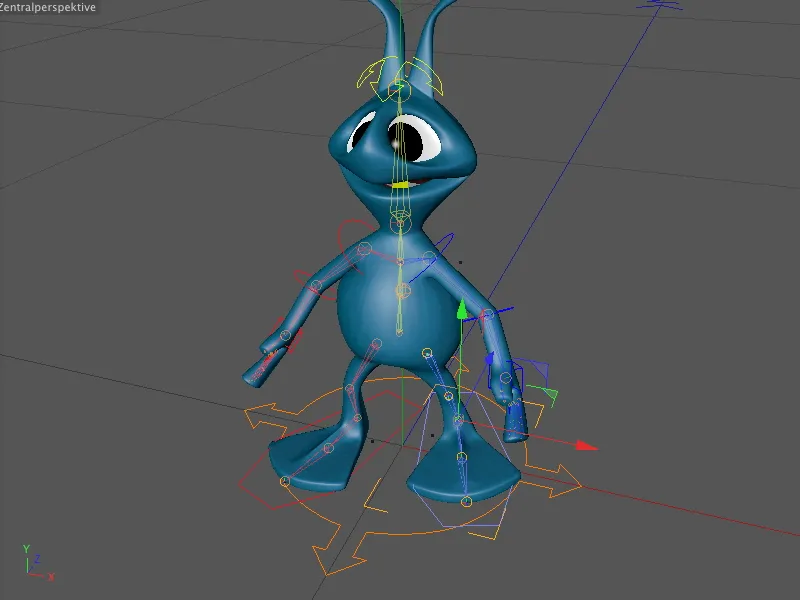
Clicking on the play button in the animation palette shows that our alien is going through a walking cycle. Even if it is currently struggling in vain, because the alien is not yet moving.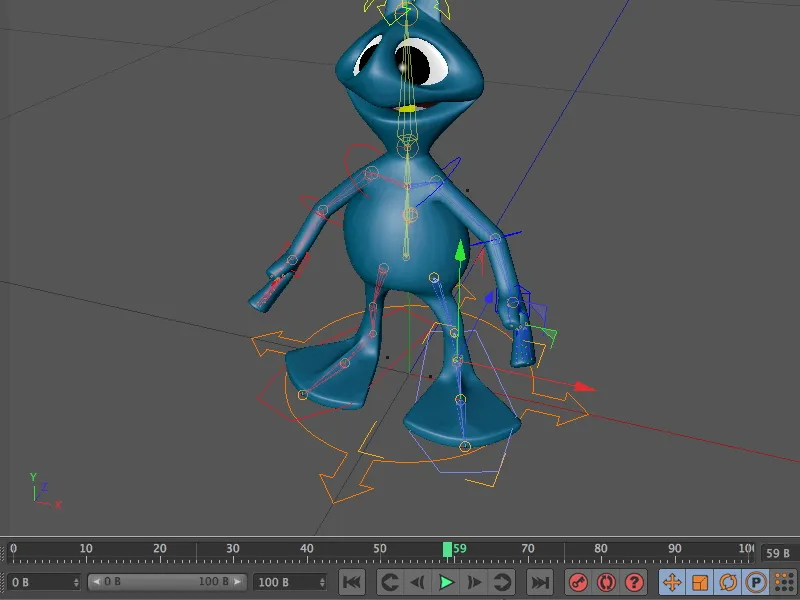
What has changed in the object manager? A new CMotion object has been added to the character object, which contains all the information and control options for the created gait. This is the place to go to edit and customize the alien's gait.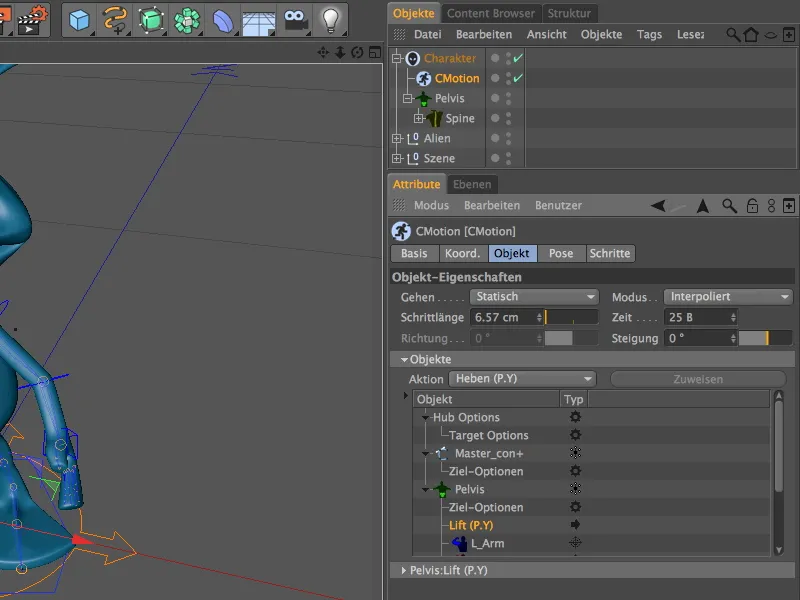
Before we start customizing the gait, let's take care of the basic parameters for the walkcycle. We can find the stride length on the object page of the settings dialog. As you have probably already noticed, our alien takes very small steps. To make it appear a little more brisk, we increase the step length to 15 cm.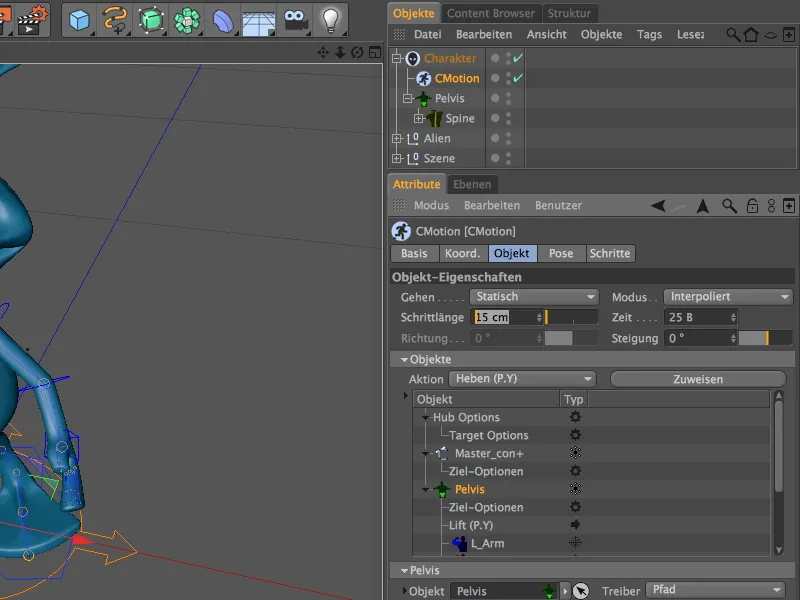
This change is also immediately noticeable in the editor. The alien's feet are now a little further apart.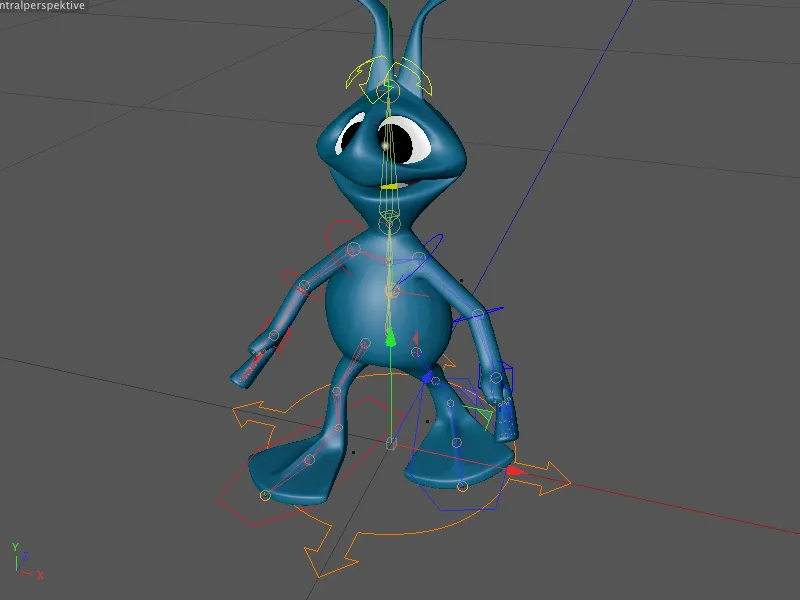
We control the speed of the gait using the time parameter. This value specifies how many frames the character needs to complete a walk cycle. We therefore speed up the gait by reducing this value , in my case to 15 frames.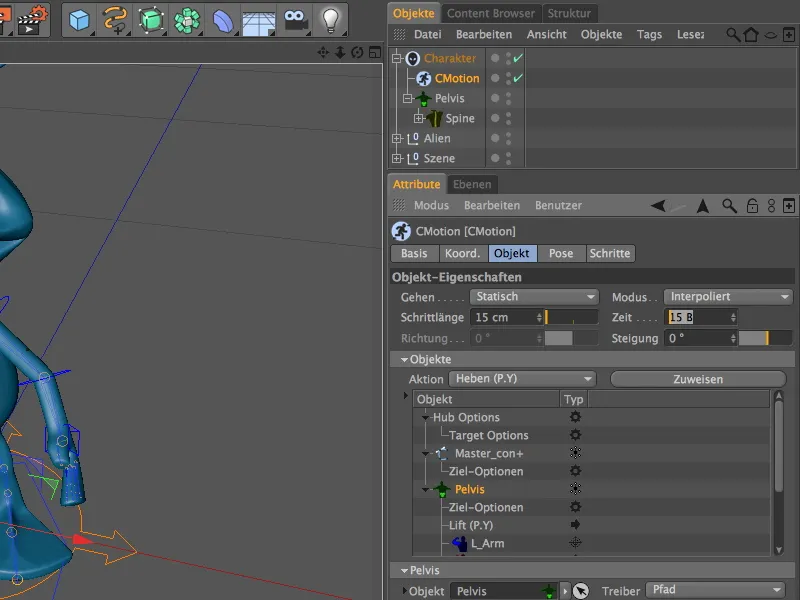
So that our alien no longer has to walk on the spot, we change the setting in the Walk menu from Static to Straight ahead.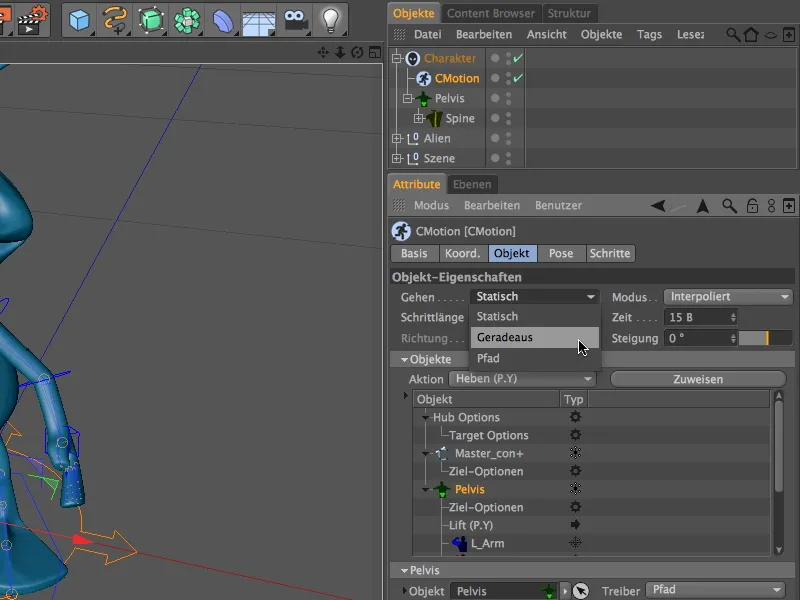
Now click on the play button in the animation palette and our alien will walk straight ahead towards us.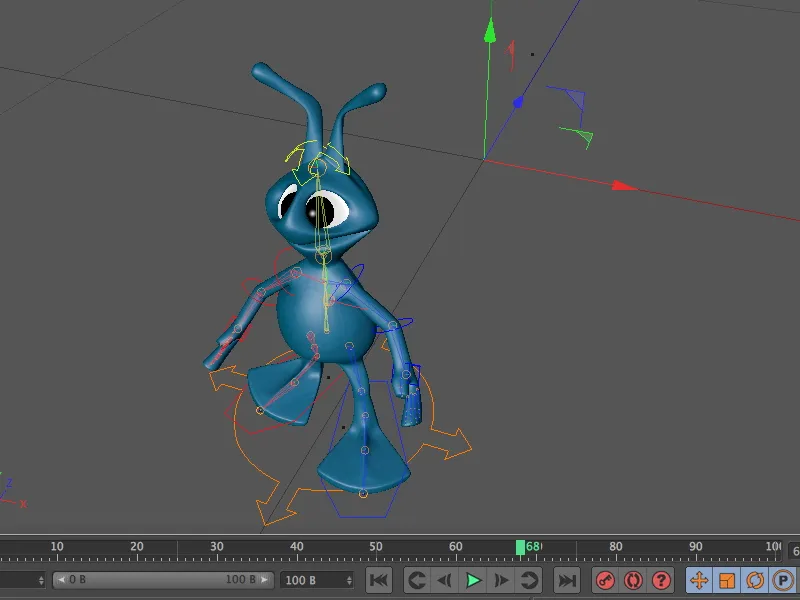
Individualization of the walking cycle
The alien's current gait still looks rather mechanical and unnatural. We can give our alien more character with a few customizations.
To do this, we can assign additional actions to the various components, which take place at certain points in the walking cycle. We can access the objects and actions via the Objects page in the Objects drop-down menu. The first actions of the walking cycle are already located here, for example lifting the feet using the two actions Lift (P.Y).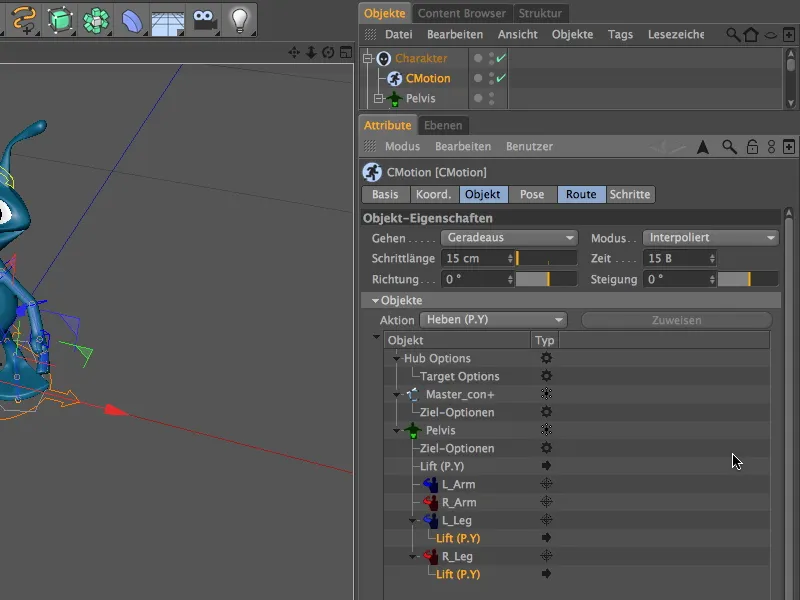
We can see the associated parameters when we select the two actions in the list. This is also the first starting point for our customization - we increase the lifting of the feet to 5 cm so that our alien takes proper steps.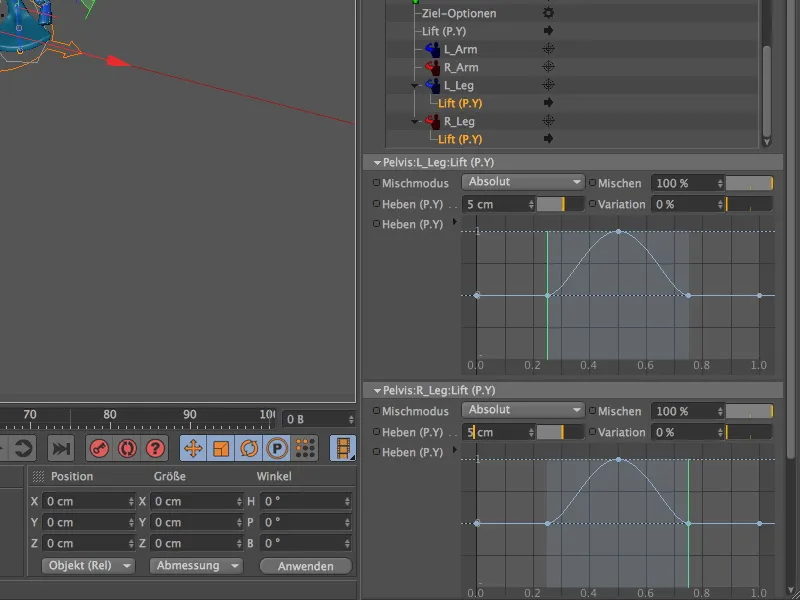
A look at the editor view immediately shows the effect of our change. The foot is now pulled up much higher, making the steps much more distinctive.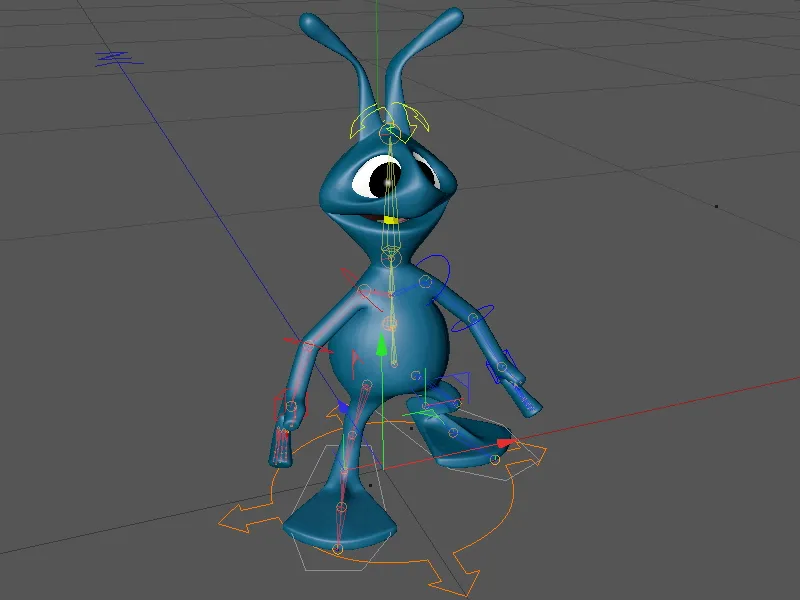
The next thing that bothers us is the alien's rigid upper body. There is no movement at all during the entire walking cycle. This is due to the pelvis component, i.e. the hips. We look for it in the hierarchy of components in the object list and select it.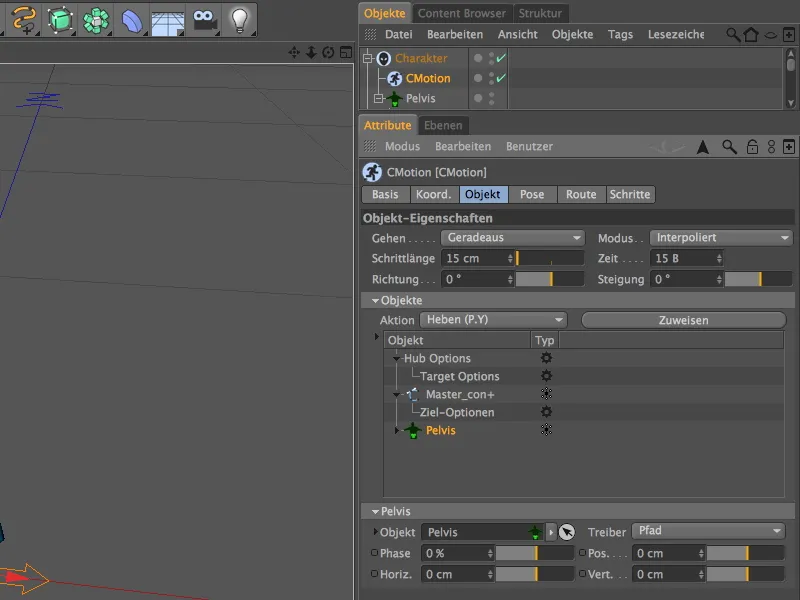
A good start would be for the upper body to rotate slightly in the corresponding direction with each step. To do this, we select the Rotate (W.Y) action from the Actions menu.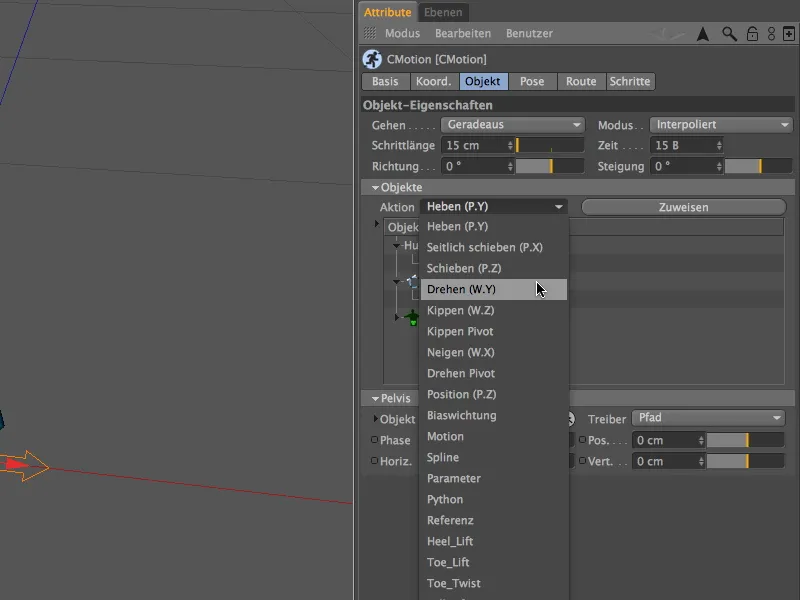
To ensure that the Pelvis component actually performs the action, we must explicitly assign it to the component. This is done using the button of the same name next to the Actions menu.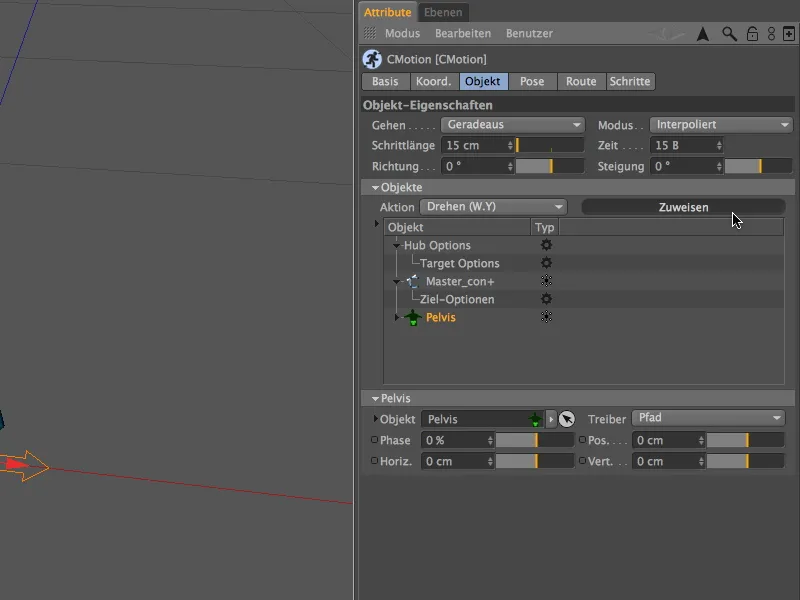
If we scroll down a little in the list of objects and actions, we will also see the newly added Rotate action as a sub-object of the Pelvis component. We can see the associated settings when we select the action in the list.
I have used a value of 8° for the rotation. This is already relatively conspicuous - if you want, you can also set a lower value. You can add a little more randomness by specifying a variation.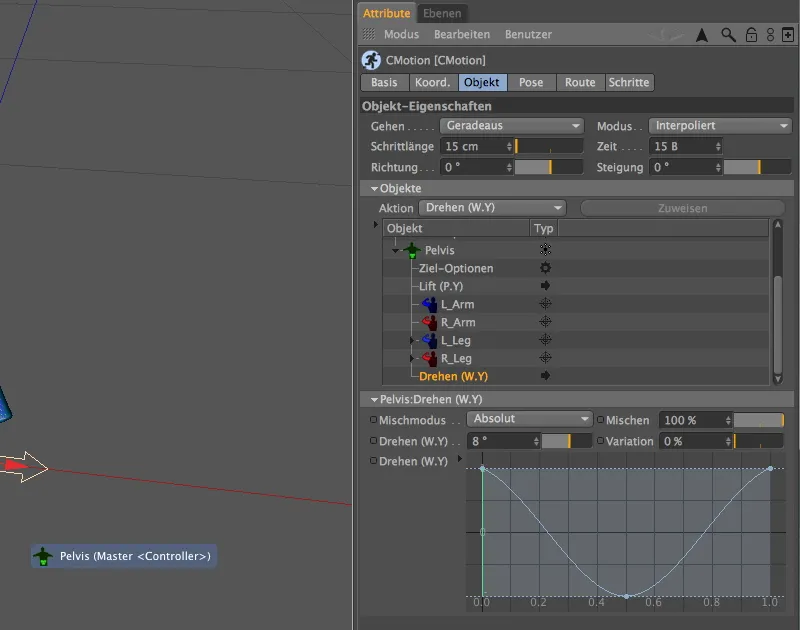
Let's take a look at the already somewhat individualized gait by letting the alien run again by clicking on the play button of the animation palette.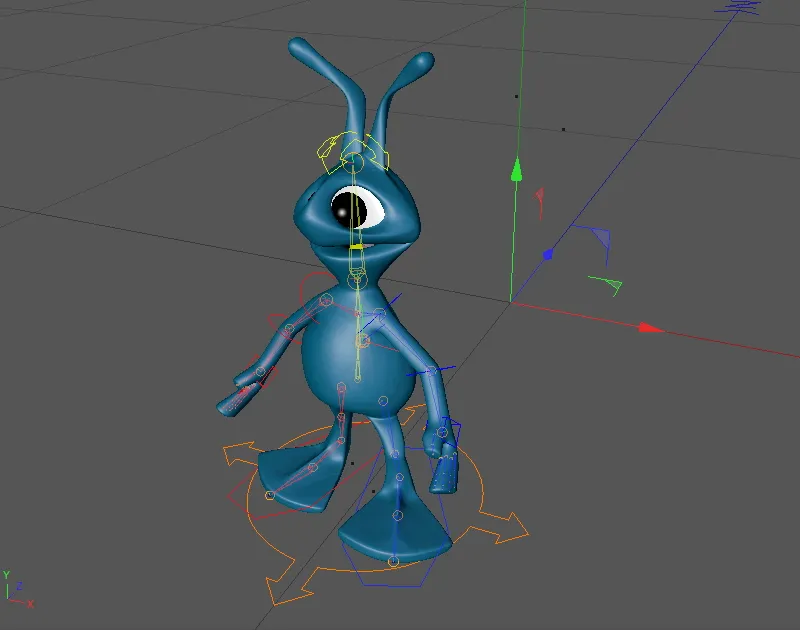
Now the upper body, including the head and arms, moves, but the arms still look far too stiff. Here we should add additional actions to include the arms during the walking cycle. To do this, we can address the two arm components in the list of objects.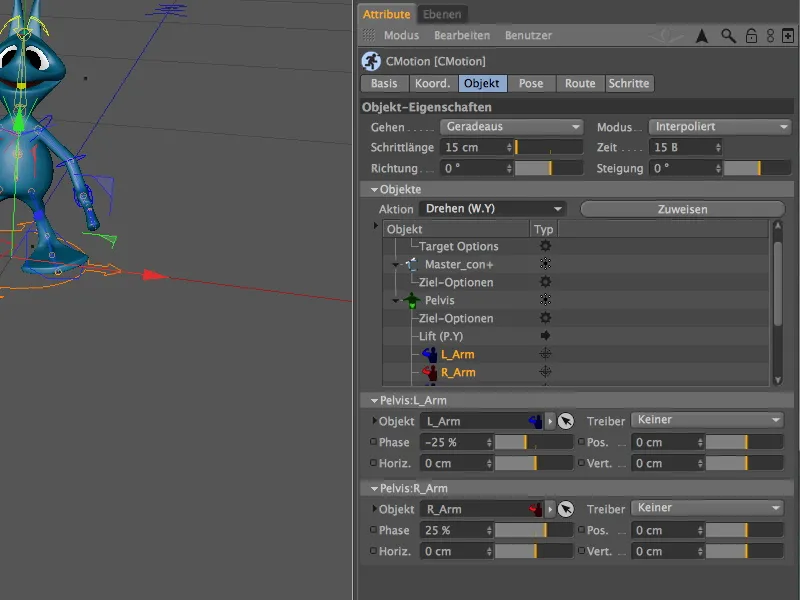
Once we have selected both components in the list, we open the menu with the actions and select the Rotate (W.Y) action. This causes the arms to swing slightly with the walking movement.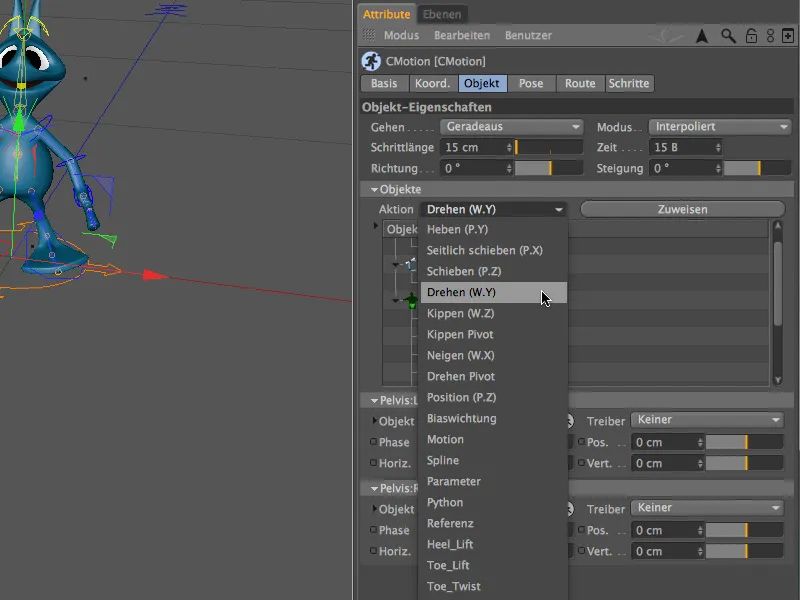
We then assign the selected action to both arm components using the Assign button.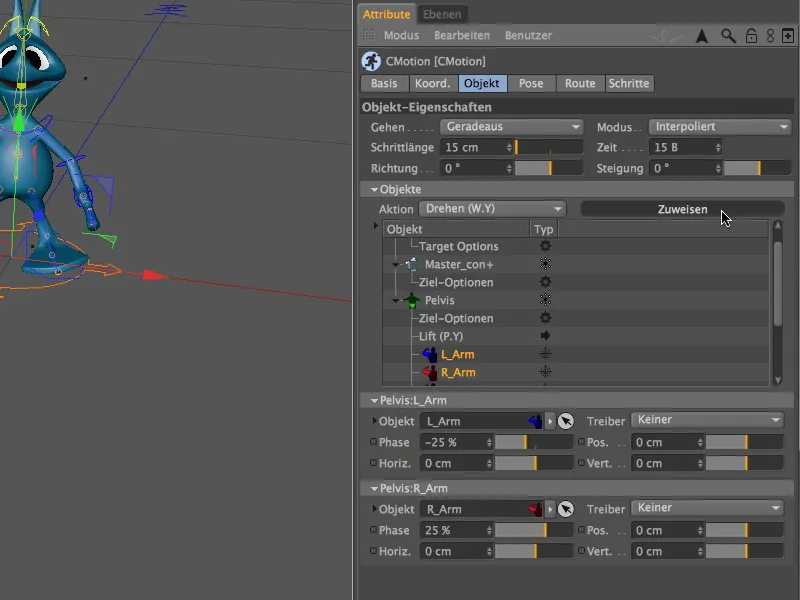
So that we can complete the settings for both actions in a single pass, we select the two actions below the arm component in the list of objects.
I have set the angle of rotation to 20°; this again results in a clearly noticeable rotation of the arms. If you don't want the rotation to be so noticeable, simply reduce this value. Here too, you can achieve a more irregular and therefore more natural-looking movement by varying this angle.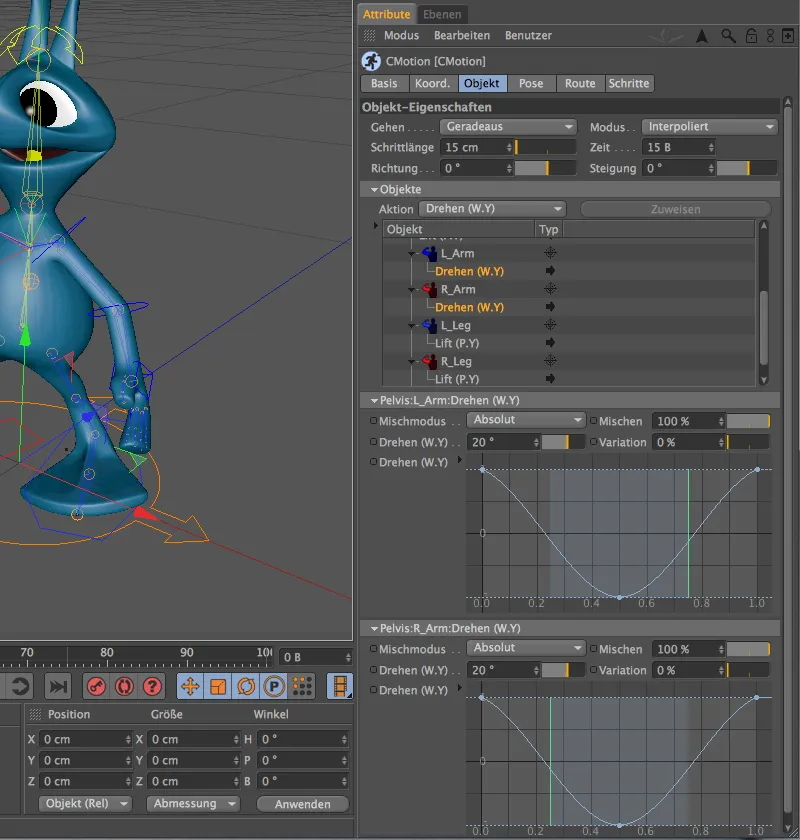
Now the alien's arms move with each step, but both arms move at the same time and with the same orientation. However, we can also correct this very easily.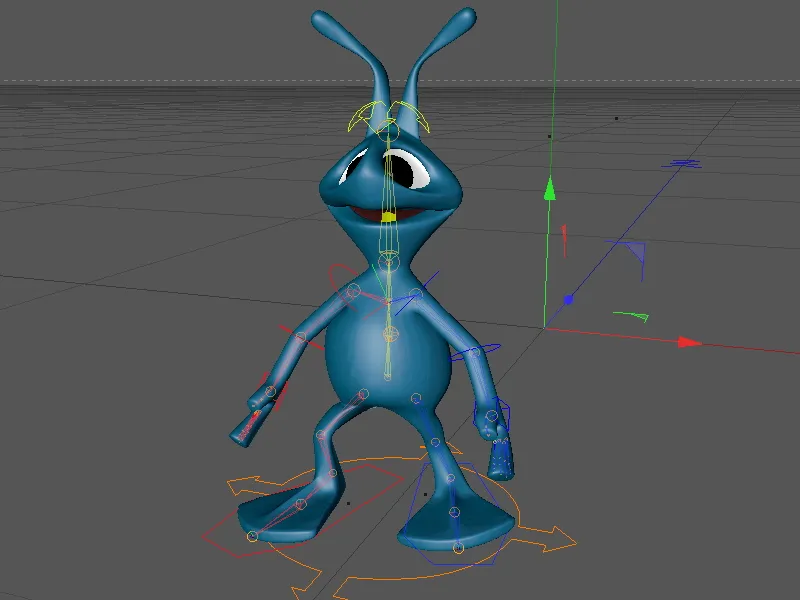
Back in the settings dialog of the CMotion object, let's take another look at the two arm components in the list. No special driver for the rotation is stored for either entry. However, we actually want the alien to rotate the arms with every step. Nothing could be easier: We simply set the hub as the driver for the two components in the Driver menu.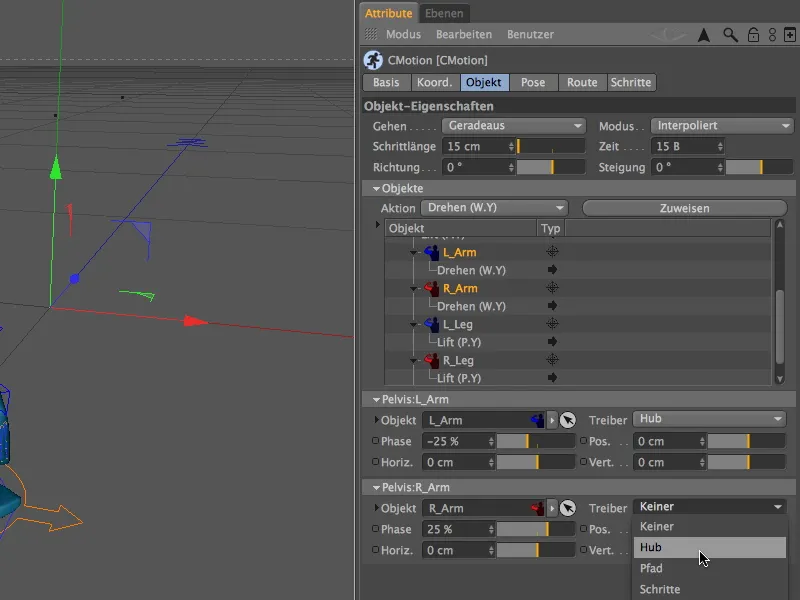
In addition, we shift the time of execution slightly to bring a little more naturalness to the movement. To do this, we reduce or increase the two phase values of the components from -25% and 25% to approx. -45% and 45% respectively. Simply try out different values and their effects on the walking cycle until you are satisfied with a combination.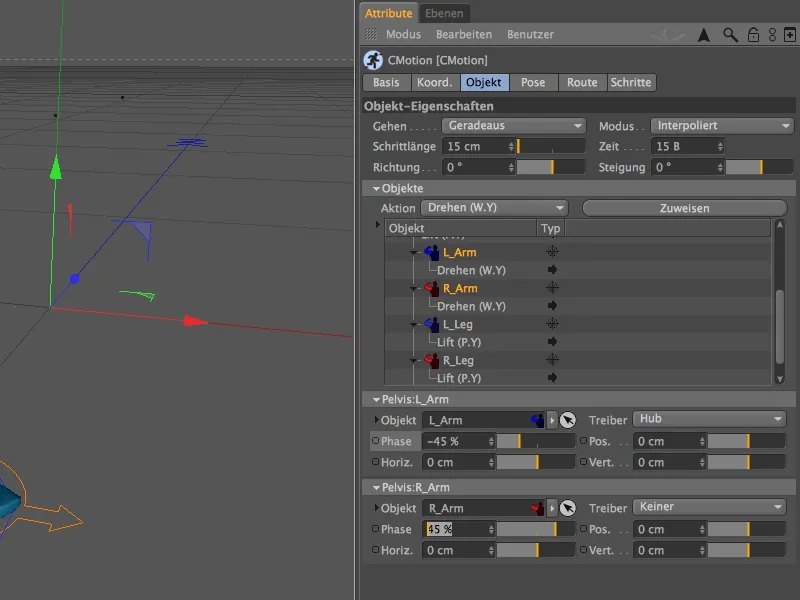
In the editor view, you can clearly see that the arms now swing alternately due to the changed driver and the modified timing. You are welcome to experiment further with the parameters until you have found the desired "gait" for our alien.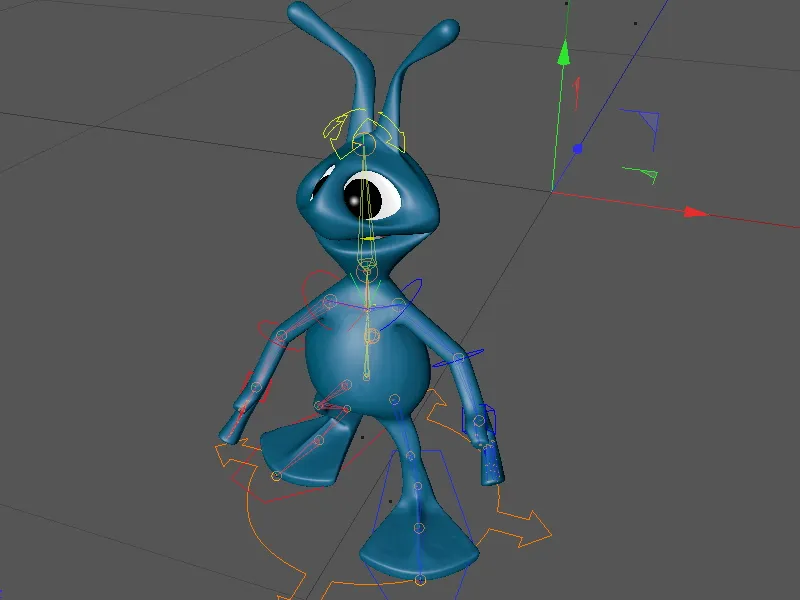
What we must not ignore - especially with our alien equipped with extraordinarily shaped feet - are possible overlaps with the surface on which our alien steps.
To check this, we show the ground object in the Scene group using the traffic light button in the Object Manager.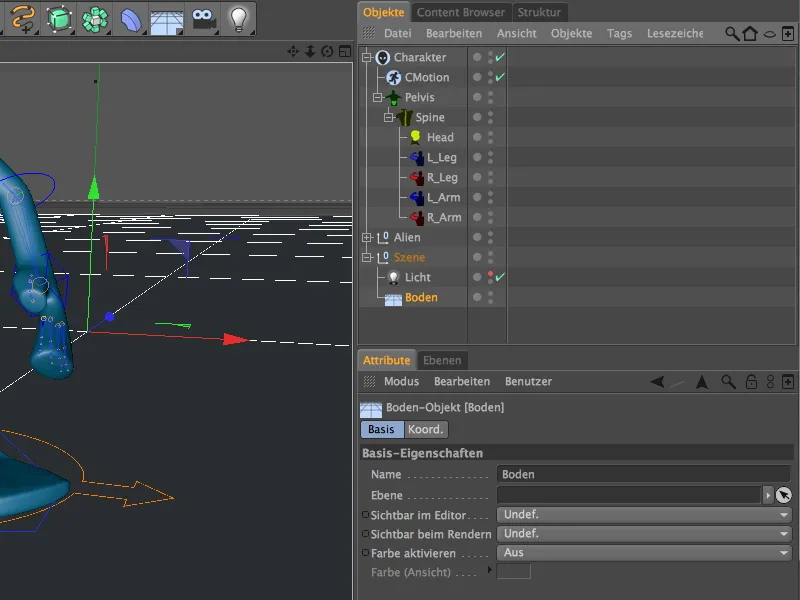
In the editor view, you can clearly see that an overlap with the surface cannot be completely ruled out due to the extreme width of the feet. In addition, we need to check whether our alien is also stepping on the intended floor during the entire walking cycle.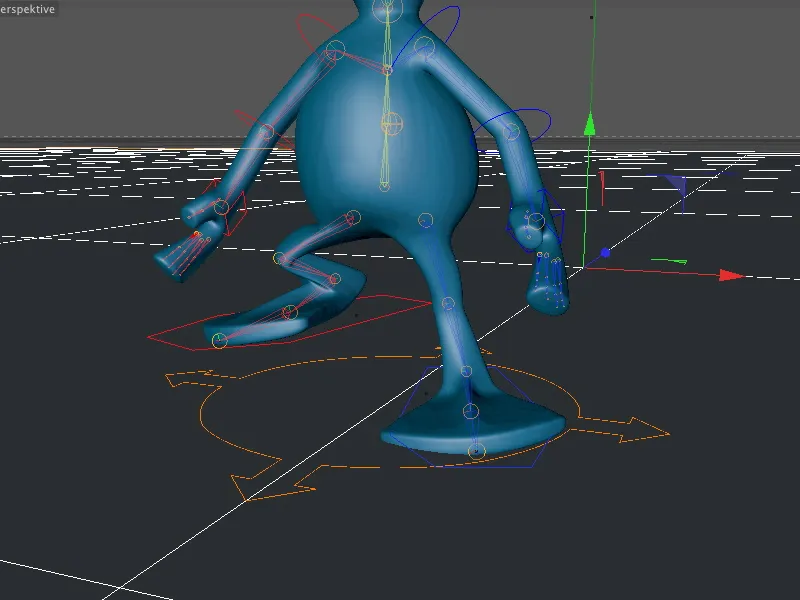
To address these problem areas, we need to go back to the CMotion object 's settings dialog and open the pose page. Here we have additional parameters to control a character's behavior when performing the walk.
We want to move our alien character slightly upwards in order to adjust the step optimally to the ground. To do this, we simply enter the desired offset (base offset) a little higher (in my case 0.7 cm).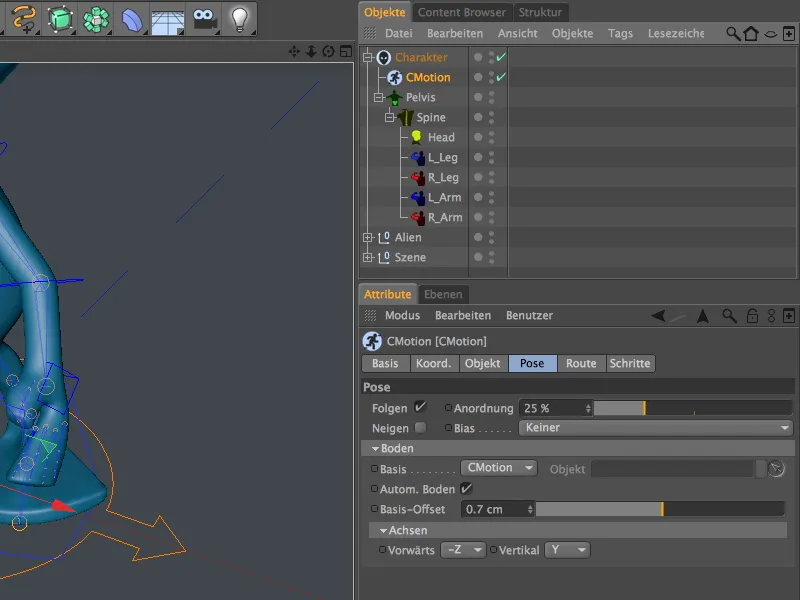
Let's check the additional offset of the alien character in the editor view. Now you can no longer see any overlap ...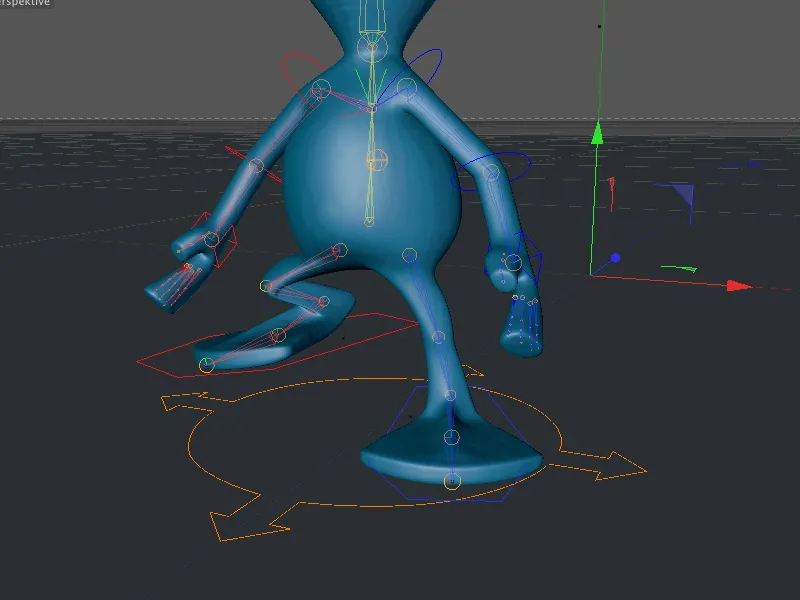
... so that no disturbing overlaps are noticeable on the foot in the rendering. The walking cycle for our little alien is now complete and we can finally let him walk freely.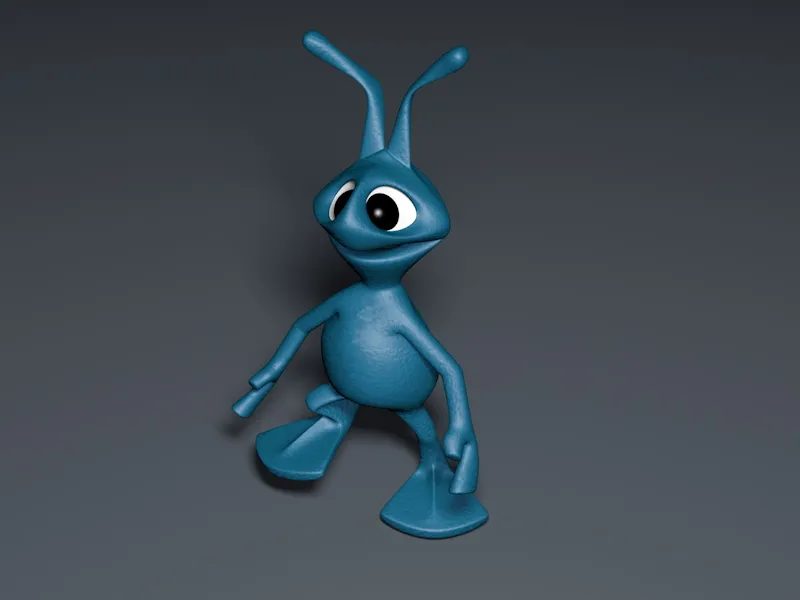
Walking along a predefined path
The CMotion object offers a range of options for sending the character, now ready to walk, on its journey. Let's take a look at the option of letting our alien character walk along a spline path.
For the sake of simplicity, I have chosen a circle object as the spline path. Of course, you can also specify any other path. My circle spline has a radius of 80 cm and lies on the horizontal plane XZ.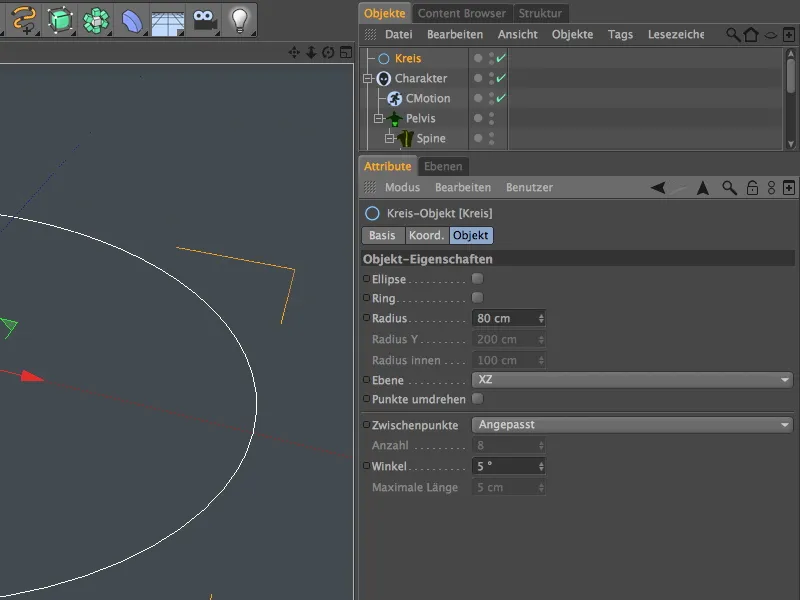
This keeps our little alien as far as possible in the field of vision.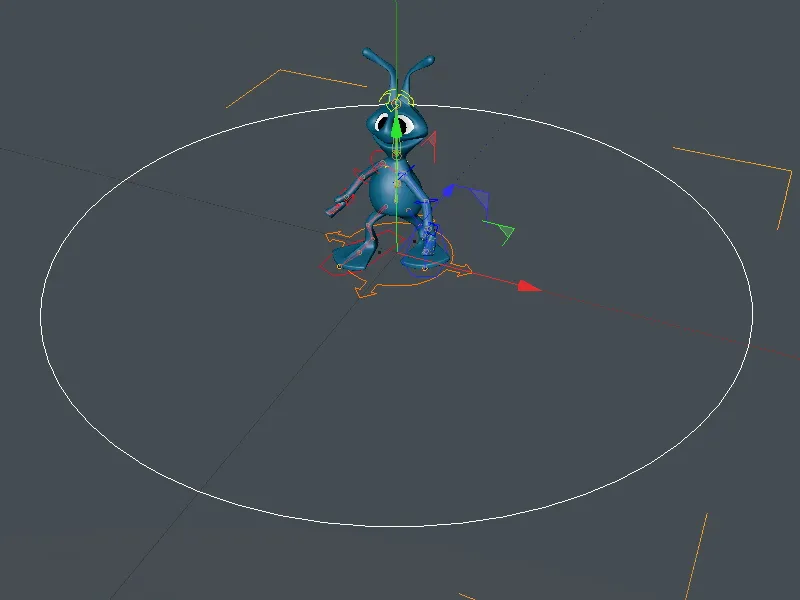
To set the circle spline as the path for our alien, we need the settings dialog of the CMotion object on the object page. In the Walk menu there, we had previously defined the Straight ahead setting. Here we now select Path as the default walking path instead.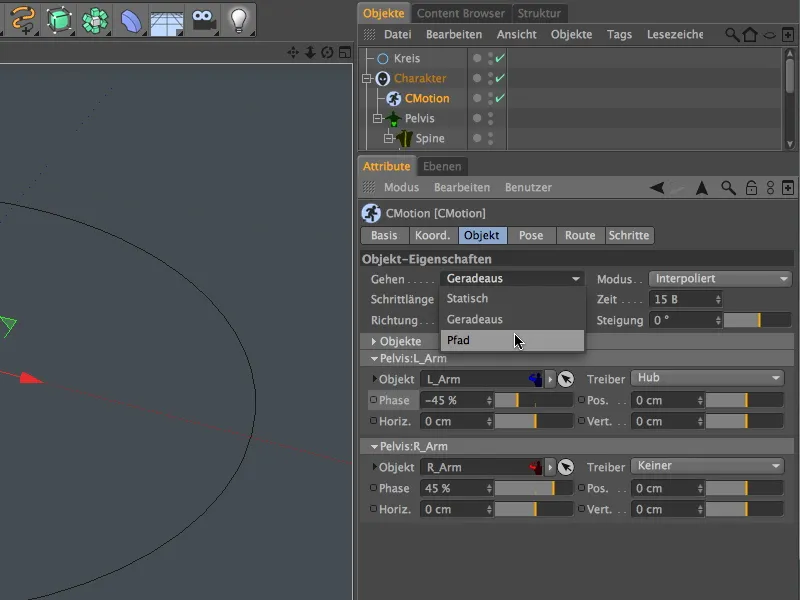
We drag the circle object from the Object Manager into the Path field of the object properties, which is now available. Now our alien character is told via the CMotion object that it should move along the circle path.
Our little alien has immediately taken up its starting position on the spline path; however, it is also important to check whether the circle spline allows the character to be positioned correctly on the ground. As can be clearly seen in the illustration, the character uses the ankle as a reference point for walking along the path.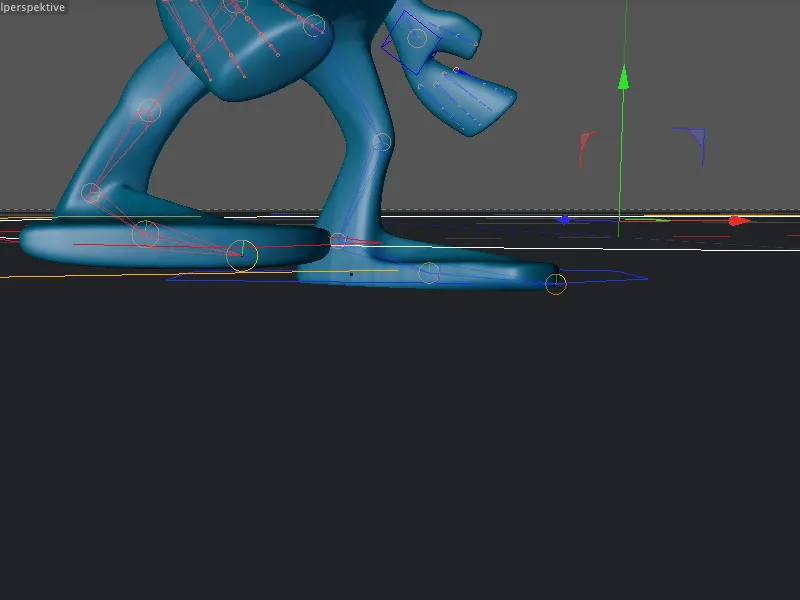
Before we can make a modification here, such as moving the circle spline in my case, we must first temporarily deactivate the CMotion object. Otherwise, our CMotion object will get completely mixed up, which usually leads to adventurous deformations. Once we have deactivated the CMotion object using the activation switch in the Object Manager, we can correct the position of the circle spline if necessary.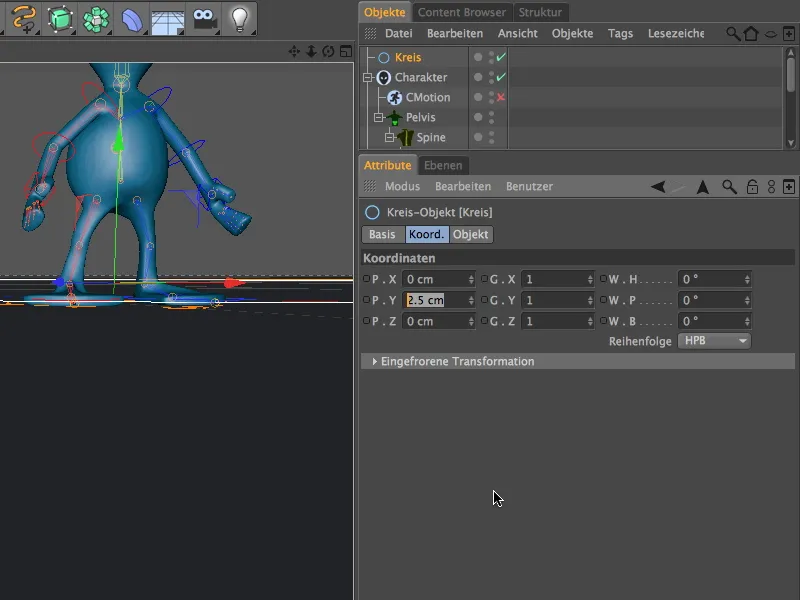
After this change, we can reactivate the CMotion object using the activation switch and watch our little alien wander along the spline path.