Realistic clouds give your designs depth and atmosphere - whether for landscapes, posters, or digital artworks. With Photoshop, you can convincingly replicate clouds using simple tools like brushes, gradients, and layer styles. In this tutorial, I'll show you step by step how to create realistic clouds that convince with light and shadow as well as soft transitions. Let's get started and enrich your designs with impressive sky compositions!
Step 1:
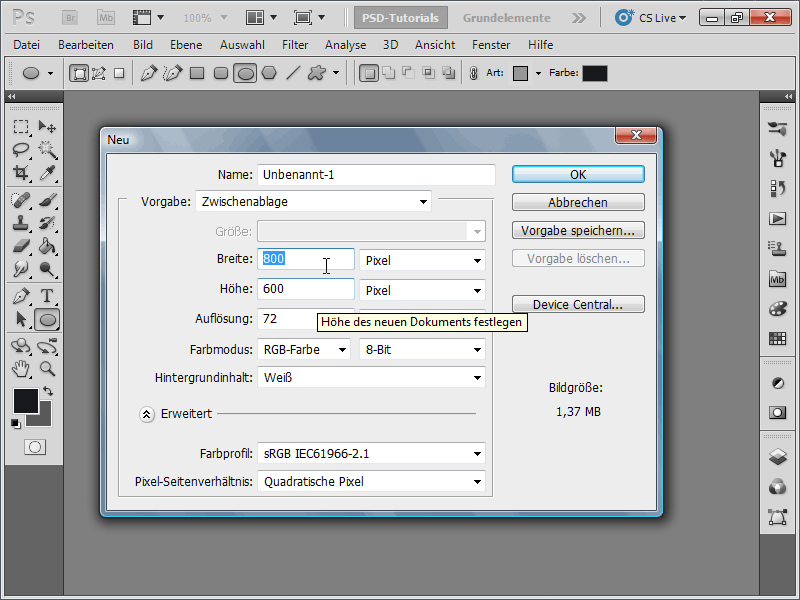
I create a document with a size of 800x600 pixels, where the size is actually unimportant.
Step 2:
First, I want to briefly show how clouds used to be quickly created. For this, I select white as the foreground color and blue as the background color. Now I go to the Filter menu to Render filter>Clouds. They look nice, but not much more.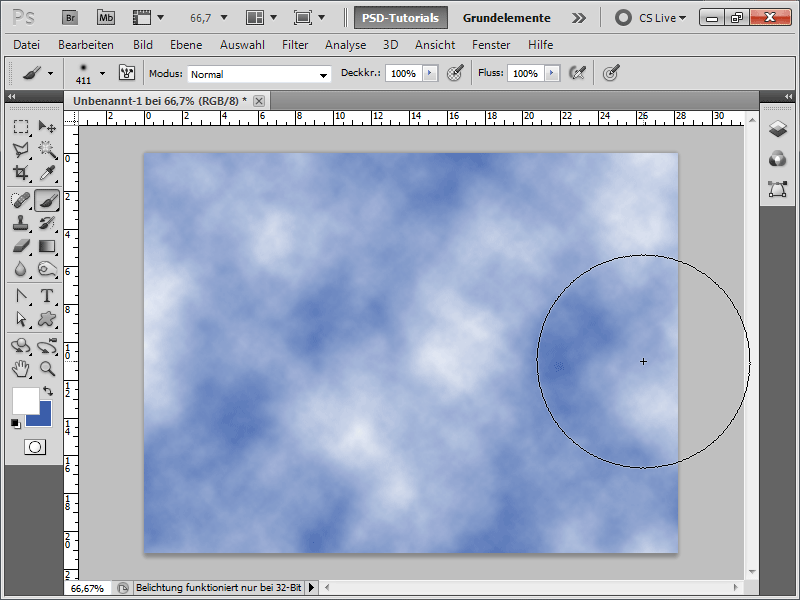
Step 3:
To add some perspective, I could convert the background layer to a normal layer by double-clicking on it, then transform it with Ctrl+T and then distort it perspectively at an upper corner with Ctrl+Shift+Alt.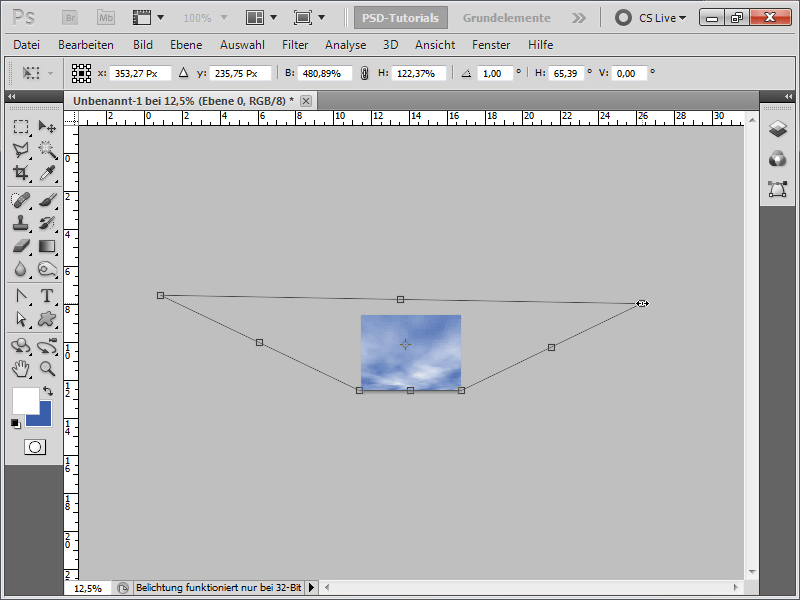
Step 4:
The result would look like this: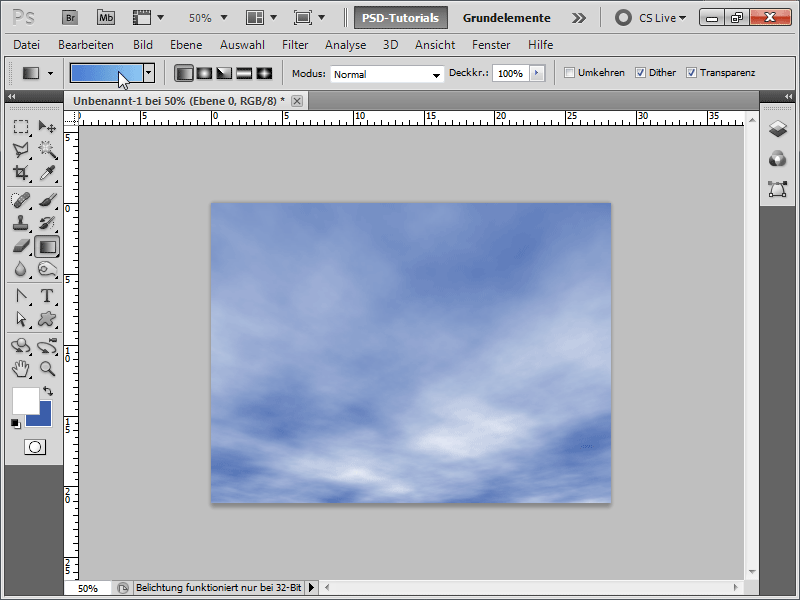
Step 5:
To achieve a better result, I first create a light blue to blue gradient.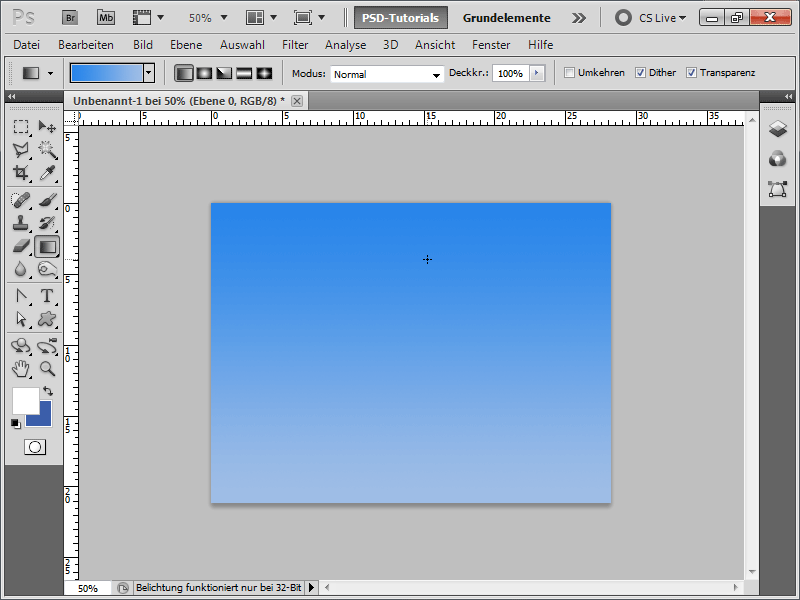
Step 6:
Then I select the Brush tool and either click F5 or the Brush panel icon at the top of the Control panel. Now under Brush tip shape, I set the following values: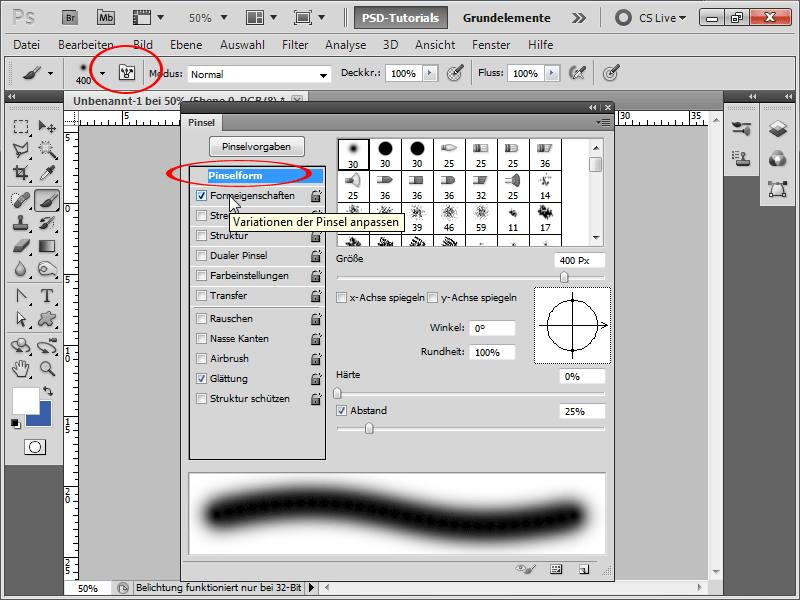
Step 7:
There are also a few things to change in the Shape Dynamics: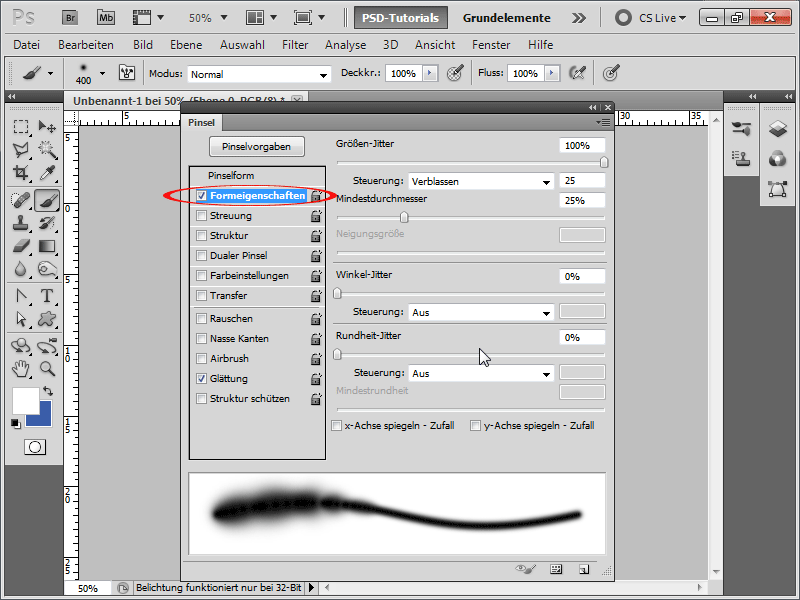
Step 8:
I also need to change some values under Scattering: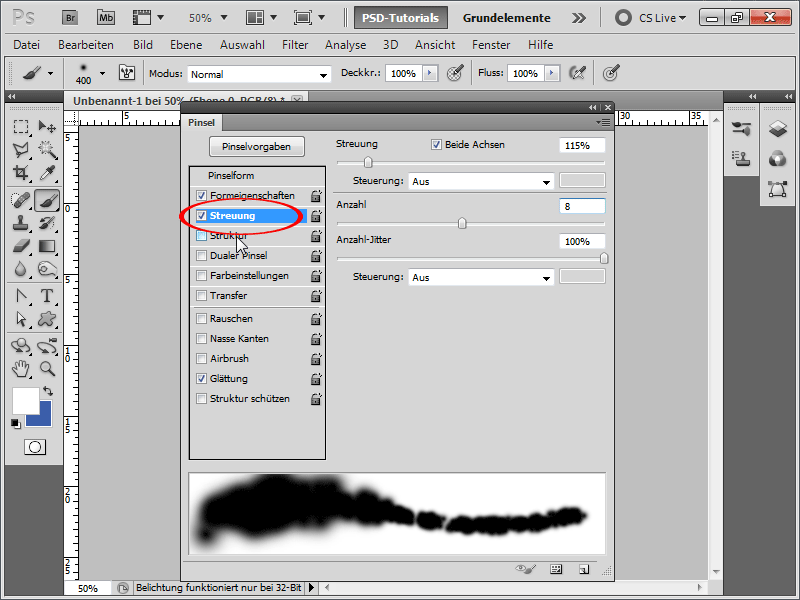
Step 9:
When it comes to Texture, I absolutely must choose the cloud texture, which I can find, if not displayed, under the pattern library Textures.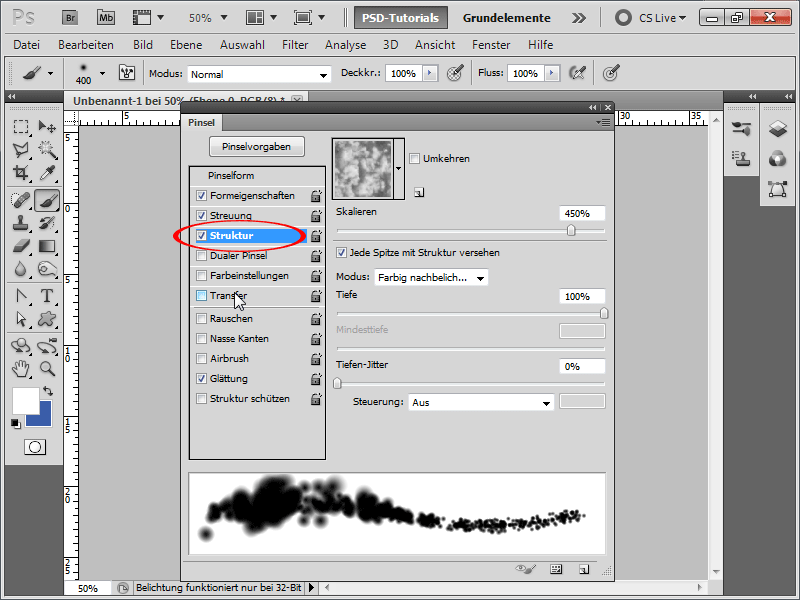
Step 10:
So, we're almost there. I set these values under Transfer: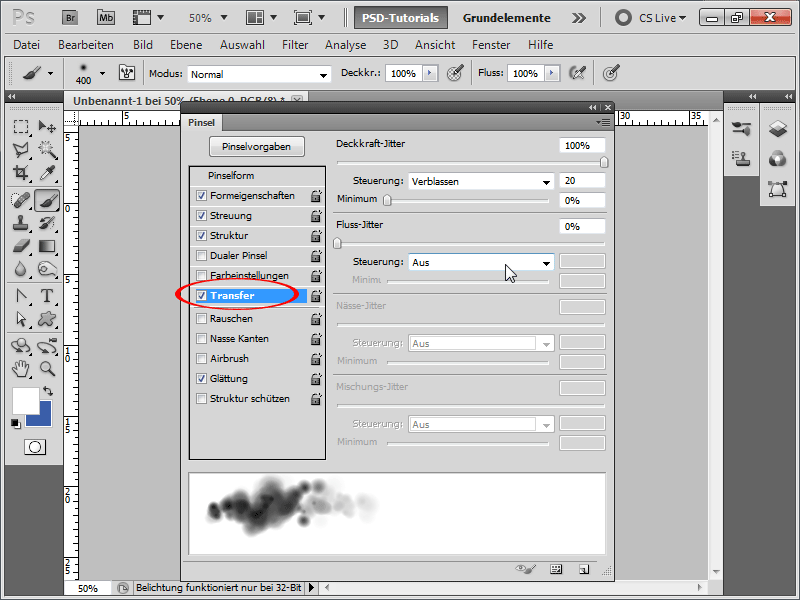
Step 11:
With so much work, I'll go ahead and save my brush as a cloud brush.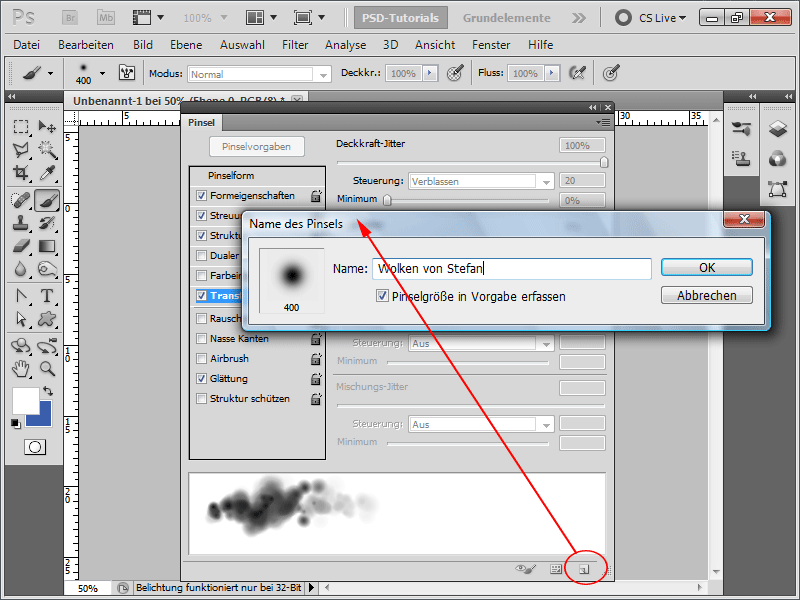
Step 12:
Next, I create a new layer named "Clouds".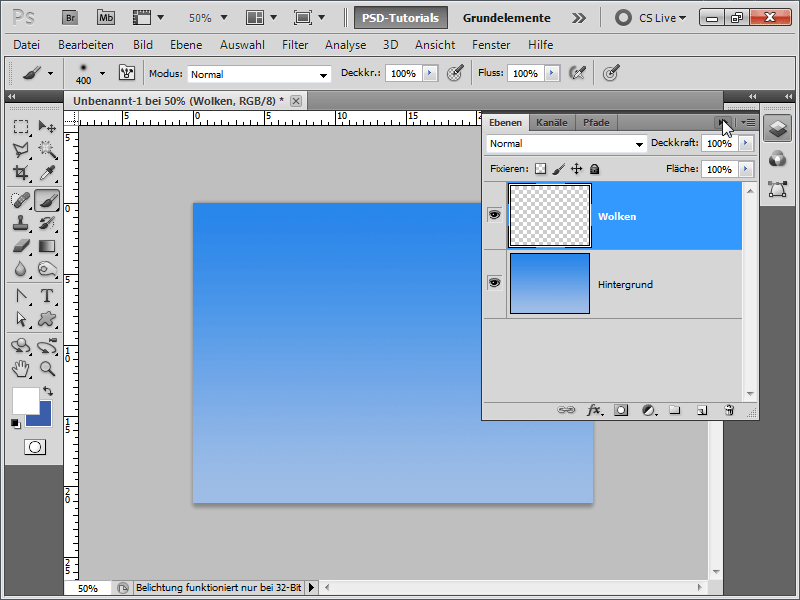
Step 13:
Now I can start painting and quickly create realistic clouds.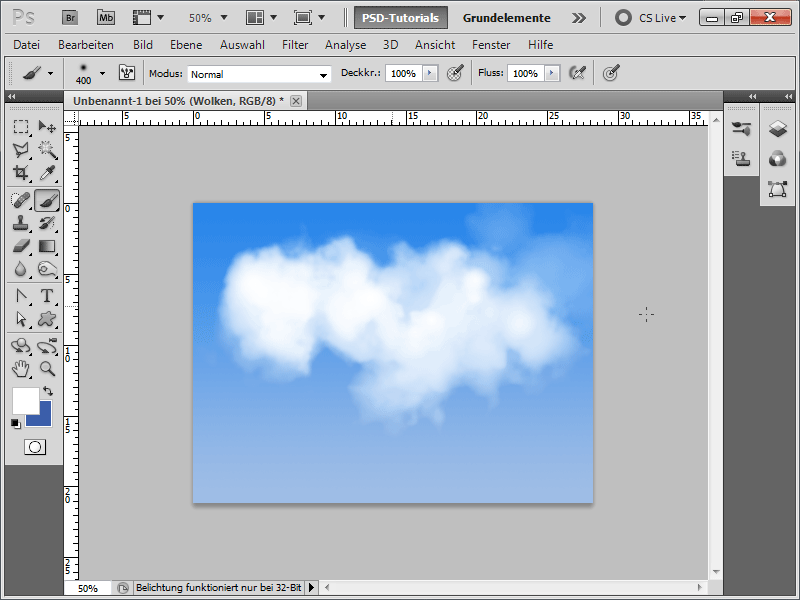
Step 14:
Of course, I can also reduce the brush tip size, then the result looks approximately like this: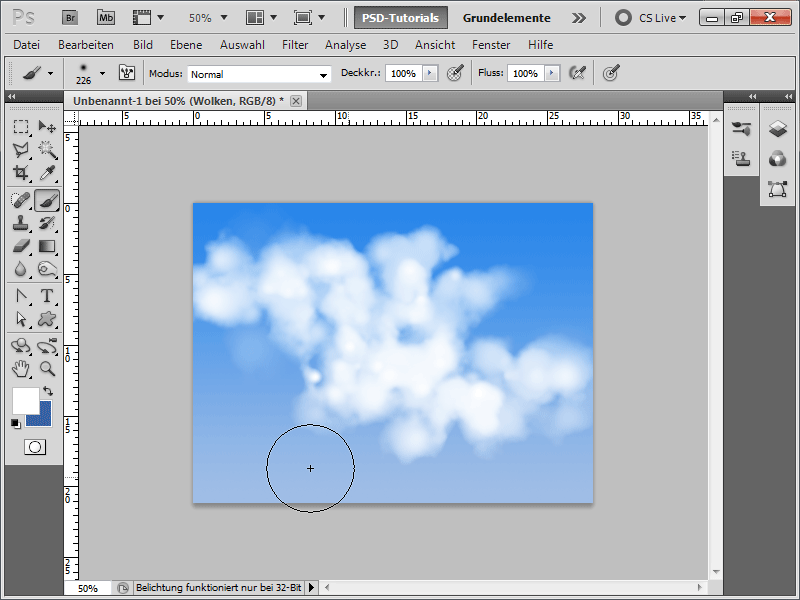
Step 15:
And if I now activate Inner Shadow as a fill option, the clouds get a light shadow, making them appear even more realistic.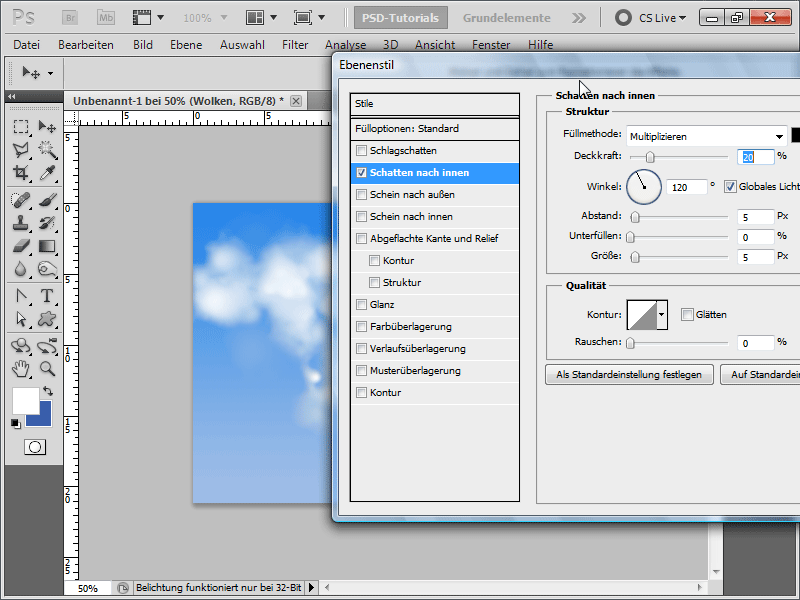
Step 16:
The result then looks like this: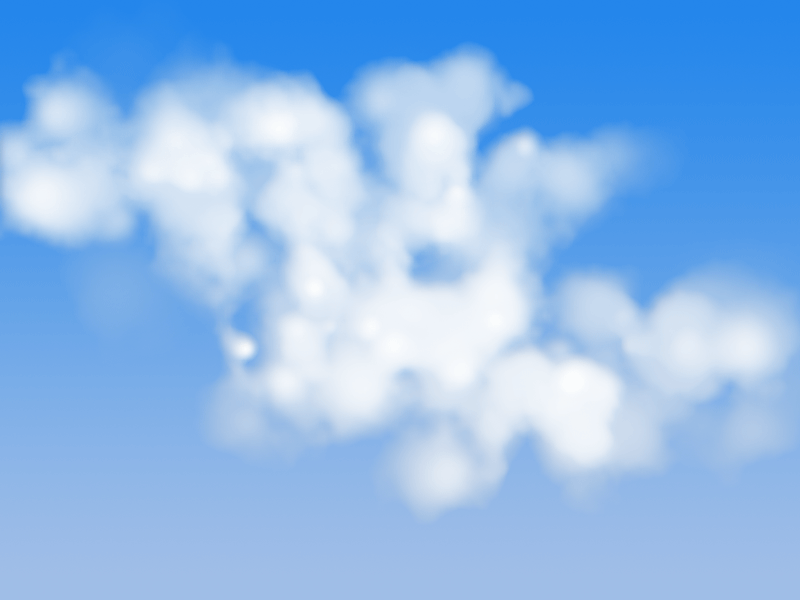
Step 17:
I can also insert the clouds into a larger document at any time or even paint text with them. In my case, I created PSD clouds.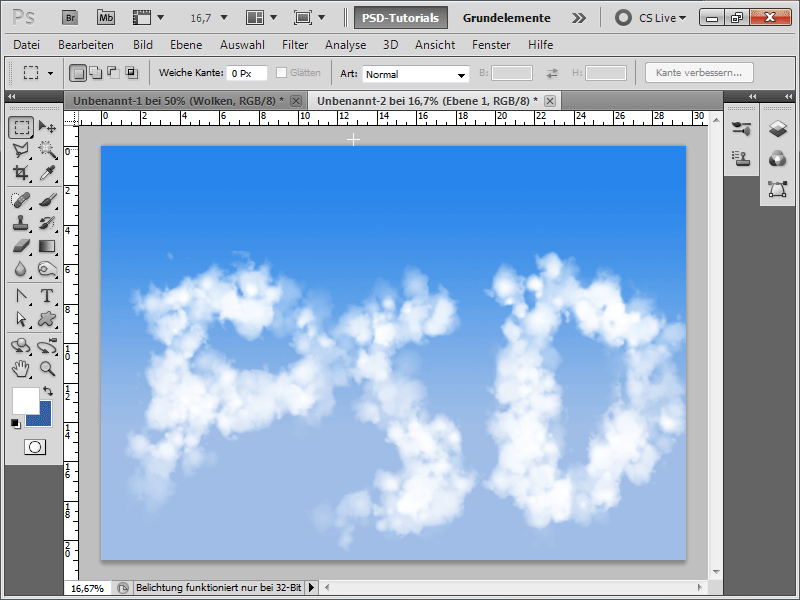
I have attached the cloud brush as a working file.


