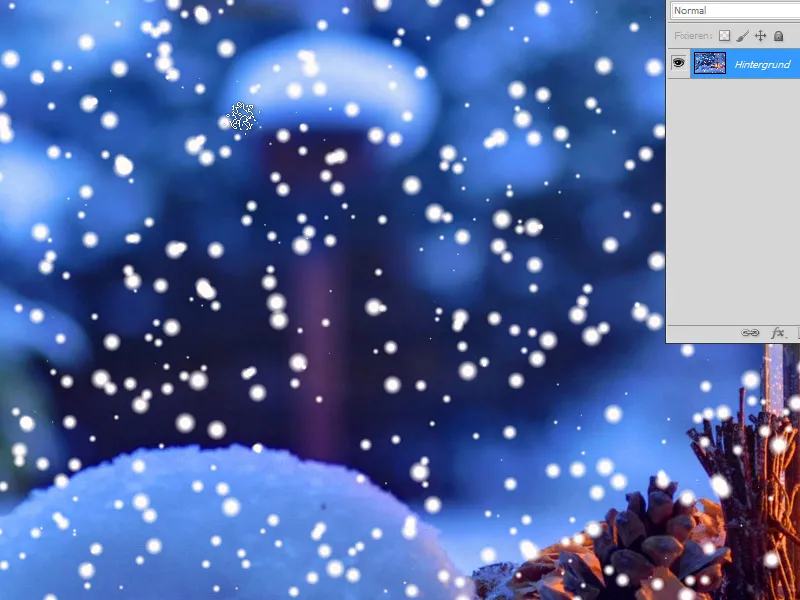
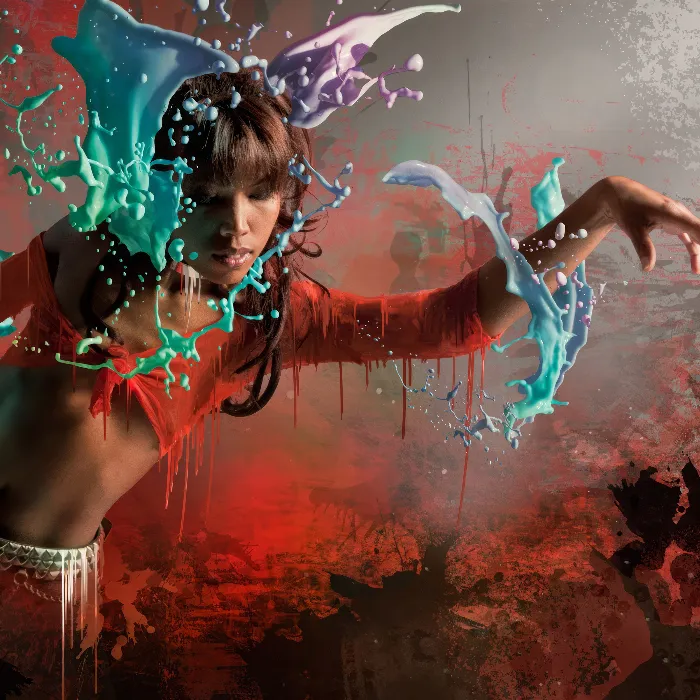
Snowflakes are a versatile design element that adds a wintry and magical touch to any project. With Photoshop, you can create snowflakes in various styles – from simple geometric shapes to detailed, realistic patterns. In this tutorial, I will show you four different methods to create snowflakes: using shapes, brushes, filters, and symmetry techniques. Let's get started and add the beauty of winter to your designs!
Variant 1 - Creating Snow with Filters
Step 1:
First, I open an image of my choice and create a new layer.
Step 2:
Then I color the new layer black and open the Add Noise filter (Menu Filter> Noise> Add Noise).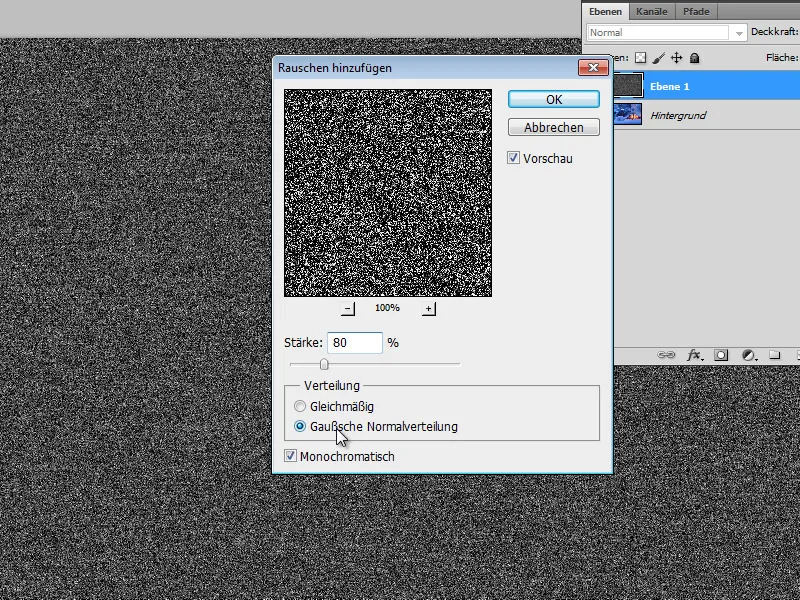
Step 3:
Next, I slightly blur my layer. To do this, I open the Gaussian Blur with a setting of 1 pixel.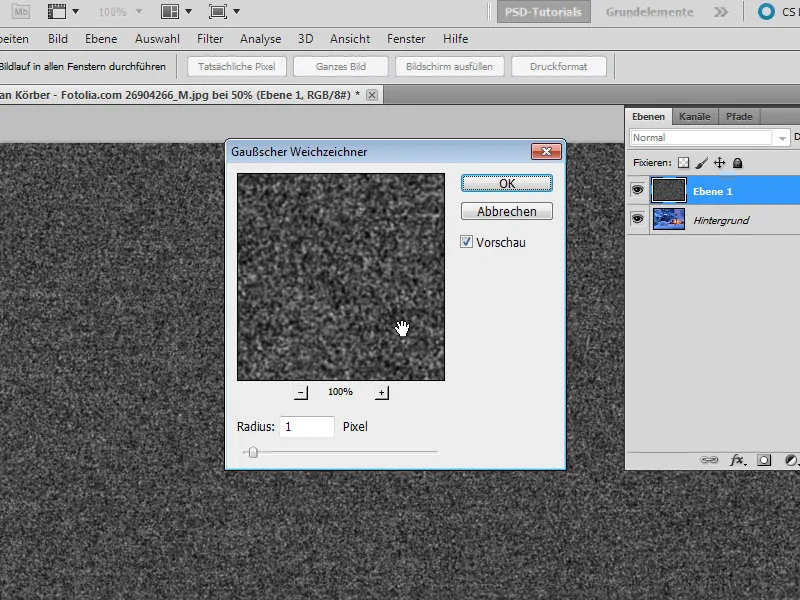
Step 4:
Using Ctrl+L, I open the Levels and move all three sliders close together: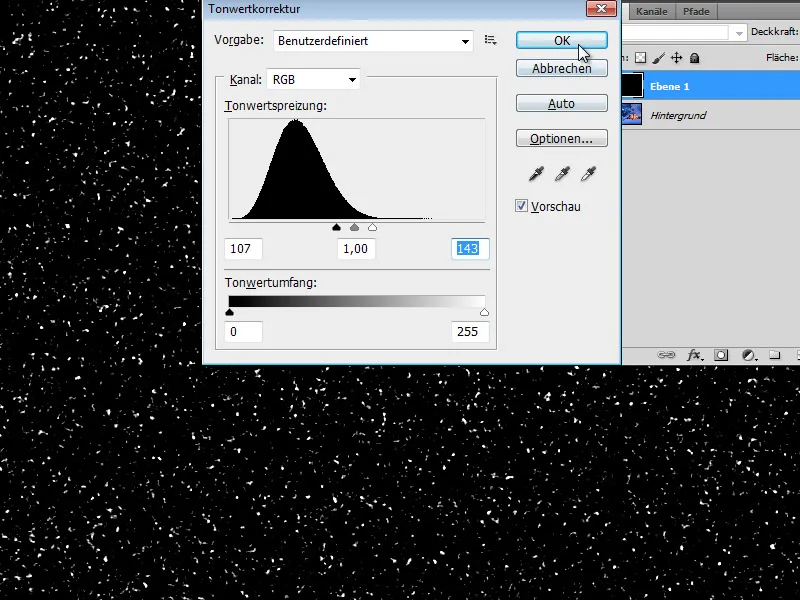
Step 5:
Now all I need to do is change the blending mode to Negative Multiply and the snow will appear in my photo.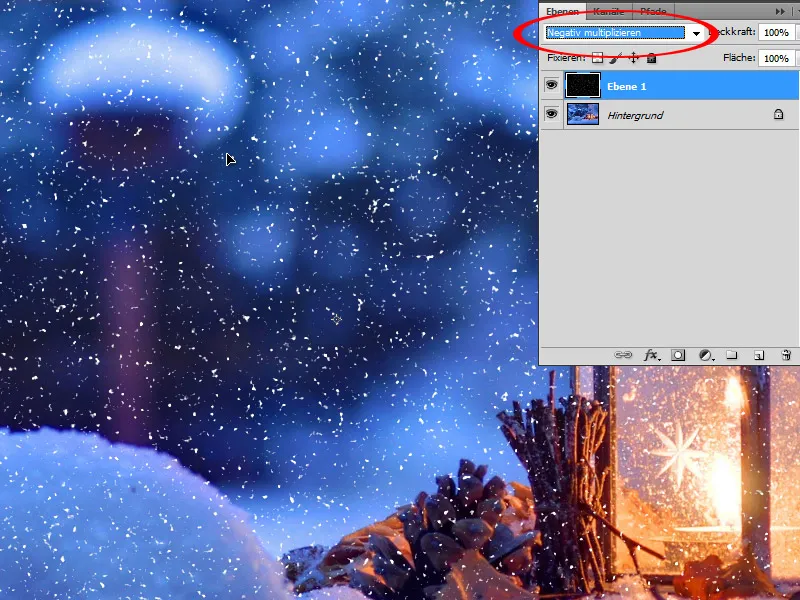
Step 6:
To soften the snow edges, I can apply a slight blur with the Gaussian Blur filter.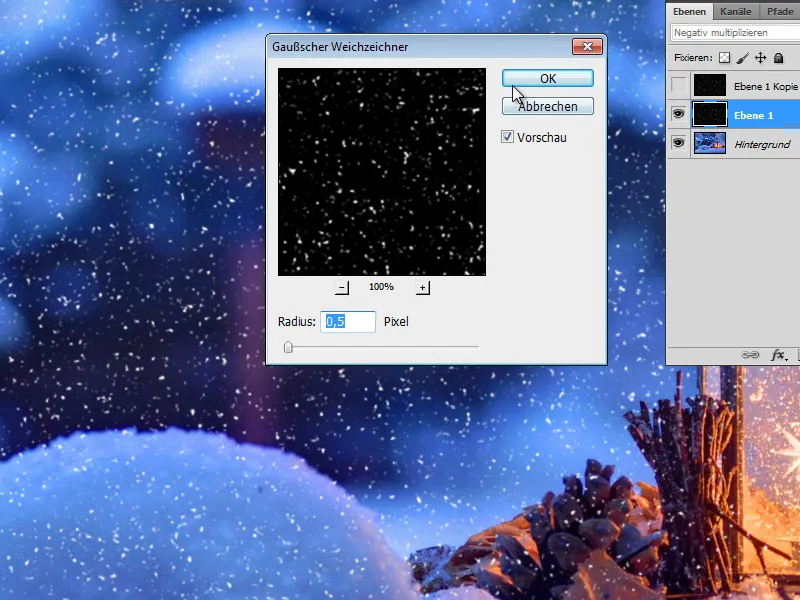
Step 7:
And this is the result (the snow layer can also be duplicated to make the snow brighter).
Variant 2 - Creating Snow with Filters 2
Step 1:
In this variant as well, I create a new layer.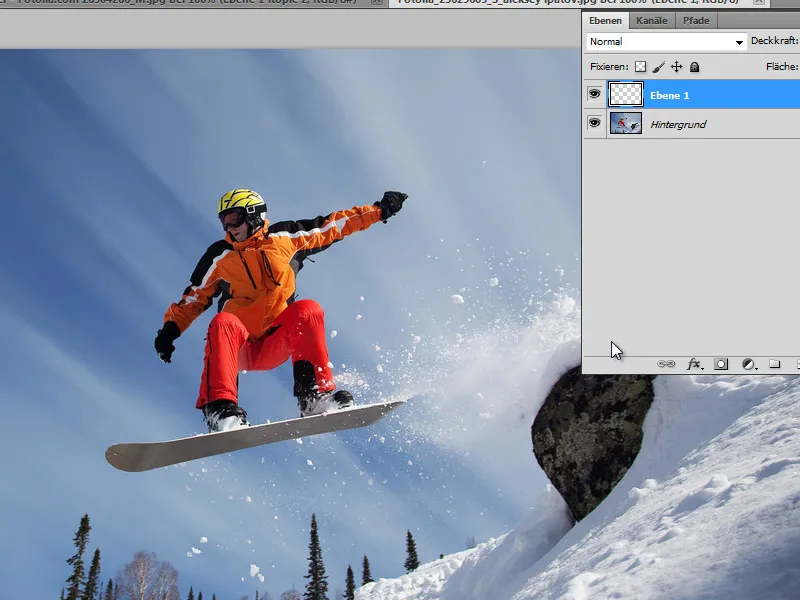
Step 2:
Then I color the layer black and make sure that the default colors Black/White are set (simply press D). Now I go to Menu> Filter> Sketch Filter> Photocopy and set the following values: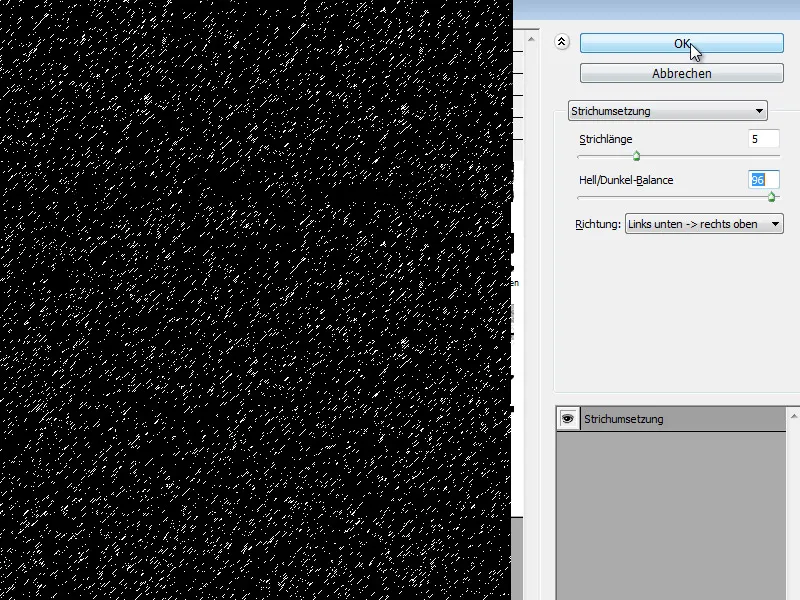
Step 3:
Here too, I change the blending mode to Negative Multiply. However, the snow still doesn't look very realistic at the moment. Maybe just adjust the stroke length to be a bit smaller beforehand.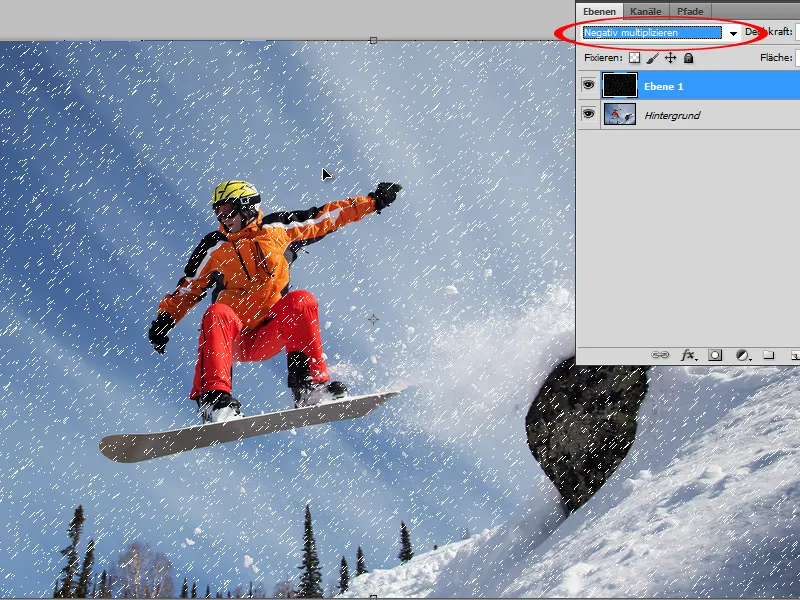
Step 4:
So now I apply the Gaussian Blur filter with 0.9 pixels. It looks much better this way.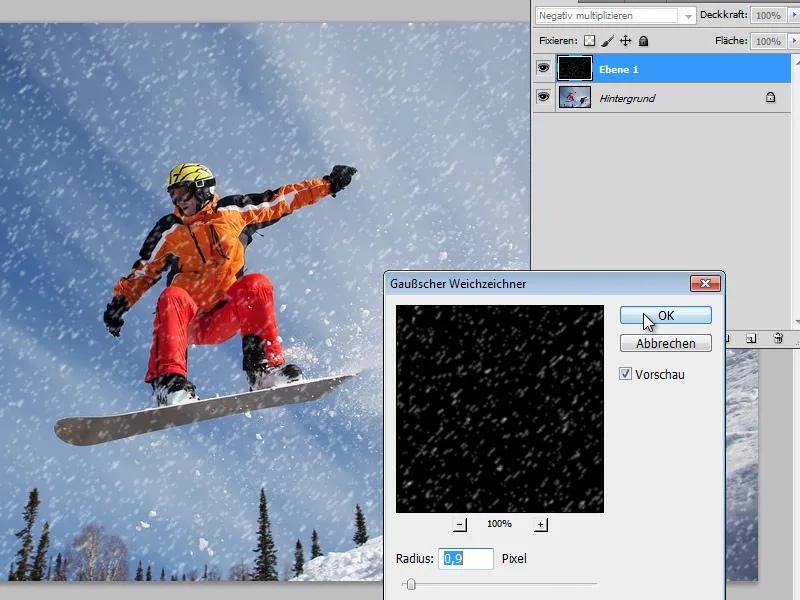
Step 5:
If I duplicate the layer, the snow looks even brighter.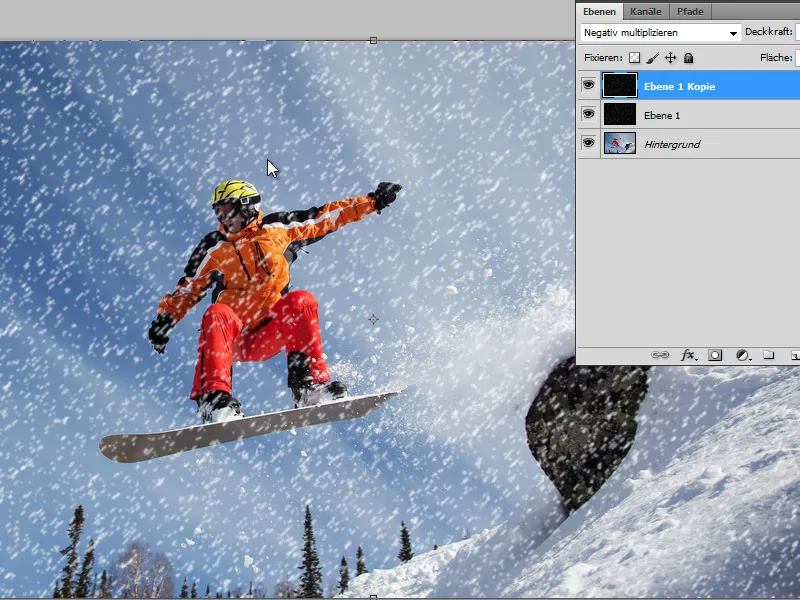
Variant 3 - Creating Snow with a Brush
Step 1:
I open my image again and press F5 to access the Brush Presets panel. Then I select a round soft brush and adjust this in the Brush Shape: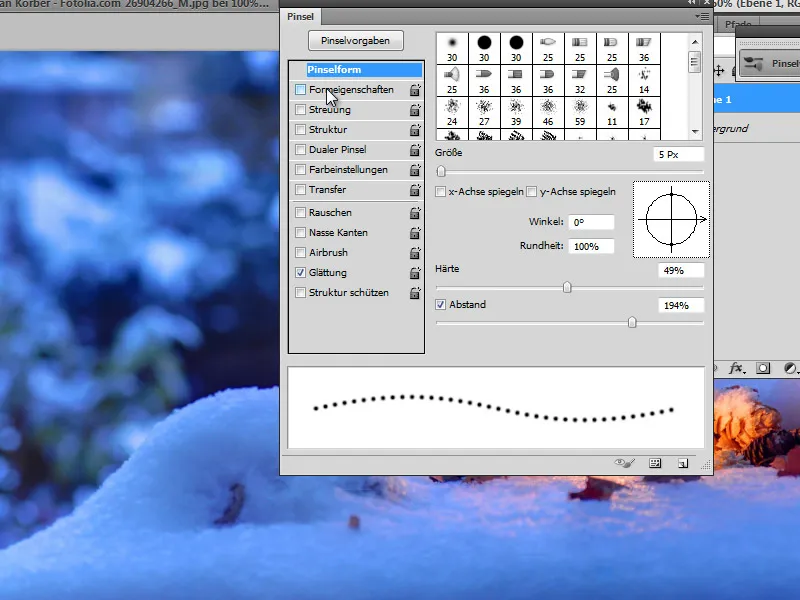
Step 2:
In the Shape Dynamics, I especially set the Size Jitter (some brush strokes will be larger and others smaller).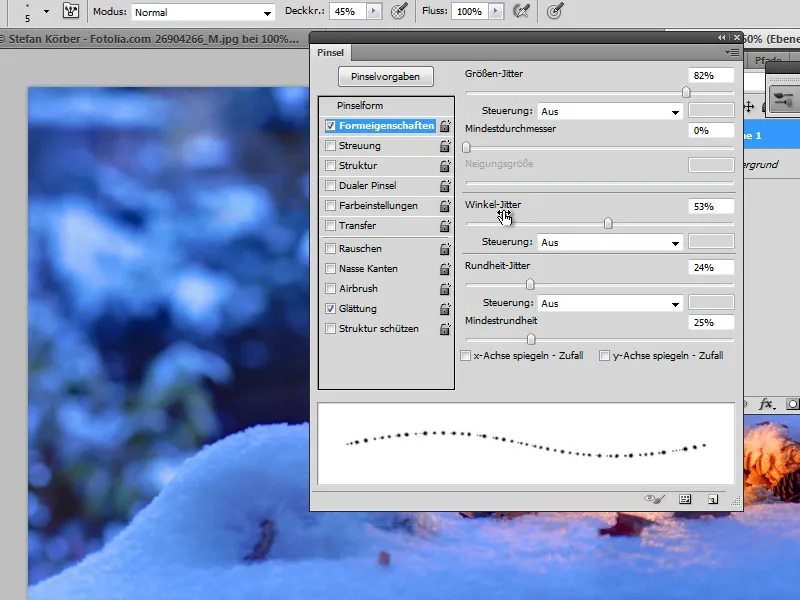
Step 3:
I need to set the Scattering to 1000% so that the brush strokes are nicely mixed up.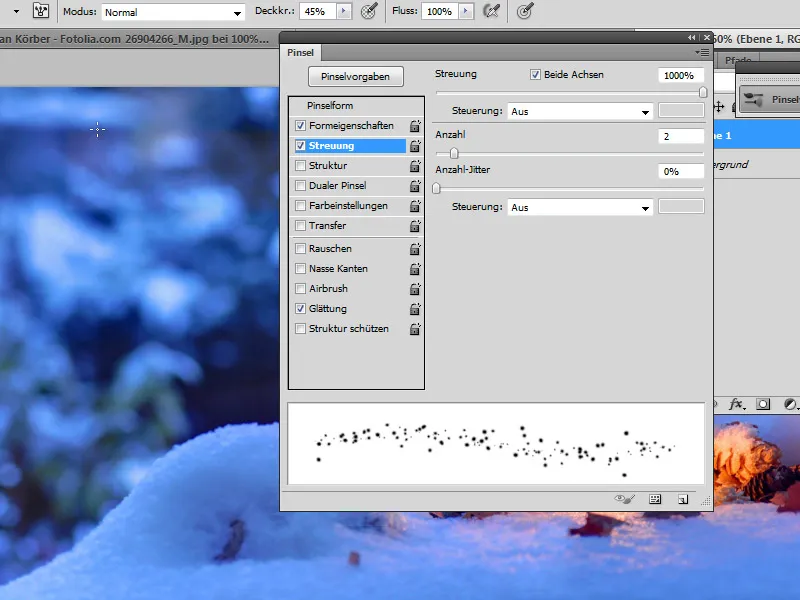
Step 4:
In a new layer, I can then paint the flakes with different opacity and size of the brush tip.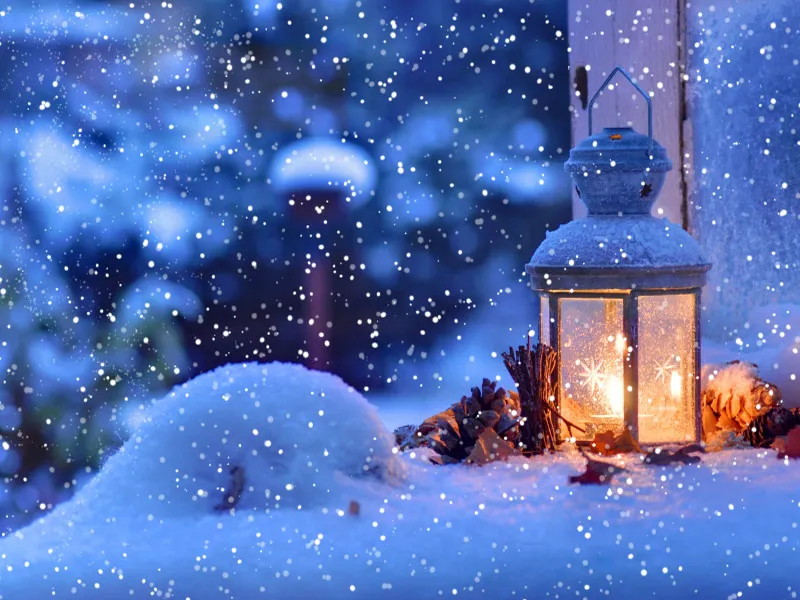
Step 5:
If the snow should be more dynamic, I can also add motion blur to it.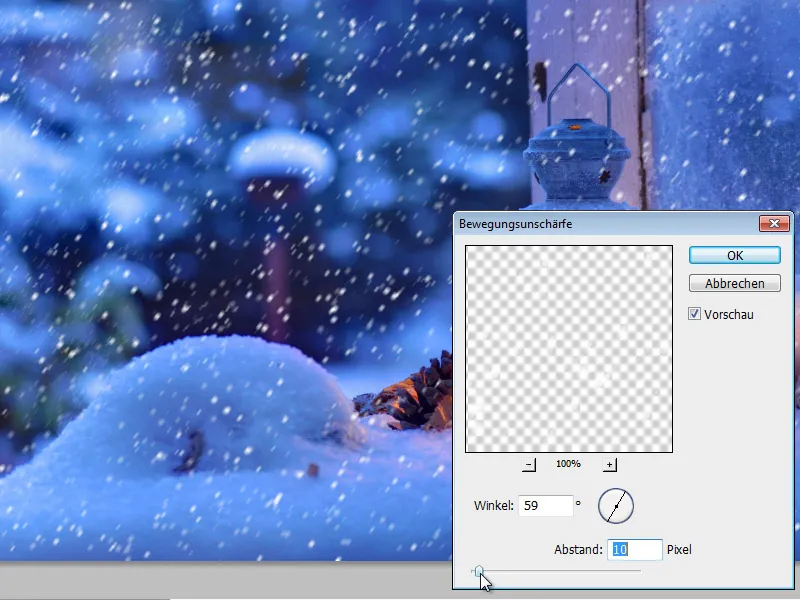
Step 6:
If I now apply the spatter brush with the same settings on a new layer, I will have different flakes in my image.
Variant 4 - Snow with a Filter
Step 1:
If I want to quickly create flakes without much effort, I can use a plugin like Snowflakes from VanDerLee at www.vanderlee.com/plugins_snowflakes_download.html.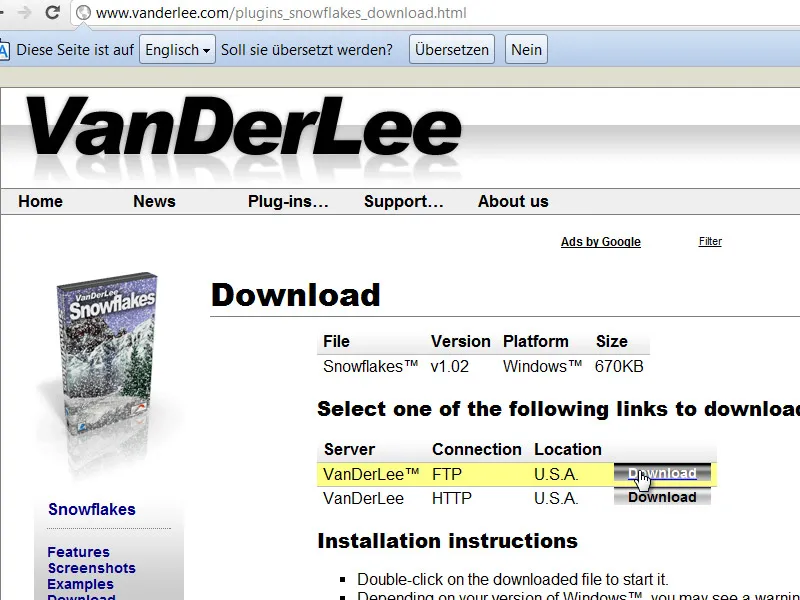
Step 2:
Either I move the plugin (*.8bf) into the Photoshop additional modules folder or I extract the plugin into another folder and specify it in the Preferences under Additional Plugins Folder.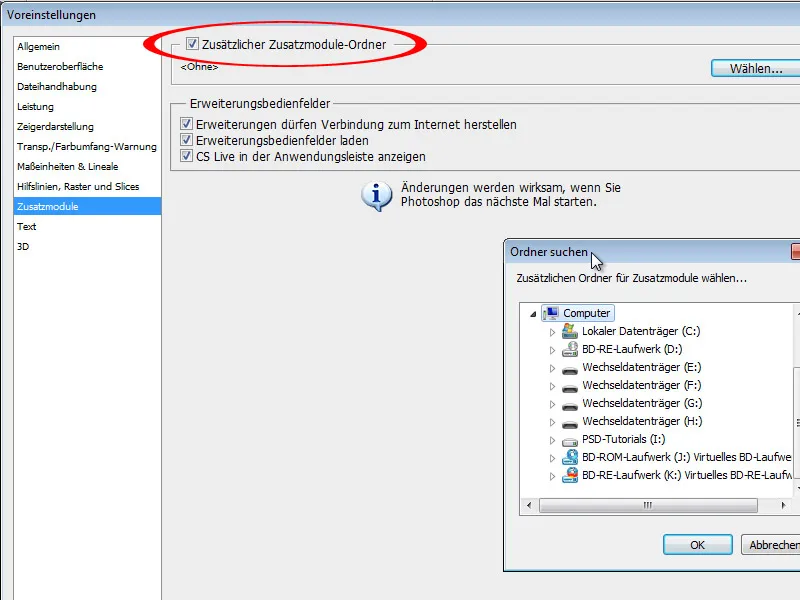
Step 3:
After restarting Photoshop, the filter will be displayed under Menu>Filter>VanDerLee.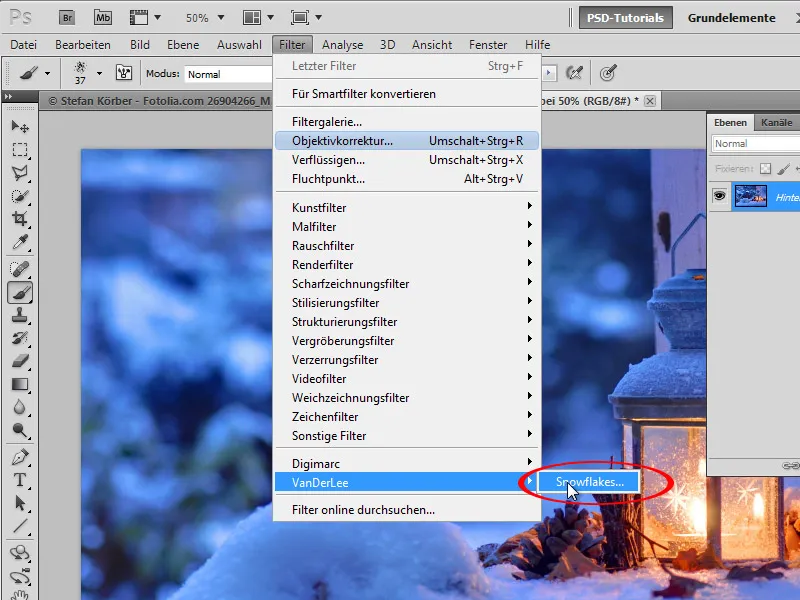
Step 4:
Here I have various options to adjust the flakes.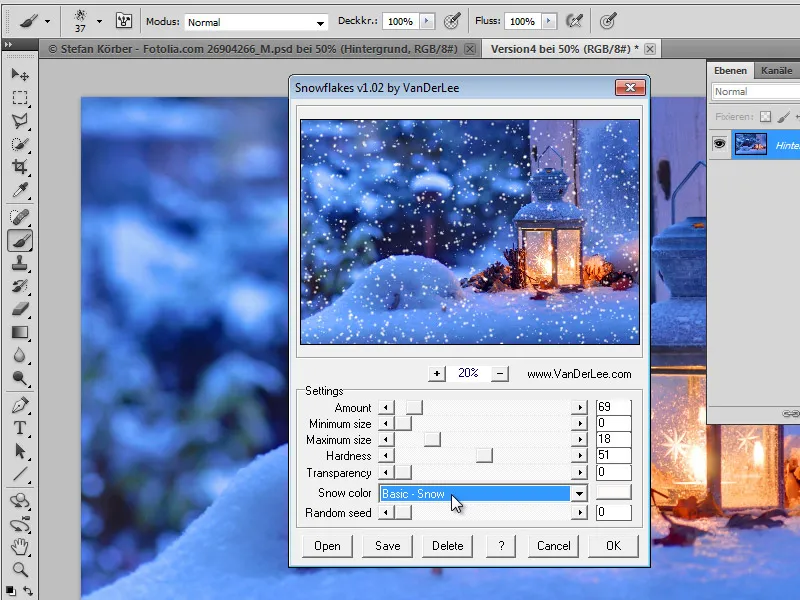
Step 5:
The result may not look entirely realistic. However, I can also choose to have the flakes placed on an extra layer rather than directly on the background layer.