Organizing documents is crucial to appear professional and structured. Whether it's an academic paper, a report, or a presentation - headers and footers play a crucial role in creating an appealing layout. This guide covers the steps for creating and customizing headers and footers in Google Docs.
Main Takeaways
- Headers and footers provide an easy way to showcase information consistently across all pages.
- You can use different settings for even and odd pages.
- Adjustments like spacing, page numbering, and differentiating on cover pages are easily achievable.
Step-by-Step Guide
Opening Headers and Footers
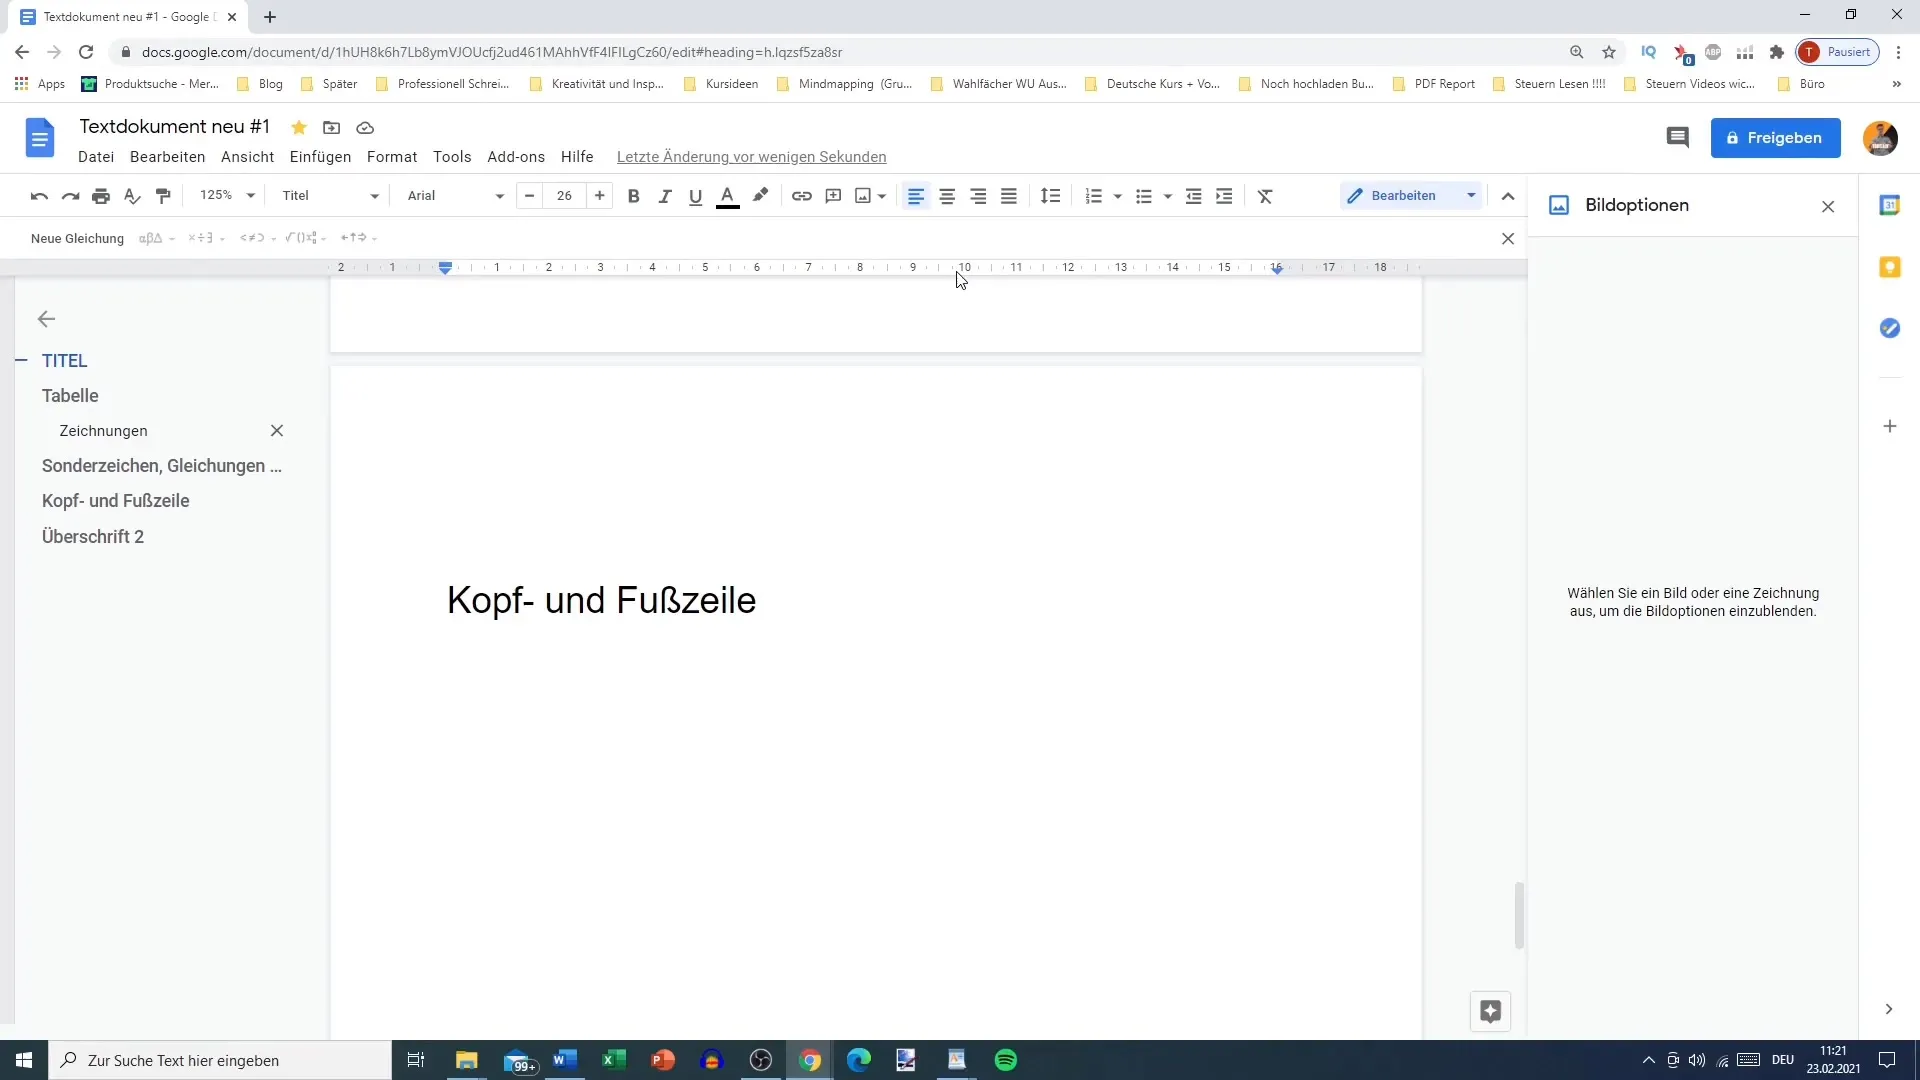
To work with headers and footers in Google Docs, start by opening an existing document or creating a new one. Click on "Insert" in the top menu bar. There you will find the option "Headers & footers." This simple step will take you directly to the settings for headers and footers.

Creating a Header
After clicking "Header," the header area will be activated. Here you can enter your name, the document topic, or other relevant information. Be sure to maintain an appropriate distance from the top and bottom to make your page layout visually appealing.
Customizing the Header
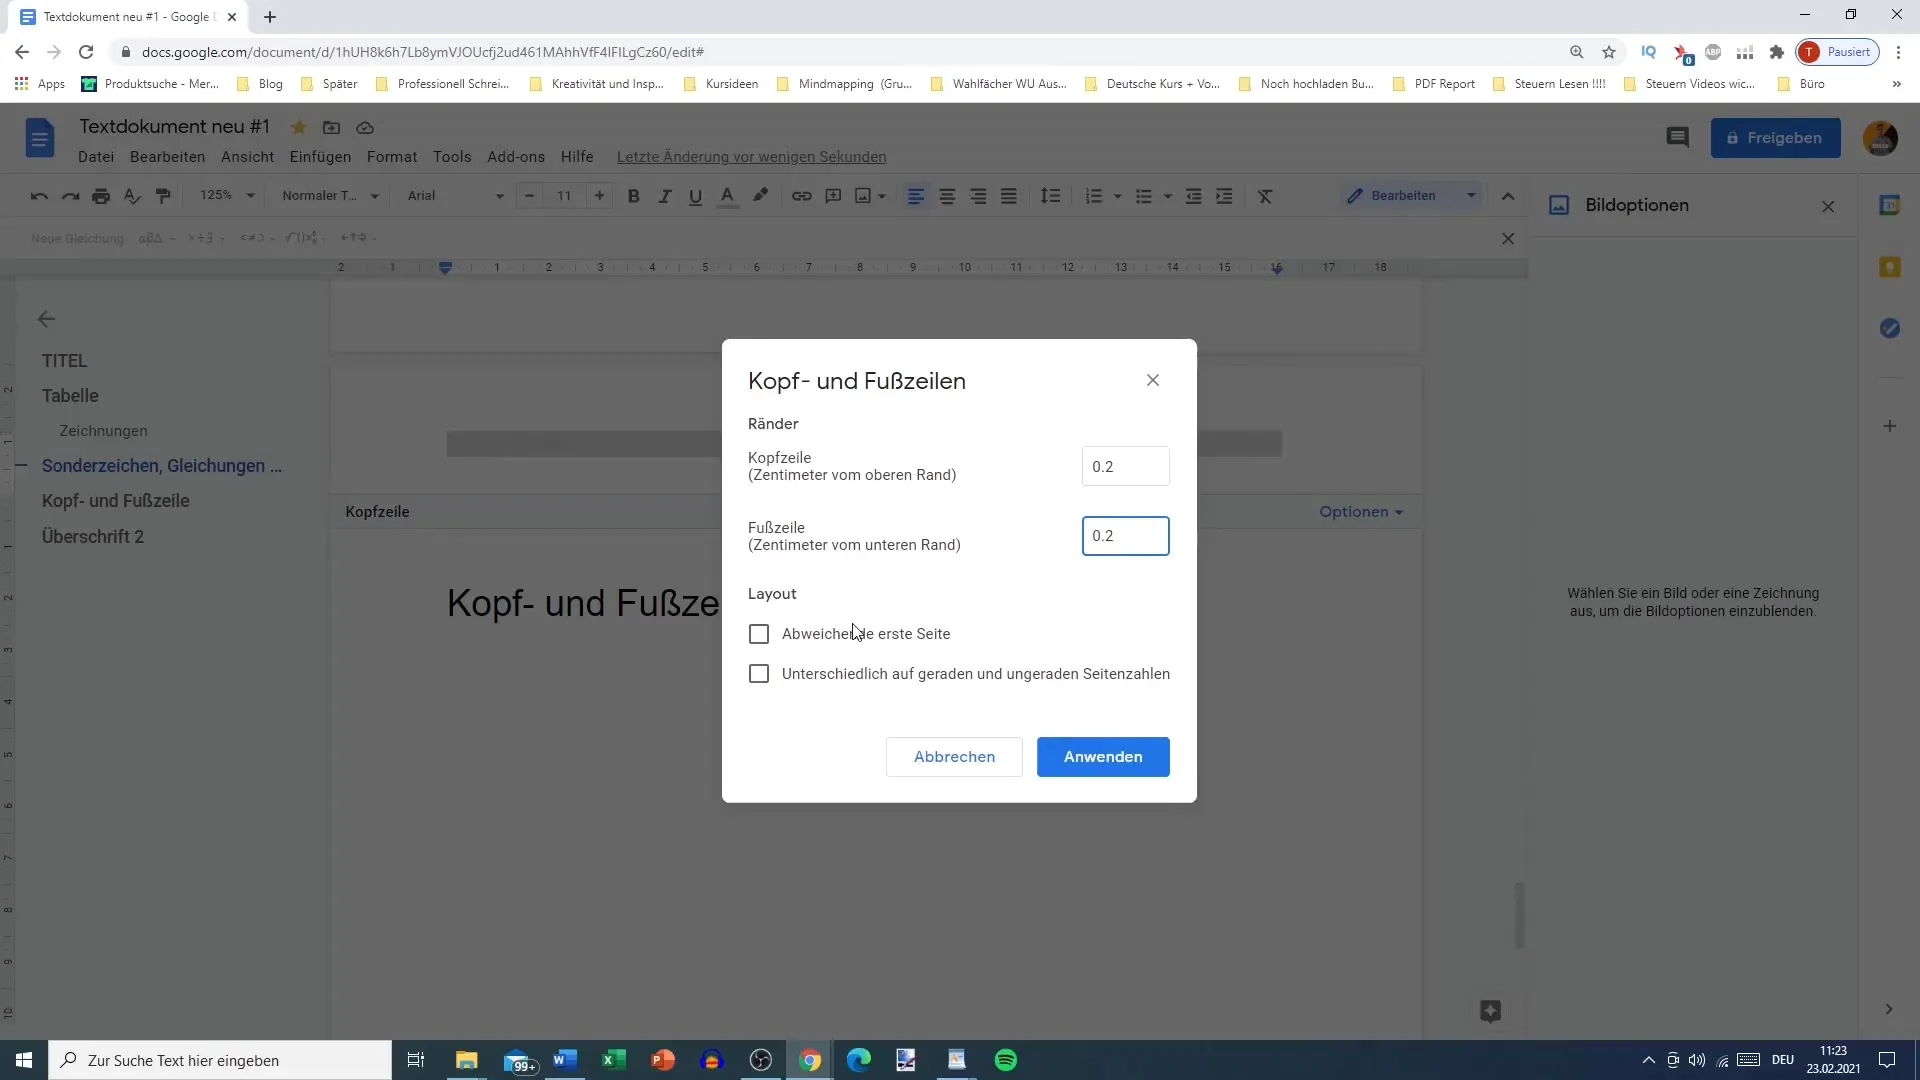
You have the option to adjust the spacing of the header. Double-click in the header area to open the formatting options. You can set the distance from the top margin, for example, to 0.2 cm. This flexibility ensures that your header is well-placed and visible.
First Page Options
Here, you can also specify whether the header should differ on the first page. This is particularly useful if your document includes a cover page or preface. Activate this function if you want the first page to have a different header than the following ones.

Entering Information in the Footer
To add a footer, go back to the "Insert" menu and select "Footer." Similar to the header, here too you have the opportunity to insert information and adjust the margins accordingly, about 0.2 cm from the bottom edge.
Adding Page Numbers
The footer is also the perfect place to insert page numbers. You can choose whether the numbering should be displayed on the first page or if you want to start numbering only from page 3. To set the page numbers, go to the respective option in the footer formats and choose your preferred setting.
Removing Headers and Footers
If you decide that you no longer need the header or footer, you can simply remove it. Click on the header or footer and select the "Remove Header" option. With one click, all content in that area will disappear.
Final Adjustments
Have you made the desired content and adjustments? You can always go back and further edit the properties of your headers and footers. Check if everything looks good and make the necessary adjustments to ensure your document looks consistently appealing.
Summary
In this guide, you have learned how to effectively create and customize headers and footers in Google Docs. The options available to you allow you to make your documents more professional and organized.
Frequently Asked Questions
How do I add a header?Click on "Insert" and then on "Header" to activate the area.
Can I customize the header on the first page?Yes, you can enable the option for the first page to have a different header.
How do I remove a footer?Double-click in the footer and select "Remove Footer."
Can I change the spacing in the header?Yes, you can adjust the distance from the top margin in the header formatting.
Where can I find page numbering tutorial?Go to the footer options to add page numbers and customize their settings.


