If you use Google Docs for your documents, you have surely noticed that images play an important role. They can significantly enhance the visual aspect of your text and help convey information more clearly. In this guide, we will walk you through the basic image options available to effectively manage and design your images.
Main Insights
- You can adjust the position of images relative to the text.
- Image sizes and proportions can be flexibly adjusted.
- The option to crop images helps you focus on the essentials.
- Border lines and colors give your images a professional look.
Step-by-step Guide
1. Insert Image and Choose Position in Text
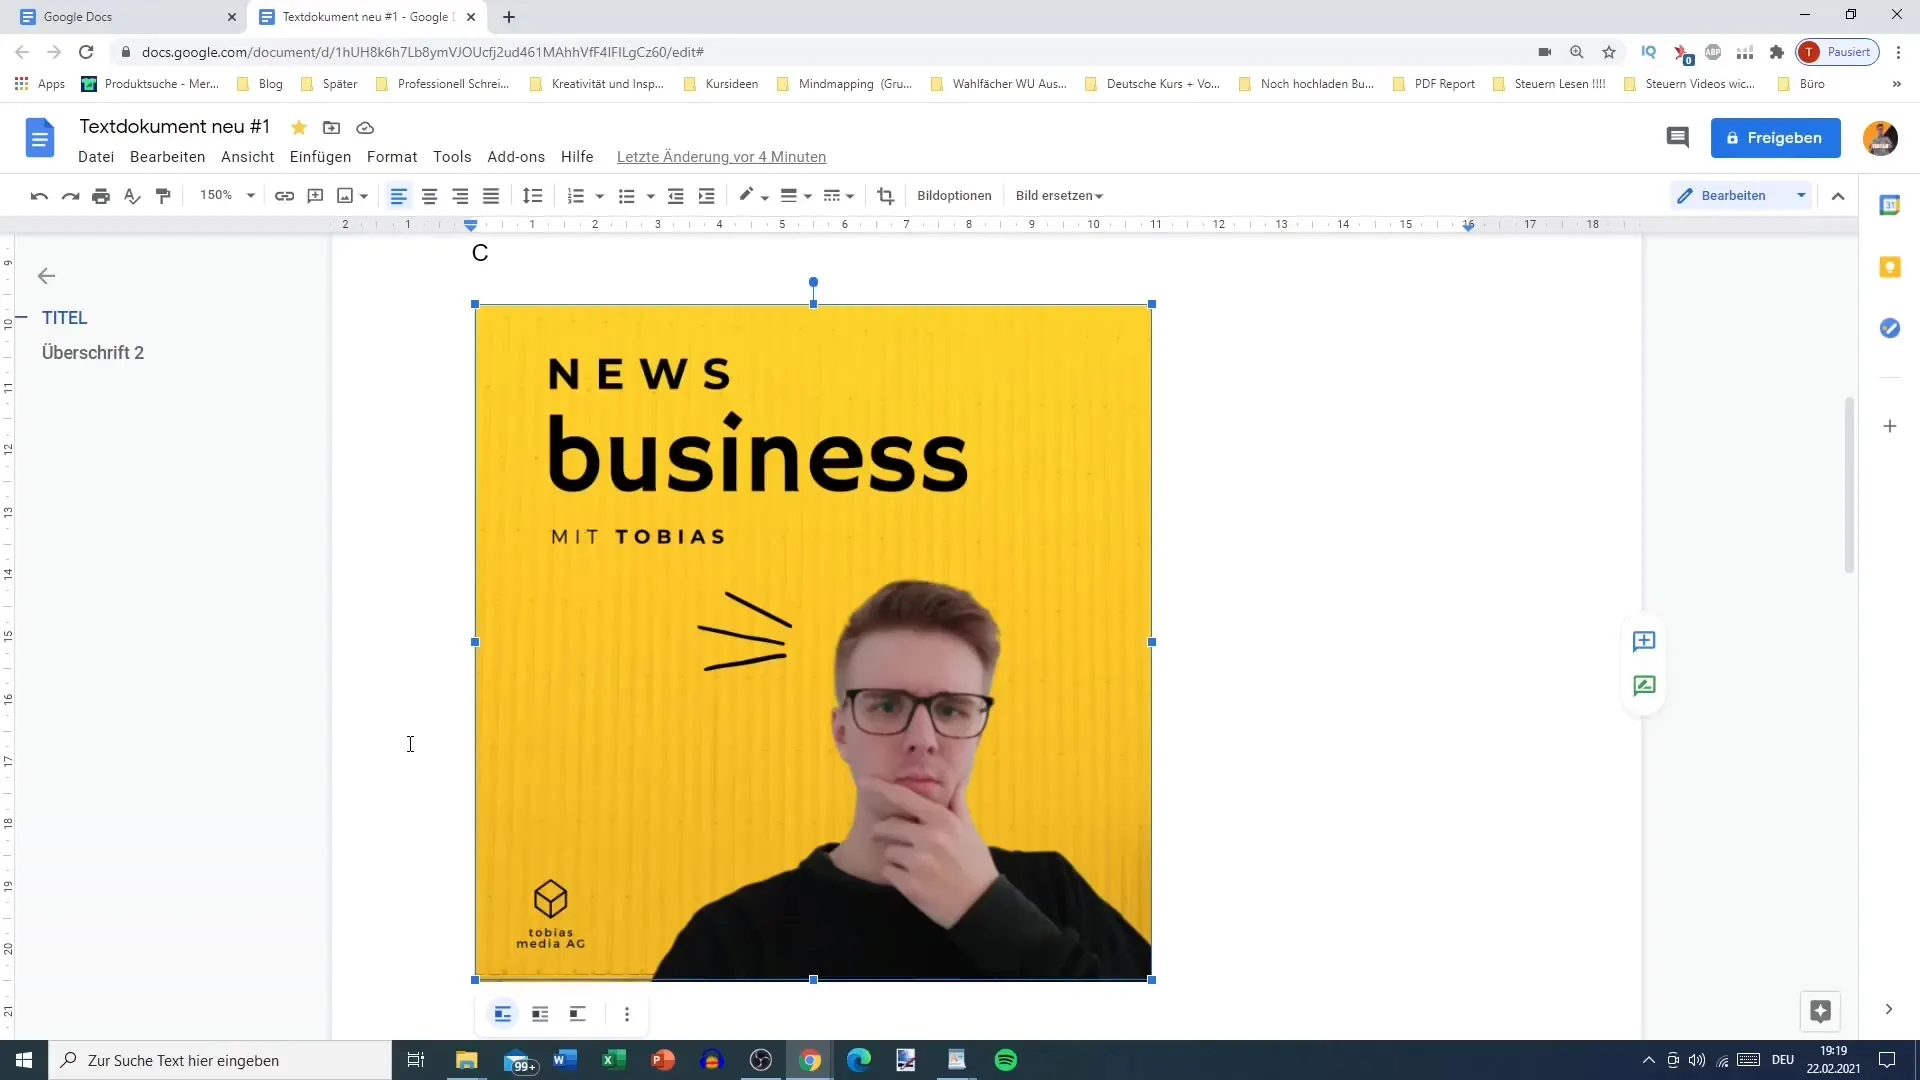
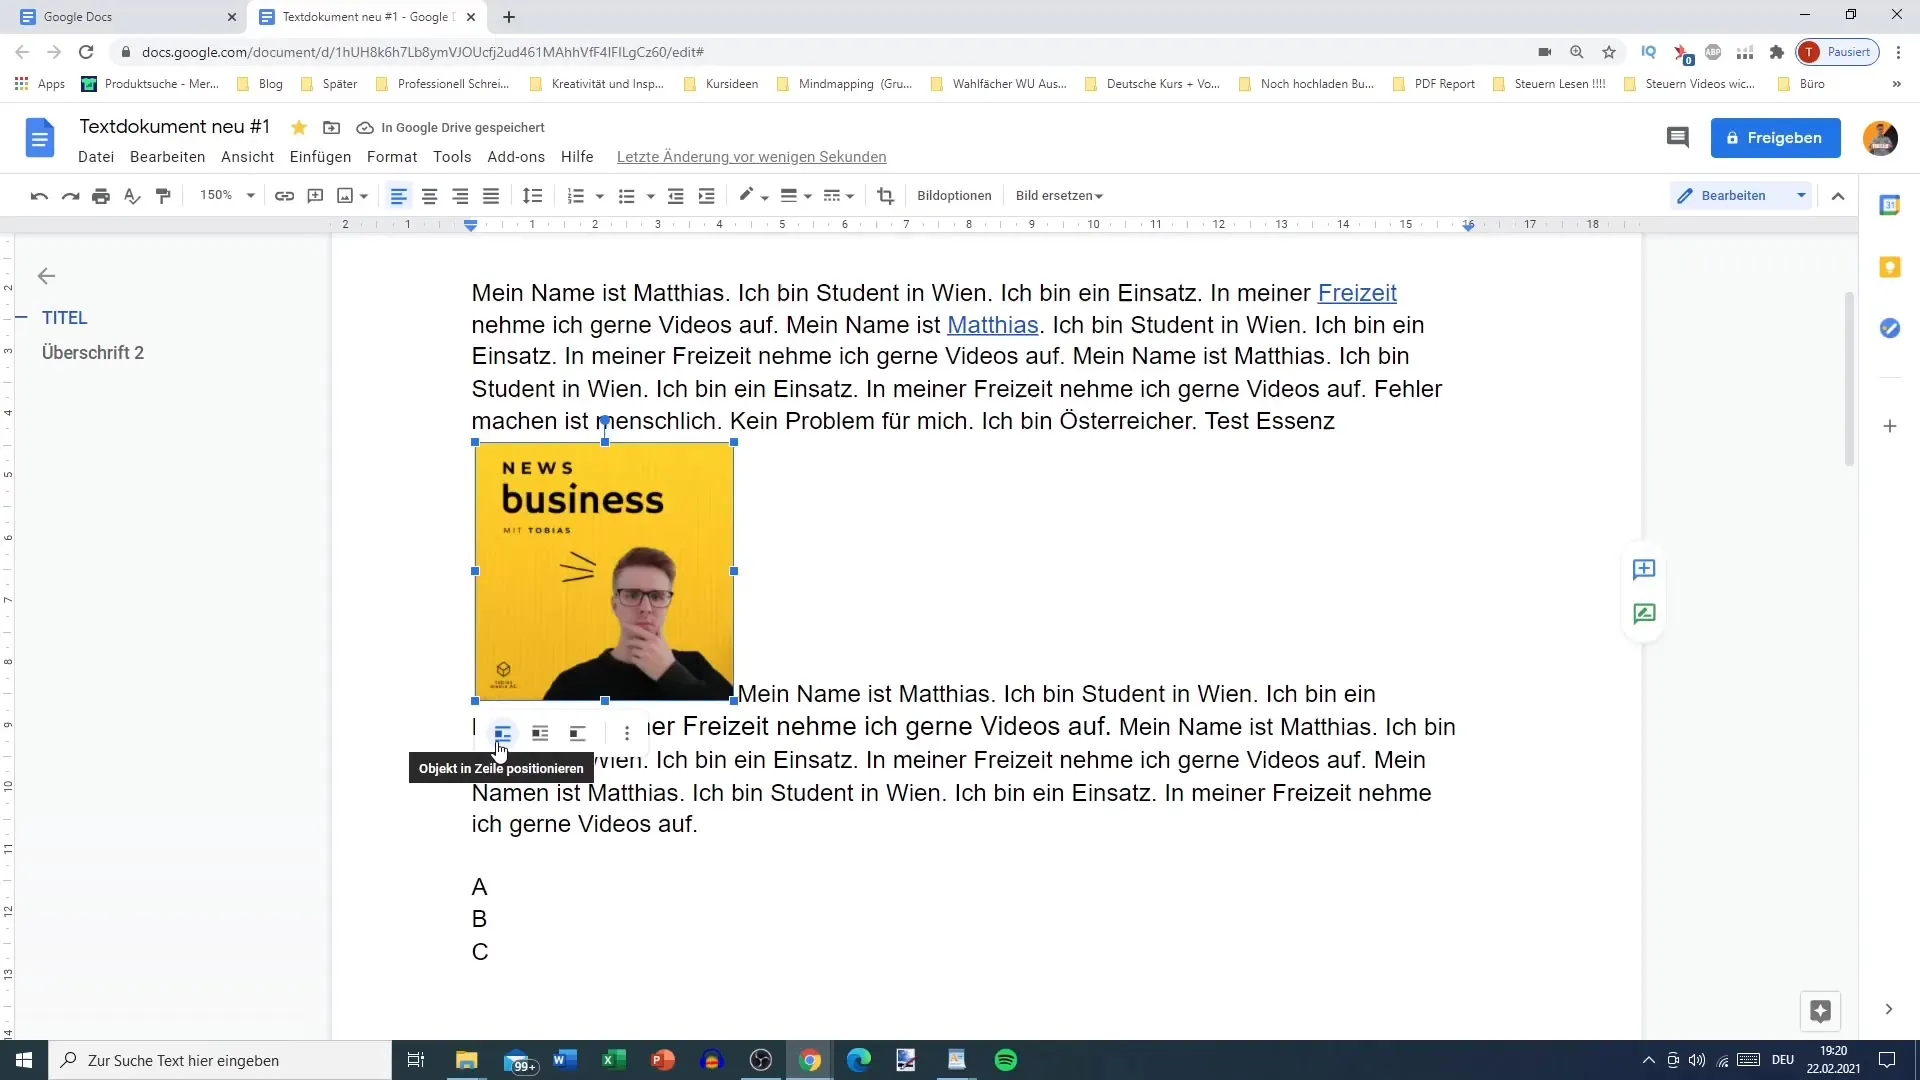
To insert an image in Google Docs, click on the spot in the document where the image should appear. After inserting the image, click on it. This will display three positioning options. One option allows you to keep the image in line, while the other allows the text to flow around the image. This way, you can customize the arrangement of your content.
2. Adjust Distance between Text and Image
If you want to integrate the image into the text, it is important to set the distance between the image and the text. You can set the margin of the image to 0 mm, meaning that the text touches the image directly. Alternatively, you can also choose a distance of about 1.6 mm for better readability.
3. Set Fixed and Flexible Positions
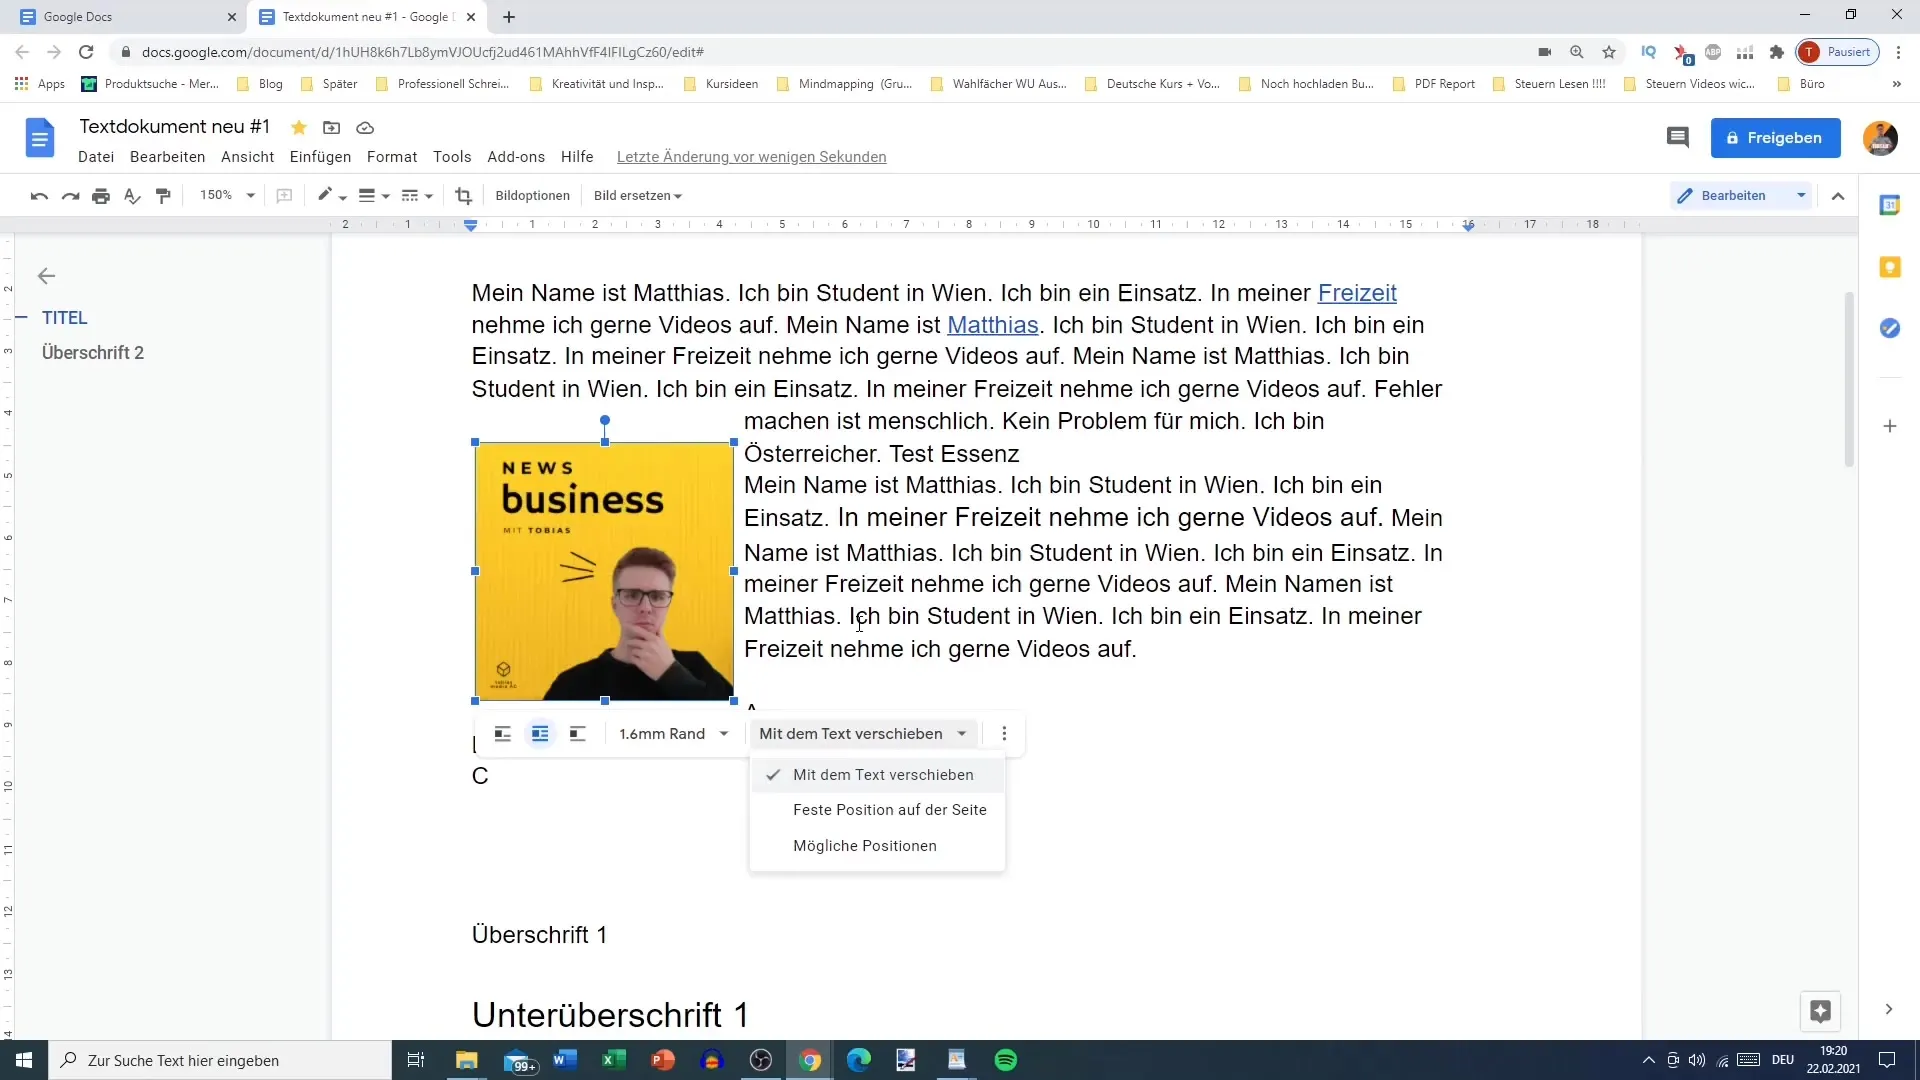
One of the handy features in Google Docs is the ability to set the image's positioning. You can decide whether the image should move along with the text or remain in a fixed position. Choosing a fixed position keeps the image in place, regardless of how you edit the text.
4. Adjust Image Size
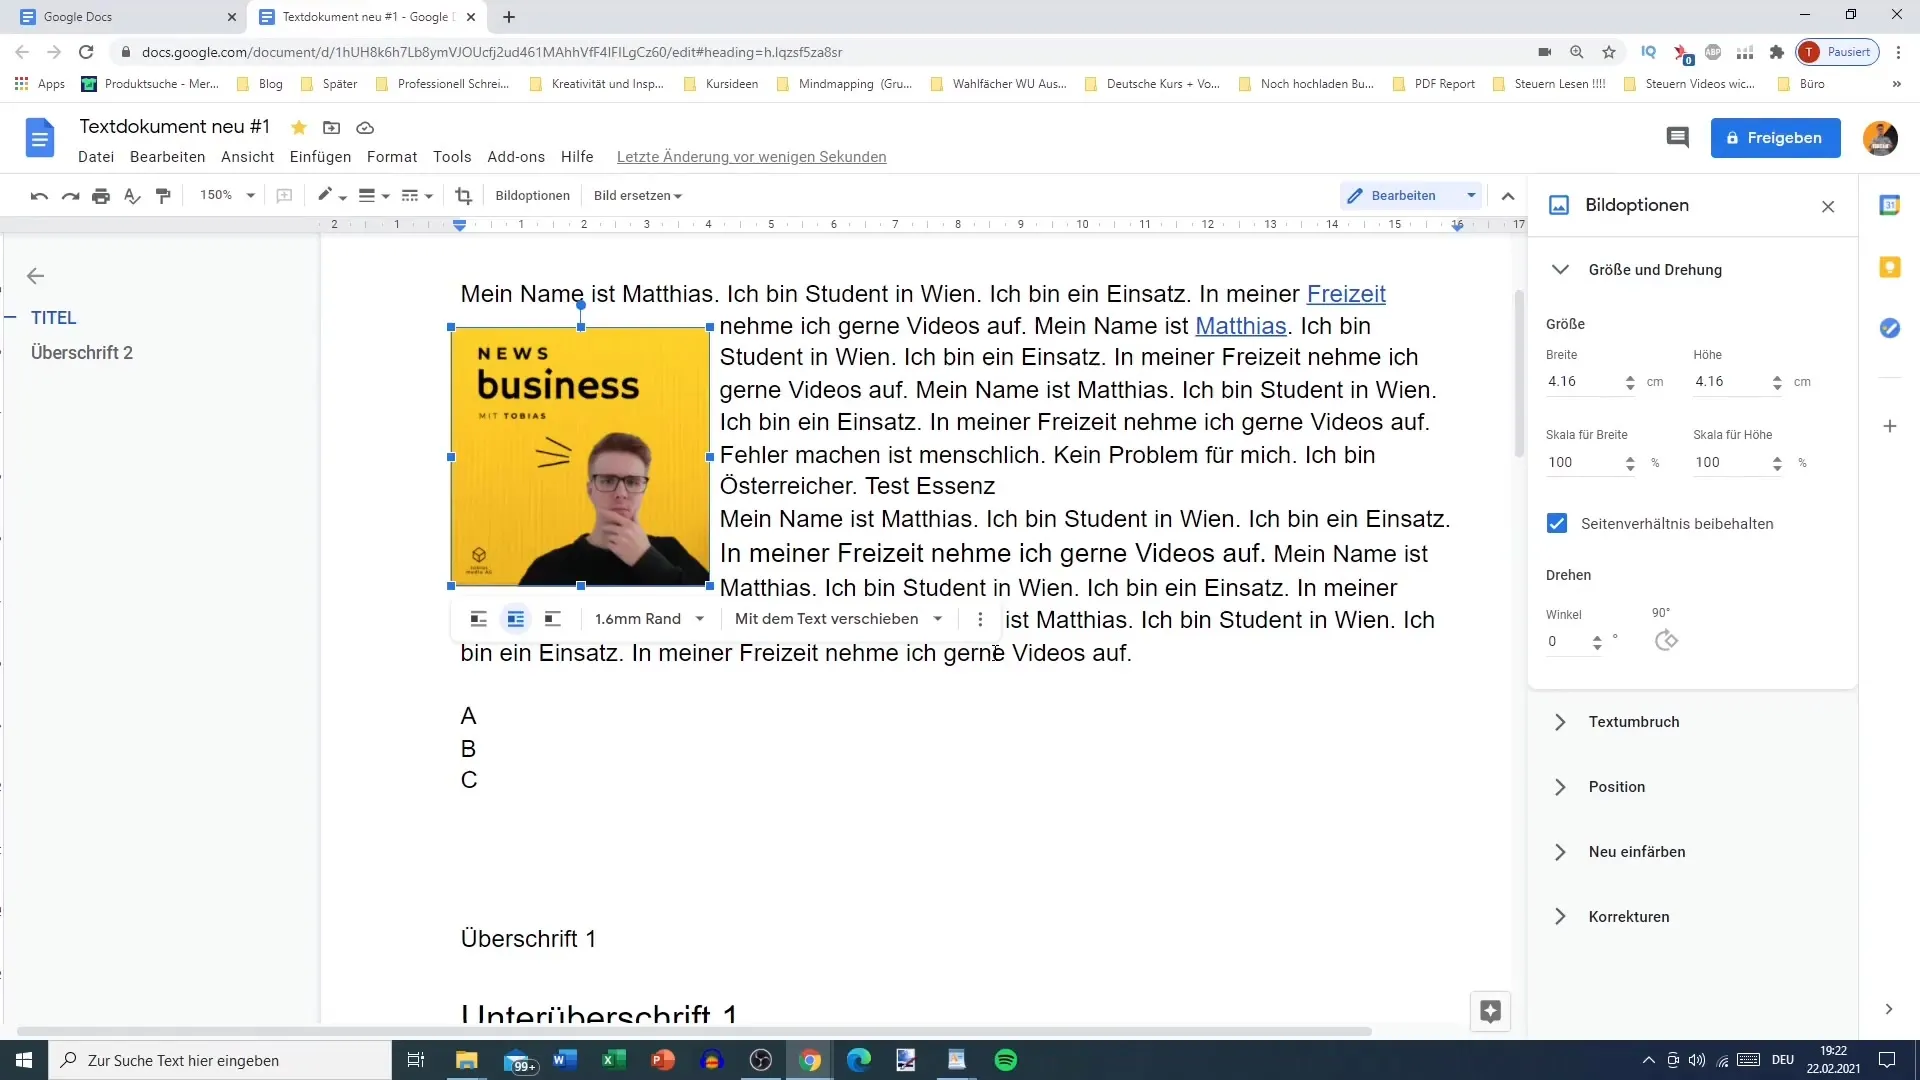
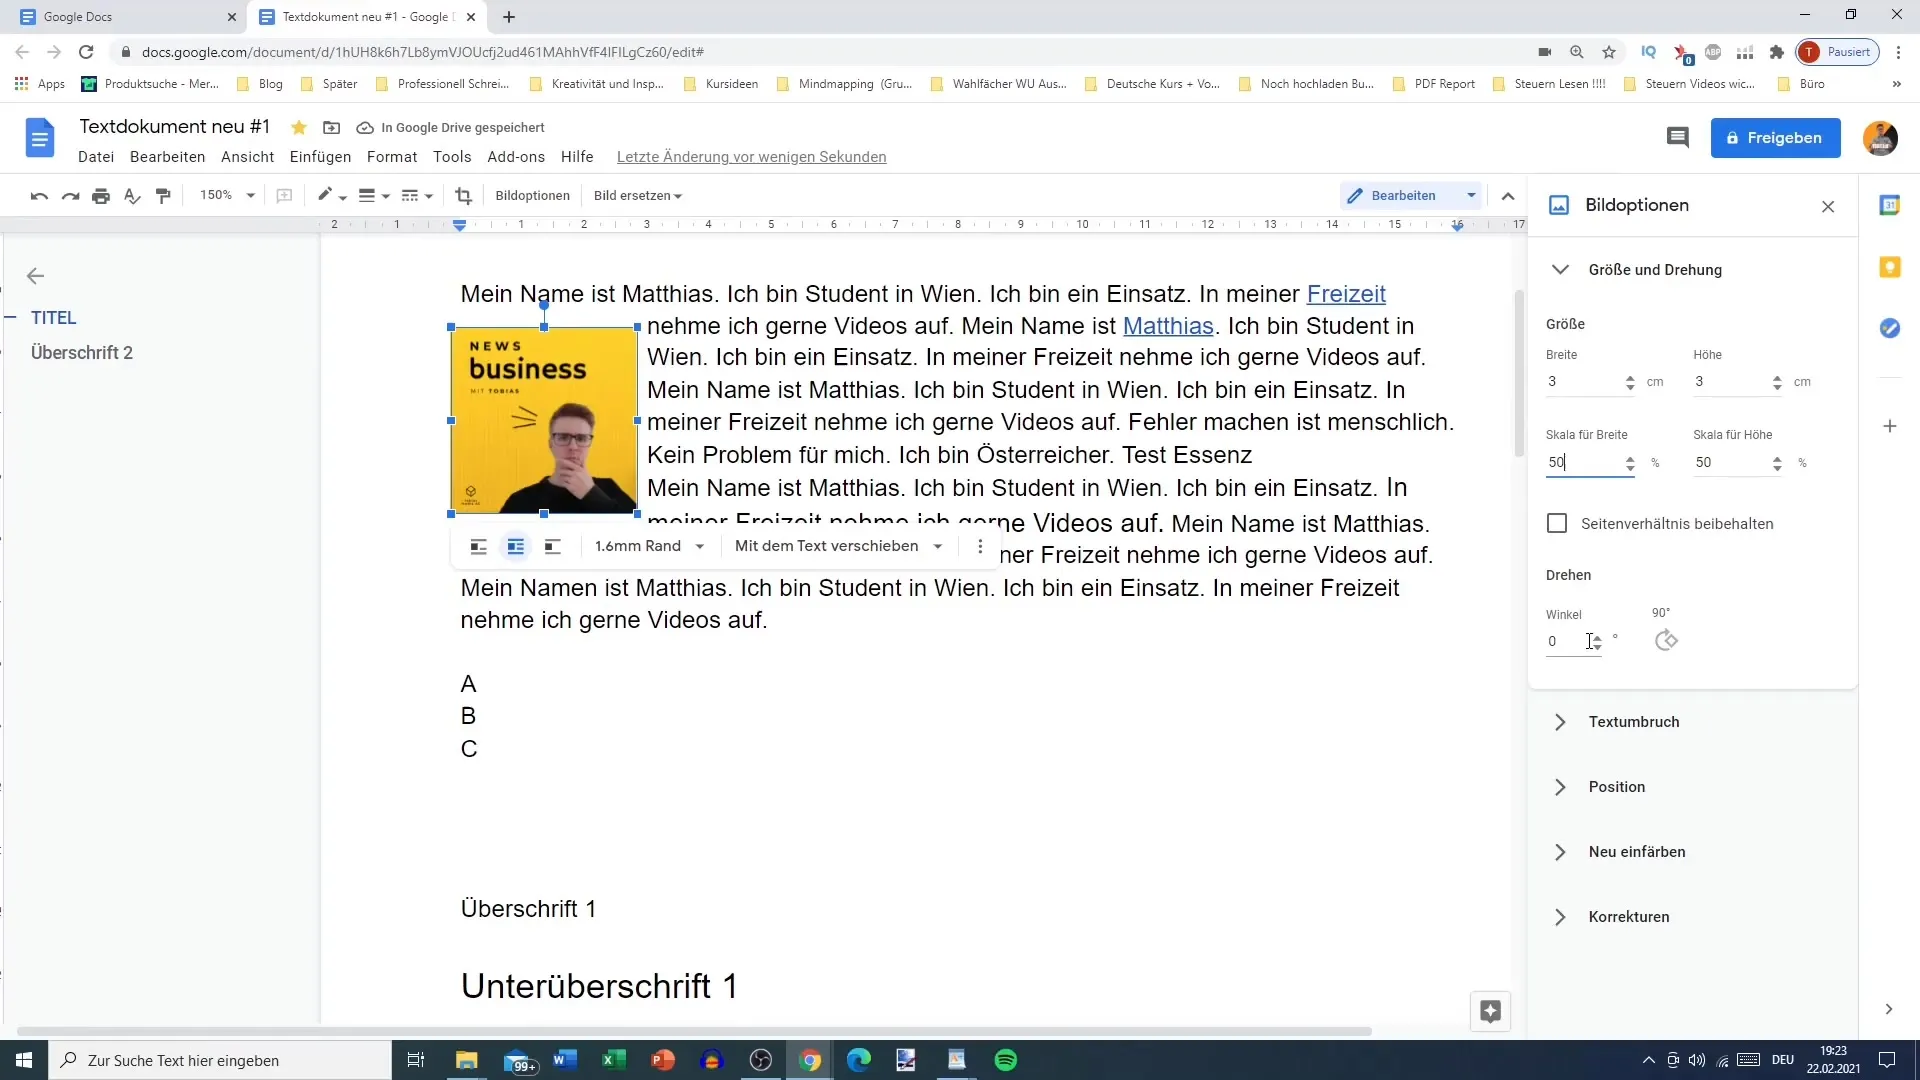
To change the size of the image, click on the three dots that appear with a selection. Here, you can set the exact measurements in centimeters. It is important to pay attention to the proportions. For example, if you set the width to 4.5 cm, you can adjust the height accordingly to maintain a uniform appearance.
5. Scale and Rotate Image
In addition to resizing, you can also scale the image. Enter, for example, 60 in both fields to uniformly shrink it. If you need the image at a specific angle, you can also rotate the image by 90° or any other desired degree.
6. Utilize Text Wrapping Options
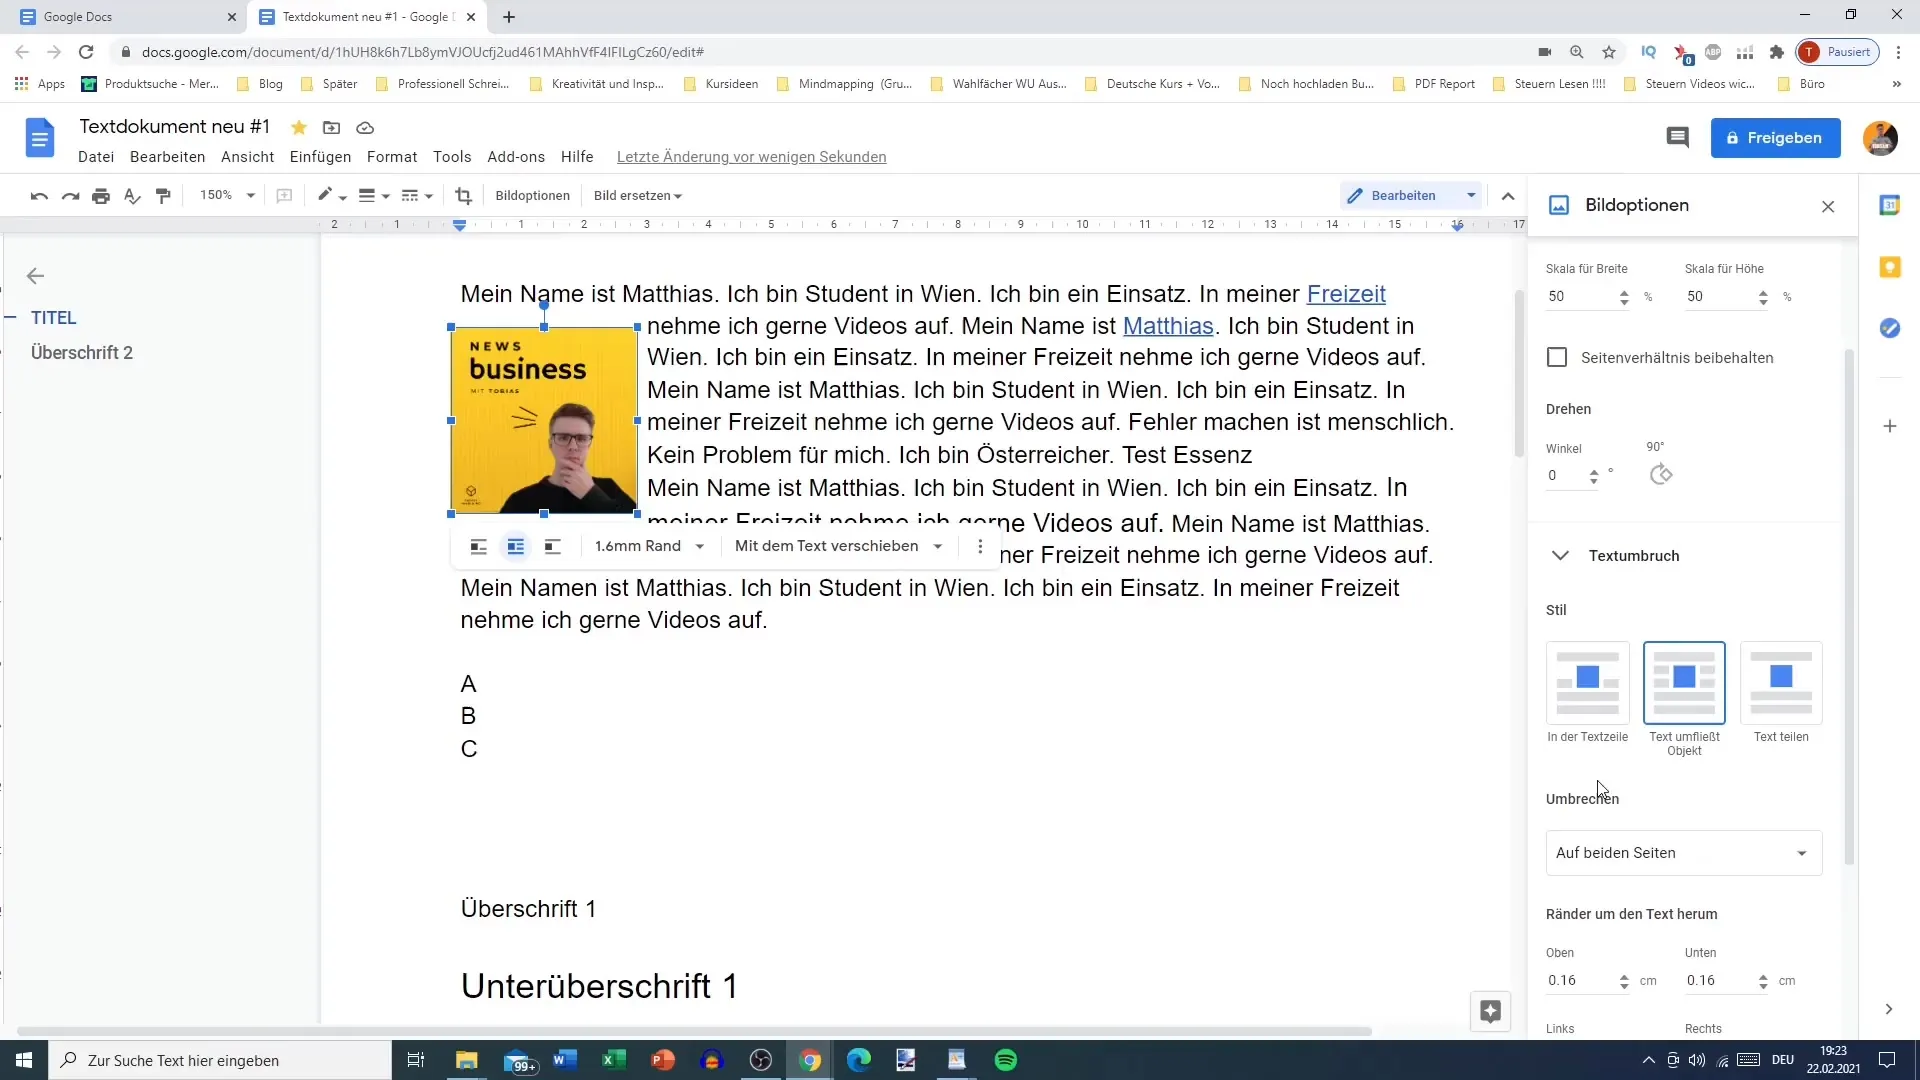
To further optimize the layout of your document, you can choose various text wrapping options. If you want the text to wrap around the image, adjust the setting accordingly. This helps integrate the image harmoniously into the existing text.
7. Image Colors and Effects
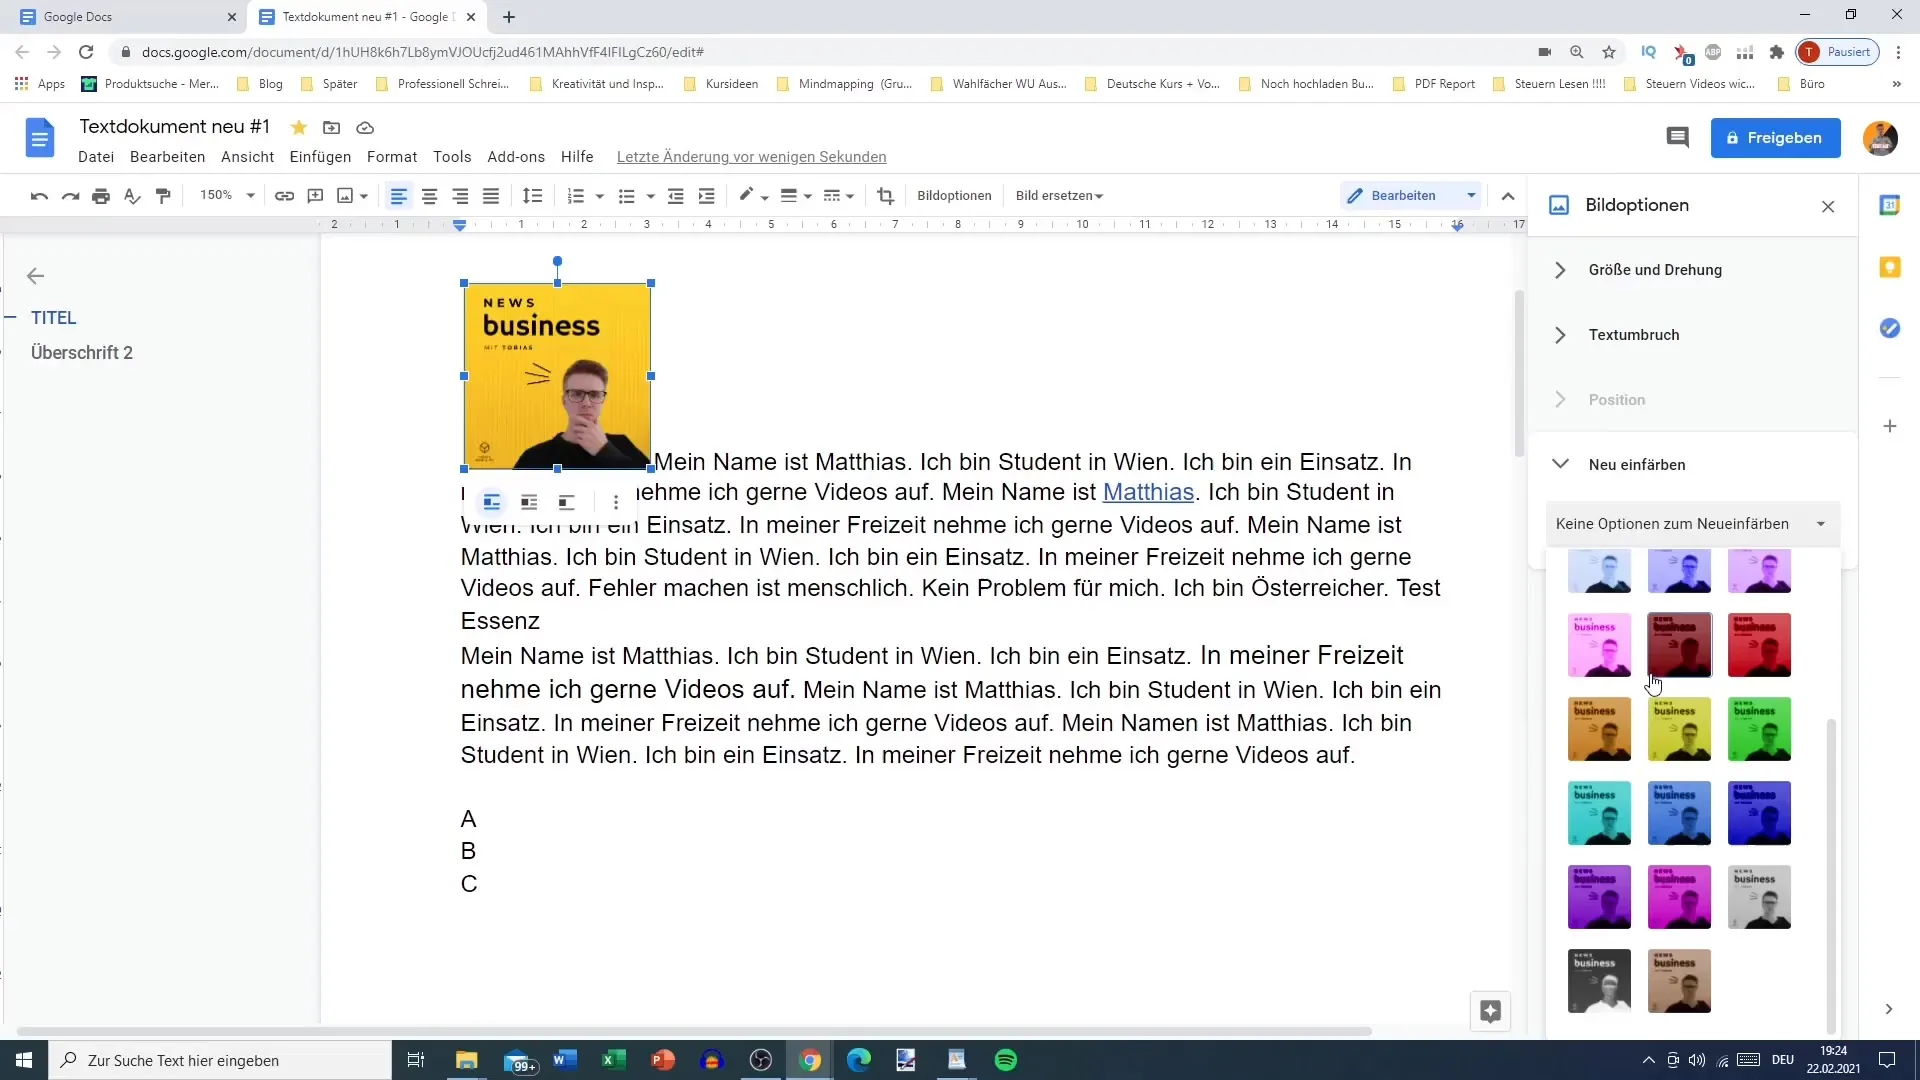
A particularly interesting feature is the various options for image editing. You can colorize your images and apply different shaders or color filters. These color changes can create an entirely new effect and give the image a unique look.
8. Image Cropping
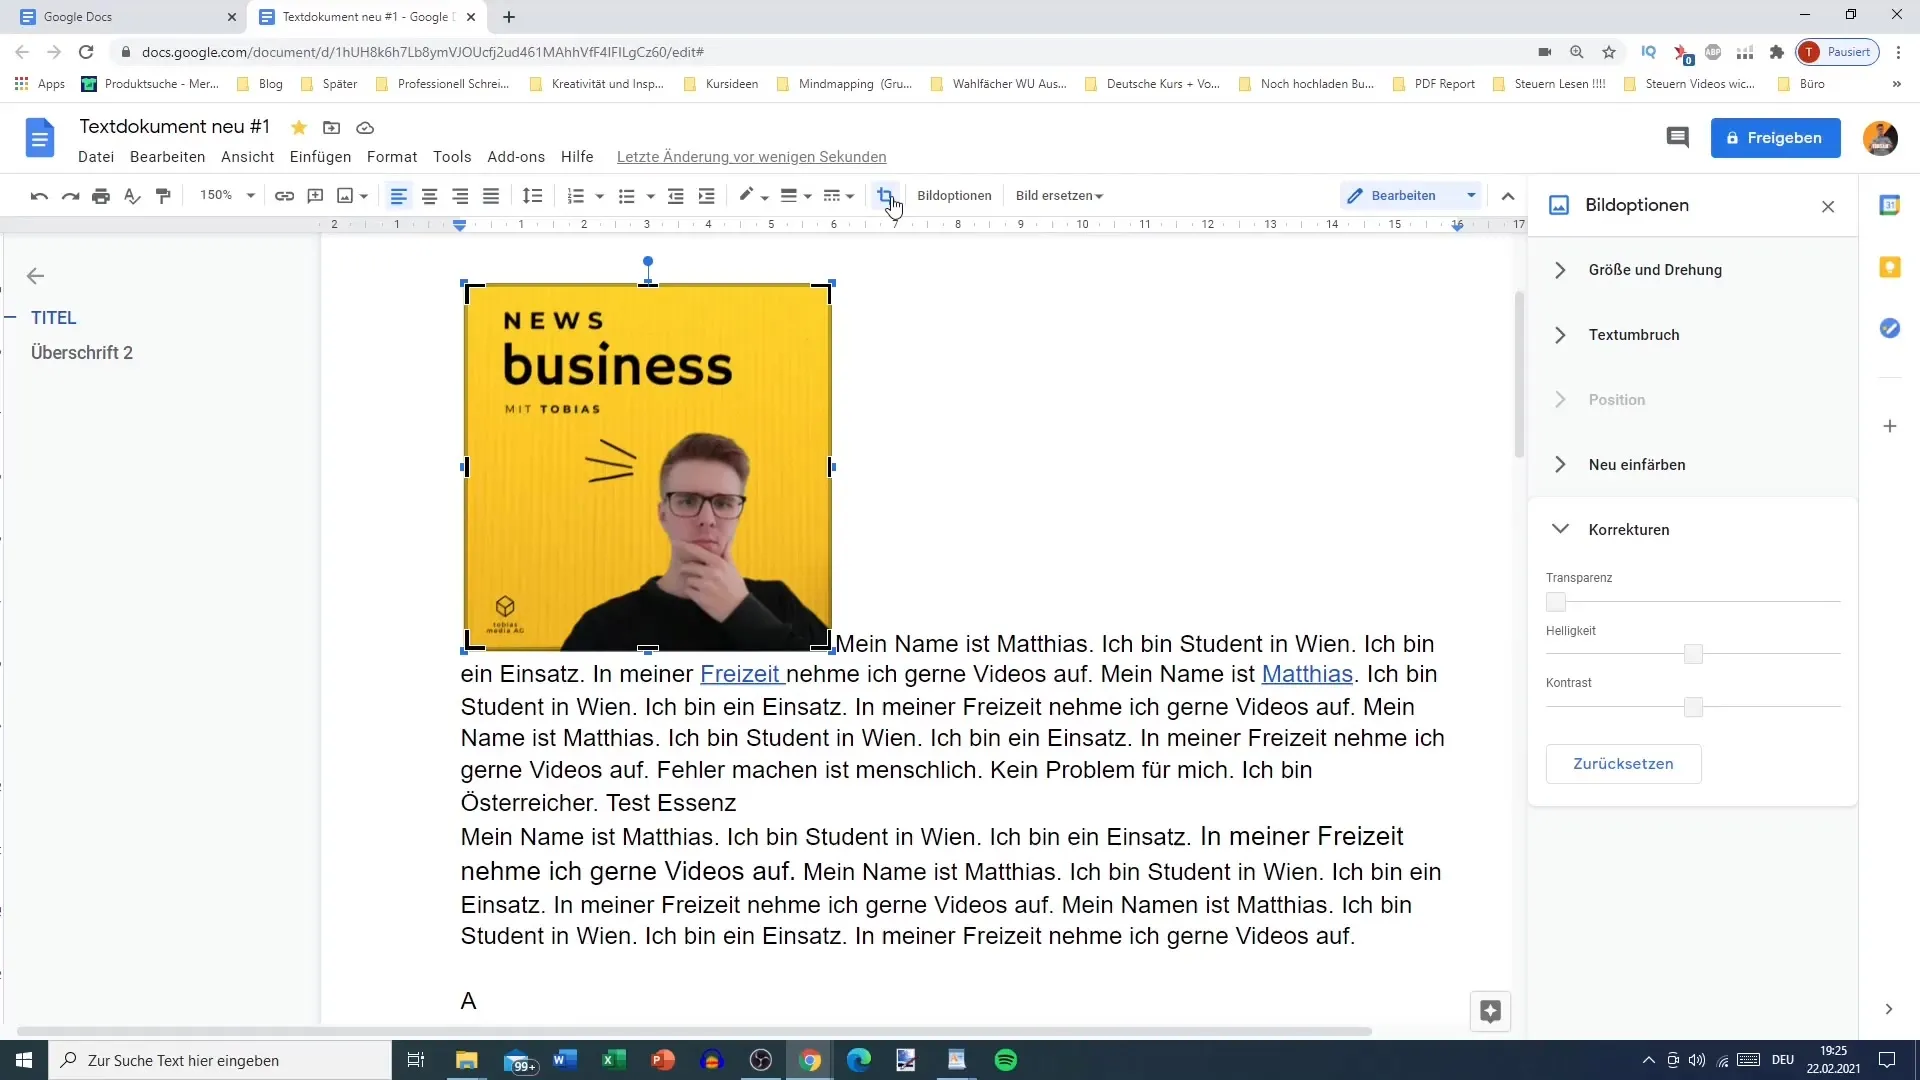
To remove unwanted areas of the image or focus on a specific part, you can use the cropping function. Simply drag the corners of the image in the desired direction. Press Enter to confirm the crop, and the image will be adjusted accordingly.
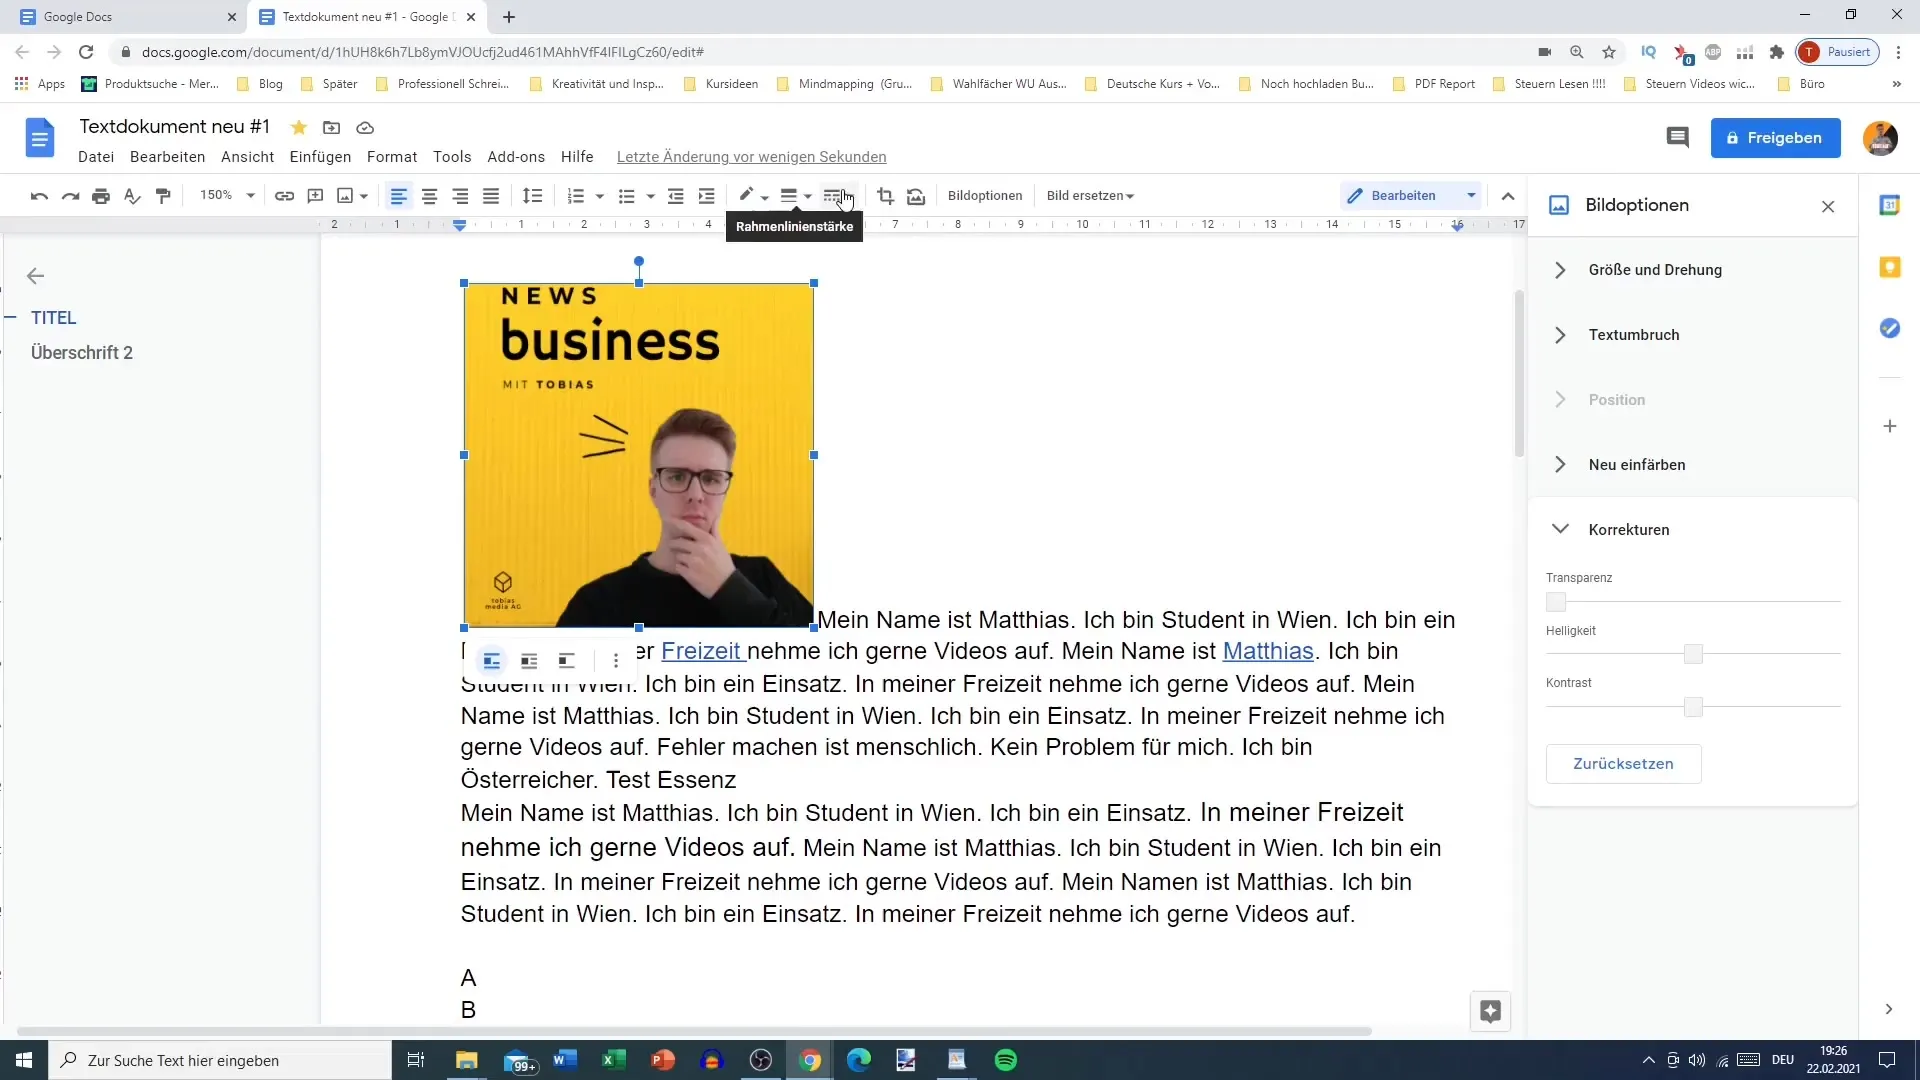
9. Add borderlines
To give your image more structure, you can add borderlines. Choose between solid, dashed, or dotted lines and adjust the color and thickness of the borderlines to achieve an appealing visual effect.
10. Replace image while keeping formatting
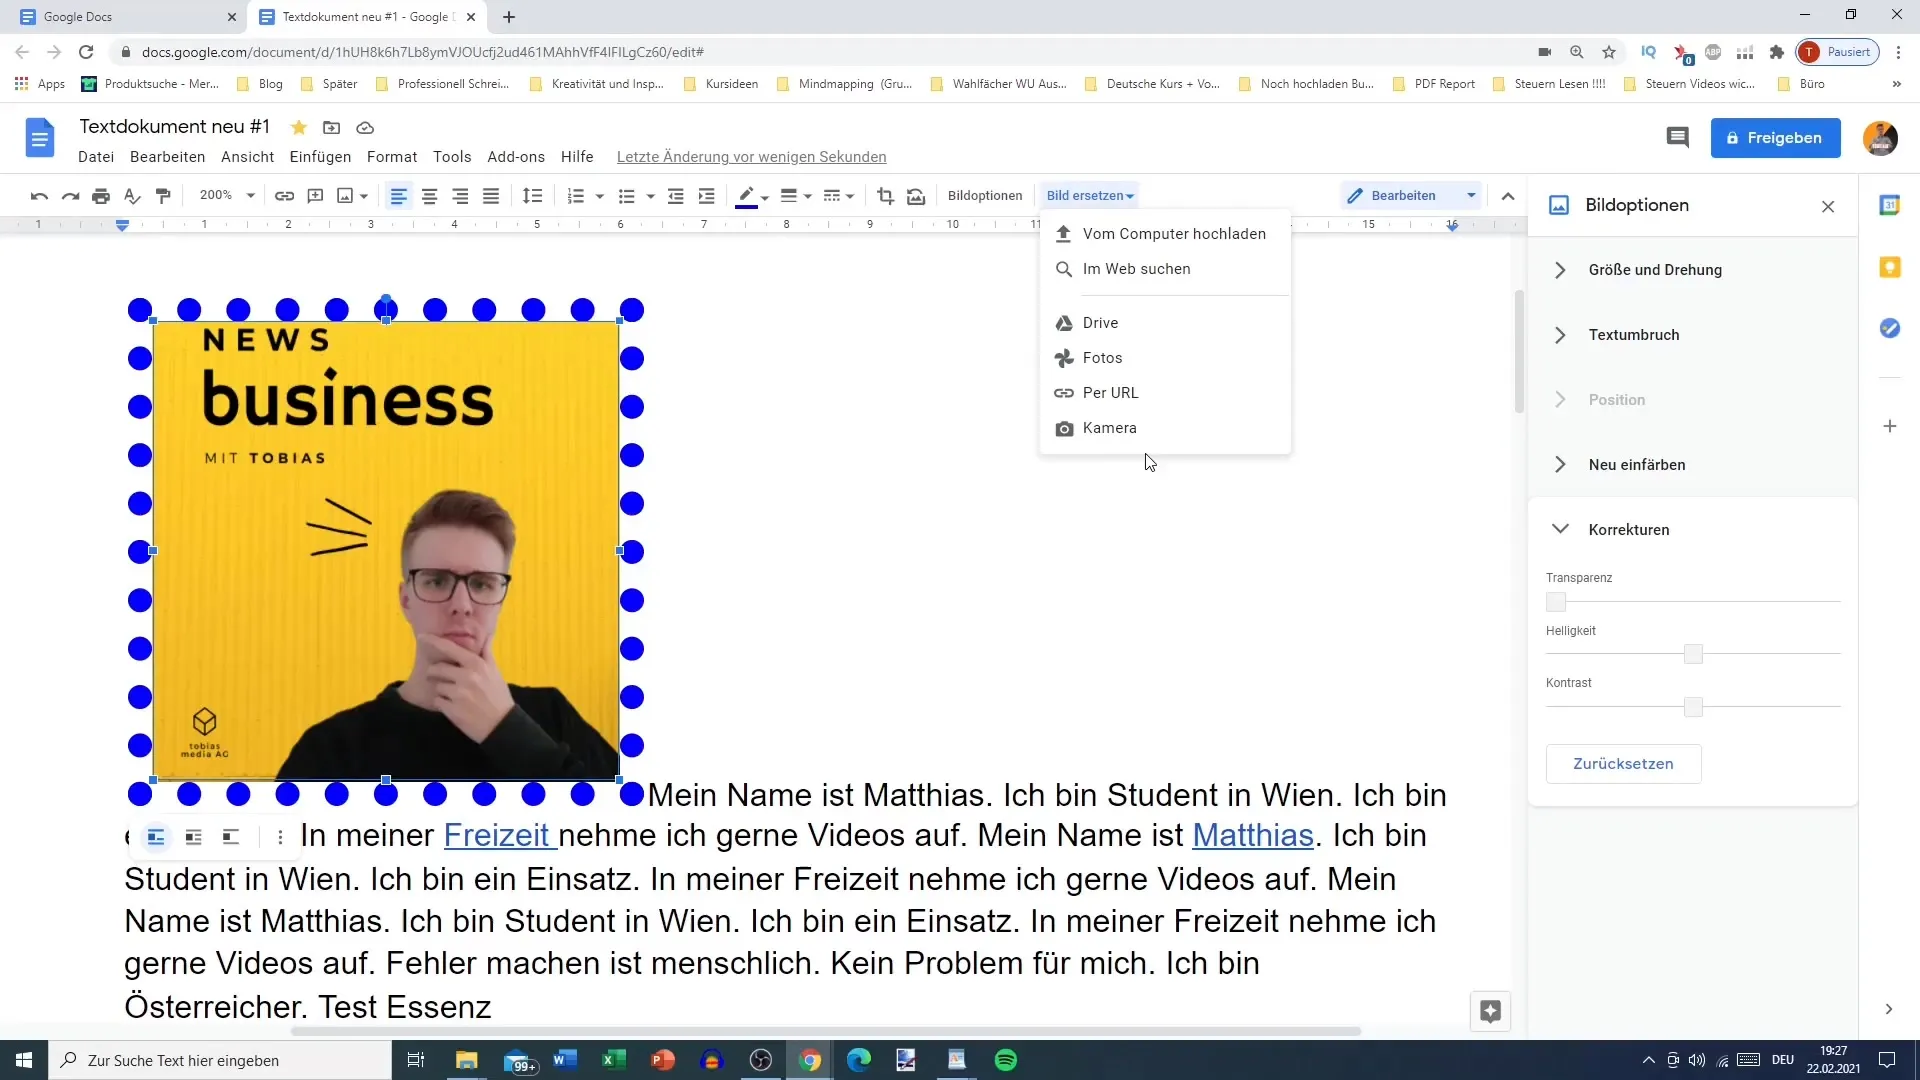
If you want to replace an image, go to the menu and select the "Replace Image" option. You can search for an image on the web, upload one from your computer, or choose from other sources. During this process, the previous formatting, such as color and borders, will generally be retained.
Summary
In this guide, you have learned how to effectively use images in Google Docs. From positioning to size adjustments, to applying borderlines and color filters - all these steps contribute to making your documents look more professional and appealing.
Frequently Asked Questions
How do I insert an image in Google Docs?Click in the document where you want and select "Insert Image".
How do I resize an inserted image?Click on the image and drag the corners to achieve the desired size.
Can I change the position of an image in the text?Yes, you can change the position so that the text flows around the image.
How can I adjust the spacing between the image and text?Select the image options to adjust the margin between the image and text.
Can I crop images?Yes, you can crop images by dragging the corners of the image and then pressing Enter.
