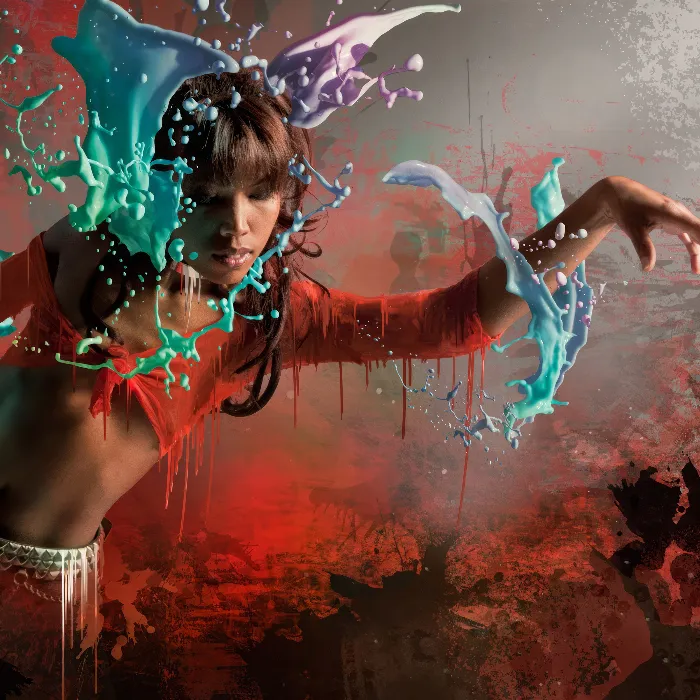
"Mother Earth" is an impressive photo-composition that symbolizes the connection between nature and humans. With Photoshop, you can create a fascinating scene that harmoniously combines elements such as landscapes, plants, and portraits. In this tutorial, I will show you step by step how to create a powerful artwork from various images and textures that captures the spirit and beauty of our Earth. Let's start and unleash your creativity to create a tribute to nature!
Step 1: Choosing the Right Template
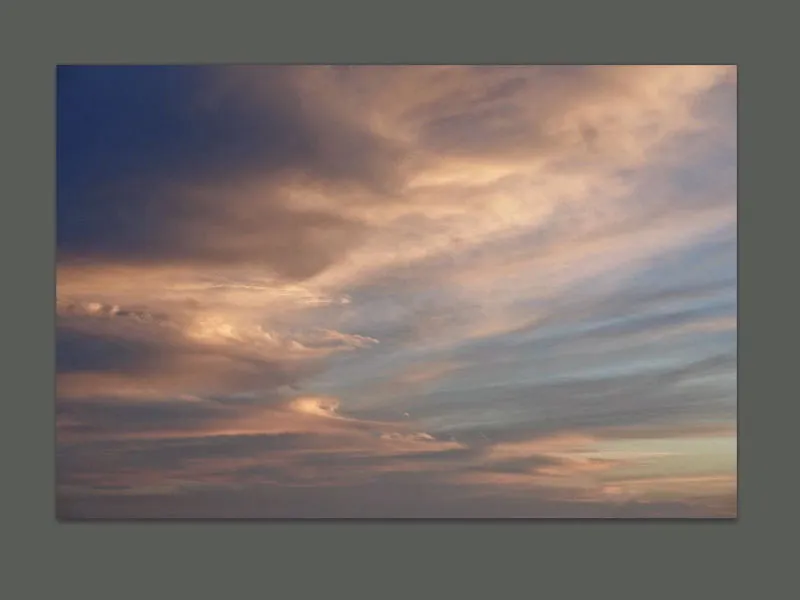
For the project of creating a segment of a planet from a cloud photo, photos showing high cloud fields are suitable. The sun should not be visible, and ideally, interesting color gradients should already be apparent in the template photo. This shot taken in Marbella, Spain on a spring evening should work very well for this purpose:
Step 2: Formatting Adjustment
The concept of developing an image here that, among other themes, should convey a sense of vastness, requires a panoramic landscape format. Using the Transform Tool and holding down the Shift key, you can quickly widen the image proportionally on both sides. The layer is then duplicated, and the lower layer is filled with black, so that the cloud photo lies on top of it: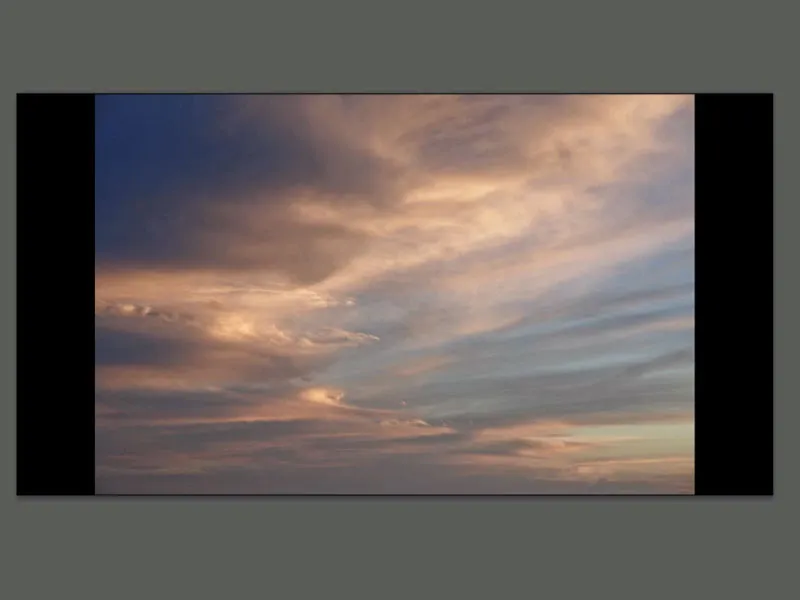
Step 3: Creating Earth's Curvature
After flipping the image vertically, we now edit it under Edit>Free Transform>Warp. The horizontal line in the middle is grasped and slightly pulled upward. To aid this process, a Guide Line can be drawn for orientation: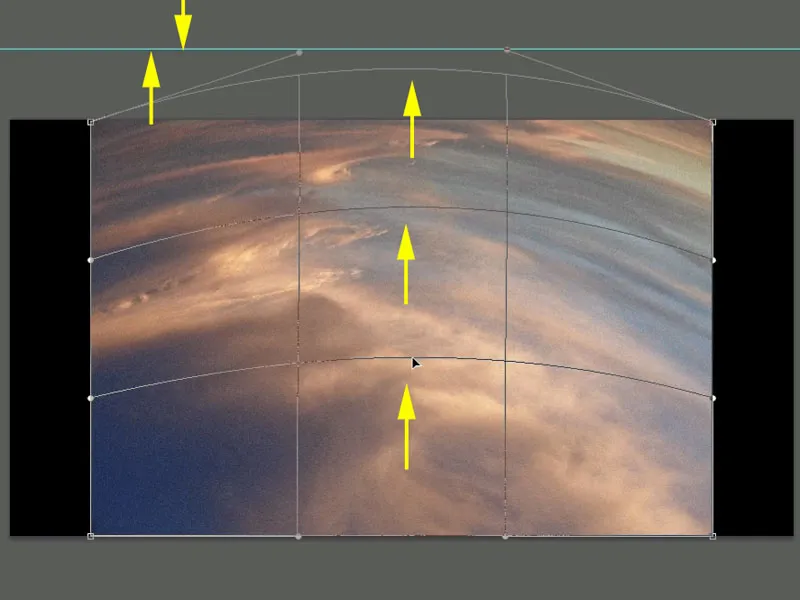
Step 4: Creating a Planet Segment
After warping, with the Shift key pressed, the layer is transformed to the edge on both sides and slightly tilted to increase the tension in the composition: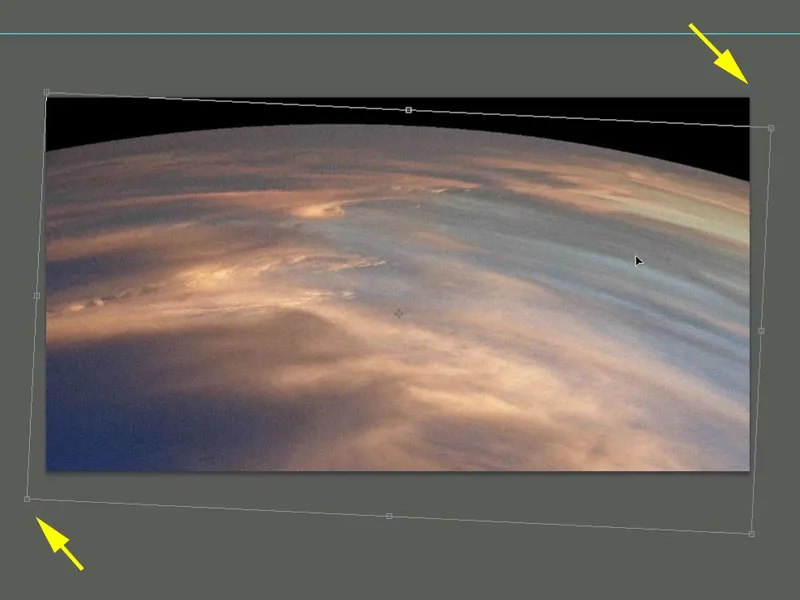
Step 5: Generating the Stratosphere
It's time to give this circular segment an atmospheric effect. A double-click on the layer opens the Layer Style Dialog. Here, the color scheme and intensity of each effect are adjusted. It is important to select both Outer Glow and Inner Glow. The Inner Glow should be slightly brighter to highlight the glow on the Earth's surface. The brightness diminishes towards the outer edges: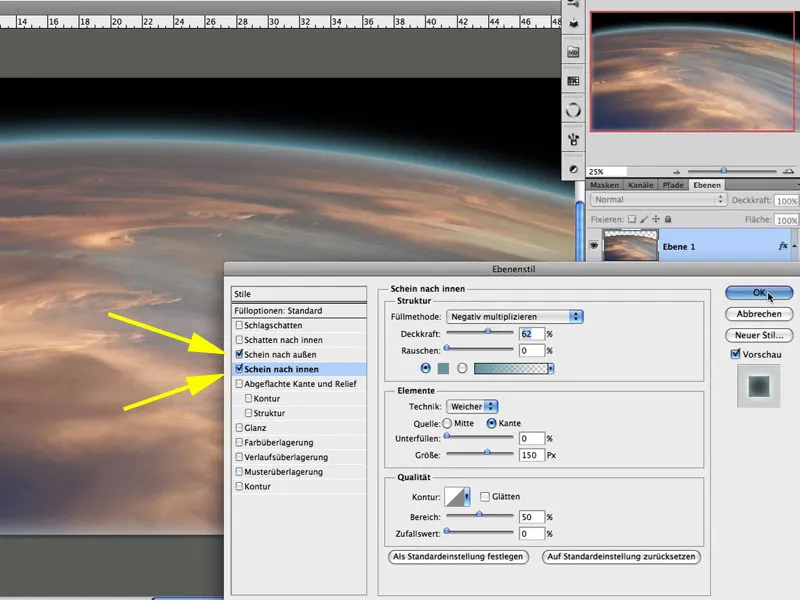
Step 6: Optimal Image Preparation
Under Layer>Layer Style>Create Layer, a layer is created from the layer style - or in this case, two layers. The effect is then slightly masked at the edges in the corresponding layer mask. Adjusting the format further upwards provides the necessary space for the image. Pressing Shift+Ctrl+Alt+E now merges all visible layers into a new layer, preparing the image optimally for the next step: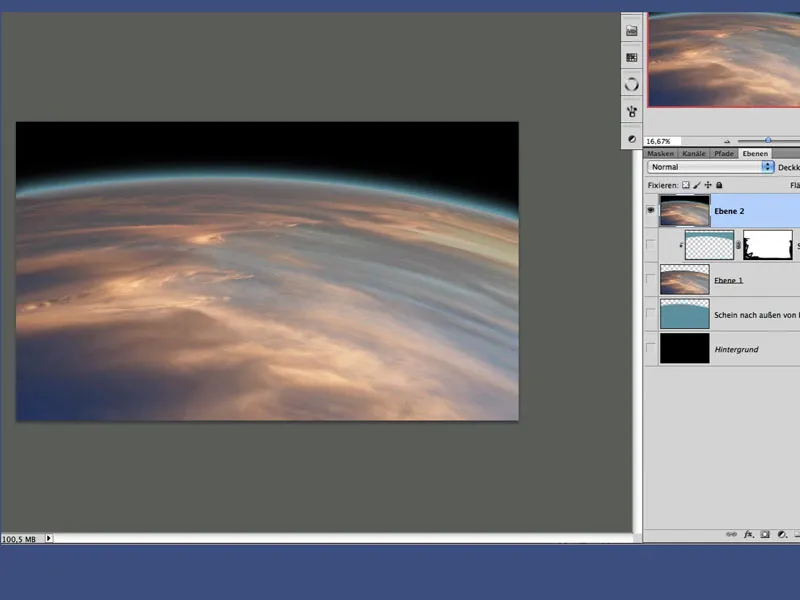
Step 7: Lights Out
To simulate an appropriate impression of a planet in space, in this step, a new layer filled with gray is set to Shift+F5 using the Linear Dodge blending mode: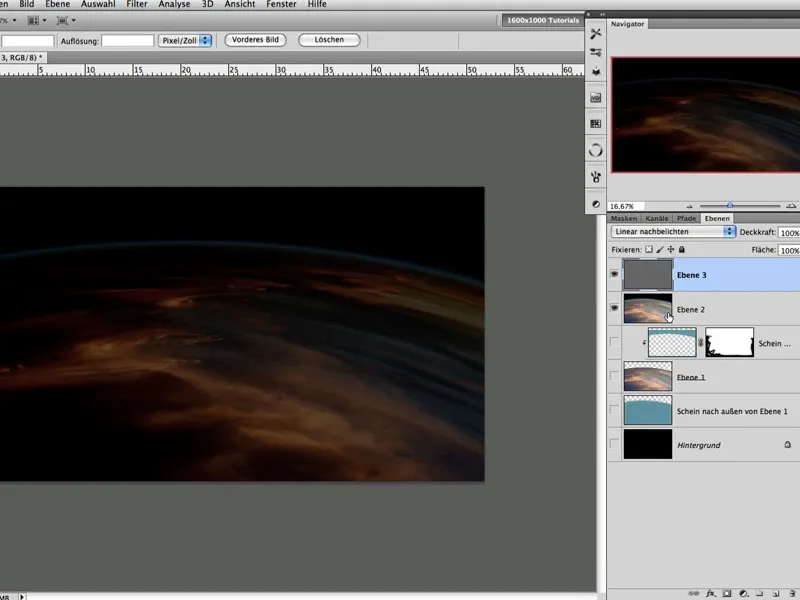
Step 8: Spot On
To create the appearance of a rising light source in the top right of the image, the gray-filled layer is equipped with a mask and a radial gradient at the top right. This further enhances the realistic effect of the Earth's curvature: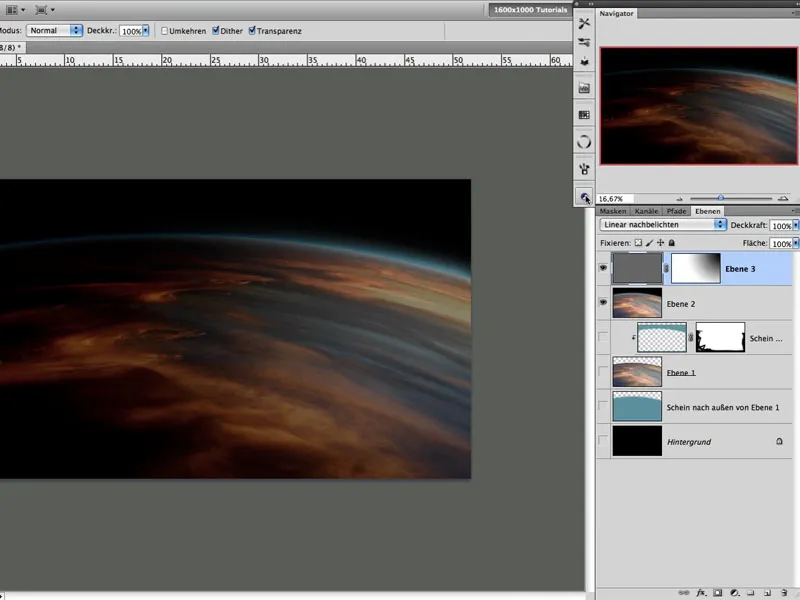
Step 9: Getting the Curve Right
By using the Curves Adjustment in the Red Channel, the values are set as shown in the image. The blending mode is set to Color. This enhances the drama in the image, and since only the Red Channel was adjusted, other colors like the shades of blue are mostly preserved: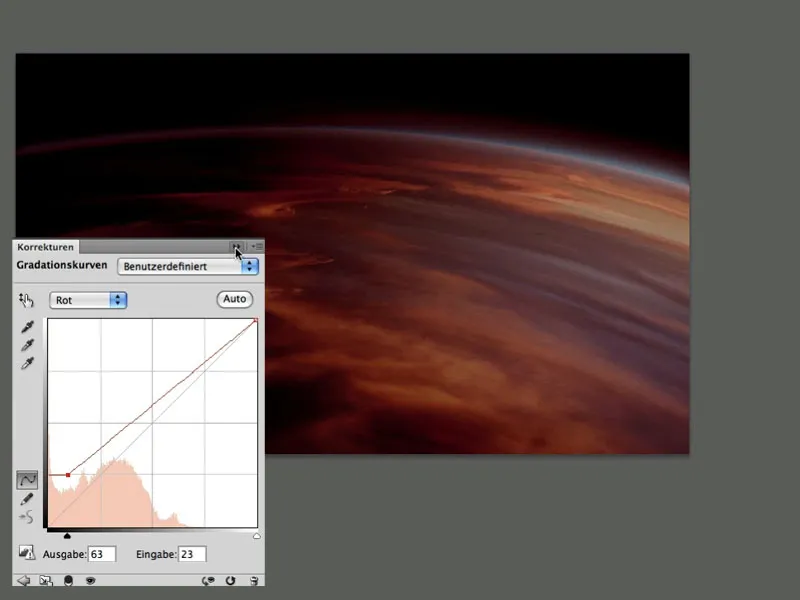
Step 10: Further Adjustments
Especially for images that heavily rely on lighting effects, it is recommended to experiment with adjustments in the image. Different blending modes should also be tested for their effects. In this case, a Color Balance Adjustment is used with the blending mode set to Normal, followed by a Gradient Fill with the blending mode set to Overlay, to further immerse this image into a red color palette: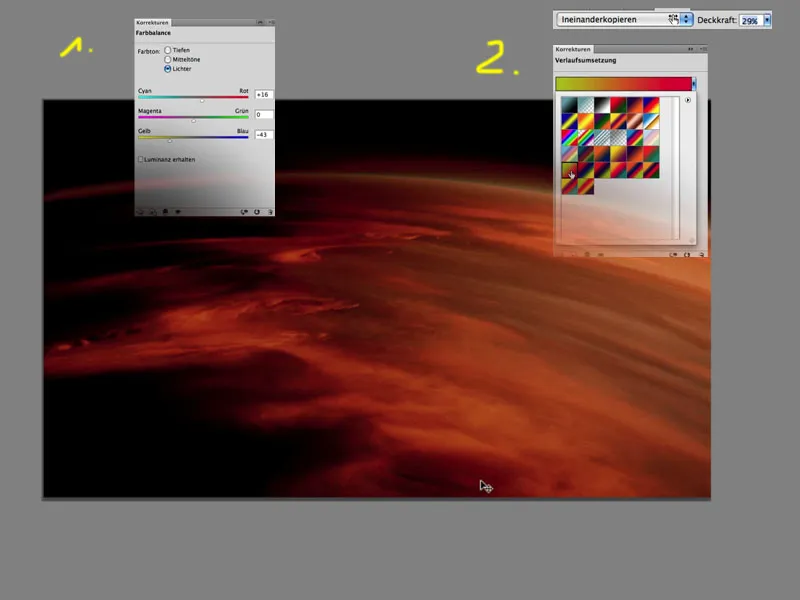
Step 11: Light rays --> Controlled gradient
On a plane filled with black, a gradient from white to dark orange is now drawn in 3 steps. First comes the darkest shade (orange), then a lighter orange, and finally the white. This ensures full control over the color variations: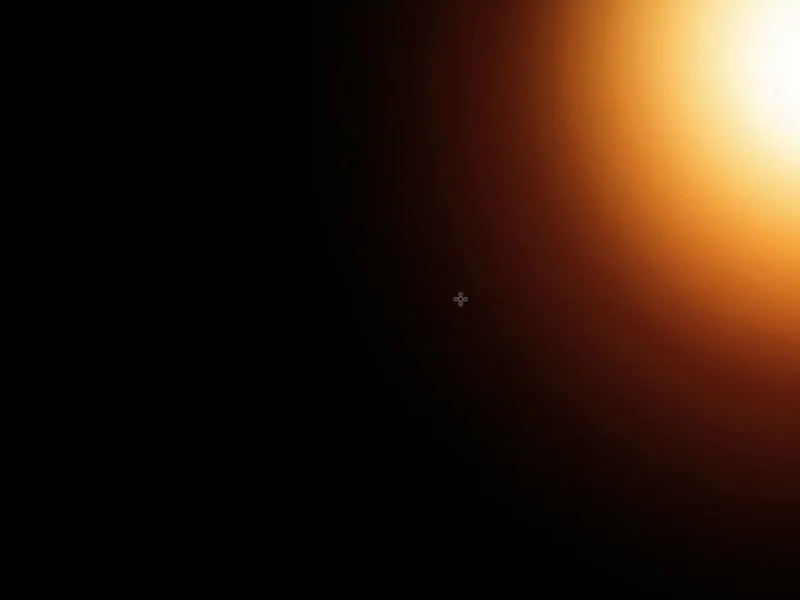
Step 12: Painting color
In the created gradient, a circular brush stroke is now created with a stronger orange and a soft, large brush tip with low opacity. The gradient is then slightly softened by the Filter>Blur> Gaussian Blur with a value around 20 pixels: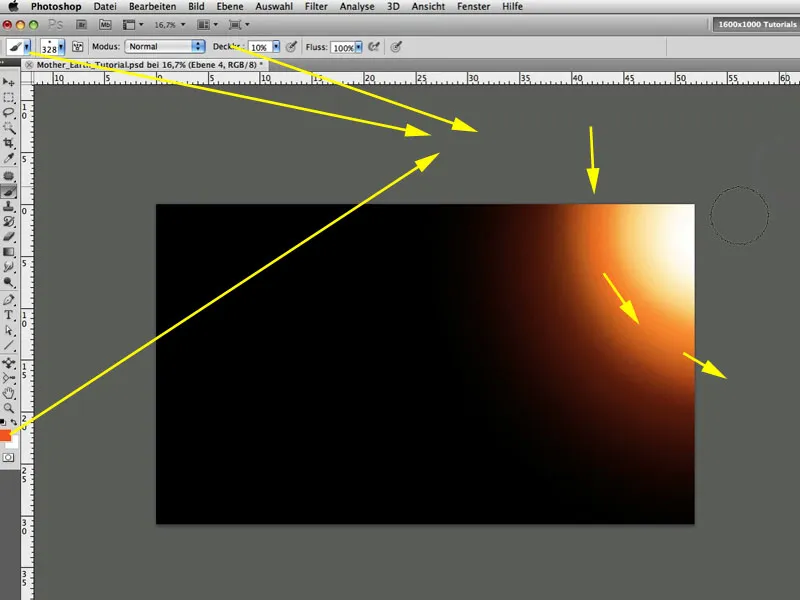
Step 13: Light rays --> Lines
We now create a fill layer with the foreground color white and link it to the underlying layer of our created gradient by pressing the Alt key between the two layers. The fill layer is then given a mask filled with black, on which white lines are horizontally drawn with the Shift key held down. It is sufficient to draw 4-6 lines during this process and then duplicate them in the mask using Copy & Paste: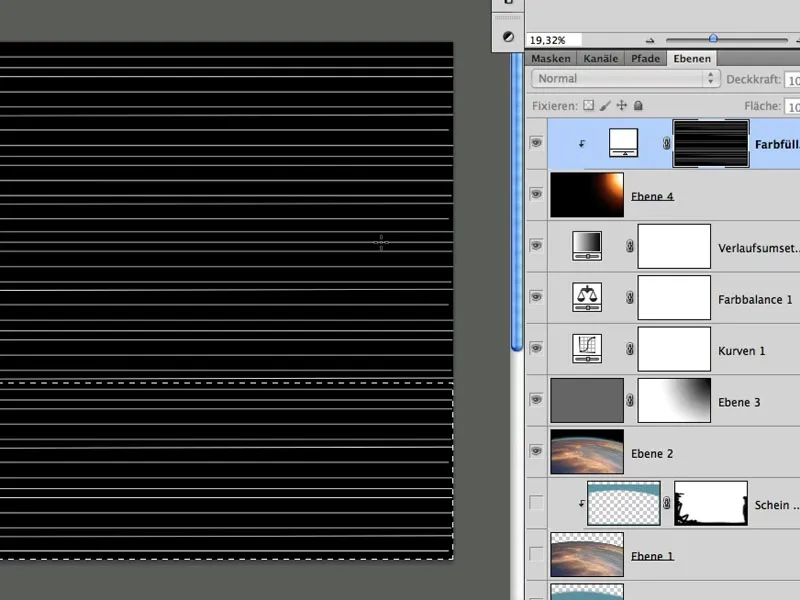
Step 14: Light rays --> Distorted lines
The lines are distorted appropriately in the image under Edit>Transform>Perspective: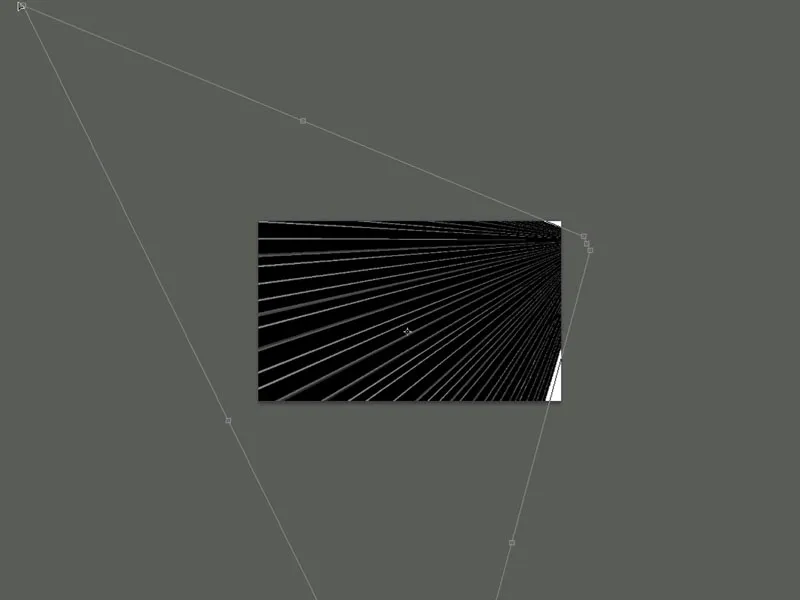
Step 15: Making light rays more subtle
The perspectively distorted lines are then rasterized to create a normal layer. Then, the lines are softened with a value around 11 pixels using the Filter>Blur>Gaussian Blur. The blending mode is set to Screen, and with a soft, large brush and lower opacity, some lines are lightly painted in a created layer mask to make some lines more subtle. This makes the effect more interesting, as well as more cohesive and believable at the same time: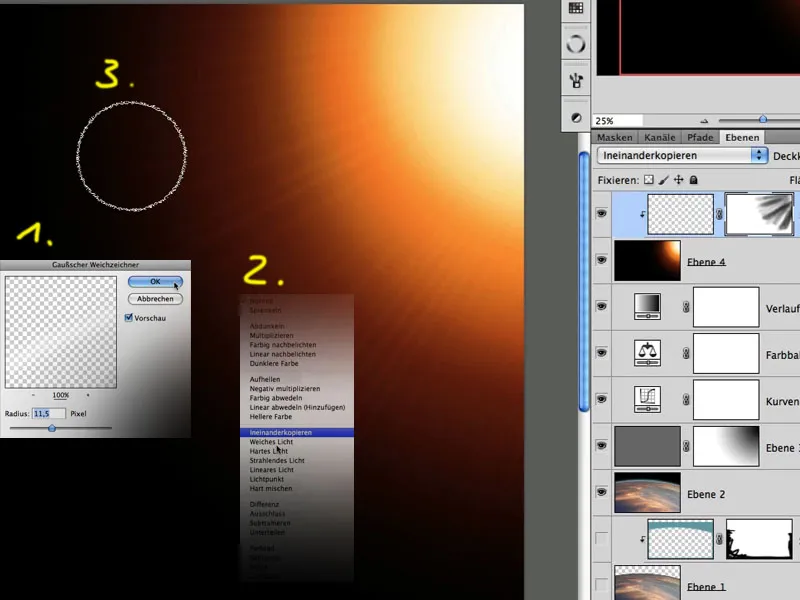
Step 16: Creating lens flares
On a separate layer, a circle with a soft edge is drawn and filled with white using the Elliptical Marquee Tool and the Alt key held down. The layer opacity is set to 50%. With the Move Tool, the circle can now be grabbed and duplicated at the same time by holding the Alt key. To create lens flares here, it is advisable to use a guideline to correctly place the individual circles. The positions of the circles must be tested, and overlapping is useful here as it simulates real lens flares:
Step 17: Adjusting lens flares
According to the light rays, the lens flares are now positioned diagonally and slightly reduced in a layer mask starting from the center of each circle. A Double-click on the layer brings up the Layer Style dialog, where a Color Overlay is activated. The blending mode of this overlay in orange is set to Multiply, and the opacity is around 52%: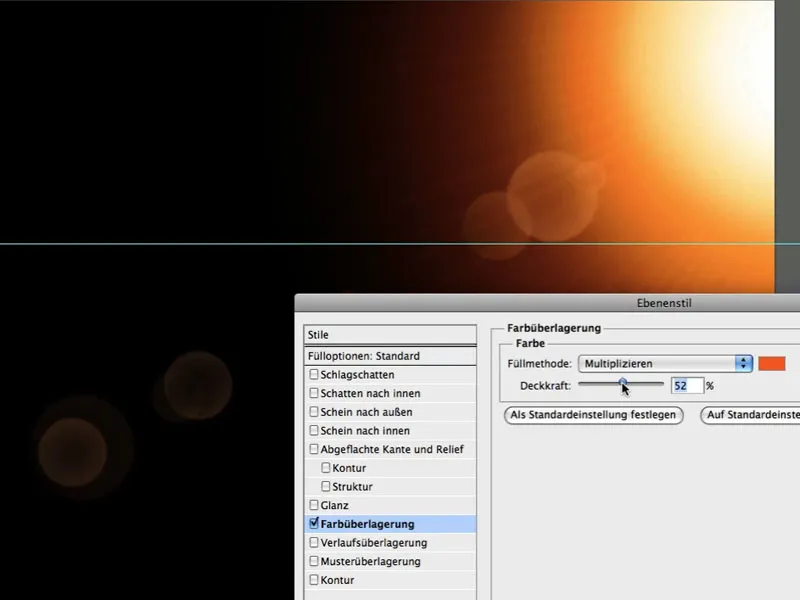
Step 18: Optimizing lens flares
Smaller gradients are added with the Gradient Tool to make the appearance even more realistic: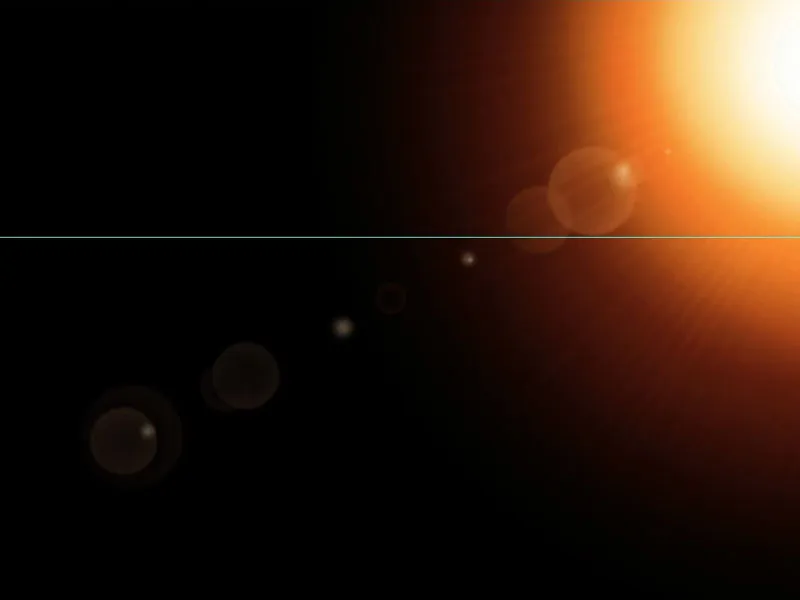
Step 19: Let there be light
After merging the gradient, ray, and lens flare layers, the resulting new layer is named "Light" and can unfold its effect in the Negative Multiply blend mode and an opacity of around 80%. The effect created in our image can be slightly softened to the left in a layer mask: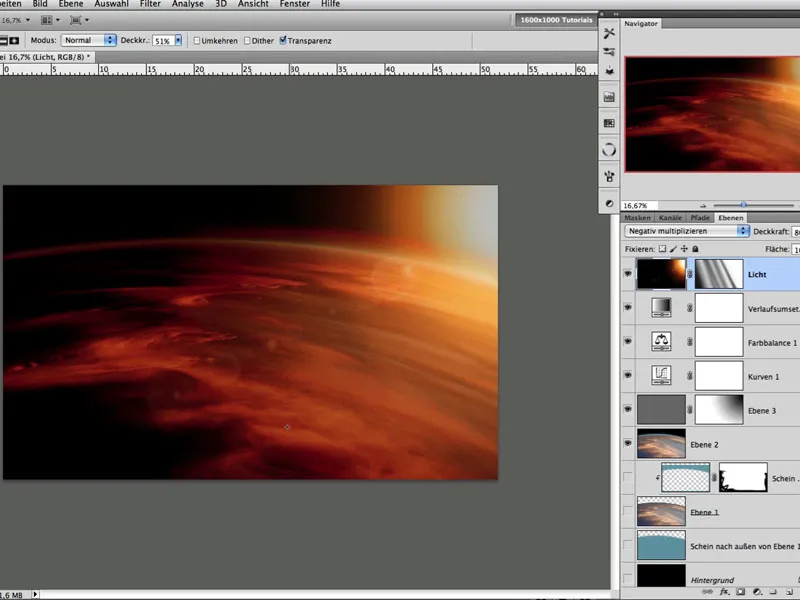
Step 20: Take a breath
It is always advisable to look at the image as a whole. Here I noticed that the left area fades too much into black. To counteract this, a Gradient Fill from foreground color to Transparent can be called up and the layer fill method set to Linear Dodge. This creates a glow effect on the clouds in the left part of the image: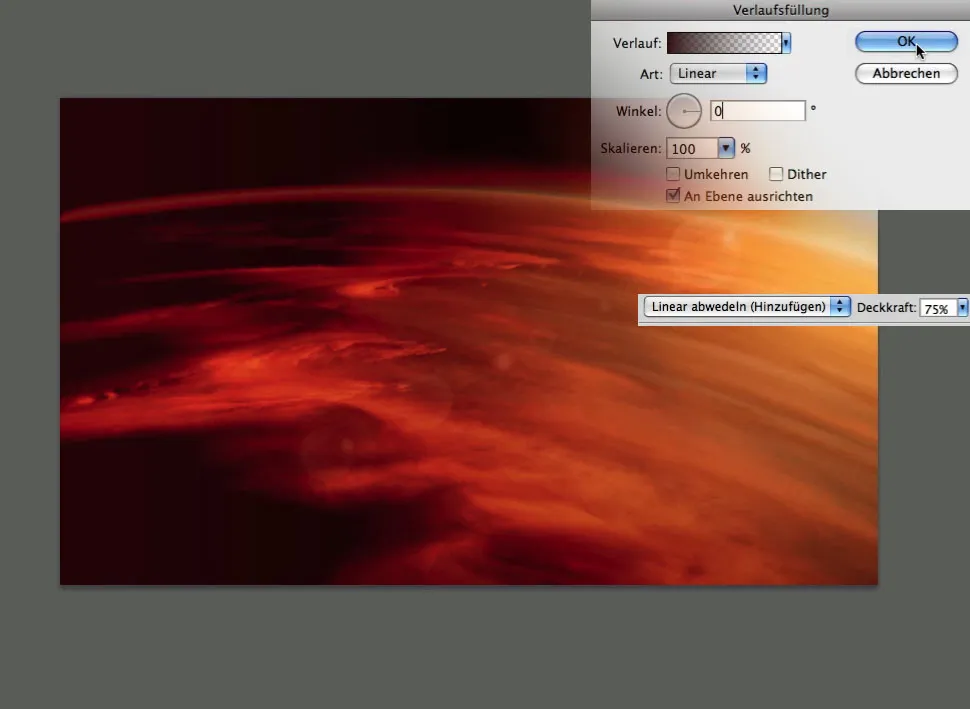
Step 21: The sun rises
On a new fill layer with white tending towards yellow, an effect simulating the sun is brought into the image using radial gradients and the foreground color white in the mask: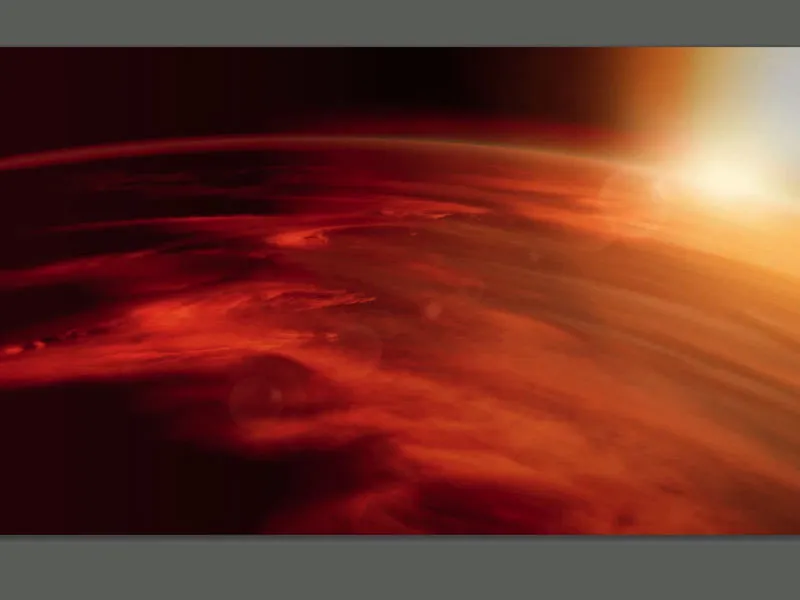
Step 22: The Blue Planet
To do justice to the title and to adhere to the color situation of a rising sun, the image is now completely shifted with a hue/saturation correction in the fill method color: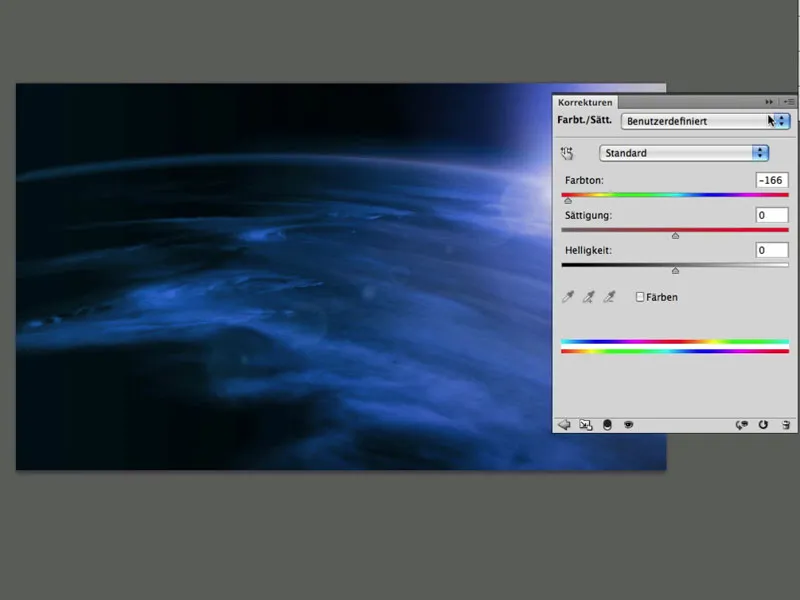
Step 23: Sun is back
In the corresponding mask, the previously created effect is made visible again with the gradient tool radial gradient in the area of the sun. This creates a wonderful cold-warm contrast and spatial depth in our image, without losing the glow created earlier: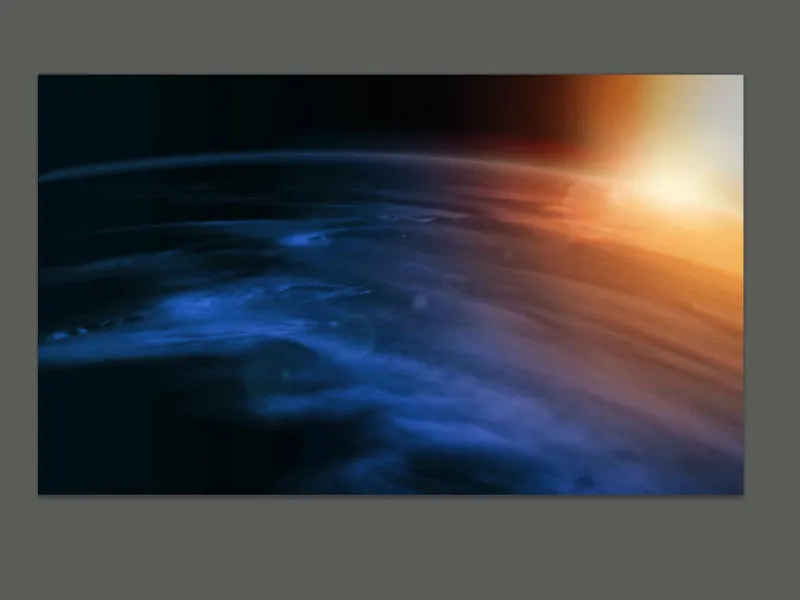
Step 24: The Universe - Infinite Vastness...
There are different methods to create a starry sky. In the present example, distant stars are to be inserted in the upper part of the image. To do this, create a new file and paint some points in black. The total area is then selected, and under Edit > Define Brush Preset, this selected area is defined as a brush tip. In the brush dialog F5, adjust this tip to your own discretion in terms of scatter, application, and other definitions until the scatter of a starry sky is created by applying the brush: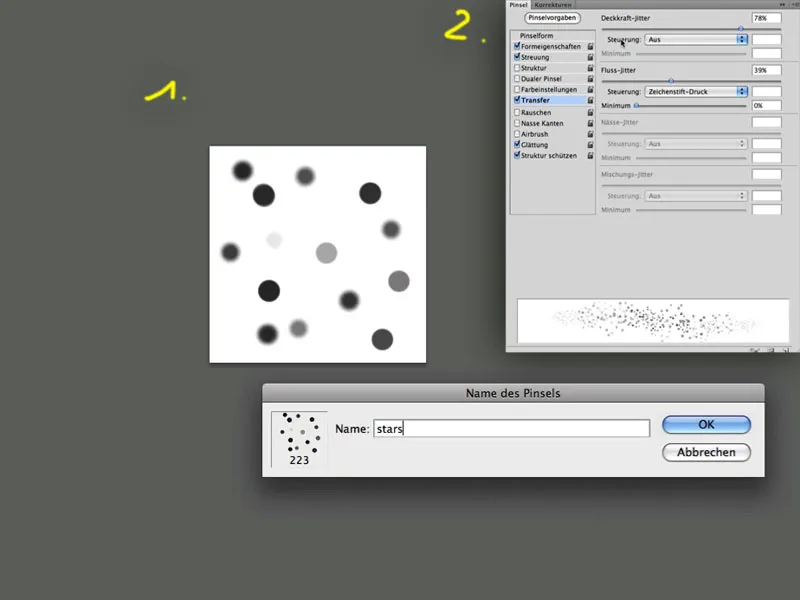
Step 25: Reduce Stars
After the stars are initially painted strongly, they are reduced again by painting with black in the respective mask, so that they are not distracting, but still visible in the image: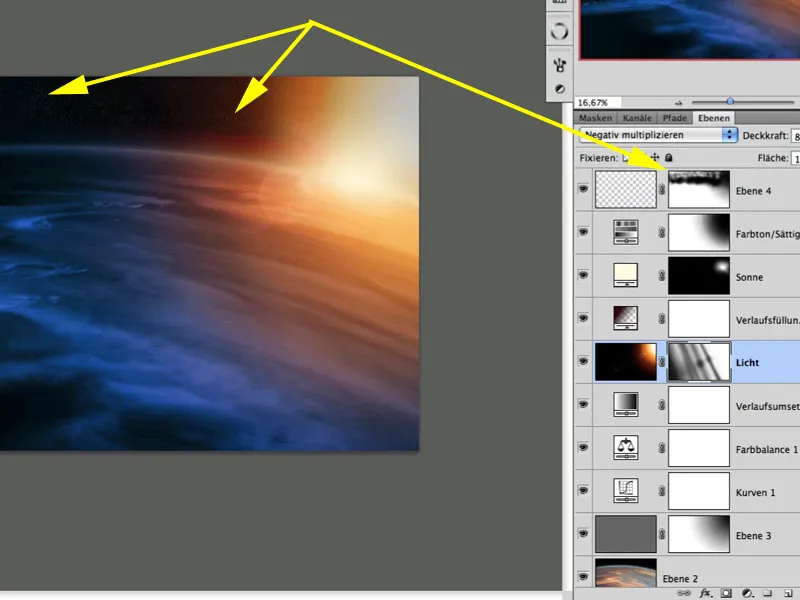
Step 26: Inserting the Face
We open the image "Face" and optimize - if necessary - some areas in the image such as brightness in the eyes. It is very important to ensure that the light on the photo of the face fits in the later arrangement as if it could be created by the constructed sun. So, it is important to pay attention to the same lighting conditions and suitable reference material beforehand. The image is inserted using drag & drop and provided with a mask. Slowly mask from the edge using the gradient tool and/or a large soft brush tip until only the face remains. The fill method is set to hard light with an opacity of 38%: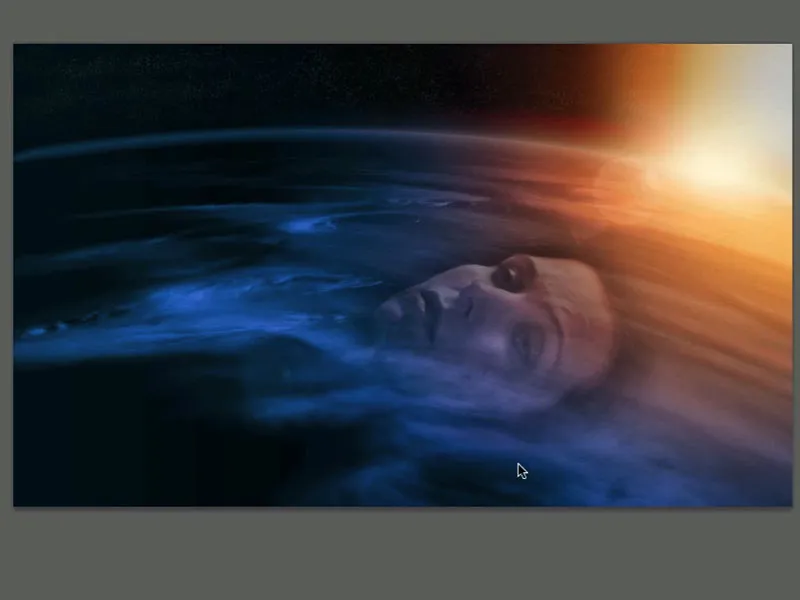
Step 27: Distort Face
Under Edit > Puppet Warp, the face can now be easily brought into a curved shape. The perspective can then be further enhanced under Edit > Transform, so that the impression is created that the face is on the surface: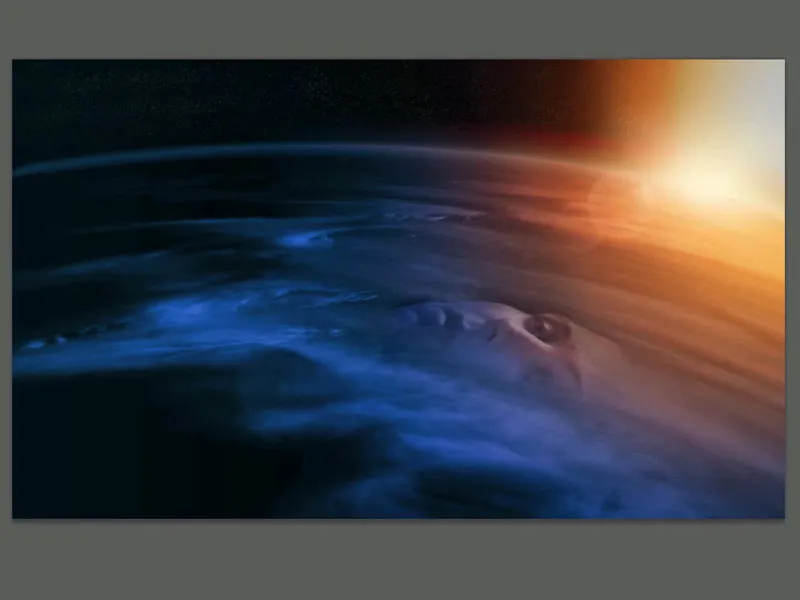
Step 28: Adjust Colorfulness
In the area of the forehead, the face demands a bit more colorfulness, as if the forehead and the nose are still receiving sunlight. For this, a quick color fill is taken with an orange from the sunlight and linked to the underlying layer. In the mask, the effect is painted in with low brush opacity. The layer fill method is overlay: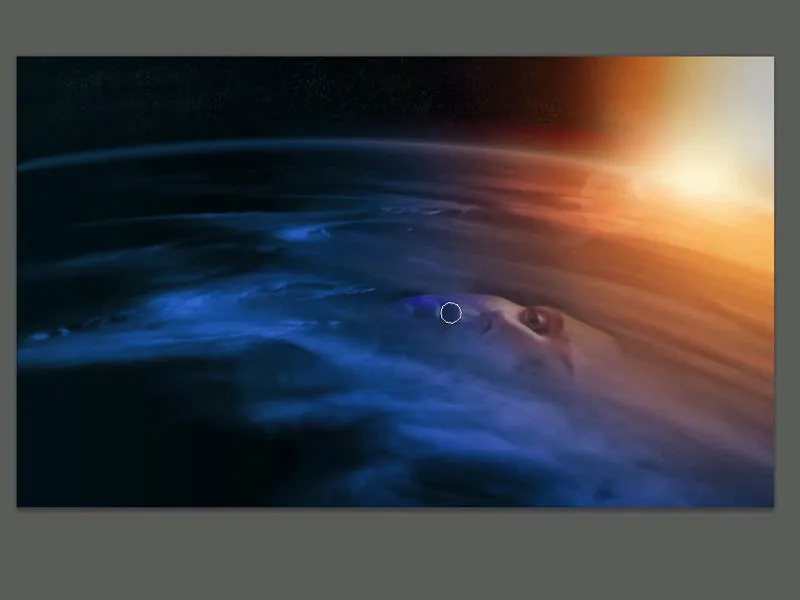
Step 29: The Glow
The image could now be finished at this point. However, since the face leaves a surreal impression, the surreal impression can also be intensified in the image by a similar effect. My idea here is to paint a trail/aura that enhances the glow effect. To do this, I create a very narrow elliptical selection on a new 700px x 700px file, fill it with black, and slightly reduce the opacity to create a dark gray, see image: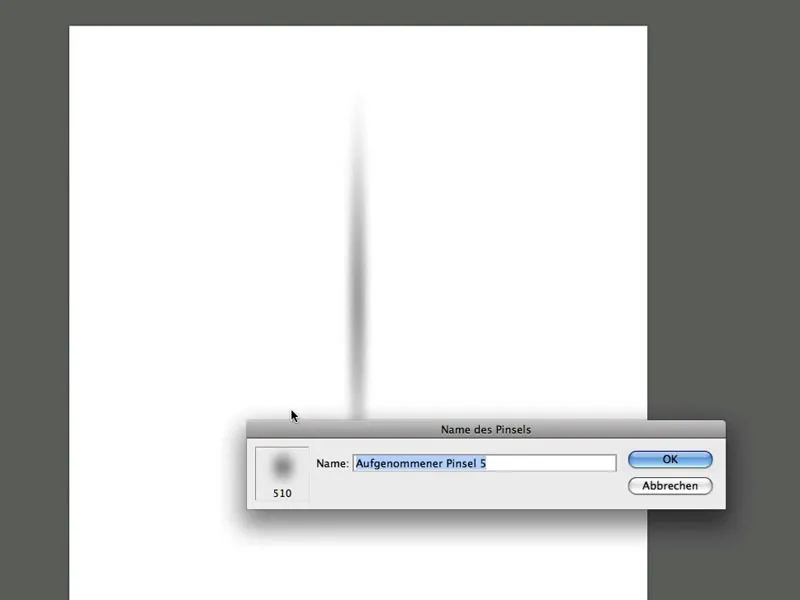
Step 30: Define Brush
In the brush presets (F5), the new aura brush tip is set as follows and also saved: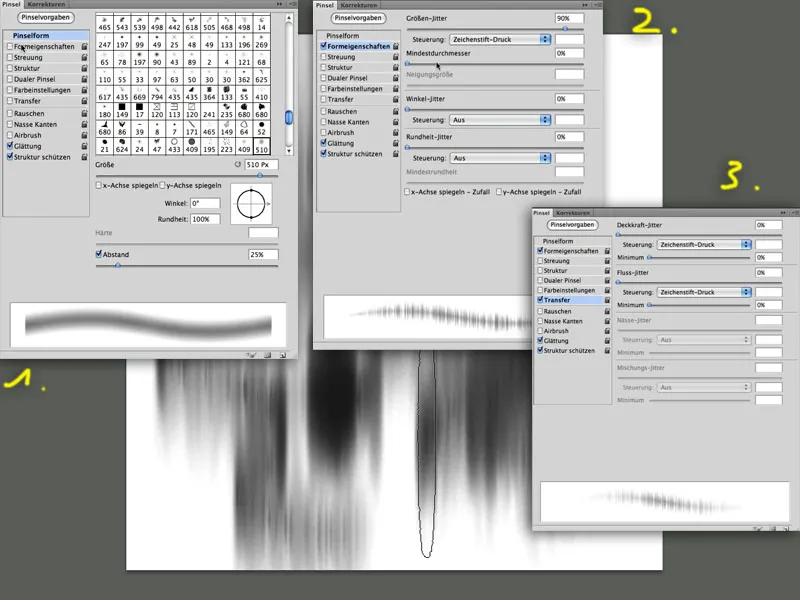
Step 31: Paint Aura Effect
The effect now wants to go into the image. For this purpose, a color fill is created in white with the fill method overlay. In the mask filled with black, the effect is painted into the desired areas in the image with about 47% opacity: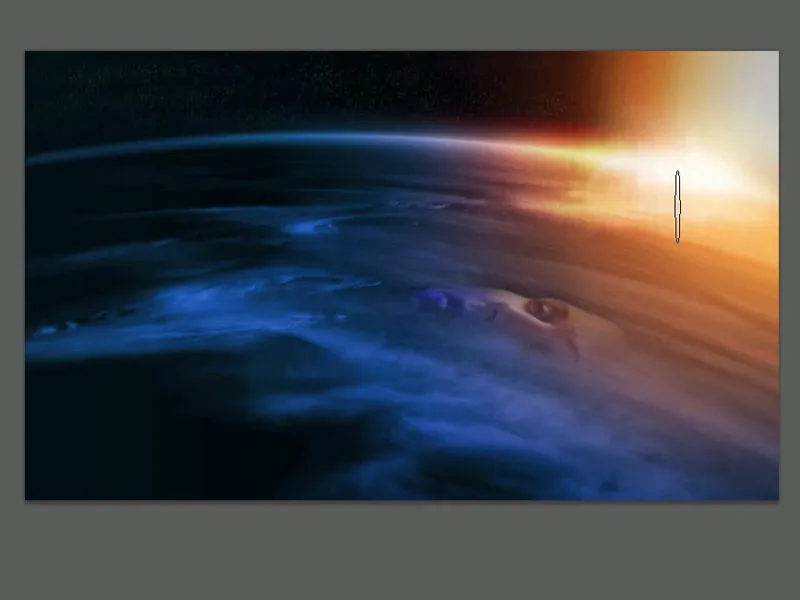
The finished image: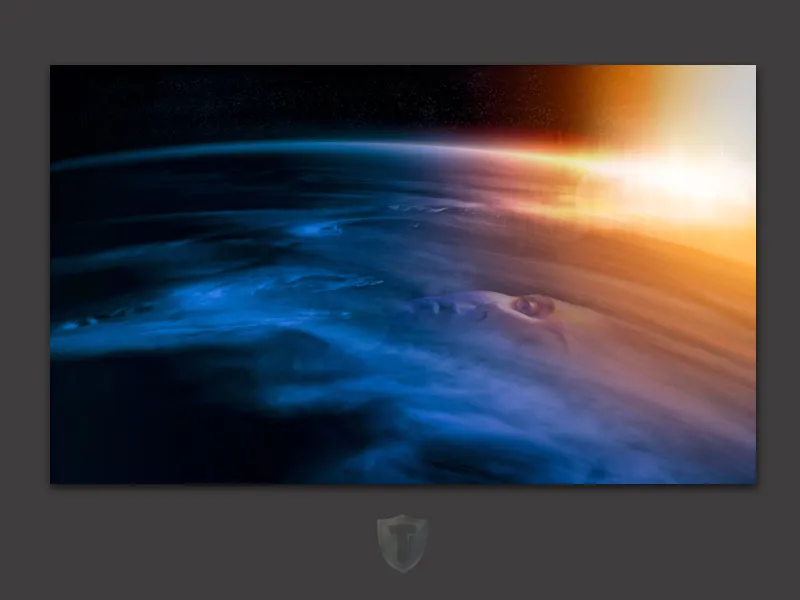
Enjoy,
Tom Krieger
