Newsletters are a crucial tool in customer acquisition and retention. They enable you to reach your target audience directly and inform them about news, offers, or special events. In this tutorial, you will learn how to create effective newsletters using templates to optimize your communication.
Key Insights
- Newsletter templates simplify design and enable targeted communication.
- Adjusting design elements helps strengthen your branding.
- Using blocks and styles within the templates ensures appealing and effective designs.
Step-by-Step Guide to Creating Newsletter Templates
To create an effective newsletter template, follow these steps:
1. Create campaign
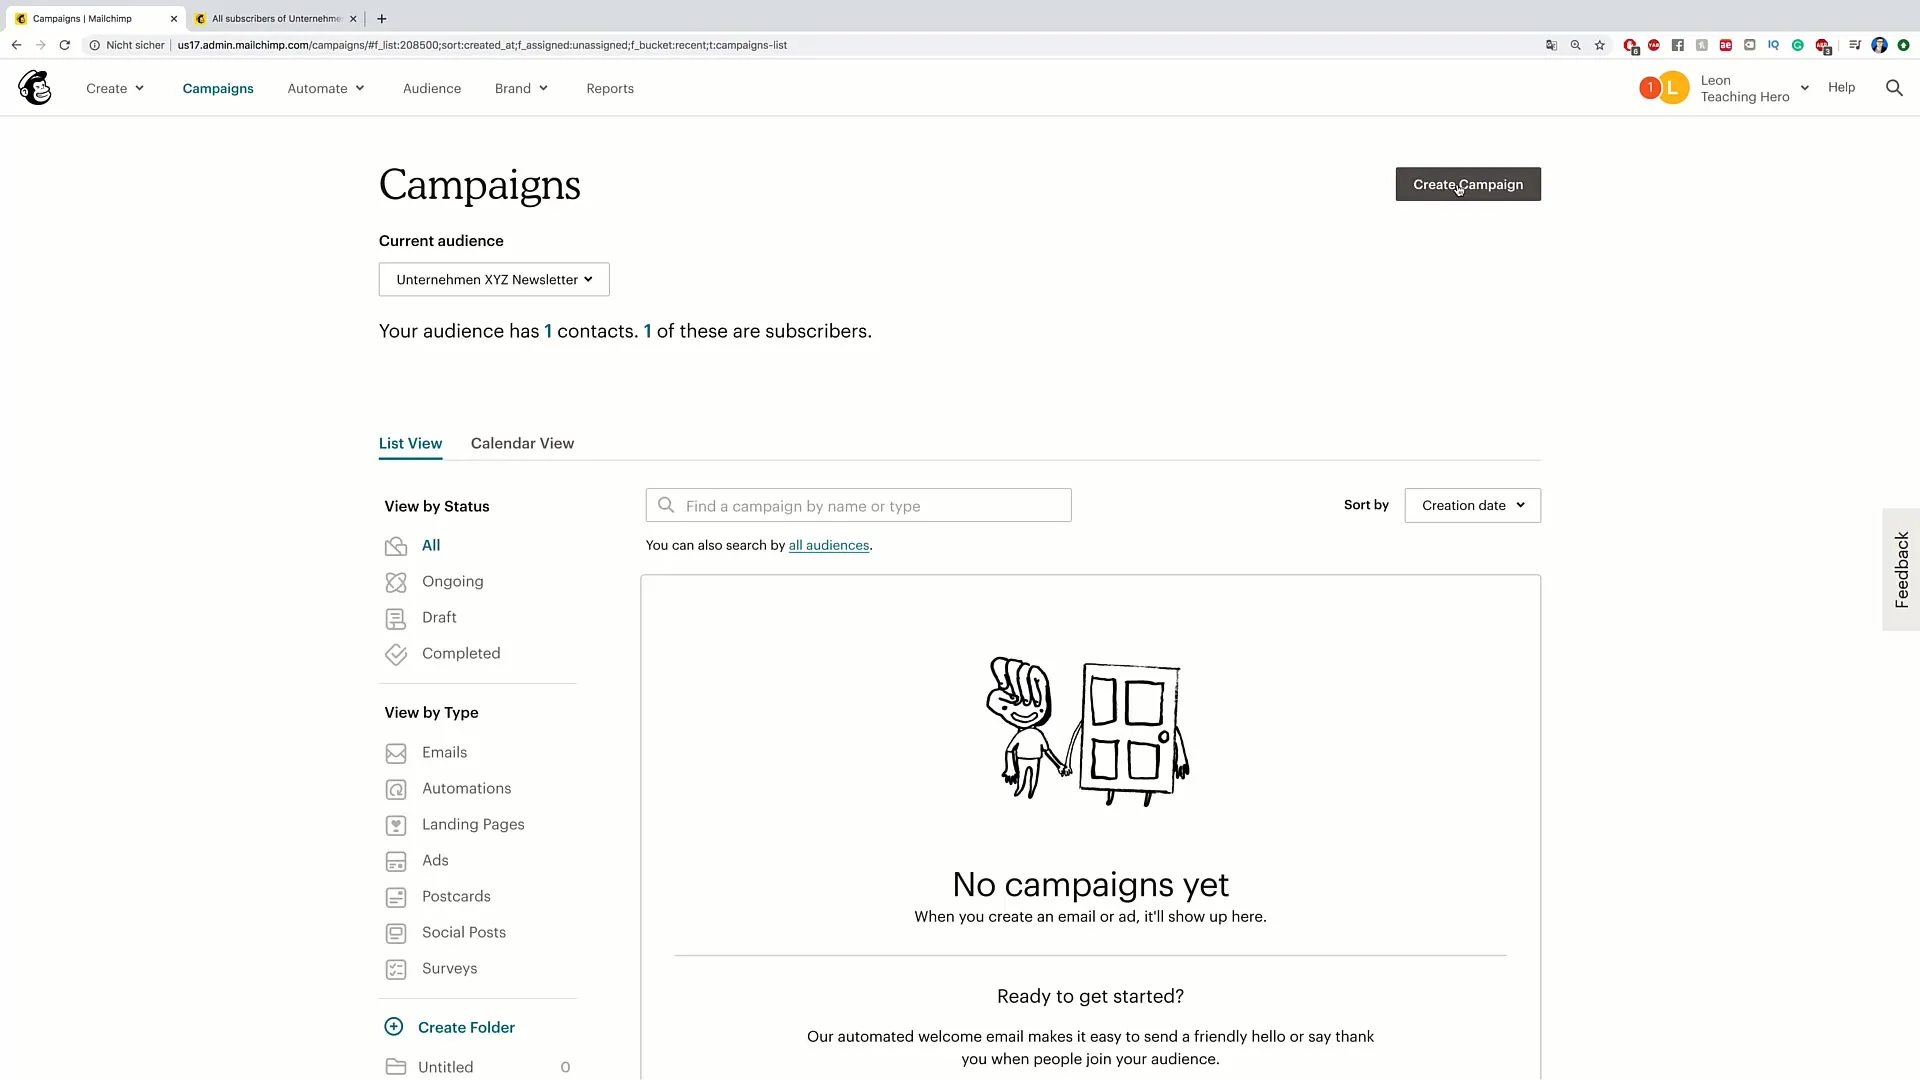
Start by going to the upper right corner within your newsletter tool and click on "Create Campaign." Then select the "Email" option. Give your email a name, for example, "Newsletter Number 2." Confirm by clicking "Start," and you are ready to design your newsletter.
2. Choose recipients
You will now be prompted to select recipients for your newsletter. It is important to add the correct email addresses, especially if the newsletter is directed to your company, e.g., "Company XYZ Newsletter." Click "Save" to complete this step.
3. Add subject line
The next step is to create an appealing subject line. Here you could choose a creative text, such as "5 offers to save you money." Additionally, you can add a preview text that gives the recipient an insight into what to expect in the newsletter. For example: "You definitely don't want to miss this opportunity..." Don't forget to click "Save."
4. Choose design
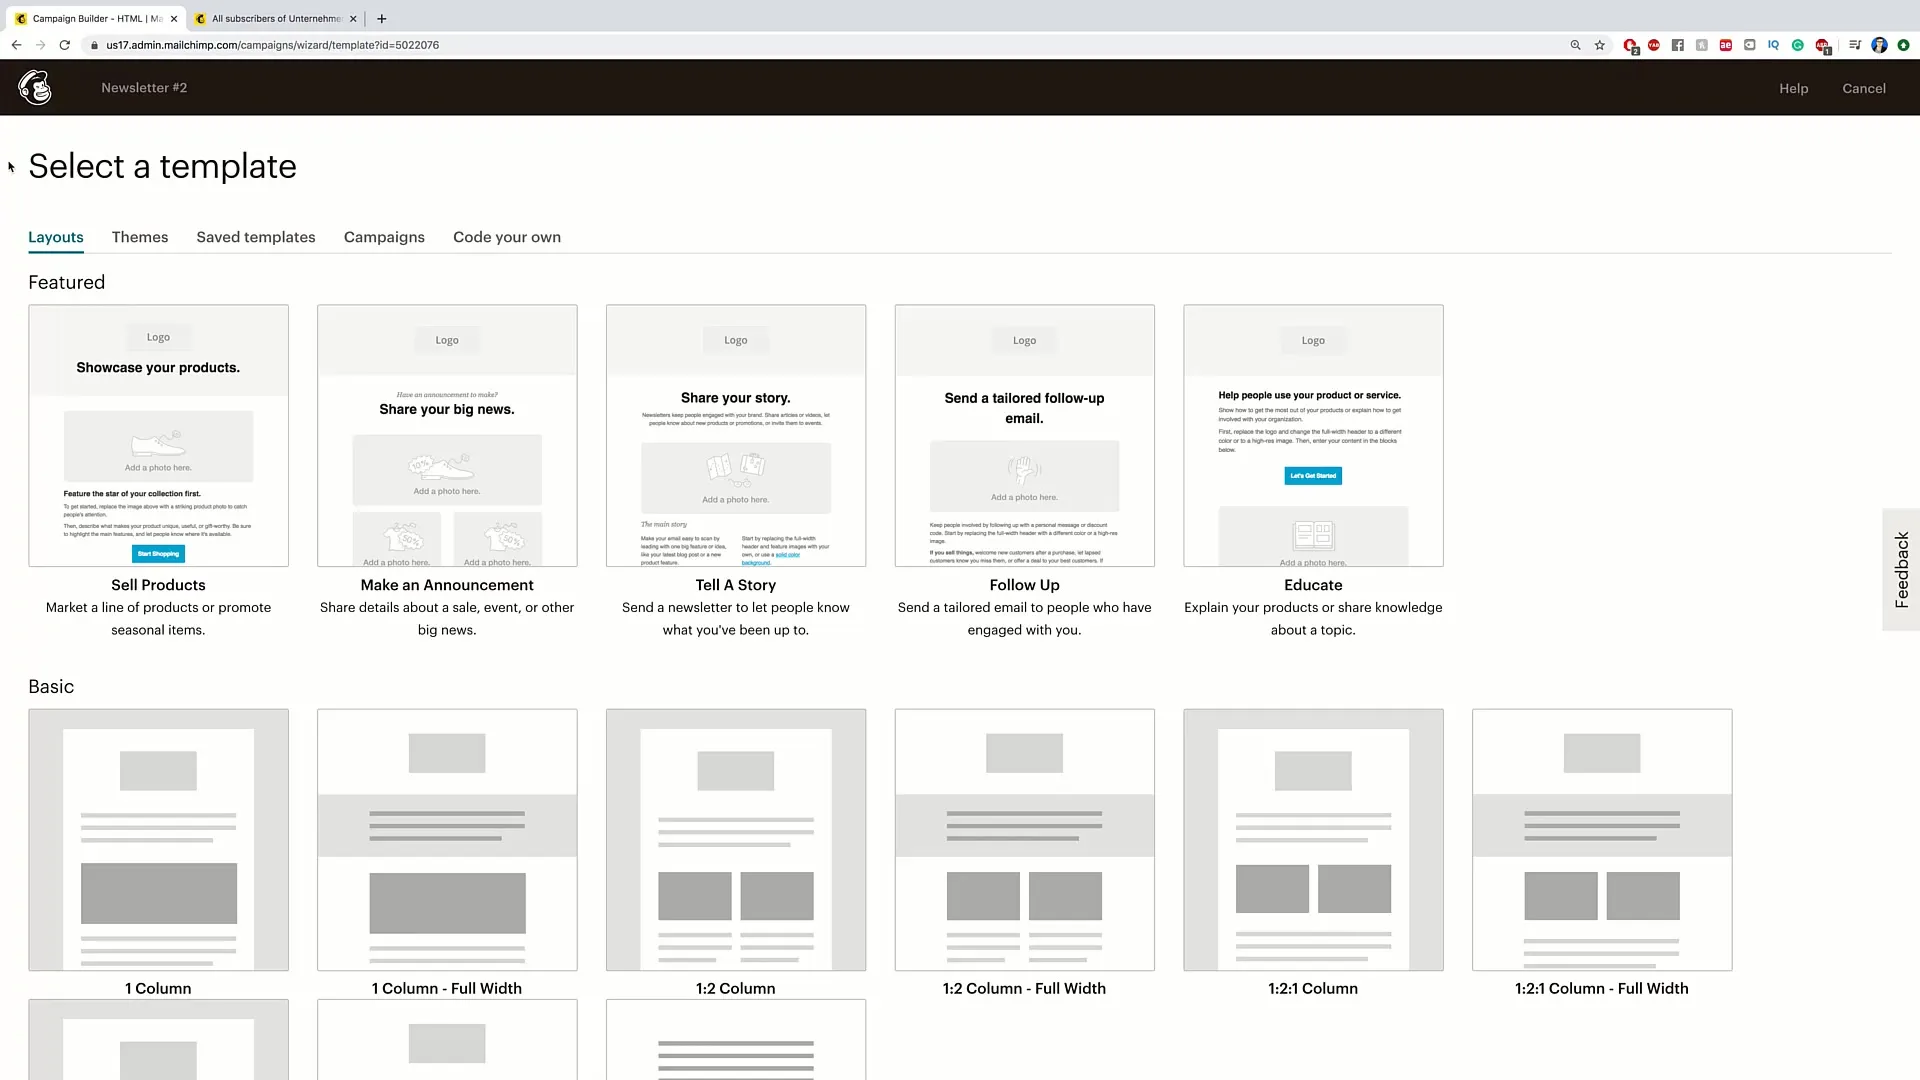
Now it's time to choose the design. Click on the "Design Email" button, and look at the available templates. When choosing, I recommend viewing the offered themes, which are divided into categories. You have a choice of different styles optimized for specific occasions or industries, such as e-commerce, events, or holidays.
5. Customize template
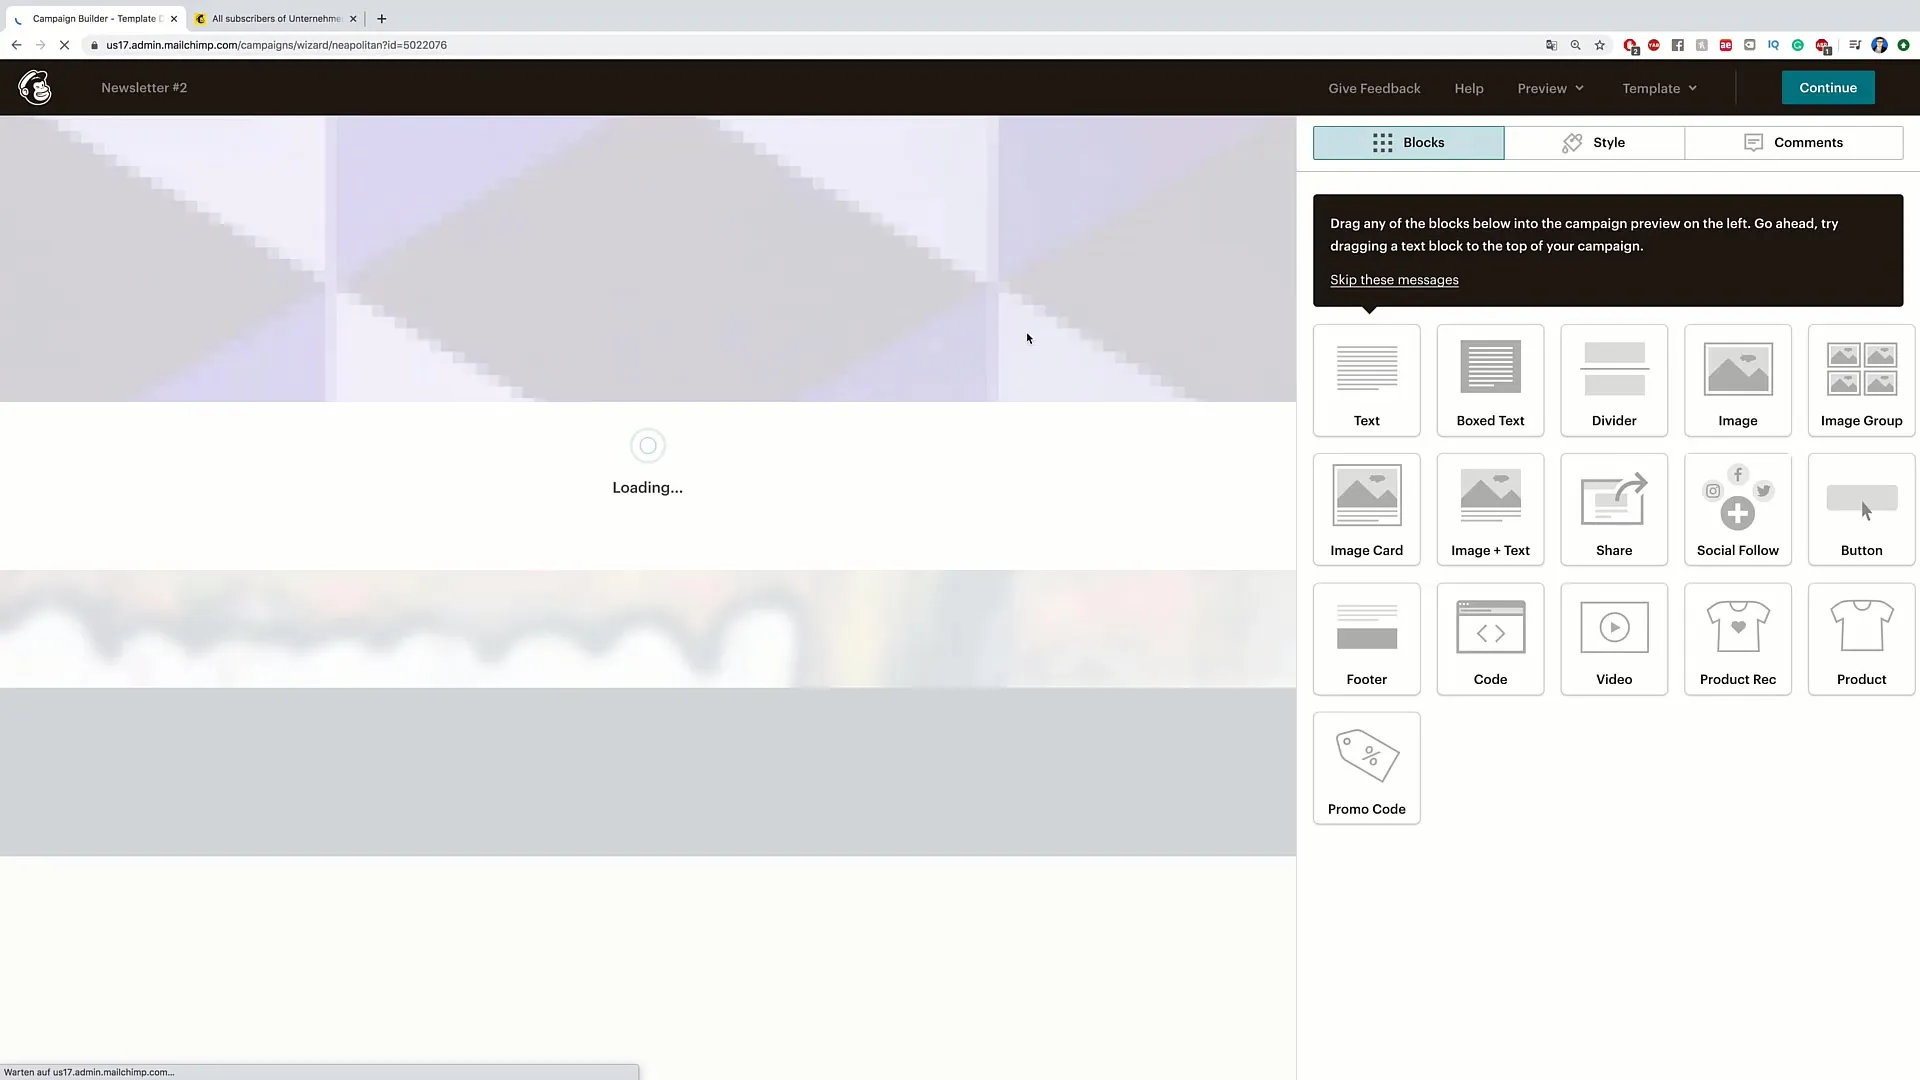
Choose a template that you like. Click on it to start editing. You will immediately see that the structure is similar to what you learned in the last video. On the right, you will find the various block elements that you can customize. Here you can also edit the style, header, and footer, as well as adjust mobile views.
6. Insert content
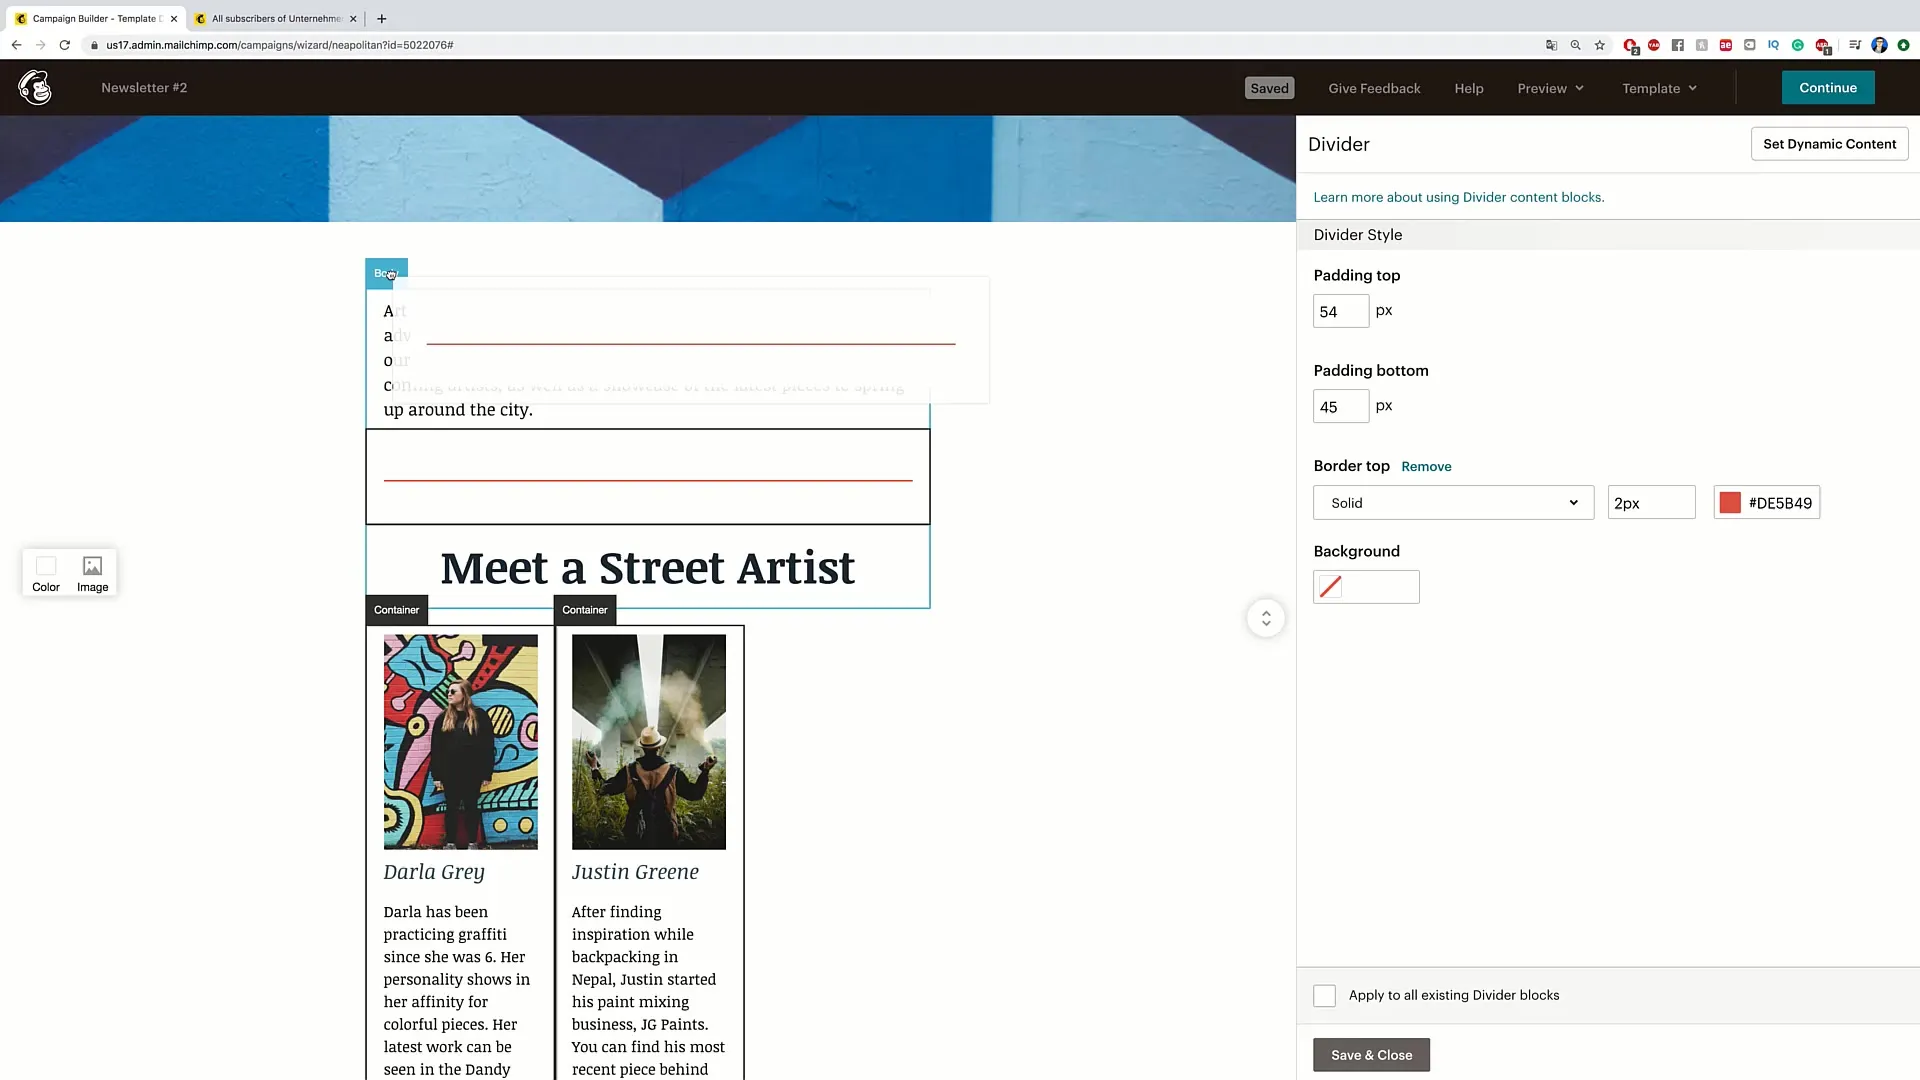
Now you can insert texts, images, and other elements into your template. You can move or delete outlines to customize the layout to your liking. Simply drag the desired elements to the correct position in the template.
7. Adjust fonts and styles
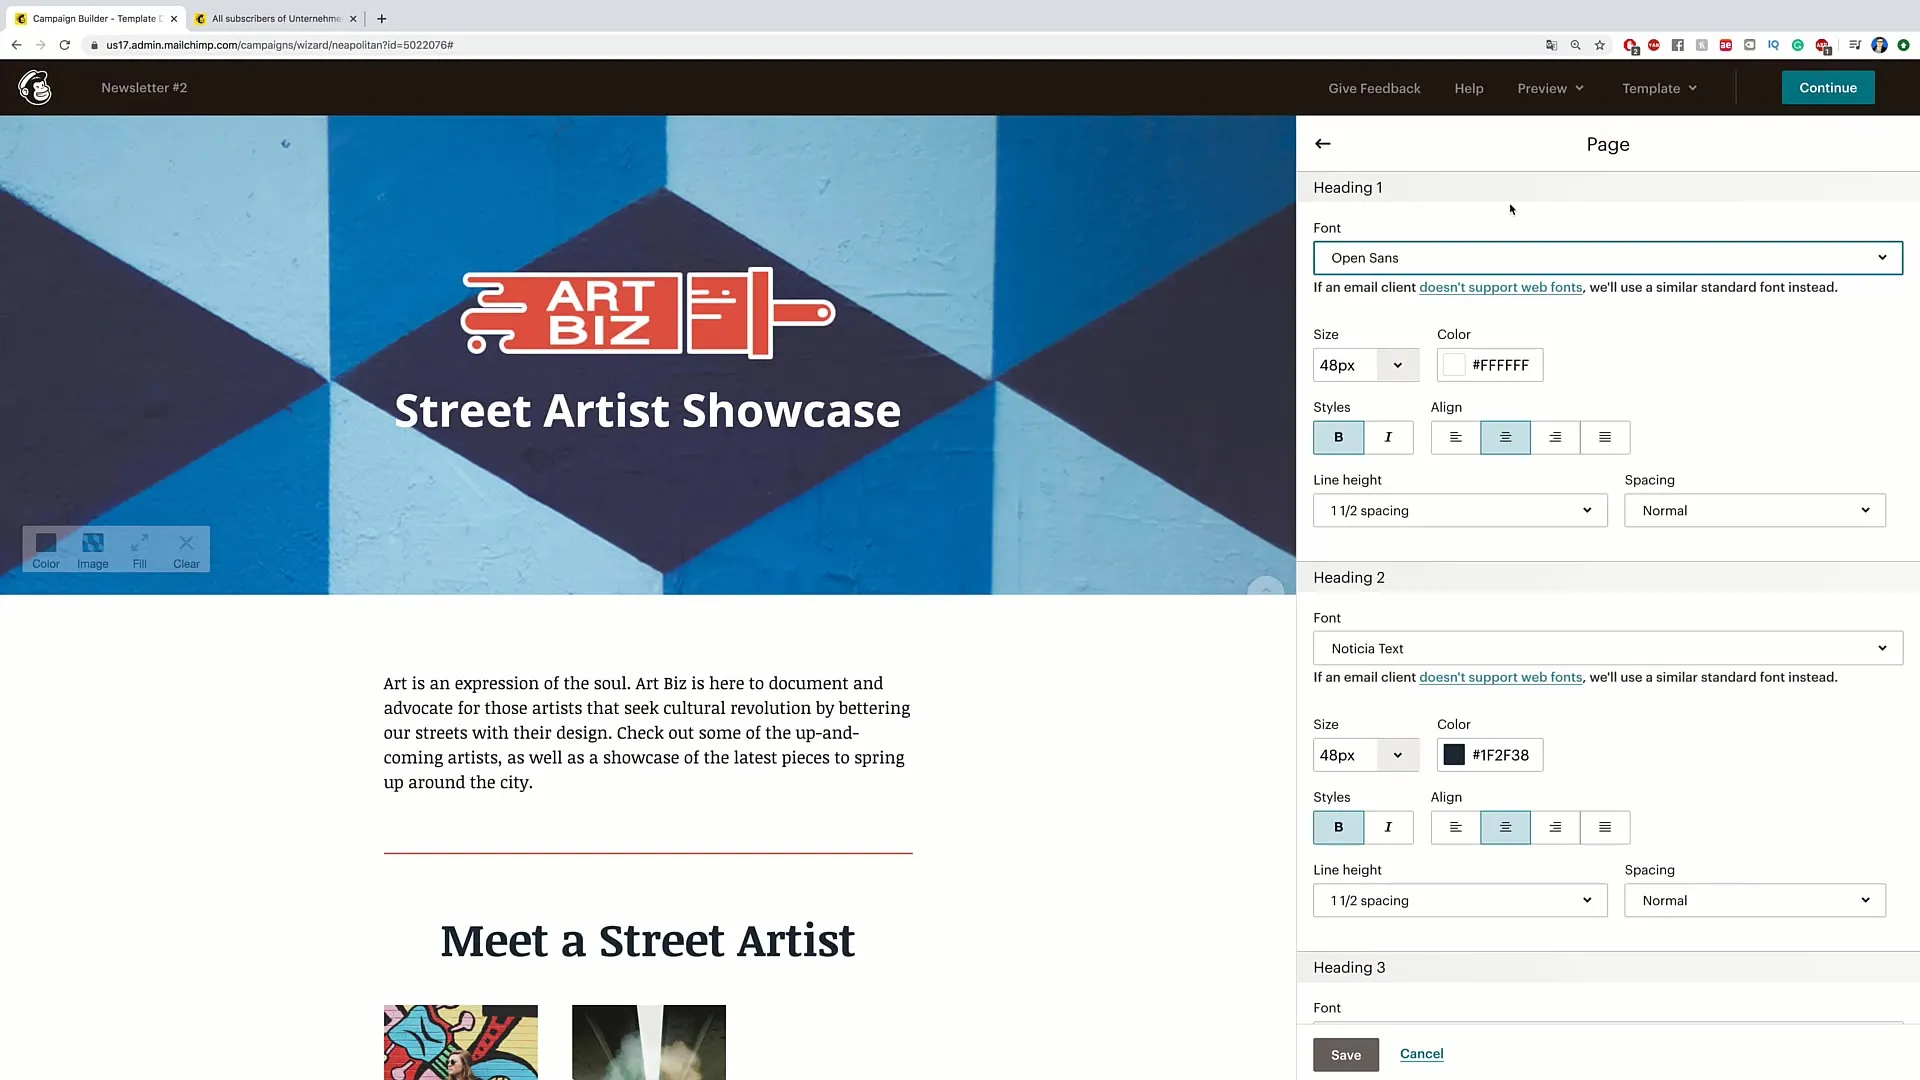
Go to the style section to adjust fonts and sizes. You have the option to change the font and adjust the spacing between text blocks. Make sure the text is readable to maintain the interest of the readers.
8. Incorporate additional elements
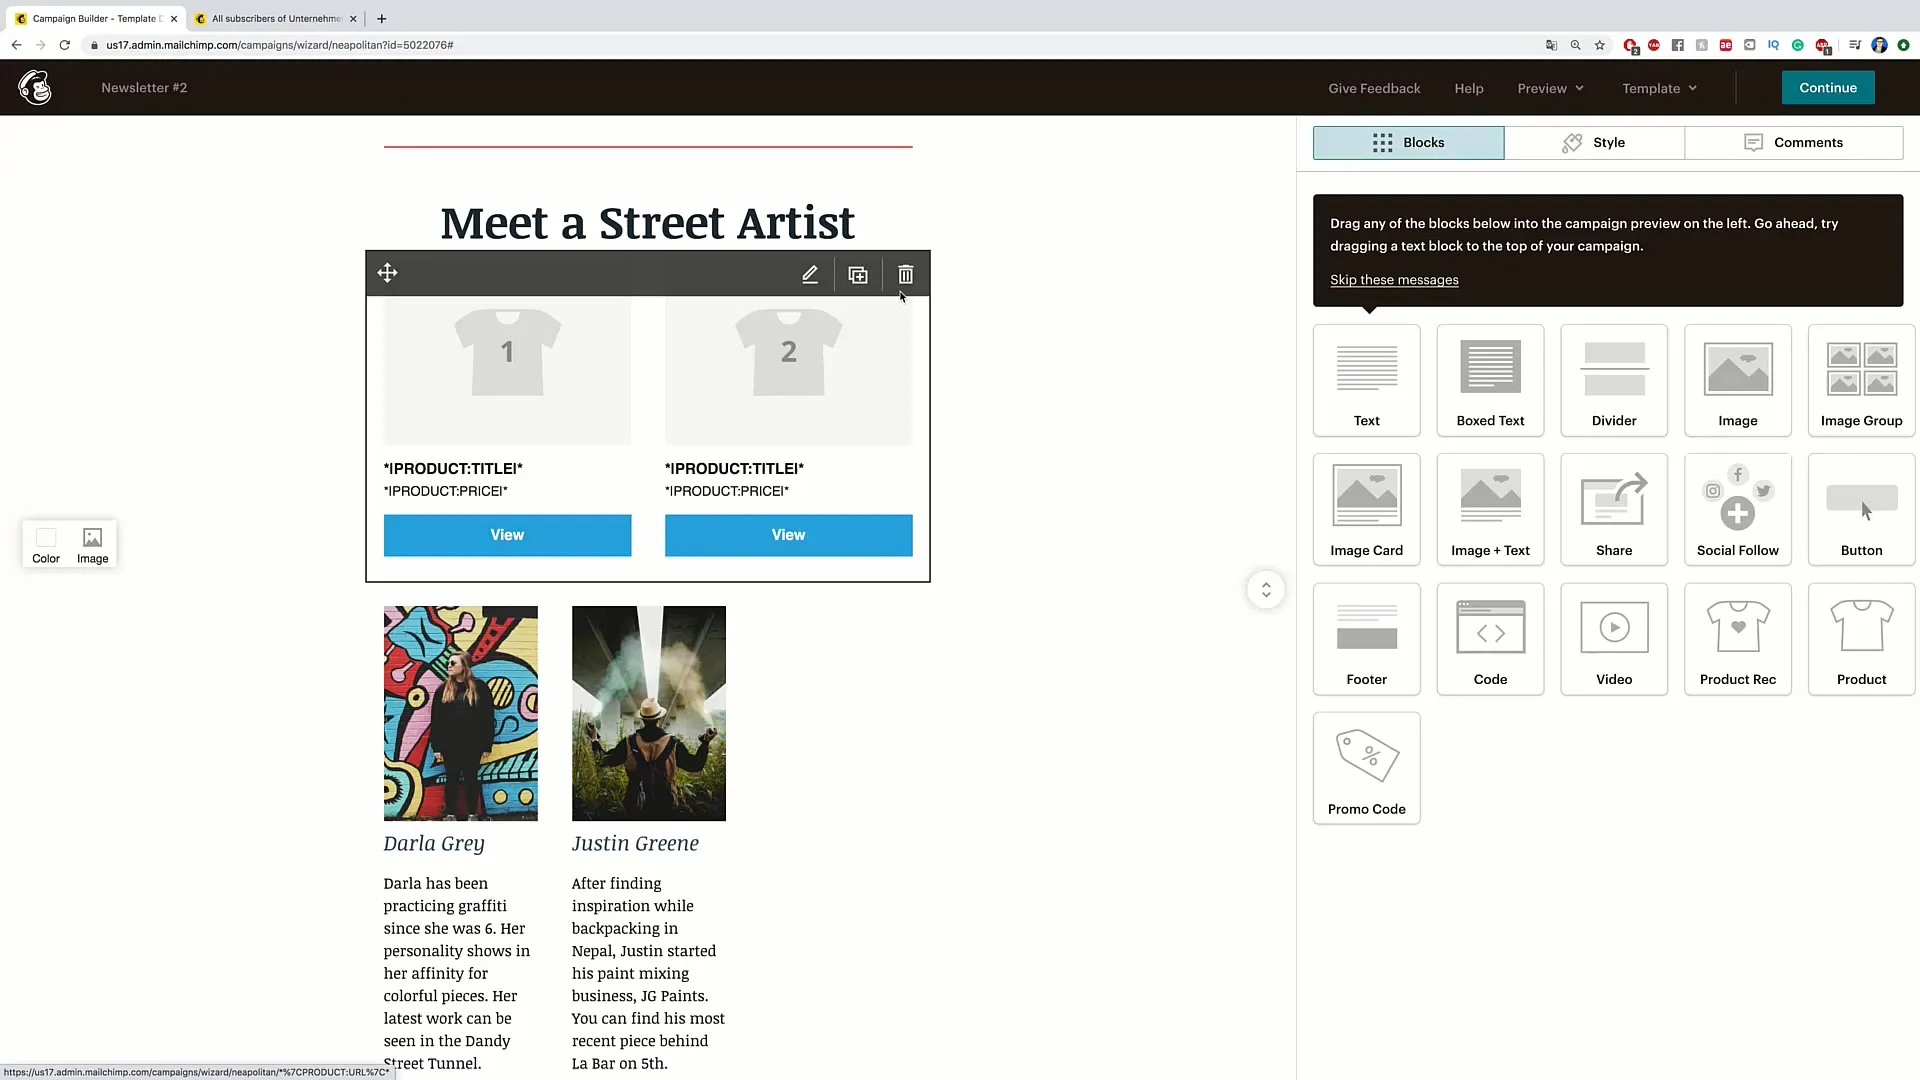
If you wish, you can integrate additional features like buttons, links to social media, videos, or even products. Simply drag the desired elements into the layout and customize them as needed.
9. Check and send newsletter
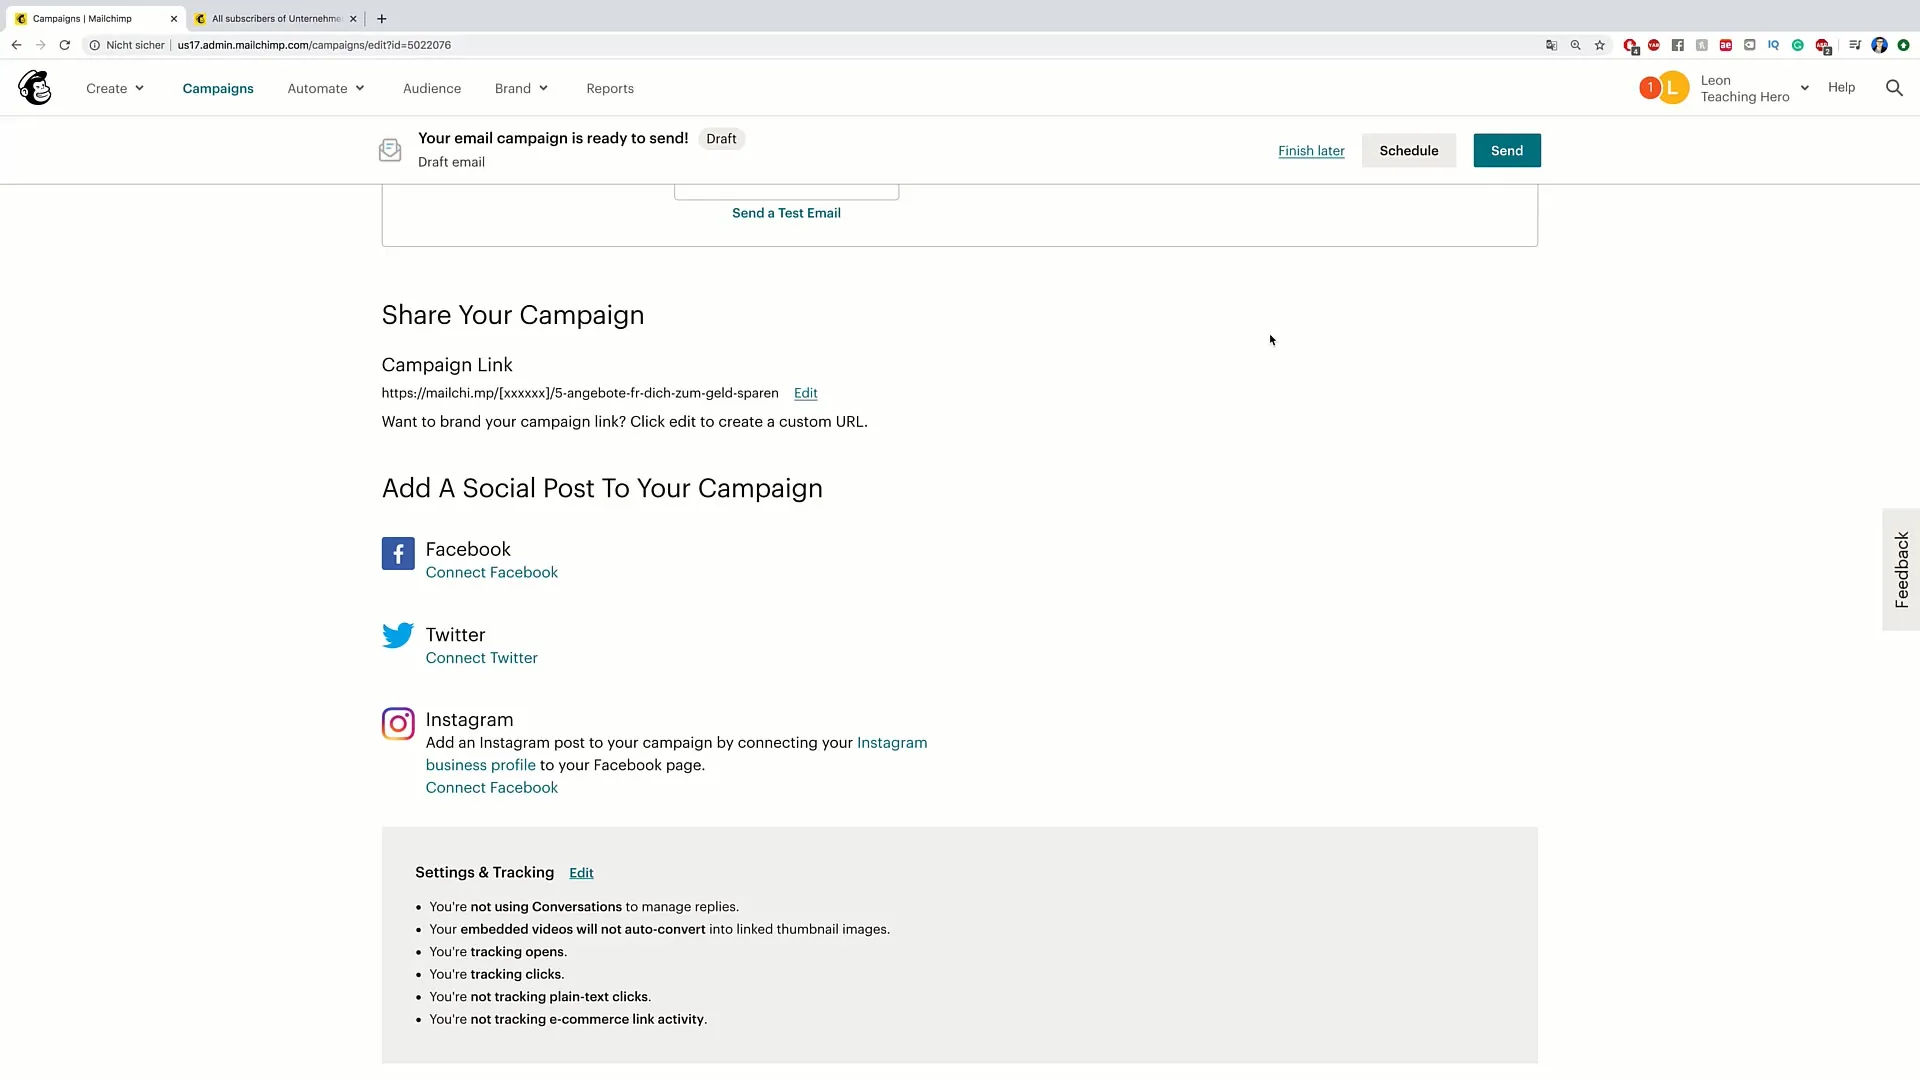
Are you satisfied with your newsletter? Click on "Continue" to review all information. If everything is in order, you can send the email by clicking on "Send" at the top. Your newsletter will now be sent to the selected recipients.
Summary
Creating newsletter templates is an excellent method to send appealing and well-structured emails. Use the steps described here to efficiently design the campaign and strengthen your branding.
Frequently Asked Questions
How do I create a newsletter template?You can create a newsletter template in your email marketing tool by starting a new campaign and choosing a design.
Can I customize the design of my template?Yes, in most tools you can customize different styles, colors, fonts, and layouts.
What is the benefit of templates?Templates help you save time and ensure a consistent branding for all your newsletters.
Can I integrate products or videos in my newsletter?Yes, many tools allow inserting media content and versatile elements.
How often should I send newsletters?It depends on your audience, but a monthly or quarterly frequency is often recommended.


