Designing your own planetary system opens up endless creative possibilities for you. Whether for science fiction projects, posters, or digital art - planets with different surfaces, asteroid belts, and a spectacular explosion make your design unique. In this tutorial, I will show you step by step how to create four different planets in Photoshop, add a dynamic asteroid belt, and create an impressive explosion. Let's get started and give your designs a galactic character!
Variant 1 - Creating a sun-like planet
Step 1:
First, I create a new document; the size doesn't matter. I choose a very small size of 800x600 pixels. If you intend to print this effect, the unit should be changed from pixels to cm and the resolution from 72 to 300 pixels/inch.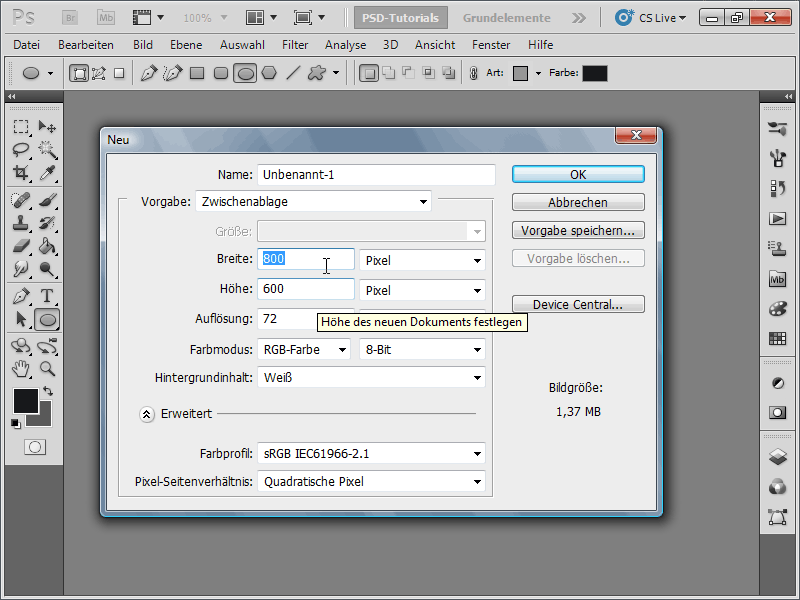
Step 2:
Next, I color the background layer black and create a new layer.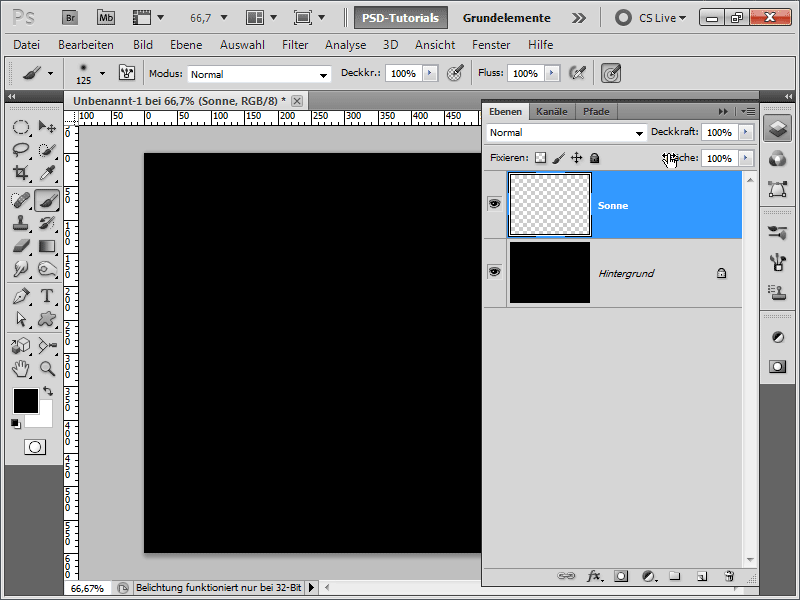
Step 3:
Now, I set orange as the foreground color and dark orange as the background color. Then I quickly draw an elliptical marquee (holding the Shift key). After that, I apply the cloud filter (Menu>Filter>Render>Clouds).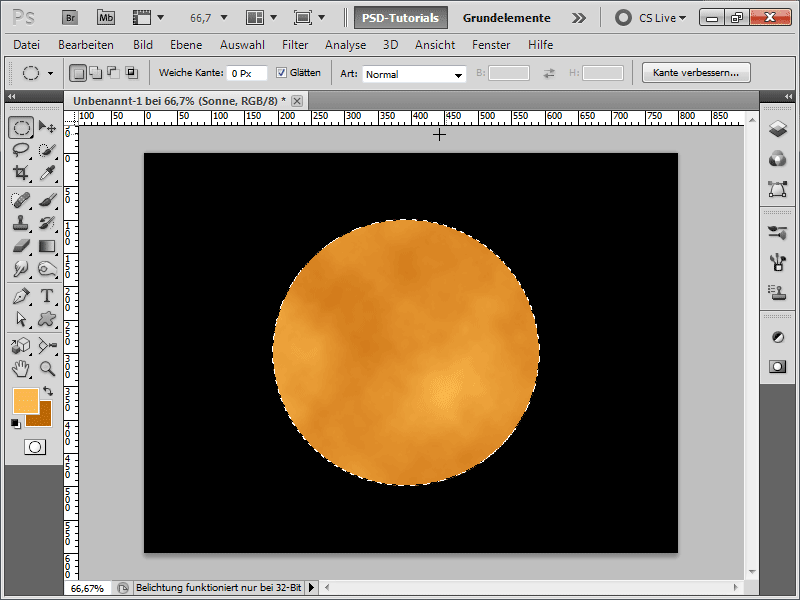
Step 4:
To avoid a flat look, I use the twirl filter.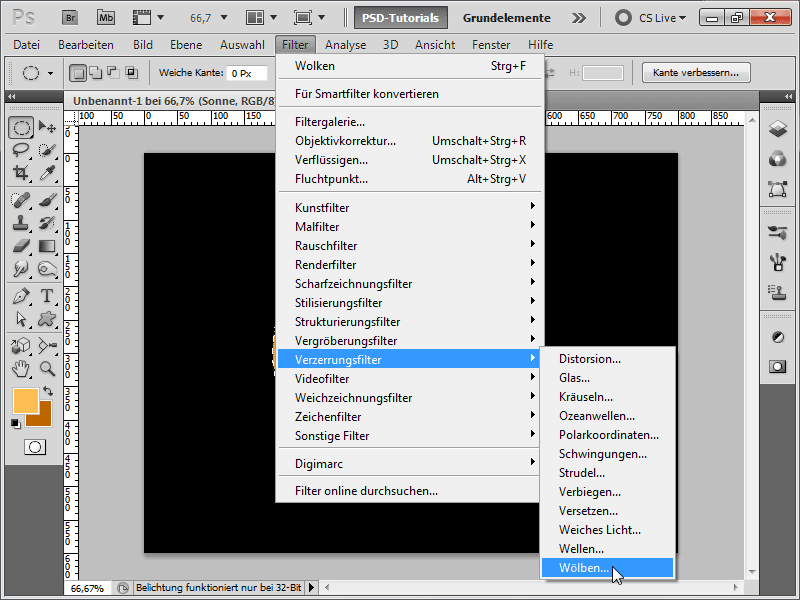
Step 5:
Next, I give my sun layer an outer glow.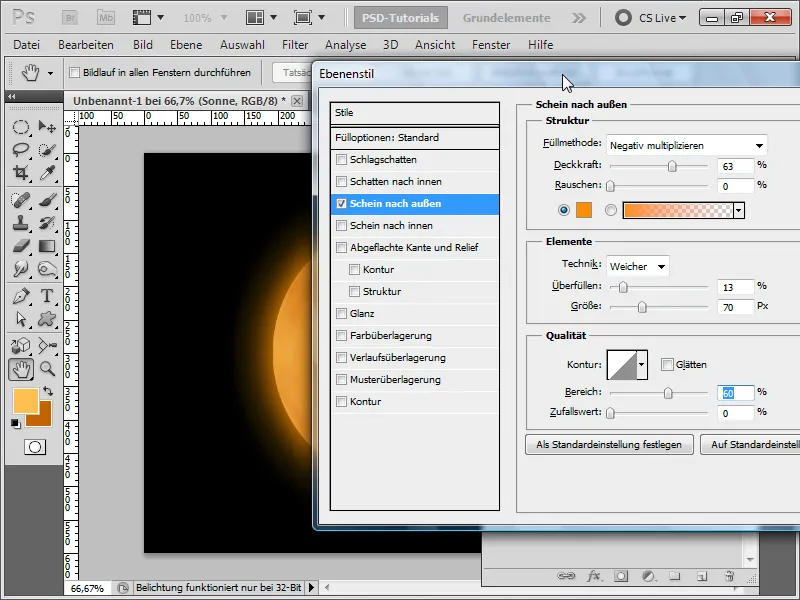
Step 6:
Then I add an inner glow.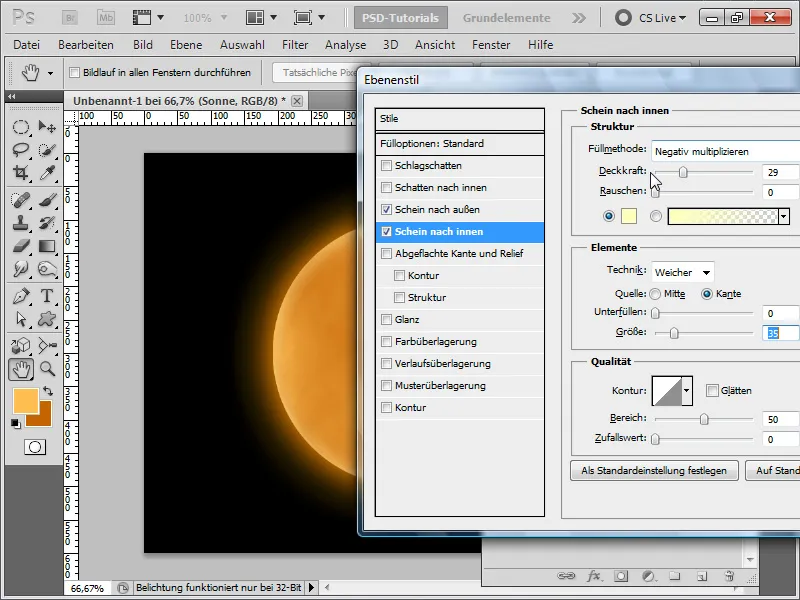
Step 7:
Now I create a new layer and make a selection from the sun layer (Ctrl-click on the sun layer).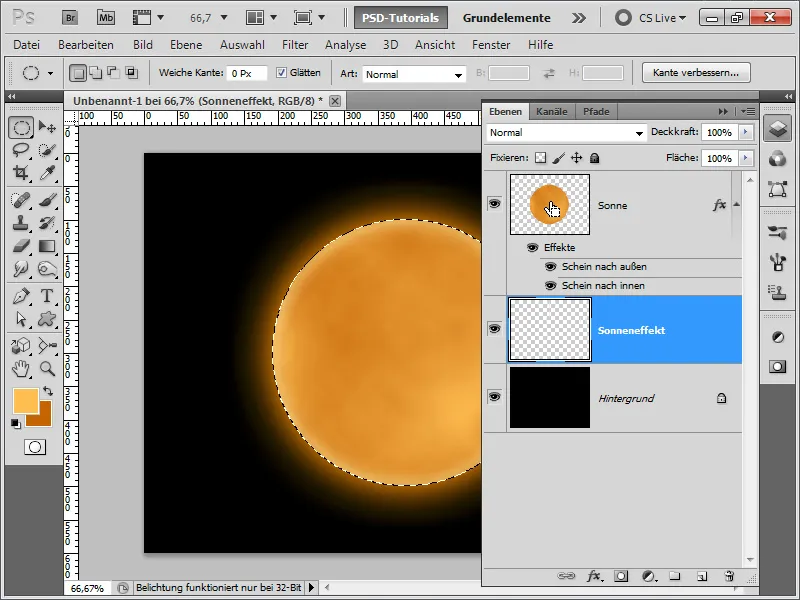
Step 8:
Next, I reduce the selection by 3 pixels.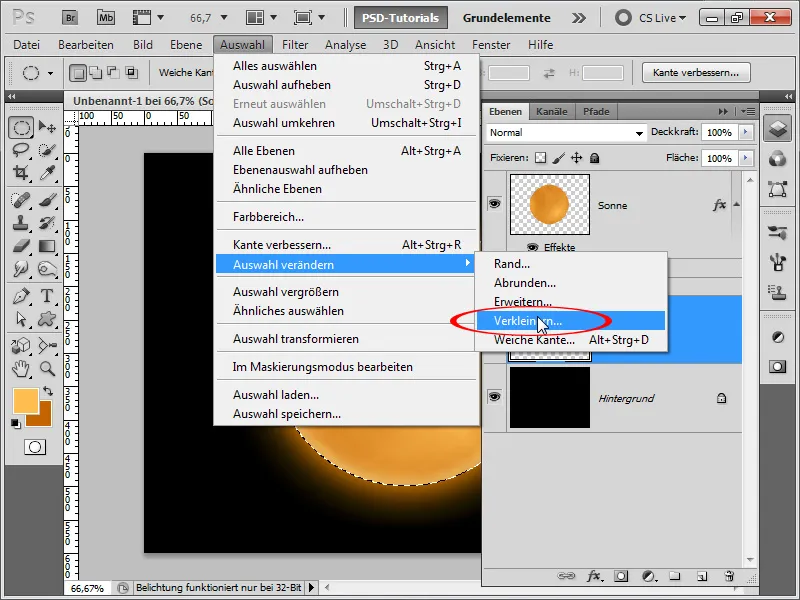
Step 9:
Now I fill the selection with black and then set an outer glow in the fill options.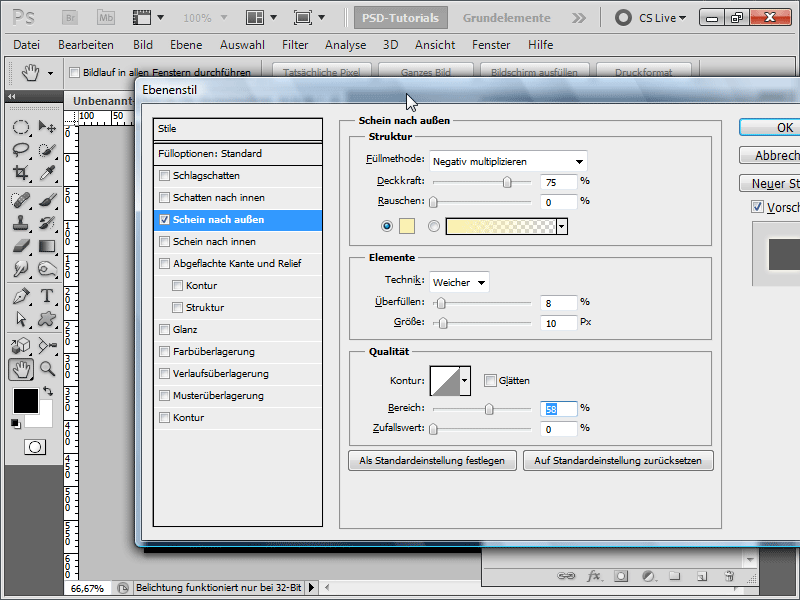
Step 10:
Next, I create another new layer and apply a cloud filter with the standard colors black/white.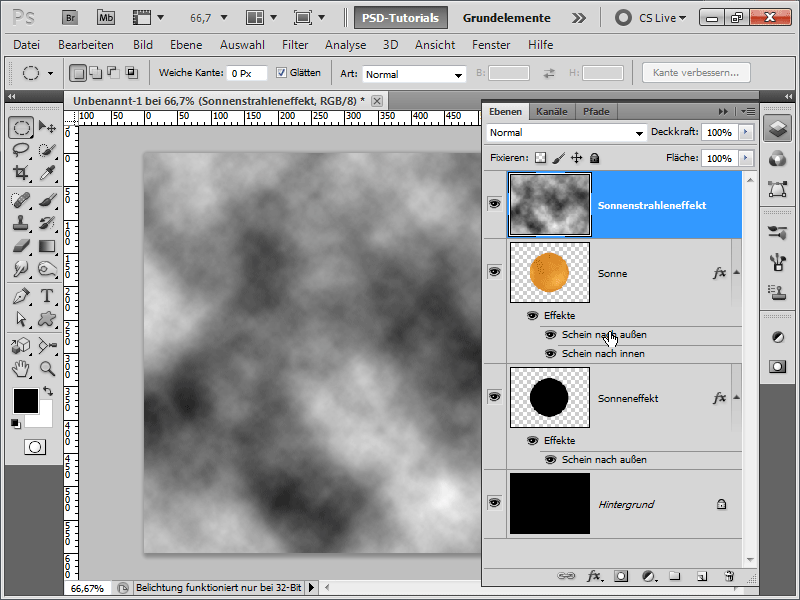
Step 11:
To blend the cloud structure into the sun layer, I set the blending mode to Color Dodge.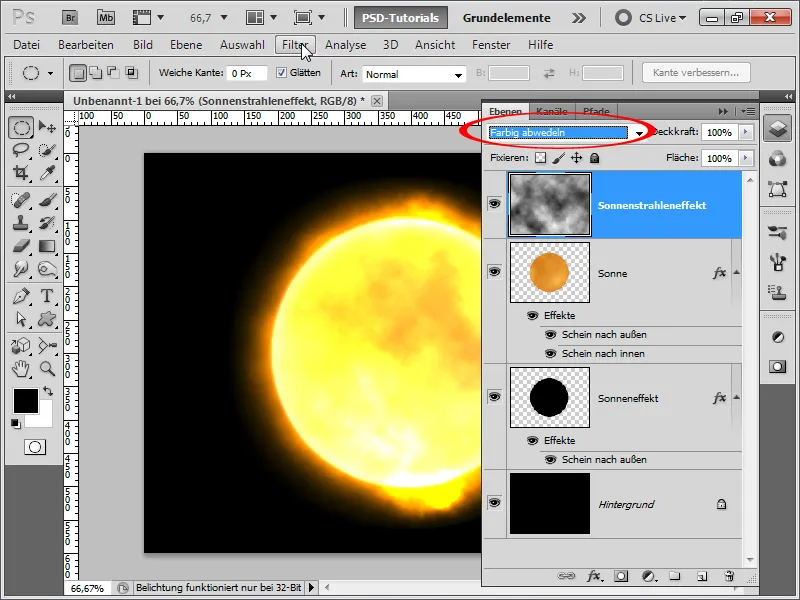
Step 12:
The cloud structure needs improvement, so I enhance it by running the Difference Clouds filter and repeating it with Ctrl+F until I am satisfied with the texture.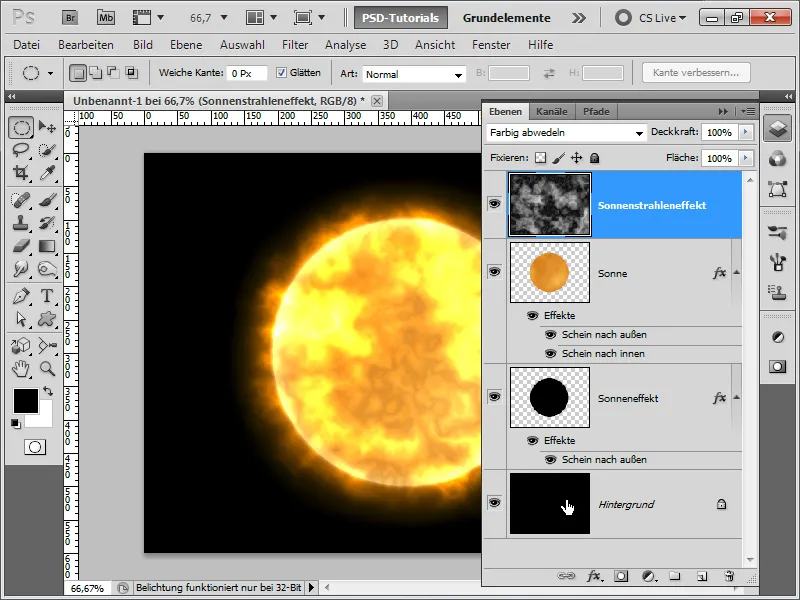
Step 13:
I enhance the background layer with a radial blue gradient.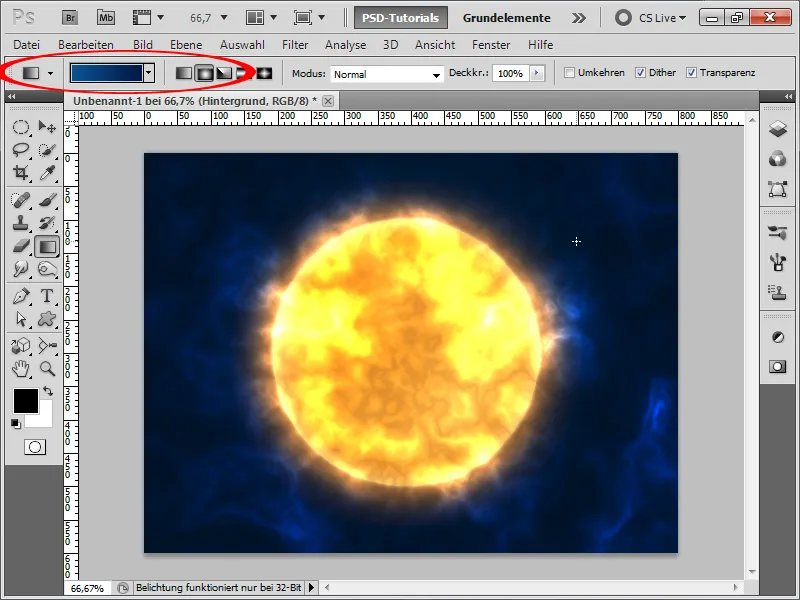
Step 14:
Now I quickly add some stars. I create a new layer, fill it with black, and then add noise (Menu>Filter>Noise Filter).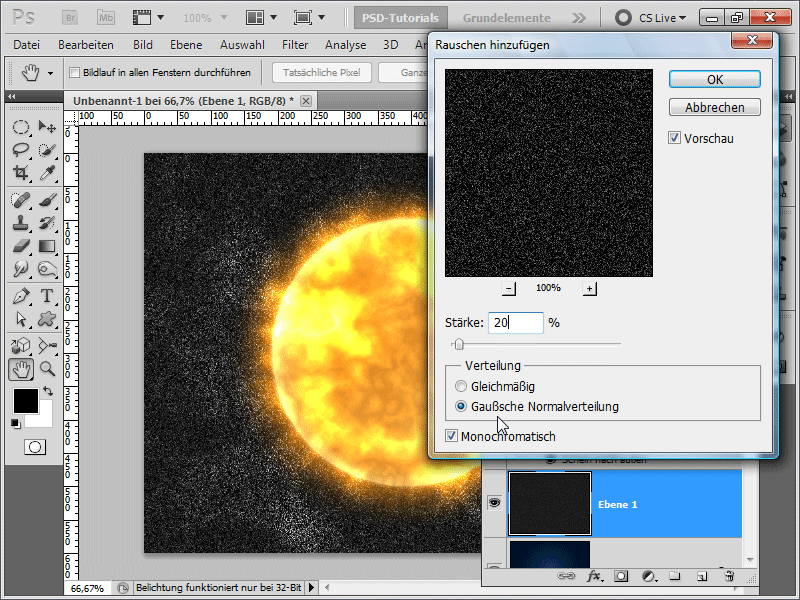
Step 15:
Using the curves adjustment, I can modify the noise to keep only a few stars.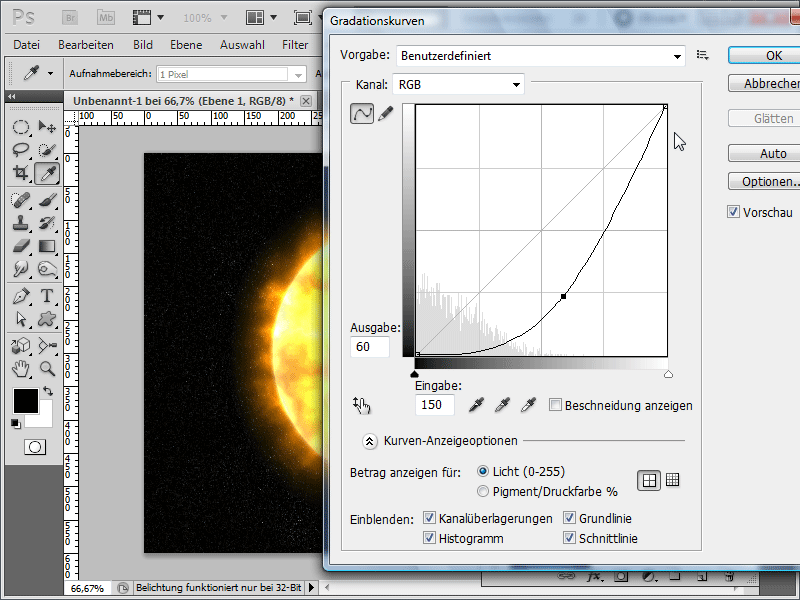
Step 16:
Now I change the fill method to Lighter Color, so that the stars shine through.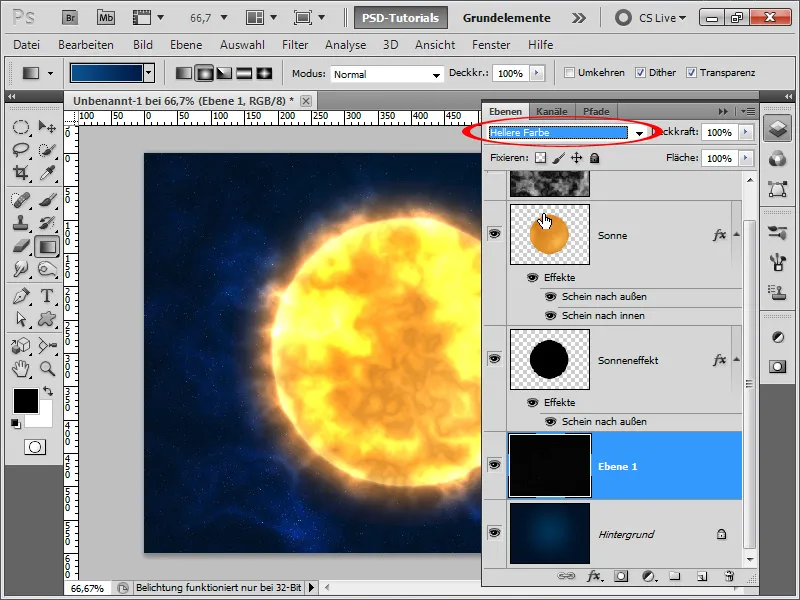
Step 17:
In my opinion, the result is quite impressive.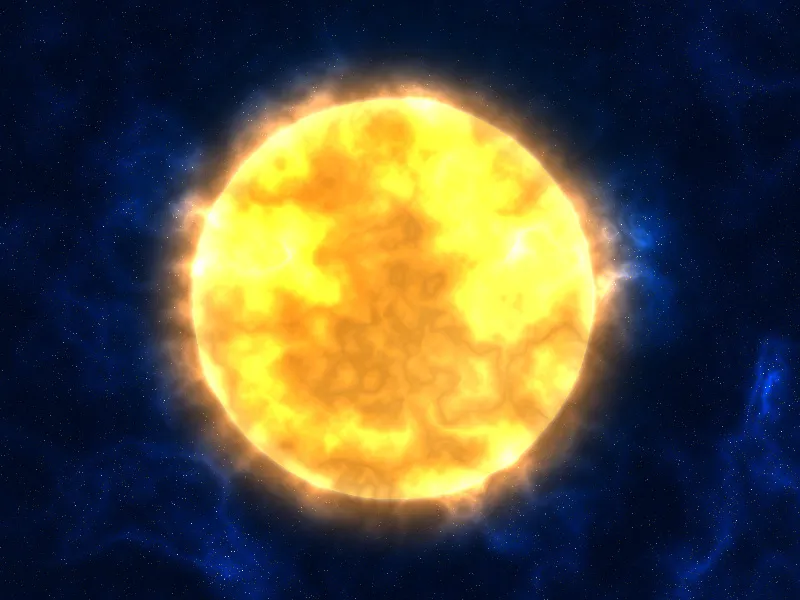
Step 18:
Some may say, "But you can see the cloud filter." Okay, I can prevent that by using a texture, for example from the PSD-Tutorials.de Texture DVD or a texture from the internet, with a marble structure.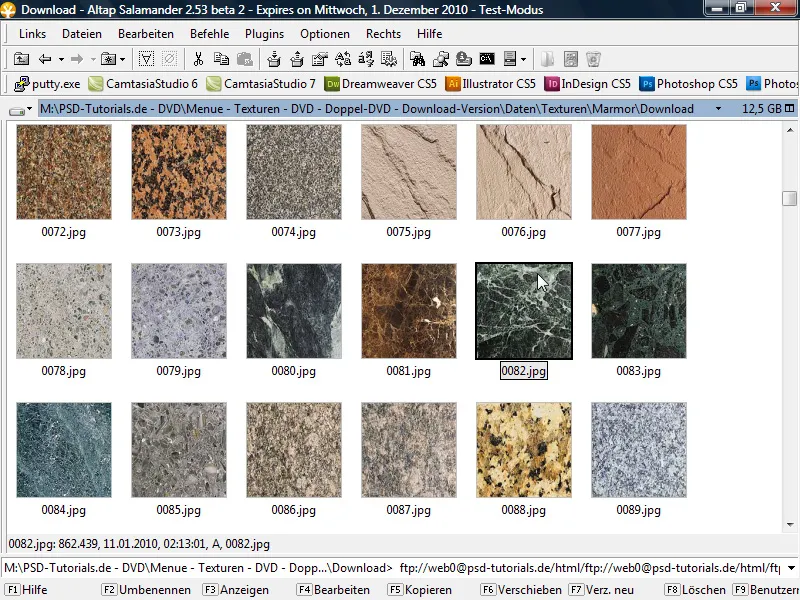
Step 19:
Now I drag the image into my document and click between the layers while holding the Alt key to create a clipping mask from the layer, so that the layer only affects the layer underneath it.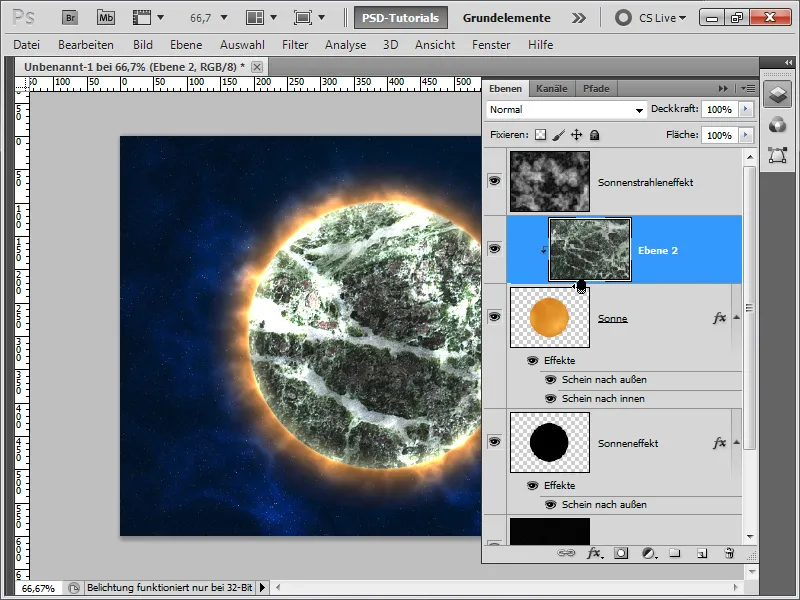
Step 20:
Now I change the fill method to Linear Dodge. The planet looks completely different now.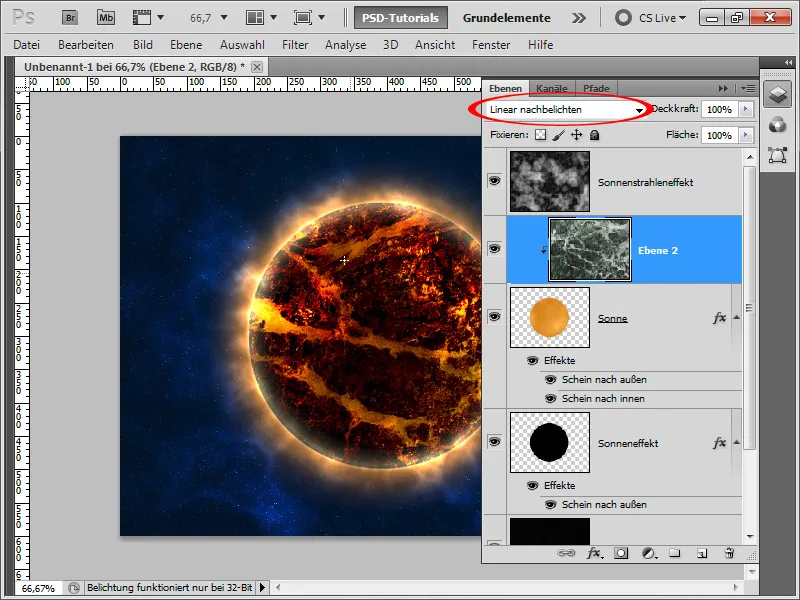
Step 21:
However, I set the opacity to 50%, which makes the result look even better: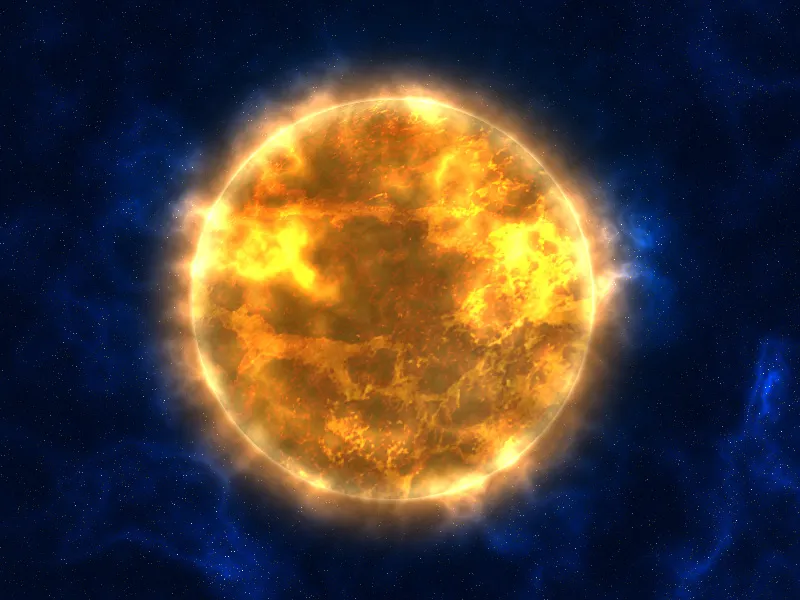
Variant 2 - Creating a sun-like planet with a large ray effect
Step 1:
First, I create a new document; the size doesn't matter. I choose a very small size of 800x600 pixels. If you want to print this effect, the unit should be changed from pixels to cm and the resolution from 72 to 300 pixels/inch. Then I color my layer black, quickly create a circular selection (holding down the Shift key), and fill the selection black as well.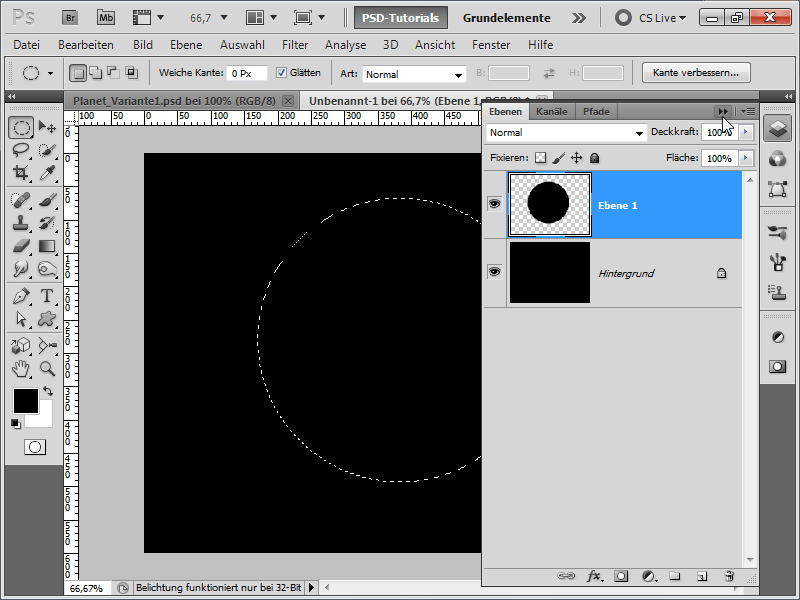
Step 2:
Next, I apply the Clouds effect under Menu>Filter>Render Filter. I press Ctrl+F repeatedly until the texture looks somewhat like this: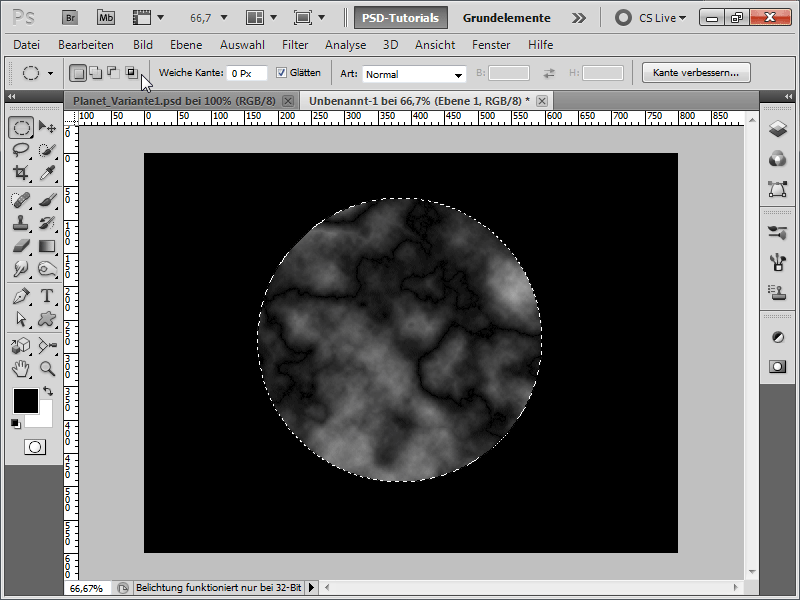
Step 3:
To make the structures more visible, I bring up the Levels adjustment with Ctrl+L and move the right slider towards the center.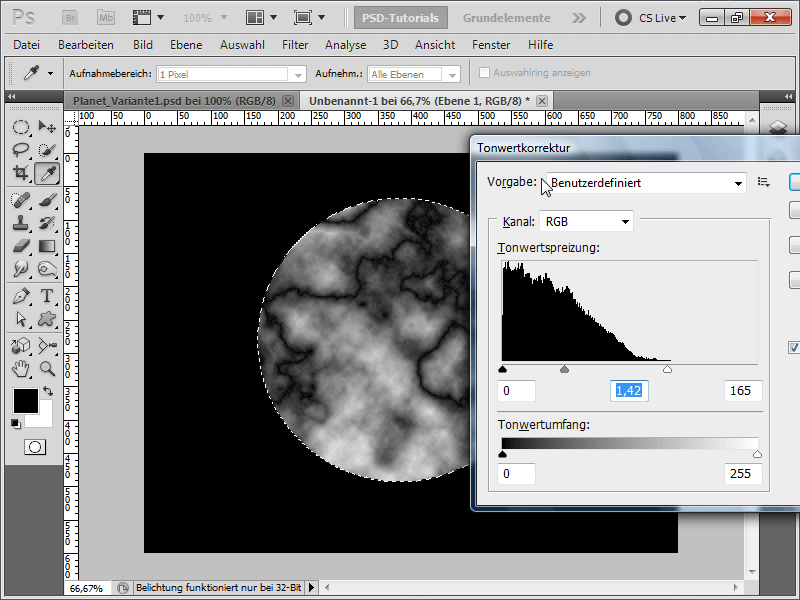
Step 4:
Next, under Menu>Filter>Sharpen Filter I use the Unsharp Mask filter.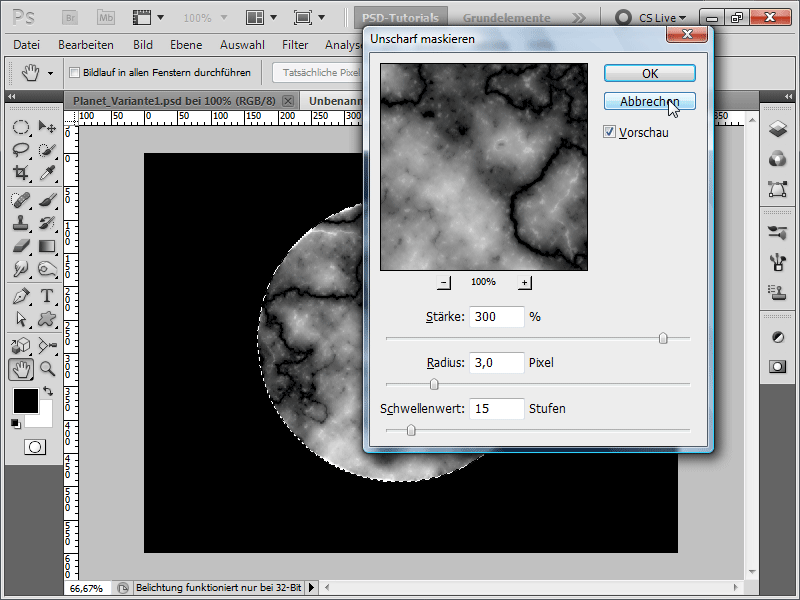
Step 5:
Now, I go to Menu>Filter>Distort Filter and then to Bulge, setting the strength to 100% so the texture doesn't appear so flat. Then I press Ctrl+Alt+F to apply the filter again, this time with 50% strength.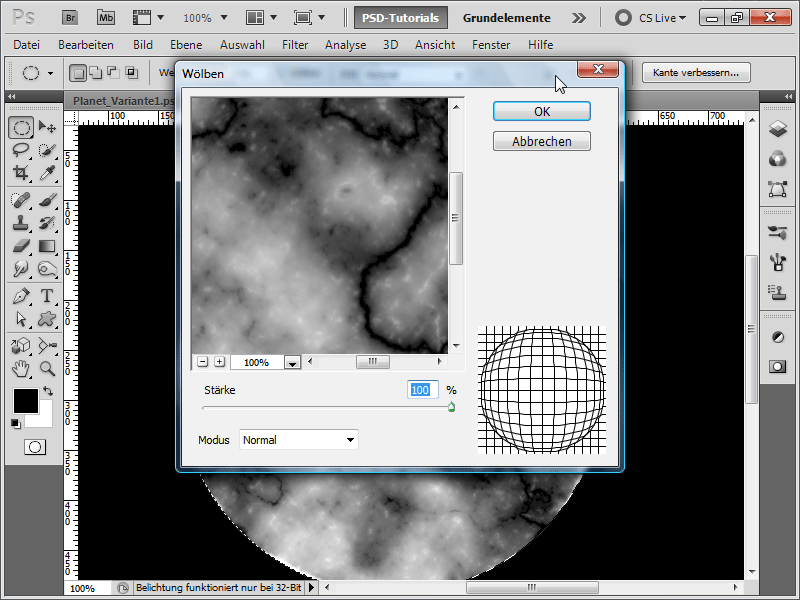
Step 6:
After that, I add color to the image by going to Menu>Image>Adjustments>Color Balance and entering the following values: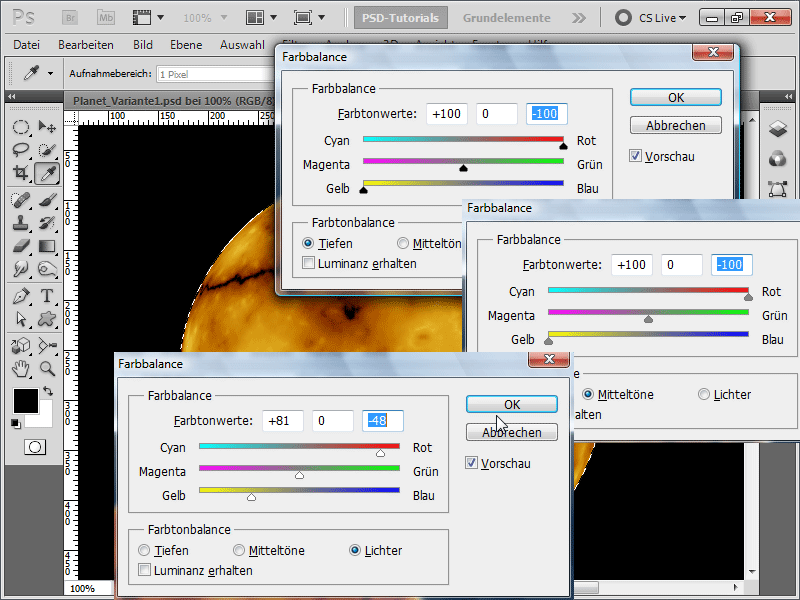
Step 7:
Now, I apply the Unsharp Mask filter again, this time with 150% strength.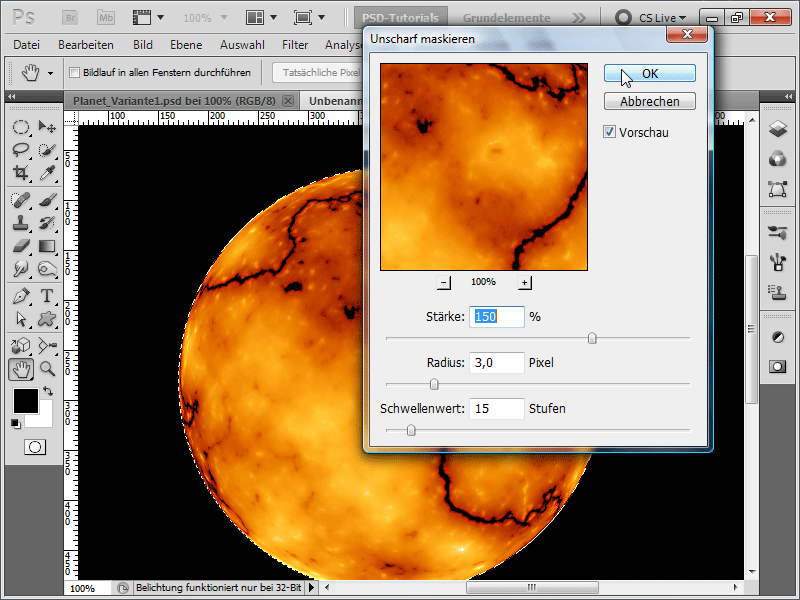
Step 8:
Next, I add an Outer Glow.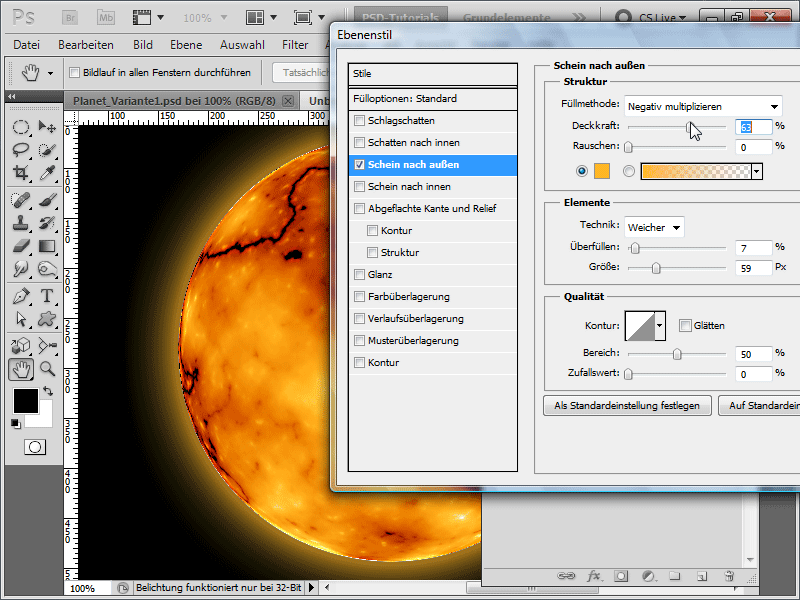
Step 9:
Now I adjust the overly sharp contour by holding the Ctrl key and clicking on the planet layer to create a selection, shrinking the selection by about 5 pixels, then inverting and setting the feather to 5 pixels before calling the Gaussian Blur filter.
If this sounds too complicated, one can simply use the Blur tool to quickly soften the contour. As in the previous version, I quickly add noise to my background layer, optimize it with the Curves adjustment, and create stars this way. Above that, I can create a gradient layer to give the stars some color. Alternatively, I can swap the gradient layer with the background layer for the same star effect as in Variant 1.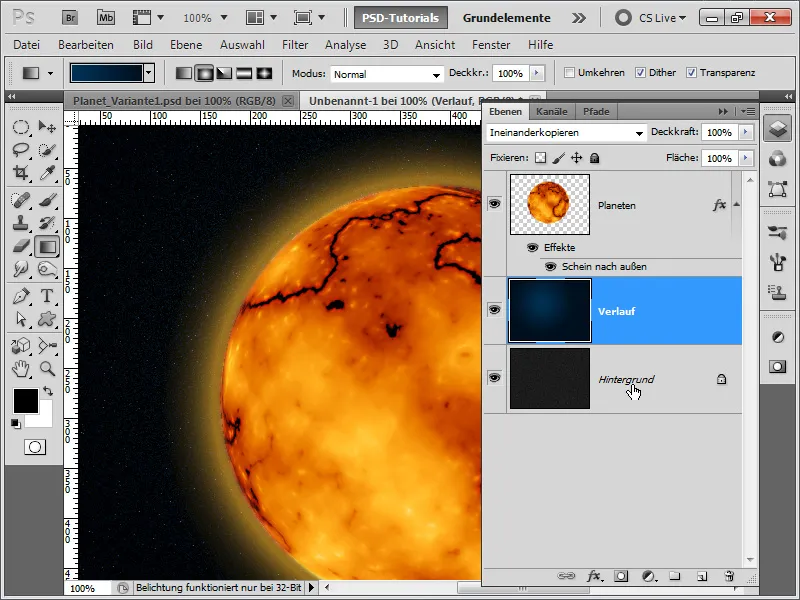
Step 10:
With the brush finger and a spritzer tool tip, I can also easily pull small volcanoes out of the planet. But then I have to slightly modify the shine outward (set overshoot to 1%) because the shine would otherwise be too large.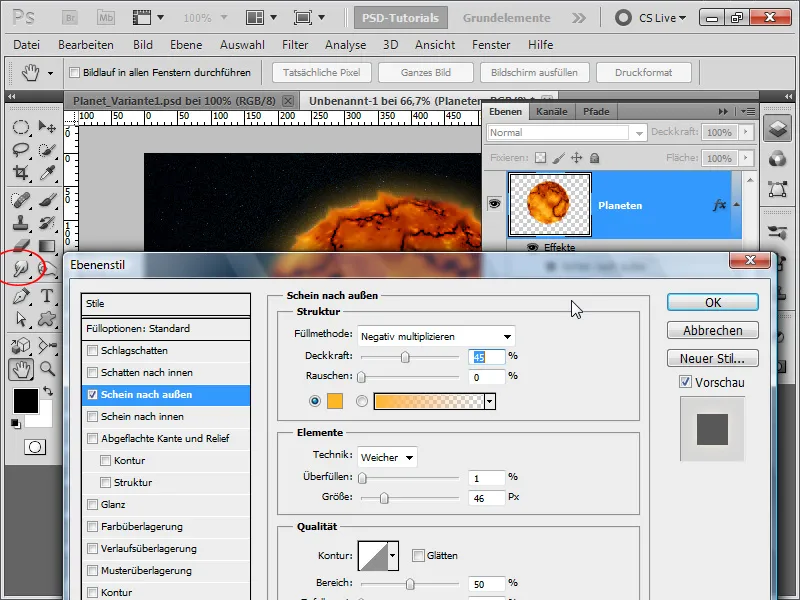
Step 11:
Now, similar to the 1st variation, I added a texture as a clipping mask and reduced its opacity. Here is the result: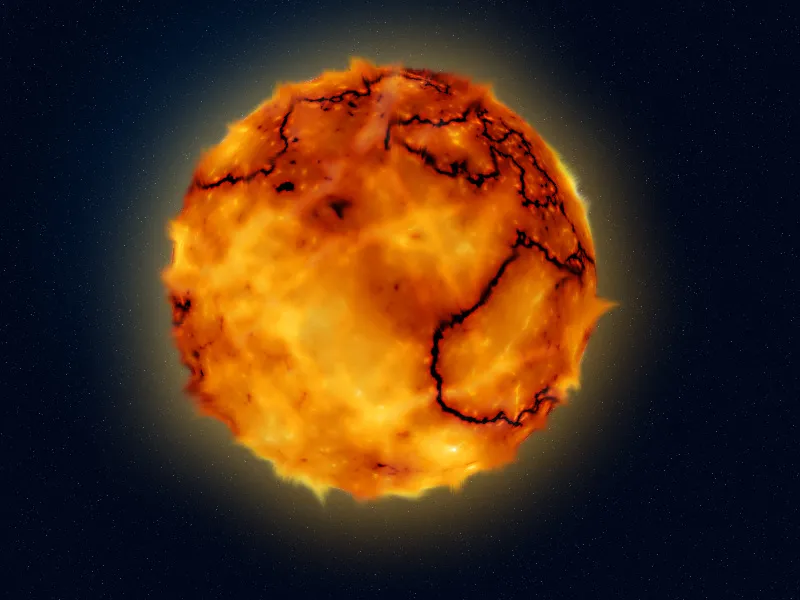
Variation 3 - Creating a Blue Planet with an Asteroid Belt
Step 1:
First, I create a new document; the size doesn't matter. I choose a very small size of 800x600 pixels. If you want to print this effect, the unit should be changed from pixels to cm, and the resolution from 72 to 300 pixels/inch. Then I color my layer black, quickly create a circular selection (holding the Shift key), and fill the selection with blue.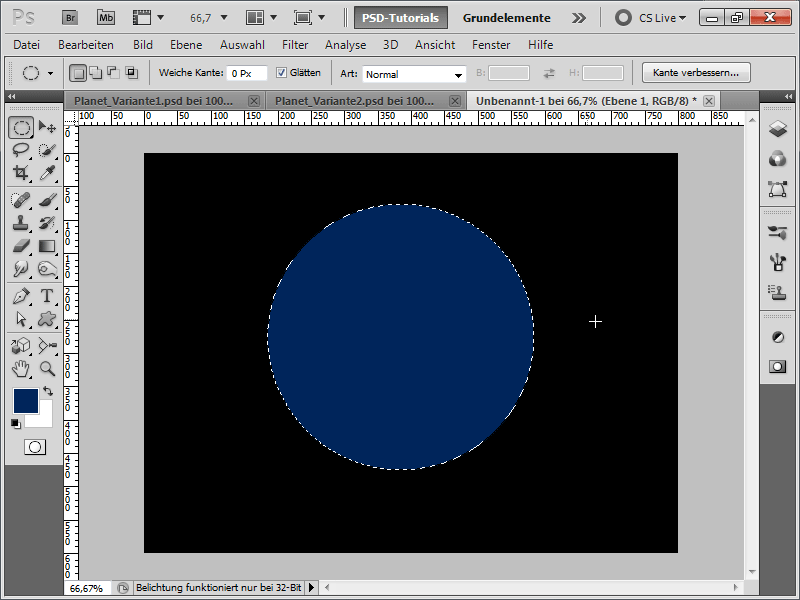
Step 2:
Now, I will get a texture again (e.g. from the PSD-Tutorials.de textures DVD or download online from www.psd-tutorials.de) that looks like a crater landscape.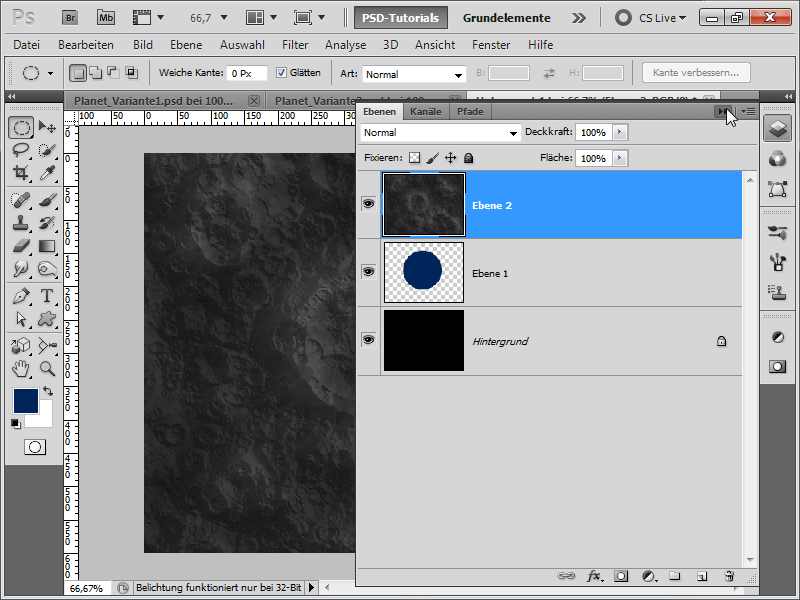
Step 3:
Next, I go to Menu>Filter>Distort Filter, then to Bulge, and set the strength to 100% so that the texture doesn't look flat.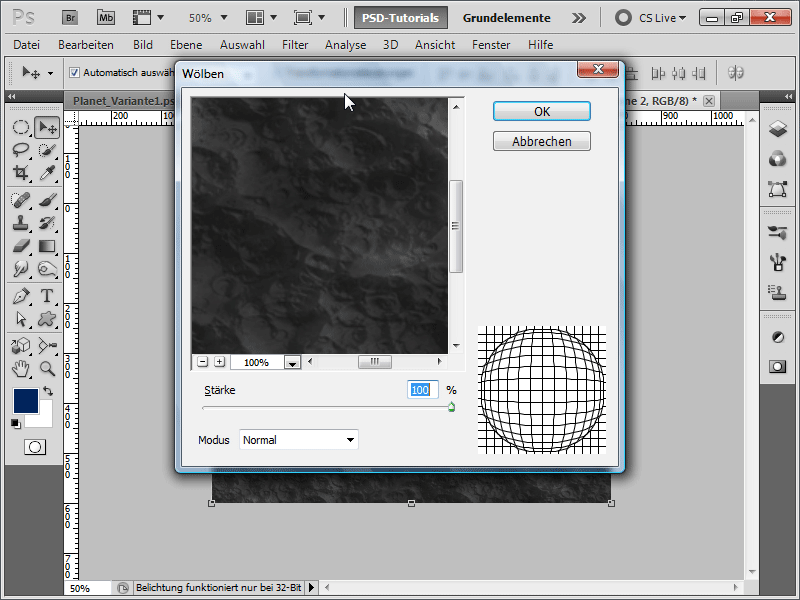
Step 4:
Then I move my blue circle layer up in the layer hierarchy and then transform my texture. The smart guides are a great help here, which I can display in the Menu under View. I need to distort the texture exactly to the size of my circle.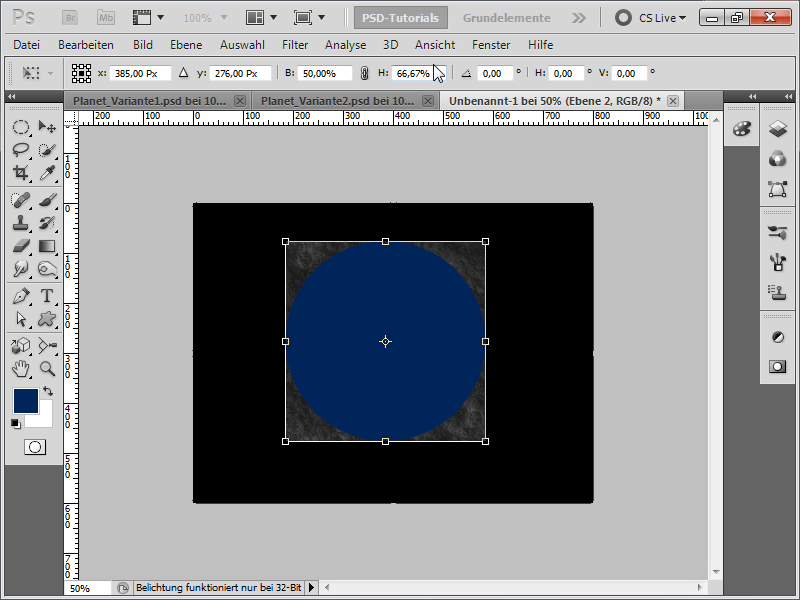
Step 5:
Now I can place the circle back under my texture and click with the Alt key pressed using the left mouse button between the layers to create a clipping mask from my texture. I set the blend mode of my texture to Merge.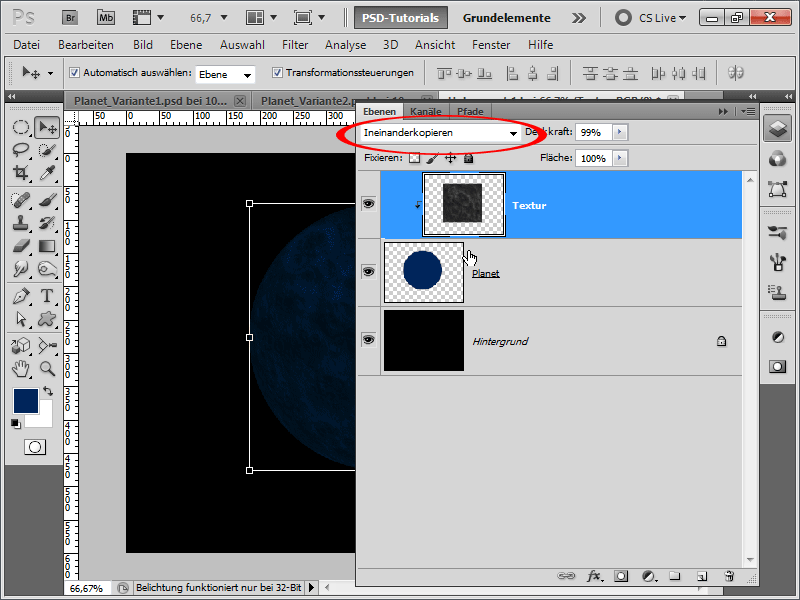
Step 6:
Then I add an outer glow to my planet layer.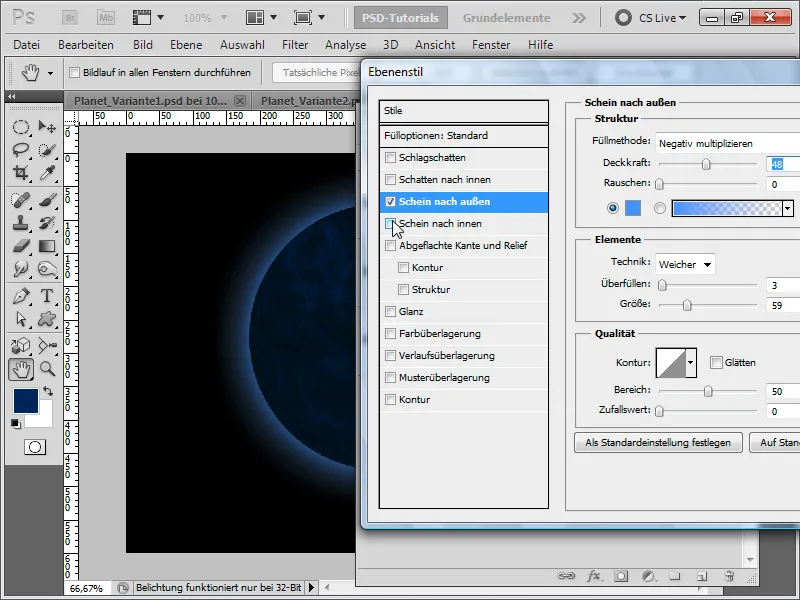
Step 7:
An inner glow also adds a nice touch.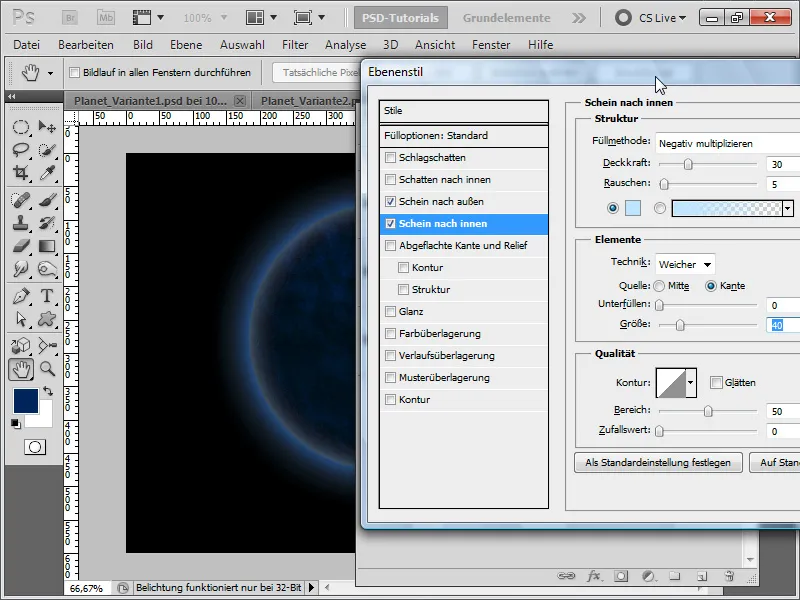
Step 8:
I also add a contour; this, however, is not strictly necessary.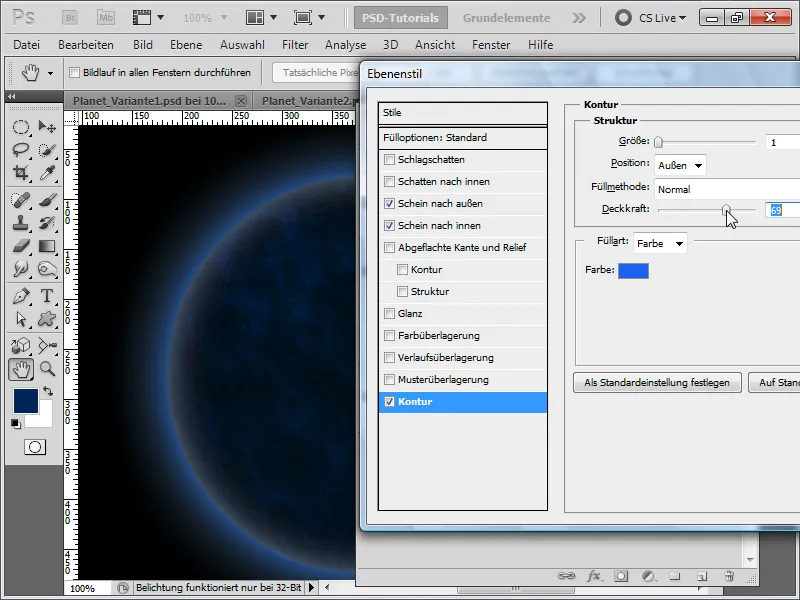
Step 9:
Now, I blur my texture slightly.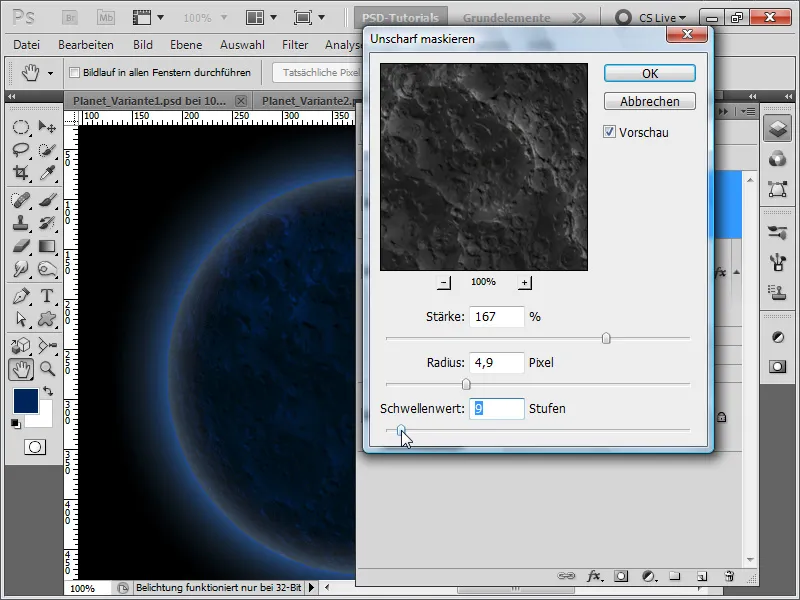
Step 10:
Then I group everything except the background layer and create a layer mask on it.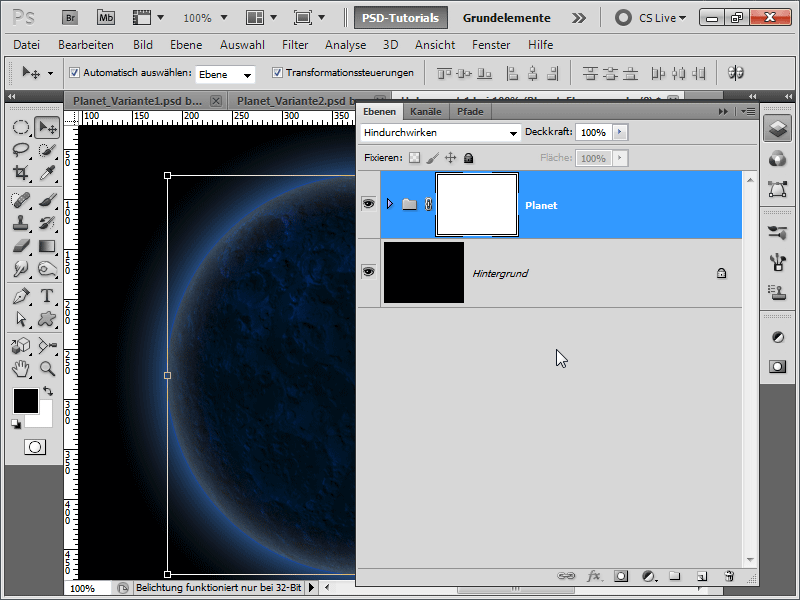
Step 11:
Now, using a large soft black brush, I hide a part of the planet.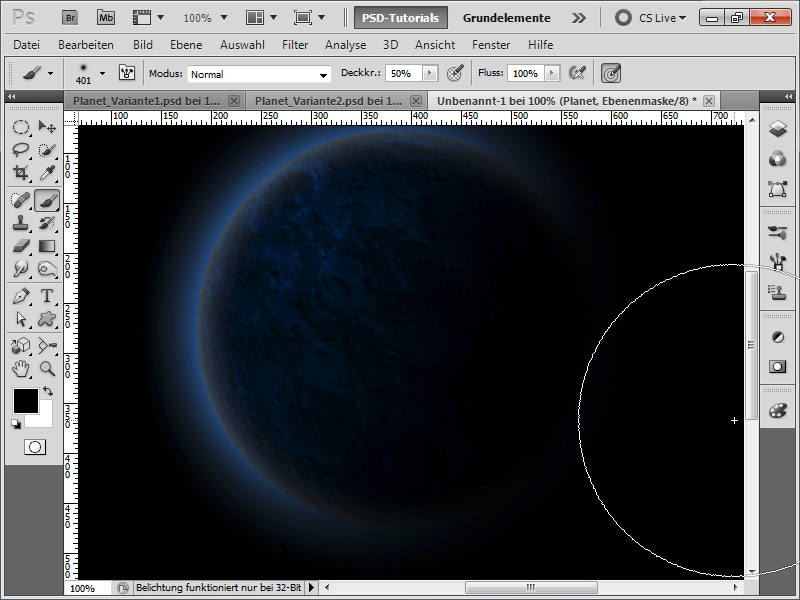
Step 12:
It's time for stars again: I create a new layer, take a 1px small brush, and set the spacing, scatter, and under Transfer the opacity jitter to the maximum.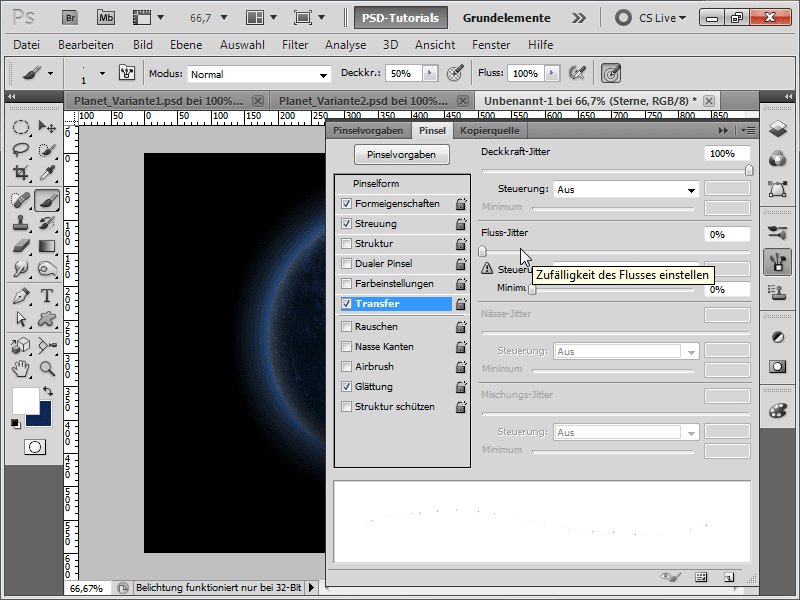
Step 13:
Now I can paint wildly and have inserted my stars. Unfortunately, they can also be seen on the shadow side of the planet.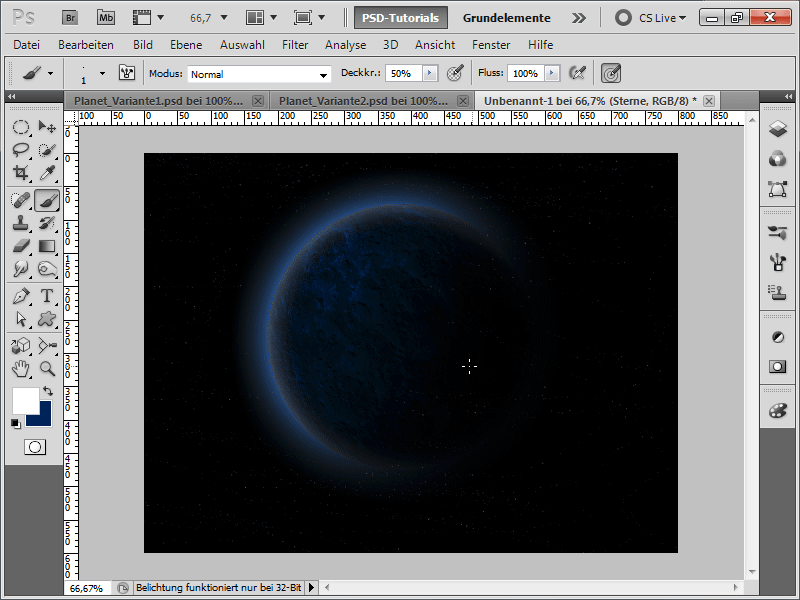
Step 14:
To avoid this, I create a selection from the planet layer with the Ctrl key pressed in the Layers panel, then add a layer mask to the star layer and invert it with Ctrl+I.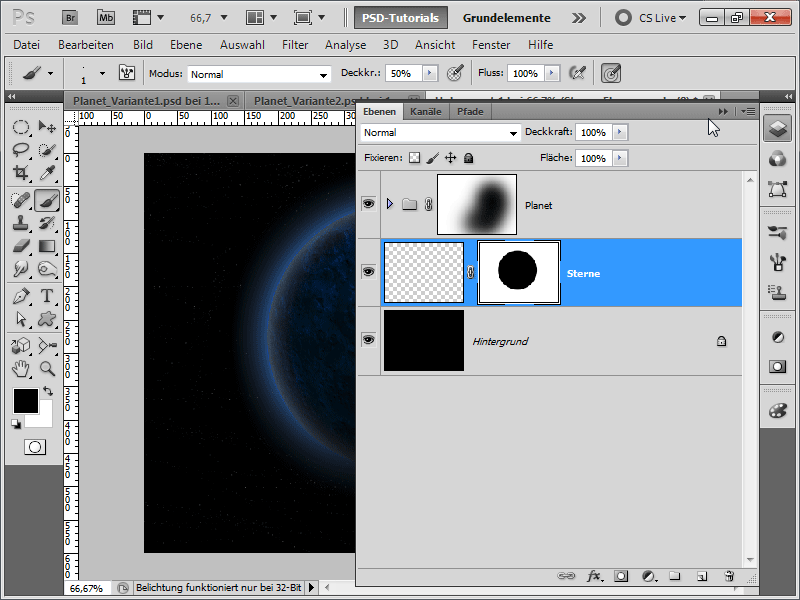
Step 15:
That already looks very good: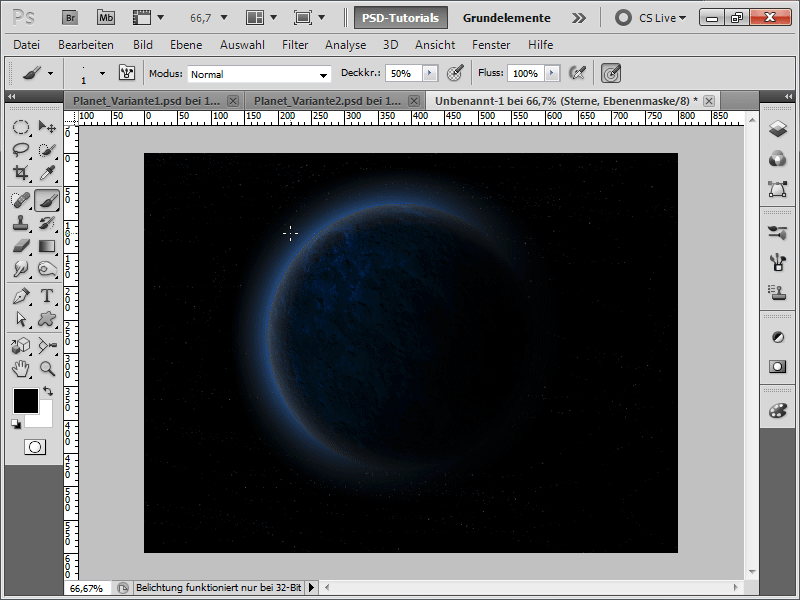
Step 16:
In a new layer, I color some areas in space with very transparent purple color.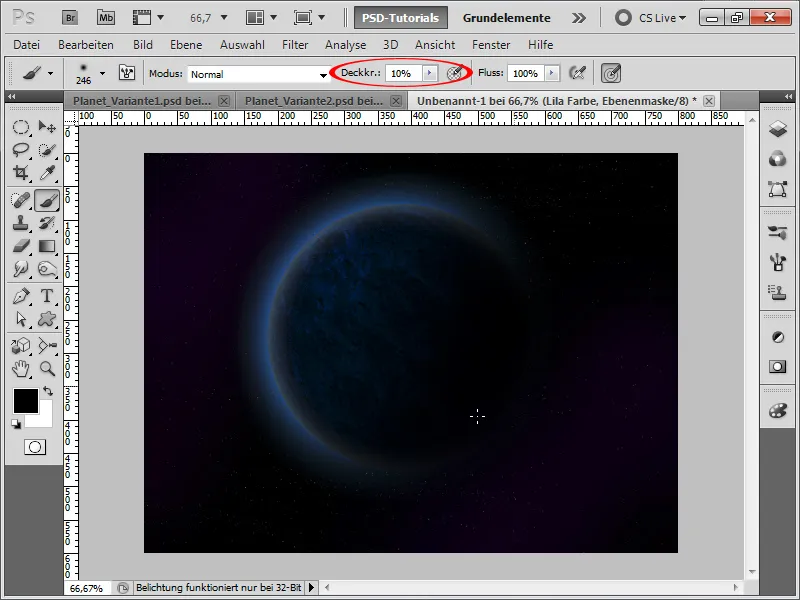
Step 17:
The result looks like this now: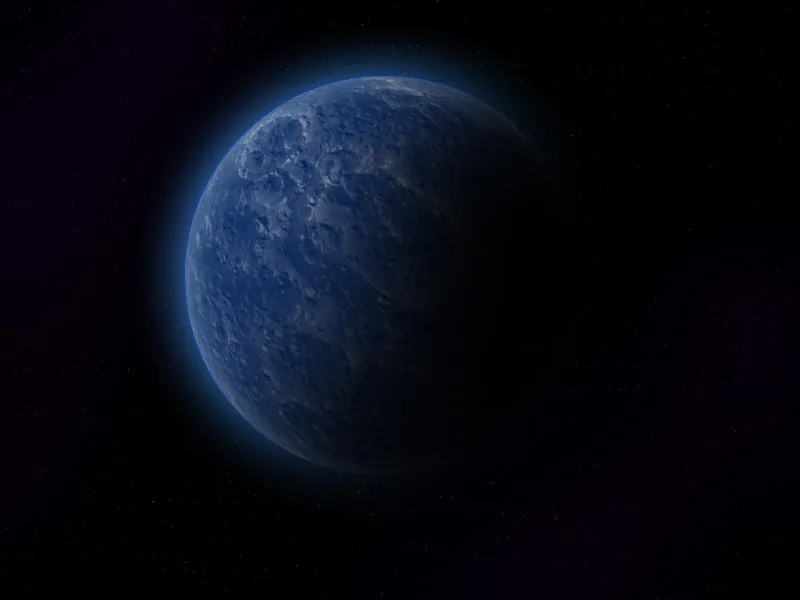
Step 18:
Next, I have a nice surprise in store: I create an asteroid belt for my planet. For this, I create a new document in e.g. 1200 x 1200 pixel size. Using the default colors black/white (if they are not set, simply press the letter D) I apply the Clouds filter.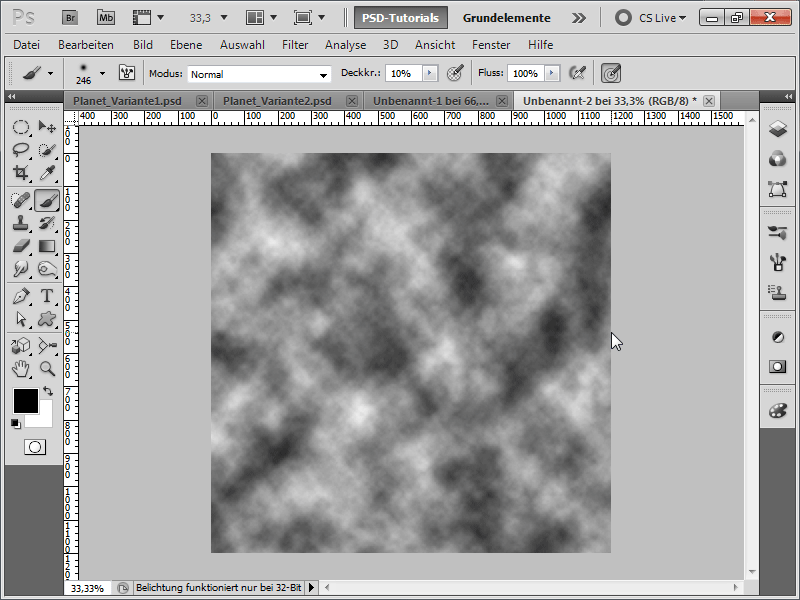
Step 19:
Now it gets swirly: I apply the Twirl filter under Menu>Filter>Distort with full force.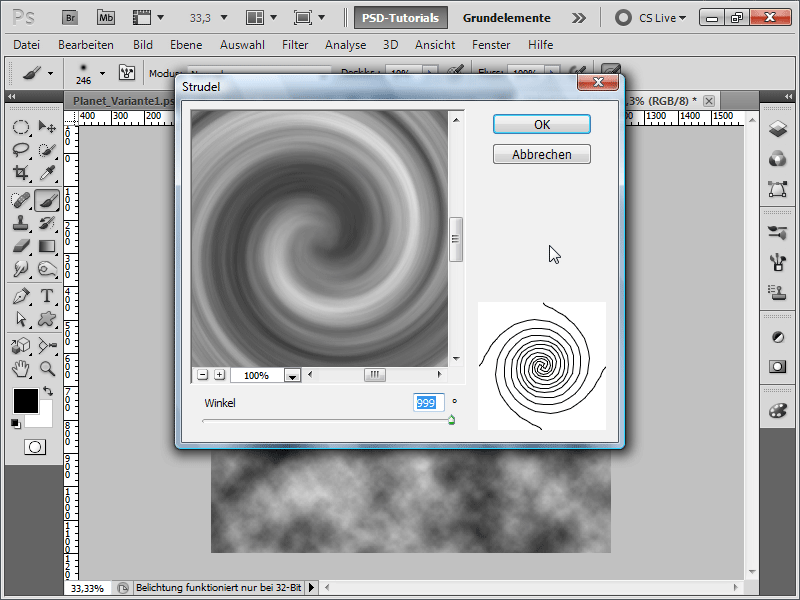
Step 20:
After that, I grab a black brush with a very large soft tip and paint the outer and inner parts black: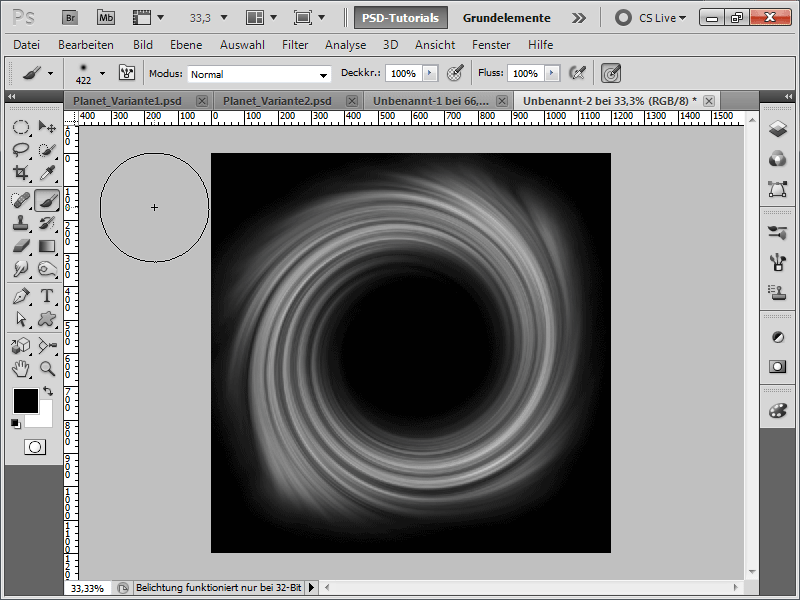
Step 21:
Now I convert my background layer to a normal layer by double-clicking in the Layers panel and then transform it with Ctrl+T.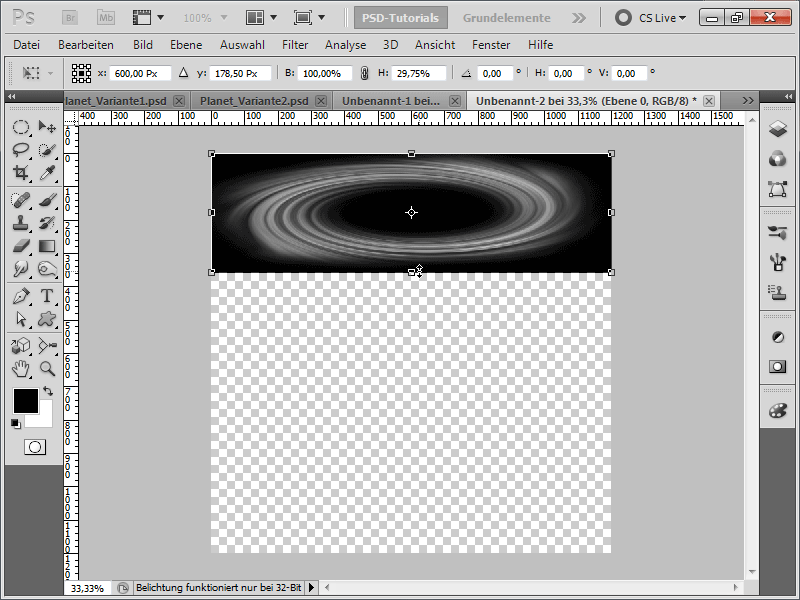
Step 22:
So that the swirl looks like an asteroid belt, I add some Noise.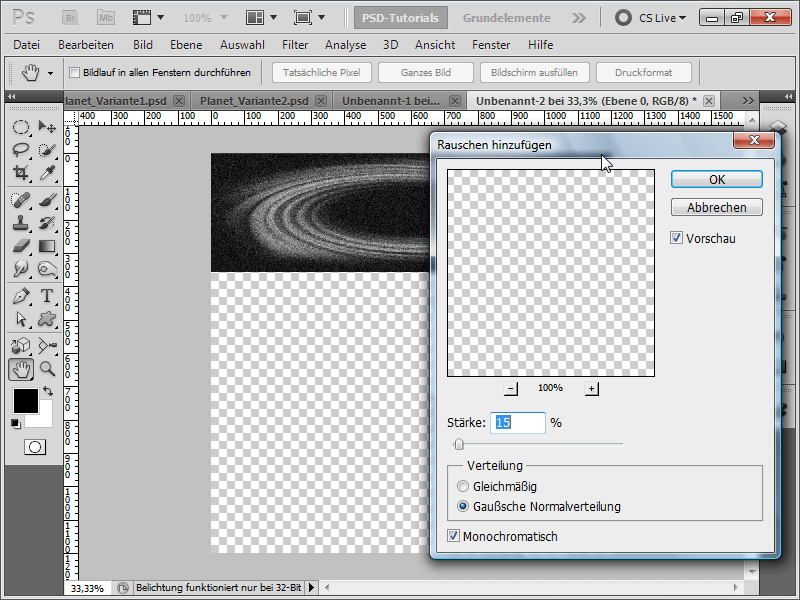
Step 23:
With Ctrl+L I call the Levels adjustment and set the following values so that not too many stars are visible: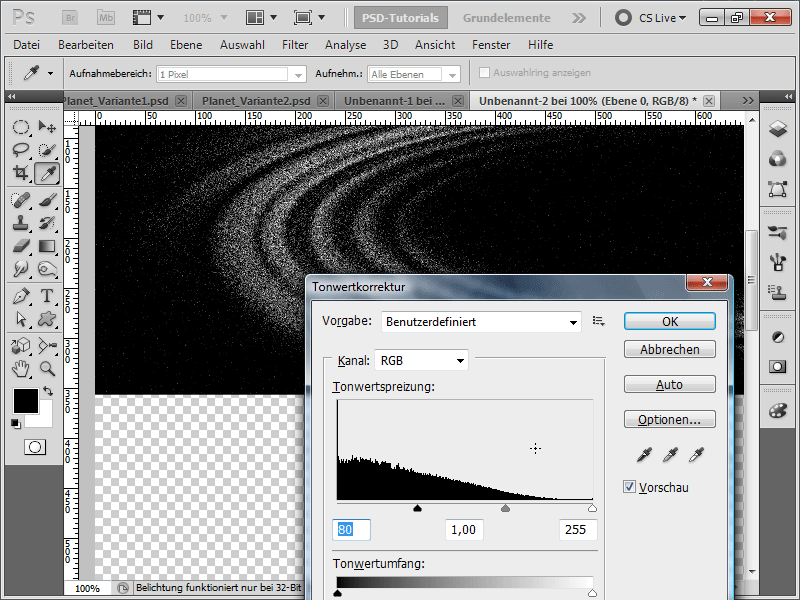
Step 24:
Now I insert my asteroid belt into my planet document using the Move tool by dragging and dropping, set the layer fill method to Linear Dodge, and then with the right mouse button, create a Smart Object (not necessarily needed, but important if the object is transformed frequently so it does not lose quality).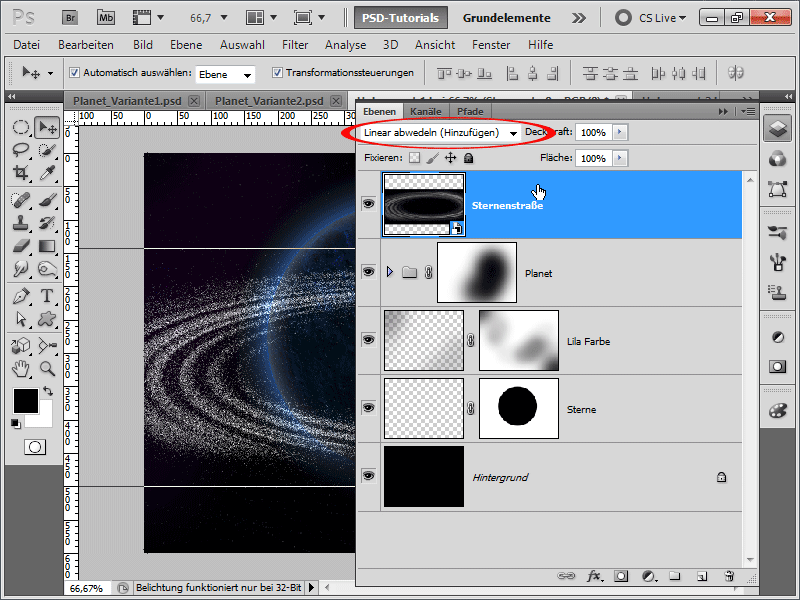
Step 25:
I can easily rotate my asteroid belt. Then I add a layer mask to my layer.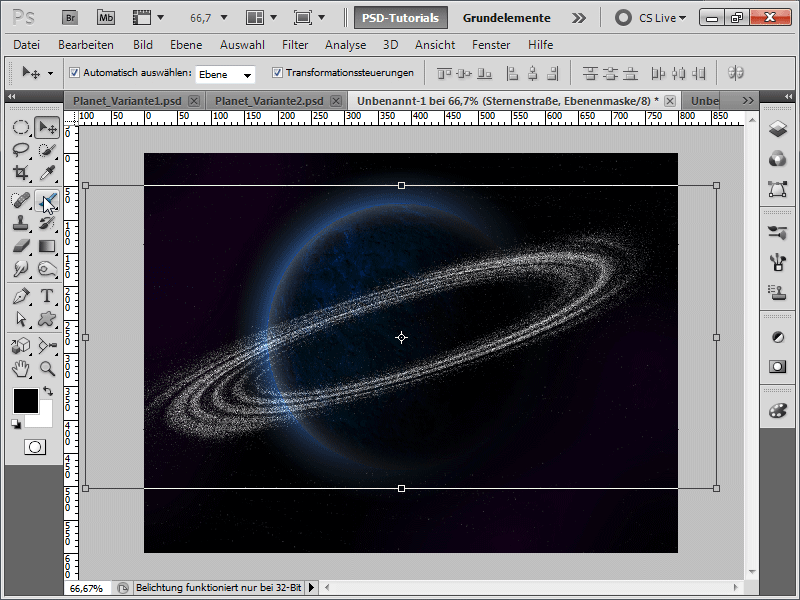
Step 26:
Now I erase the back part with a large soft black brush.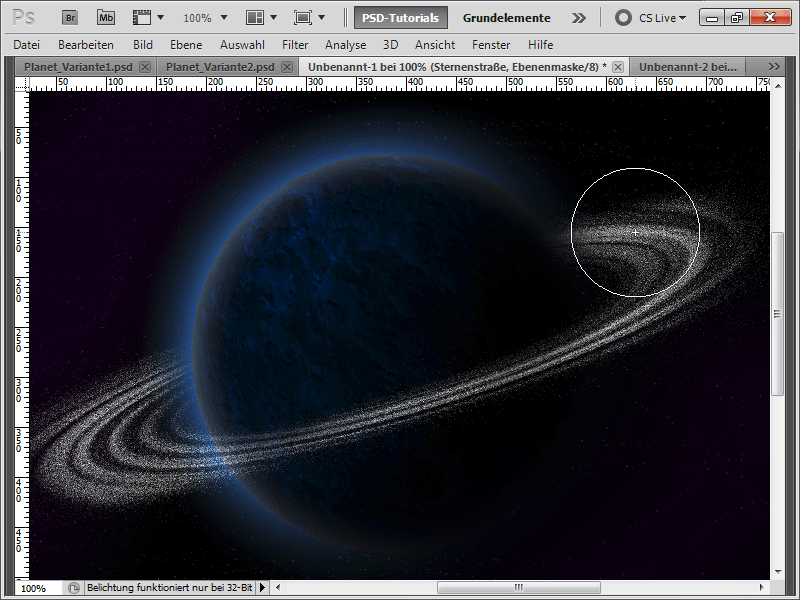
Step 27:
If I apply a different Blend mode to my texture, e.g. Negate Multiply, my planet looks much brighter.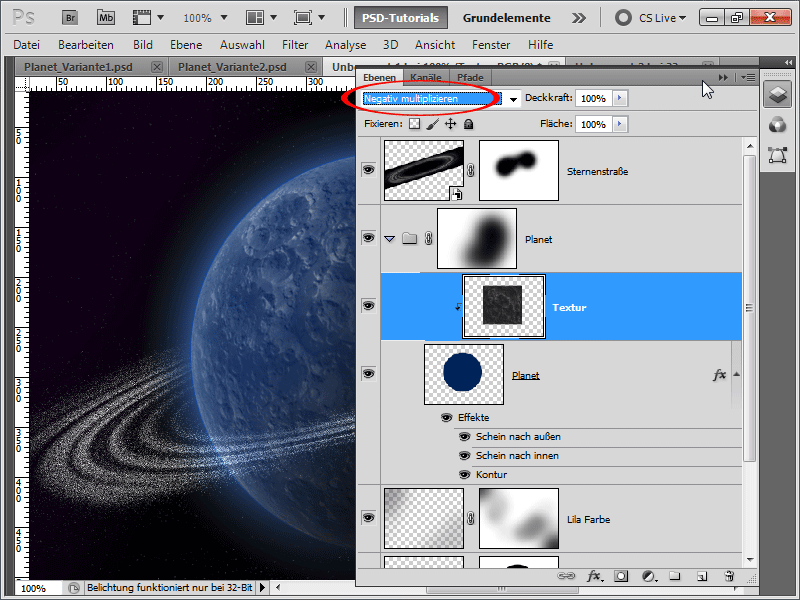
Step 28:
The asteroid belt is still too clear for me, so I apply a Gaussian Blur to it, which I can change/hide/remove at any time thanks to the Smart Object.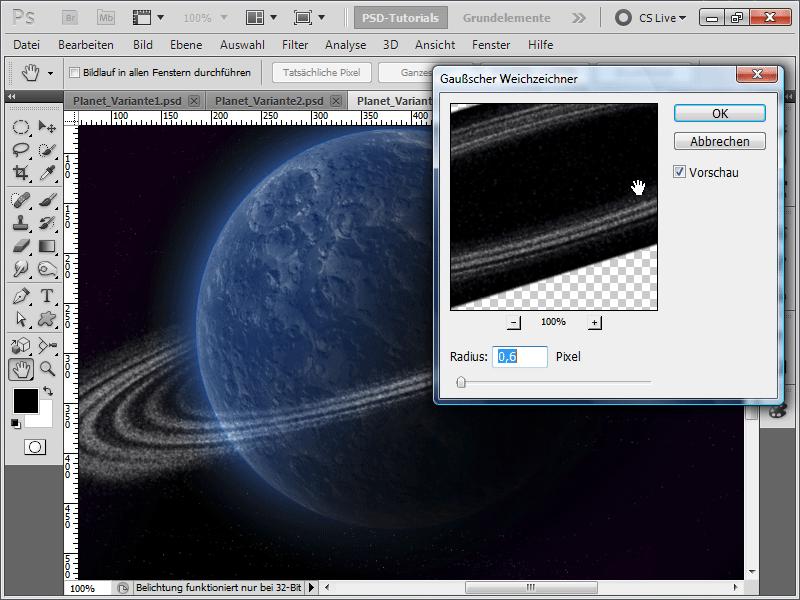
Step 29:
I also add a layer mask to the asteroid belt and partially hide it on the right side, because the light is coming from the left. And this is what the masterpiece looks like when it's finished: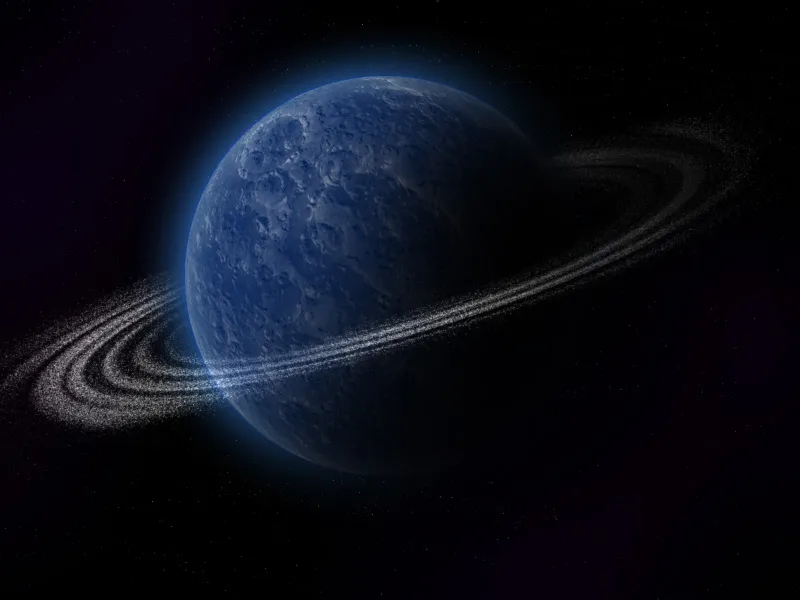
Variant 4 - Creating an Exploding Planet
Step 1:
First, I create a new document; the size is completely irrelevant. I choose a very small size of 800x600 pixels. If you want to print this effect, the unit should be changed from pixels to cm and the resolution from 72 to 300 pixels/inch. Then I load a stone texture and name it in the Layers panel "Texture".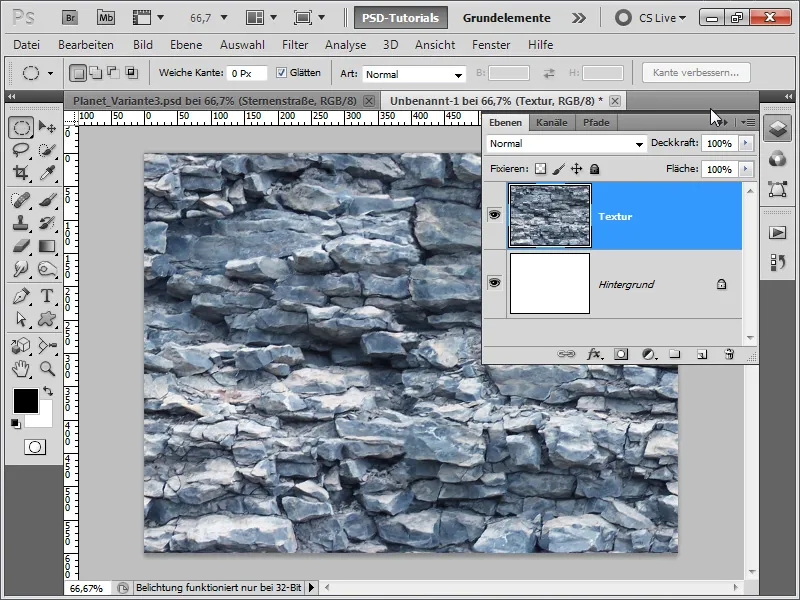
Step 2:
From now on, it gets freaky: I want to show that the choice of texture is crucial for the later effect. That's why I record the following steps as an action, so that later I only need to change the texture and already get the effect at the push of a button. So, I now open my Actions panel and create a new action named "Explosion."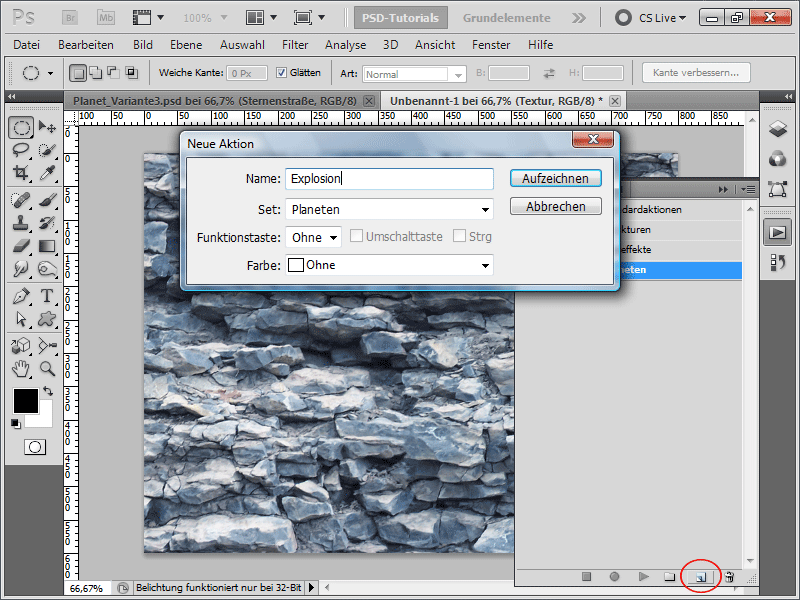
Step 3:
The first step is that I color my background layer black (it is best to press the D key with the background layer activated so that the default colors are set, and then press Alt+Backspace to fill the background layer with the black color).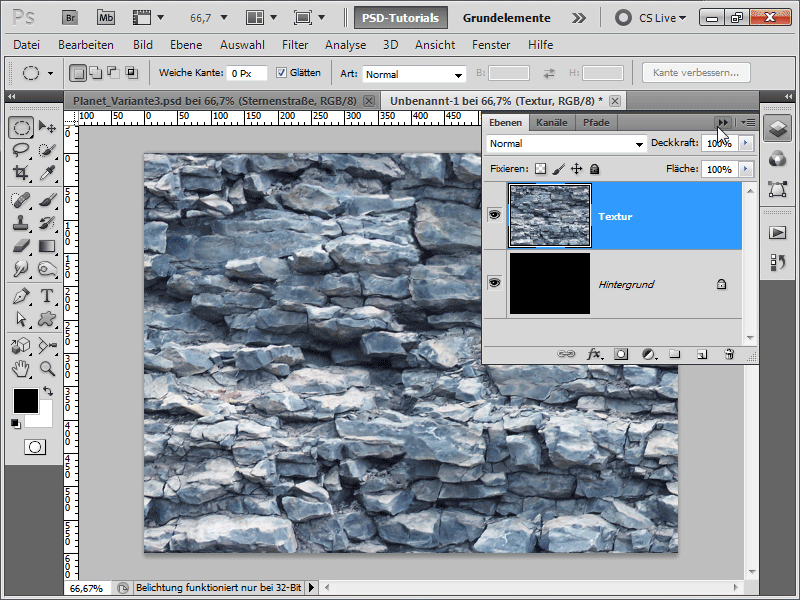
Step 4:
Now, I create a circle again with the Ellipse Tool while holding down the Shift key, invert the selection with Ctrl+Shift+I, then press the Delete key. After that, I press Ctrl+D to deselect, and Ctrl+E to merge the layer with the one below.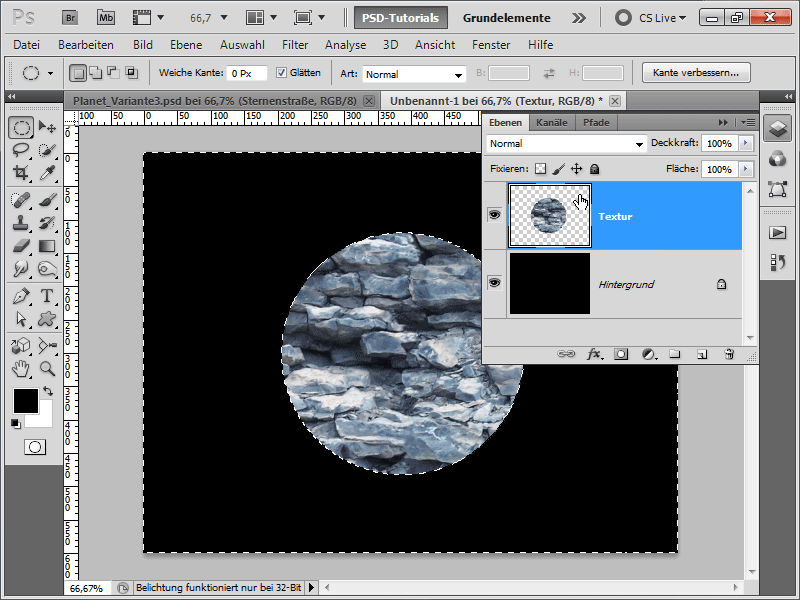
Step 5:
Next, head to the Filter menu, specifically, I access the Polar Coordinates under Menu>Filter>Distort.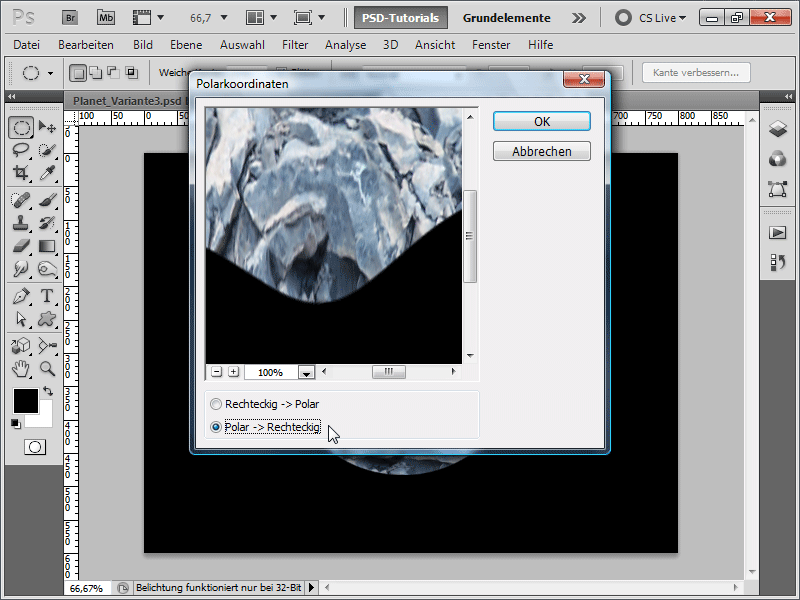
Step 6:
After that, I rotate the image clockwise.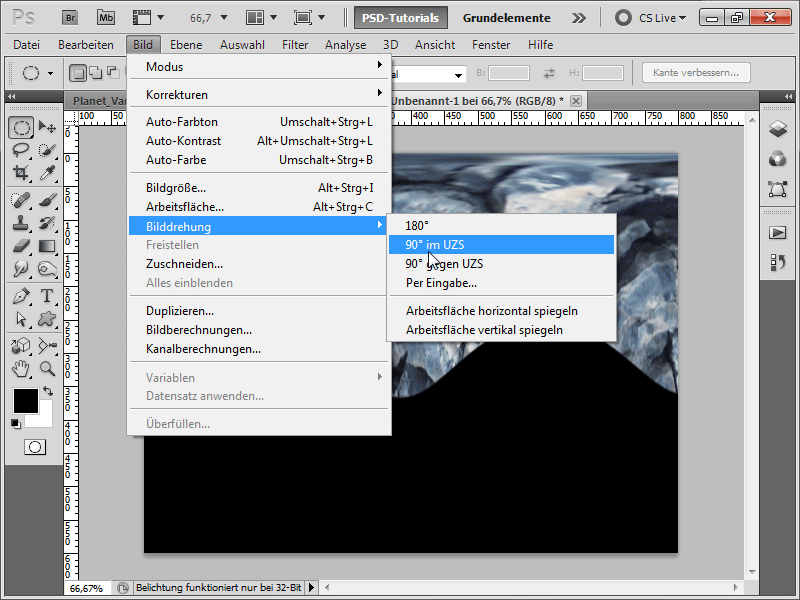
Step 7:
Now back to the Filter menu: Menu>Filter>Stylize>Wind. I execute the filter twice (Tip: Simply press Ctrl+F to repeat the last filter).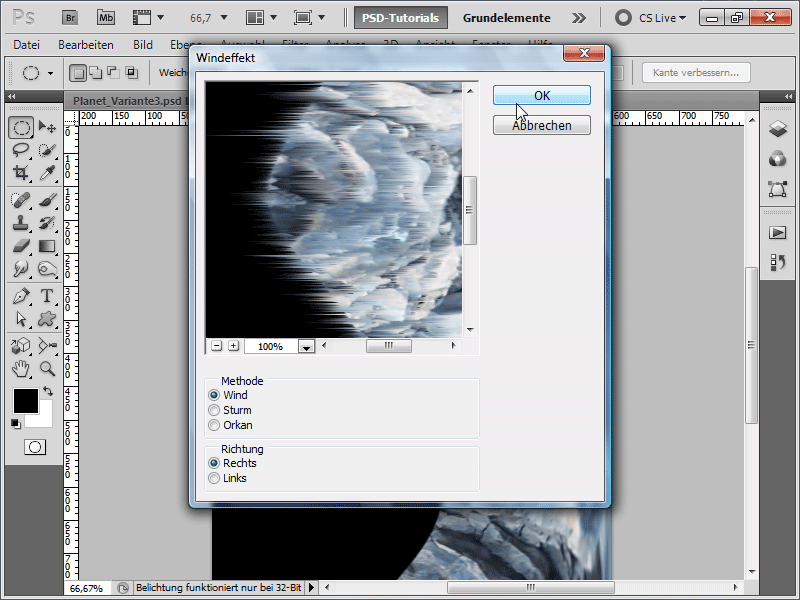
Step 8:
Now I need to rotate the image back.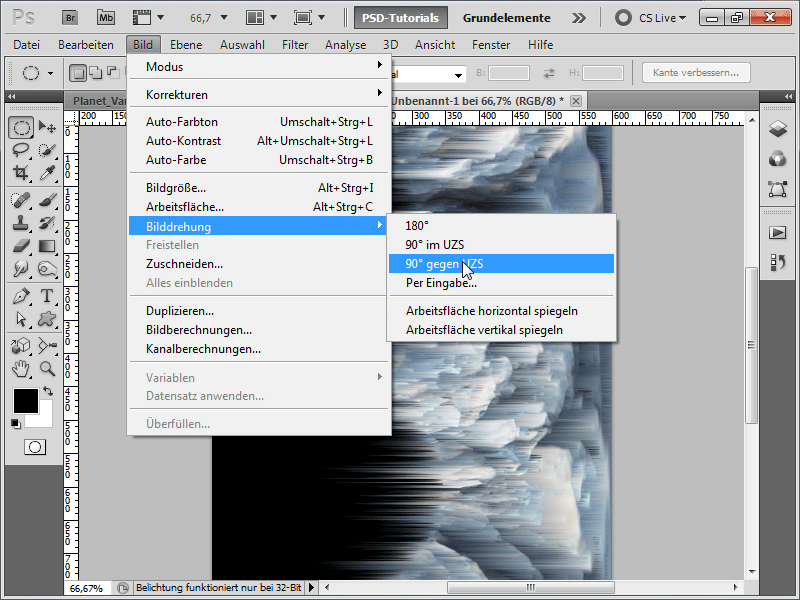
Step 9:
I also need to reset the Polar Coordinates by this time, activating the Rectangular to Polar option.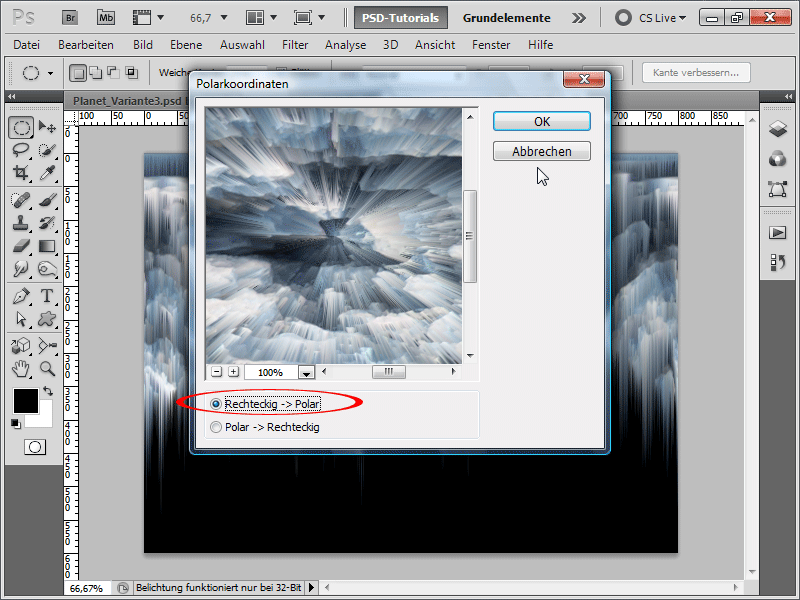
Step 10:
Now, I go to the Layers panel, duplicate my layer with Ctrl+J, and then apply the Radial Blur filter on my layer copy.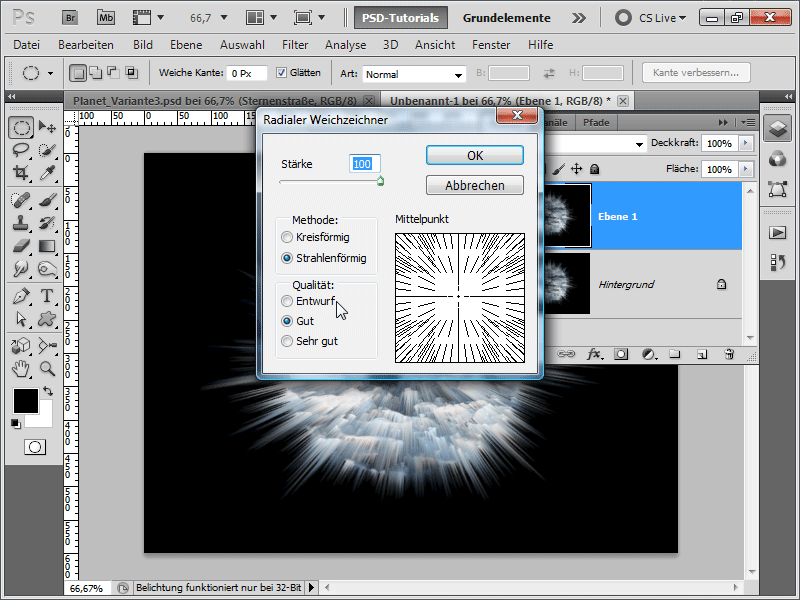
Step 11:
I quickly change the fill method to Linear Dodge and reduce the Opacity to 56%.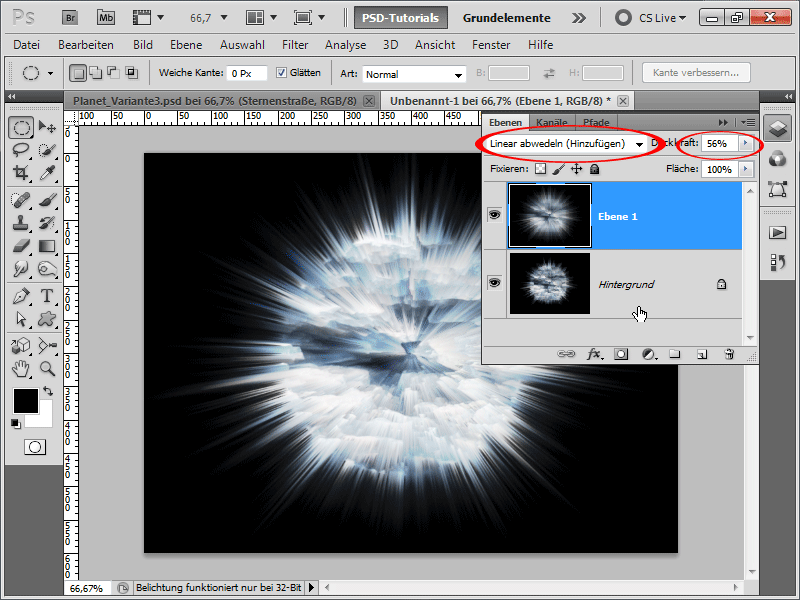
Step 12:
Now I add a Color Balance Adjustment Layer (in the Layers panel there is a corresponding symbol at the bottom). I enter the following values: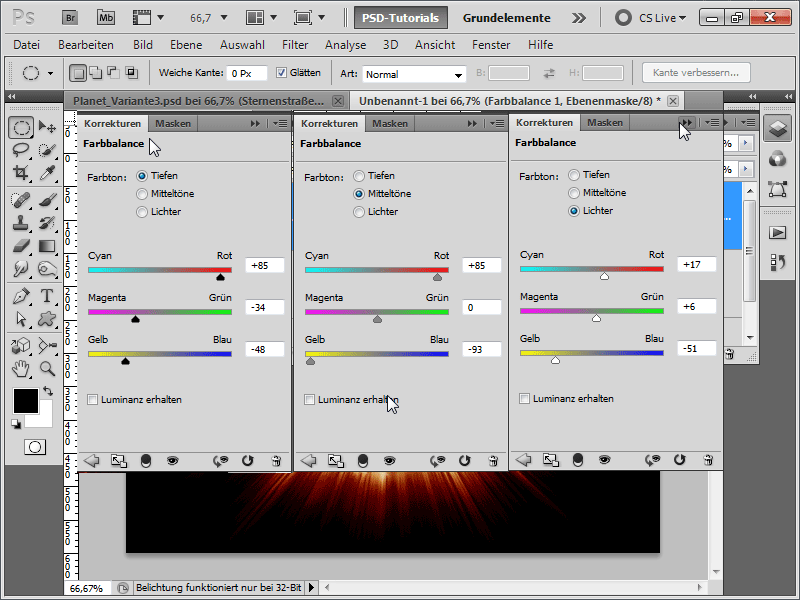
Step 13:
I can now end the action.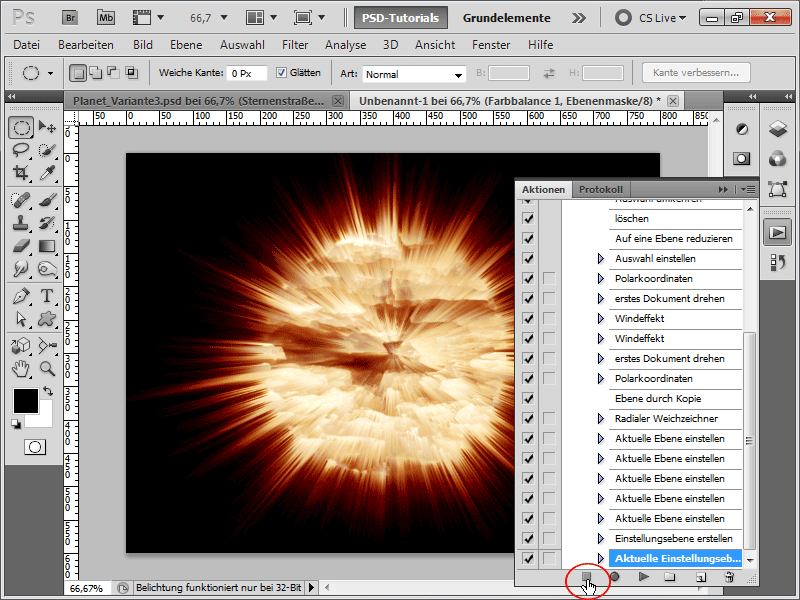
Step 14:
In 100% view, the result looks like this: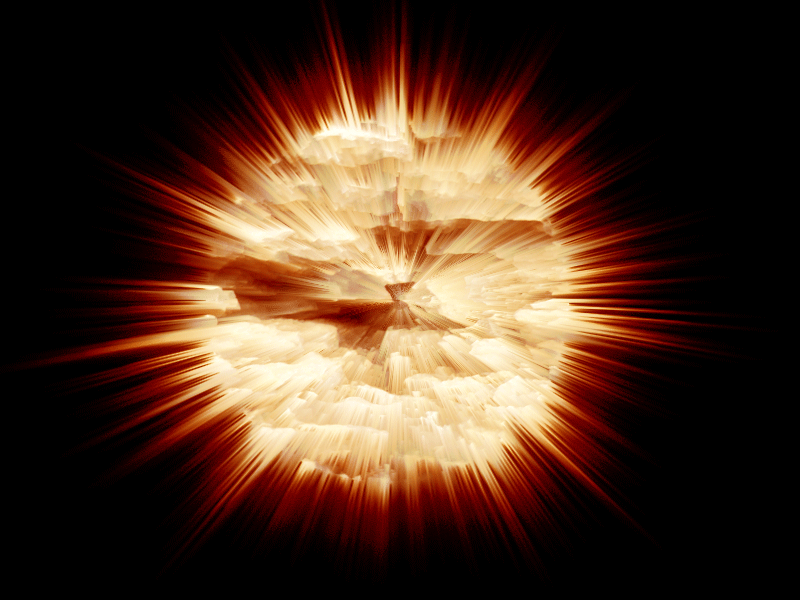
Step 15:
So, now I create a new document, again in 800x600, drag a texture into my document, and name the layer "Texture." After that, I can play the action that was just recorded.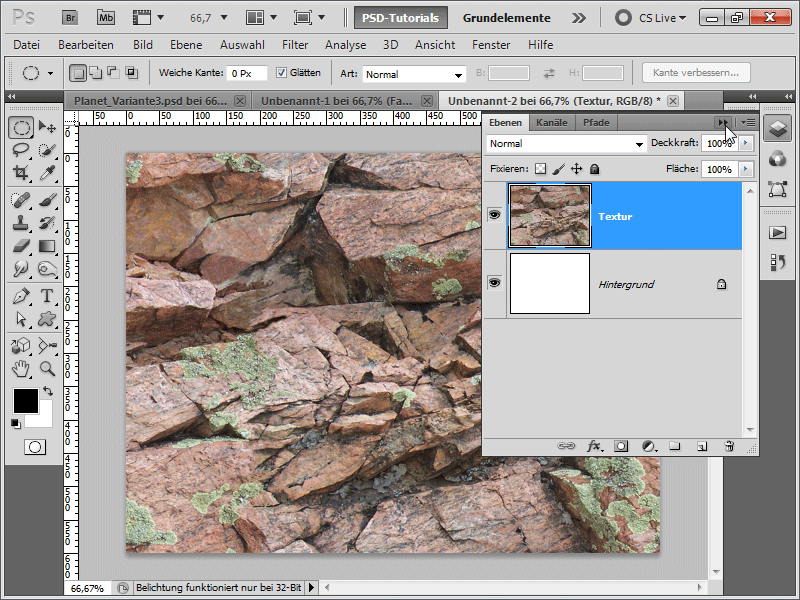
Step 16:
Then the result looks like this: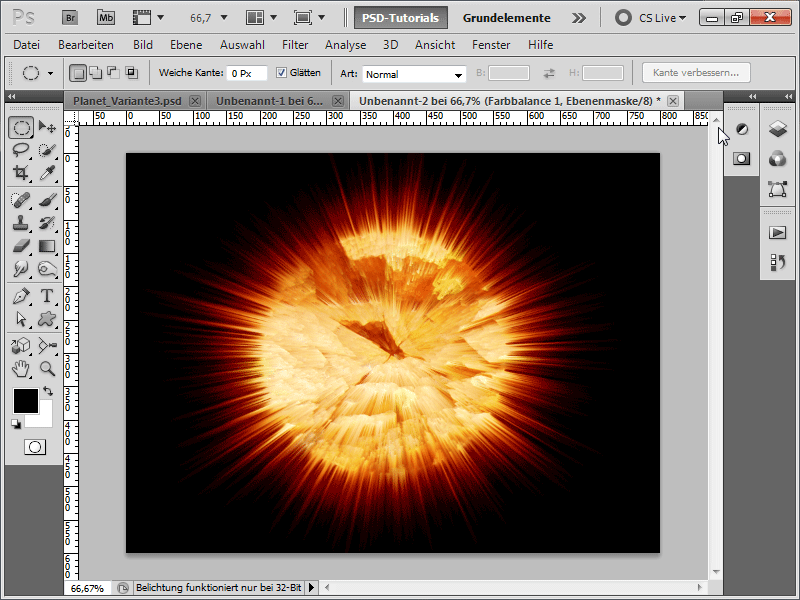
Step 17:
Or with this texture...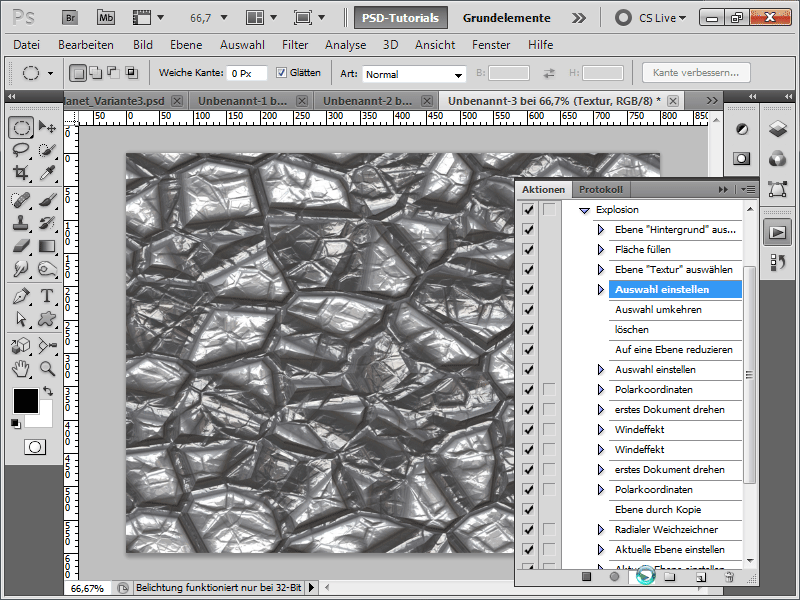
Step 18:
... the result looks like this: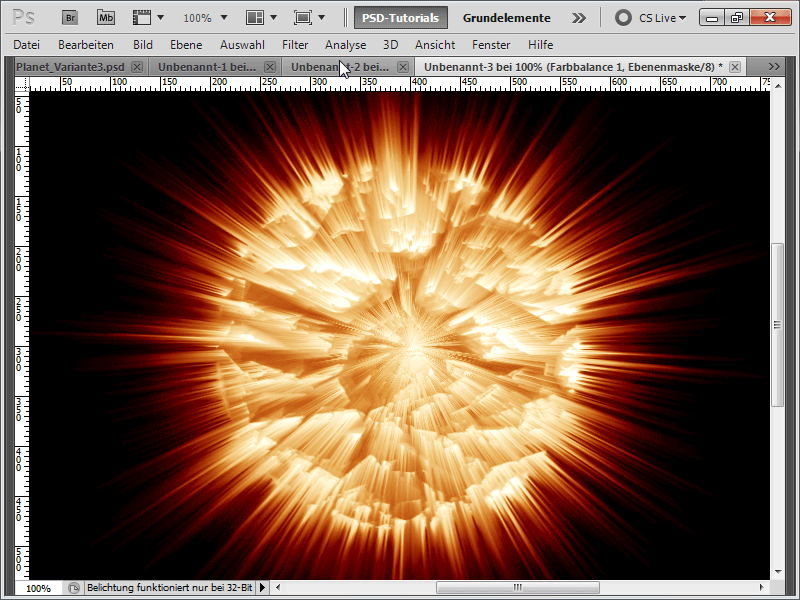
I really hope that this tutorial has shown how quickly it is possible to create different planets with various extra effects. As a working file, I have attached the action of the exploding planet.


