After Effects has had some effects in its bag of tricks for a very long time, but hardly anyone uses them because they may not have understood the function or found a useful application for them.
However, there are some functions that are very useful and have potential - one of them is time shifting.
In the example, we will now create a star shape layer with which we can duplicate the paths as often as we like via Add>Amplifier.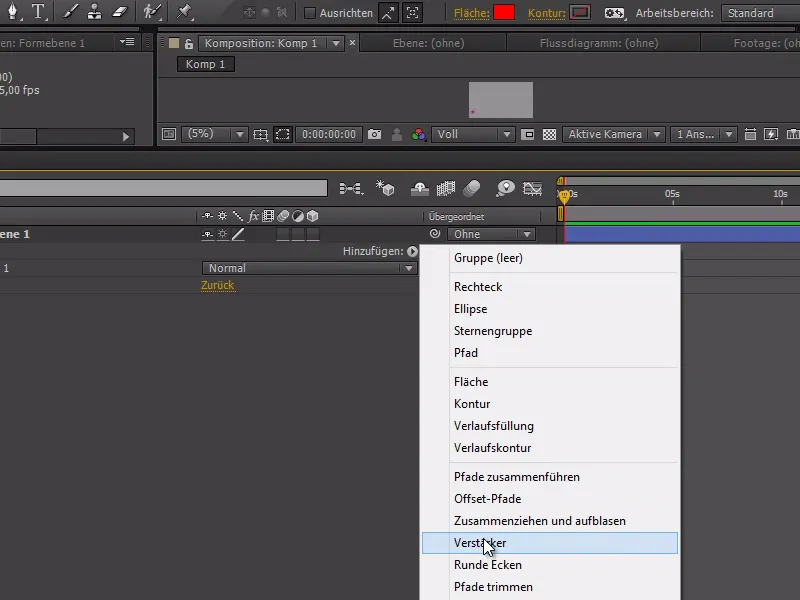
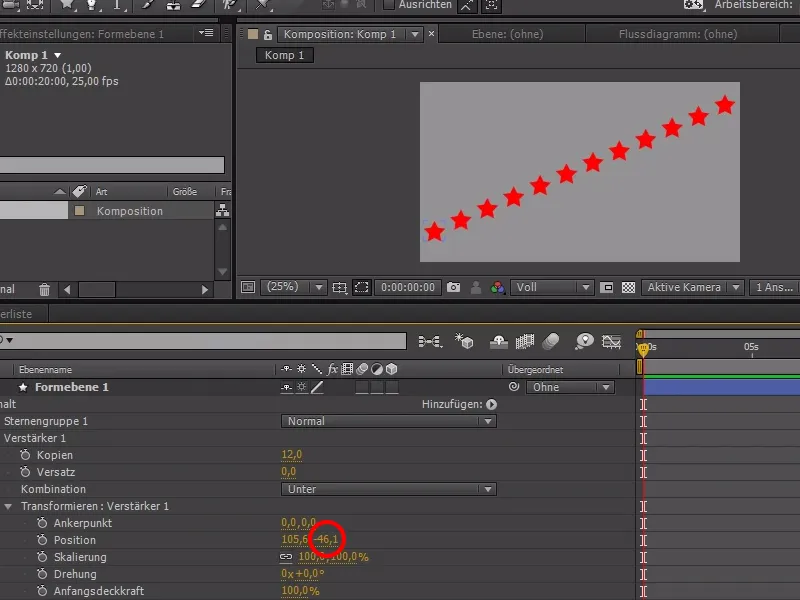
In our example, we can set the copies in the amplifier to 12.
We also have the option of using Position to set the distance between the stars and the y-axis to create a kind of star staircase.
In the star group, we can now set the scaling of all stars and create the animation.
We start with 0%, set a keyframe, go a little further and repeat these steps with 120% and 100%.
This should make all the stars "pop" at the same time.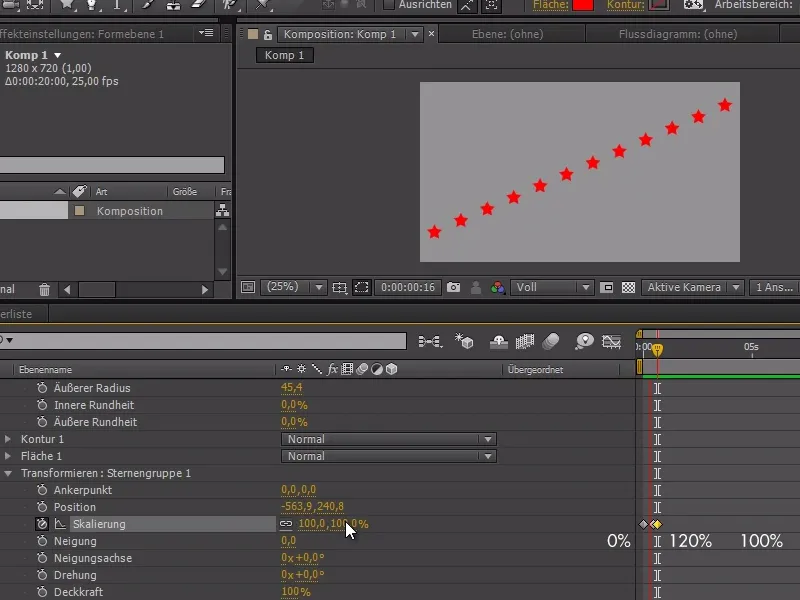
However, we now want the stars to pop up one after the other.
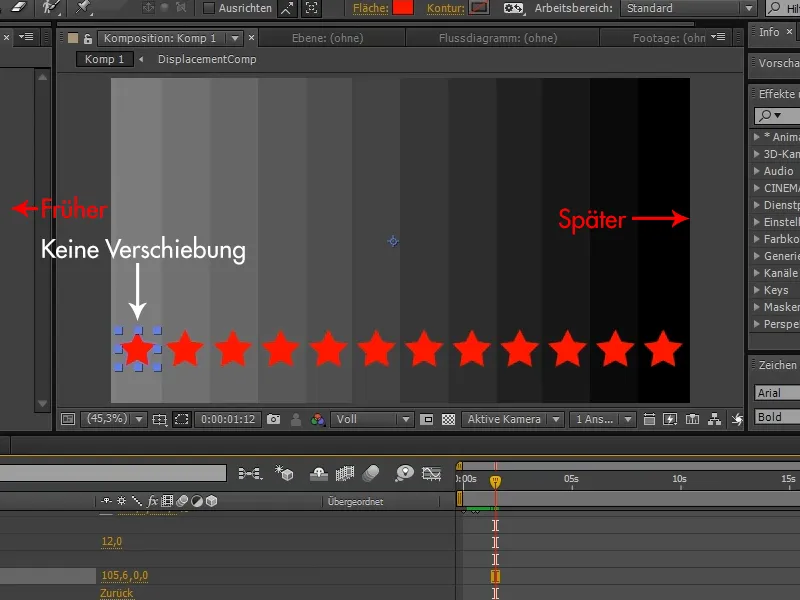
To achieve this, we can double-click on the rectangle tool to create a rectangle with an area and change the mode to Linear gradient, which goes from left to right and therefore from white to black.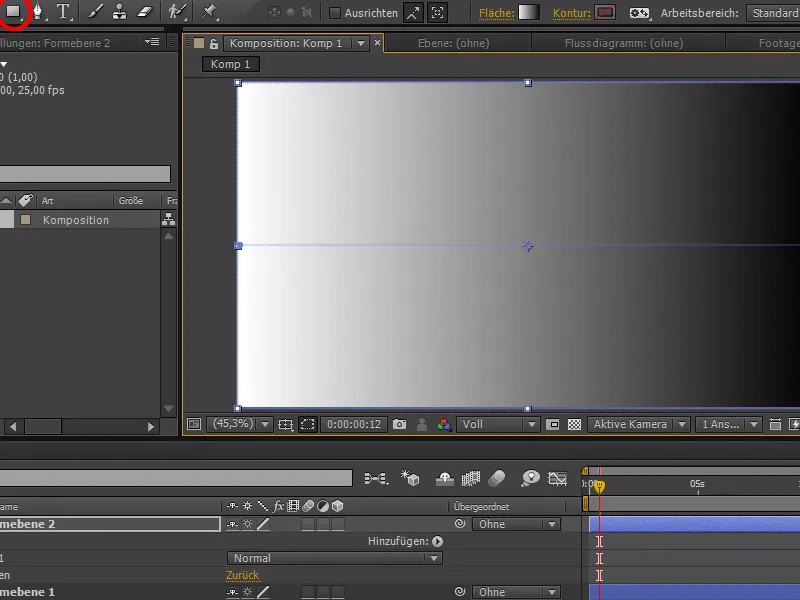
We can divide the gradient into as many levels as stars via Effects>Stylize>Tone separation.
In this example, there are 12 levels - it is important that each stripe has a star.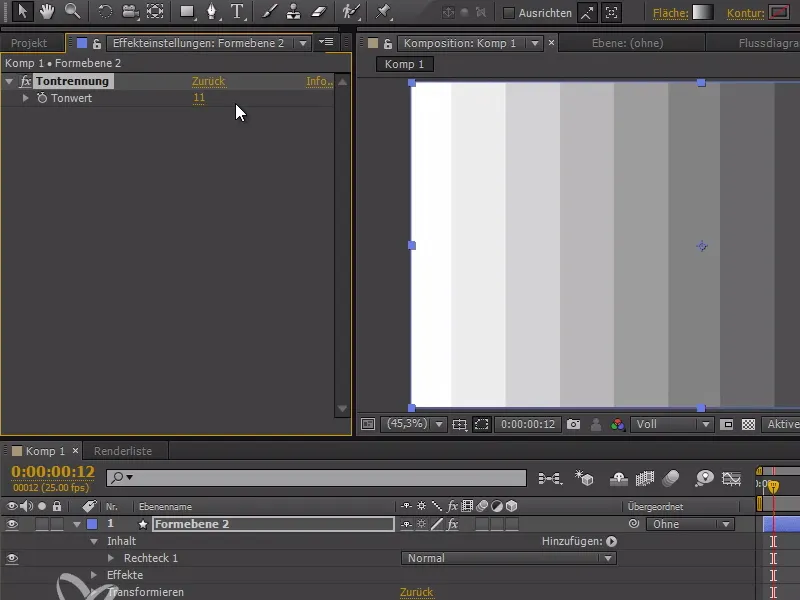
If we now reduce the opacity of the gradient shape layera little, we can now see the stars and make sure that the stars are clean in their respective stripes. You may have to edit the gradient a little or increase or reduce the tone separation.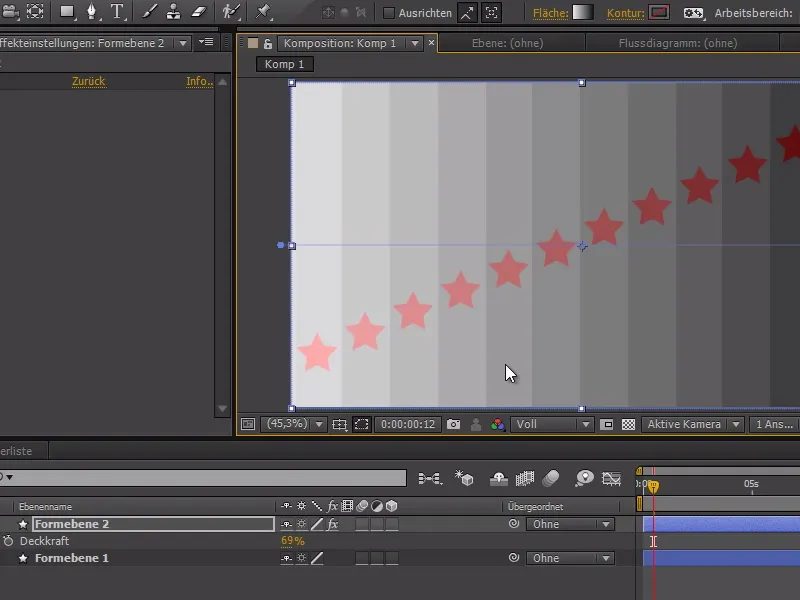
We set the opacity to 100% again and can use Ctrl+Shift+C to create a sub-composition.
We call the whole thing "DisplacementComp".
We now place the sub-composition under the star layer and Blender it out.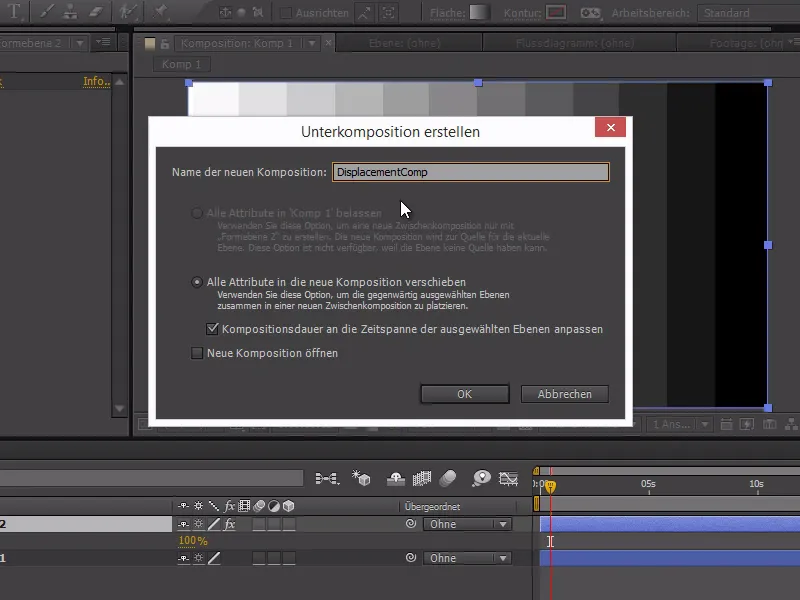
Right-click to create a new adjustment layer and apply the effect>Time>Displace in time.
We select our "DisplacementComp" as the displacement layer.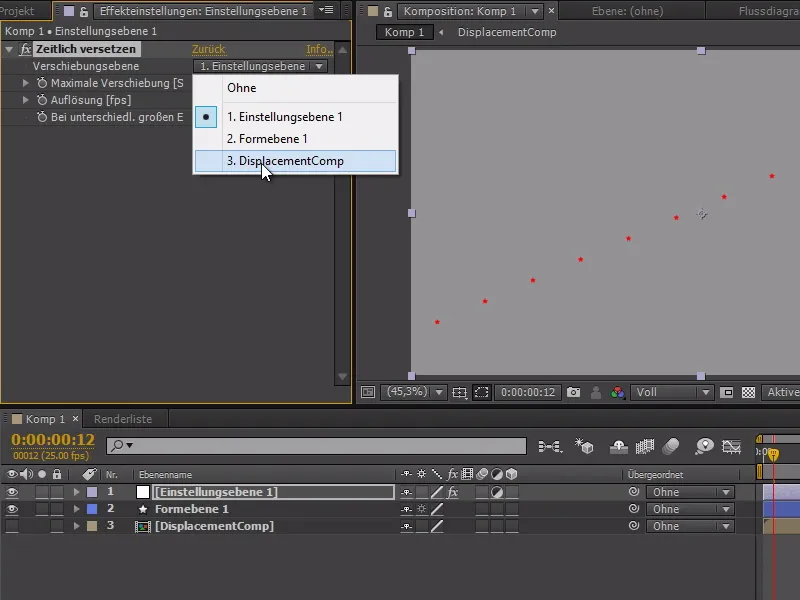
When we now play the animation, the stars pop up one after the other.
To fix this, we only need to change the output of the highlights in the "DisplacementComp" to 128.0 using a tone value correction (under Effects>Color correction); the white is now 50% grey.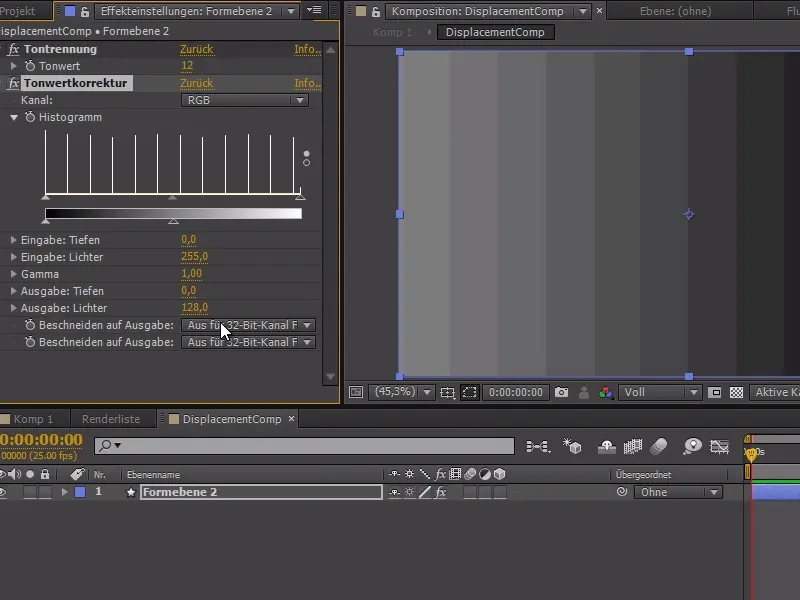
When we now play the animation, the stars "pop" from the beginning to the end, as intended. The popping does not come out correctly, so we change the maximum size to 110. We just have to make sure that the stars do not leave their columns.
In the time shift window, we can also specify a maximum shift: The smaller or larger the value, the faster or slower the whole stars pop up one after the other at the end.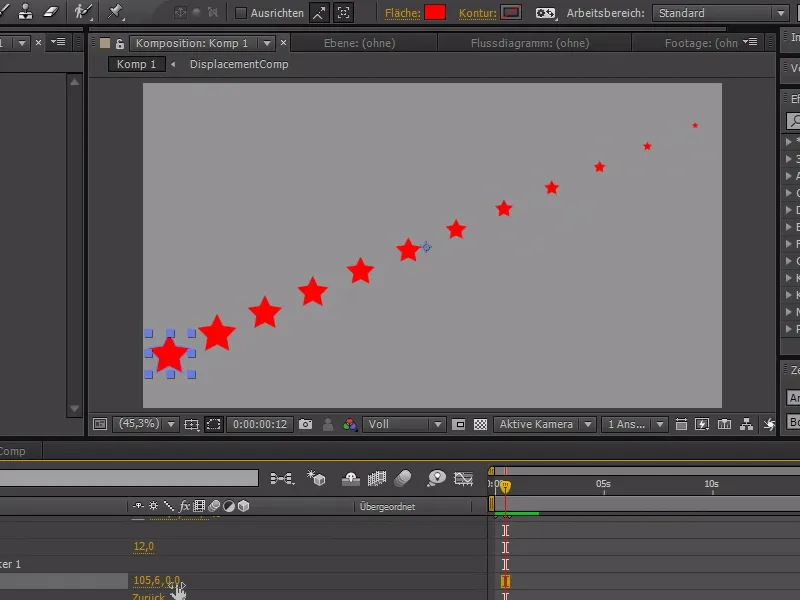
And so we can use the amplifier to displace objects in shape planes in time by simply making a "DisplacementComp", which has different gray levels per column. These gray levels provide the displacement. 50% gray stands for no temporal displacement. Black stands for maximum displacement and white stands for displacement in the other direction.
So if you only want a shift in one direction, only use medium gray to black. This will give you slightly shifted animations in different parts of the image.