You may be familiar with the situation where your printer only prints A4, but you would also like to print A3 or other larger formats. Then you have a problem. Then you have to go to a copy store and spend a lot of money there. Or: If you want to save money, you can of course use the method of printing out several A4 sheets and sticking them together.
This begs the question: Is this also possible in InDesign? Yes, it is possible and it's not that difficult.
I have a new document here in a DIN A3 landscape format with a full-page image inside. Unfortunately, it sticks out a little on the right side of the document because the proportions don't quite fit, but we'll ignore that for now. It's just an example.
With A3 in landscape format, the dividing line should run exactly in the middle so that it can be printed on two A4 sheets.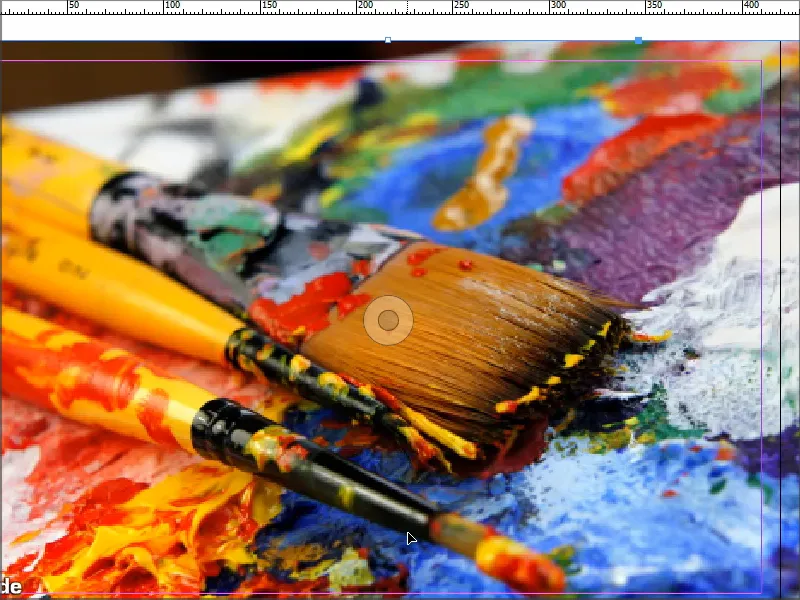
Step 1
The problem is that very few printers can print borderless. That's why we need several sheets in this case.
But how do you set this up? Because when I go to File>Print, you can see that the sheet doesn't fit in completely because I have an A3.
But you can set up several things here and I go to Setup and check the box for Subdivision. Then I can select how the subdivision should be created and I would like to have automatic subdivision .
I can even set an overlap and then you can see that there are now four sheets on the left in the preview.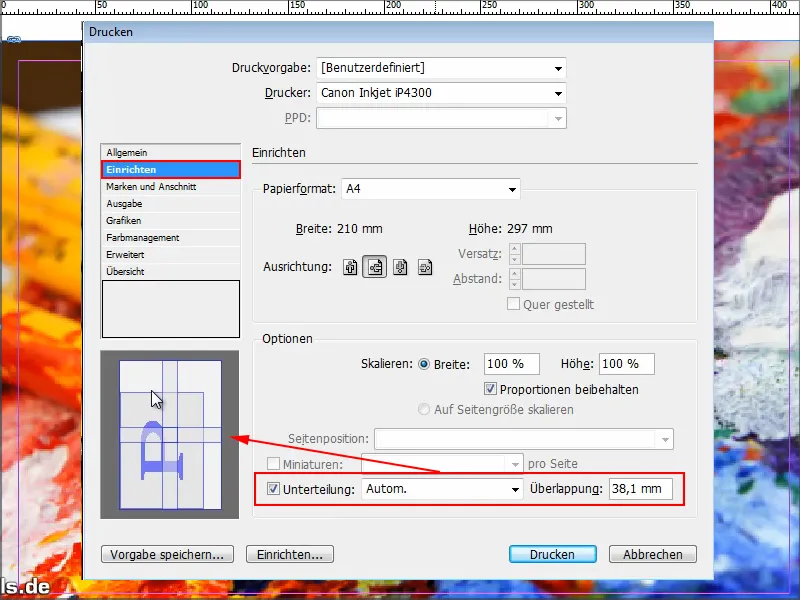
Step 2
I click once with the left mouse button in this preview, then you can see exactly how the subdivision is: "2 x 2" is written there, i.e. 4 sheets.
I can set several options for the subdivision: Auto, Auto Alignment and Manual.
I always use Auto, which is sufficient because it simply calculates the required print pages and the overlap automatically.
I can also set here how much overlap I want or - if I enter zero - whether I want no overlap at all.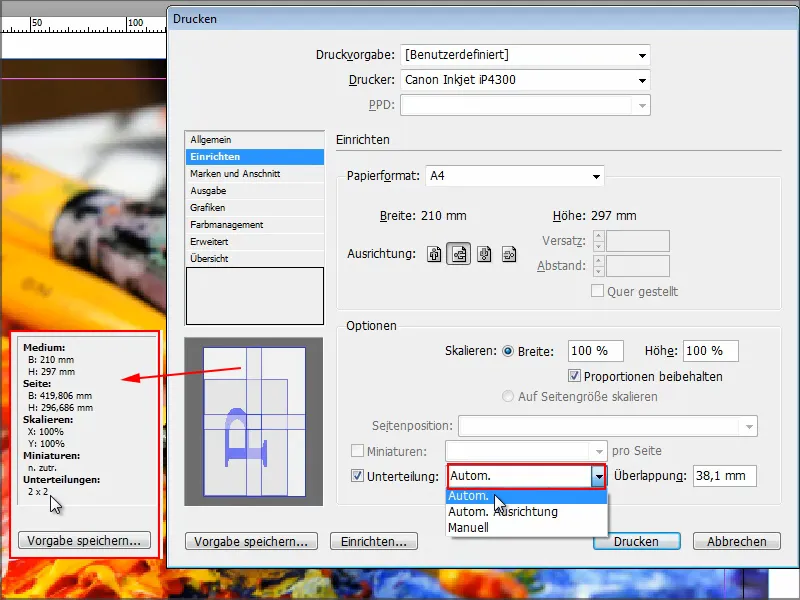
Step 3
If I set Auto Align, this simply increases the degree of overlap. So that the right edge of the rightmost printed page is aligned with the right edge of the document page and the bottom edge of the bottom printed page is aligned with the bottom edge of the document page.
But as I said, I like to use autom. and we can use 10 mm as the overlap here.
Then I can print the whole thing or first see what it actually looks like. There are two options:
With my Canon printer, I have the option of setting borderless printing. To do this, I click on Set up....webp?tutkfid=86748)
... and then click on Settings.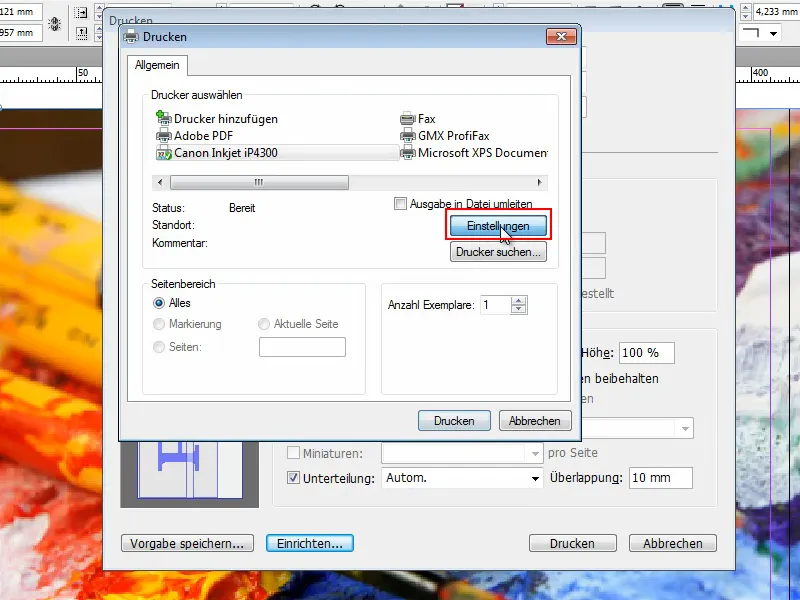
I can then define various things. Among other things, I have the Page setup tab, where I tick the Borderless printing box. I am asked to specify the paper and set it to plain paper.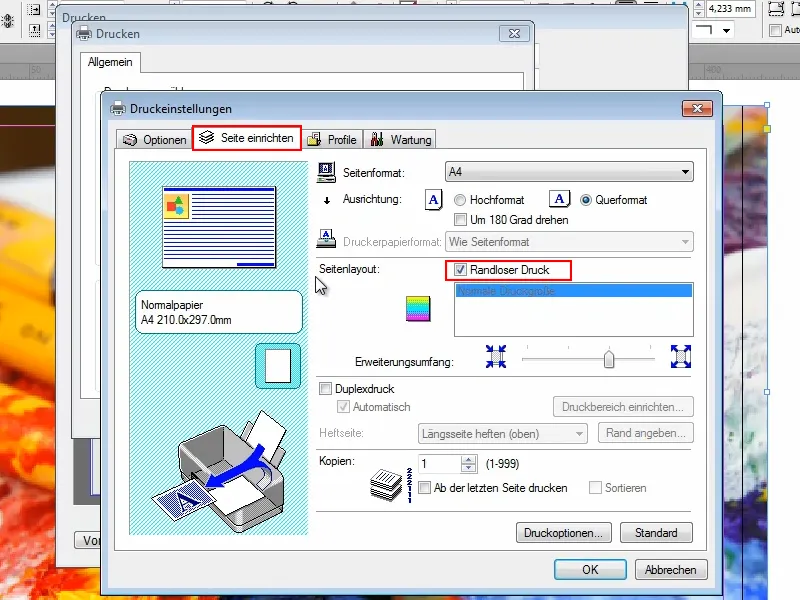
I could move the slider for the extension size so that the document is perhaps slightly larger, but I won't do that here.
I go to the Options tab and check the Preview before printing box. Then I can see what is actually happening. This is particularly useful for new things like this so that I don't waste paper unnecessarily.
I click on Print and we can see what happens straight away.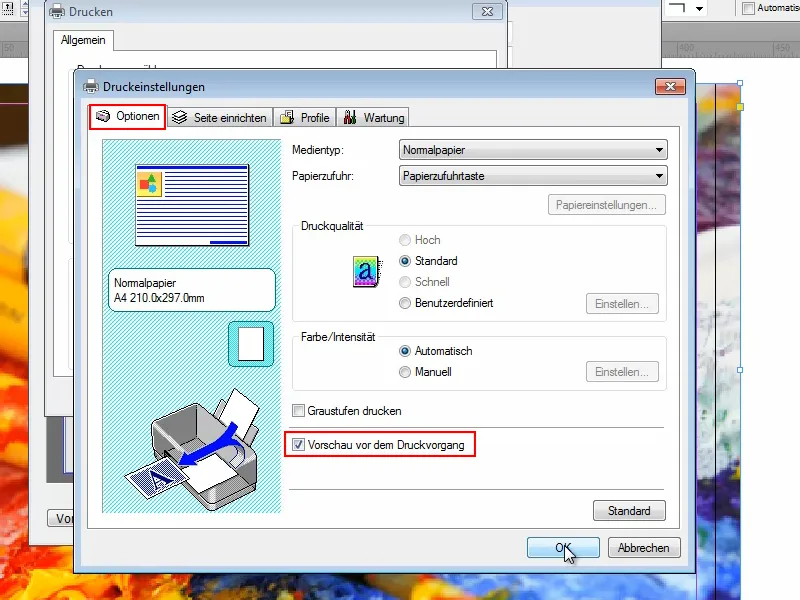
And there it is.
Although I have selected Borderless printing, InDesign automatically writes on each page which sheet this is now and also marks where the next sheet needs to be placed.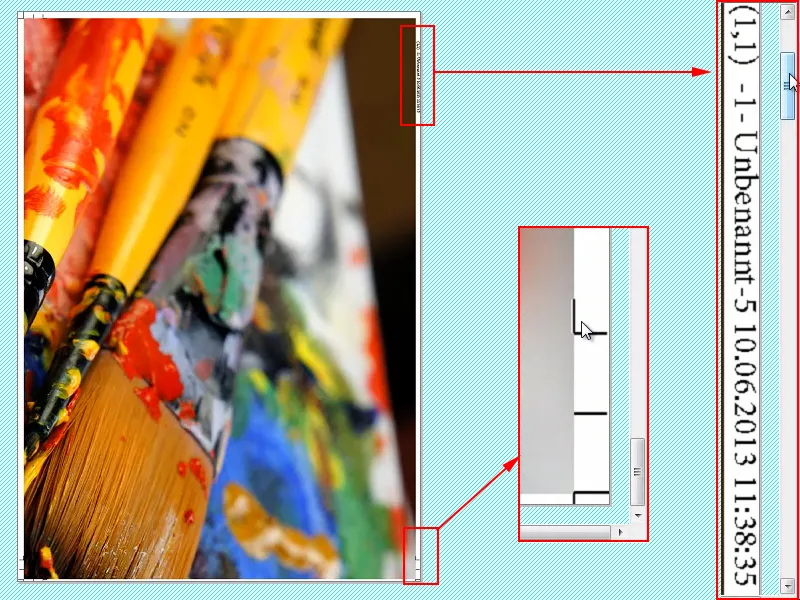
But the problem is that if you want to print borderless, this information is still printed. And that might not be so nice.
Step 4
I'll break off and give you a tip:
I'll go to File>Print again. Fine, the settings are still there, and instead of going to my Canon printer, I'll go to Adobe PDF or, depending on what PDF options you have, there are others.
And then I click on Print.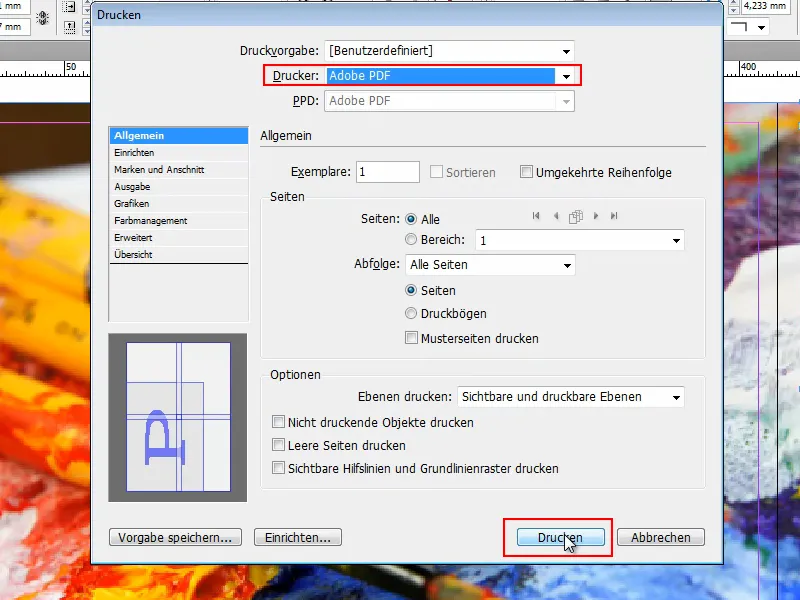
Then the file is output - but again, the pages are marked and have help information on them.
So you would have to cut it out perfectly if you don't want white margins. And if you don't need the guides at all, I think it's a shame that Adobe InDesign doesn't offer a corresponding option where I can deselect them..webp?tutkfid=86754)
Step 5
Hence my tip on how to get rid of them anyway. You have two options:
I click into my tools and go to Edit object. Then I can click on the information at the edge and delete it with the Delete key.But then I have to click on each thing individually and remove it - which of course takes time. And we all have no time.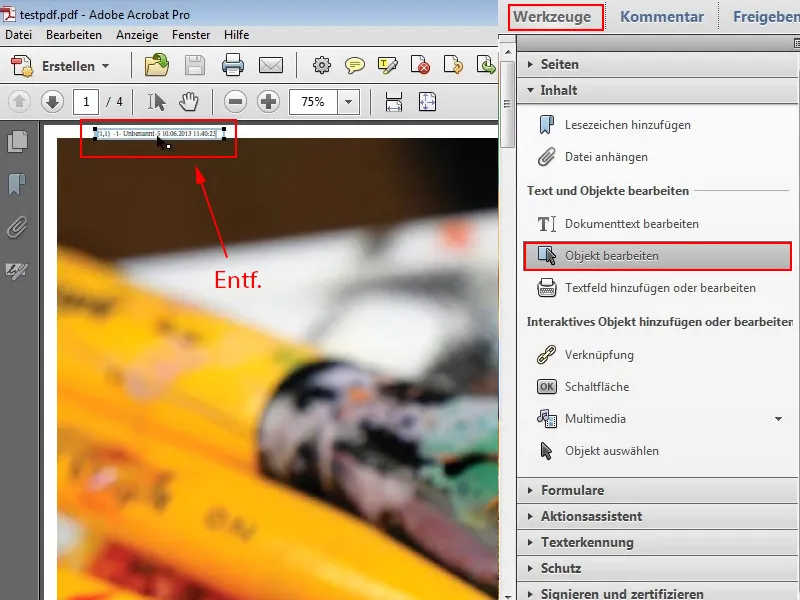
So here's the second option, which is much quicker:
You click into the image with Shift+Ctrl+A. This selects everything - except the image itself. If you now press Del, the text and selection at the edge will disappear.
And if you still want to print borderless, you can click on the image and simply drag it larger at the corners. Then it really is borderless.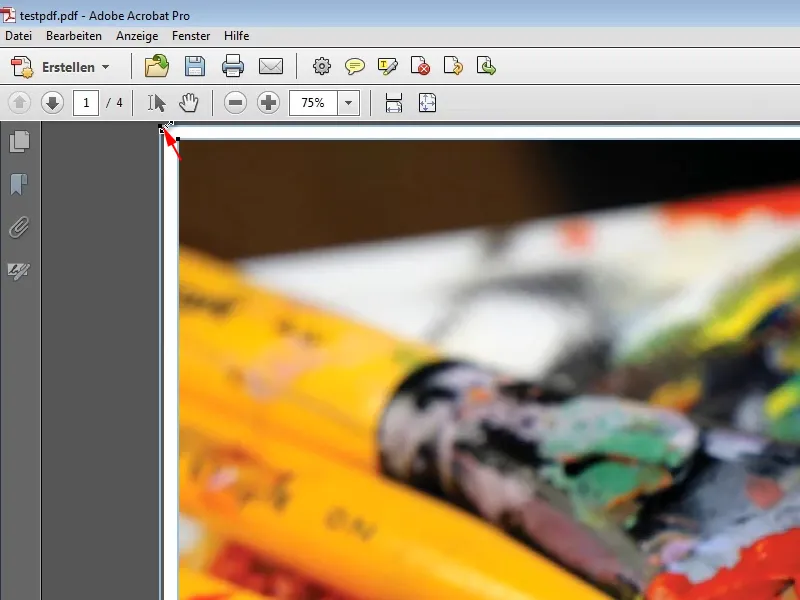
I don't think it's that difficult to do this in Adobe InDesign. The only important thing is that you set the division to Automatic under File>Print and then under Setup.
I can't recommend manual, because you have to pull out the intersection point from the ruler at the top far left and then specify by hand how it should be printed. This is far too imprecise. You're not doing yourself any favors..webp?tutkfid=86757)
Also try it out with the overlap, whether you need one or not, and as I said, if you first output it as a PDF file, you can already see roughly how it will turn out and save paper.
With this in mind, I hope that you won't have any more problems in future if you have to print out larger formats and then stick the sheets together.
Have fun with it!
