Images play a central role in any design project, and Adobe InDesign offers you powerful tools to precisely place, adjust, and creatively color them. With features like image adjustment, frame styling, and color overlays, you can seamlessly integrate your images into your layout. In this guide, I will show you step by step how to place, fit perfectly, and color images to give your designs a personal and professional touch. Let's start and take your image editing to the next level!
The classic way to place images or graphics in a document is to first draw a placeholder using the frame tool and then select the image file in the source folder via either the File>Place menu or the Ctrl+D shortcut, and place it there by double-clicking.
Alternatively, you can first give the command to place and then draw an image frame with the loaded image in the mouse pointer. Upon release, the image will be inserted there.
In this way, you can also select several images at once. They will all be loaded into the mouse pointer and can be placed one after the other. You can change the order using the arrow keys. The frame aligns itself to the proportions of the currently loaded image when drawn.
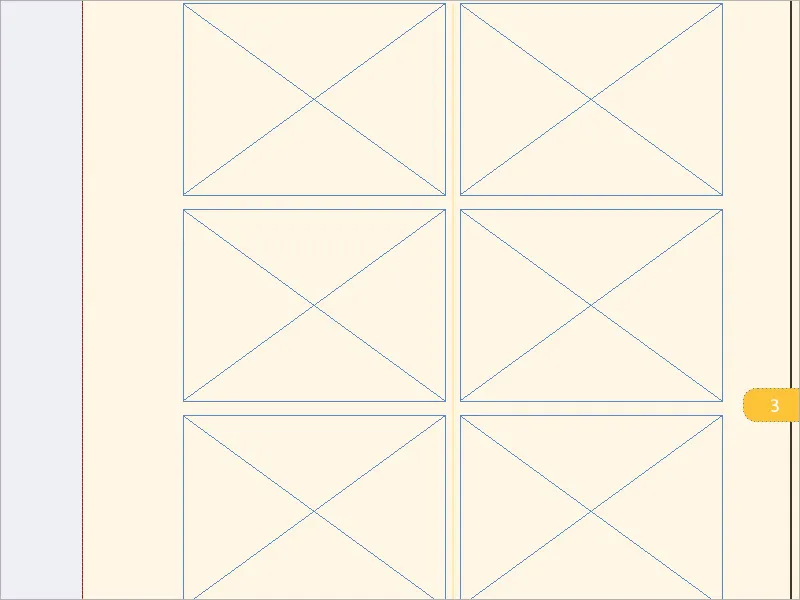
To create a grid of equally sized placeholder frames on a page, drag with the frame tool pressed over the entire area where the images are to be placed, and continue holding down the mouse button.
Now, with the help of the arrow keys, you can divide this area horizontally and vertically into equally sized placeholder frames.
The Right Arrow key each creates an additional frame on the X-axis, dividing the available space evenly with the existing frame(s), while the Up Arrow key does the same on the Y-axis.
This way, you can quickly create perfectly aligned image frame grids.
For a more intuitive workflow, you can also use the Mini Bridge integrated into InDesign. You can access it via the Window menu.
Click on the Browse Files icon and search in the directory structure for the source folder containing the image files to be placed.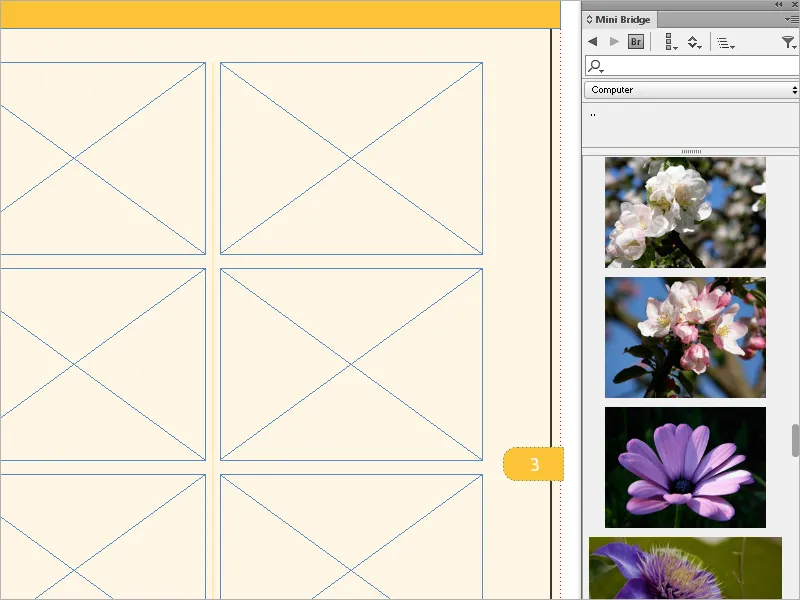
The files are displayed as thumbnail images in the Mini Bridge. The size of this preview can be continuously adjusted using a slider at the bottom.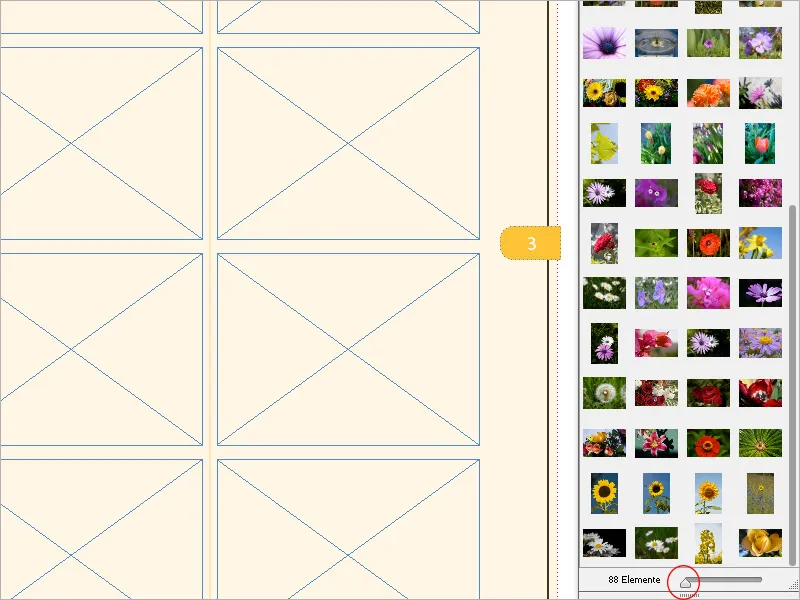
To better assess details of an image marked in the preview, you can view it in full screen by pressing the Spacebar.
You can also view the images in a slideshow in full screen via the View button in the Mini Bridge toolbar. Even more options are provided by the Preview Mode.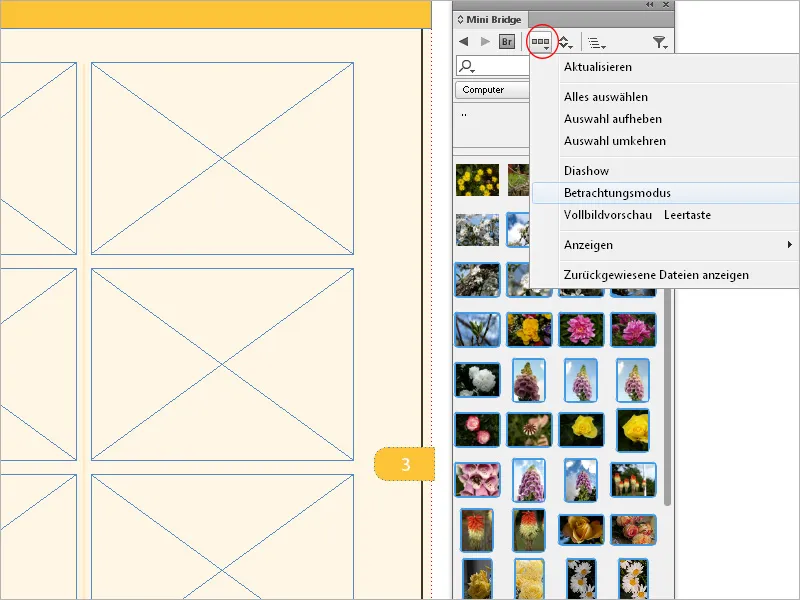
In this Cover Flow view in full screen mode, the images of the chosen folder are displayed, which you can navigate through using the arrow keys.
In the lower right corner of the screen, you can activate a magnifier to closely examine the details of the clicked area of the image.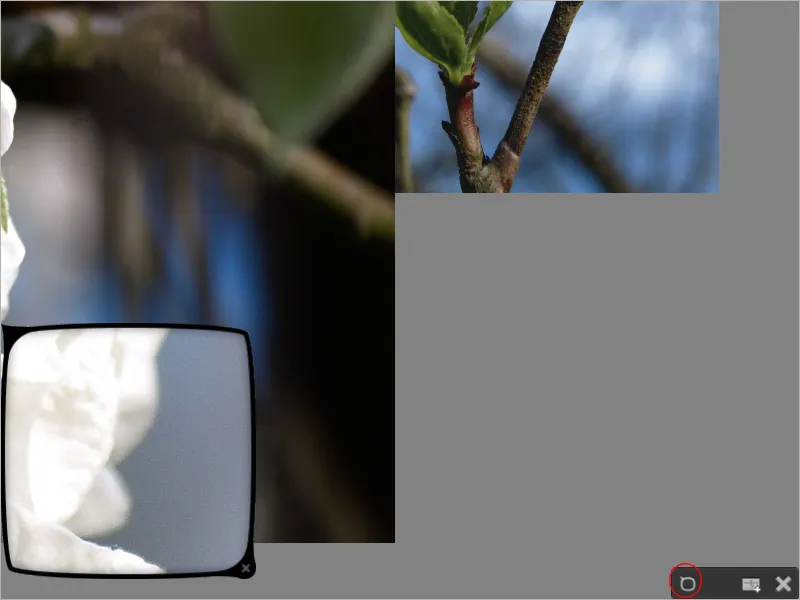
To return to the previous view, press Esc. The images can now be dragged into the image frames via Drag&Drop. You can also select multiple images and drag them into the InDesign document while holding down the mouse button. They are all now loaded in the mouse pointer, and the current image is displayed as a small thumbnail.
A number displayed in parentheses shows the number of images in the stack. Clicking in an image frame will place the current image, and the next one will appear as a thumbnail at the mouse pointer. The images can then be successively placed in the frames.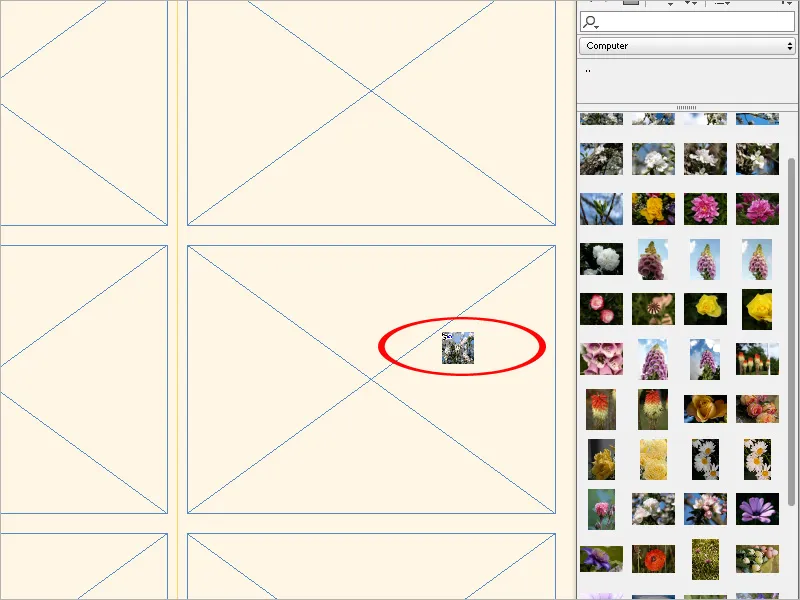
Since the size of the image frame and the original size of the image rarely match, the question arises of what adapts to what. Without further adjustment, the placed image is aligned in its original size by default at the upper left corner of the frame.
You can easily determine the ratio of the image frame size to the original image size by clicking with the Direct Selection Tool (A). While the placeholder frame is marked with a blue line by default, the placed image is bordered by a brown line.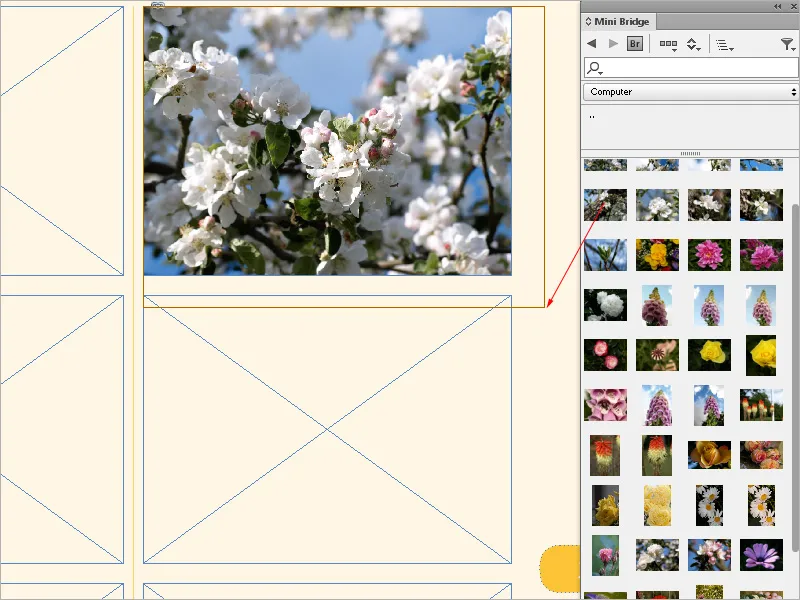
To fit the image inside the frame, there are so-called Frame Fitting Options. These are located in the Object>Fitting menu or in the Control Panel as icons. However, these are context-sensitive and only become visible after selecting one or more frames using the Selection or Direct Selection Tool.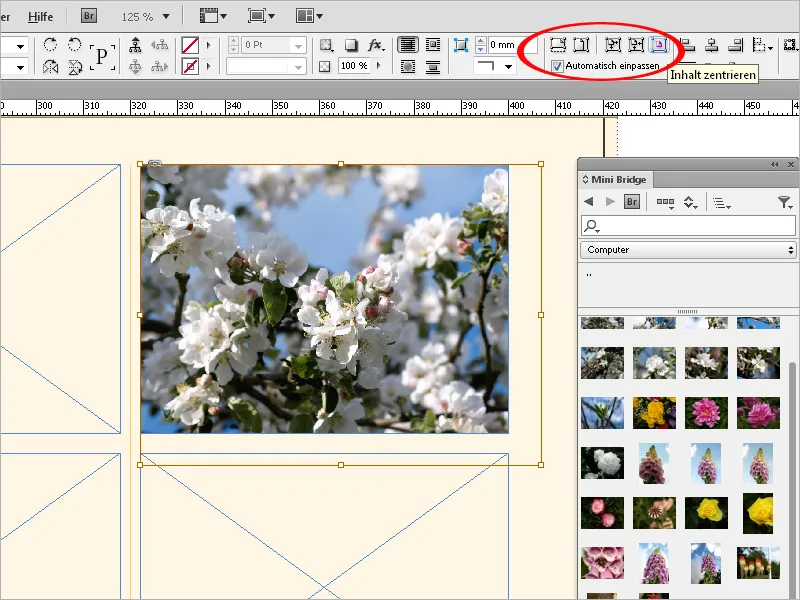
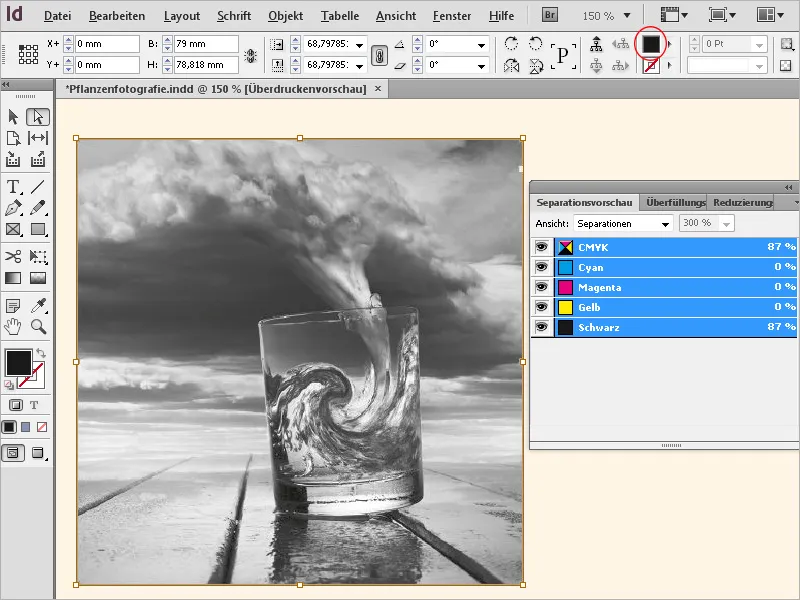
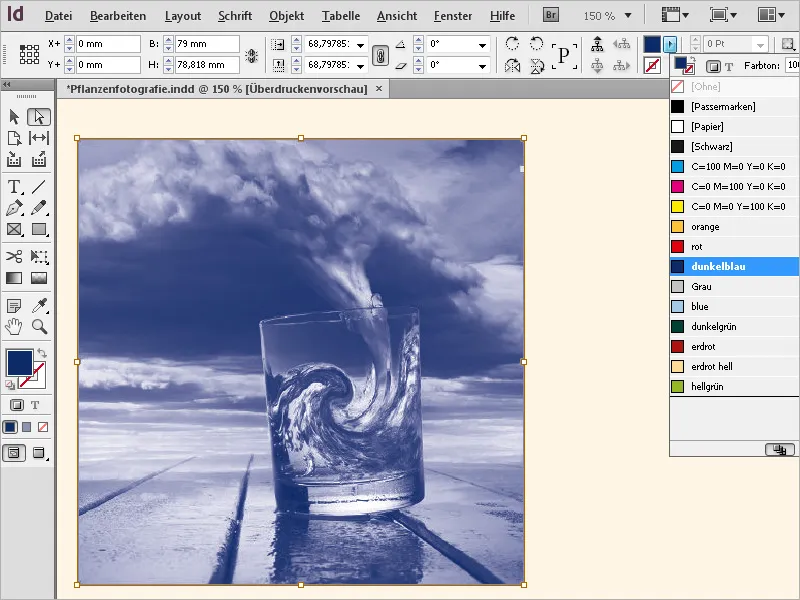
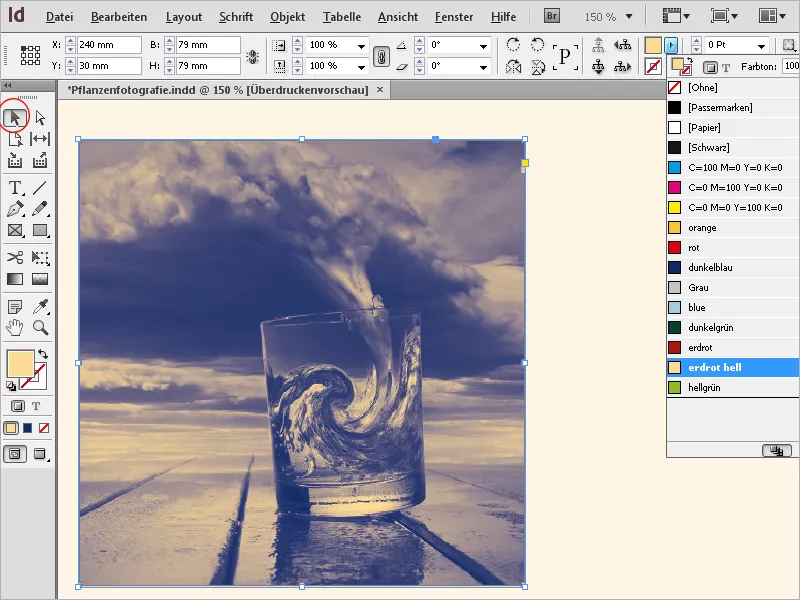
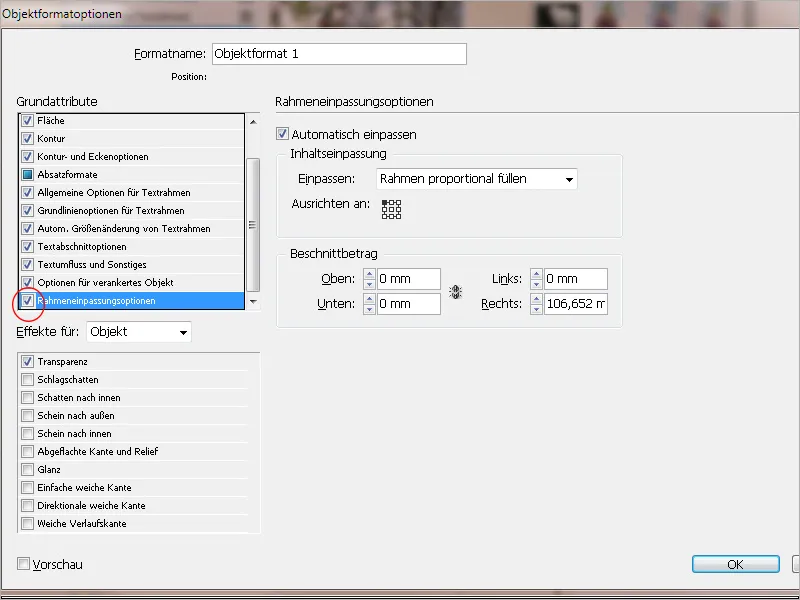
The following fitting options are now available: When you drag an image into an image frame and check the Fit automatically box, the image will be fitted according to the preset settings. These can be found in the Object>Adjust>Frame Fitting Options. With the Crop Amount, you determine the position of the image boundary frame relative to the frame. For positive values, the image is cropped. For example, you can omit an unwanted border in this way. For negative values, whitespace is created between the image's boundary frame and the frame. This way, you can create a white space between the image and the frame. If you want to apply these settings more frequently when working on your document, it is recommended to create an Object Style for them. On the Frame Fitting Options tab, you set the relevant settings. Sometimes, layouts include line drawings or greyscale images that naturally only contain color information in the black channel. To accentuate such an object and add some color when needed, you can colorize it with any color. To do this, select the image (not the frame) using the Direct Selection Tool and then click on the desired color box. The previously black image information will now take on the color assigned. You can enhance the effect further by assigning a contrasting color to the white background as well. Activate the image frame with the Selection Tool and assign the corresponding color to the background by clicking on a color box. This way, you can achieve impressive effects in InDesign.
• Fill frame proportionally
Resizes the content to fill the entire frame while maintaining the content's proportions. The dimensions of the frame remain unchanged. If the content and frame have different proportions, the content will be cropped by the frame's bounding box.
• Fit content proportionally
Resizes the content while maintaining its proportions so that it fits within the frame. The dimensions of the frame remain unchanged. If the content and frame have different proportions, empty space will be created.
• Fit content to frame
Resizes the content to fit within the frame, with the proportions of the content possibly changing. The frame does not change, but the content can be stretched if the content and frame have different proportions.
• Frame fitting content
Adjusts the size of the frame to match the content. The proportions of the frame may be adjusted to match the proportions of the content. This is useful if you want to revert a accidentally modified graphic frame.
• Center content
Centers the content within its frame. The proportions of the frame and content are maintained. The size of the content and frame remains unchanged. When fitting commands are used, the outer edges of the content are adjusted to the center of the frame's outline. If the frame has a wide stroke weight, the outer edges of the content will be hidden.
• Fit automatically
When you resize an image frame and disable Fit automatically, the frame size changes while the image size remains the same. If Fit automatica
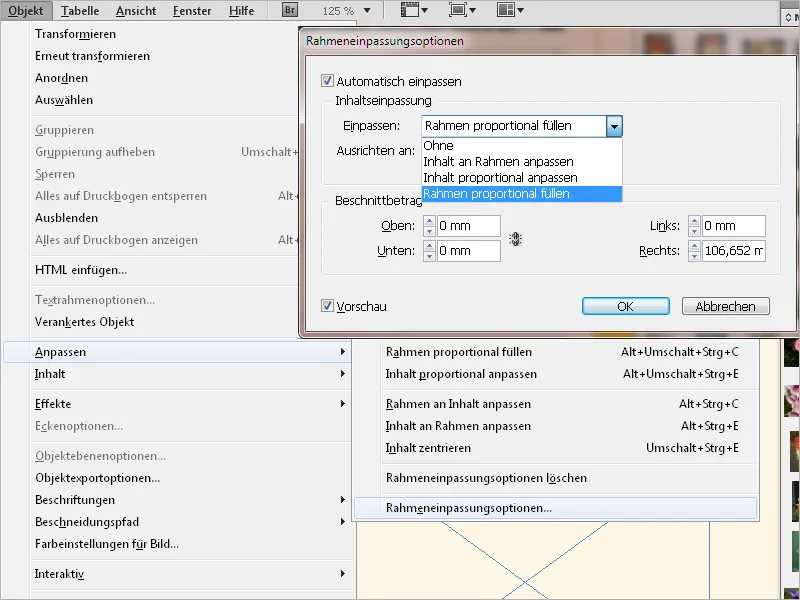
Here you can adjust the fitting options described above and also set the reference point to which the image should align.
To do this, access the Object Styles Panel via the Window>Styles menu. At the bottom, click on the Create New Style button.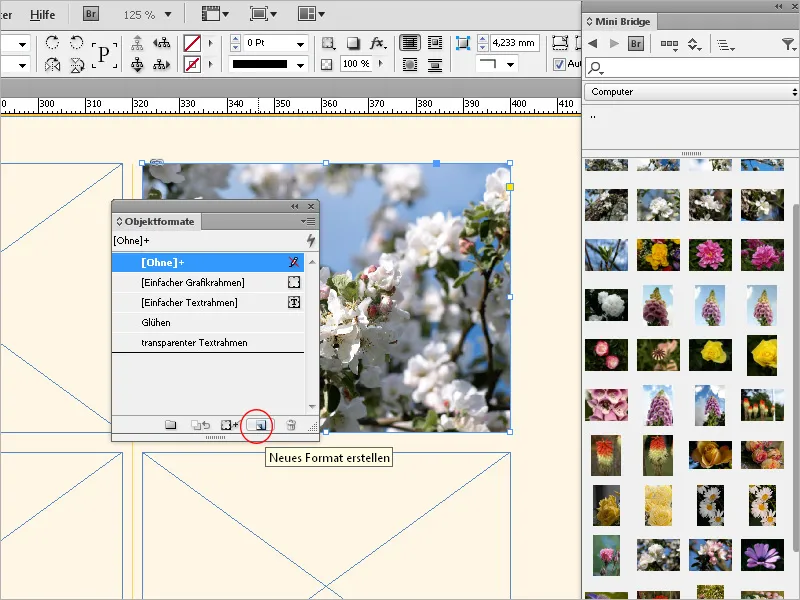
Colorizing Greyscale Images
You can recognize this by the black content color box in the Control Palette (when the image is previously selected with the Direct Selection Tool) or in the Separations Preview, where you can see if you disable the black channel - the image disappears because there is no color information in the other channels.