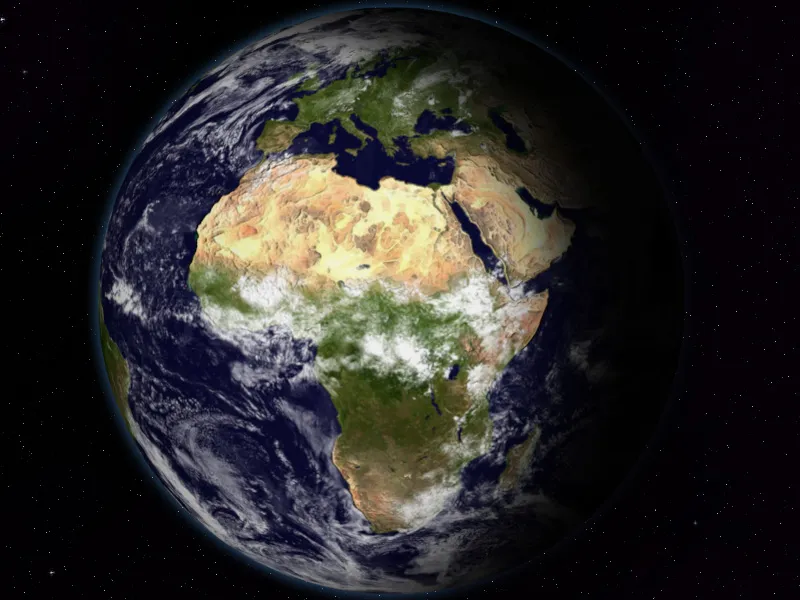
Creating a realistic 3D Earth is an impressive element for posters, presentations, or digital artworks. With Photoshop, you can quickly and easily achieve this effect by skillfully combining textures, gradients, and layer effects. In this tutorial, I'll show you how to create an impressive 3D Earth with just a few clicks, convincing through richness of detail and depth. Let's get started and give your designs a global perspective!
Step 1:
To create a 3D Earth in Photoshop, I need good textures of the Earth's surface. You can get those for free here: http://visibleearth.nasa.gov/view_set.php?categoryId=2363&p=1.
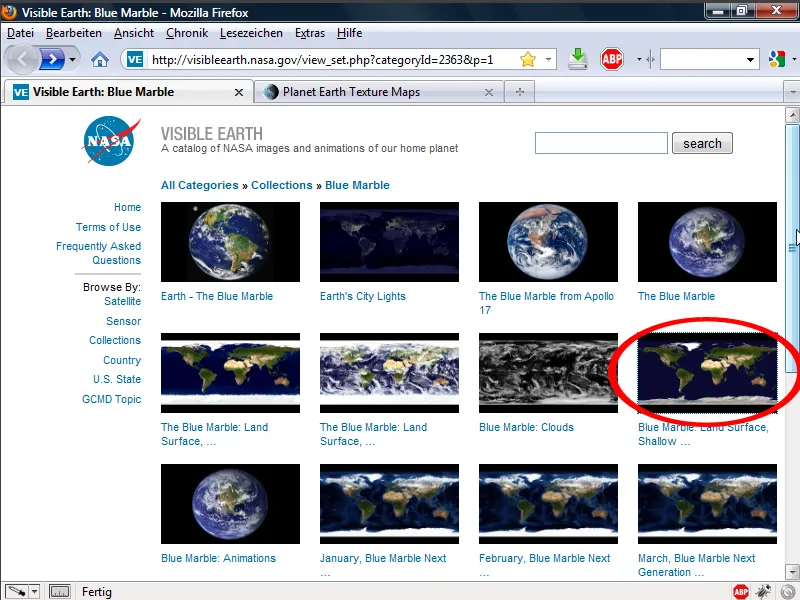
Step 2:
Here, I choose the JPEG variant with a resolution of 2048x1024. My computer can't handle more anyway.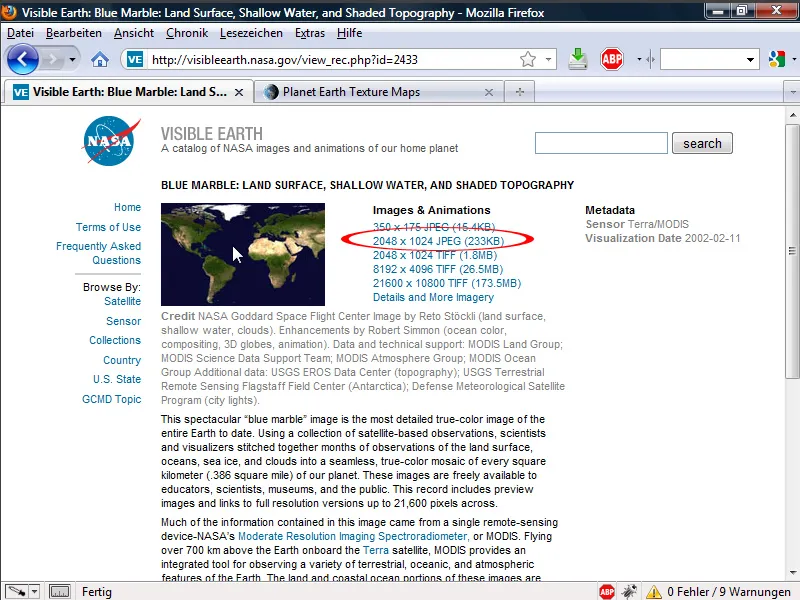
Step 3:
I load the texture in Photoshop and then immediately go to the menu 3D>New Shape from Layer>Sphere.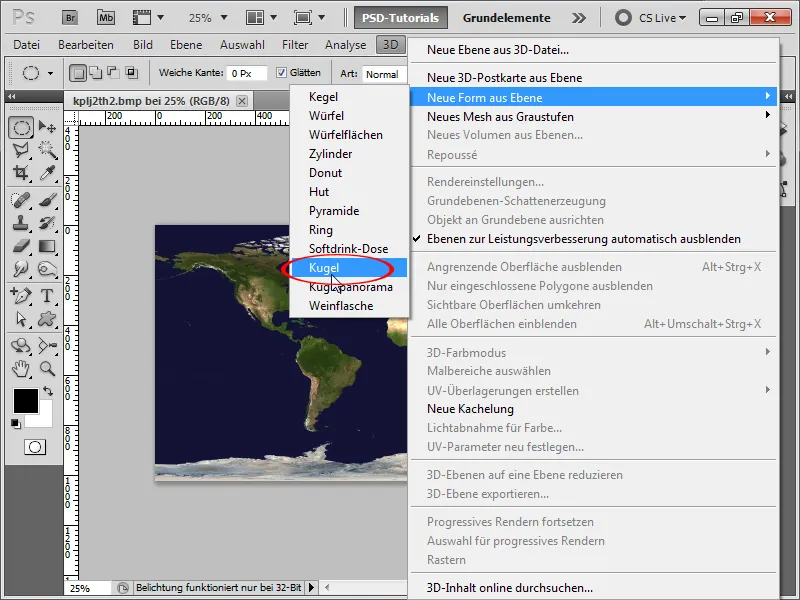
Step 4:
Photoshop now places my texture on the sphere. The Earth is formed. After that, I add a new black layer in the background, which will later be my universe. The great thing is that I can rotate the world at any time, revealing different continents.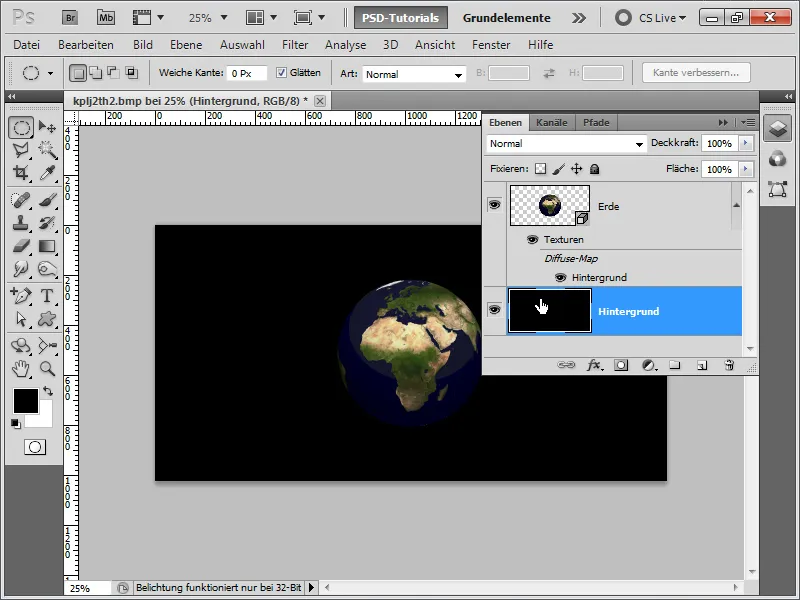
Step 5:
Next, I double-click on my 3D layer, opening the 3D panel. Now I select a 3D tool in the tool panel and display the 3D light sources at the bottom of the panel.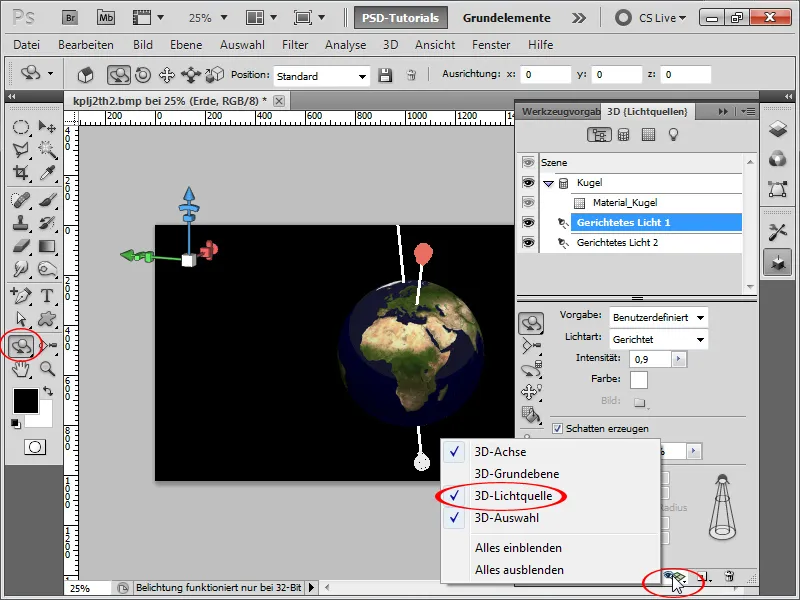
Step 6:
To move the light, I press and hold the left mouse button on the corresponding symbol until all 3 light tools are displayed. Then I click on the 3D light source rotation tool and can easily rotate the light in the image.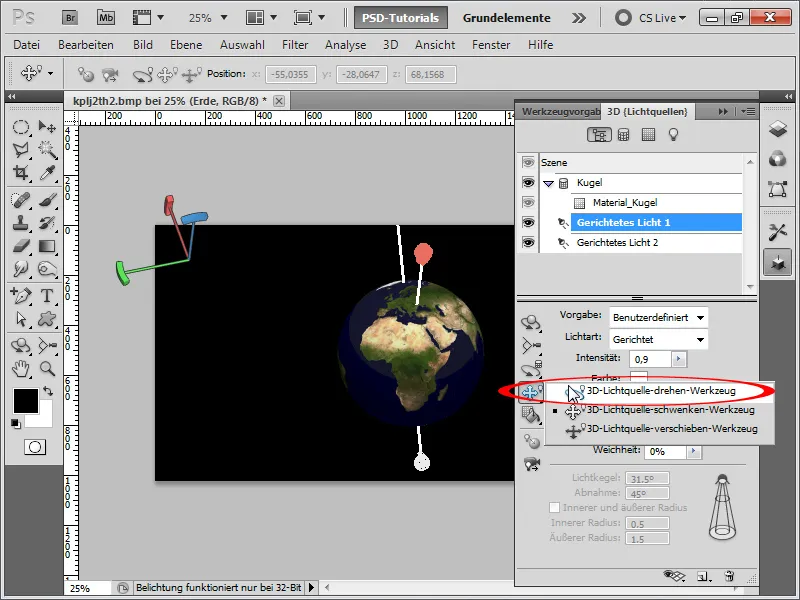
Step 7:
This significant light variation is only available in Interactive (Painting) mode. Once I render the image, the light is perfect and not as gradient.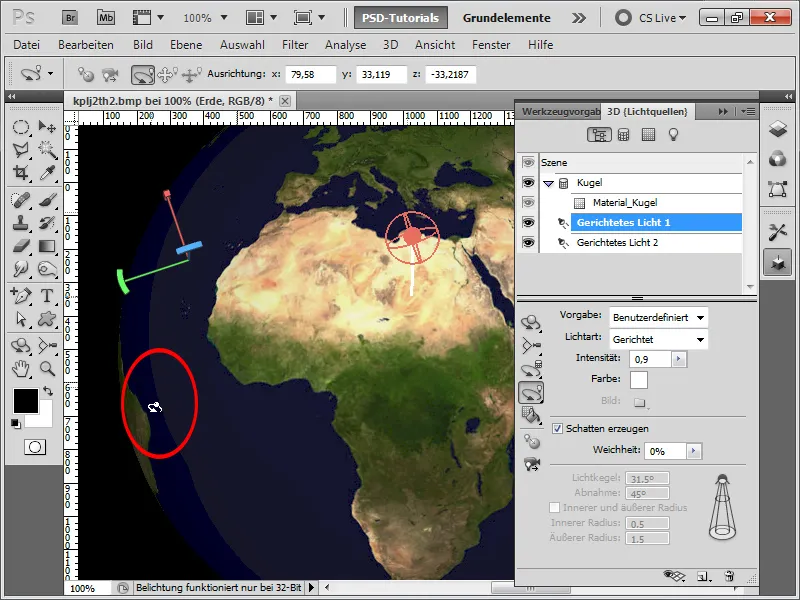
Step 8:
TIP: To render only my earth sphere and not the entire image, I click on my 3D layer in the Layers panel while holding the Ctrl key, and then in the 3D panel, in the Options, I select Selection for progressive rendering.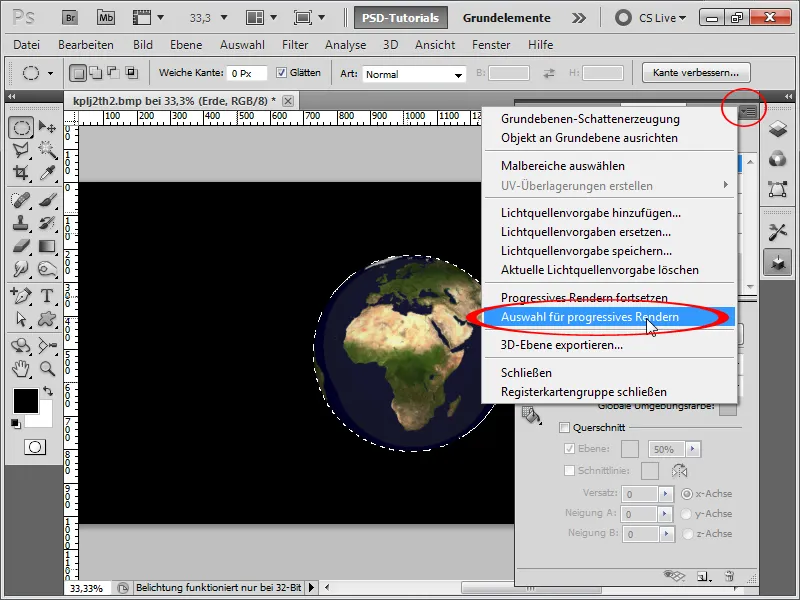
Step 9:
The image is now rendered and looks great. If I want to change the rendering quality or render the entire image, I click on Scene at the top of the 3D panel and then on Quality further down.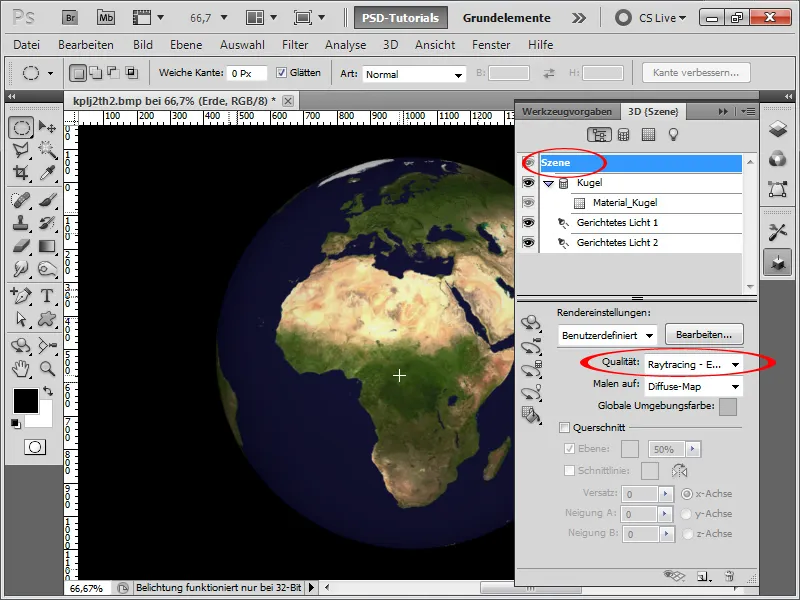
Step 10:
If I want to change my texture, I click on Material_Sphere at the top and then on Diffuse in the Options, followed by Open Texture.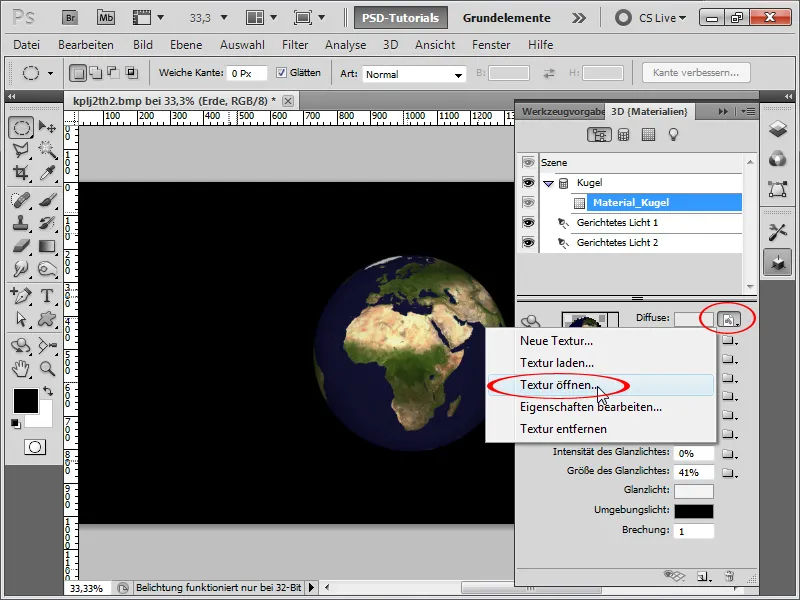
Step 11:
Next, my texture with the continents opens. I want to add some clouds to the Earth. So, I go back to the NASA website and download the clouds in the same resolution.
Step 12:
I add the clouds above the continent layer and change the fill method to Negative multiply.
Step 13:
Here is how the Earth looks unrendered: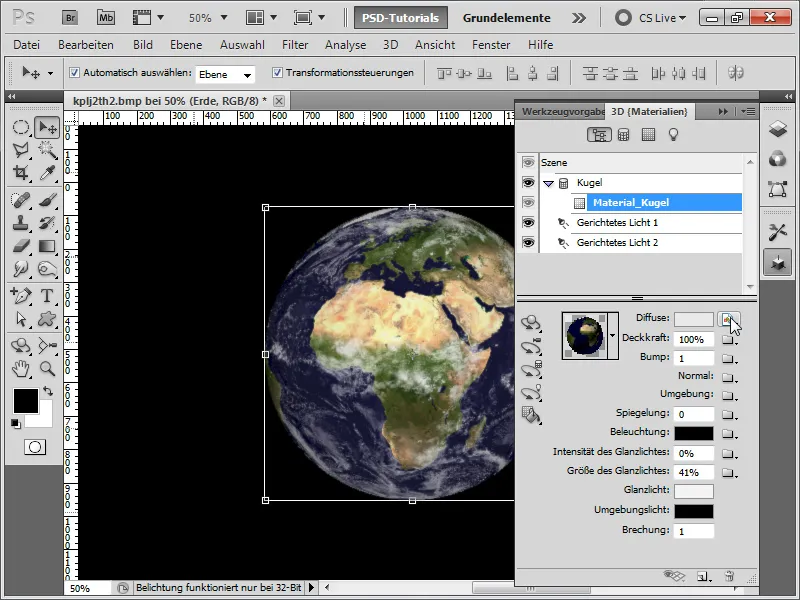
Step 14:
If you want the clouds to be brighter, simply add a tone correction as an adjustment layer above the plane and move the right slider slightly to the left. After confirming the values, click once in the layers panel between the tone correction and the cloud layer while holding down the Alt key to create a clipping mask so that the tone correction only affects the cloud layer.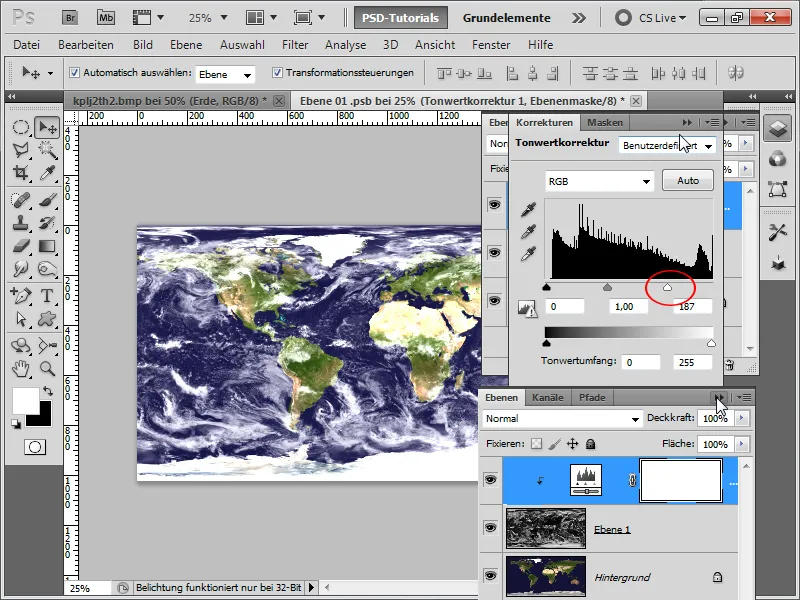
Step 15:
After rendering everything again, my result looks like this: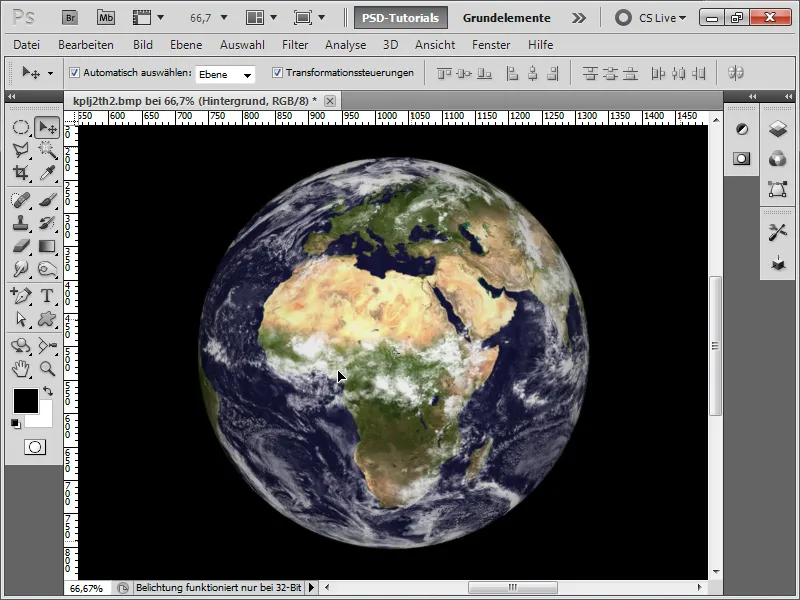
Step 16:
To create a bit more depth effect on the continents and simulate mountains, I load a texture in Bump.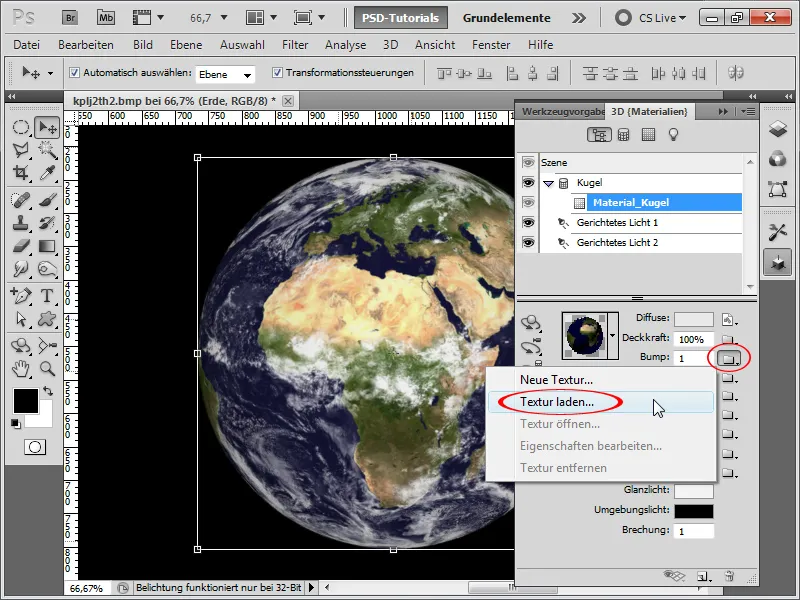
Step 17:
At the very beginning, I saved the continent image from the NASA website on my hard drive. I load this texture and then convert it to grayscale. Then simply increase the contrast and sharpness. I make it easy and only call Menu>Filter>Sharpen Filter>Smart Sharpen.
Step 18:
Even in the unrendered version, you can clearly see the difference.
Step 19:
Tip: For those who want it even more realistic and have $8.00 to spare, you can also get the corresponding bump texture from http://planetpixelemporium.com/earth.html.
Step 20:
Next, I briefly take care of the background. I create a new layer, fill it with black, then go to the menu Filter>Noise Filter>Add Noise.
Step 21:
Then I add a tone correction as an adjustment layer and move the left slider quite far to the right, leaving only a few pixels. These are my stars.
Step 22:
In another layer, I add a bit of cosmic color with very dark purple. Then I right-click on my 3D layer and add an outer glow in the fill options.
Step 23:
The result looks very impressive for the few minutes invested: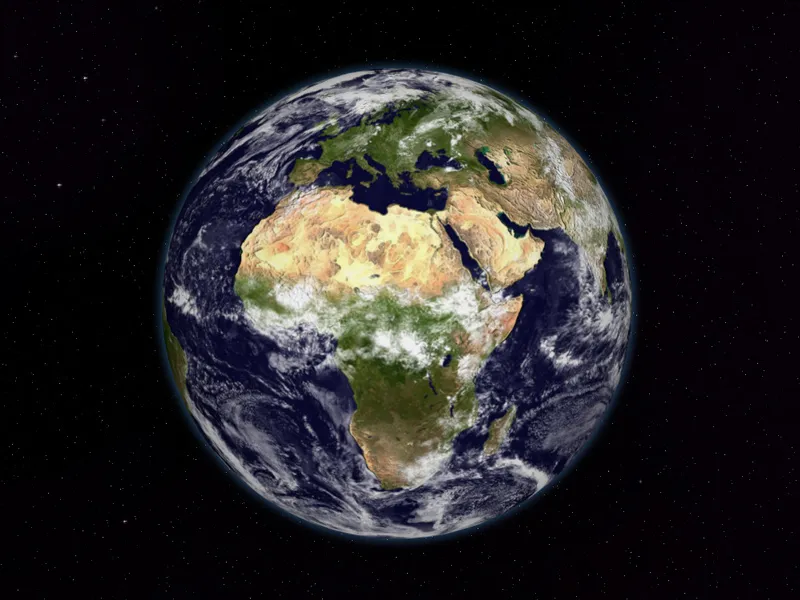
Step 24:
With an inner shadow as a fill option, the result looks like this - I converted the outer glow into a layer (right click on the effect>create layer), equipped it with a mask, and faded it out to the right.