In this quick tip, I would like to talk to you about rigging and remind you of 2 types of layers that are very useful when rigging.
I have prepared a smiley with a rig for the pupils of the eyes. If I move the eye controller, we can move the pupils.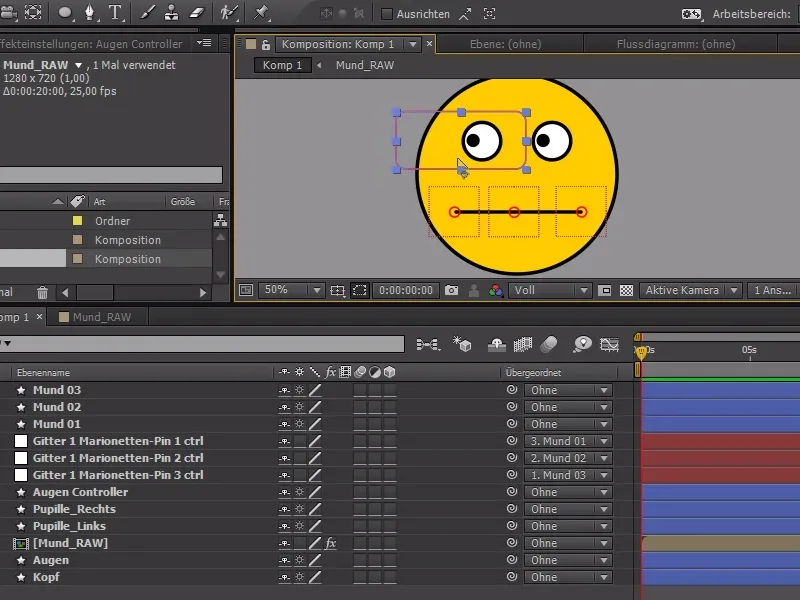
I also set 3 points near the mouth, so I can control a puppet tool setup.
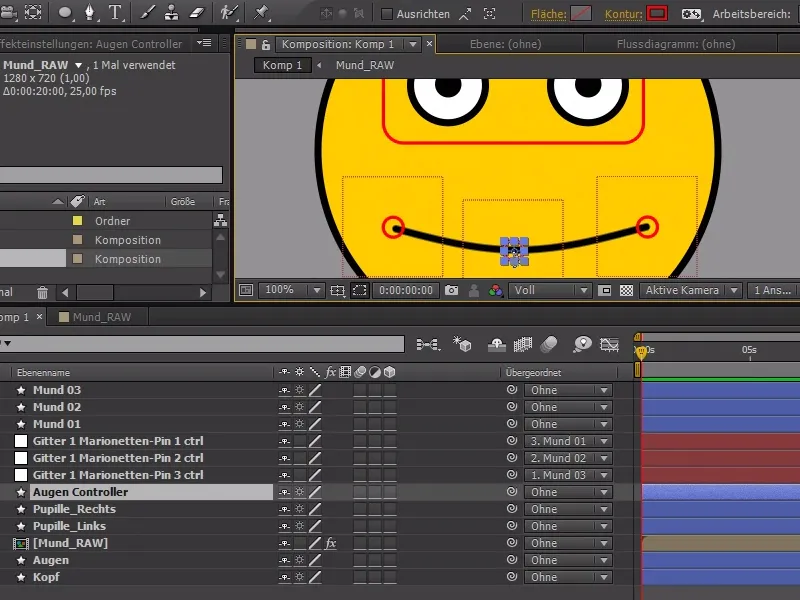
These 3 puppet tool pins or null objects are of no interest to anyone, but the rig needs them, so we hide them using "Shyguys".
Behind each layer we see the "Shyguy" symbol - and now we can select this for each layer we are not interested in and then click on the large "Shyguy" symbol above the layers. And now all the selected layers are invisible in the overview - but still there.
We can also lock and hide the pins afterwards - then we still have the points and can continue to animate them, but they no longer bother us..webp?tutkfid=86963)
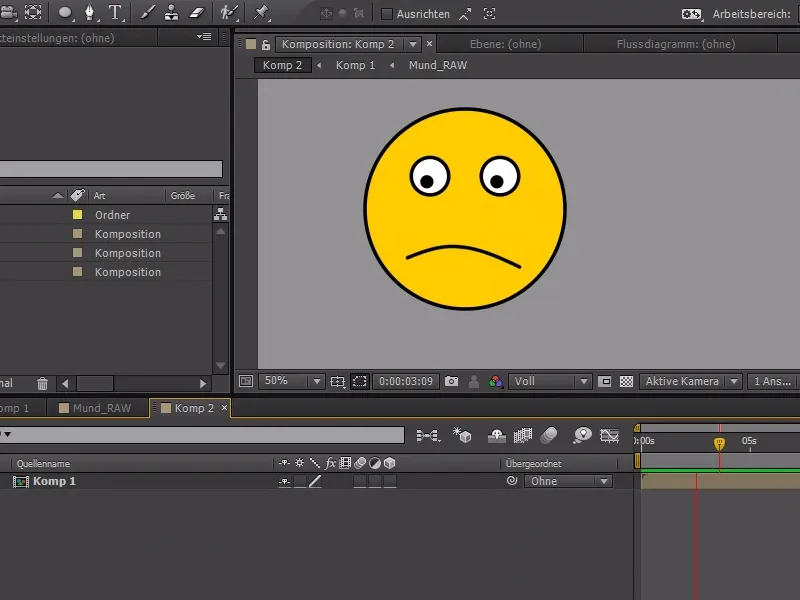
However, if I now load the entire composition into a new composition in order to render it or animate it further, I don't like the fact that the controllers are still visible. Of course, I only want to see the controllers if I want to animate the eyes or the mouth.
A good way to solve the problem is to create auxiliary layers. To do this, I simply select the controller layers and turn them into guide layers by right-clicking on them.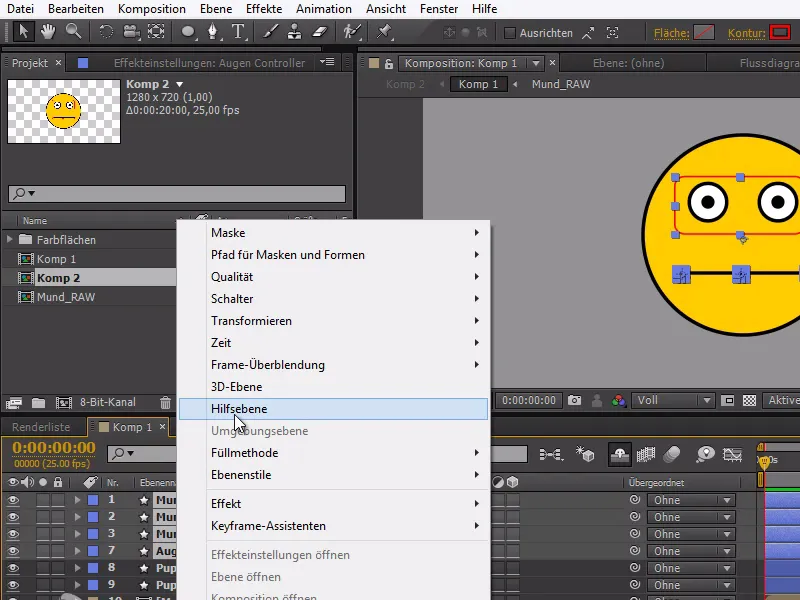
The layers are marked with a guide or guideline symbol, which means that the controllers are no longer visible in the other composition - but are present in the corresponding composition when animating.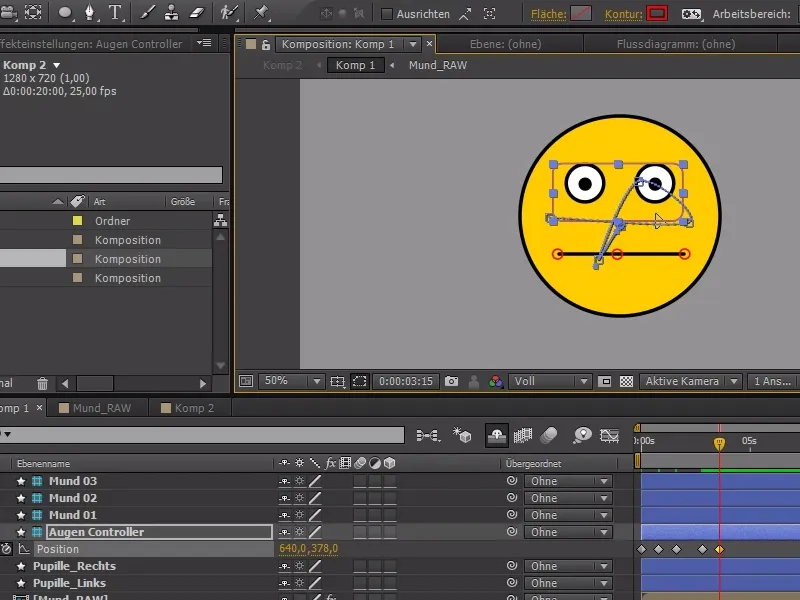
If I now animate the smiley a little, I can see in the other composition how the animation is played smoothly without visible controllers.
This is also very useful, for example, if you are animating some content on a real image and you want to have the real image as a guide in the background, but then want to place additional content somewhere over it. Then you can simply put the guide layer in the background and it won't be rendered as soon as you put it in another composition.
So very practical: Shyguy and guide layers.