The text wrap is a powerful feature in Adobe InDesign that allows you to automatically wrap text around objects, images, or frames. This creates a harmonious layout and improves readability by cleanly placing text around graphic elements. In this guide, I will show you step by step how to set up, adjust, and creatively use text wraps to design professional and appealing layouts. Let's start optimizing your text design!
You can wrap text around all objects placed in InDesign and apply a contour flow. This acts as a layer between the object and text, and its strength can be precisely adjusted. The exact settings for this are made in the text wrap panel (menu window or Alt+Ctrl+W).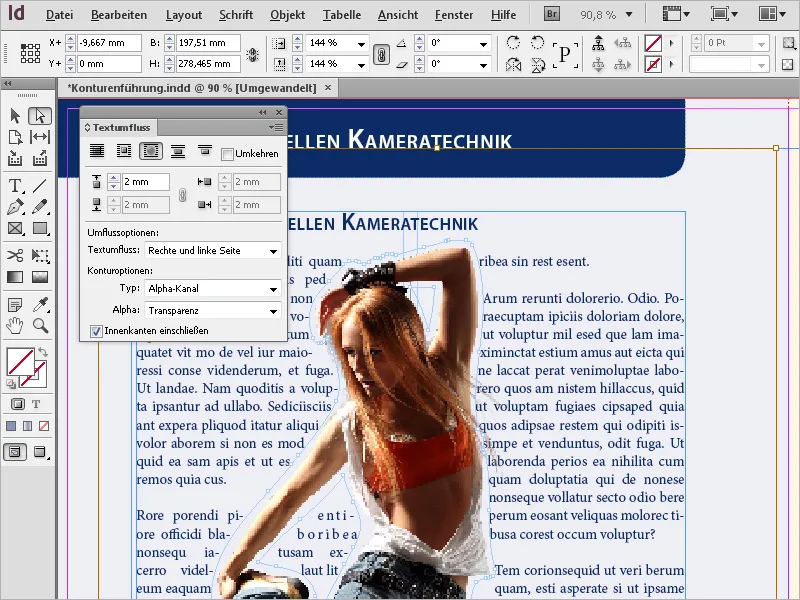
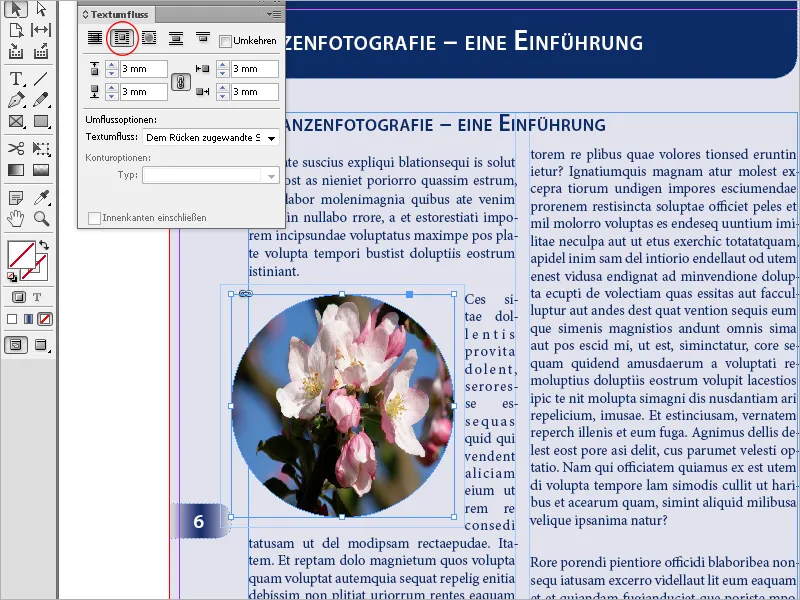
Place an image on text and click on the wrap around bounding box symbol in the text wrap panel.
Now four fields become active, where you can adjust the top, bottom, left, and right distance of the text to the selected object.
By default, the fields are linked, so a change always applies to all four directions. To enter different values, you must break the link by clicking on the small chain-link symbol.
The text now flows with the set distance in rectangular form around the object's bounding frame.
When dealing with round or oval object frames, the text wrap often looks better with the wrap around the object's shape setting.
This creates a contour boundary that has the same shape as the selected frame (plus the set offset distances).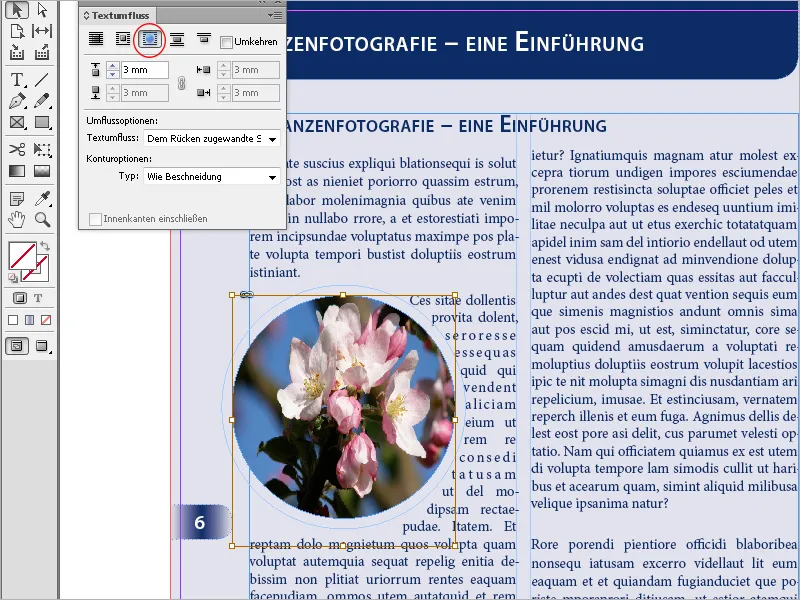
Using the skip object option prevents text from appearing in free areas to the right or left of the frame.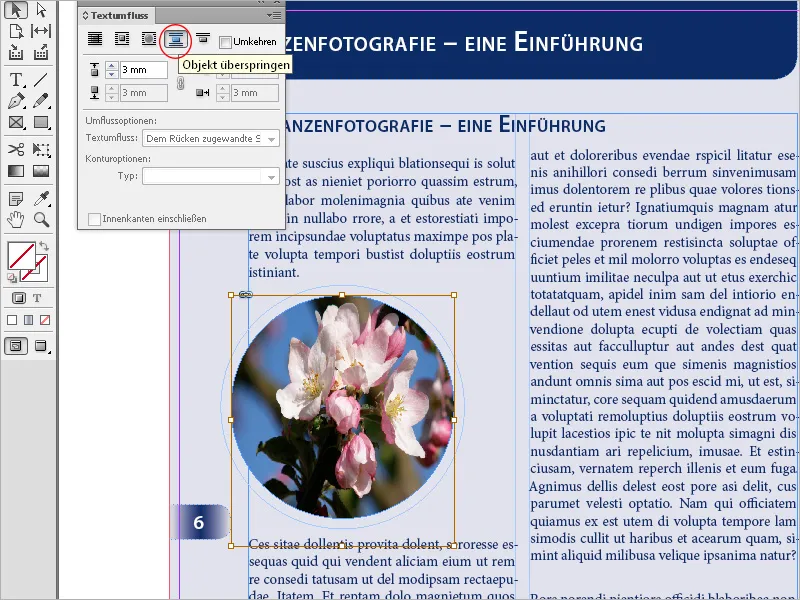
With the jump to next column setting, the flowing paragraph is shifted to the beginning of the next column or text frame.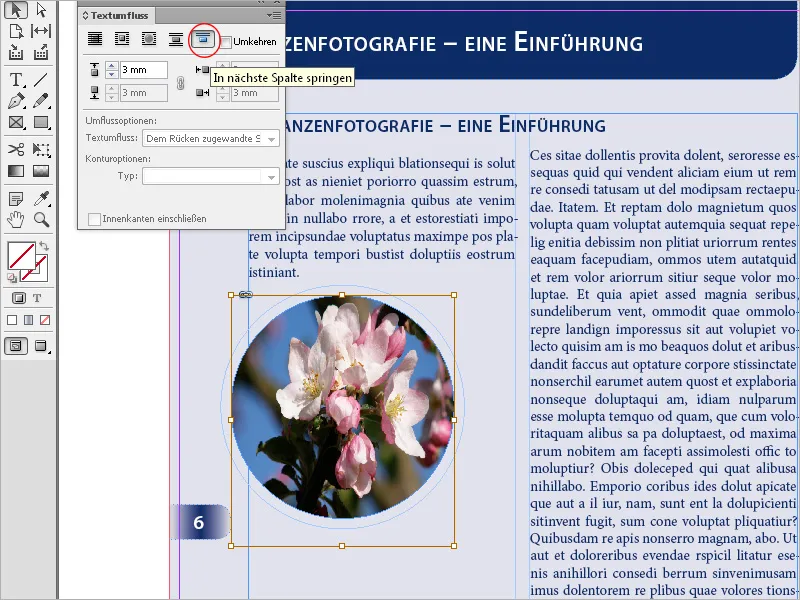
In the wrap options, you can specify whether the contour flow is applied to the right side...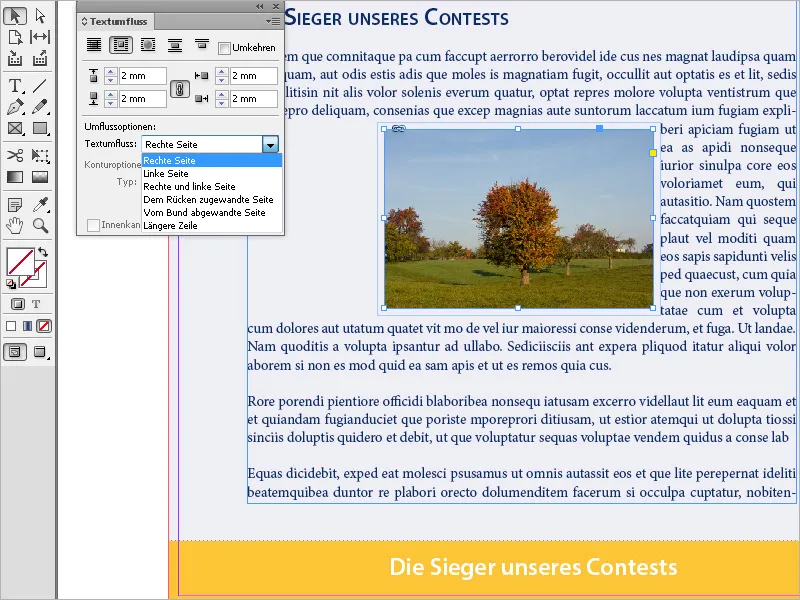
... or the left...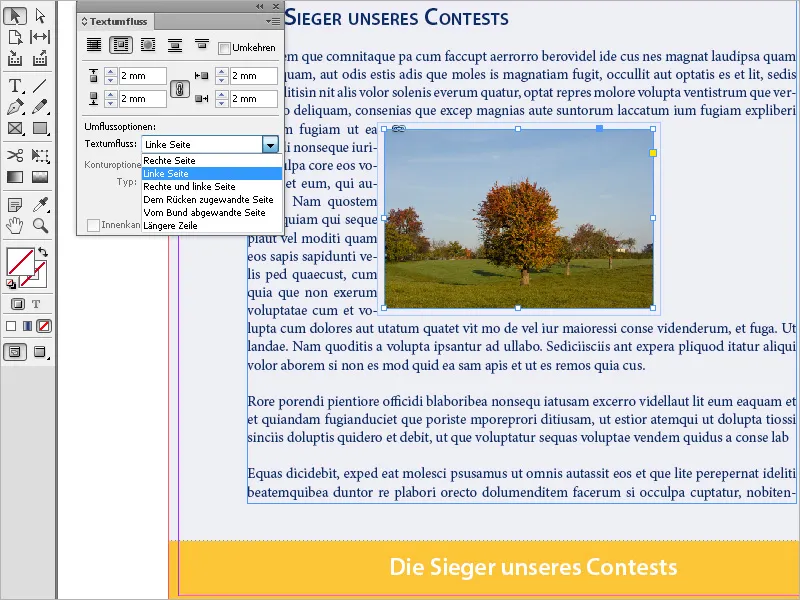
... or to both sides.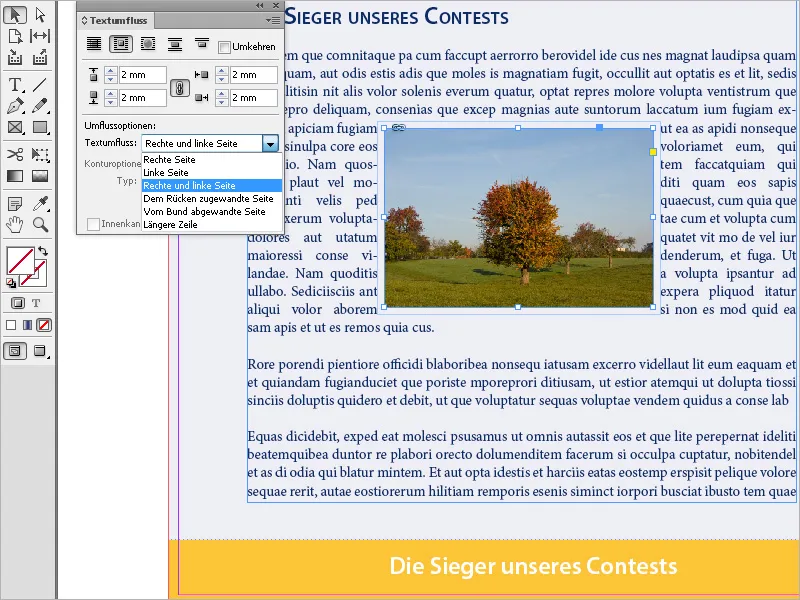
This option is only available when using the wrap around bounding box or wrap around object shape settings.
With the skip object option, you can also prevent text from appearing in free areas to the right or left of the frame.
Using the jump to next column setting shifts the flowing paragraph to the beginning of the next column or text frame.
Text flow around extracted objects
Text flow around extracted objects is particularly impressive. For this, the option wrap around object shape must be set for the selected object in the text wrap panel.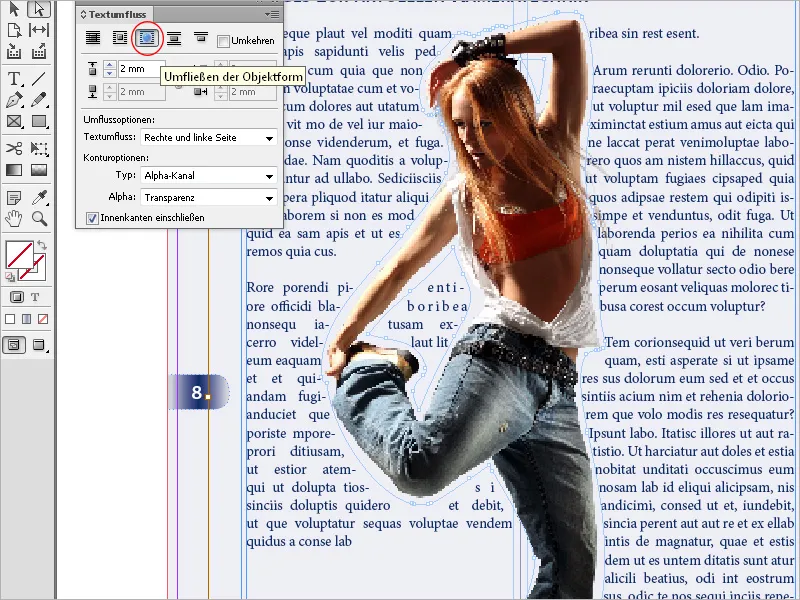
Now you can choose the following options under contour options in the type field: find edges creates the boundary through automatic edge detection.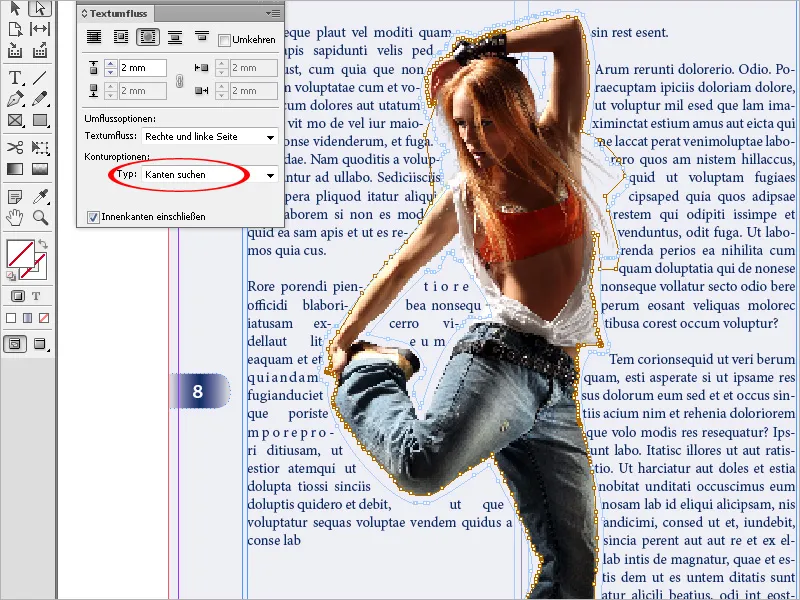
You can adjust the edge detection in the menu object>clipping path>options.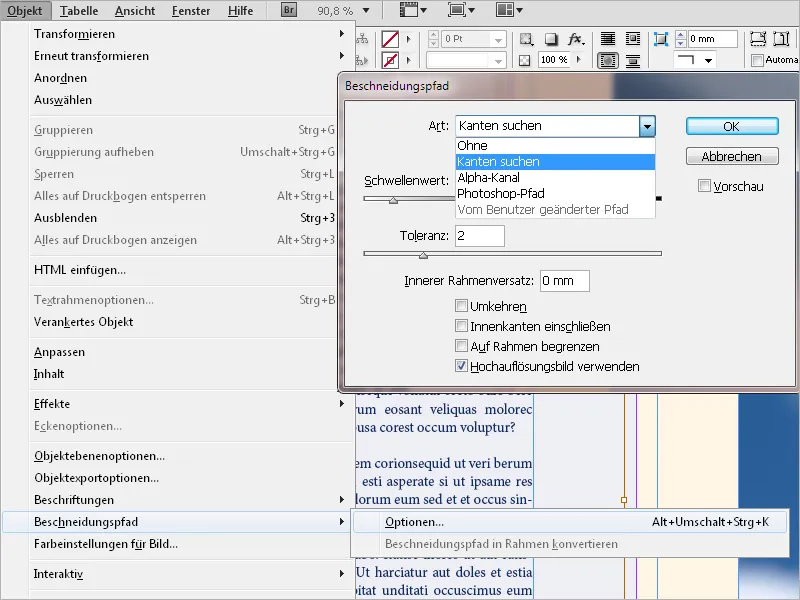
The alpha channel setting creates the boundary from an alpha channel saved with the image. This option is only available if alpha channels have been saved with the image.
The default Photoshop transparency (the checkered background) is recognized by InDesign as an alpha channel. Otherwise, in Photoshop, you must delete the background or create and save one or more alpha channels with the image.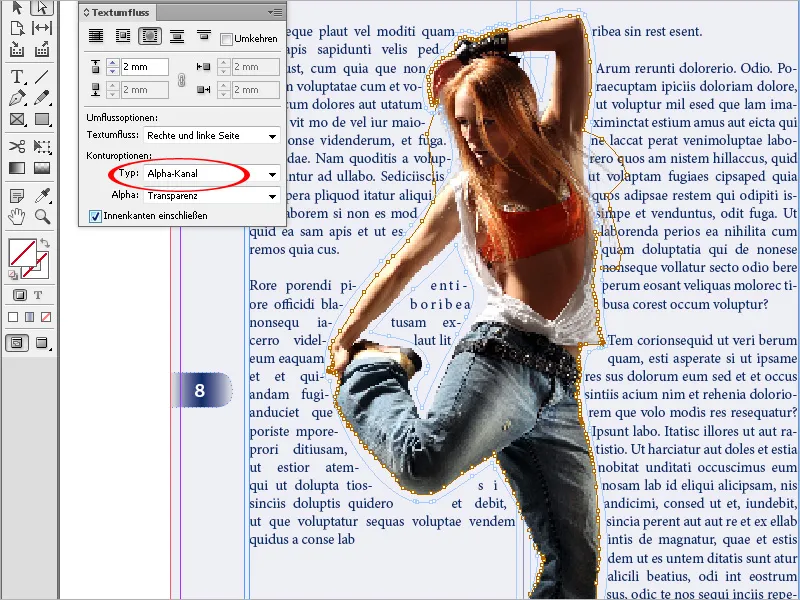
Photoshop path creates the boundary from a path saved with the image. Choose photoshop path and then in the path menu select a path. The photoshop path option is only available with named paths saved with the image.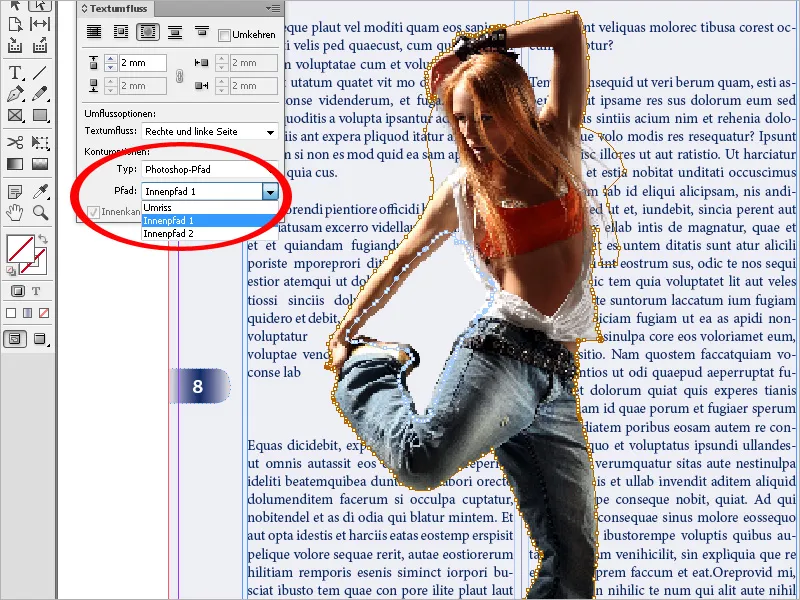
To display text in free areas of an image, choose the include inner edges option.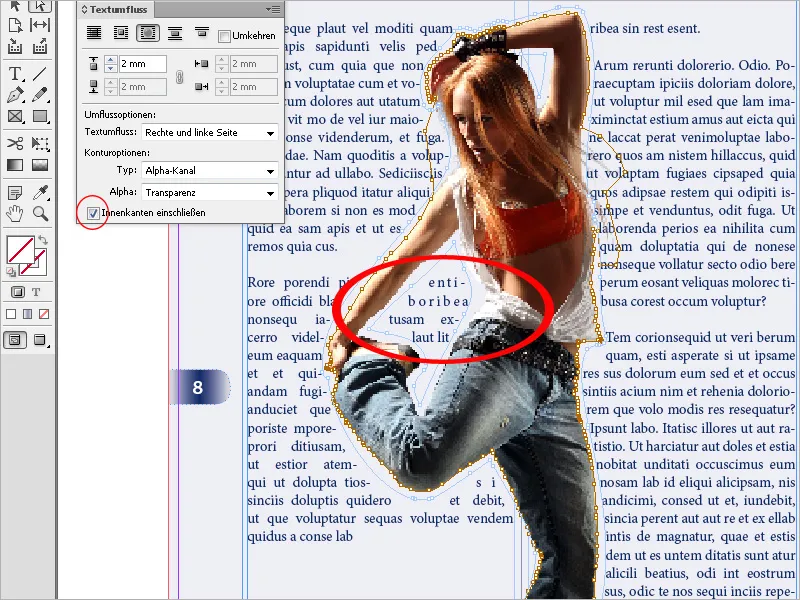
You can adjust the contour flow with the pen tool or the direct selection tool, i.e., delete, add, or move anchor points.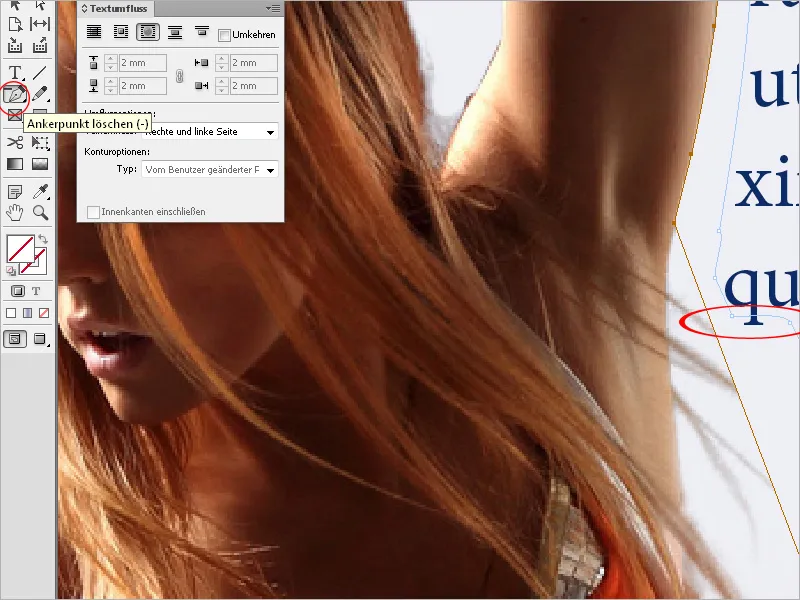
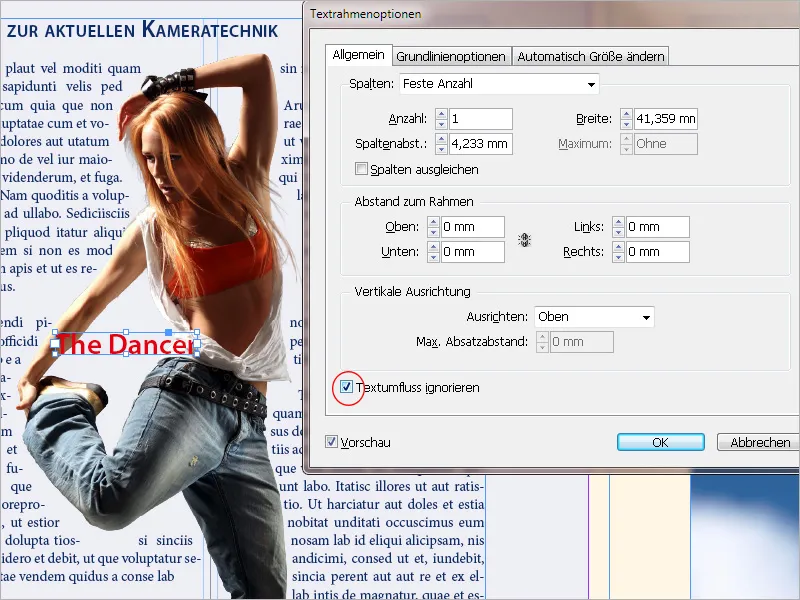
One thing still needs to be considered: If settings have been made for objects for text wrapping, these will also affect text boxes positioned directly on them (e.g. for comments or descriptions, etc.). The text is displaced and the text box displays overset text.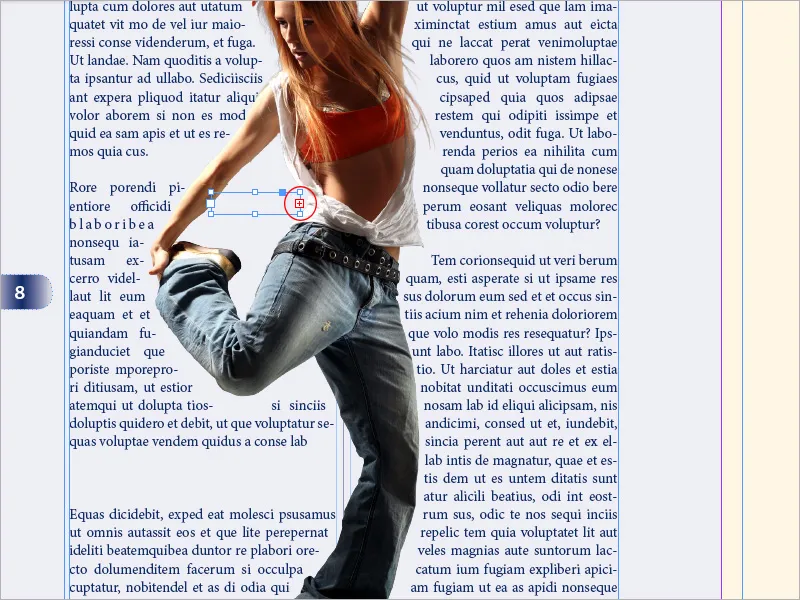
In this case, you use the Text Frame Options (Ctrl+B) for help. Activate the checkbox Ignore Text Wrap on the General tab for the box with the displaced text. Now the text will be displayed as desired on the image.