Step 1:
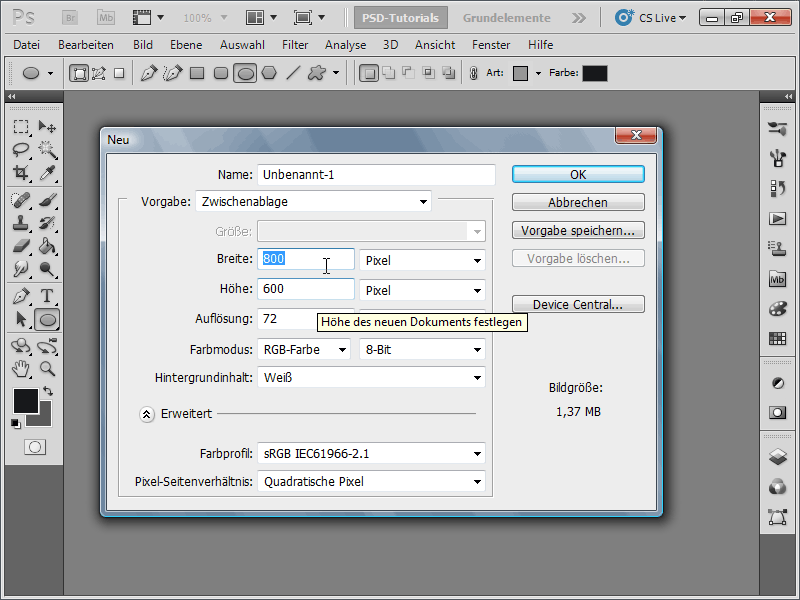
First, I create a new document; the size doesn't matter. I choose a very small size of 800x600 pixels. If you want to print this effect, you should change the unit from pixels to cm and the resolution from 72 to 300 pixels/inch.
Step 2:
Now I grab the Custom Shape tool and get the stamp shape. If this is not displayed, you can load further shapes using the small arrow in the menu.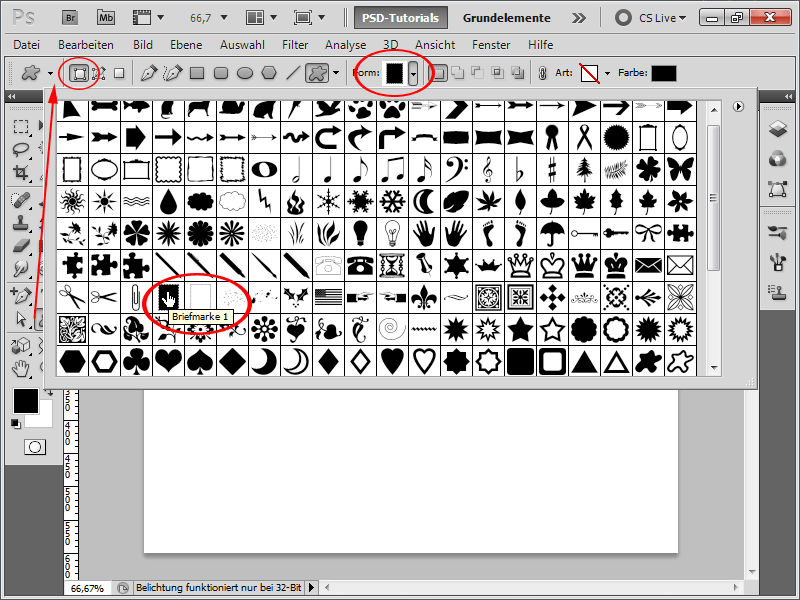
Step 3:
I have now drawn the stamp shape with white color. I have recolored the background layer in grey to make it look better.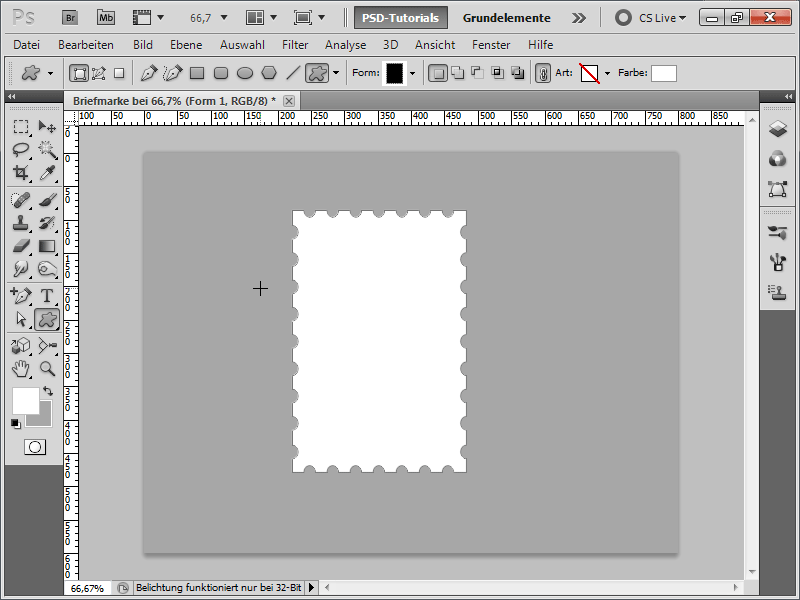
Step 4:
Now I insert a photo.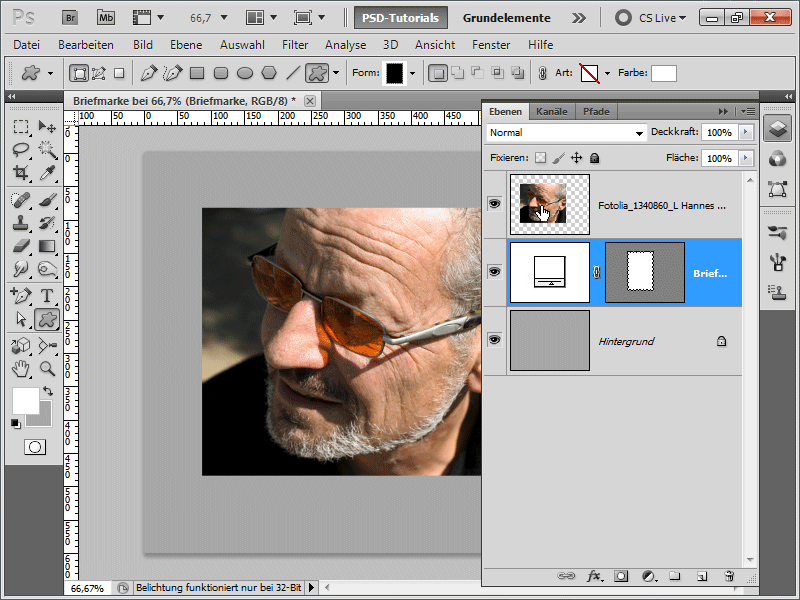
Step 5:
Then I create a selection of the stamp (without the spikes) using the selection rectangle tool. To do this, I hide the photo layer and then invert the selection. I Blender the photo again.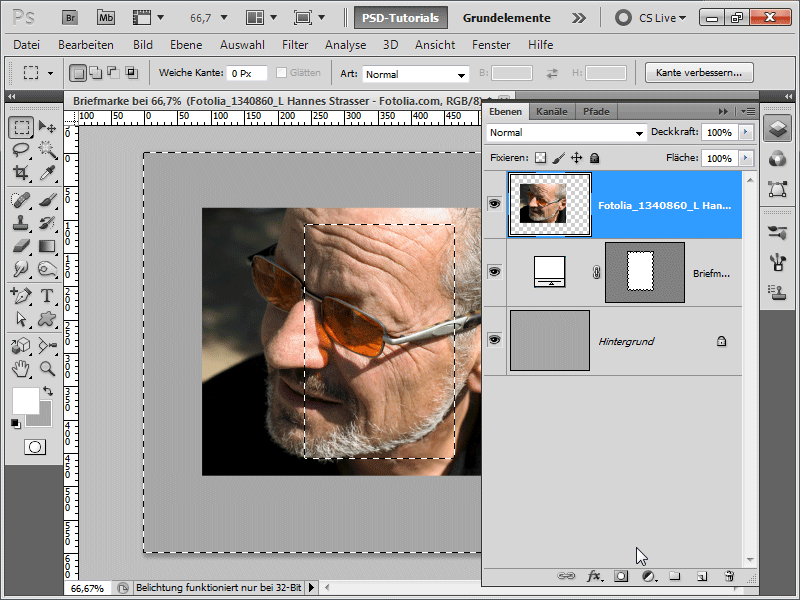
Step 6:
Now I create a layer mask and invert it with Ctrl+I. Now I can only see the photo inside the stamp.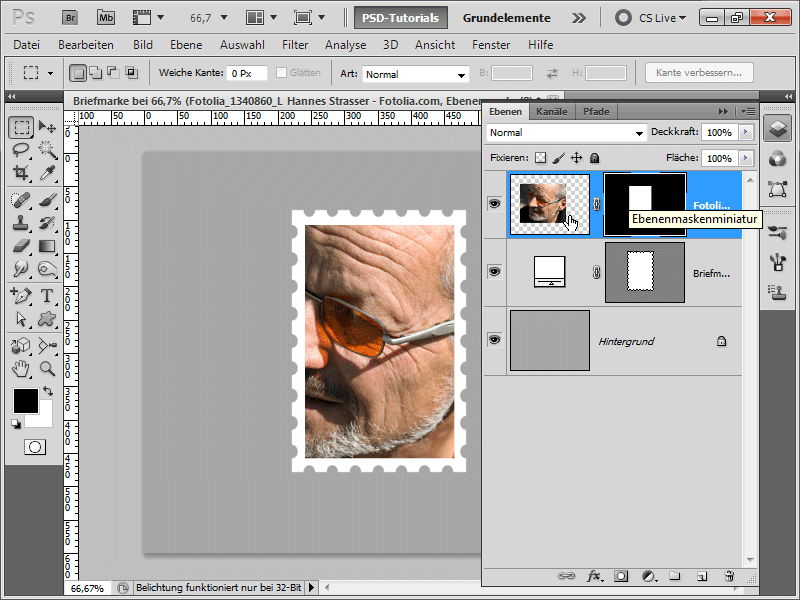
Step 7:
To make the spikes look even more realistic, I add a shadow to the inside.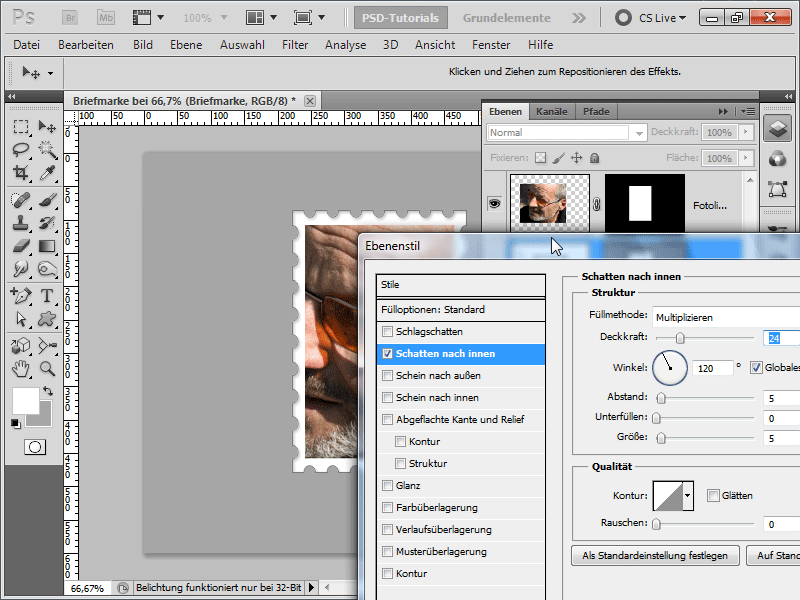
Step 8:
Now I add another text - once "Deutsche Bundespost" - which I tilt, and then the amount: "90 Cent".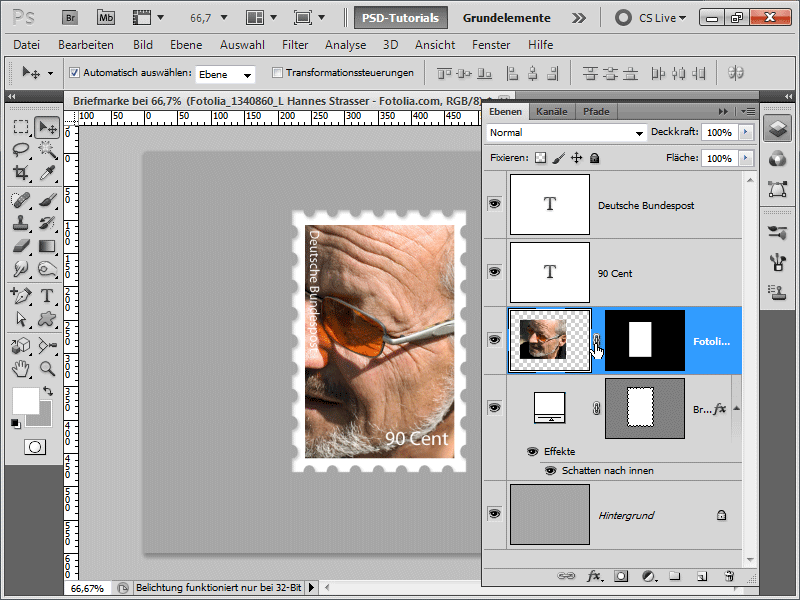
Step 9:
So that I can move the photo within my layer mask, I break the chain with the Move tool and place my photo even better.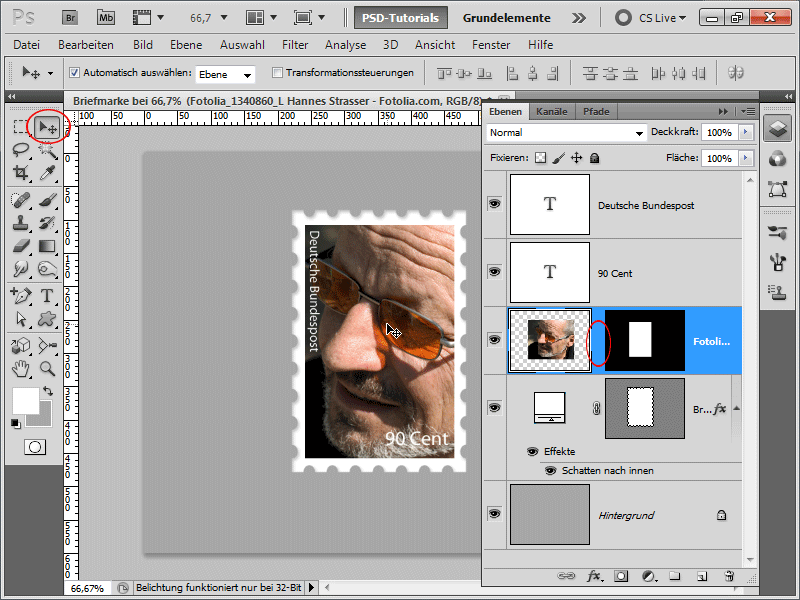
Step 10:
In the second variation of how to create a stamp, I proceed as follows: I create a rectangle as a shape layer.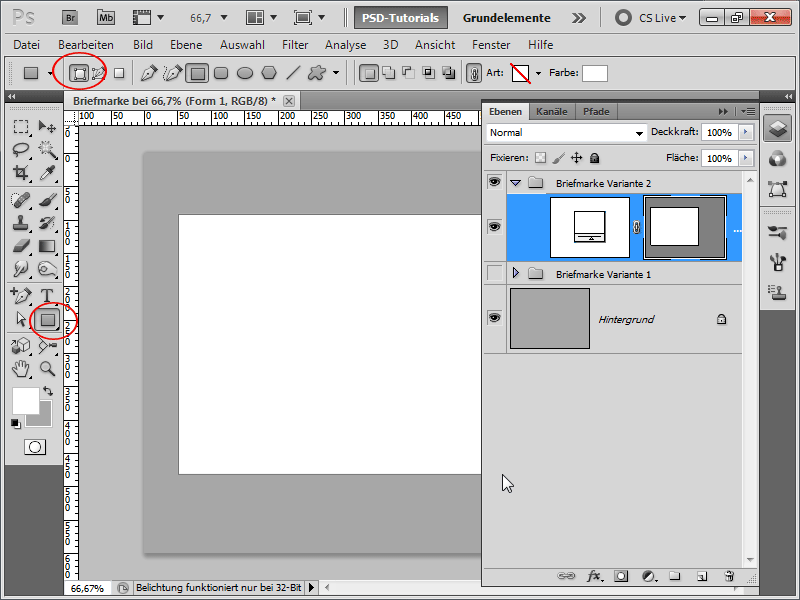
Step 11:
Then I place a layer mask on it and paint in the layer mask with a brush. However, I first go to the brush panel and grab a brush with 100% hardness and change the distance to over 100%.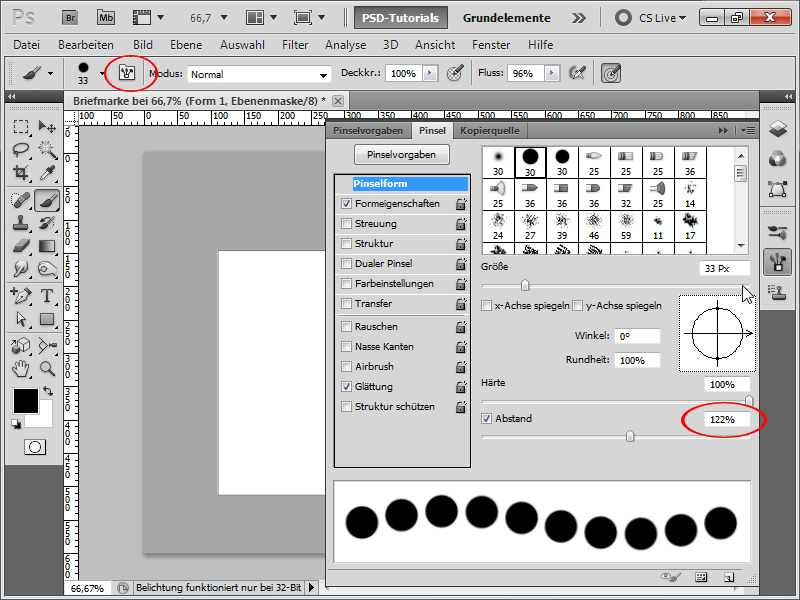
Step 12:
Now I go to the Paths panel and right-click on Shape 1-Vector Mask and then click on Fill Path Outline. Here it is important that I do not check the Simulate pressure box.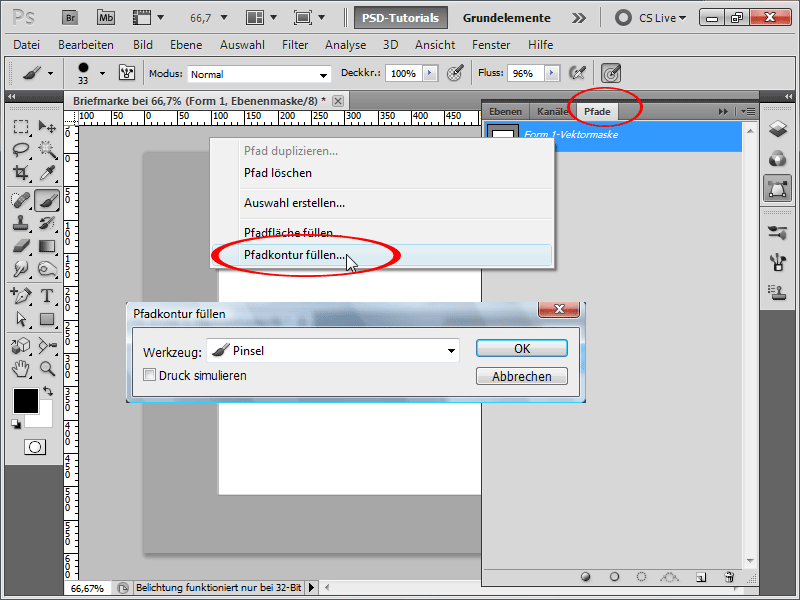
Step 13:
And now I have finished the stamp. This is only noticeable if you look very closely: You can see a very faint gray in the area of the stamp's serrations. I quickly select them in the layer mask with the magic wand and fill them with black. The gray is gone. Or I can apply the contour fill a second time and it will be gone too.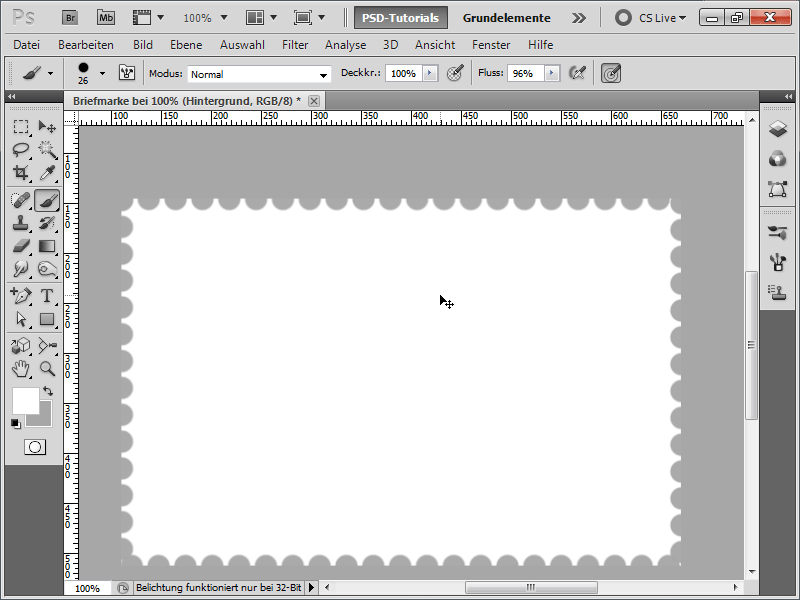
Step 14:
If the points are too thin for me, I can increase the distance of the brush tip even further. Next, I insert a photo again and create a selection of the inside of the stamp as in variant 1, then invert this selection, add a layer mask to the photo and invert it with Ctrl+I. Now I'll add an inward glow in the fill options. I think this looks even better than the inward shadow.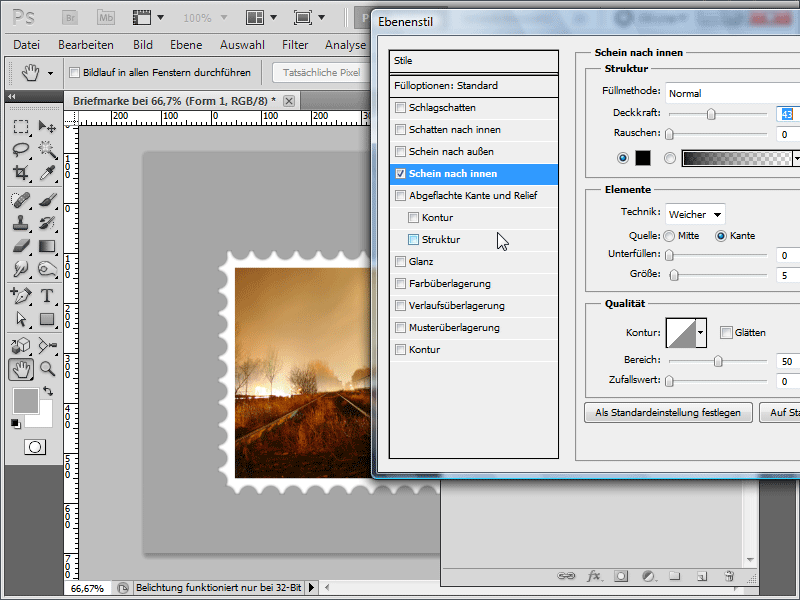
Step 15:
Again, I then add a text and an amount.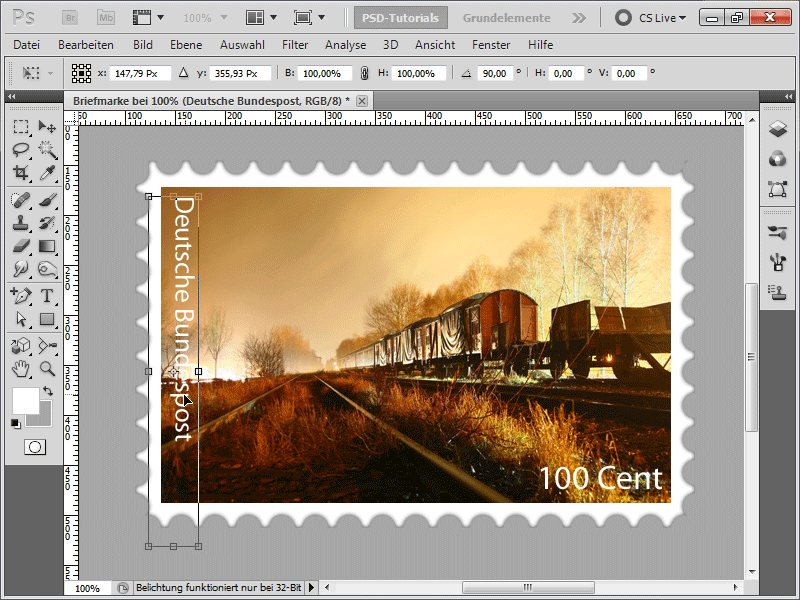
Step 16:
In the next step, I want to show how I can add a nice postmark to the stamp. To do this, I select something in the custom shapes again, only this time it's a circle with a border.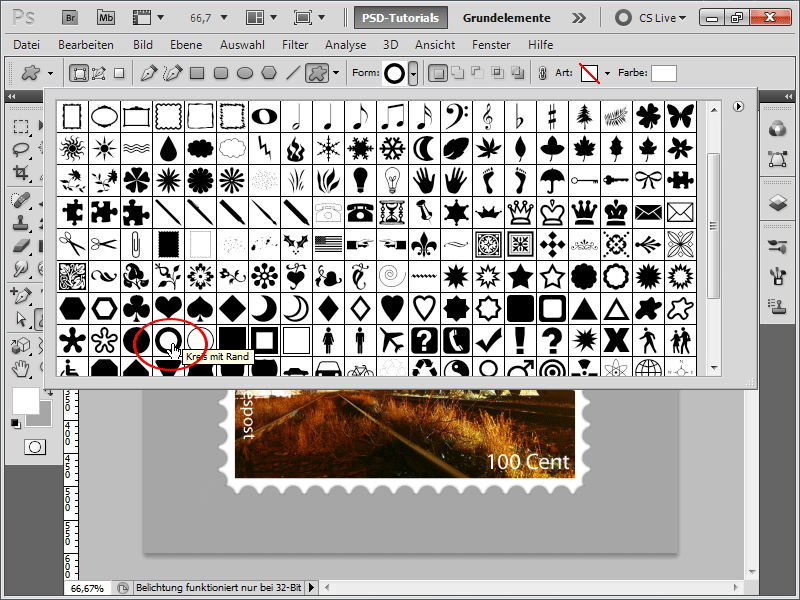
Step 17:
I drag the circle a little over the stamp, set the area to 0% in the Layers panel and then activate the outline with 5 pixels of black color in the blending options.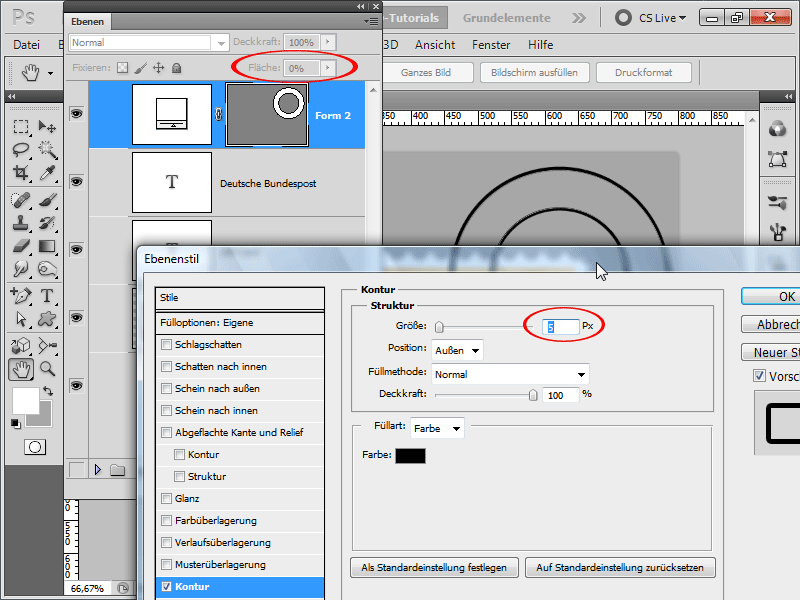
Step 18:
Now I use the line tool with black color to draw two lines that are as thick as possible as the circle line.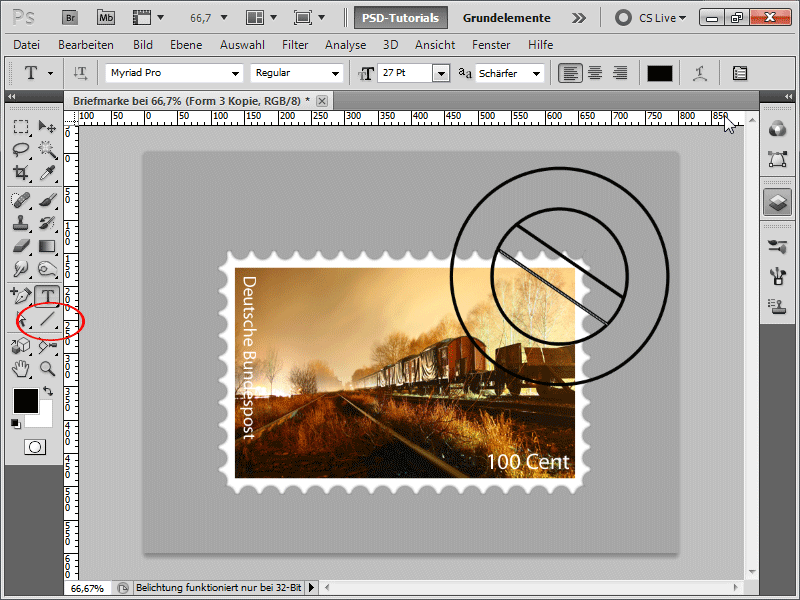
Step 19:
On the bottom line, I add a text. Because I click exactly on the line, the text will also follow the direction of the line. However, to ensure that the text does not lie exactly on my line, I change this in the drawing panel.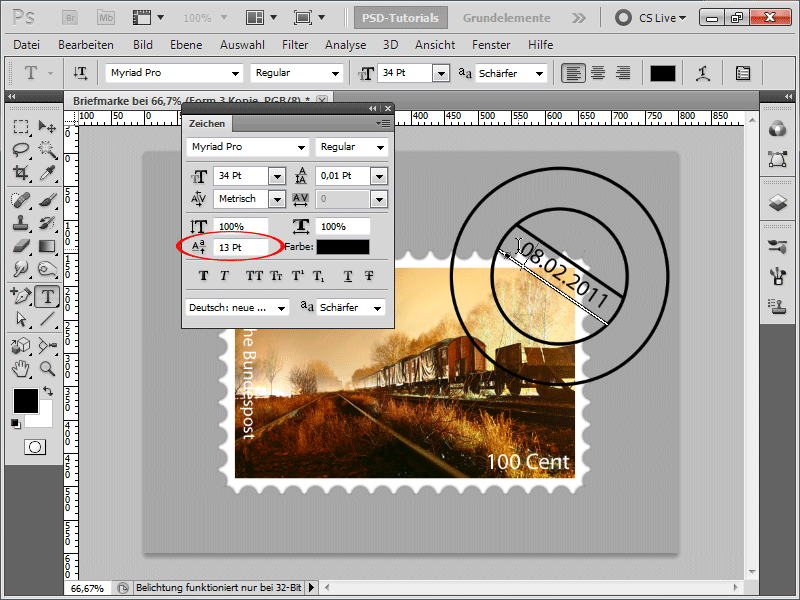
Step 20:
Next, I click on the top circle line and add the name of the place where my stamp was canceled there.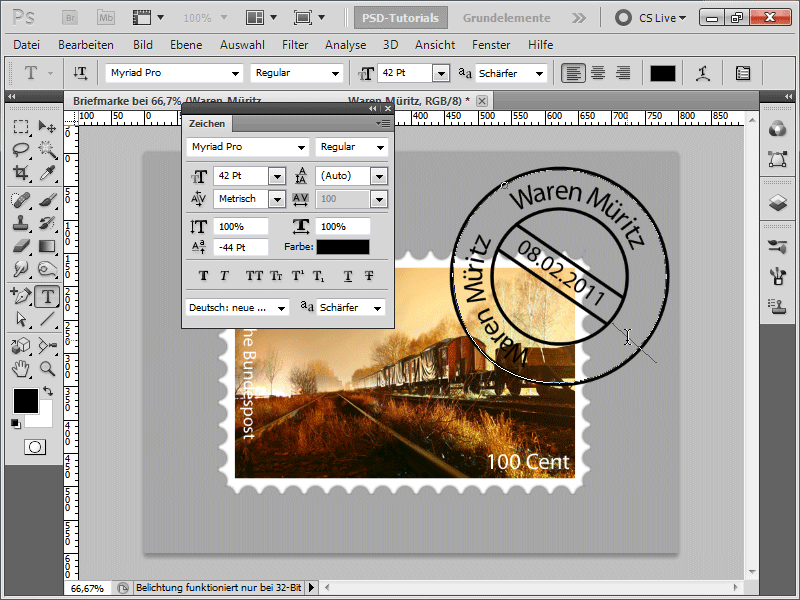
Step 21:
Then, using the Shift key in the Layers panel, I select everything pertaining to the stamp and, holding down the Shift key, click on the Group icon at the bottom of the Layers panel. Now the layers are in a group and I add a group mask to them. I then select the Coarse round bristle brush and paint randomly in the mask to create a stamp effect. I can also use a splatter brush. From time to time, I change the foreground and background color with the X button so that I can show areas in the mask that have been faded out too much.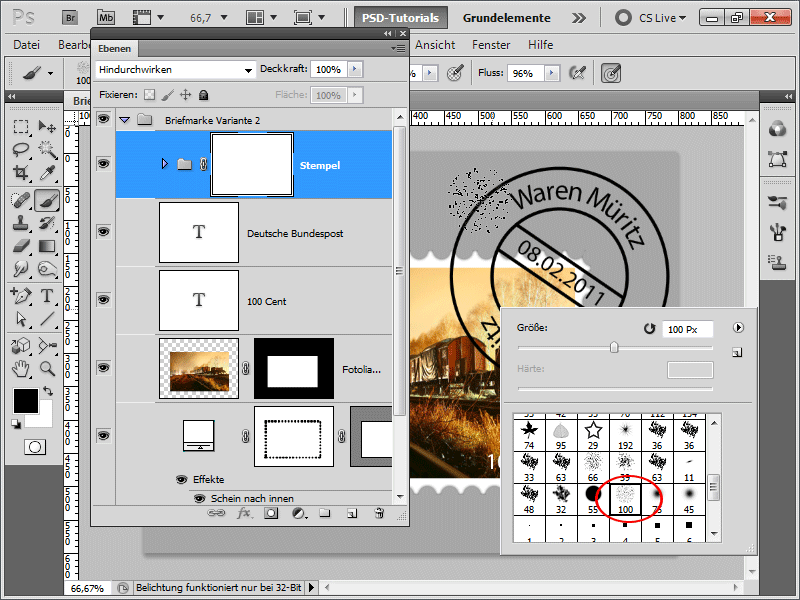
Step 22:
The result then looks like this: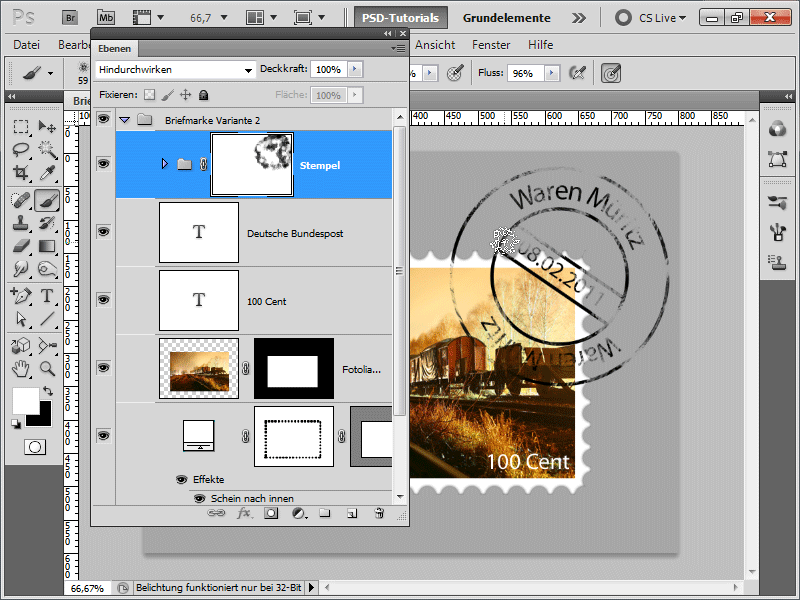
Step 23:
A second way to create a stamp effect is to convert my entire group without a layer mask into a Smart Object and then select Menu>Filter>Noise Filter>Interpolate Brightness with a radius of 3 pixels.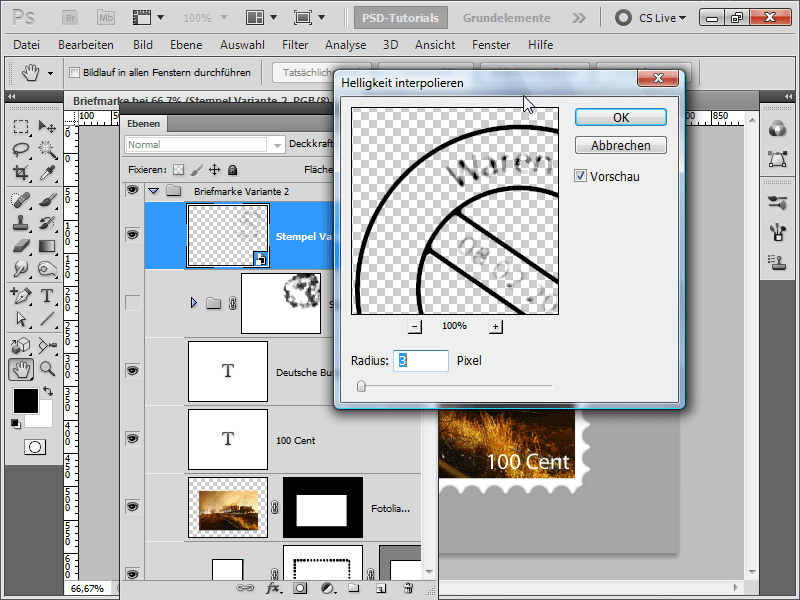
Step 24:
Now I duplicate my smart object, turn off the Interpolate Brightness filter and change the blending mode to Speckles. I now have a stamp-like effect. Of course, I could further optimize this with a layer mask and an appropriate brush.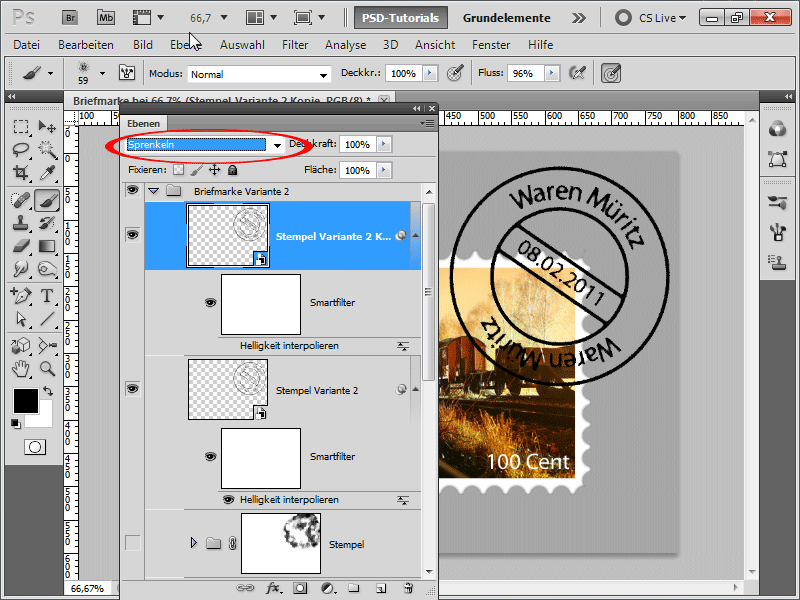
Step 25:
The result then looks like this: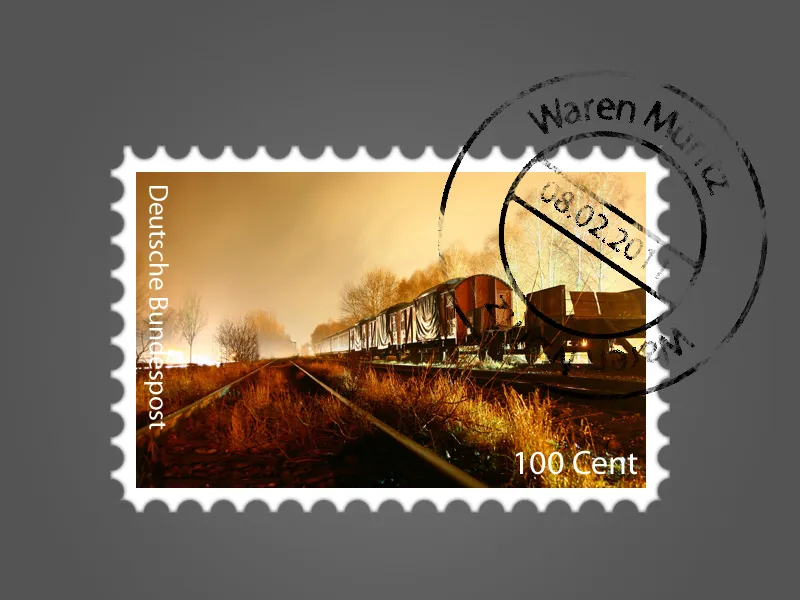
Step 26:
If I want to quickly insert another photo, I can insert it directly above my existing photo and then simply create a clipping mask by holding down the Alt key.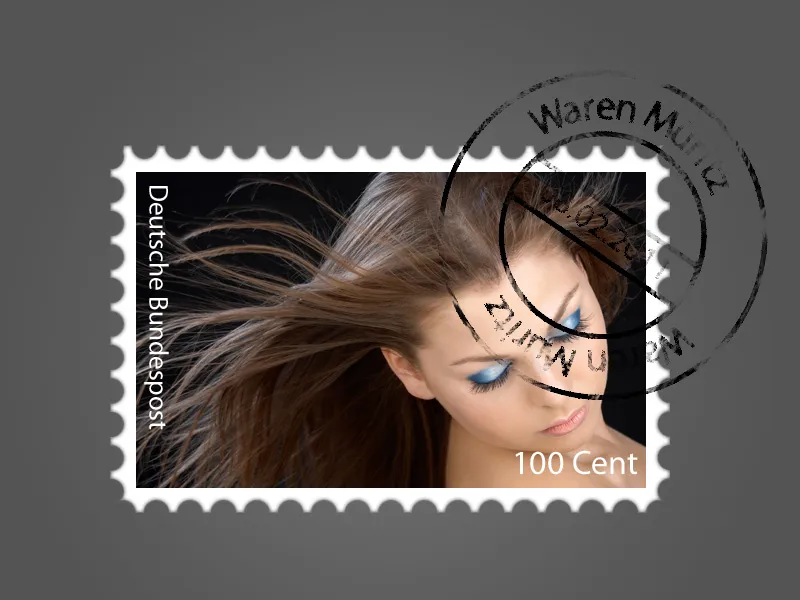
Step 27:
Or, for music fans: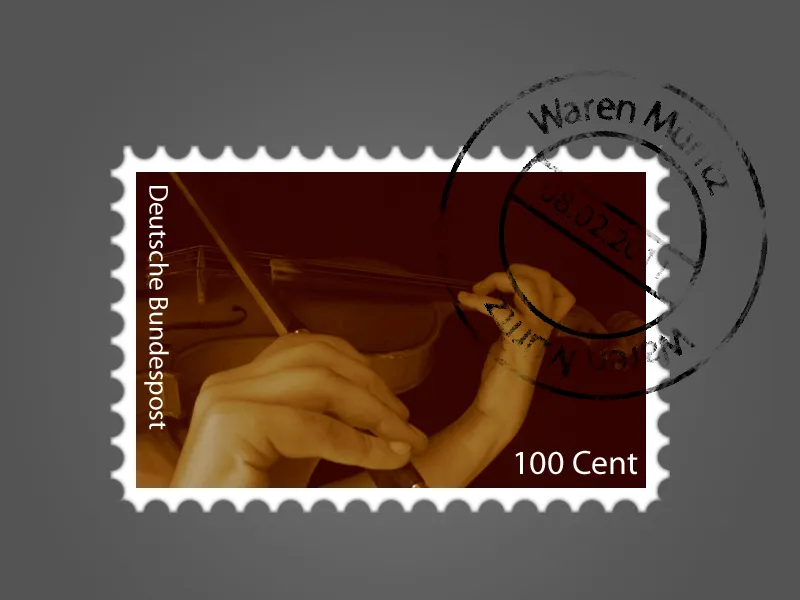
Step 28:
Or for creatives: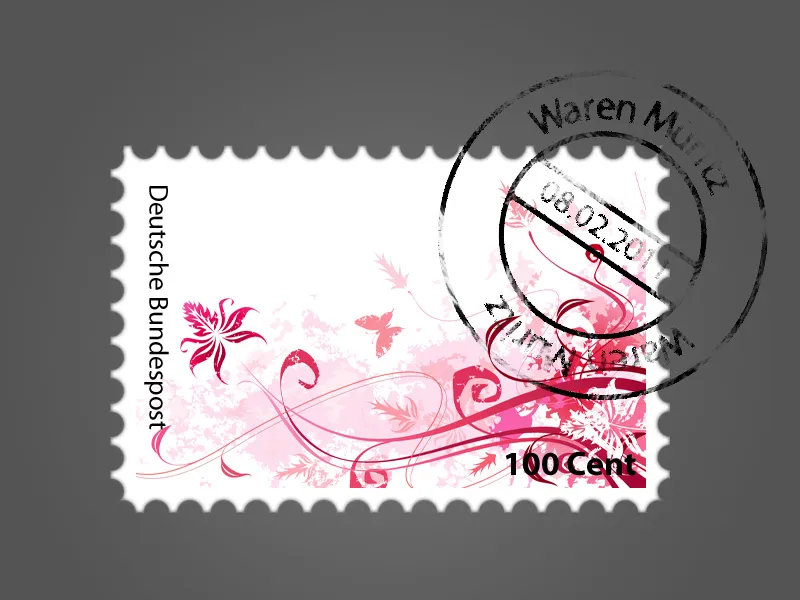
Step 29:
I can then use the stamp for all my stamps. So also for my first example: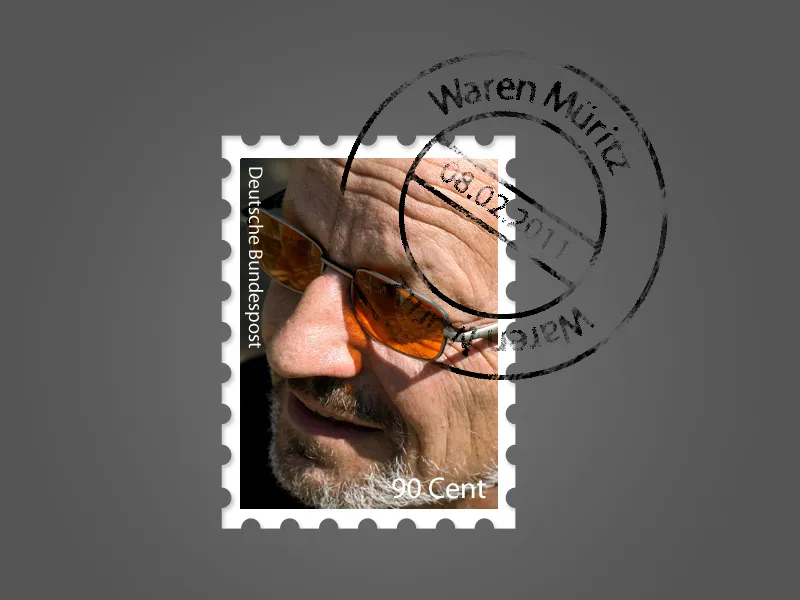
I have attached the finished stamp + the stamp as a working file. Image sources: Miral Ramzy, Hannes Strasser, mastert, Keo, Deklofenak - Fotolia.com


