Here's a pretty cool trick that I first saw on Tim Gouder's InDesign blog. It's from Monika Gause - a nice greeting at this point.
It's about converting normal graphics into vectors, i.e. auto-tracing with InDesign.
Step 1
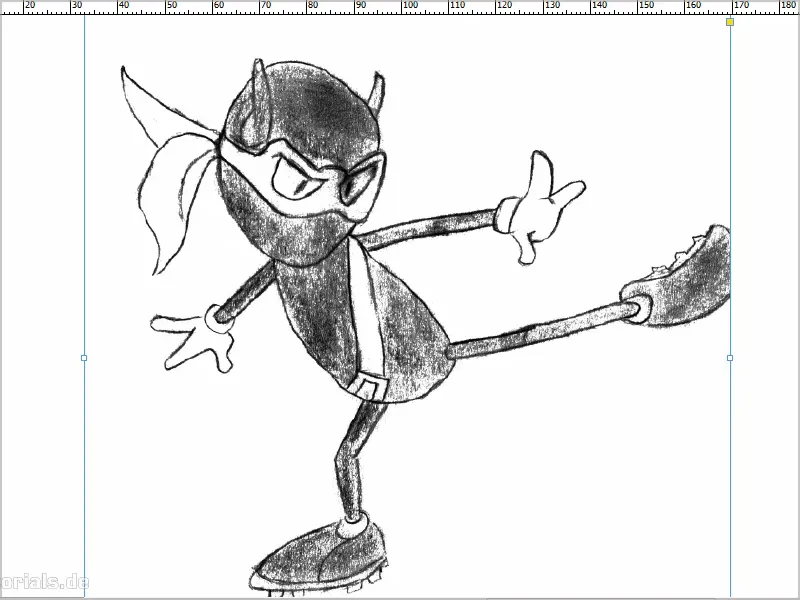
Let me open a file. This picture - maybe you know "Zool"? - I used to paint it and now I want to convert it into a vector graphic. Normally you use Illustrator for this, but if you don't have it, you can also use InDesign.
Step 2
You have inserted the object into an InDesign document and then go to Object>Crop Path>Options...
Under Type, select Search edges and check the Include inner edges box so that the glasses etc. are also converted as a path.
Of course, we also select Use high-resolution image.
You can of course also set the threshold value as you need it - it makes sense to activate the preview.
I'll leave the default values as they are and see what happens. I confirm with OK..webp?tutkfid=87367)
Step 3
Now go back to Object>Crop Path and then to Convert Crop Path in Frame.
Only now do we have a vector graphic and I can delete the image with the Delete key.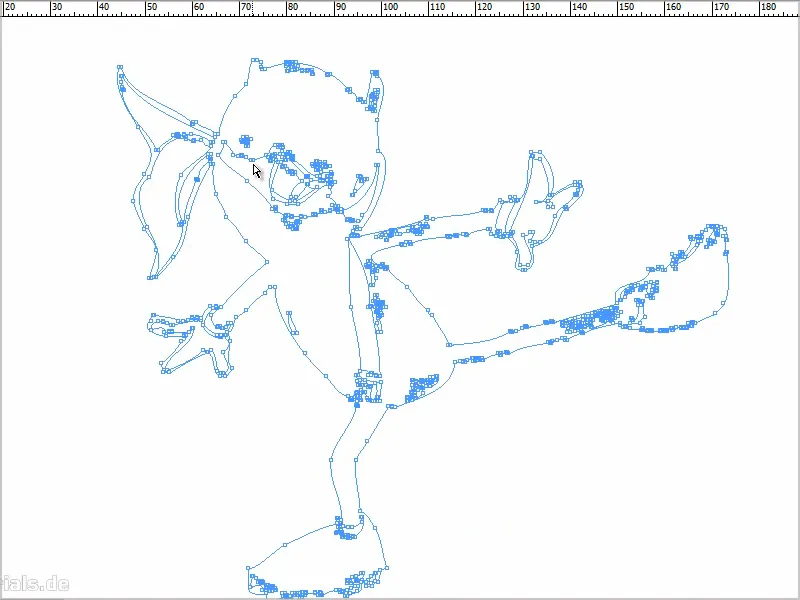
Step 4
I can then color the path that I now have, for example.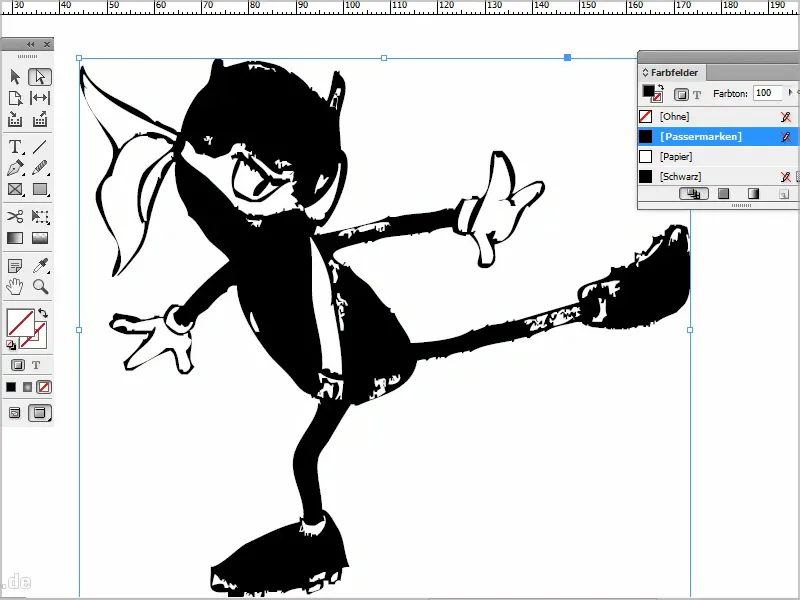
This gives me a vector graphic that can be enlarged infinitely.
Step 5
Of course, the graphic can now also be changed. If I go there with the direct selection tool, for example, I can click on a point and move it accordingly.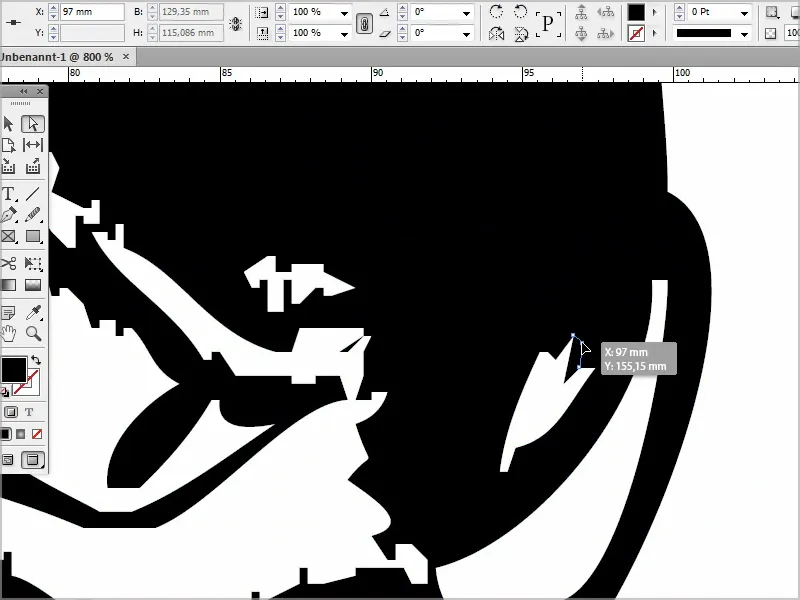
If it is too angular or too point-heavy, I simply adjust it with the smoothing tool. That works too, of course.
You can also define the accuracy by double-clicking, etc.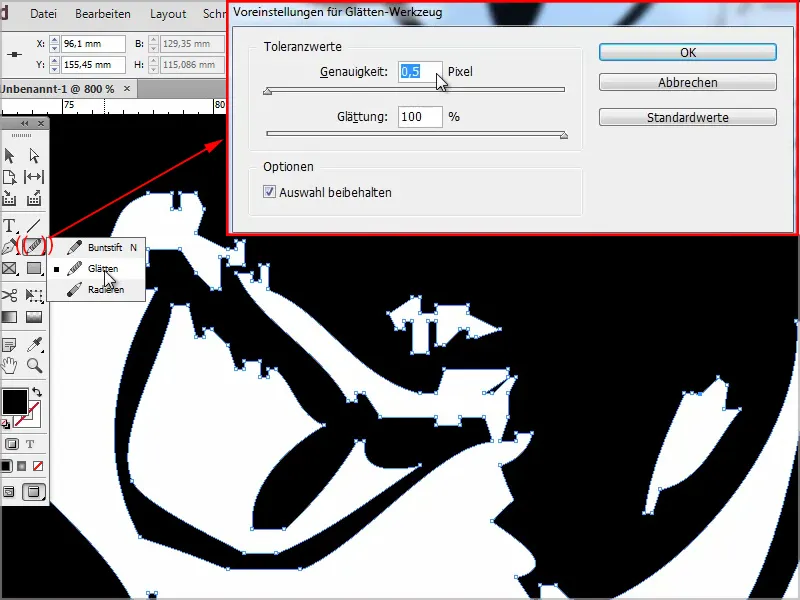
Step 6
Another tip: I get his girlfriend to join me.
But first I open this file in Photoshop, because unfortunately I used to work with a pencil that wasn't quite as black (*).
I always like to do this in Photoshop first with Ctrl+Shift+L, which gives me an auto tone correction.
And with Ctrl+M I go into the gradation curves, increase the value and thus the contrast a little to help InDesign find the contours..webp?tutkfid=87372)
Step 7
Here you can see that there are various errors, so I create a new layer underneath and color it black.
Then I take the magic wand, click on it, set the tolerance to 25 and then click on the Delete key.
Now you can see that there are still various errors here.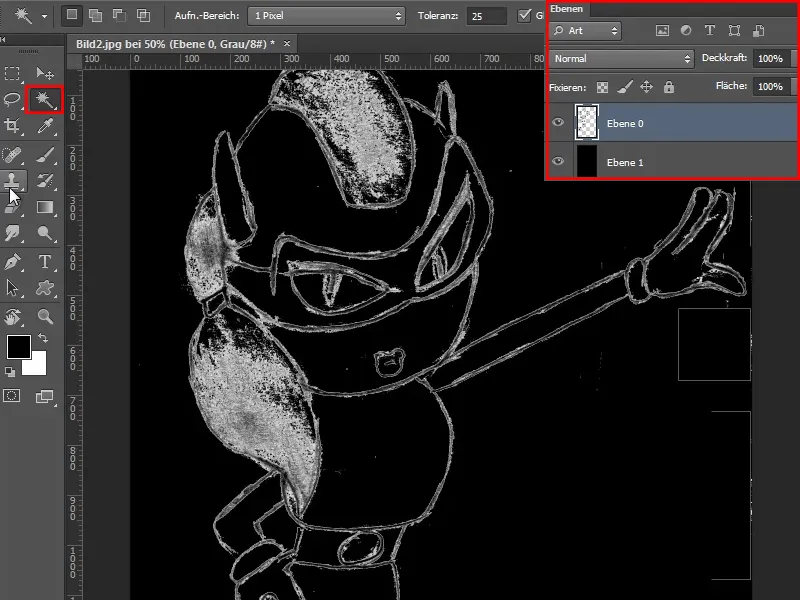
Step 8
I'll use the eraser tool and improve this so that all the pixels aren't swirling around and causing InDesign problems when finding the outlines. I clean up the image in no time at all.
And then I can hide the black layer and save the whole thing as a .jpg again.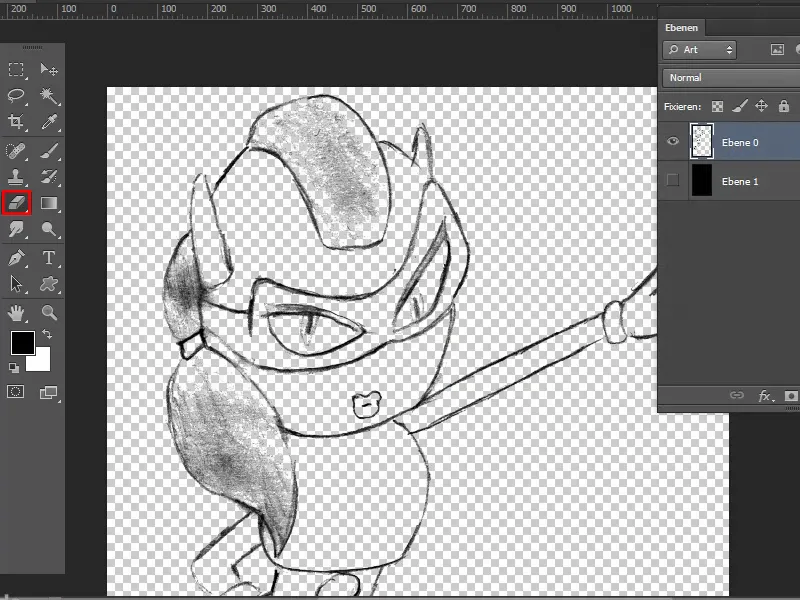
Step 9
In InDesign, I place it with Ctrl+D and can now go to Object>Crop Path>Options... and search for Edges under Type.
I include the inner edges and confirm with OK.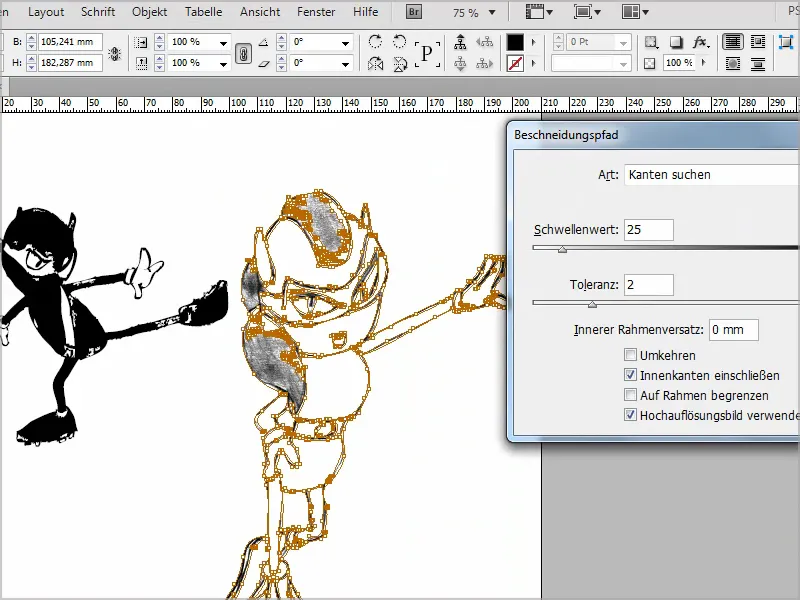
Step 10
Then - as before - I go to Object>Croppath>Convert crop pathto frame and then delete it again with Del.
I click on the outline and color it. Then it looks like this, for example: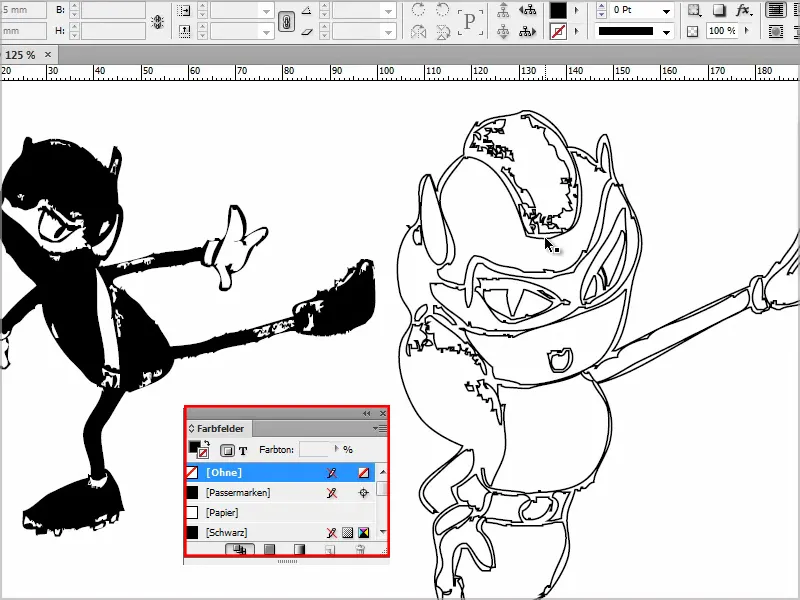
I can then color the individual areas accordingly. That's a nice thing if you don't have Illustrator at your disposal. You can also do this with InDesign, albeit not as well, but still.
I hope you like the trick and maybe you'll use it at some point.


