Effects are a great way to highlight objects in Adobe InDesign and give your designs depth and dynamism. With the integrated effect options, you can add shadows, glows, transparency, drop shadows, and other visual highlights. These tools are easy to use and offer endless creative possibilities. In this guide, I'll show you step by step how to apply, adjust, and combine effects on objects to achieve impressive results. Let's get started and make your layouts shine!
Drop Shadow
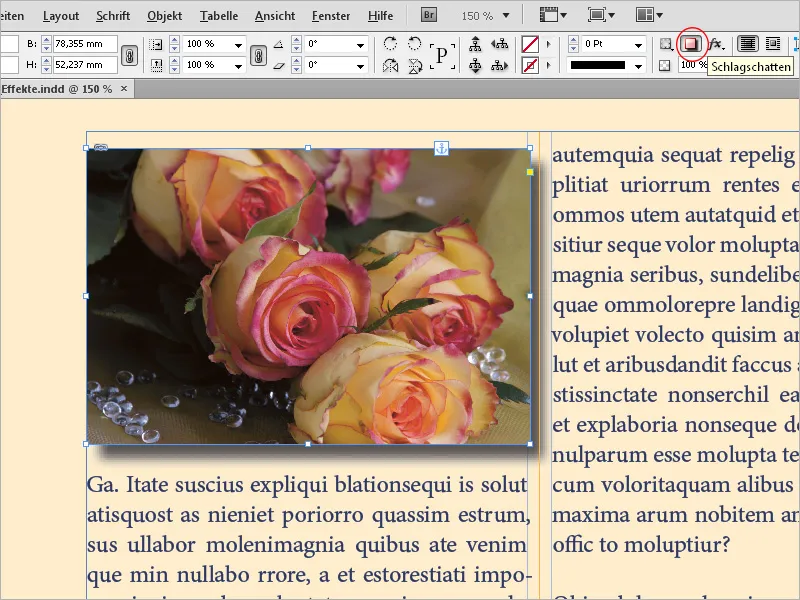
To apply a drop shadow to highlighted objects such as the text of a headline or images, simply click on the corresponding symbol in the Control palette.
To further adjust detailed settings, click on the fx symbol next to it and open the options for the effects with a click on the desired effect.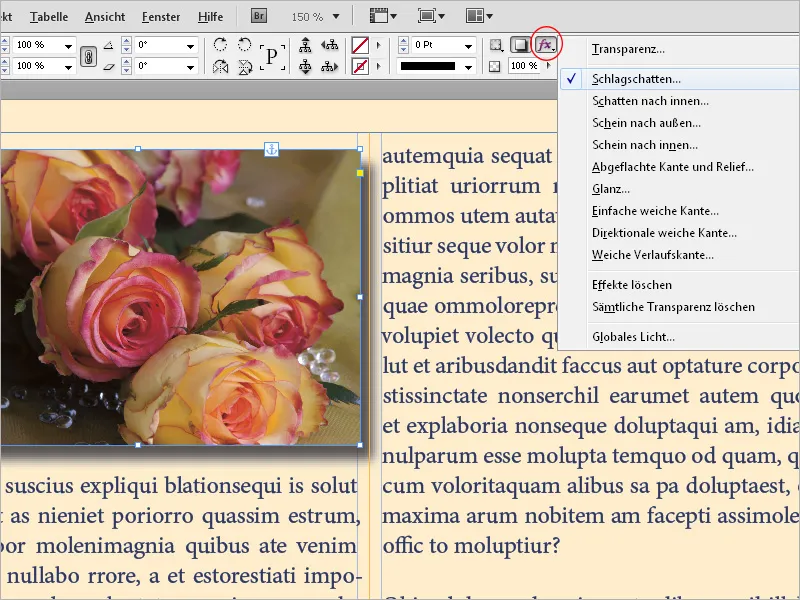
On the left is a list of different effects, of which the drop shadow is already selected with a checkmark in the checkbox. To the right are the options relevant to the selected effect. The mode for the drop shadow should be set to Multiply.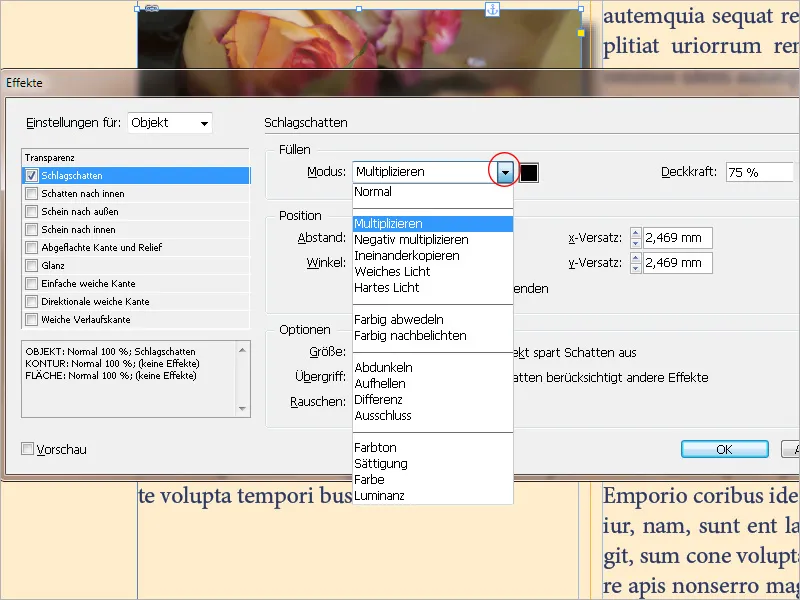
Next to it is a color field. By clicking on it, you can view the color swatches in the document. From the Color dropdown menu, you can also mix a desired color tone for the drop shadow by selecting RGB or CMYK and adjusting the sliders.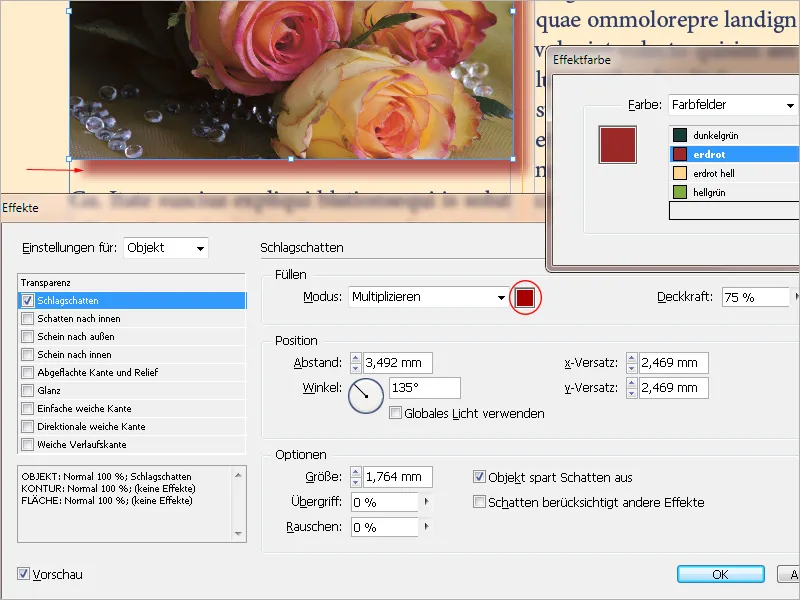
You can also set a value for the opacity. With Preview enabled, you can immediately see changes to the settings.
In the Position section, you can adjust the distance of the shadow from the object on the axis of the set angle or with an additional offset on the X and Y axes. In the Options section, you can change the size of the shadow. The larger the value, the more diffuse the effect becomes – the smaller the value, the more distinct the object is in the shadow (especially visible with text).
In the Spread field, you can adjust the intensity up to being opaque, while the Noise value pixelates the shadow.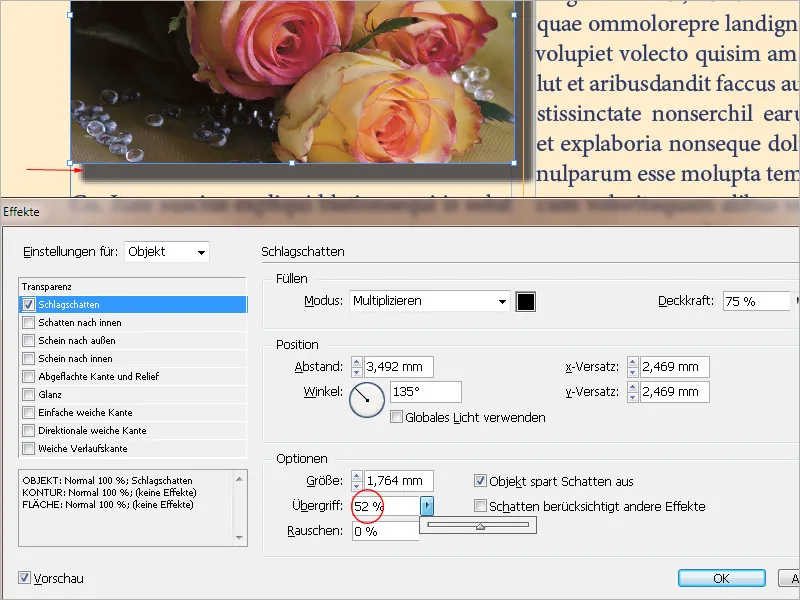
Transparency
For each object or selected text, you can adjust the opacity in the Control palette. Using the Effects panel (menu Window or Shift+Ctrl+F10), you can differentiate the opacity for the stroke, the fill, and the text for an object as the sum of these elements. These options come into play, for example, when a text box is placed on a background image that needs to be slightly transparent, while the text needs to remain fully opaque. You might also want to add a stroke with a different opacity to the text box.
All of this is available in the Effects panel in InDesign.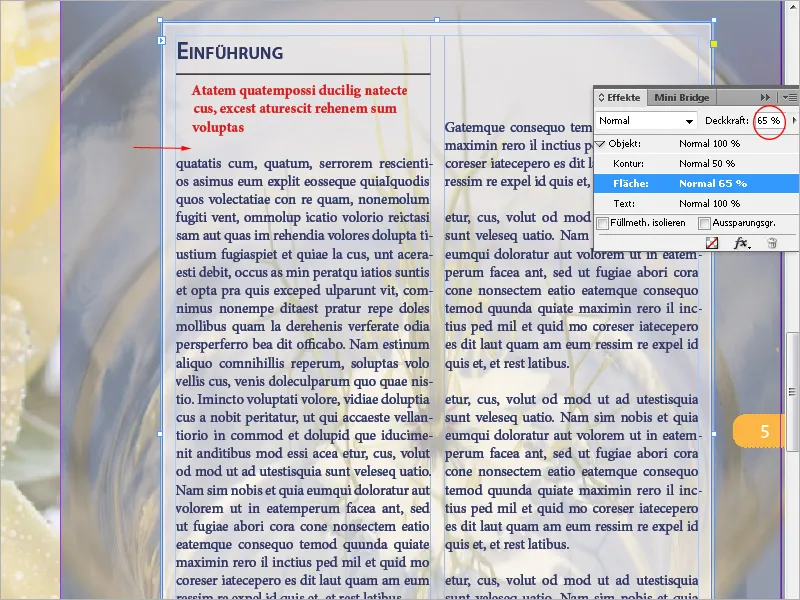
Here, you can adjust the values for a highlighted object in a differentiated way for its various elements. The text in a text box remains easily readable even on a slightly transparent background and still creates a connection to it.
By clicking on the small fx symbol at the bottom of the panel, additional effects from the dropdown menu can be added to the object. Each time, the familiar dialog box opens to set the effects in detail. Always pay attention to what the settings apply to:
The entire object, the stroke, the fill, or the text.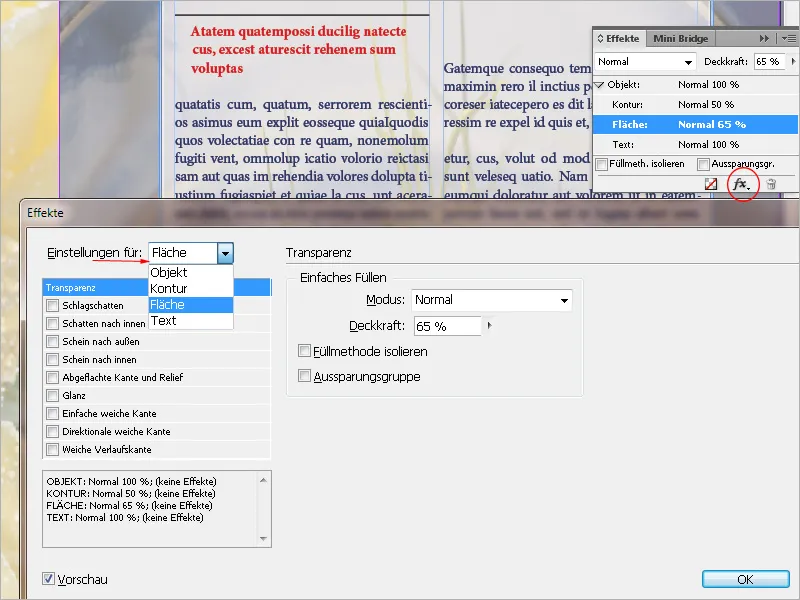
If you've created a combination of effects for an object that you also want to apply to other objects, you can create a custom object style for this purpose. This style includes all the effects applied to the selected object and can be saved under a meaningful name.
From now on, a click on this style is enough to apply all these effects to a highlighted object. Any later adjustments to this object style will naturally affect all objects designated with it.
Feather
To create a transition between a background and an object placed on it, such as an image, and thus establish a connection between the two, there is the Feather effect. Access the dialog box for the highlighted object via the Effects button in the Control palette (fx) through the corresponding menu entry.
With Preview enabled, you can control the effects of the settings for the width. This determines over what distance the object fades from opaque to transparent. With a low Noise value, you can make the feathering slightly softer.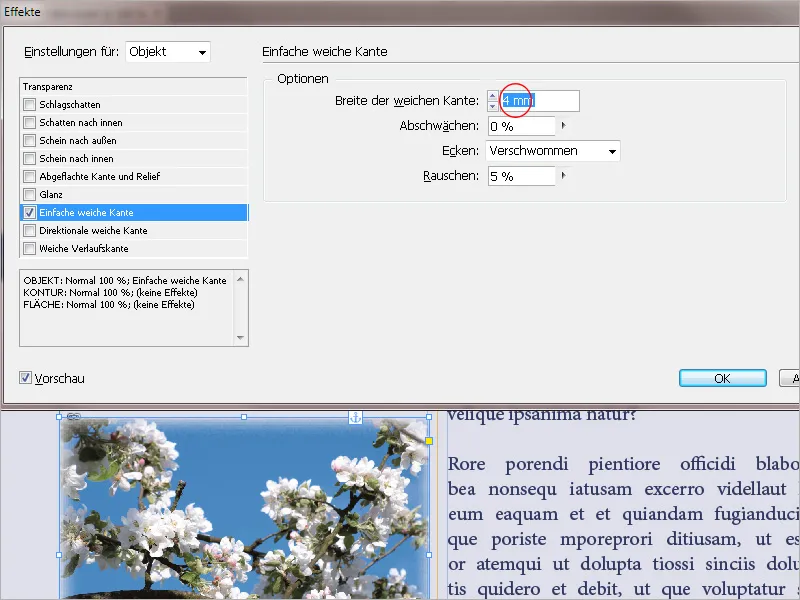
Beveled edges
With the options for Beveled Edge and Relief, impressive effects can be achieved. You can give objects a realistic, three-dimensional appearance. They thus appear as if they were chiseled in stone, embossed or debossed from a material.
Simply select the object, click on the Effects (fx) button in the Control Palette, and choose the entry Beveled Edge and Relief from the dropdown menu.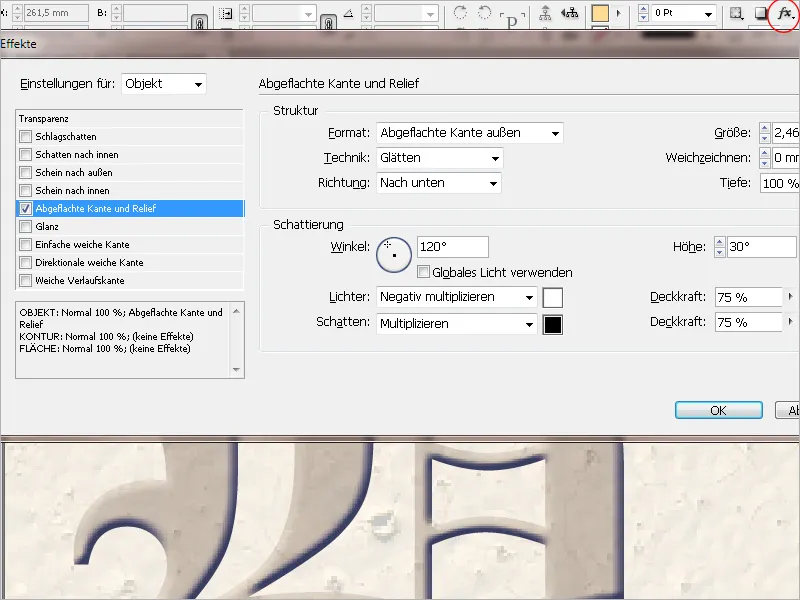
In the subsequently opening window, the Relief is already selected in the list of possible effects and can now be further modified.
First, a Format must be selected in the Structure section. It's best to try out all settings and evaluate the results.
• Beveled Edge outside creates the flattening on the outer edges of the object.
• Beveled Edge inside creates the flattening on the inner edges.
• Relief simulates the bulging of the object over objects beneath it.
• Chiseled edges simulates the imprinting of the object edges onto objects beneath them.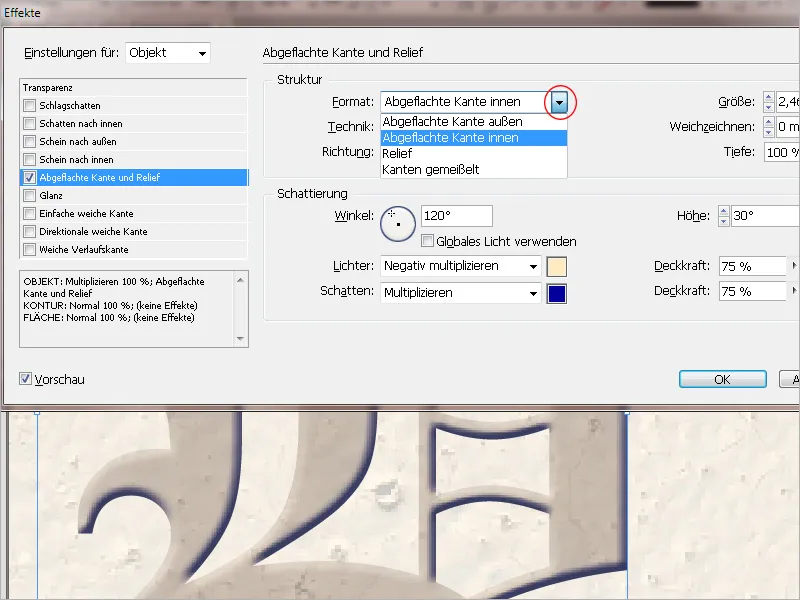
Size determines the size of the beveled edge or the relief. In the Technique field, the interaction of the beveled edge or the relief with background colors is determined:
• Smooth causes a slight blurring of the edges (and a loss of detail on larger elements).
• Soft chiseling blurs the edges less strongly than the Smooth technique (details are better preserved than in Smooth, but not as well as in Hard chiseling).
• Hard chiseling creates a coarser, more prominent edge (details are better preserved than in Smooth and Soft chiseling).
With Softening, the effect is blurred to reduce unwanted artifacts and uneven edges. In the Direction field, you choose Up or Down to make the effect appear pushed up or down.
The Depth determines the depth of the flattening or relief. The settings under Shading determine how light interacts with the object:
Angle and Height set the height of the light source. The setting 0 corresponds to ground level, and setting 90 places the light source vertically above the object.
Lights and Shadows determine the fill method for lights and shadows of a beveled edge or a relief. The default settings Negative Multiply for lights and Multiply for shadows are the ones you should keep. However, other colors can also further enhance the effects, for example, giving a slight blue tint to the shadows and a slight yellow tint to the lights.
This is what an object with this effect applied can look like:
Glow
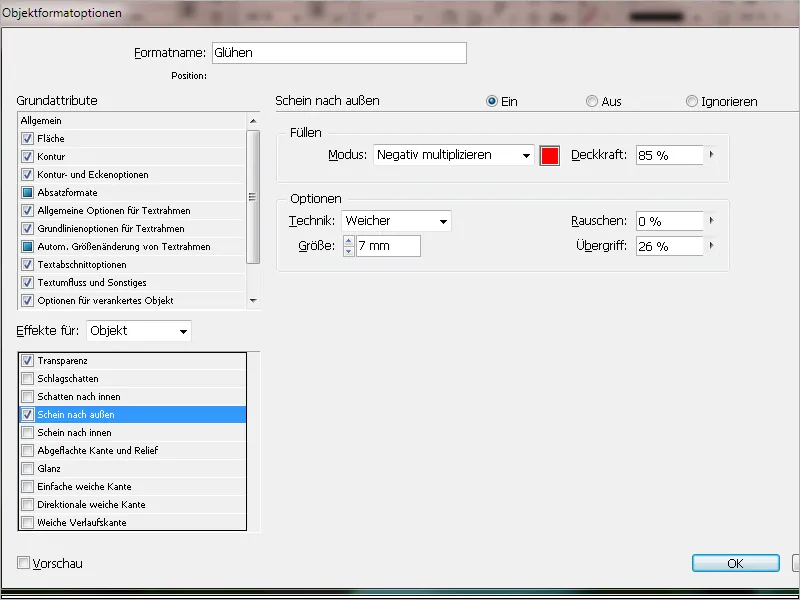
To highlight an object, especially against a dark background, in a special way, InDesign's effects toolbox offers the option Outer Glow. Here, the fill mode Negative Multiply is applied, meaning that two overlapping transparencies subtract from each other, resulting in less color being deposited in those areas, making that area appear brighter.
The range of adjustments is slightly reduced compared to Drop Shadow, making it easier to understand. Important adjustment fields here include the Size of the effect surrounding the object and especially the value for the Spread, which controls the clarity of the effect most impressively. By choosing a specific color (by Double-clicking on the color field), the effect can further be adjusted to the environmental conditions.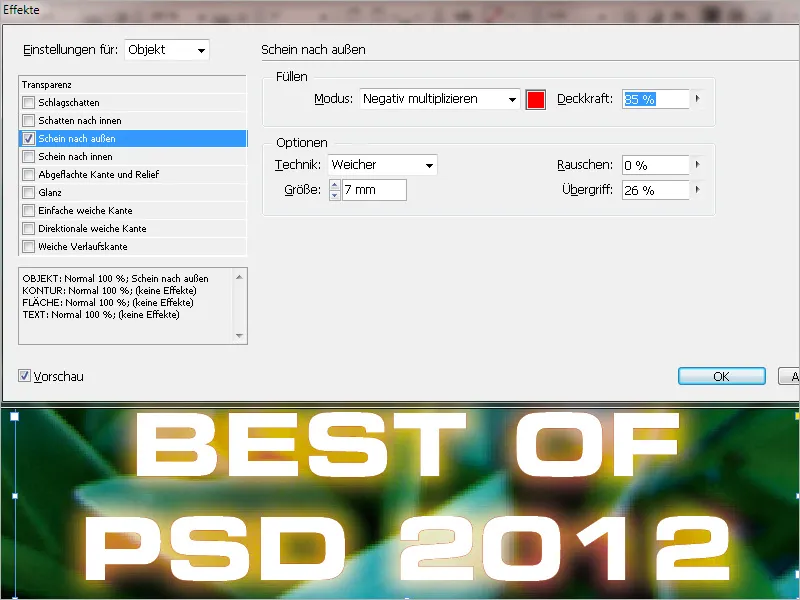
You can also save this effect as an object style to conveniently apply it to other objects later.