Streamlabs OBS is a powerful tool for content creators that offers many features for streaming and recording. Among the various settings, the audio settings are particularly crucial, as they not only affect the quality of the stream, but also the overall viewer experience. This guide will show you how to optimize your audio settings.
Key Takeaways
- The volume and quality of the audio sources are crucial.
- Shortcuts help control the microphone quickly.
- Audio monitoring should typically remain deactivated.
- The correct sampling rate is important for audio quality.
Step-by-Step Guide
Mixer Window and Audio Sources
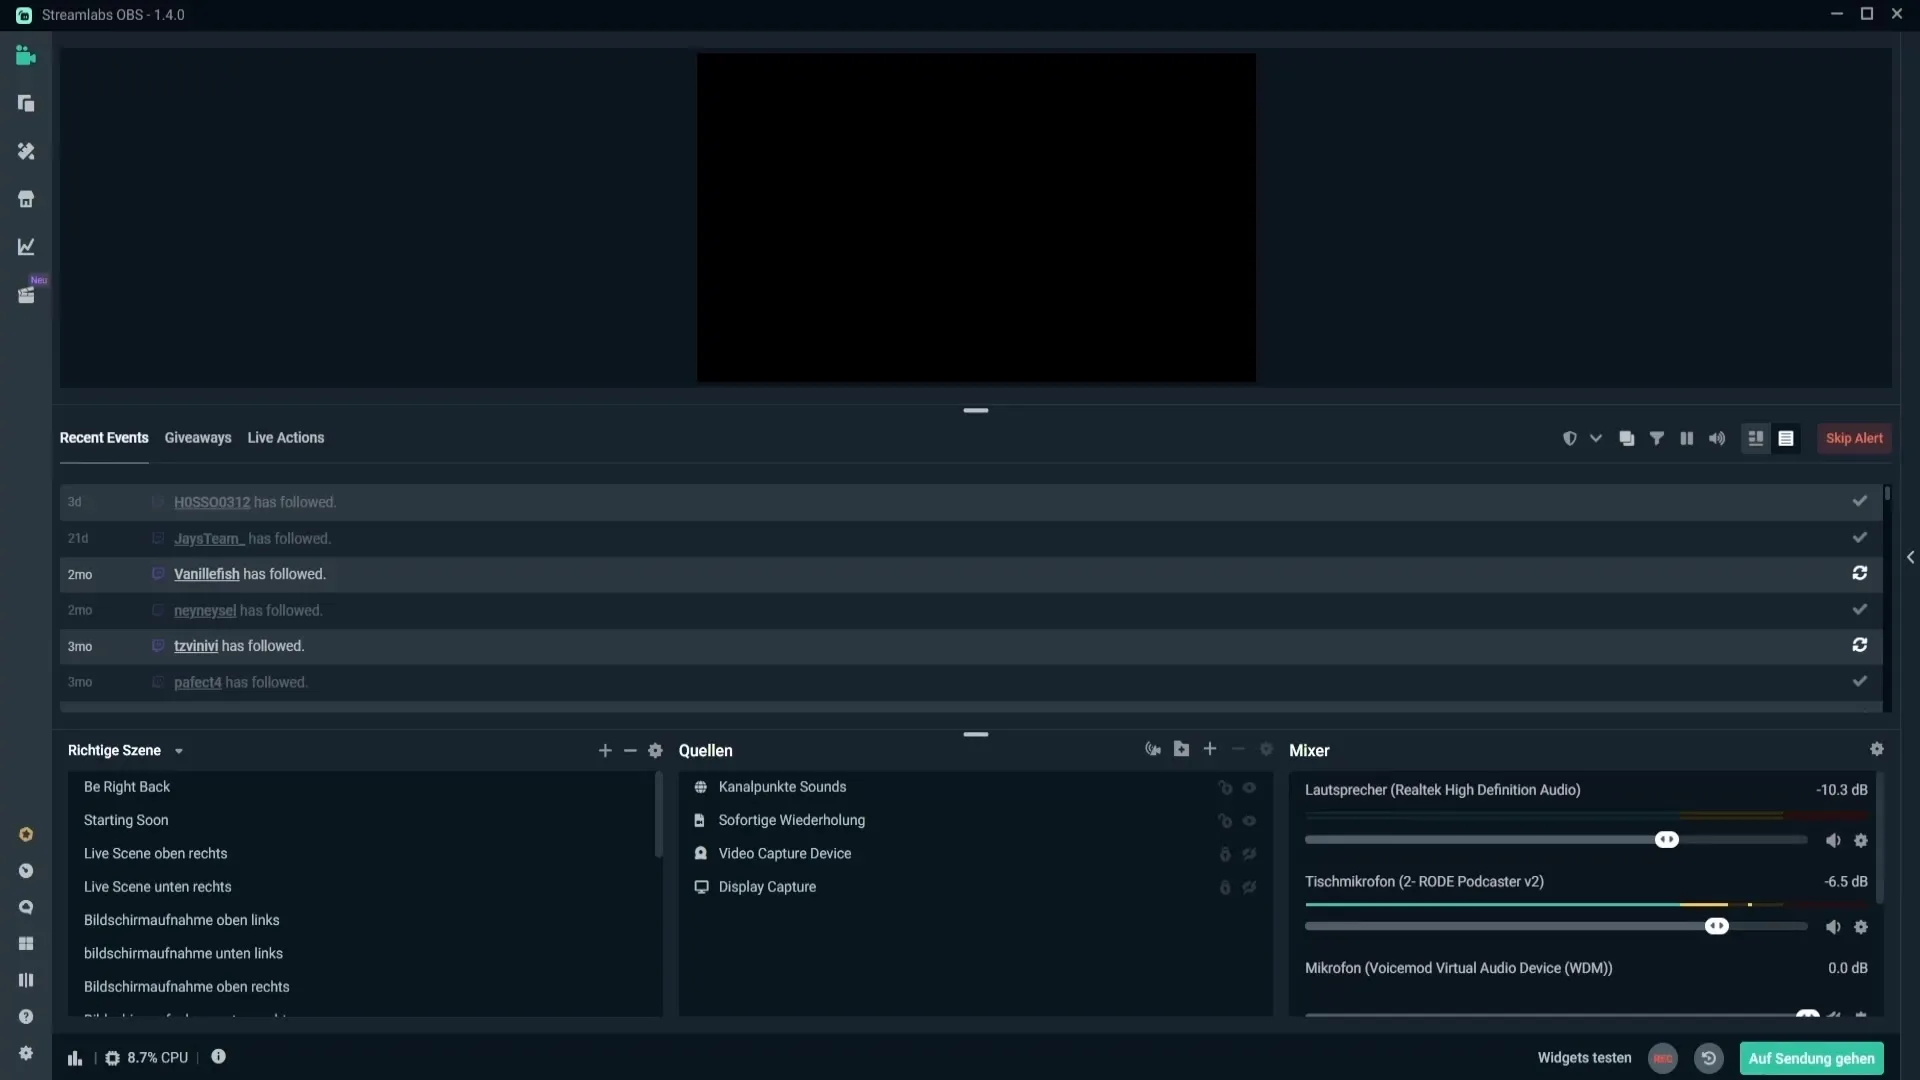
Launch Streamlabs OBS and take a look at the mixer window located in the bottom right corner. Here you will see various audio sources such as your microphone and desktop sound. It is important to keep an eye on your audio sources so that you can make adjustments quickly. For example, to mute your microphone, you can simply click on the speaker icon. Using the volume slider, you can adjust the volume of each audio source individually. Monitor your audio levels by ensuring they mostly stay in the yellow range, so your microphone is heard clearly and distinctly.
Adjusting Microphone and Audio Amplification
If you feel that your microphone is not loud enough, you can increase its volume. Click on the gear icon next to your microphone in the mixer window. Choose "Filters" and add "Audio Gain" to further adjust the volume. Make sure not to go too high to avoid distortions.
Key Shortcuts for Microphone Control
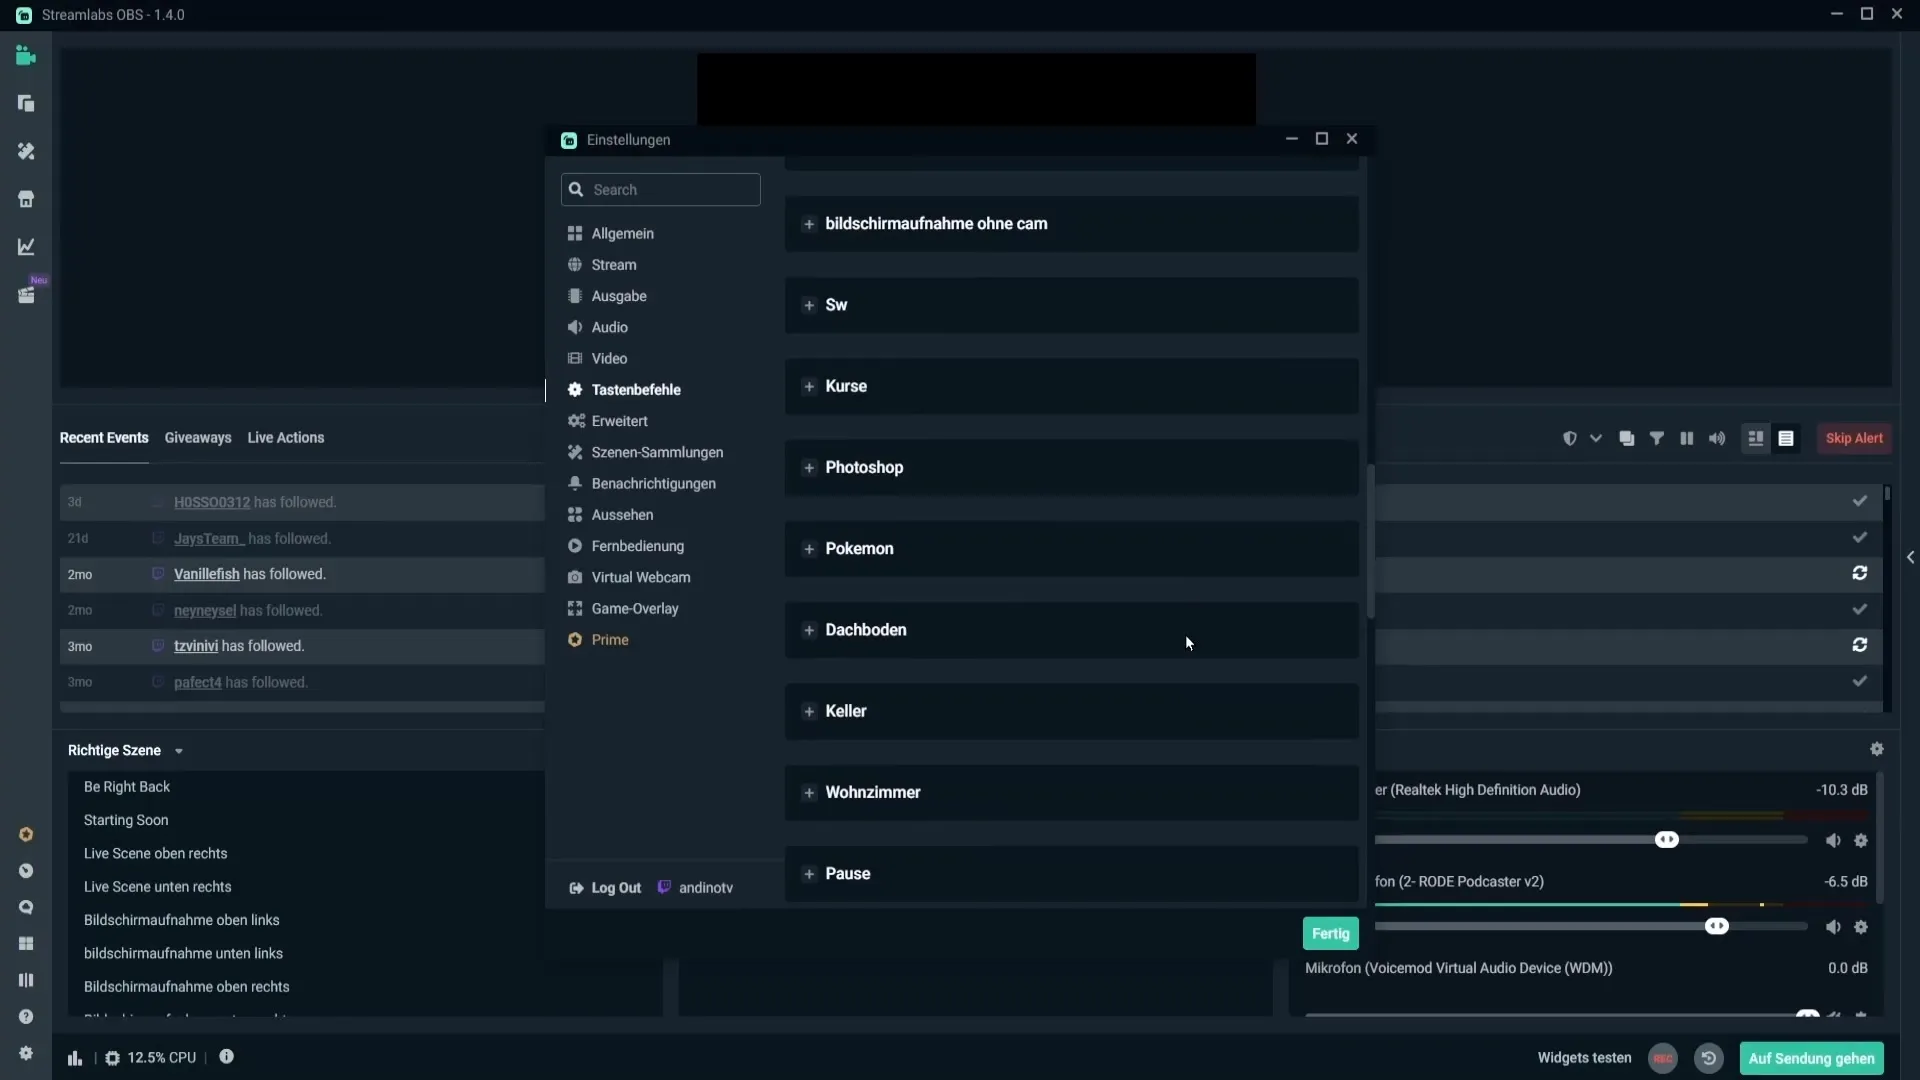
To quickly mute and unmute your microphone, you can set up key shortcuts. Go to the settings, click on "Hotkeys," and scroll to the "Sources" section. There you can select your microphone and assign a key shortcut for "mute" and "unmute." A convenient key could be F1. This way, your screen stays organized, and you can work efficiently.
Hide Unnecessary Audio Sources
If you have audio sources that are not currently needed, you can simply hide them. Click on the gear icon next to the respective audio source and choose "Hide." These sources will then be invisible but can be shown again if needed.
Selecting Midi Microphone or Desktop Audio Source
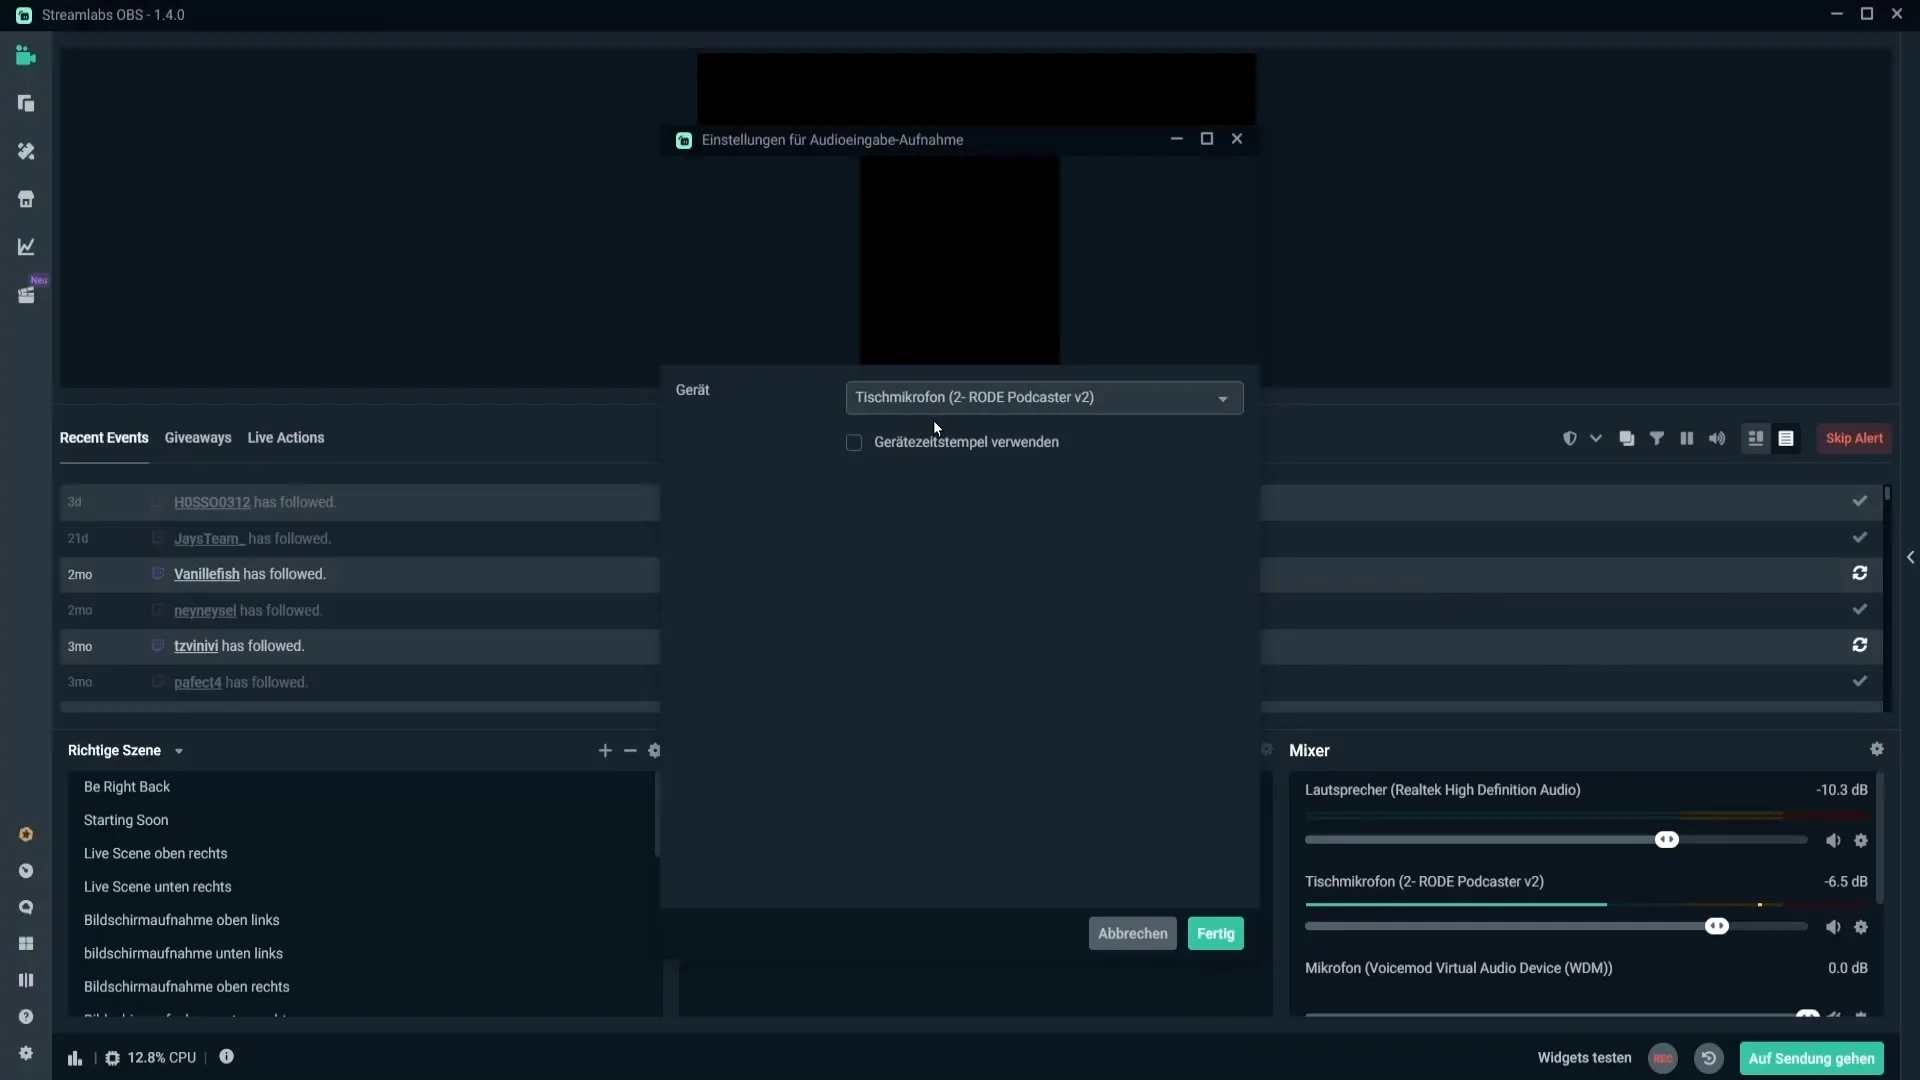
If you want to use a different microphone or desktop audio output, go back to the gear icon and select "Properties." Here you can choose the desired audio source that you now want to use. This flexibility is important, especially when streaming or recording with different devices.
Audio Synchronization
If you notice that the audio stream is delayed, you should enable the "Use Device Timestamps" function. This can help synchronize the audio output with your video. Try enabling this function to see if it makes a difference.
Advanced Audio Settings
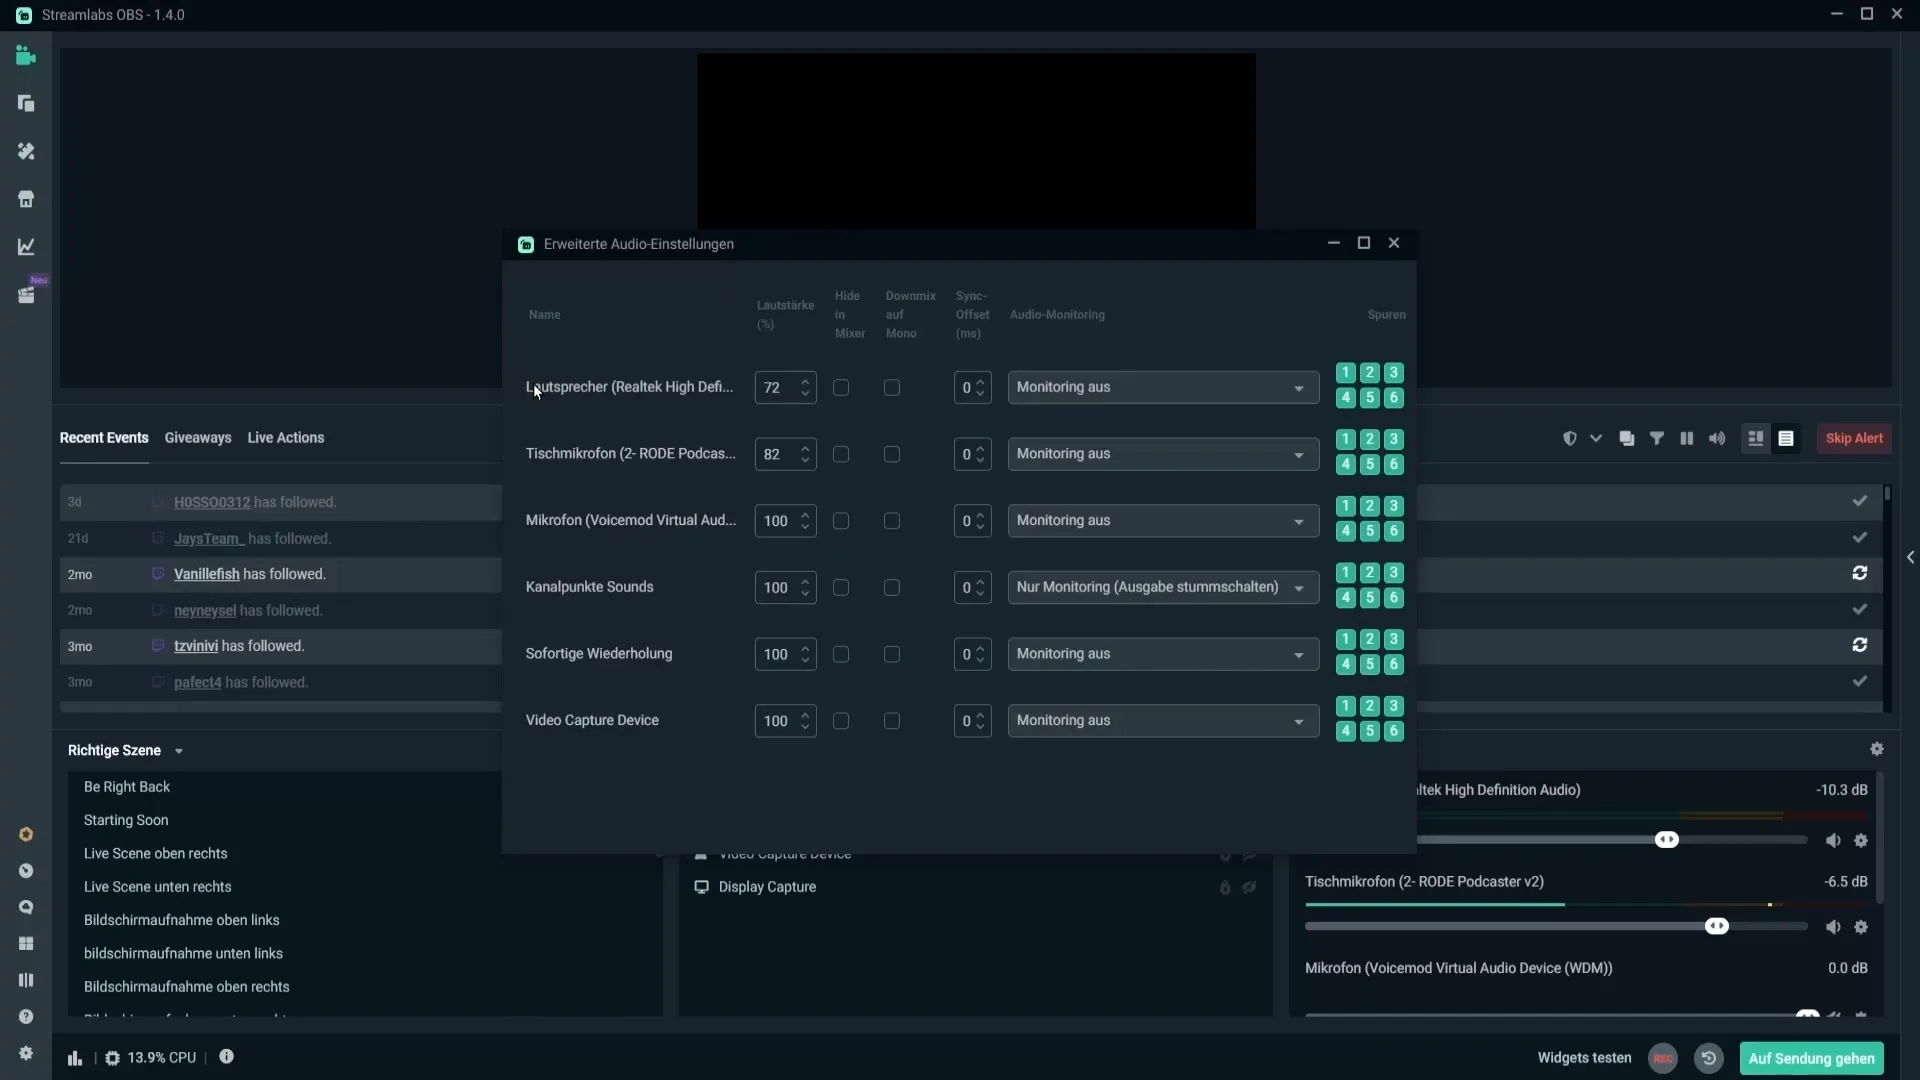
By clicking on the gear in the mixer, you can access the advanced audio settings. There are options such as hiding audio sources or adjusting the volume for specific devices that you can customize according to your needs.
Mono and Stereo Settings
If you are using a mono microphone, you can configure it here to output sound in stereo. This is important to provide a complete sound experience, especially when using music or other audio effects.
Audio Monitoring
Audio monitoring allows you to listen to the audio in real-time through speakers or headphones. By default, this function should be disabled to avoid duplications in your stream. If necessary, you can select a monitoring device in the advanced settings. Tip: If you want to check the box for "Windows Audio Ducking," it ensures that other audio tracks do not get quieter when you speak.
Manage audio tracks
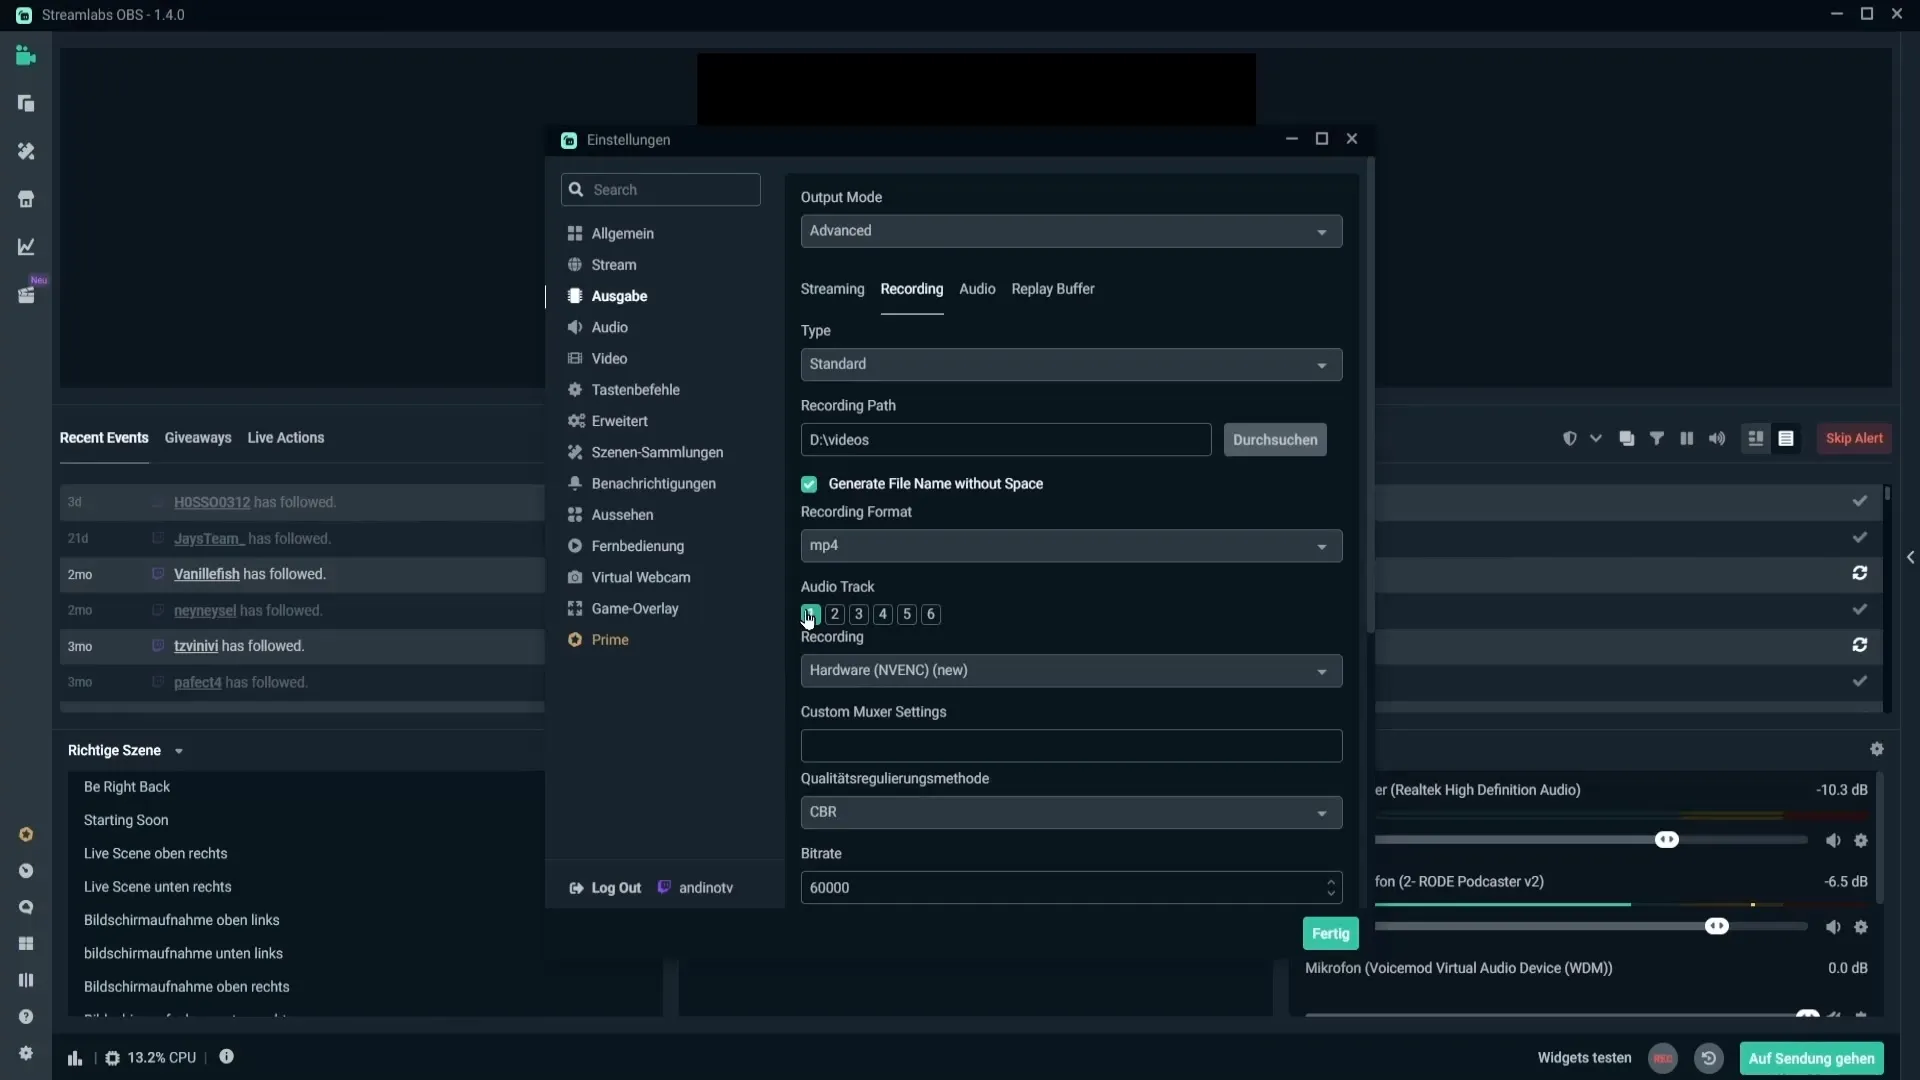
With Streamlabs OBS, you can manage the (audio) tracks for your stream. These tracks determine which audio sources are audible in your stream and recordings. Use the green illuminated numbers to determine which tracks are active and which are inactive. This helps you make your stream flexible and control the content.
Audio settings for recording
Under the recording settings, you can also specify the specific audio track you want to use. Choose the corresponding track that should be used for your recording.
Adjust sample rate
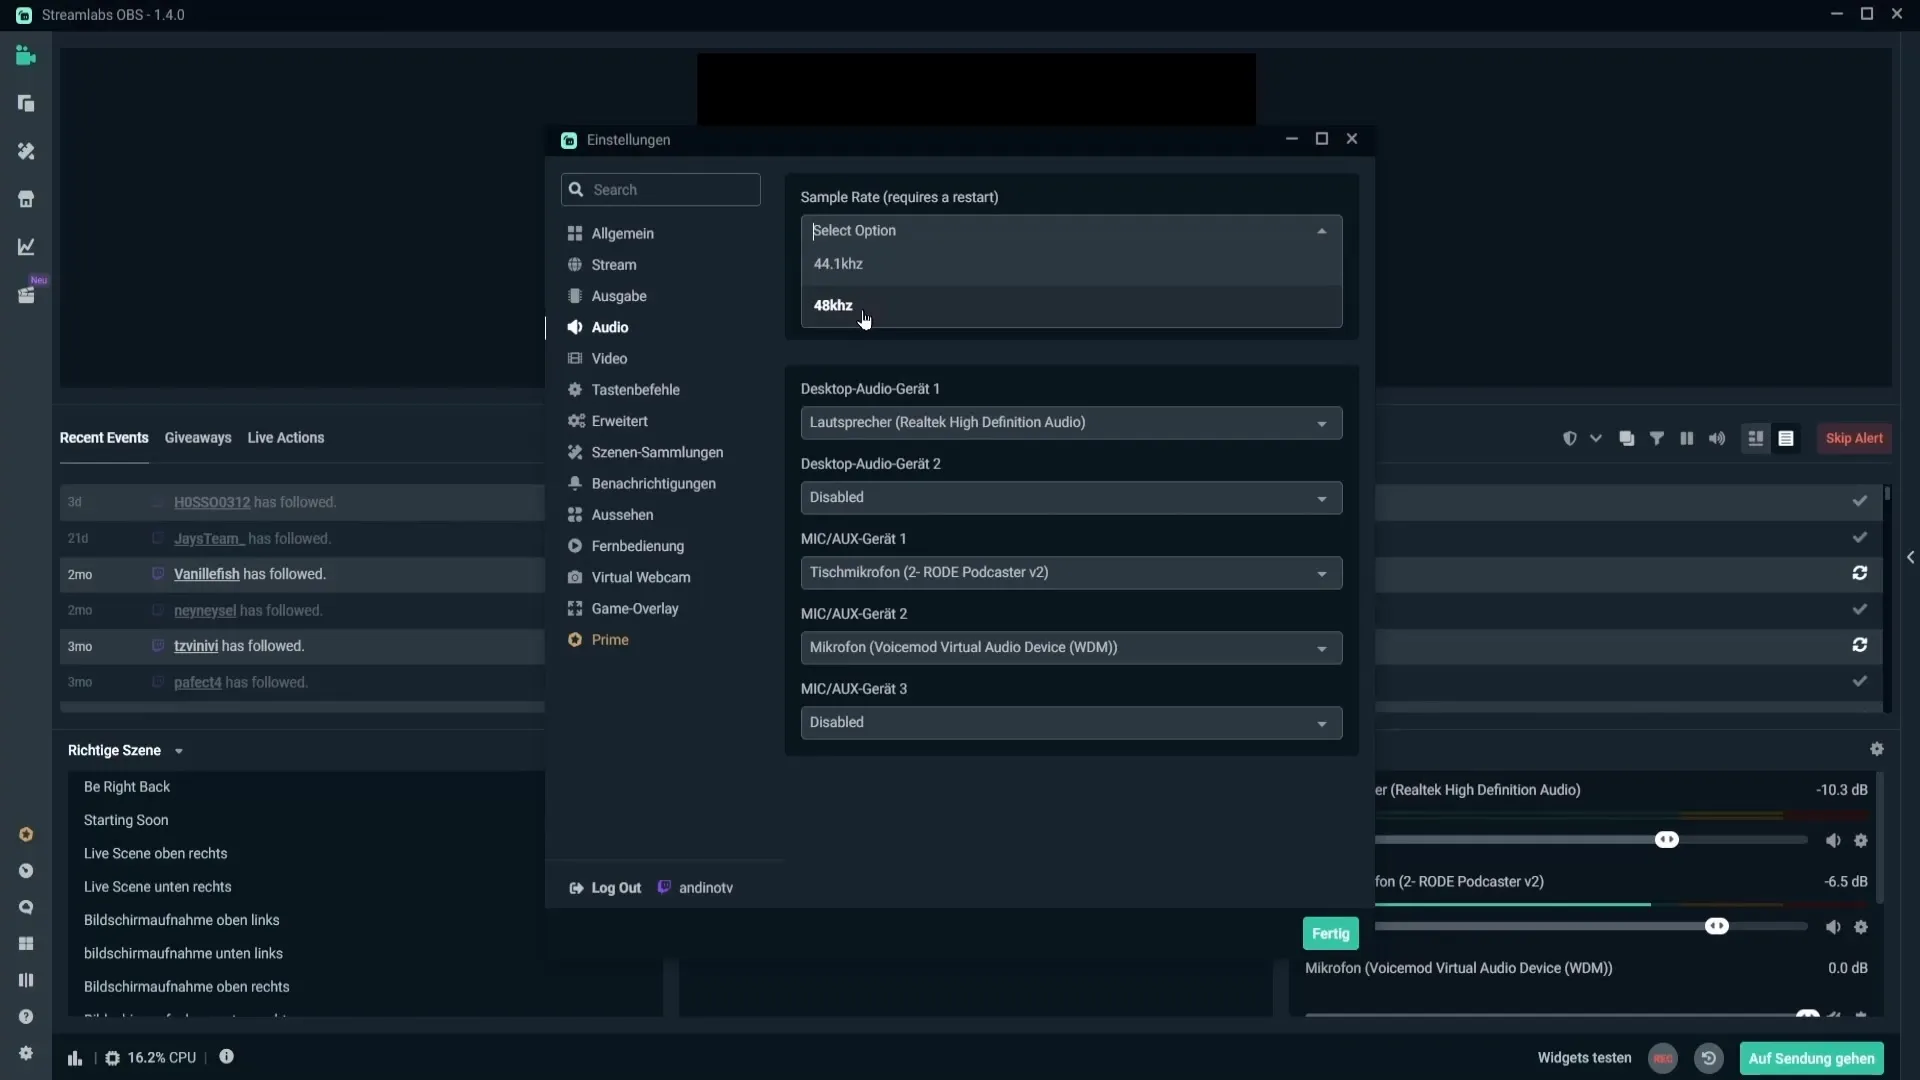
A good sample rate is crucial for audio quality. As a rule, it is recommended to choose a sample rate of 48 kHz. Make sure this rate is also set in the system settings of your microphone and speakers.
Select channels
If you wish, you can also specify the channels you want to use. Choose Mono or Stereo, depending on your needs. Be sure that any changes in the audio settings must be restarted in Streamlabs OBS for them to take effect.
Summary
Adjusting the audio settings in Streamlabs OBS is crucial for the quality of your stream. From volume control to audio monitoring, there are many ways to optimize your audio experience. Keep your settings up to date and test them to ensure the best performance.
Frequently Asked Questions
How can I edit my audio sources in Streamlabs OBS?Click on the gear icon next to the respective audio source and select the desired option.
How can I mute my microphone?Click on the speaker icon in the mixer window.
Can I select a different microphone?Yes, go to the properties of the audio source and select a different microphone.
How do I enable audio monitoring?Go to advanced settings and select the monitoring device.
Why do I need to adjust the sample rate?An incorrect sample rate can affect audio quality.


