In this tutorial, I will show you how to create a page turn or corner effect. It's not that difficult.
Step 1
First, I create a new file and draw a rectangle. This is the actual basis.
I'll also copy the template here so that we have it in front of us and can take a look. This corner is to be turned over.
.webp?tutkfid=87606)
Step 2
Then I draw an auxiliary line with an outline in a different color ...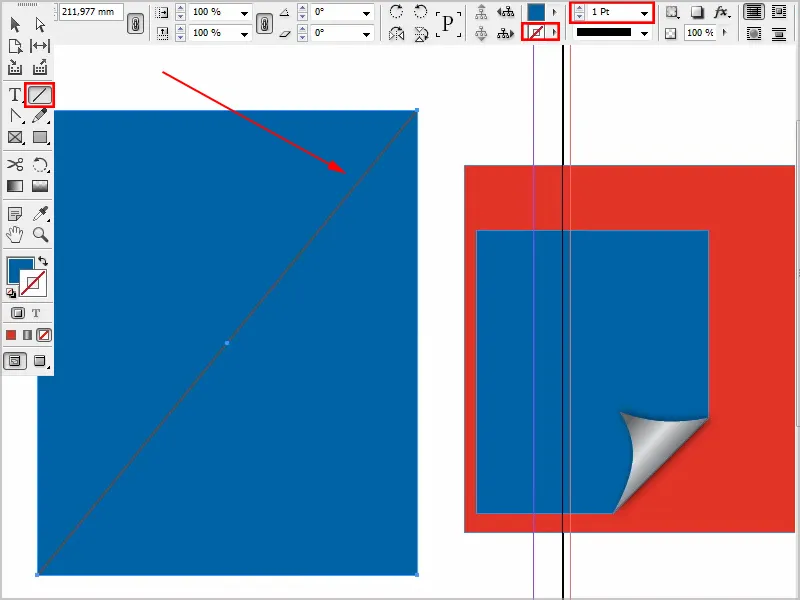
Step 3
I create two new anchor points with the Add Anchor Point tool.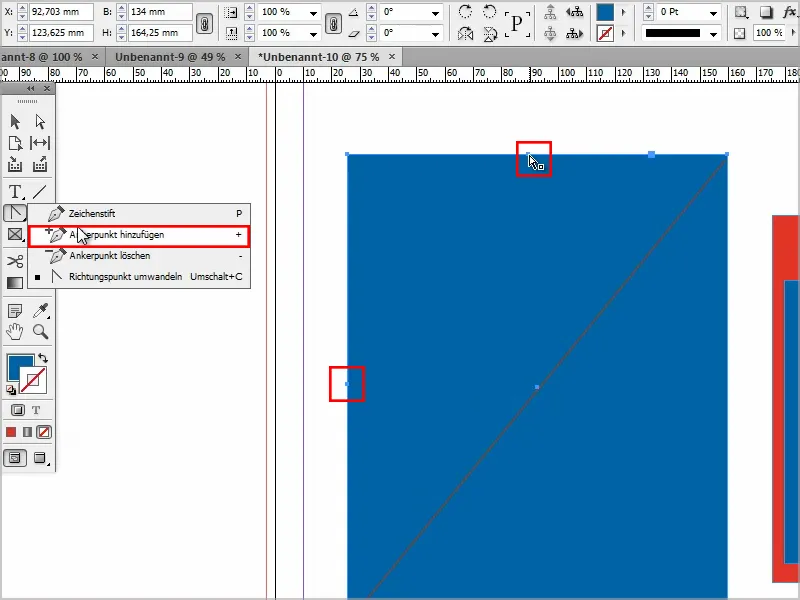
Step 4
Then I use the direct selection tool and activate the point by holding down the Shift key.
This allows me to drag the points like this.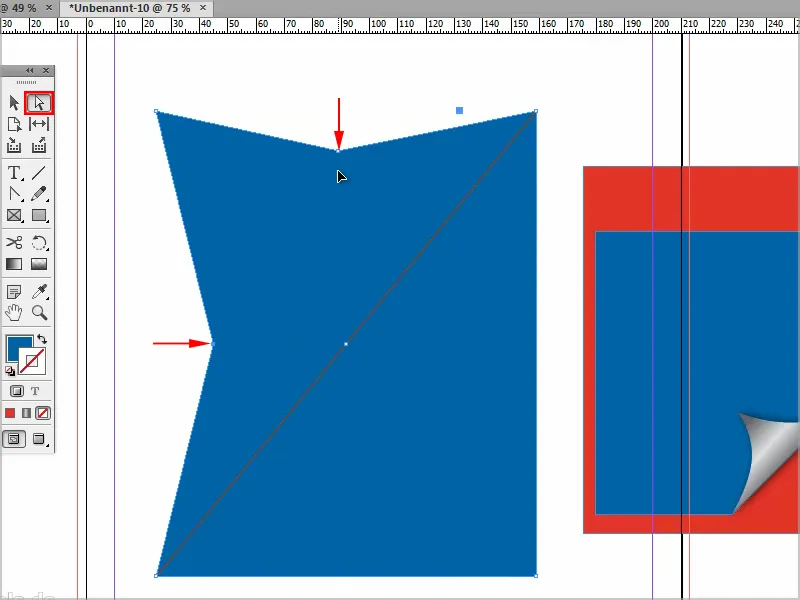
Step 5
To make this round, I use the Convert direction point tool.
I click on the point while holding down the Shift keyand can drag it until the whole thing is nicely rounded.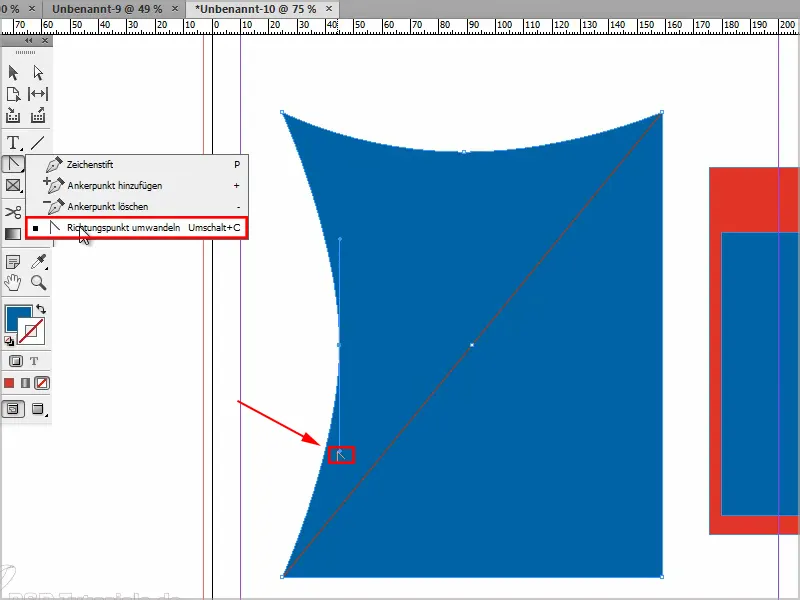
Step 6
Now I have to make sure that this area at the bottom right disappears. There are several ways to do this, but the easiest way is to drag the corner point to the center ...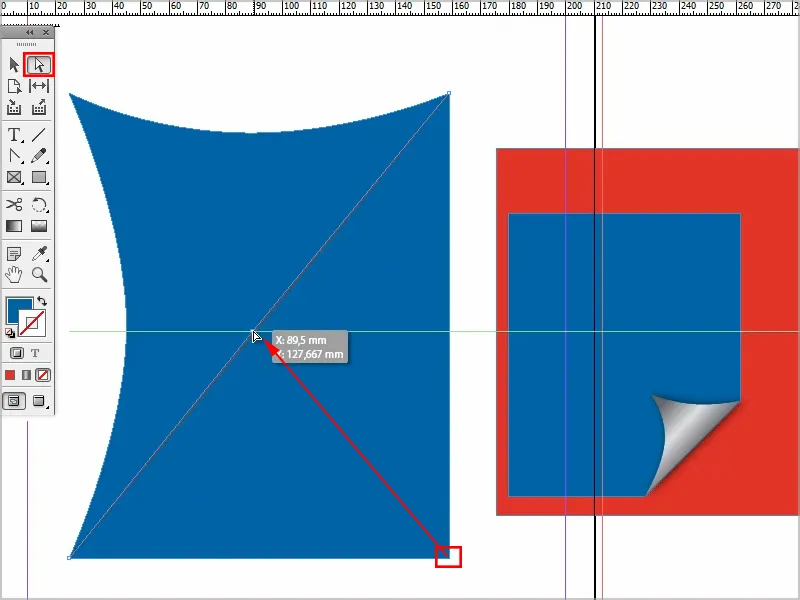
... and then it actually looks like something.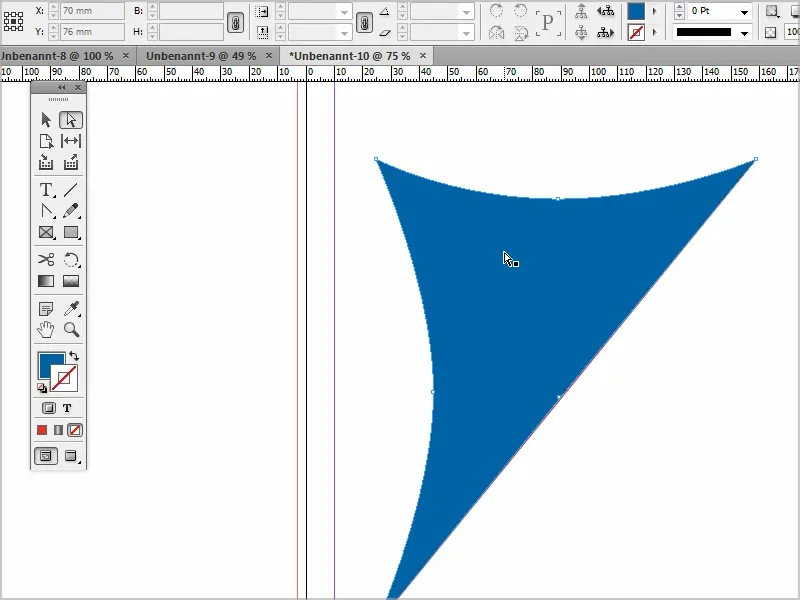
Step 7
I can click on the points at any time and move them as I like. I delete the auxiliary line because we no longer need it.
Now I can create a new object and move it via Arrange>Into the background.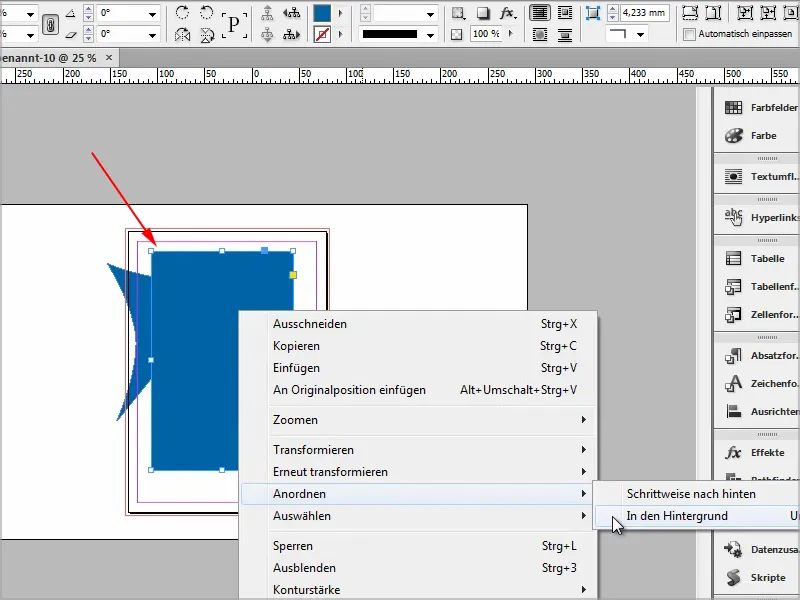
Step 8
And now I'll add a gradient. I go to Color fields and create a new gradient field.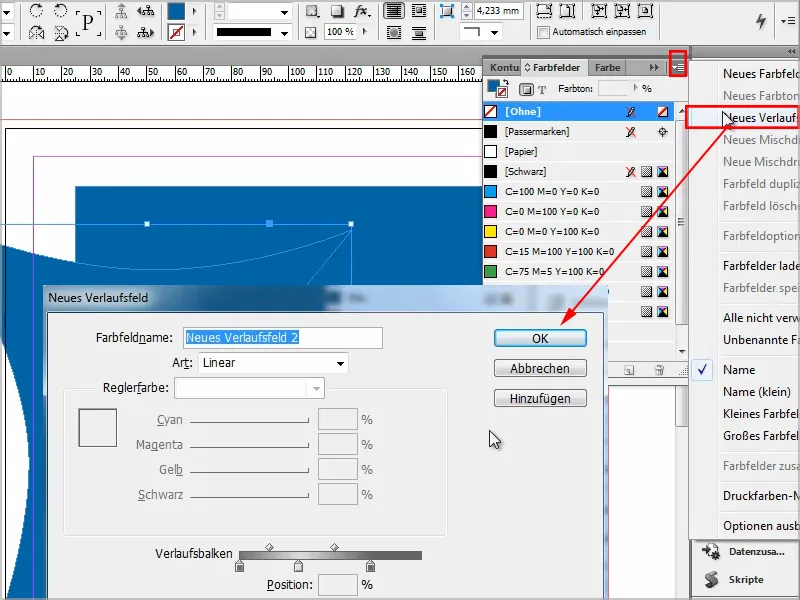
Step 9
I can use the gradient swatch tool to create the gradient the way I want it.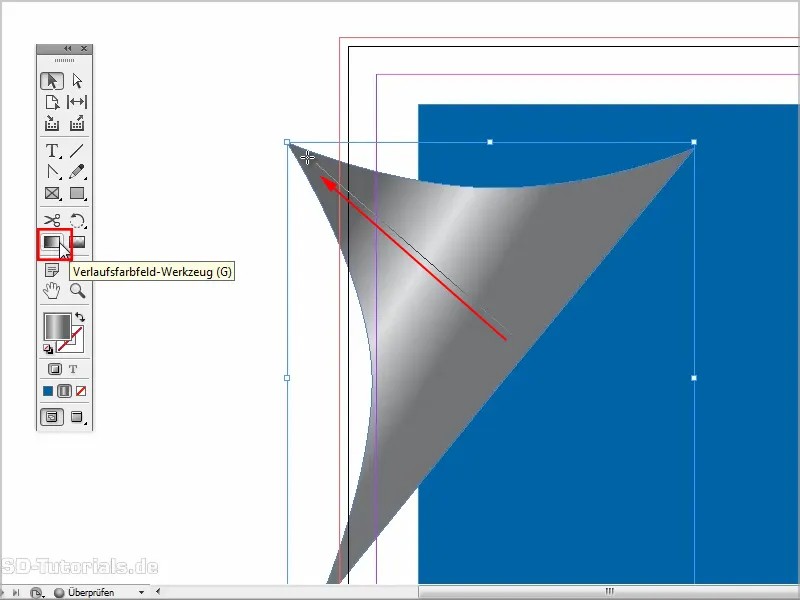
Step 10
Then I can make this smaller by holding down the Shift keyand place it roughly like this.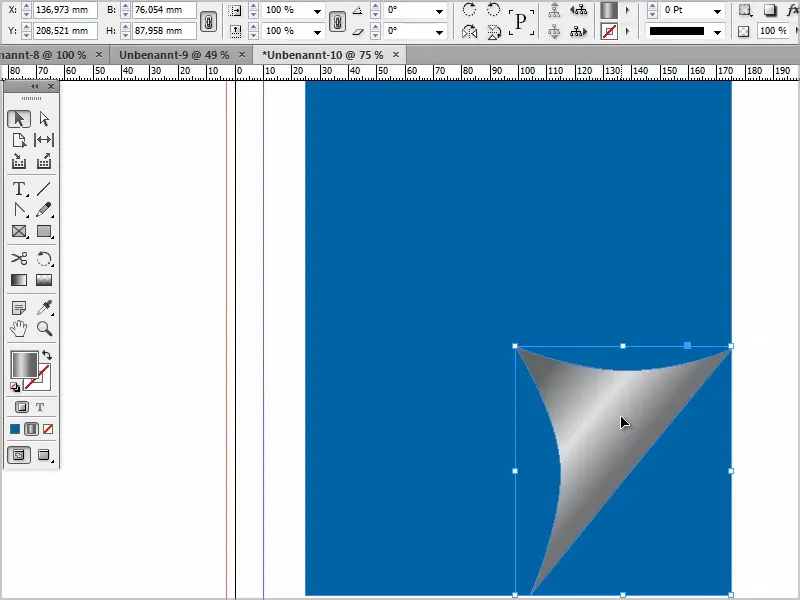
Step 11
Now I just need to add an effect such as a drop shadow.
I go down a bit with the opacity and a bit closer with the distance.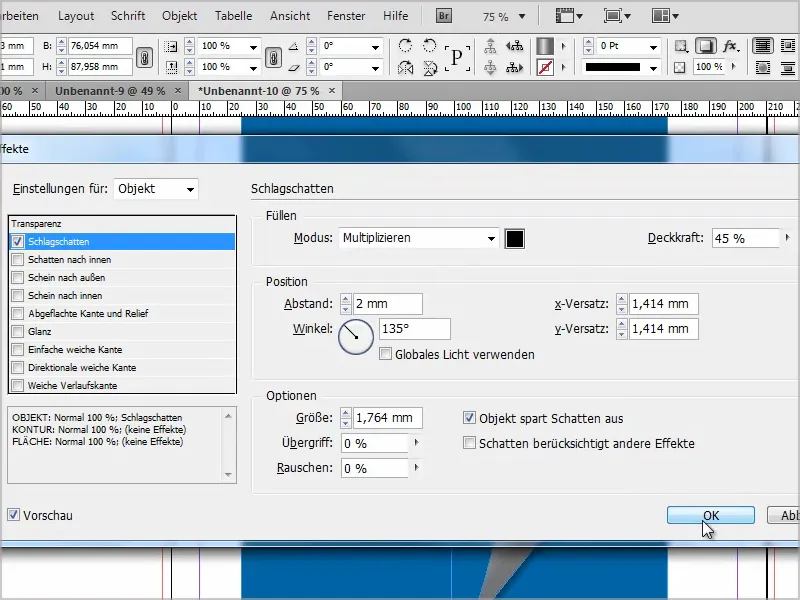
Step 12
And then I can also give this object a corner effect. To edit the corners, I click on this point and then I can drag a corner point and change the shape.
However, all the corners are then always changed accordingly..webp?tutkfid=87618)
By holding down the Shift key, only this one corner is changed.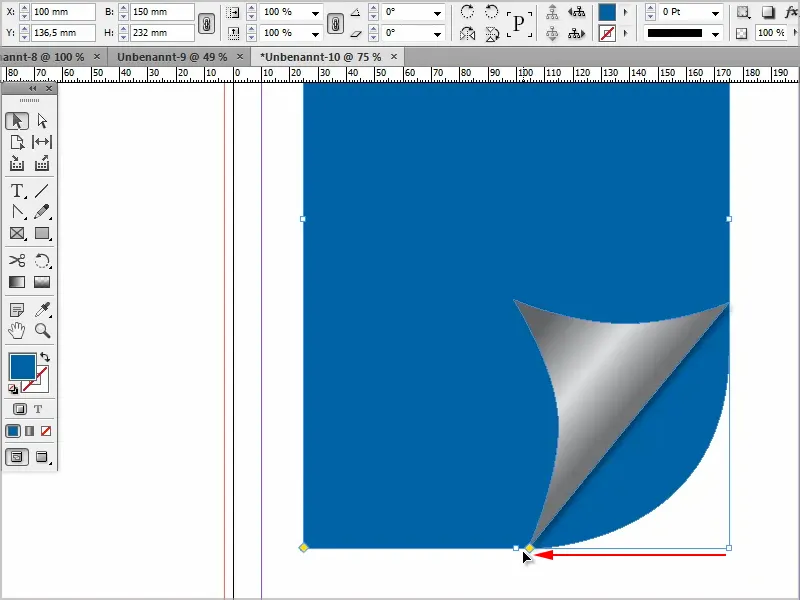
However, I didn't want an arc, ...
... so I press the Alt key, then I can go through all the corner effects.
I can leave this effect as it is (1).
Then I can change the corner effect and drag the shape (2) ...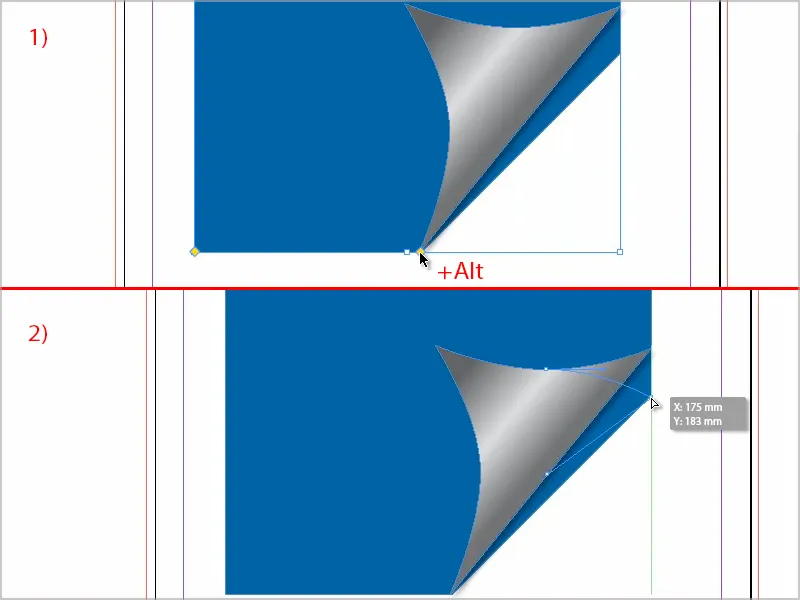
... until it fits. That's about right.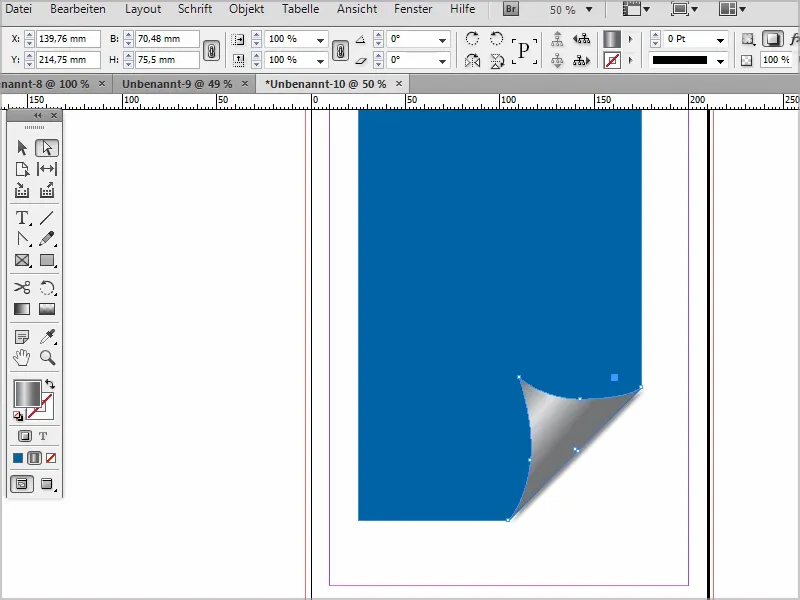
Step 13
Of course, I can also correct the shadow at any time. I can make the distance even closer and a little bigger to make it look softer. And I also set the overlap higher.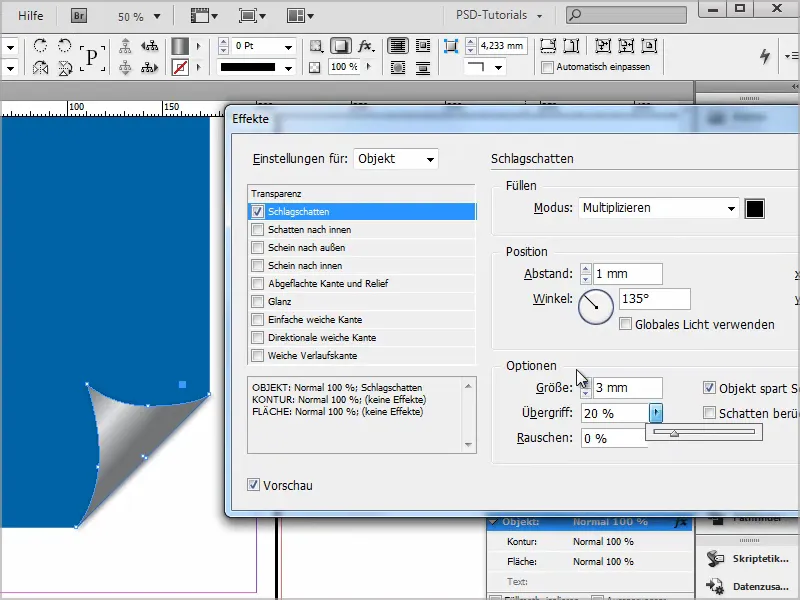
Step 14
Then it's actually finished.
If you want it to be a bit more transparent, you can also set the effects here to Multiply and it will look like this.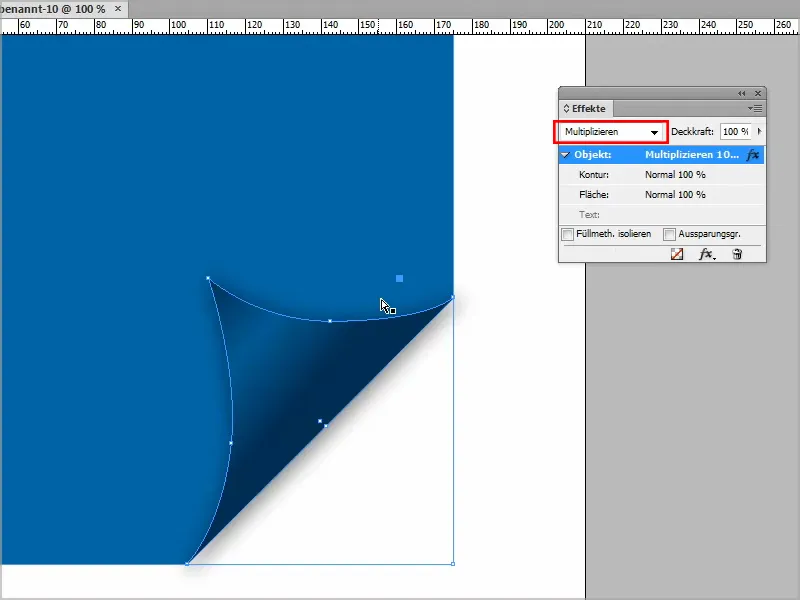
Or to Darken.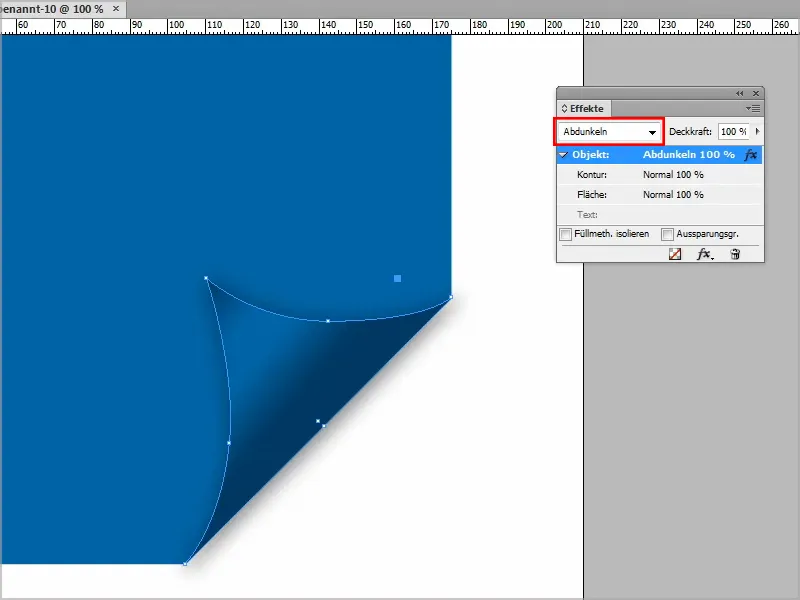
You can adjust this as you wish. You can also play around a bit with the gradient until you really like it.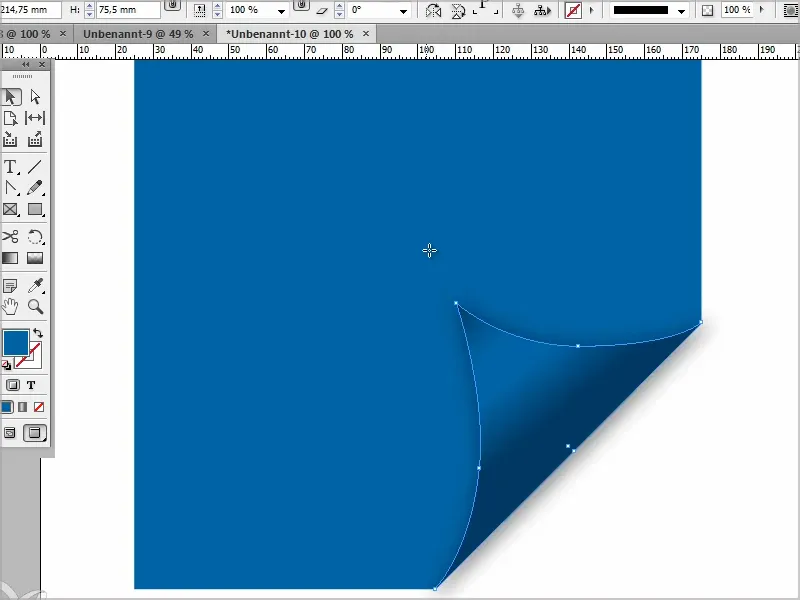
I hope that this will no longer be a problem for you.


