To ensure excellent audio quality in your streams, precise adjustment of your microphone is crucial. The correct configuration of microphone filters plays a central role in this. Here, I will show you how to successfully set up the four most important microphone filters in Streamlabs to minimize disturbing background noises, adjust the volume optimally, and achieve clear sound.
Key Takeaways
- Microphone settings are crucial for good audio quality.
- There are several important filters, including noise suppression, audio amplification, noise gate, and compressor.
- Each filter has specific functions and settings that need to be tailored to your microphone.
Setting Up the Microphone in Streamlabs
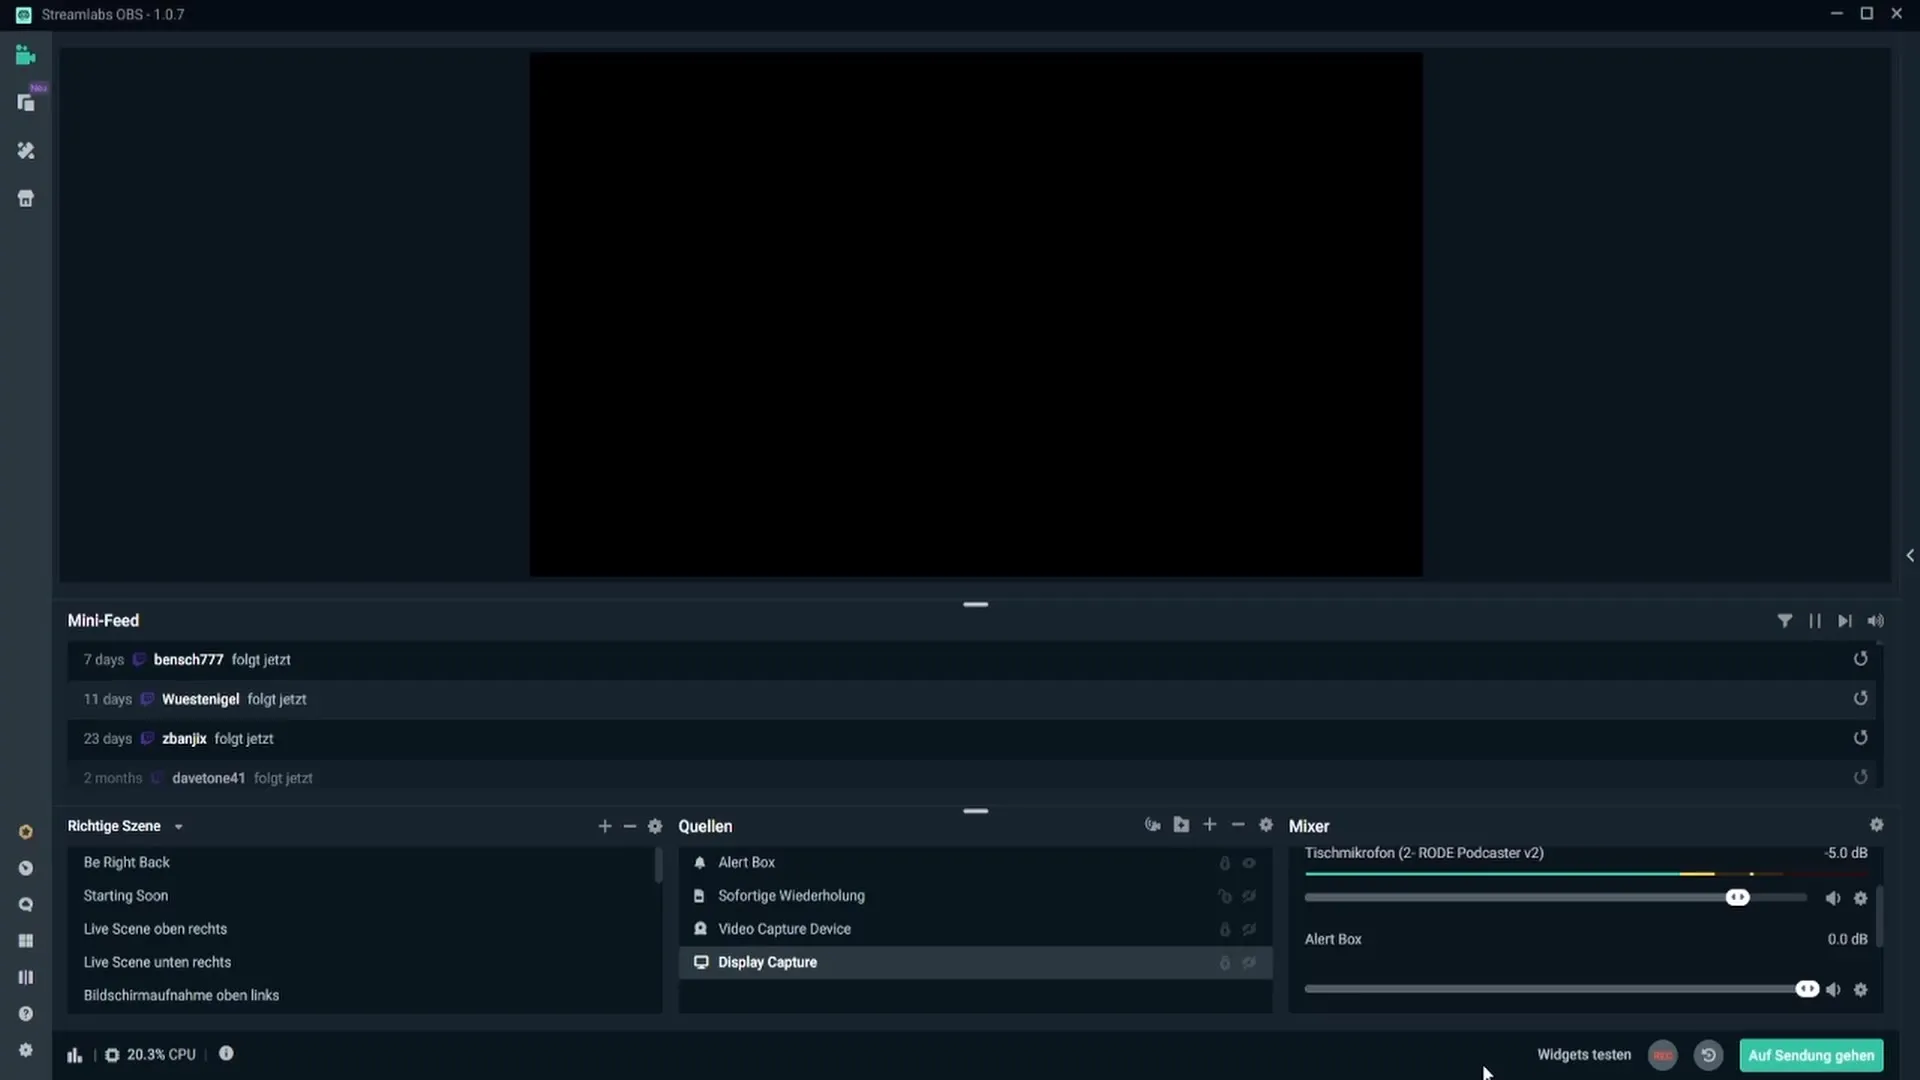
It is important to configure your microphone correctly in Streamlabs. First, navigate to the audio settings in the user interface.

Here, under 'Desktop Audio,' you will find the option to select your microphone. Click on the cogwheel next to the microphone symbol and choose 'Properties.'
Now, you can select and confirm your microphone. A useful tip is to keep the levels in the middle yellow range to ensure optimal volume. If you reach the red zone, it's too loud; in the green zone, it's likely too quiet.
Microphone Filters: The Four Key Options
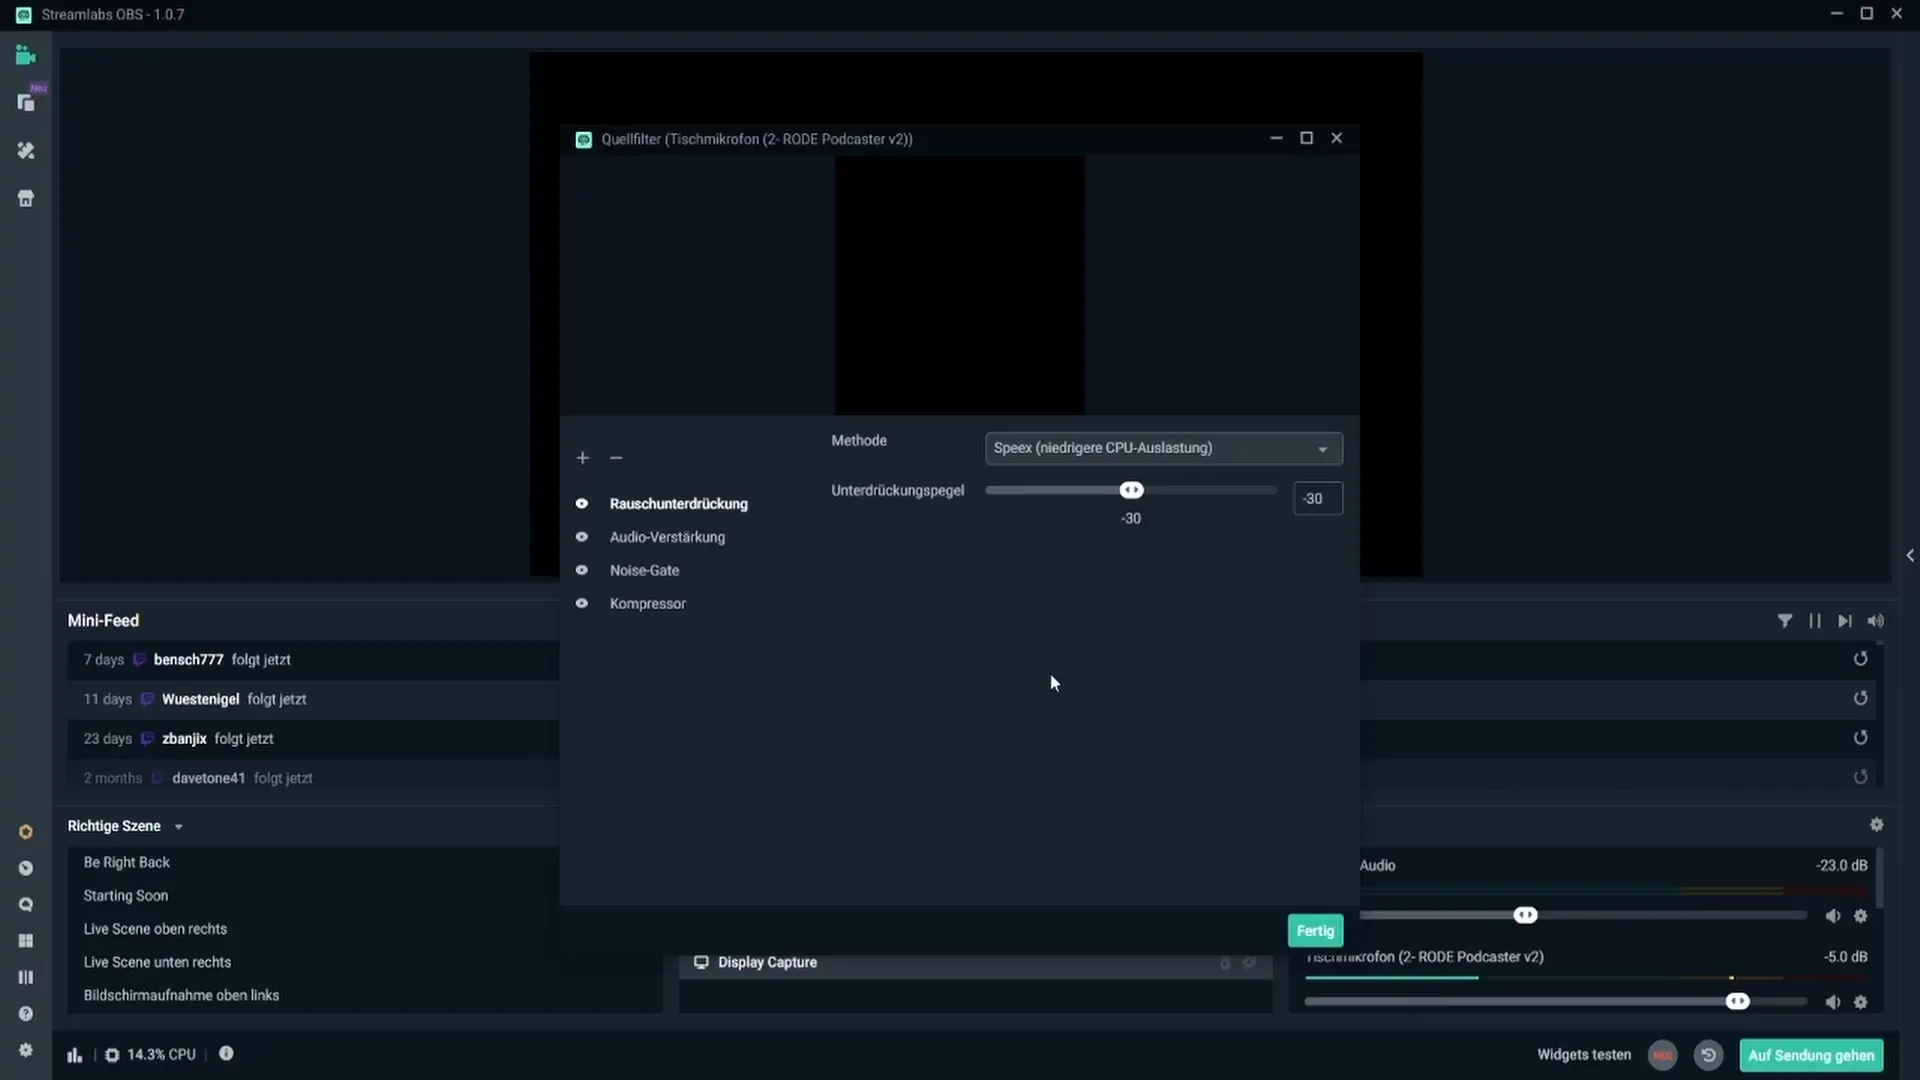
After setting up the microphone, the next step is to add the microphone filters. These filters significantly improve sound quality and are essential for every streamer.
1. Noise Suppression
The first filter you should add is noise suppression. This filter's task is to minimize background noises such as fan noise or other devices. Set the suppression level to around -30 dB. This effectively removes the noise while keeping your voice signal clear.

2. Audio Amplification
The next filter is audio amplification. With this, you can increase or decrease the volume of your microphone. Make sure to adjust the value to keep the volume level in the ideal range. If your microphone is too quiet, you can enter a positive value to increase the volume.
3. Noise Gate
The noise gate is a somewhat more complex but still very useful filter. It filters out sounds based on volume. Set the opening level to around -26 dB and the closing level to -32 dB. This ensures that only voice signals pass through while minimizing background noise.
4. Compressor
The compressor ensures that louder sounds are made quieter and quieter sounds are made louder. Set the ratio to around 4:1 and experiment with the threshold values between -15 dB and -20 dB to achieve the best sound quality. The compressor helps smooth out audio quality and ensures consistent volume.
Final Adjustments and Testing
To optimize your microphone settings, make sure to test the setup after adding the filters to check the sound experience in real time. If adjustments are needed, experiment with the values until you find the setting that works best for you.
Summary
Setting up and adjusting your microphone filters correctly is essential to optimize the audio quality of your streams. With noise suppression, audio amplification, noise gate, and compressor, you have the most important tools at your disposal to minimize disturbing noises and create a professional sound.
Frequently Asked Questions
How do I add a microphone in Streamlabs?Go to the audio settings and select your microphone under 'Desktop Audio.'
What is the optimal suppression level for noise suppression?Set the suppression level to around -30 dB.
How does the noise gate work?It filters the sound based on volume, allowing only voice signals to pass through.
What is the function of the compressor?It ensures that louder sounds are made quieter and quieter sounds are made louder to smooth out audio quality.
How can I adjust the volume of my microphone?Use the audio amplification filter and adjust the value accordingly.


