The world of gaming and streaming offers countless opportunities to unleash your creativity. One of the most effective methods to optimize your streams is by using Twitch VOD. This allows you to control specific audio content in your replays. This guide will show you step by step how to adjust the settings in Streamlabs OBS to get the most out of your Twitch stream replays.
Key Insights
- Twitch VOD allows you to select a specific audio track for your stream replays.
- With the correct settings, you can avoid unpleasant copyright issues.
- Paying attention to the audio tracks and their assignments is essential for the quality of your streams.
Step-by-Step Guide
To configure the Twitch VOD settings in Streamlabs OBS, follow this structured guide.
Step 1: Accessing the Settings
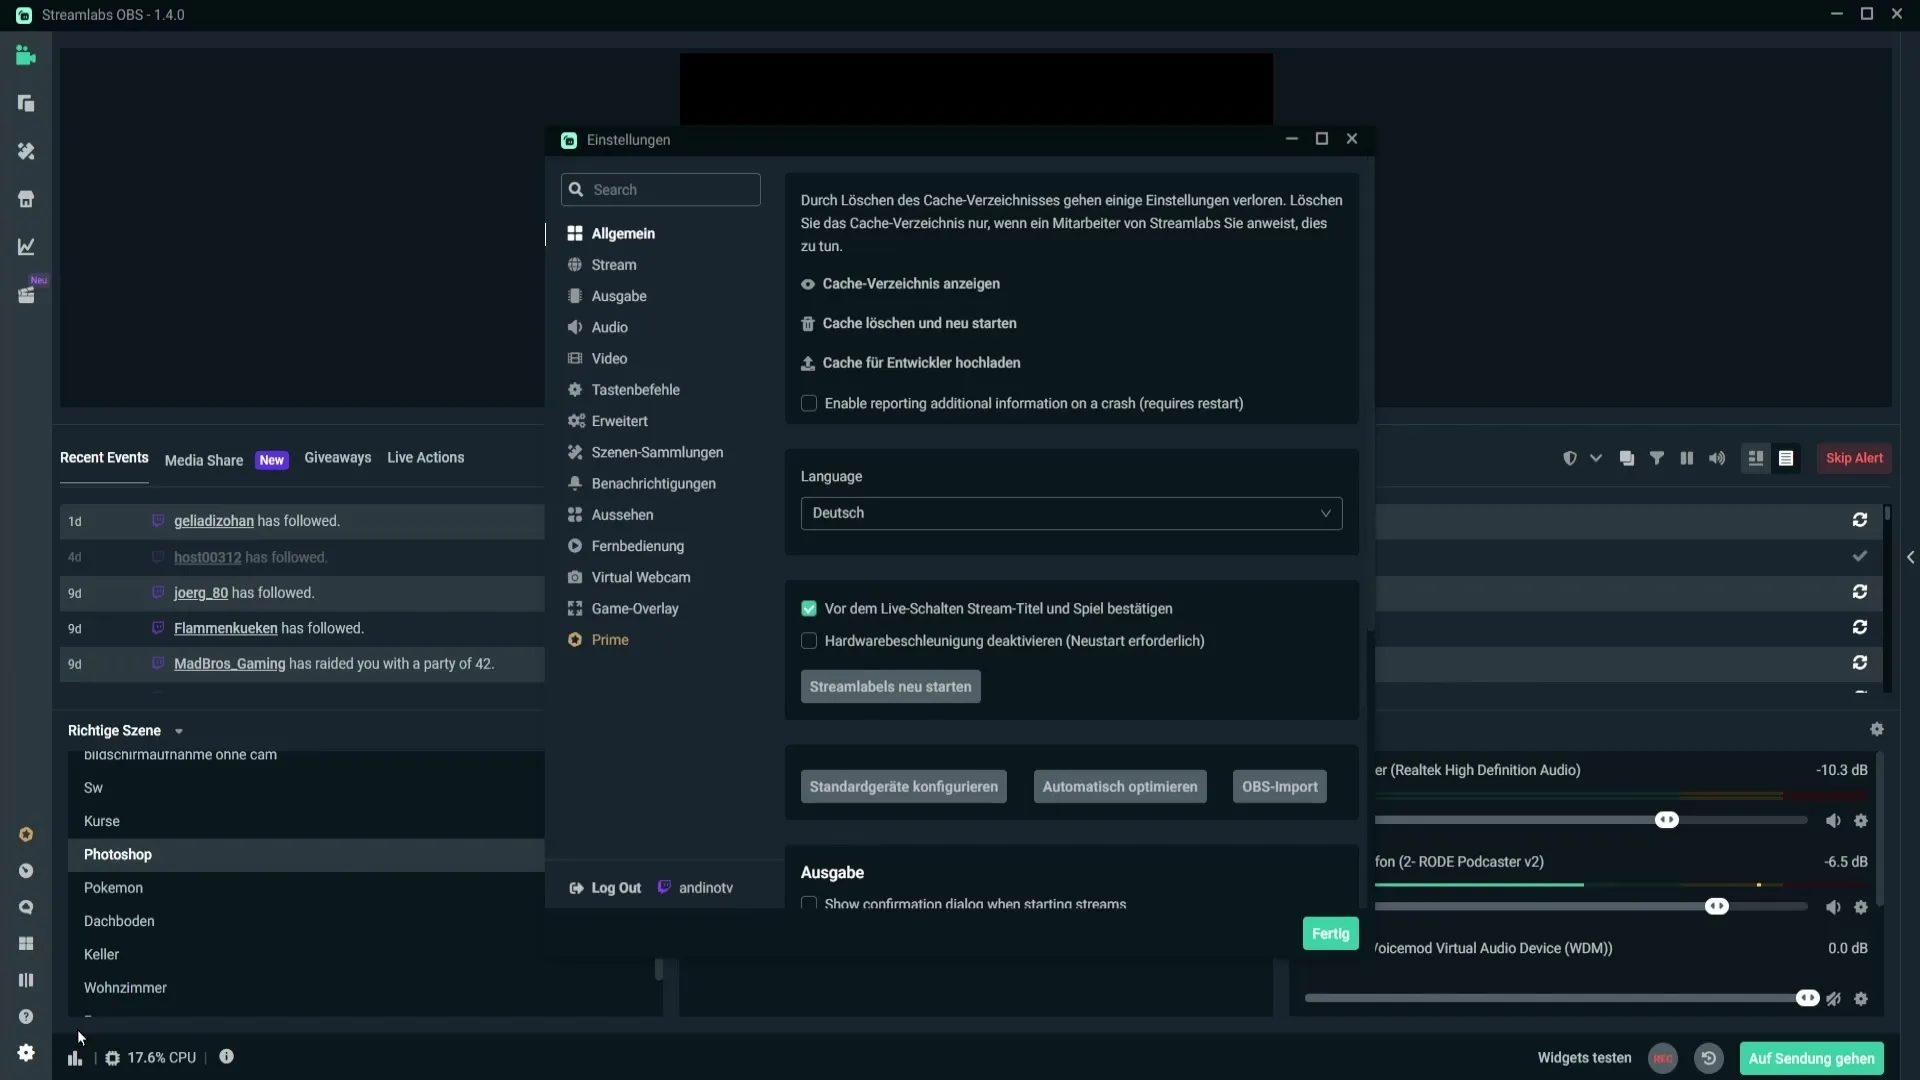
To enable Twitch VOD, open Streamlabs OBS and click on the gear icon at the bottom left. This will open the settings.

Step 2: Select the Right Category
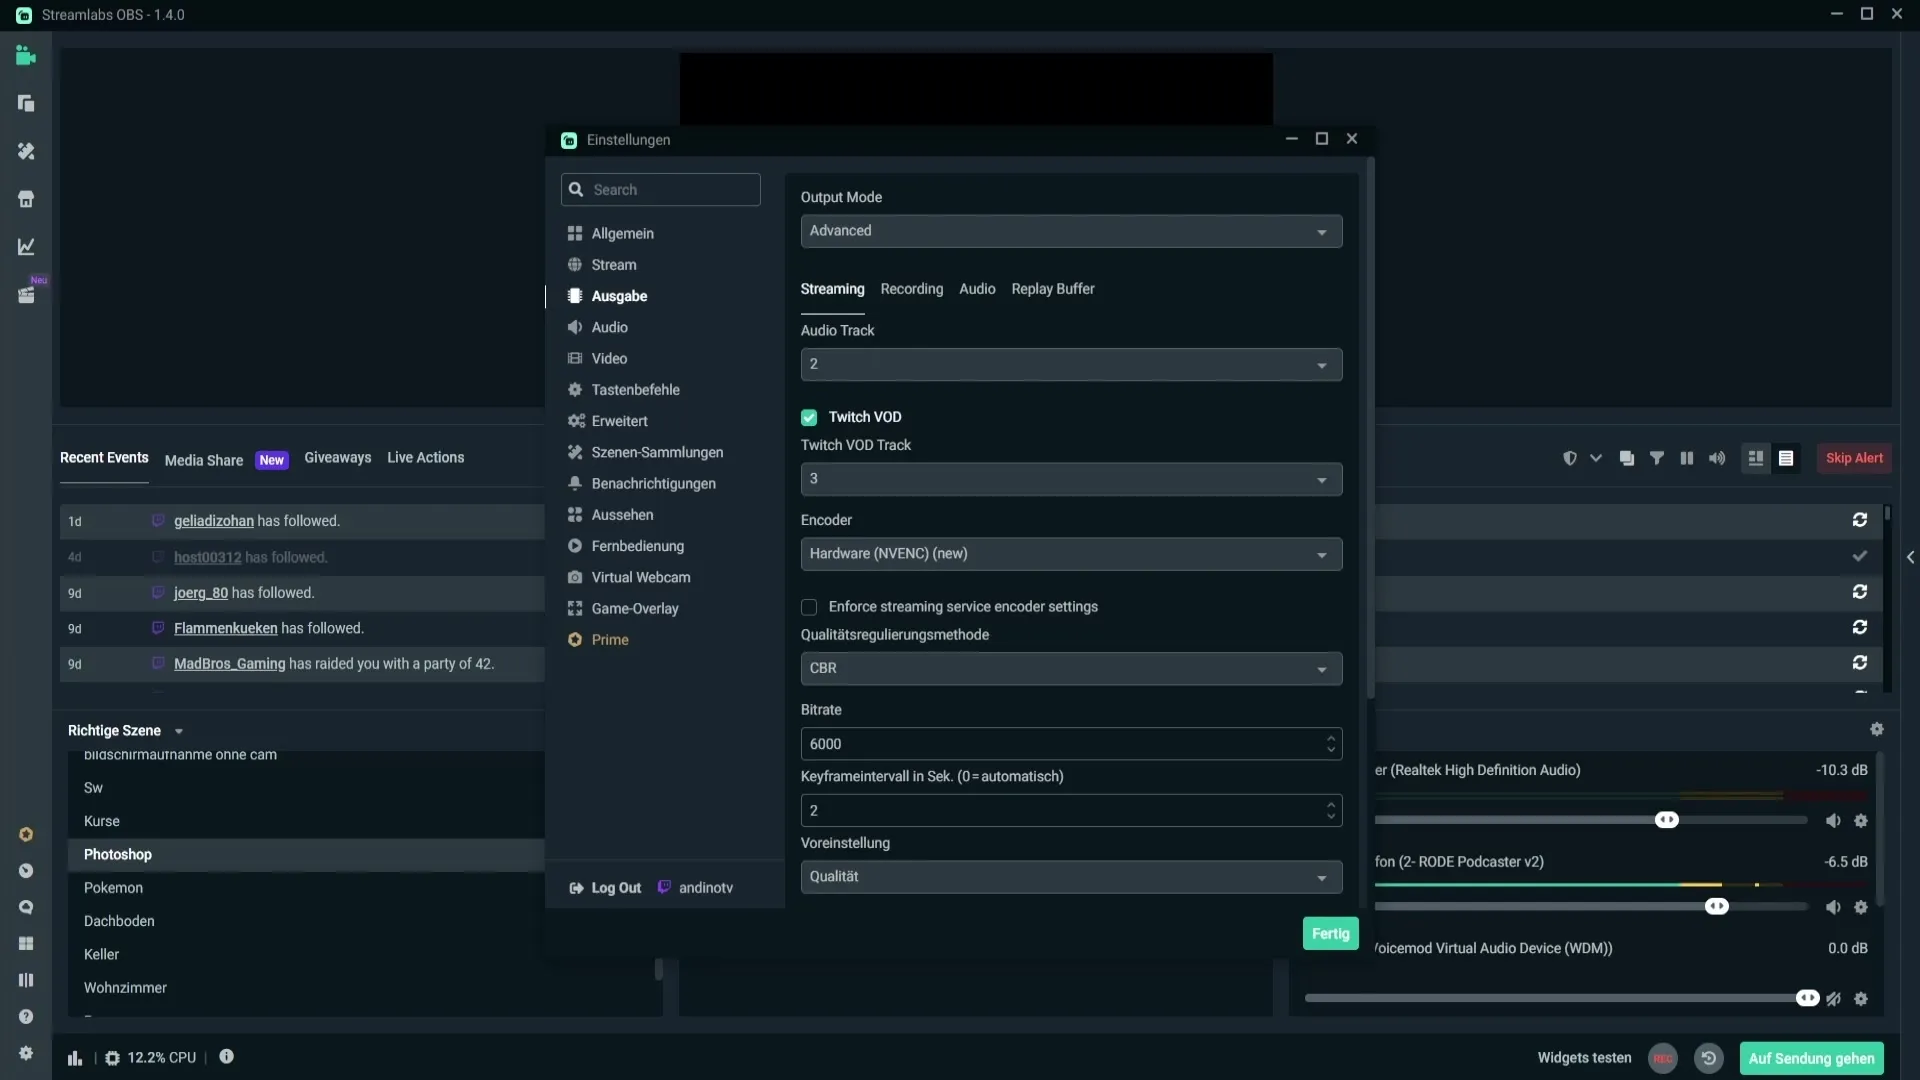
Navigate to the "Output" settings. Here, you should ensure that "Advanced" is selected as the mode.

Step 3: Enable Twitch VOD
Within the Output settings, you will find the "Twitch VOD" option. Enable this feature. Here, you have the option to set a specific audio track for your VODs.
Step 4: What is a Twitch VOD?
Before you proceed, it's important to understand what a Twitch VOD is. It refers to the saved replays of your streams on Twitch where the audio you selected can be heard.
Step 5: Change Audio Tracks
Check the audio tracks in your settings. For example, if you use audio track 2 for your stream and audio track 1 for recording, this means that you should use audio track 3 for Twitch VODs.
Step 6: Manage Audio Tracks in the Mixer
In the bottom right corner of Streamlabs OBS, you will find the Mixer. Click on the gear icon to manage the audio tracks. Here, you can control which audio signals are included in your Twitch replays.
Step 7: Assign Audio Tracks
For example, if you play copyright music through the speakers, you can ensure that this music does not appear in your Twitch VODs. Simply deactivate audio track 3, which stores your Twitch VODs.
Step 8: Review the Settings
Anything in green indicates that the audio track is active. Ensure that unwanted tracks, such as those with copyrighted music, are disabled to exclude them from your stream replays.
Summary
With the right settings in Streamlabs OBS, you can ensure that only the desired audio is heard in your Twitch replays. Preventing copyright problems is not only crucial for your streaming experience but also for your future on the platform.
Frequently Asked Questions
How do I enable Twitch VOD settings in Streamlabs OBS?Click on the gear icon, go to "Output," and enable the "Twitch VOD" option.
What happens to the copyright music if I move it to a different audio track?It will be avoided from being heard in your Twitch VODs if you disable that audio track for recording.
Why should I pay attention to audio tracks in my stream?Audio tracks allow you to control and manage specific content in your stream replays.


