Design templates in Adobe InDesign are an efficient way to create layouts consistently and professionally. They allow you to define recurring elements such as paragraph formats, character formats, colors, master pages, and styles centrally and apply them in various projects. Whether for magazines, brochures, or presentations - with templates, you save time and ensure uniform designs. In this guide, I will show you step by step how to create, manage, and effectively use design templates in your projects. Let's start and optimize your workflow!
Object formats
To be able to conveniently transfer frequently used properties of an object within a document to others, InDesign provides the tool of Object formats similar to Character- and Paragraph formats.
The properties stored therein can then be transferred to other objects with a single click. The panel for this is accessed through the menu Window>Styles or the shortcut Ctrl+F7.
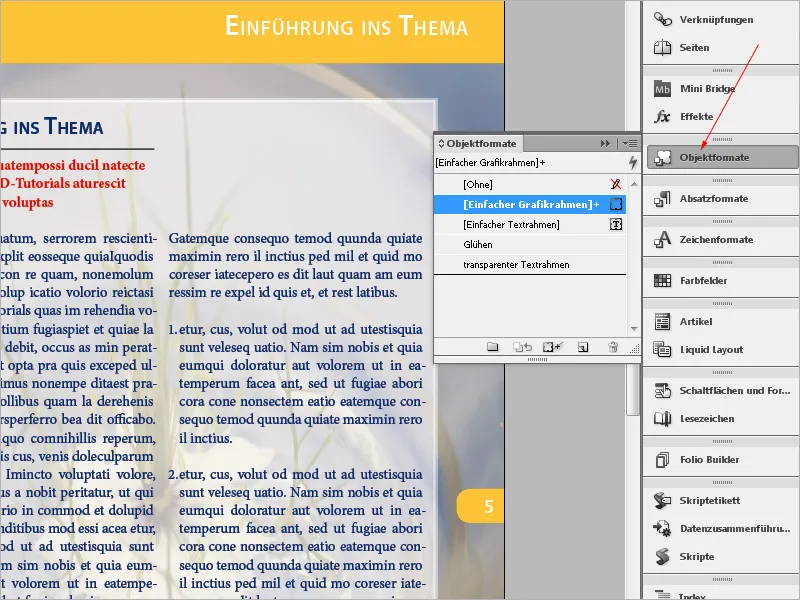
Object formats can also be imported from existing documents. To do this, use the Palettes menu at the top right of the panel with the entry Load Object Formats. Now select the source document. After a Double click on it, the import dialog opens, showing the formats contained within it.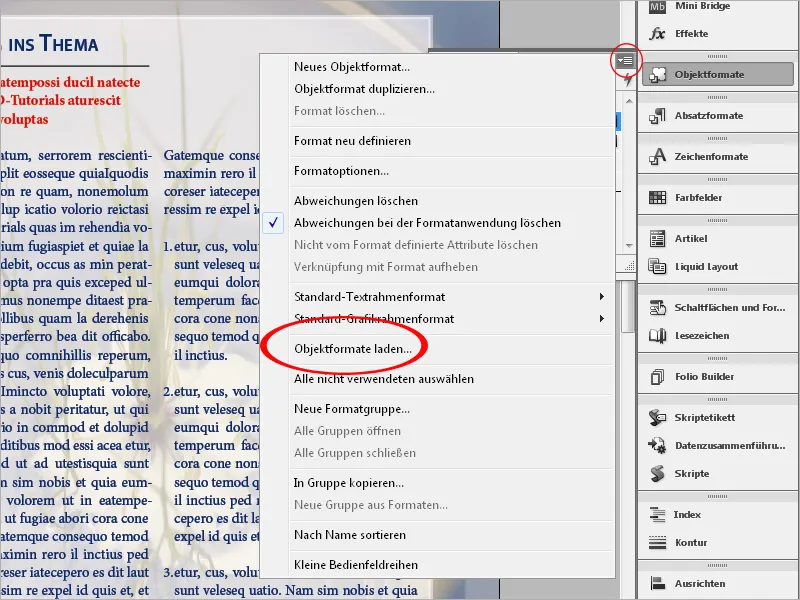
By default, all are activated; if you only want to import selected ones, click on Deactivate All and then check the checkbox next to the desired Object format. The column Conflicts with existing format lists formats with the same name. These are primarily the default formats like Basic Graphic Frame and Basic Text Frame, which should be disabled.
If there are formats with the same name in the document, you must decide by clicking the respective line whether the existing format should be overwritten (if there are content deviations, the affected objects will be reformatted) or vice versa. In this case, InDesign allows for a detailed comparison of the individual attributes between the existing and loaded format definitions in the lower area. If you want to continue using both parallel to each other, you should rename one of them accordingly.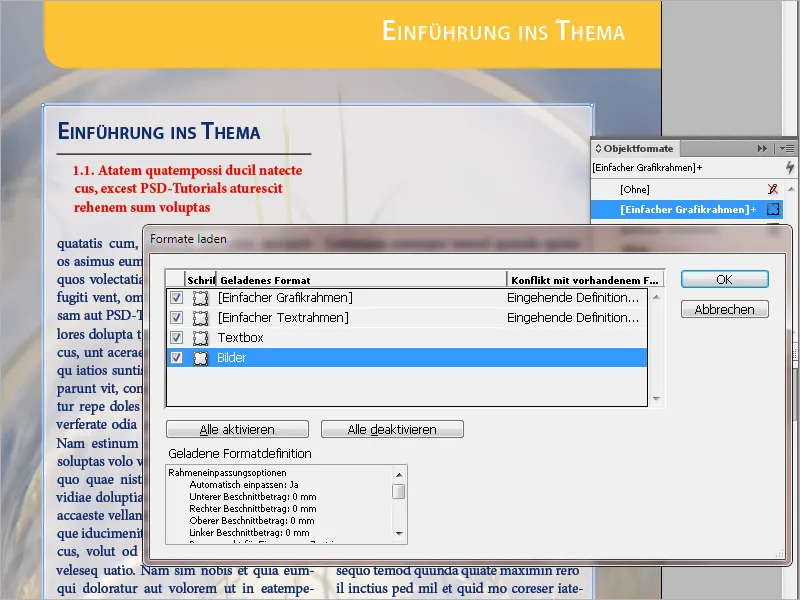
Typically, you first format an object as desired and then create a new Object format by clicking the New Format button at the bottom of the Object Format panel.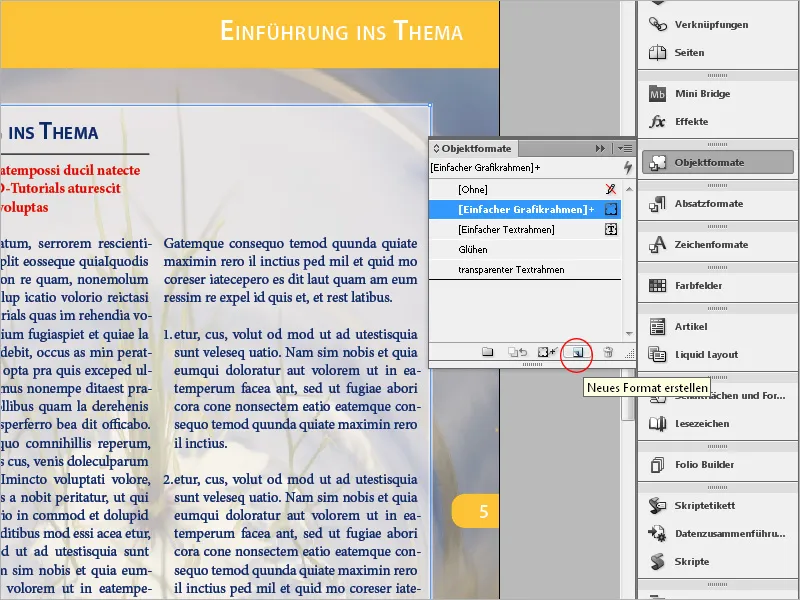
This already contains the properties of the selected object. With a Double click on the new entry in the Object formats panel, you open the Object format options.
In the Basic attributes, you can specify in detail the properties for the Frame, the Outline, the Corner options, the contour alignment, as well as all properties relevant for text frames including assigning a paragraph format.
In the lower Effects section, the association with Object, Outline, Fill, or Text must first be made, where the effect should be applied.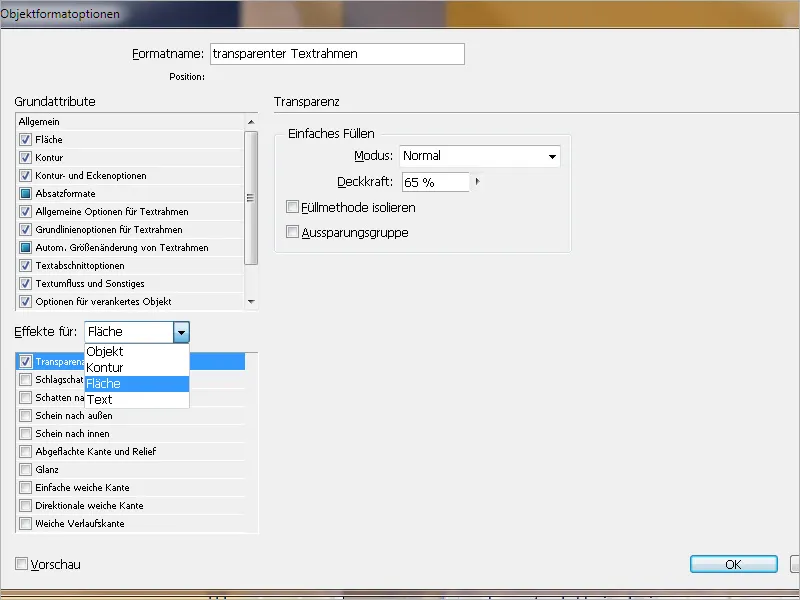
Subsequently, just like when applying an effect via the Effects panel, you can adjust the desired effects in a differentiated way.
All objects designated with the Object format will henceforth have the same properties. Changes to the settings of the Object format will thus also affect all objects assigned with it.
Snippets
If you have created certain objects in your InDesign document that you may want to use in other documents later, you can easily save them as so-called Snippets.
You simply select the object, choose the command Export File (Ctrl+E), select the destination directory, assign a name, and select the format InDesign Snippet (idms) from the drop-down list File Type.
Object Libraries
Especially when working on magazines or catalogs, one often uses recurring layout elements that are to be placed at the same positions. Since the overview can easily be lost with a large number of master pages, InDesign offers another ingenious tool for layout work with the Object Libraries.
This allows frequently used graphics, text, and pages to be systematically organized. In addition, you can add guidelines, grids, drawn shapes, and grouped images to a library. The genius of this is that the library objects store not only their shape and properties, but also their exact position on the print sheet and relative to each other. They can later be easily placed on other pages of the same document or in other documents.
When you add a page element, such as a graphic, to an Object Library, all imported or applied attributes (e.g., effects, paragraph formats, etc.) are retained. For a graphic, the linking information is also saved. If the file is later changed on the hard drive, the graphic can be updated.
A new library is created via the menu File> New> Library (not with the shortcut Ctrl+N), and saved in a directory of your choice. The file will have the suffix indl for InDesign Library.
A floating palette will open, which you can adjust in size and position on the screen according to your needs, and later can also be integrated into the control bar on the right side of the screen.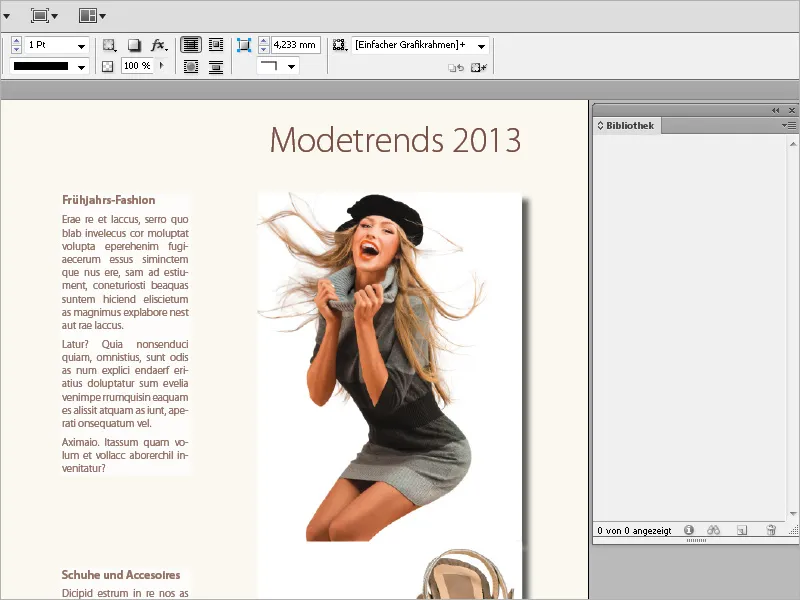
To add elements to the library, position it wisely next to the current print sheet. Now decide whether the objects in the library, such as text or graphic frames including content, should be included or just the placeholders. In the latter case (which is probably more common), the contents should be deleted first.
Now you must also decide whether to save just the single object or a group of objects in their current arrangement. In that case, you should first group the objects (i.e., select them multiple times with Shift+Click and then group them with the shortcut Ctrl+G).
To add this object or group to the library, drag it/them while holding the Alt key into the Library palette. After releasing it, a dialog box will open for editing the Object name and Object information.
Under the field for the Object name, there is one for the Object type. This is contextually recognized and selected by InDesign cleverly and can be changed via the drop-down field if necessary.
In complex libraries, adding a description in the Description line will facilitate later attribution.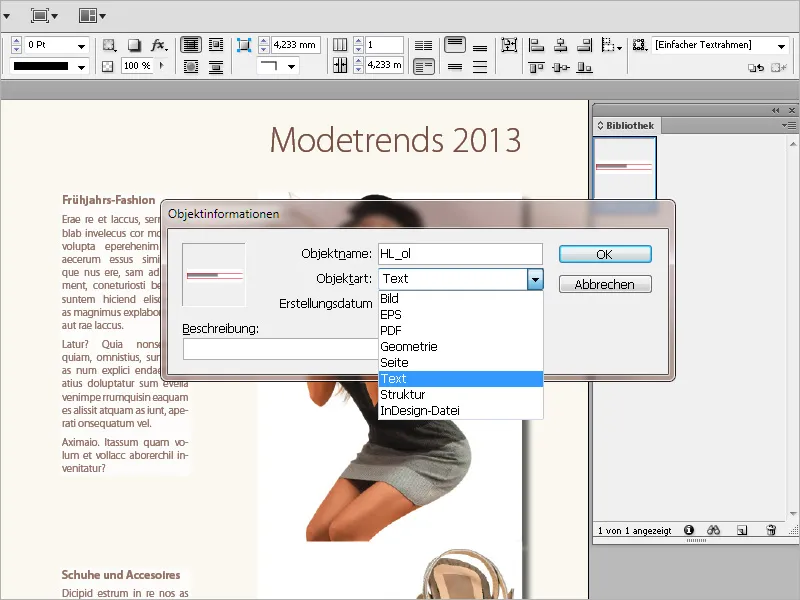
By clicking OK, the object will be added to the library as a thumbnail. Depending on personal preference, the view can be adjusted to large thumbnails or the List View for purists via the Palette Menu.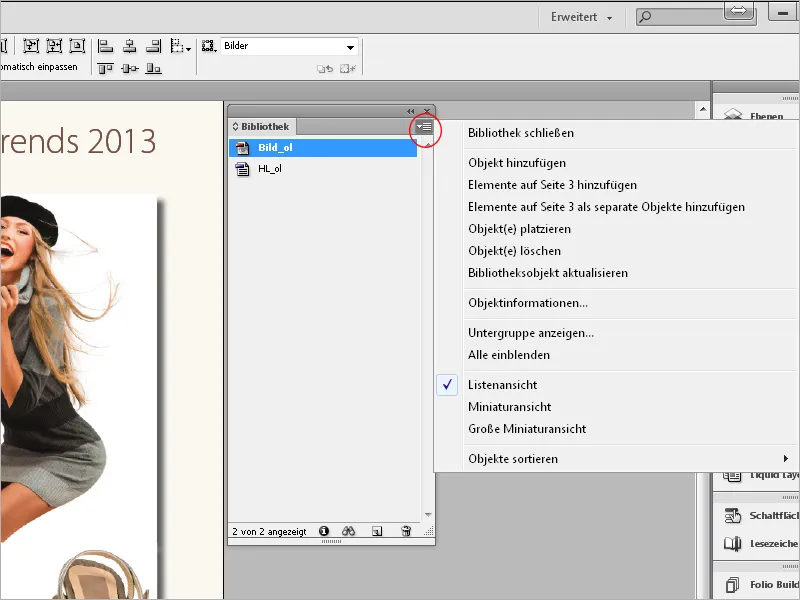
In this way, you can gradually fill your library.
Elements in the Object Library can be searched and identified based on keywords, title, or date of addition to the library. Furthermore, displaying a library is simplified by sorting the library objects and showing object subgroups. For instance, you can hide all objects except PDF files. Using the More Options button, numerous parameters can be added and combined.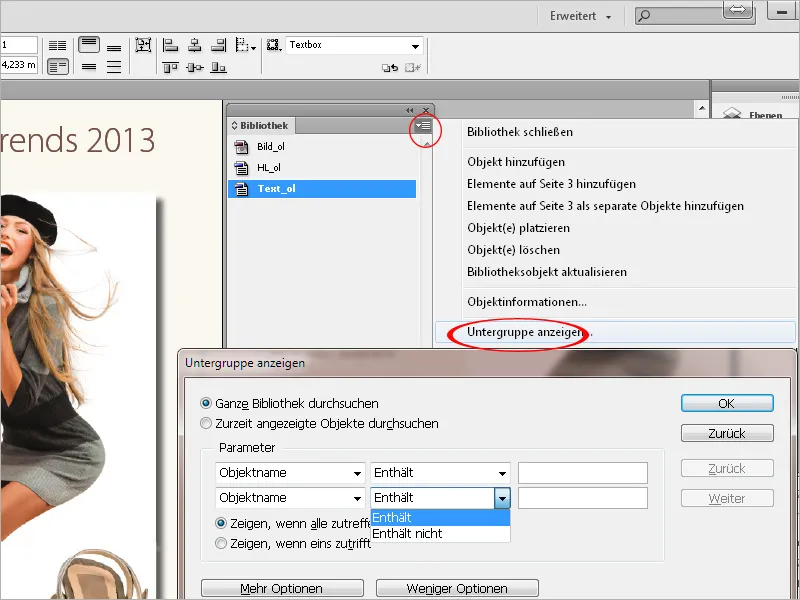
To use the elements elsewhere later, simply right-click on the desired object and choose the option Place object(s).
If you want to use the library in a new or different document, first open it via the dialog File> Open (Ctrl+O). Holding the Shift key, you can select multiple library objects and place them with a click.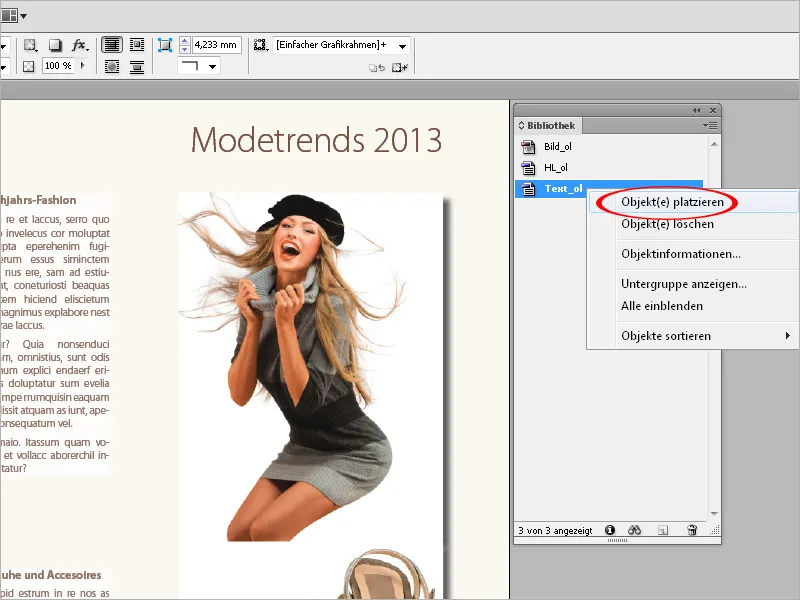
For InDesign to place objects in other documents at the exact same position on the print sheet, the new document must have the same dimensions as the source document. The position on the left or right side of a multi-page document also matters. If necessary, you can define different object information for left and right document pages, which can later be used for filtering the Object Library.
Since libraries are files independent of the source document, you can share them with others, like the Snippets, by email. However, note that object content, such as images, are not stored in the library, only the linking information. Therefore, images may need to be provided separately.


