The transition from Streamlabs OBS to OBS Studio can be a rewarding decision, especially if you are looking for more customization options and control. In this tutorial, I will show you how to effectively import the scenes and overlays from Streamlabs OBS into OBS Studio. This way, you can retain all the effort you have put into designing your streams and continue in the powerful environment of OBS Studio.
Key Takeaways
- You can import scenes from Streamlabs OBS into OBS Studio, including overlays and transitions.
- It is important to identify the correct files and names to ensure a smooth import process.
- You may need to manually adjust some settings, as not all sources are automatically transferred over.
Step-by-Step Guide
To bring your scenes from Streamlabs OBS to OBS Studio, follow this detailed guide:
First, you need to make sure you have selected the correct scenes in Streamlabs OBS. Click on the scenes arrow icon to choose the scene you want to import. Note down the name of the overlay or scene to avoid confusion.
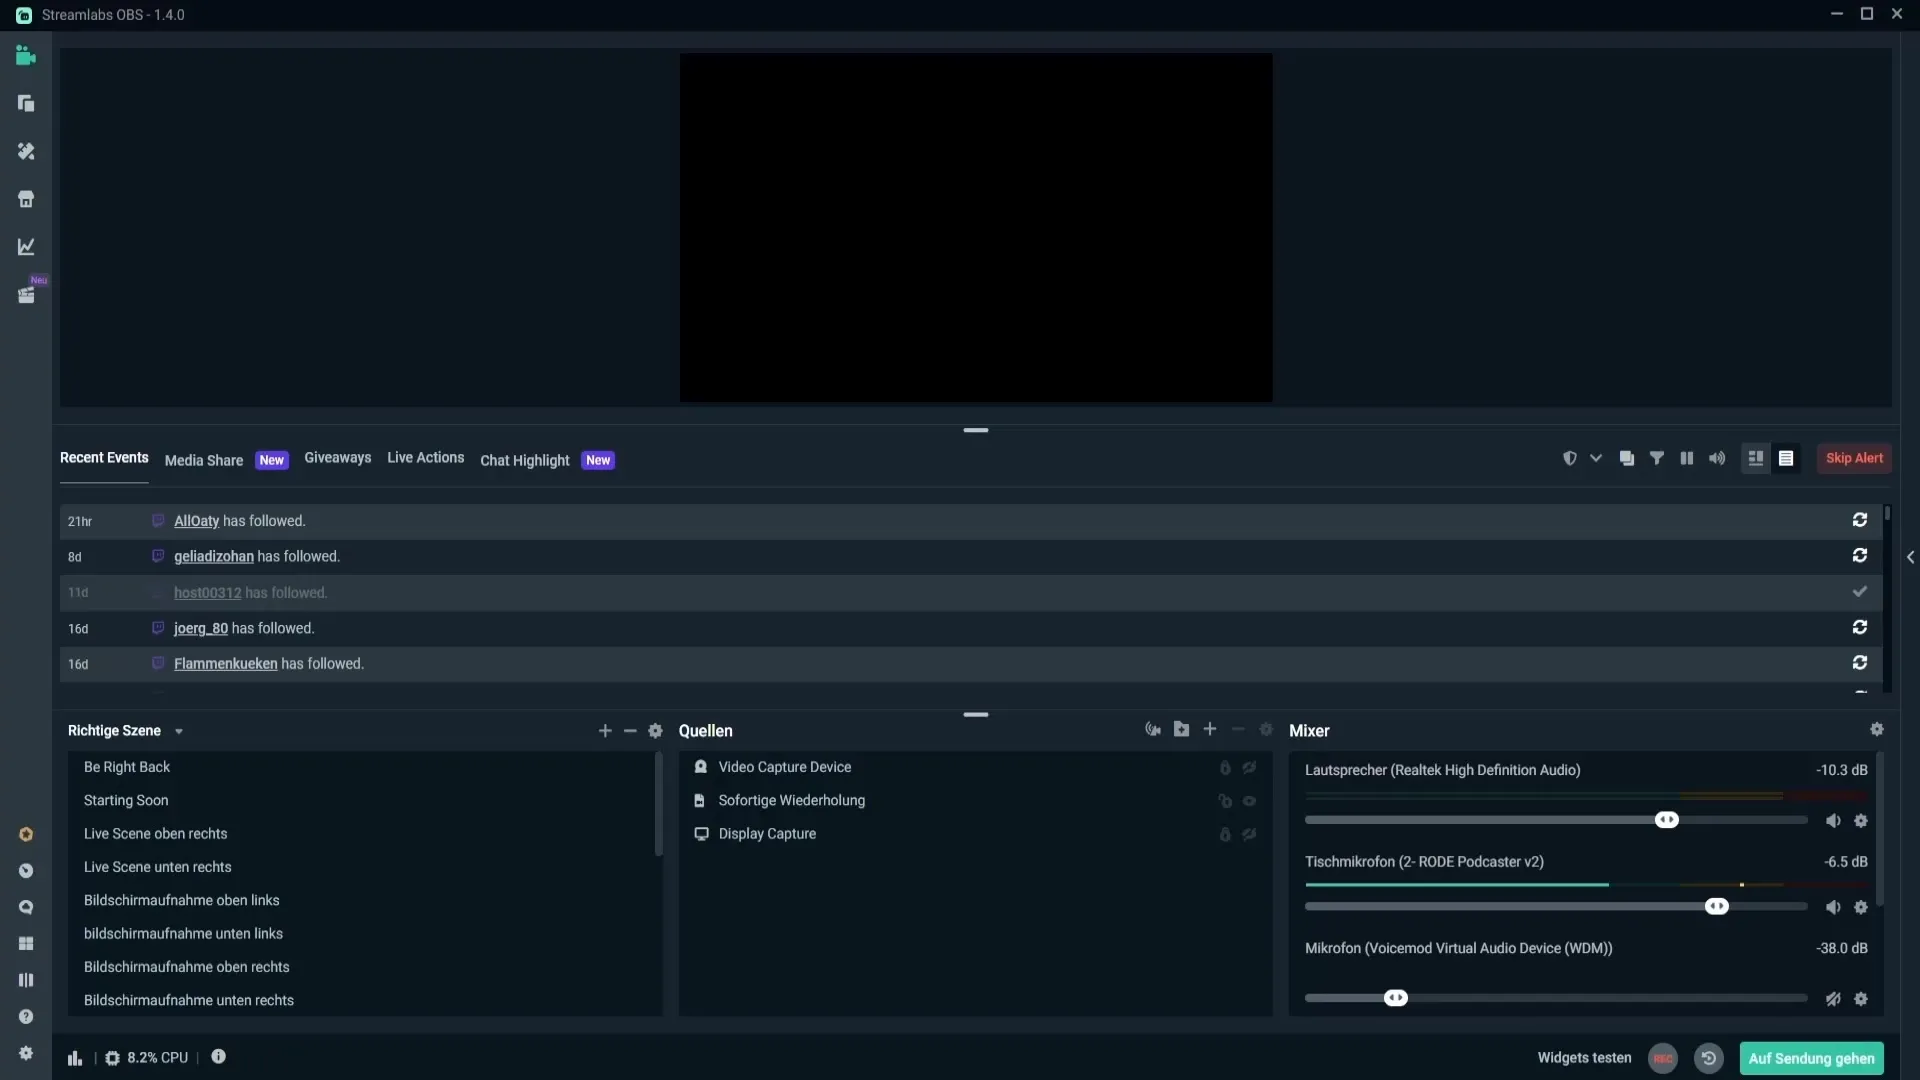
If you want to download overlay designs, go to "Designs" and use the search function for free overlays. Once you find your favorite, download it and set it up according to your preferences in Streamlabs OBS.
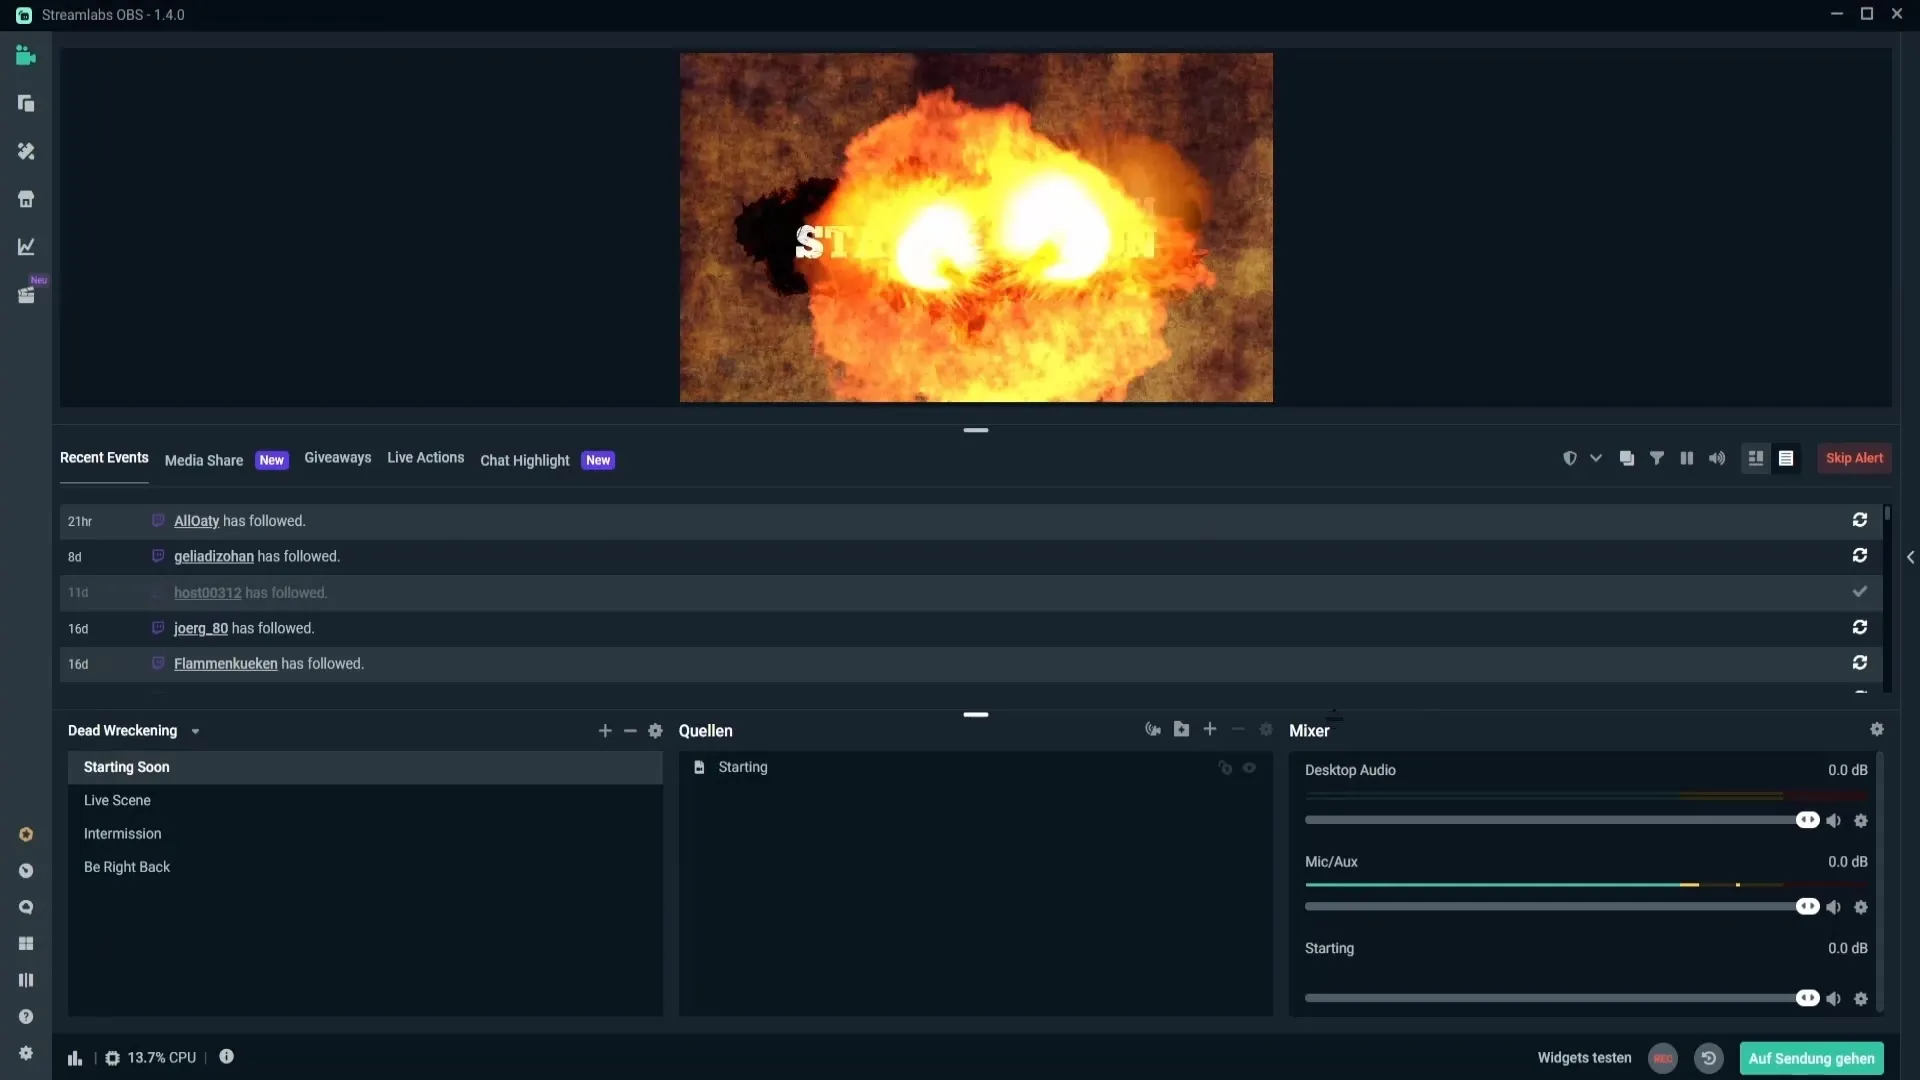
Once your overlay is installed, ensure all your sources are set up correctly in Streamlabs OBS. You can add more sources as needed. This forms the foundation before switching to OBS Studio.
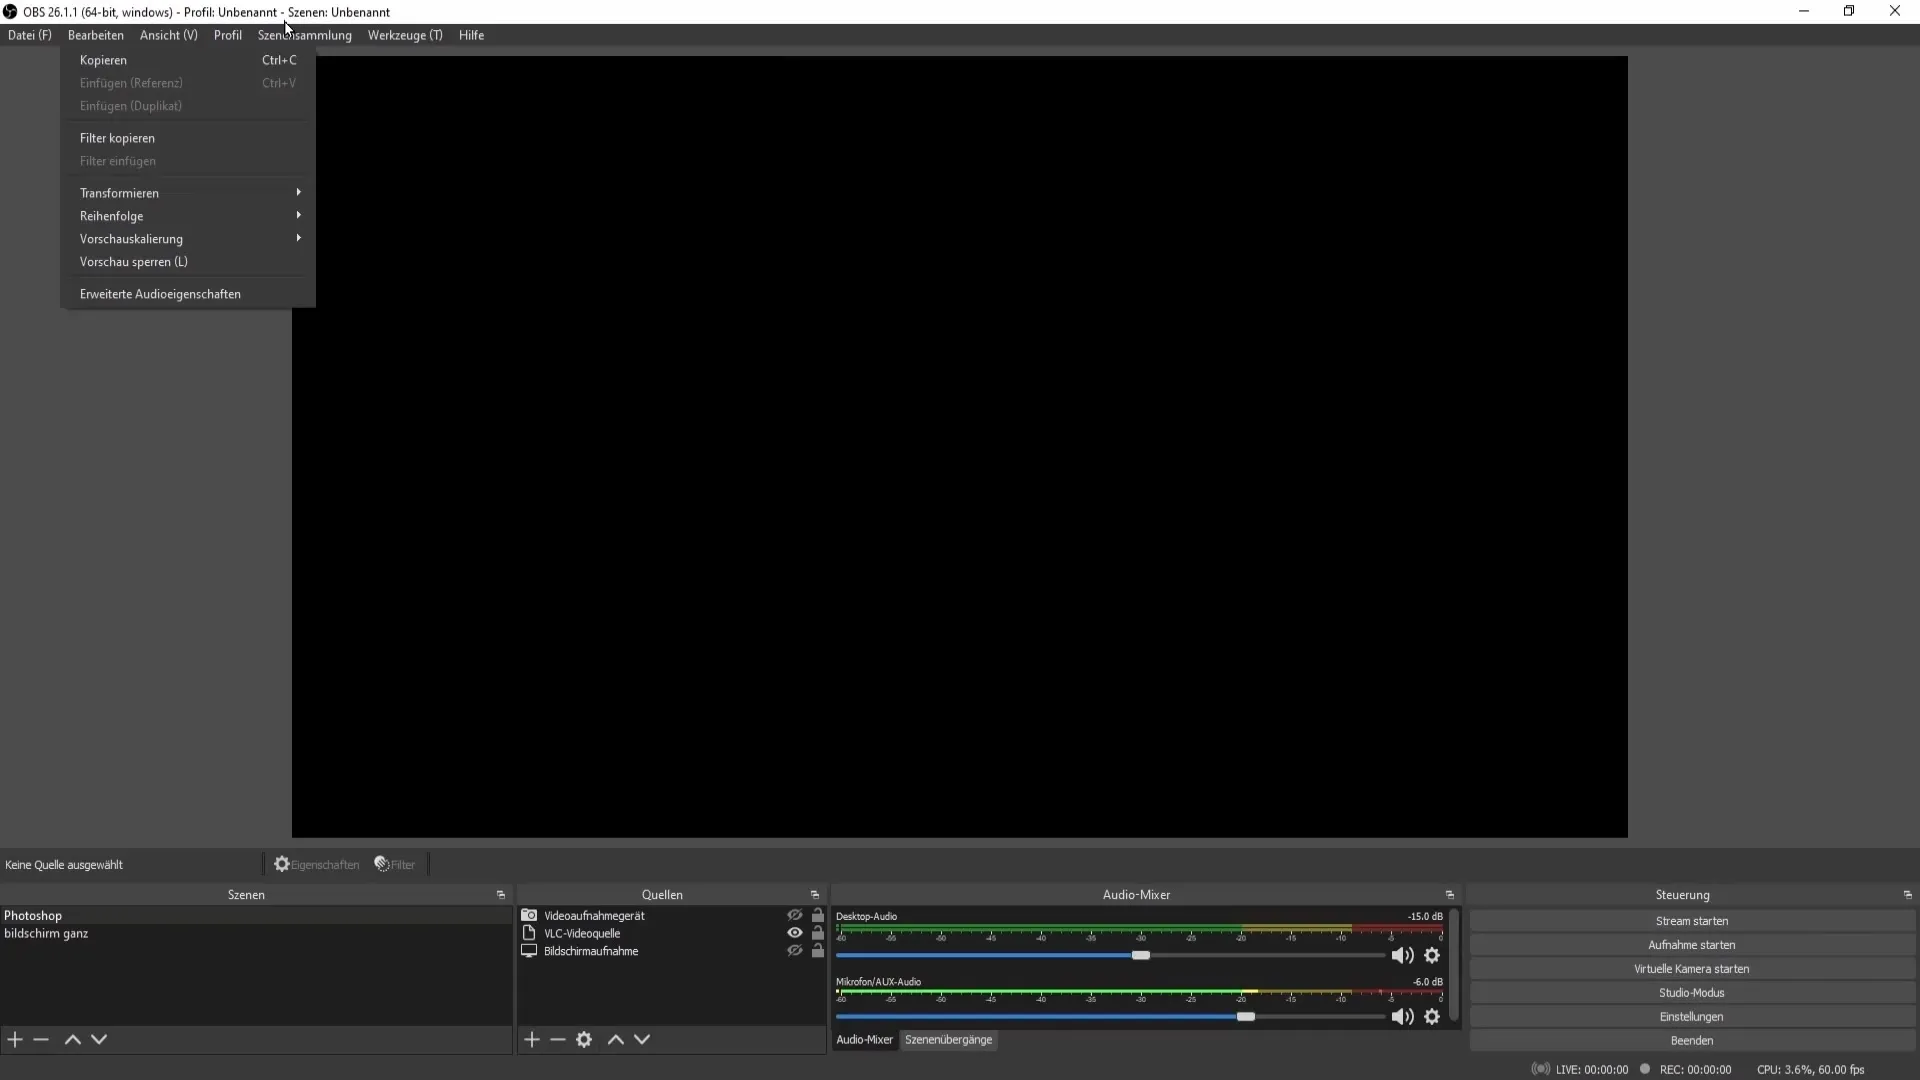
Now you are ready for the import in OBS Studio. Open OBS Studio and go to "Scene Collection" at the top. There, choose the "Import" option. This will open a window displaying all the files available for import.
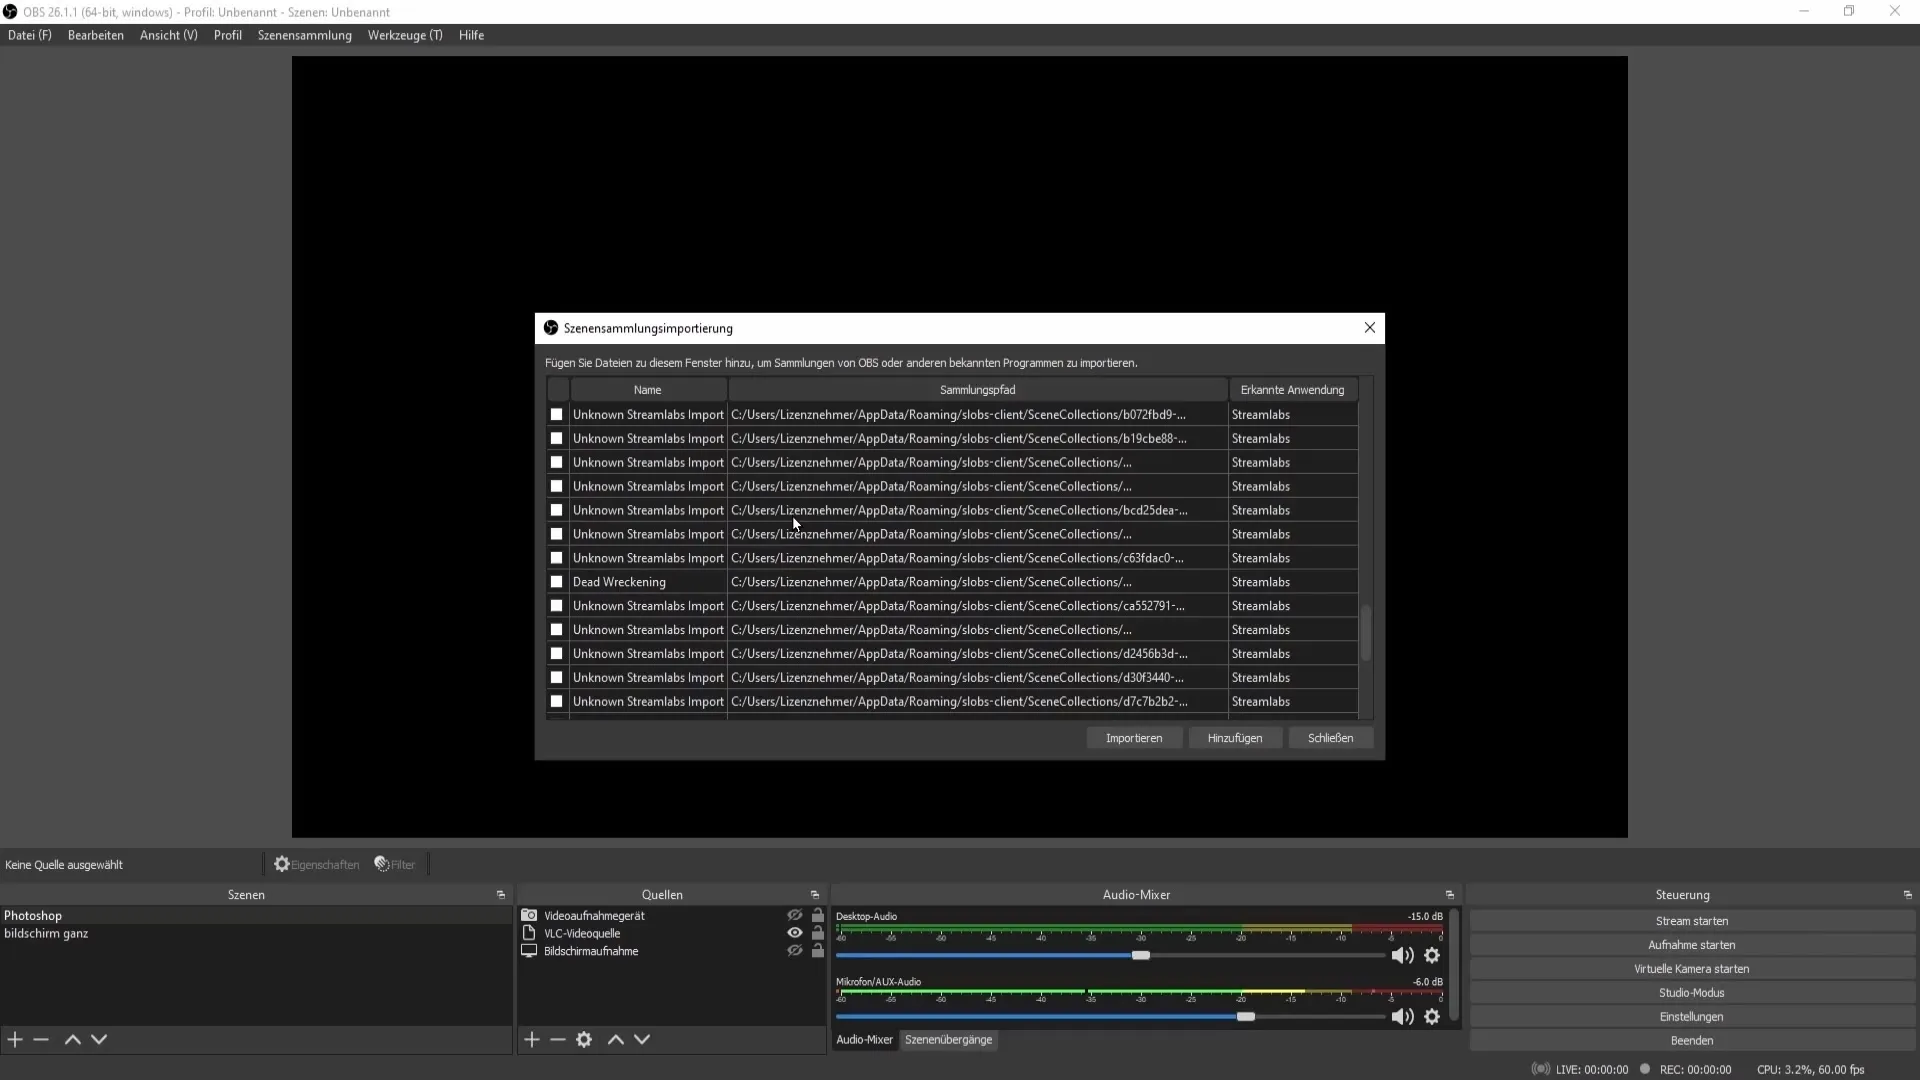
Scroll through the list of scenes and select the desired scene to import. In my case, it is the overlay named "Dead Wacking." Make sure to tick the corresponding checkbox before clicking on "Import."
After the import, you will notice that visually not much has changed. To see the changes, you need to switch the scene in the scene collection - choose the imported overlay to display it.
However, there is an important aspect to consider: Not all sources from Streamlabs OBS are correctly imported into OBS Studio. If you notice something not working, this could be the reason.
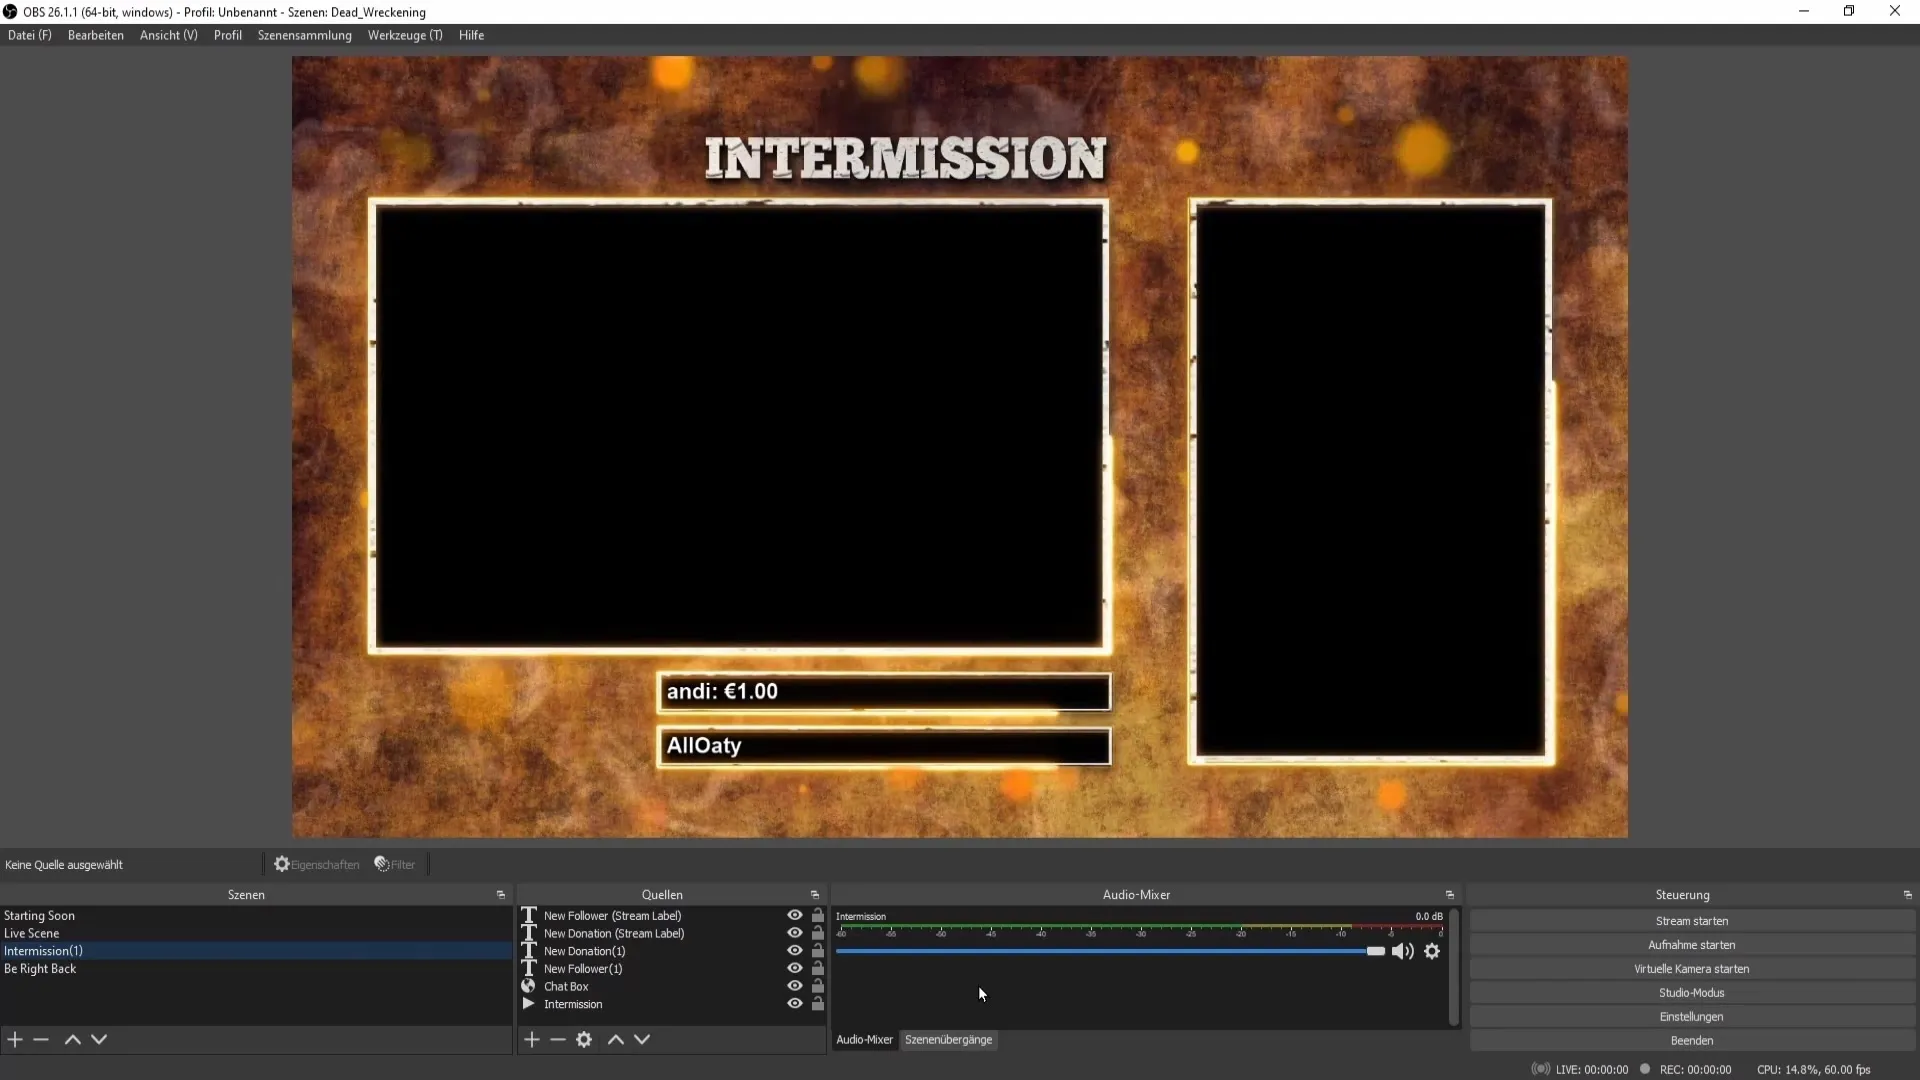
To ensure everything runs smoothly, go to the OBS settings. Under the "Audio" tab, you can add audio sources like desktop audio and microphone.
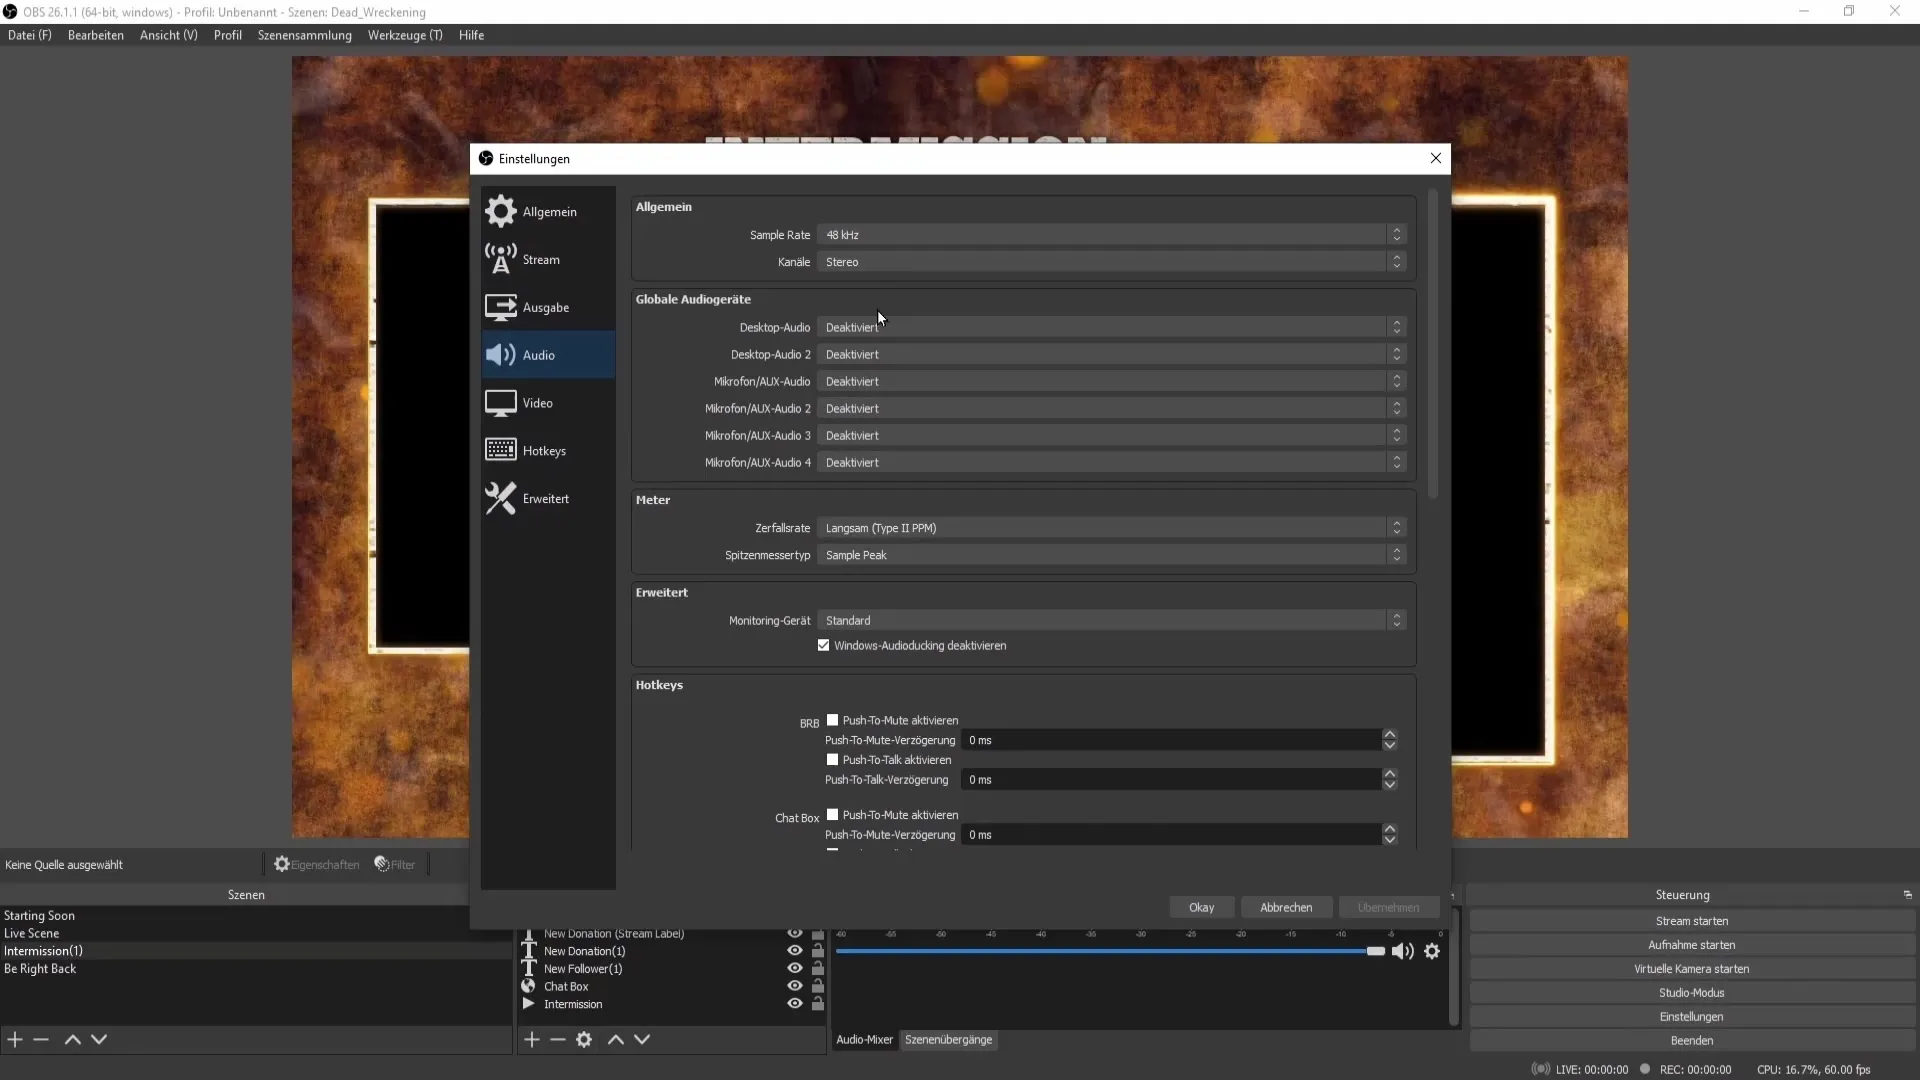
In my case, I have selected "Realtek High Definition Audio" for desktop and "Rode Podcaster" for the microphone. Don't forget to click on "Apply" and then "OK" here.
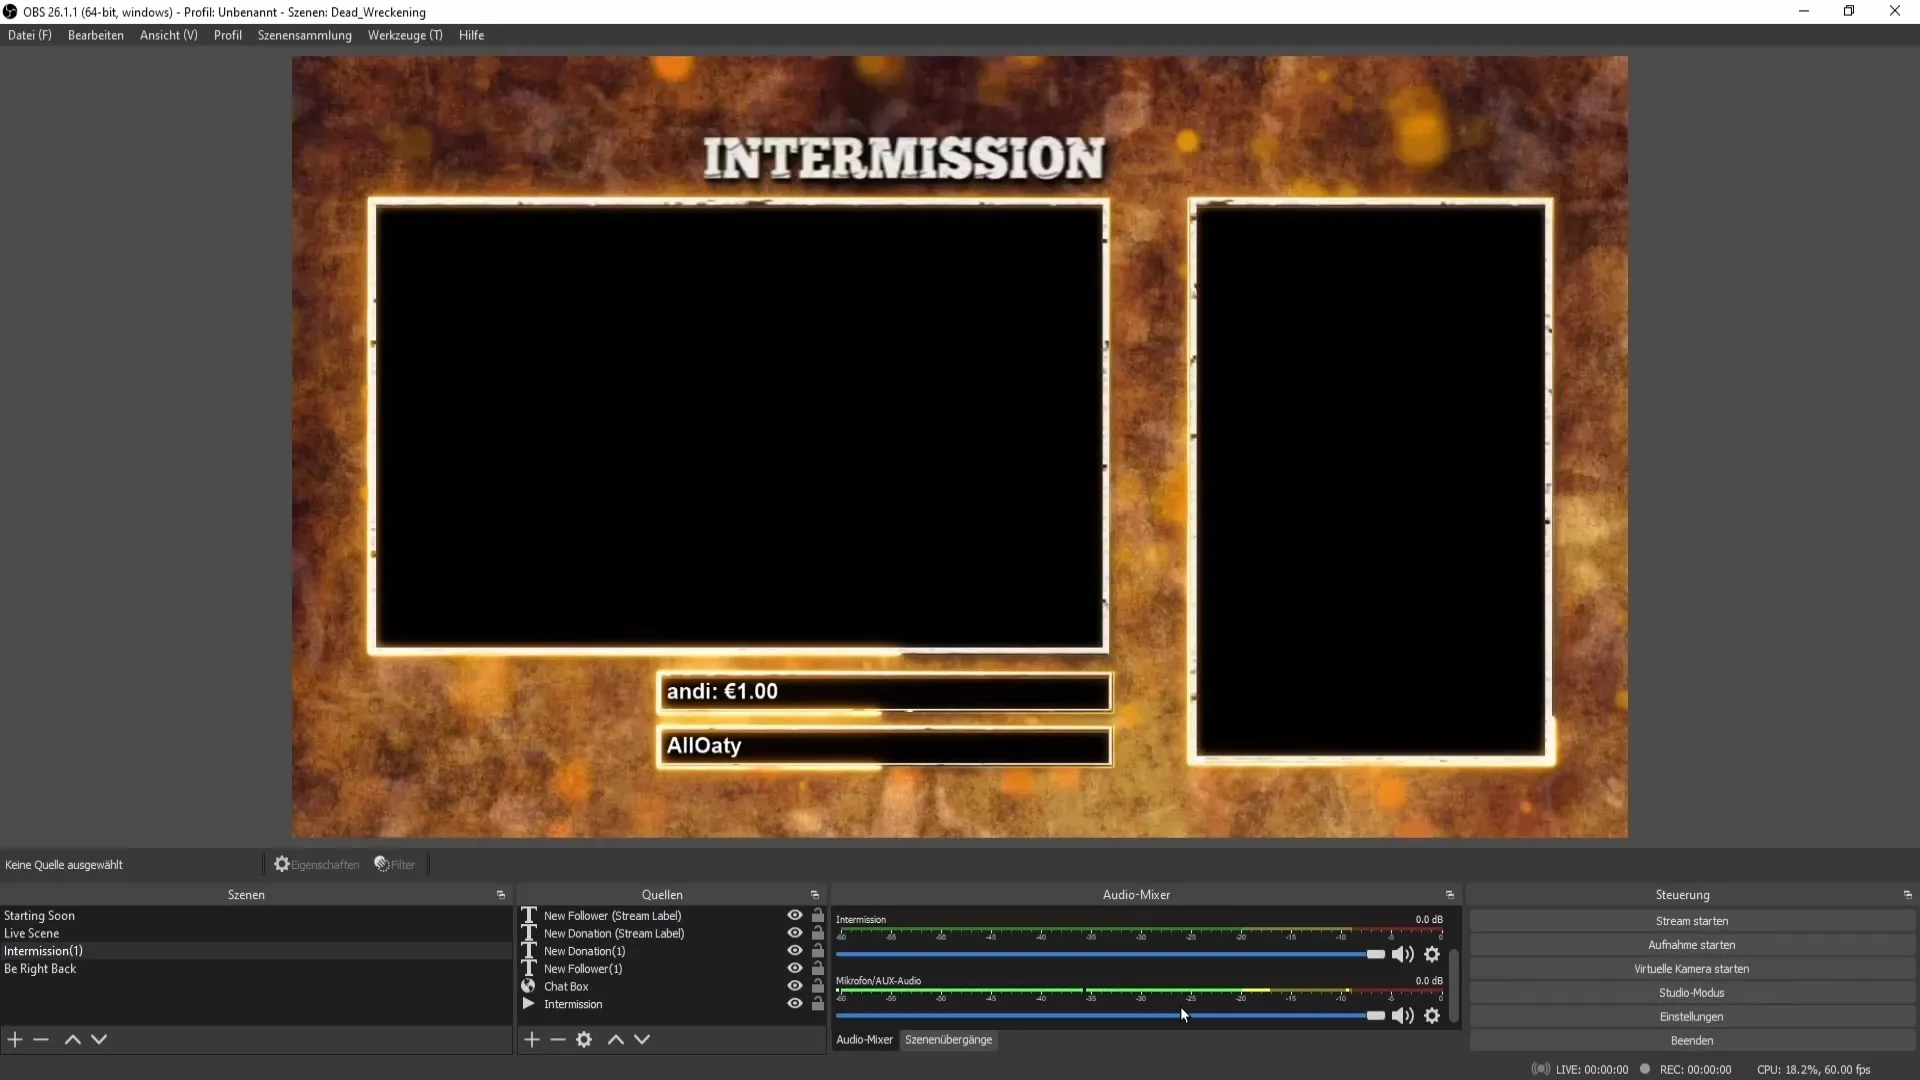
As each scene requires specific settings, I recommend adjusting the volume in the mixer and applying filters such as compressors, noise suppression, or noise gate for your microphone if necessary.
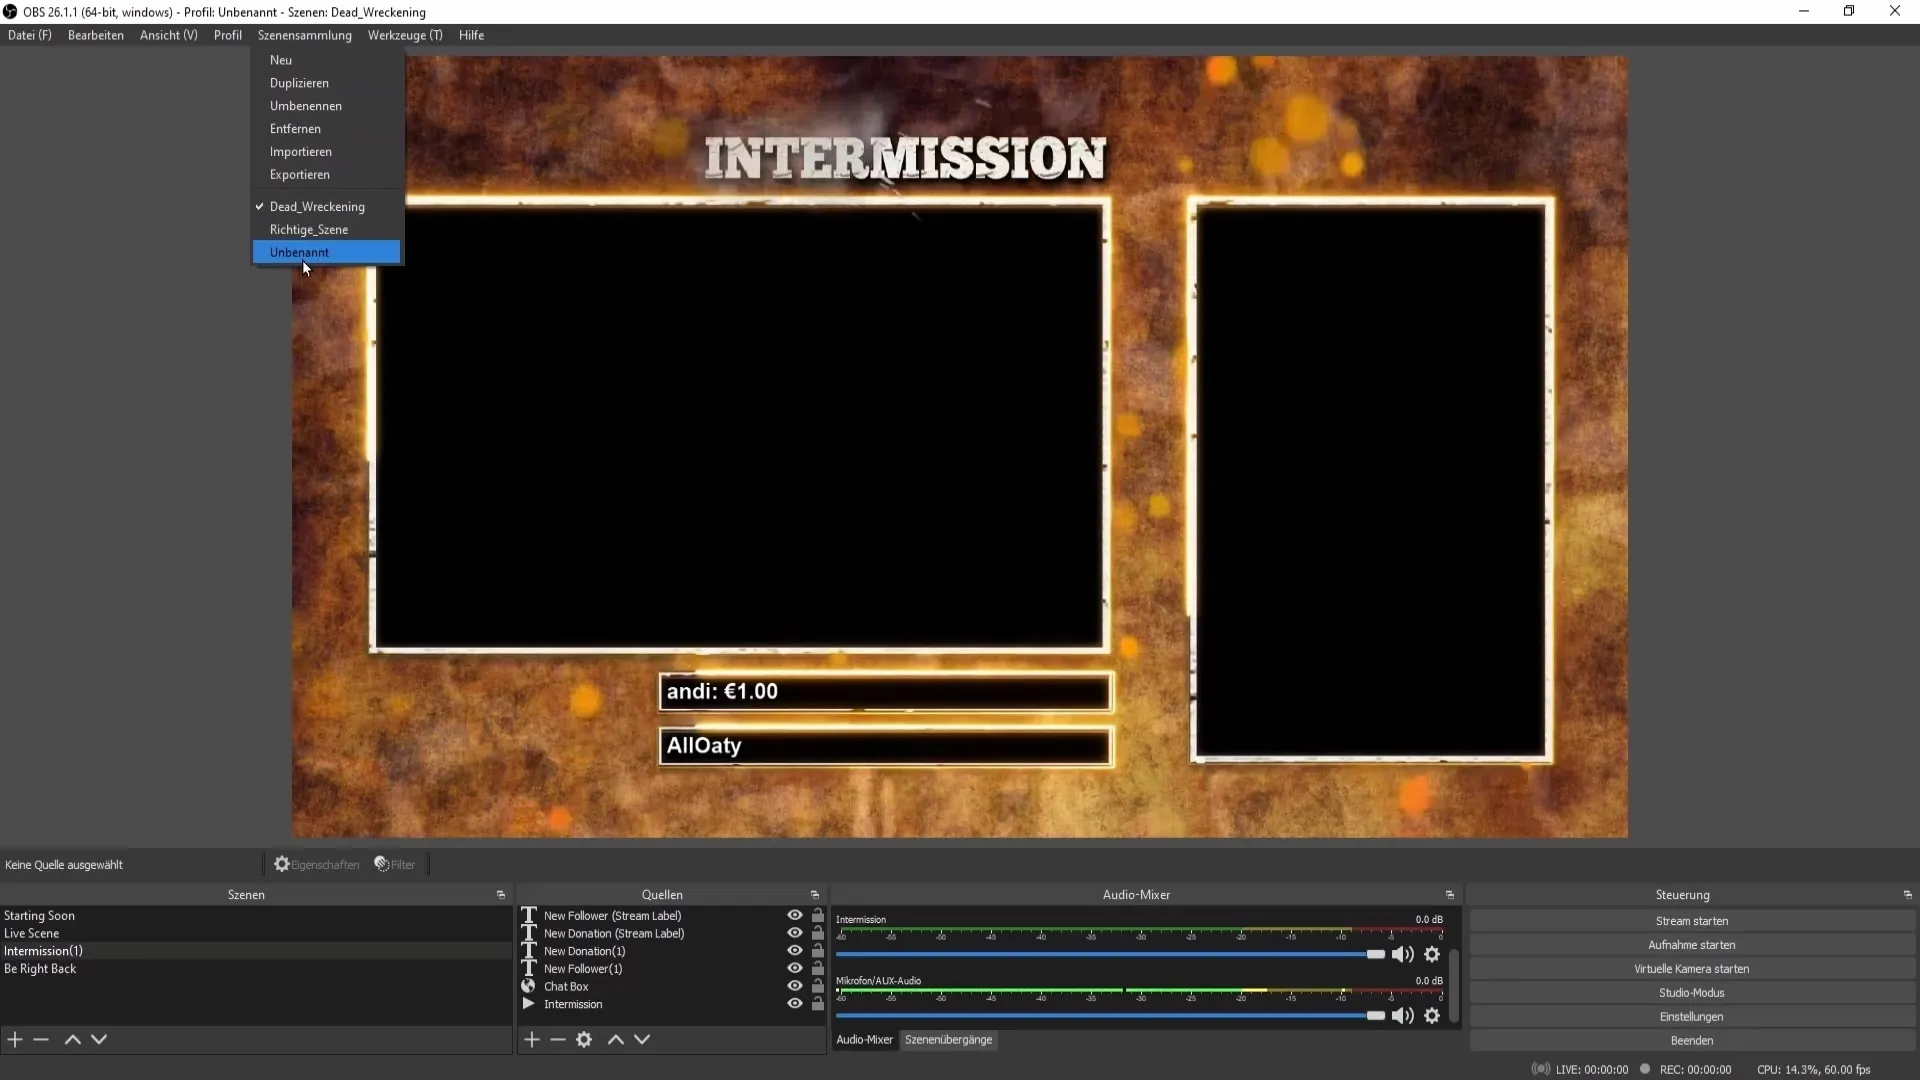
If you now want to switch between scenes, use the upper menu selection of the scene collection again to choose the scene you want to return to.
Summary
Transferring your scenes from Streamlabs OBS to OBS Studio is a straightforward process if you follow the right steps. Make sure to add all necessary sources and adjust settings to optimize your streams.
Frequently Asked Questions
How do I import scenes from Streamlabs OBS into OBS Studio?Open OBS Studio and go to "Scene Collection," then select "Import."
What happens to my overlays during the import?Not all overlays and sources are automatically transferred and must be added manually.
Do I need to readjust audio sources in OBS Studio?Yes, you need to add and configure your audio sources in OBS Studio.
Do all my sources work after the import?No, some sources may need to be set up again as they are not transferred.
How do I adjust the volume in OBS?Use the audio mixer in OBS to adjust the volume of your sources.


