Here we go: Steps 1-10
Step 1
In this little tutorial, I would like to show you how to achieve the effect of interlinking the rings. It's pretty simple.
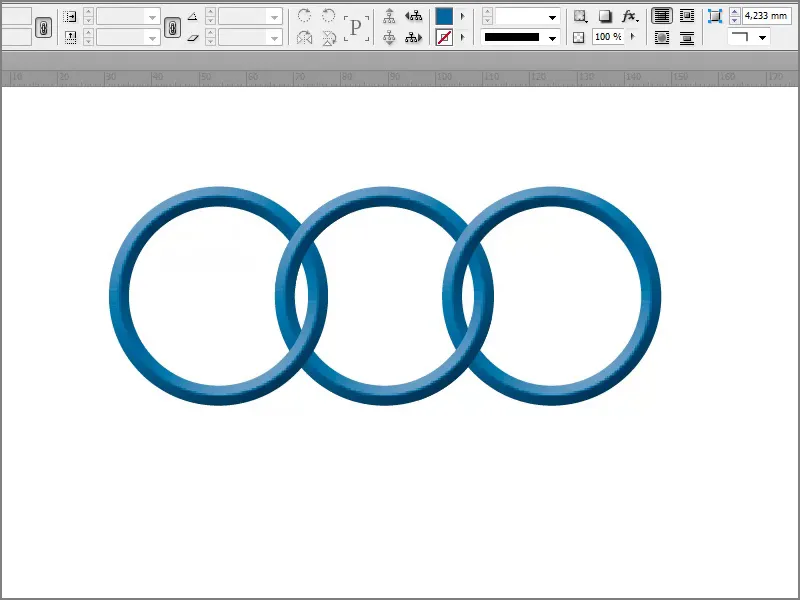
Step 2
I simply remove everything and create the circles accordingly. To do this, I use the ellipse tool and drag it with the Shift key pressed so that it really is a circle.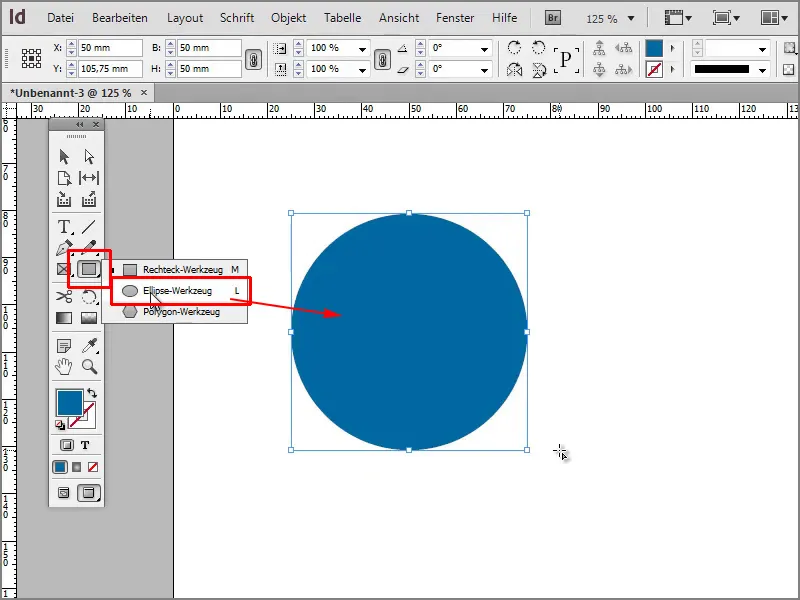
Step 3
I do the exact opposite and use an outline of 5 pt.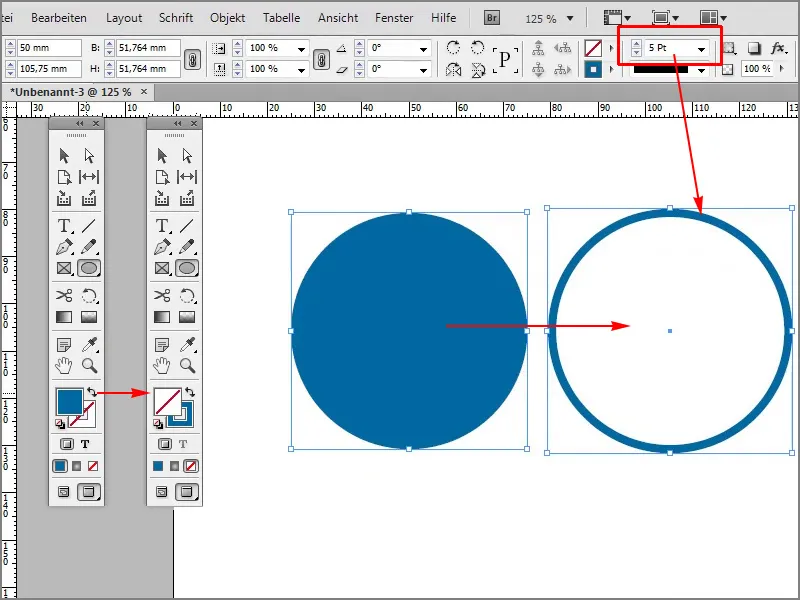
Step 4
Then I'd like a nice effect, double-click on the object.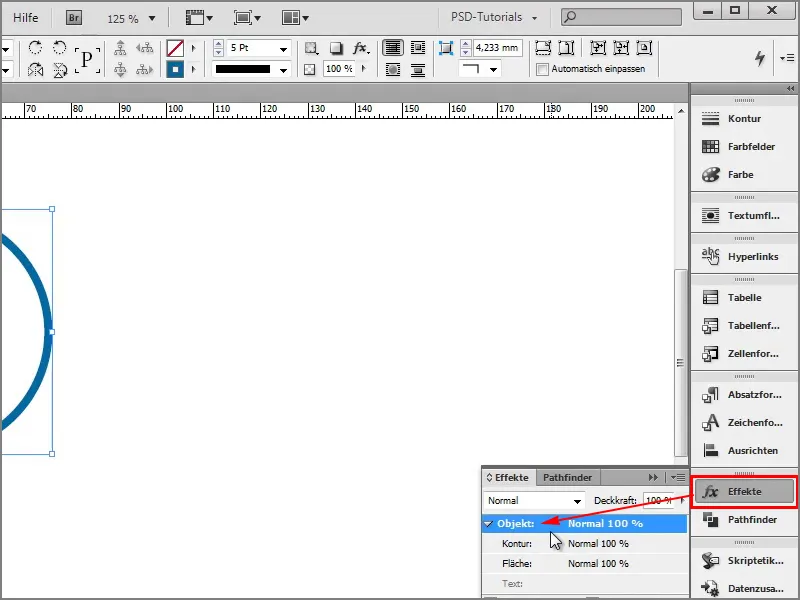
Step 5
Then I can say, for example, Flatten edge and Relief, then I take Hard chisel and confirm with OK.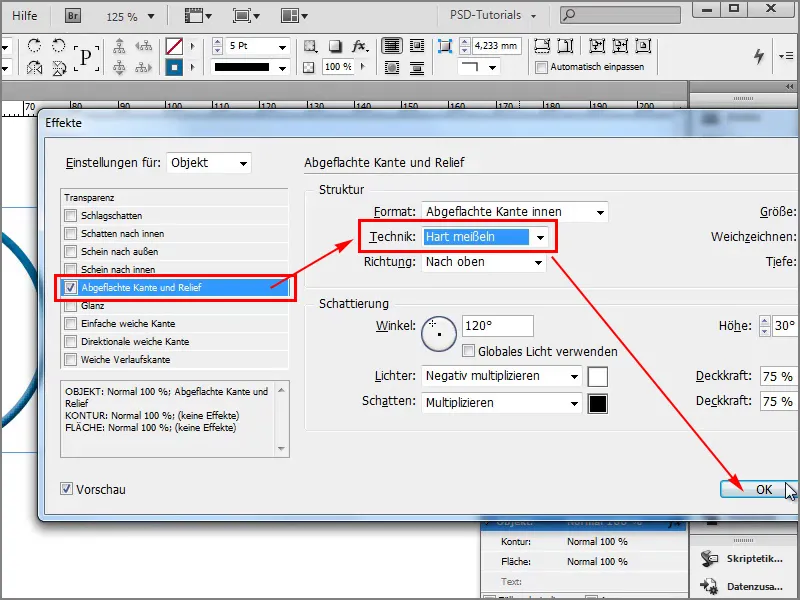
Step 6
A little more contour would do the circle some good: 22 pt.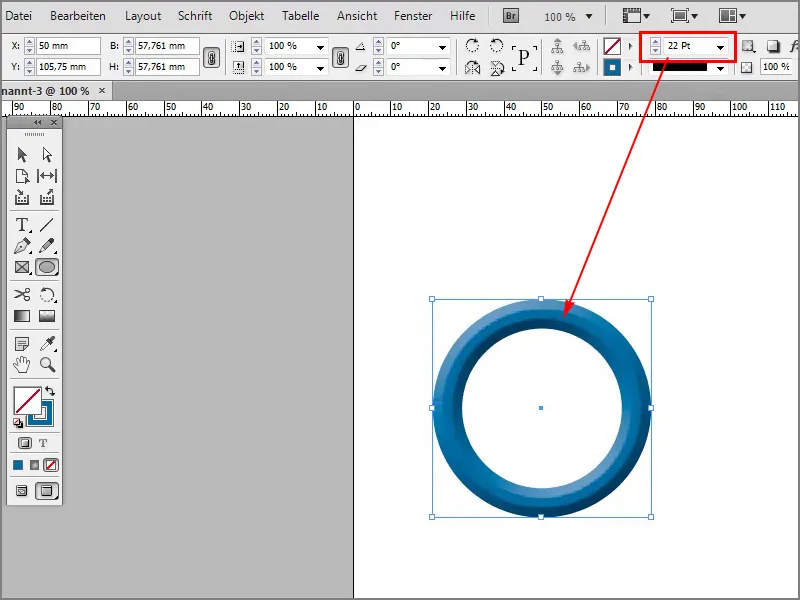
Step 7
We can fine-tune it a little and change the size to 6 mm.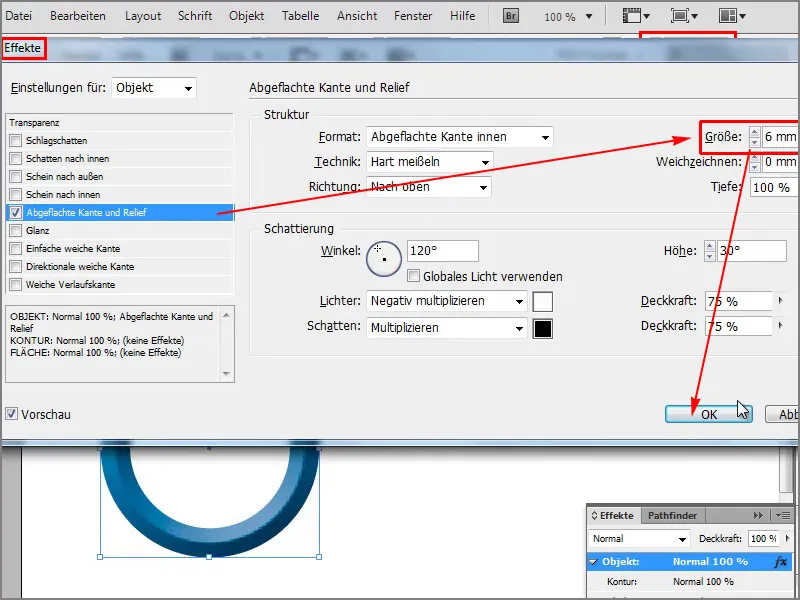
Step 8
Then I duplicate the whole thing by holding down the Alt+Shift key so that everything stays straight. I think it looks pretty good like this.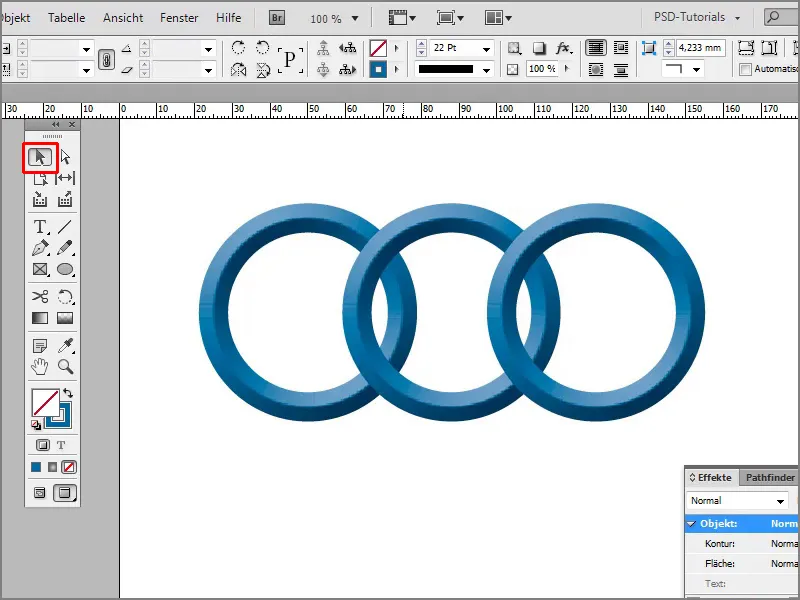
Step 9
Now I want to link the two together. To do this, I take the inner circle and place it in the background. I can say with the right mouse button: Arrange>Into the background.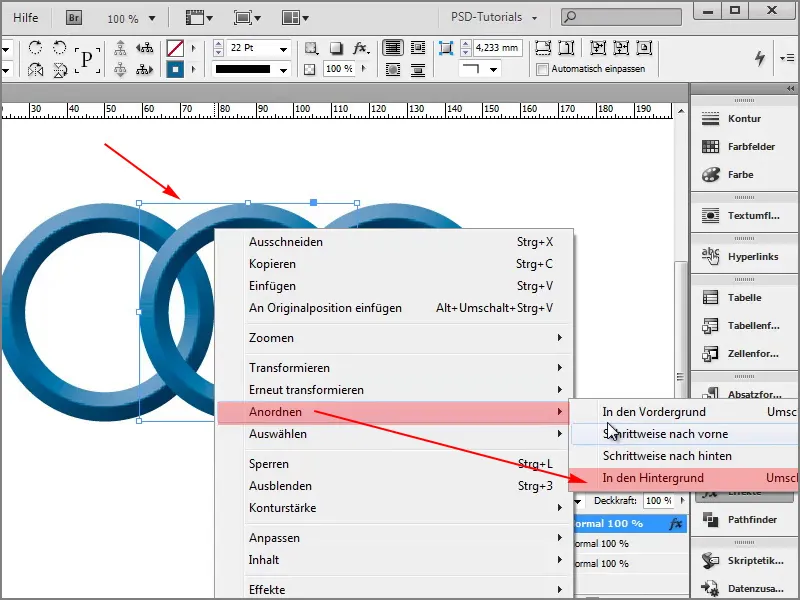
Step 10
I draw two rectangles with the rectangle frame, which are placed exactly where the overlap should be. I select the whole thing by holding down the Shift key so that both are selected.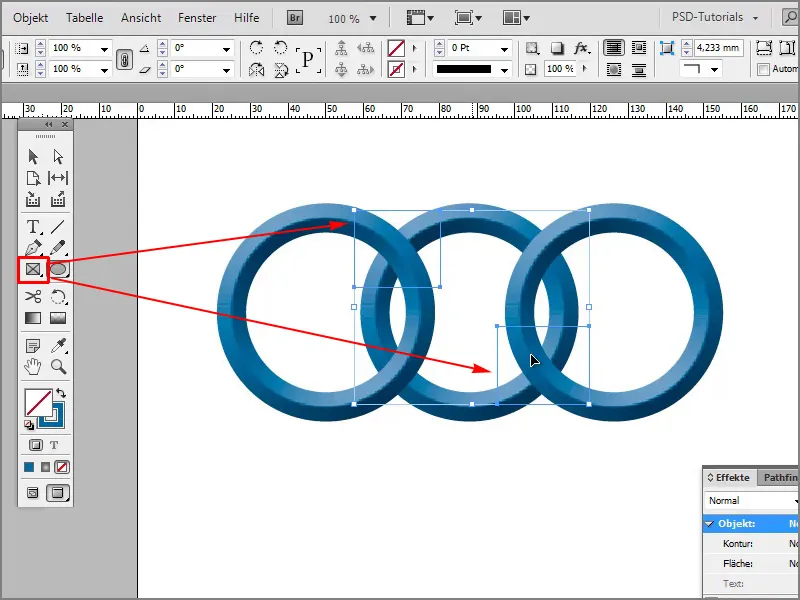
Steps 11-20
Step 11
Then I click on Object>Paths>Create linked path.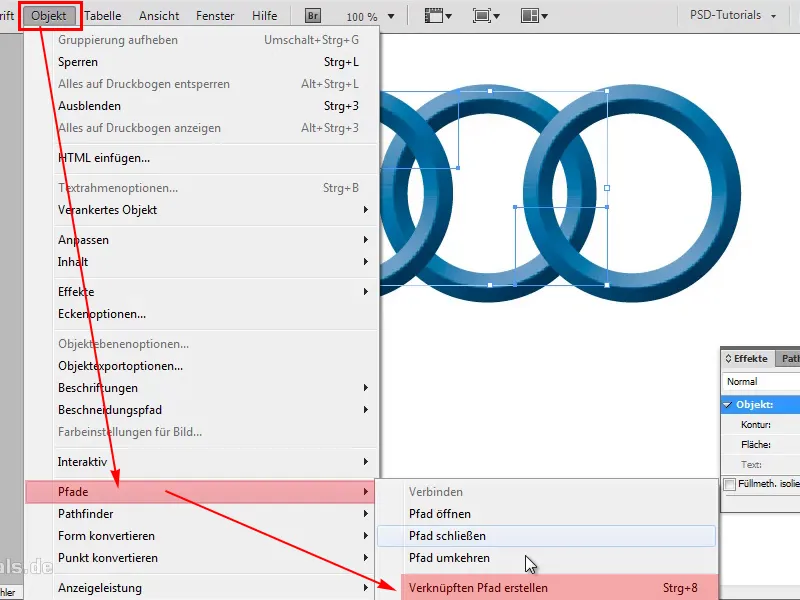
Step 12
Now I have a path. Now I just have to take my circle, copy it with Ctrl+C, and then I click on the other path again and say Edit>Paste into selection.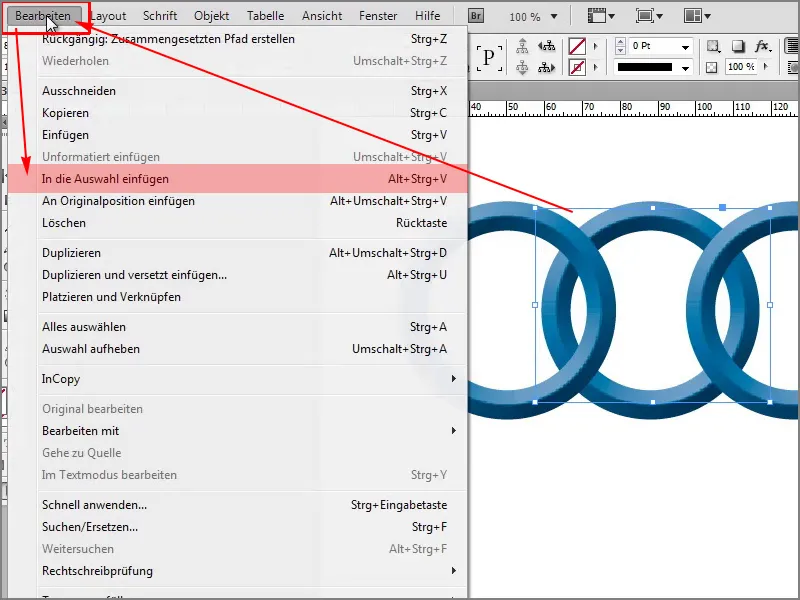
Step 13
Looks pretty good already.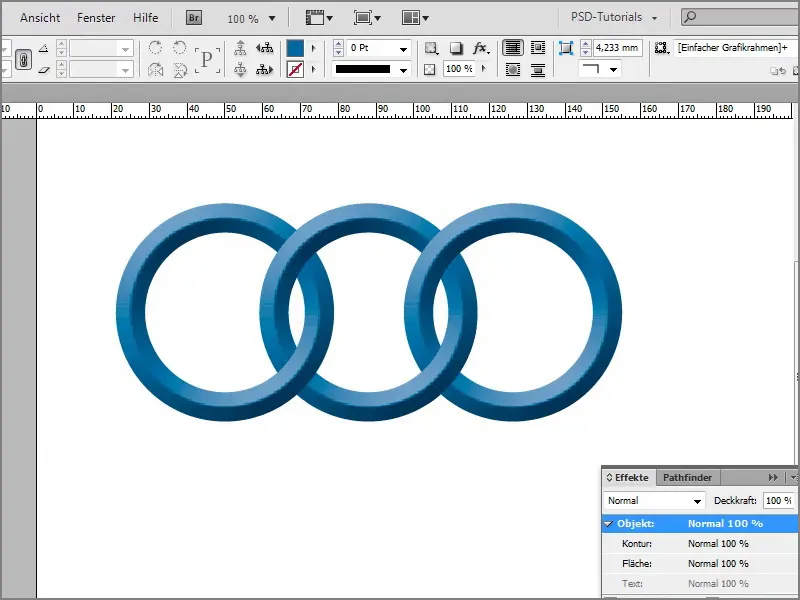
Step 14
You can do a lot of great things with Paste into selection. For example, if I take the polygon tool and draw a star to insert a photo.
Step 15
If I place an image with Ctrl+D, for example this one, it will be inserted immediately.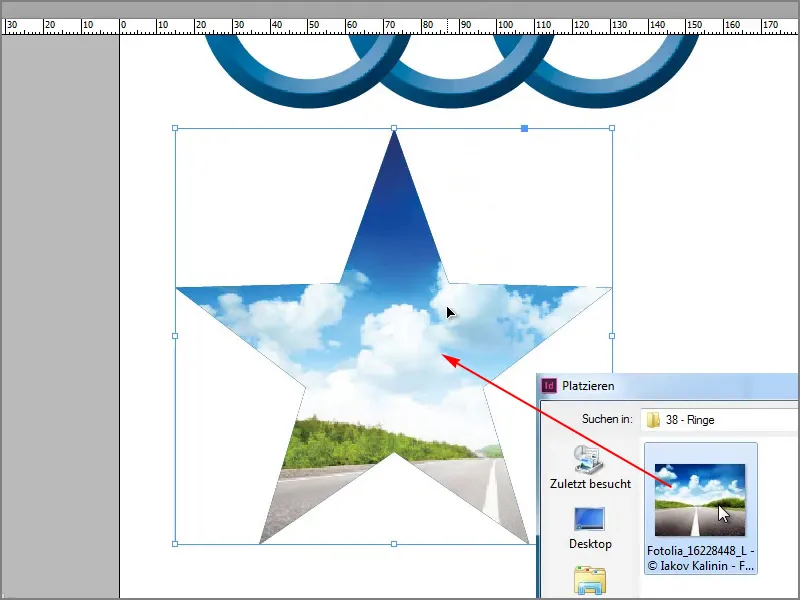
Step 16
But if I don't want that, I can take the picture as it is and if I want to insert it afterwards, I can cut it out with Ctrl+X.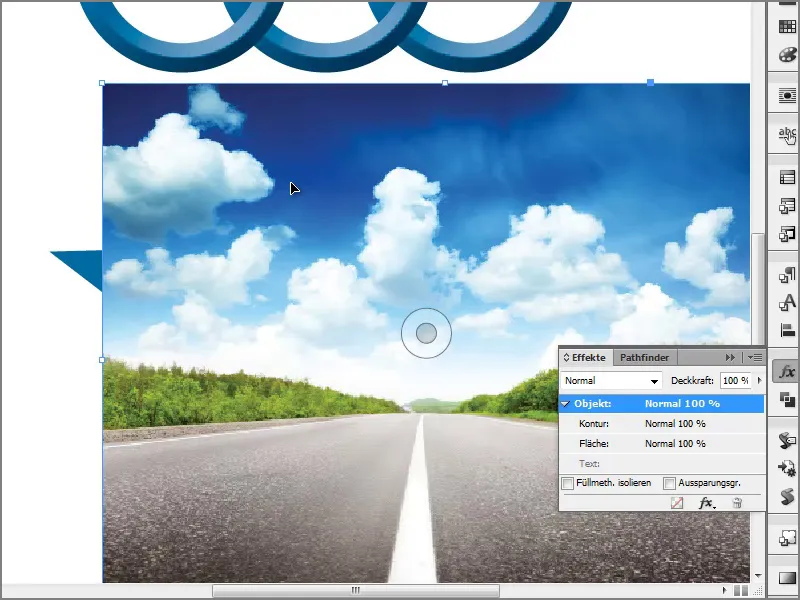
Step 17
Now click on the star and right-click to insert it into the selection.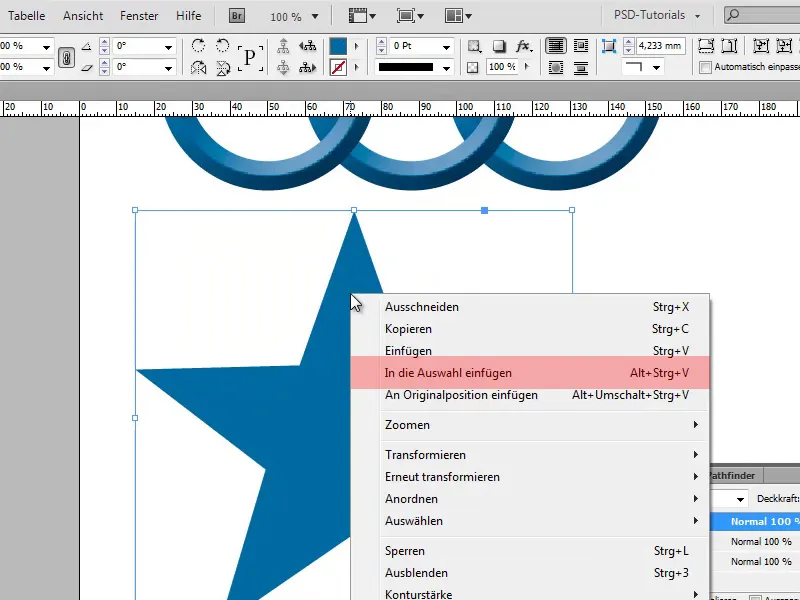
Step 18
With the direct selection tool, I can move the image within the star accordingly. That's a great thing.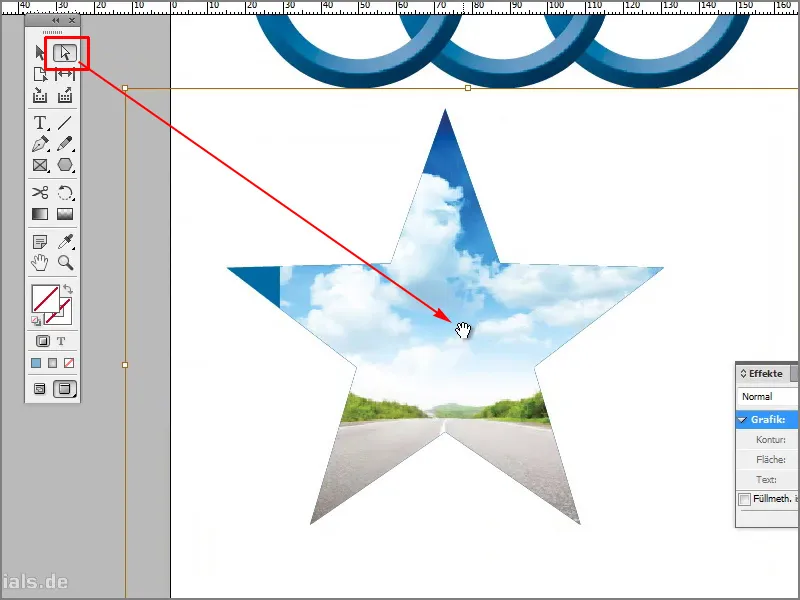
Step 19
We can do lots of other great things with this. If I create a new file, draw something with the rectangle tool while holding down the left mouse button, I can create several rectangles with the arrow keys.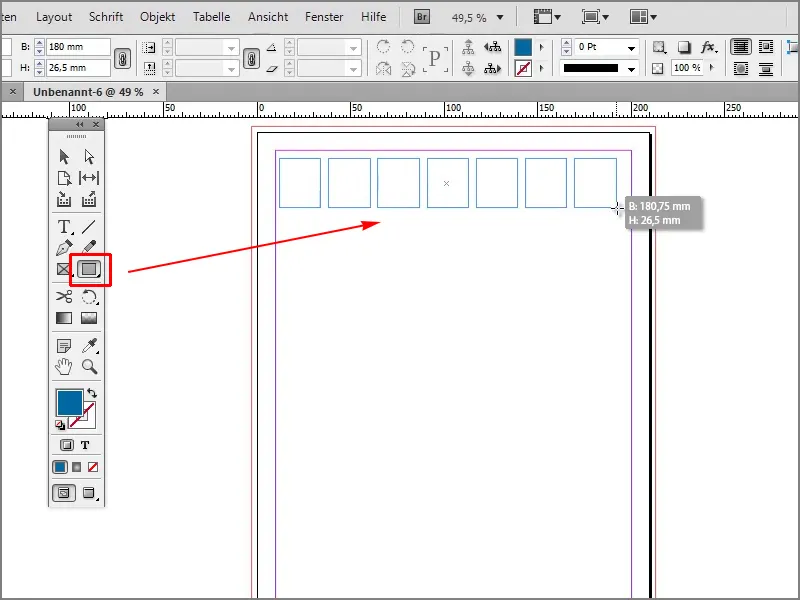
Step 20
I have created new horizontal rectangles with the right arrow key. If I also want to create vertical rectangles, I can do this by holding down the up arrow key.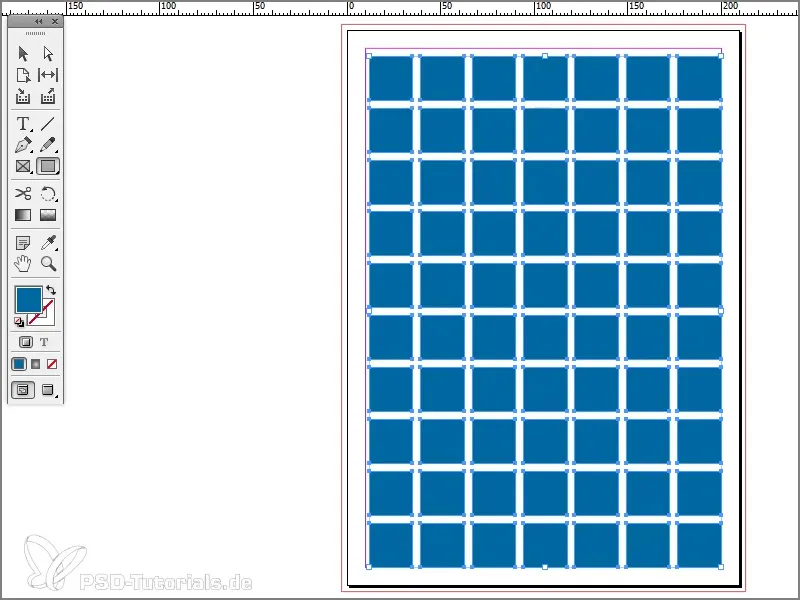
The last steps
Step 21
Now I can create a cool effect by going to Object>Corner Options.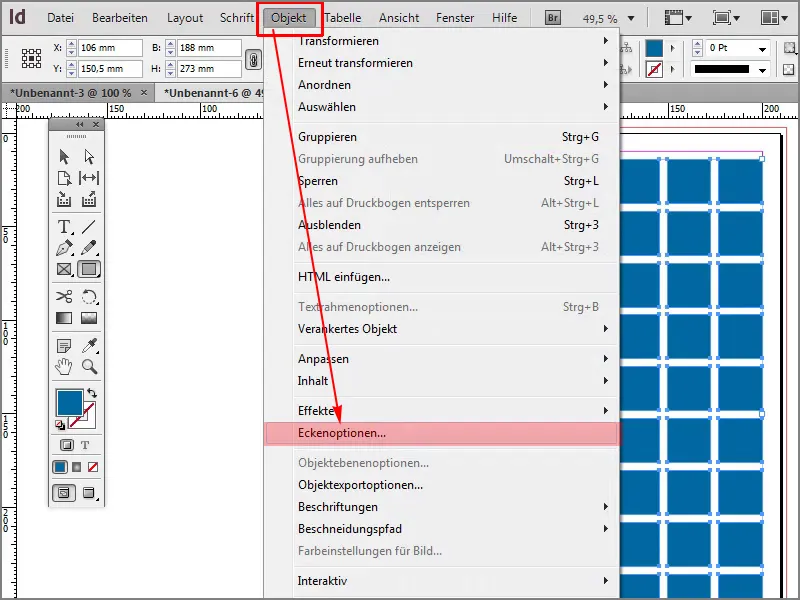
Step 22
Then round it off so that it's almost a circle.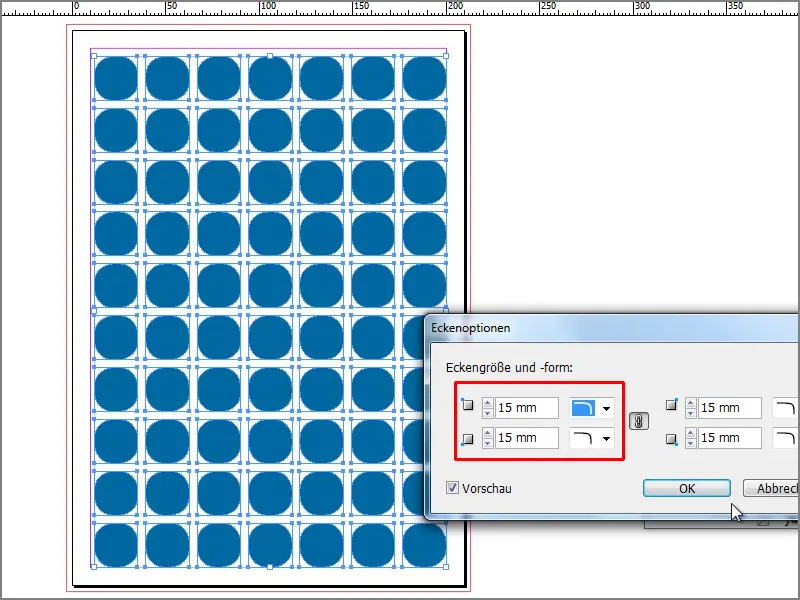
Step 23
Now I can select the whole thing, go into Pathfinder and create a common shape from it.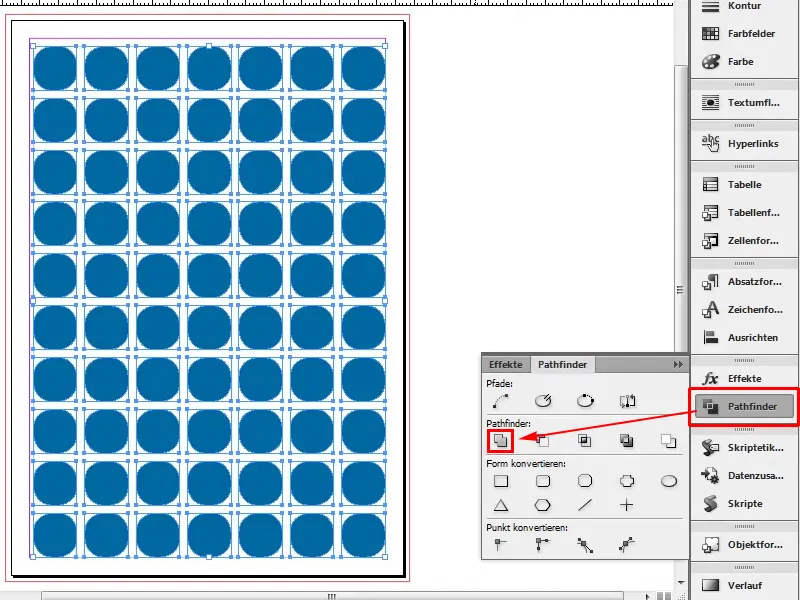
Step 24
Now I can insert my image again with Ctrl+V, or I can do it straight away by first selecting the object and then right-clicking on it and selecting Insert into selection.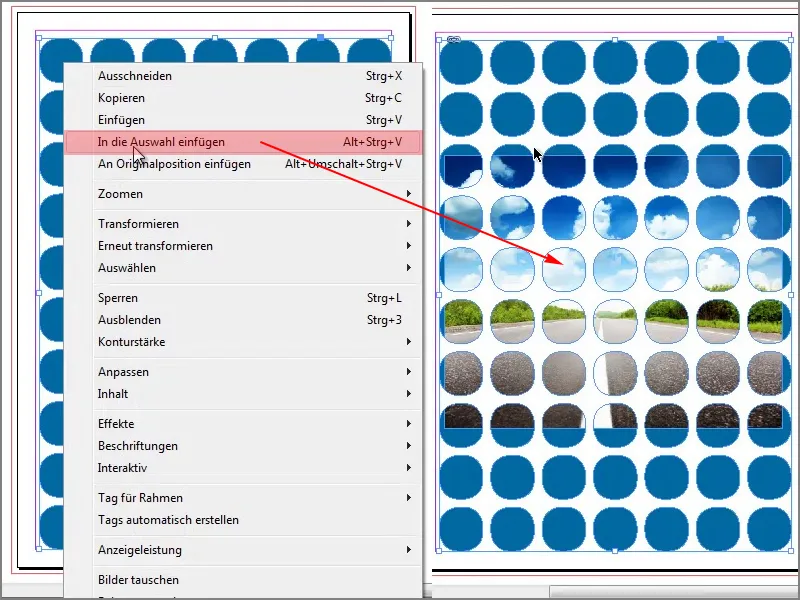
Step 25
I can enlarge it a little by holding down the Shift+Alt+Ctrl key, then it will be the same size from all sides. Now I have a cool effect that only the circles are filled.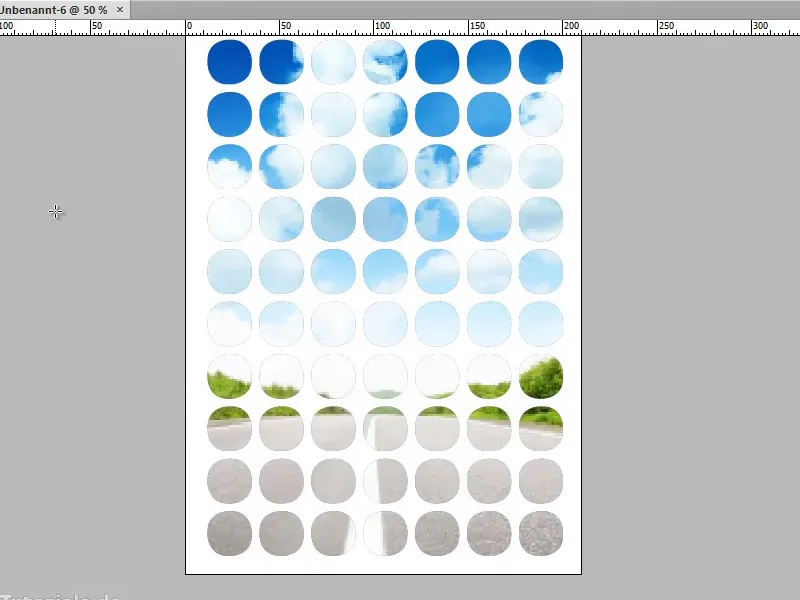
Step 26
I can of course add more effects to the whole thing if I go in here now. Here, too, I would like to have a drop shadow with less opacity at 34%, for example.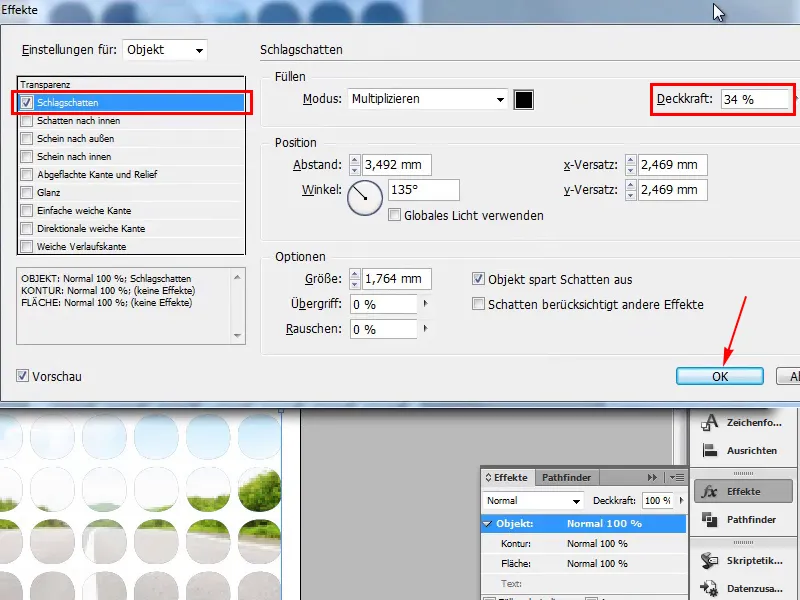
Step 27
Or flattened edge and relief, all of these work, you can just try out what you want. So you can create really great things with it ...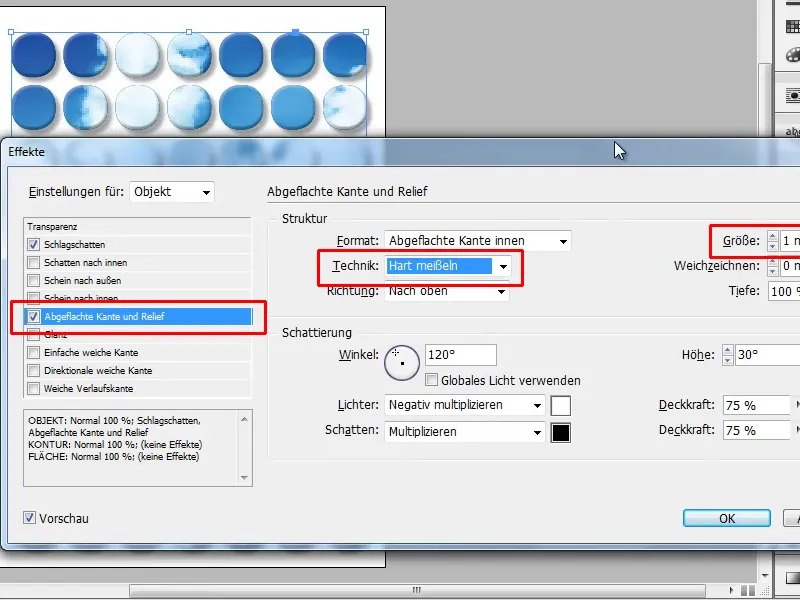
Just try it out with Insert into selection, it's a really great thing.


