If you want to strengthen your community and give special privileges to your loyal viewers, the Regular Role (or Regular-Guest role) in Streamlabs OBS is an excellent way to do so. This role allows you to grant active viewers more control and permissions in the chat, which increases engagement and interactivity. In this guide, I'll show you step by step how to set up the Regular Role.
Key Insights
- The Regular Role gives loyal viewers more permissions in the stream.
- You need to activate the Cloudbot feature in Streamlabs to be able to use this role.
- The assignment of the role is done through the User Management within Streamlabs.
Step-by-Step Guide
First and foremost, it is important that you have activated the Cloudbot feature before you start assigning the Regular Role. You can do this through the settings in Streamlabs. One-time activation is necessary for all Cloudbot functions to work correctly.

Once you have activated the Cloudbot feature, open the stream and type the command "!mod streamlabs" in the chat. By doing this, you give the Cloudbot the necessary moderator rights to manage the Regular Role.
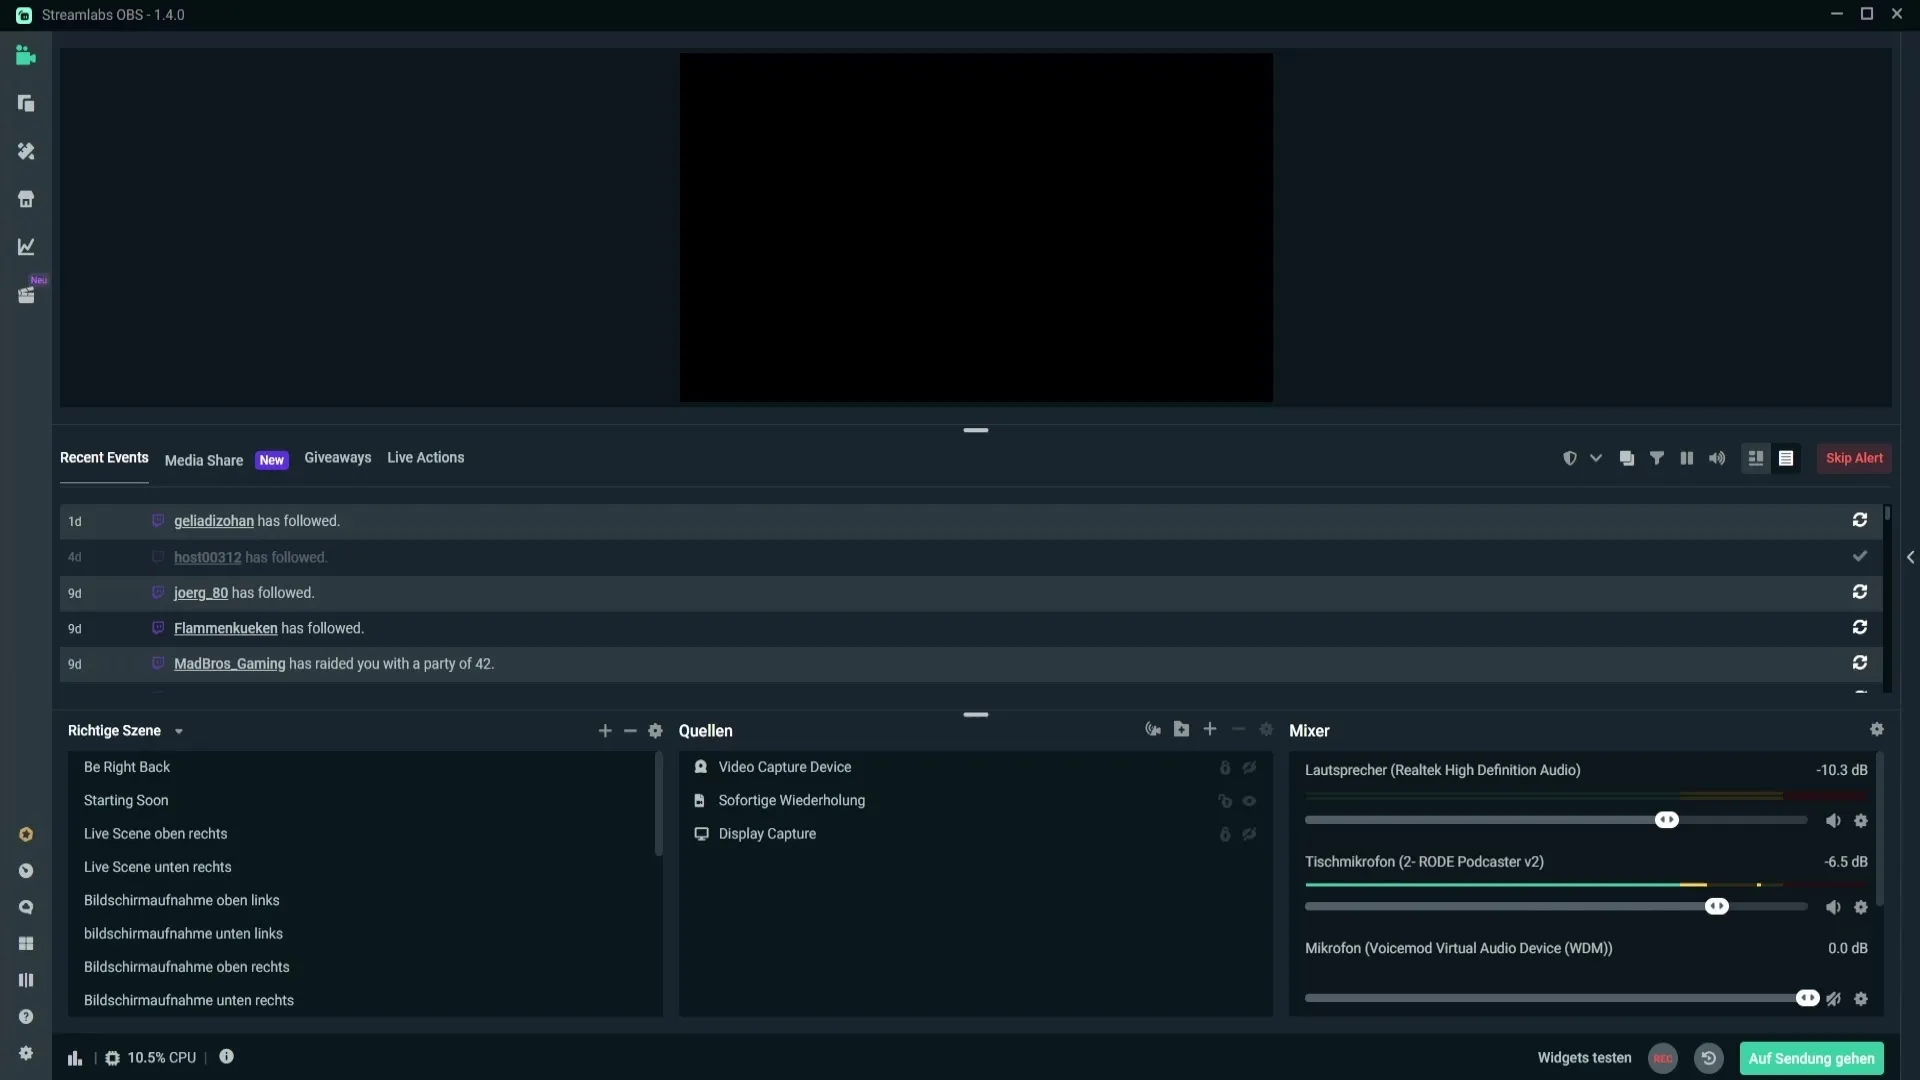
After preparing the chat accordingly, navigate to the Cloudbot. To do this, click on the Cloudbot symbol in the bottom left corner of Streamlabs. You will then be redirected to the corresponding page where all Cloudbot functions are available.
Now you are on the Cloudbot page. Here you will find the "User Management" option where you can add the Regular Role. Click on "User Management" to access the overview where you can manage user roles.
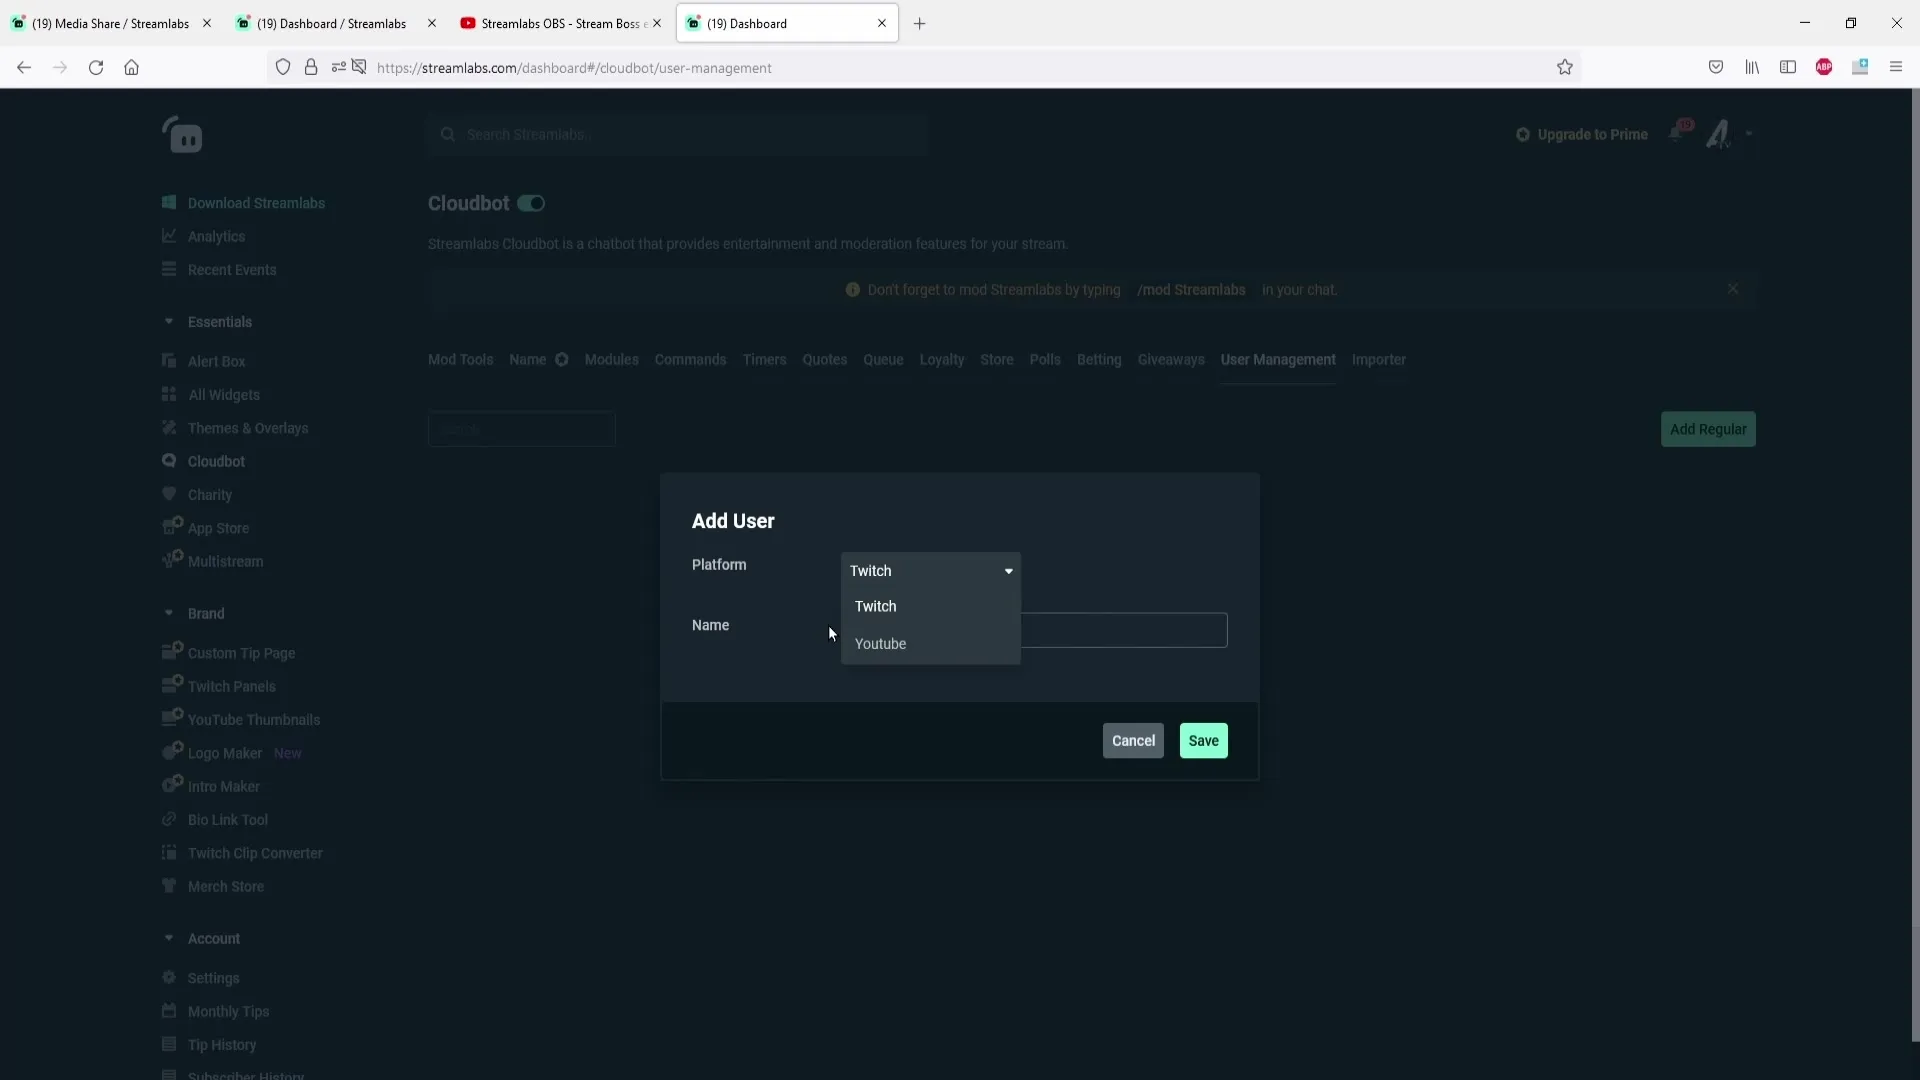
Under the User Management, you will see the category "@regular". Click on it. Here you have the option to choose between different platforms such as Twitch or YouTube. Make sure to select the correct platform on which you are streaming.
Now you can enter the viewer's username to whom you want to assign the Regular Role. For example, you could enter "Example Username" to highlight a specific user. Make sure you use the correct name to avoid mistakes.

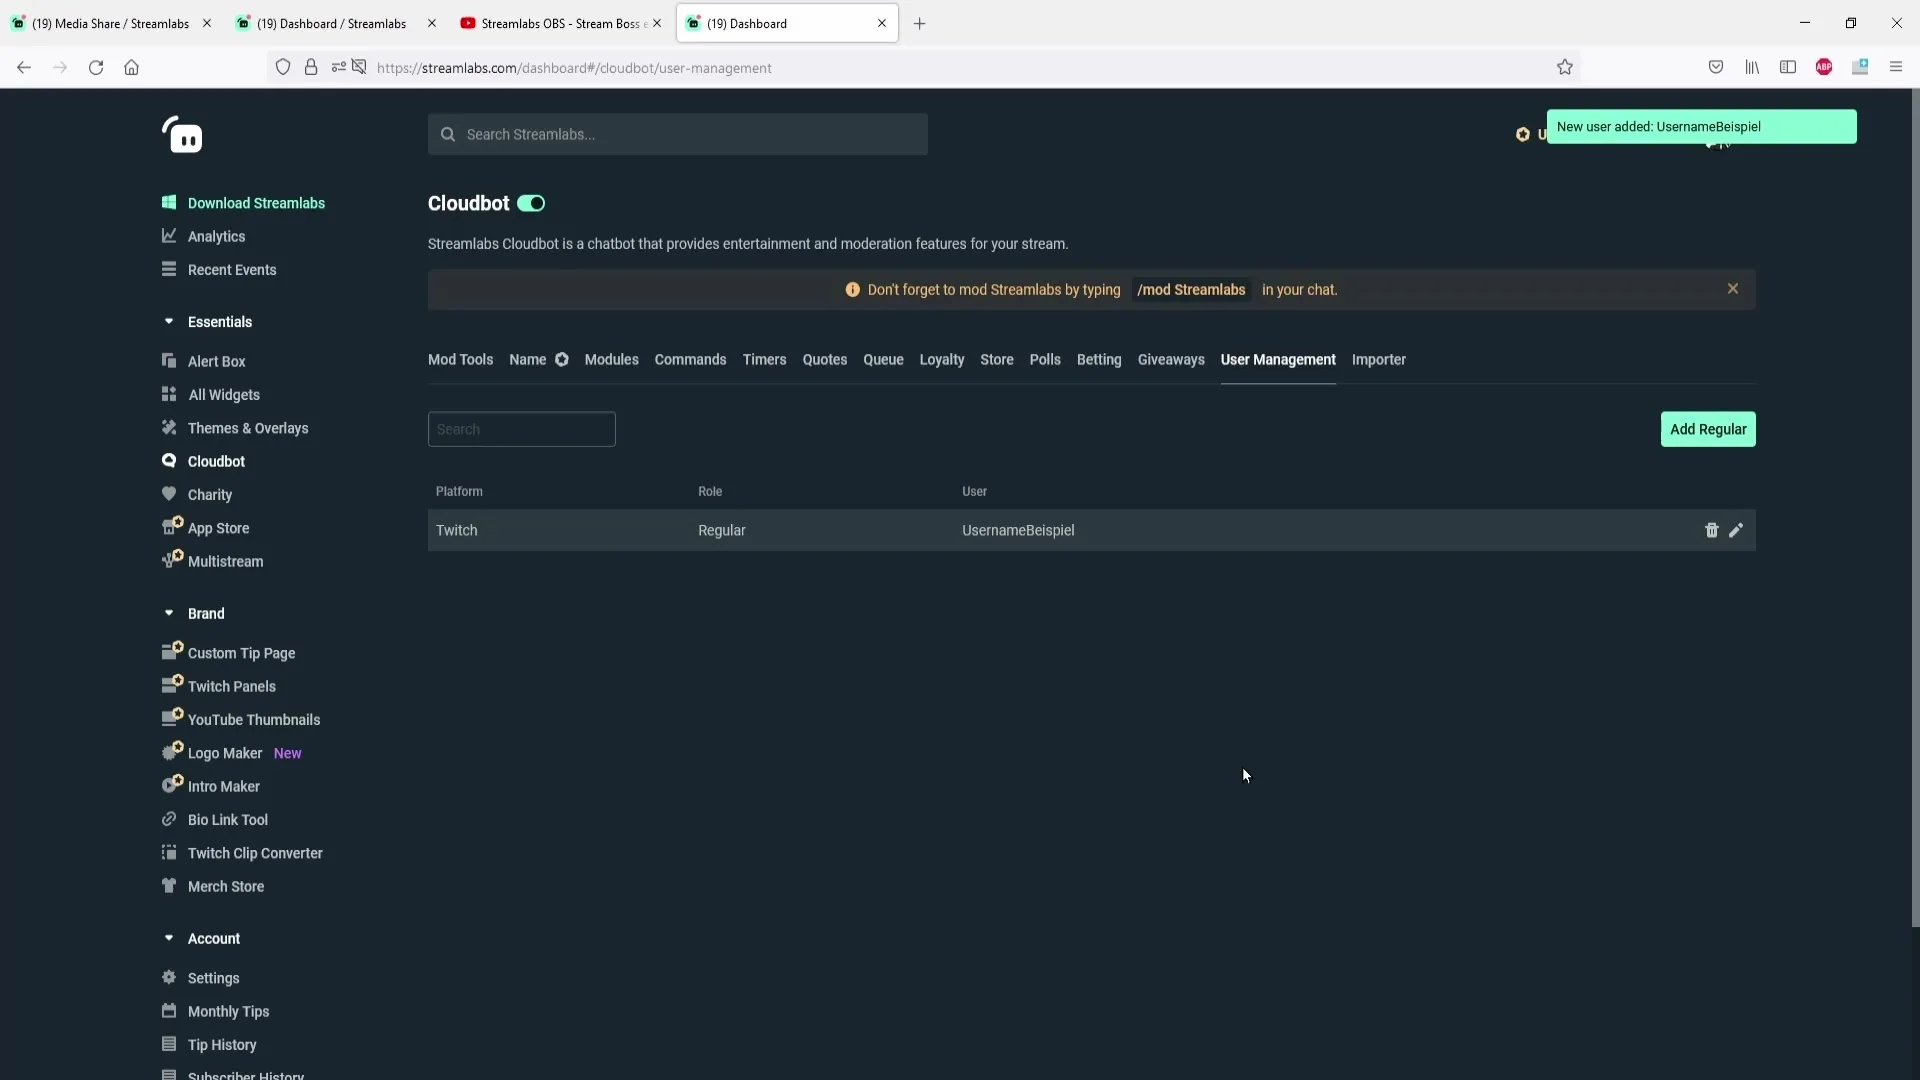
After entering the username, click "Save" to save the changes. This way, you have assigned the "Regular" role to the user and can be sure that this viewer now has special access and permissions in the chat.

If you want to revoke the role later, you can do so at any time. Simply click on the trash can icon next to the username to delete the Regular Role. Alternatively, you can click on the pencil icon to edit the role.
The Regular Role is useful, especially if you want to make certain commands accessible only to regular viewers. Here you can make the necessary settings to ensure that only Regulars can use these special functions, making the chat system more interactive.
Summary
This guide has provided a detailed explanation of how to add the Regular Role in Streamlabs OBS. The necessary steps have been outlined so that you are now able to grant special privileges to loyal viewers and increase community interaction.
Frequently Asked Questions
How do I activate the Cloudbot?You can activate the Cloudbot by enabling the Cloudbot feature in the Streamlabs settings.
What do I do if I want to remove a user with the "Regular" role?You can remove the role by clicking on the trash can icon next to the username in User Management.
Can I set the "Regular" role for different platforms?Yes, you can choose between different platforms like Twitch or YouTube.
How does Command Management work with Regulars?You can set commands so that only Regulars can access them.
Are there additional steps required for the Regular Role?Yes, you first need to activate the Cloudbot and moderate the bot in chat.


