The Layers functionality in InDesign enables documents to be designed in a more complex yet structured way. Layers can be imagined as transparent sheets stacked on top of each other, whose contents can be shown or hidden and exported as needed.
This concept allows for structuring layout elements and placing them in a way that, for example, different language versions can be combined in one document, alternative layout designs can be created, or - in the simplest case - a fully designed letterhead can be output as a colorful PDF document for the screen, and another time by deactivating the layout layer, only the current text on pre-printed letterhead on the office printer.
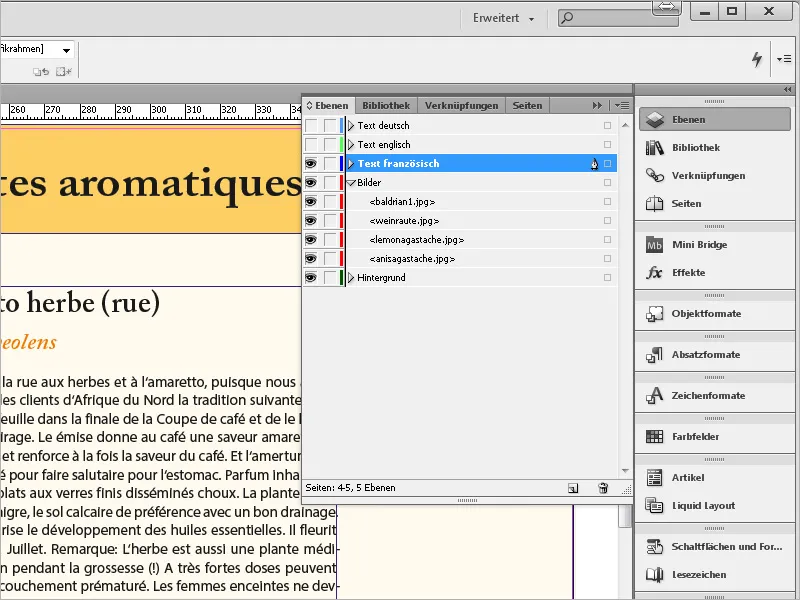
The central hub for working with layers is the Layers panel (accessible through the menu Window>Layers or the shortcut F7).
Each new document initially contains one layer (Layer 1). Different layers and their contained objects (or their positional frames on the page) are color-coded for visual orientation (see previous screenshot).
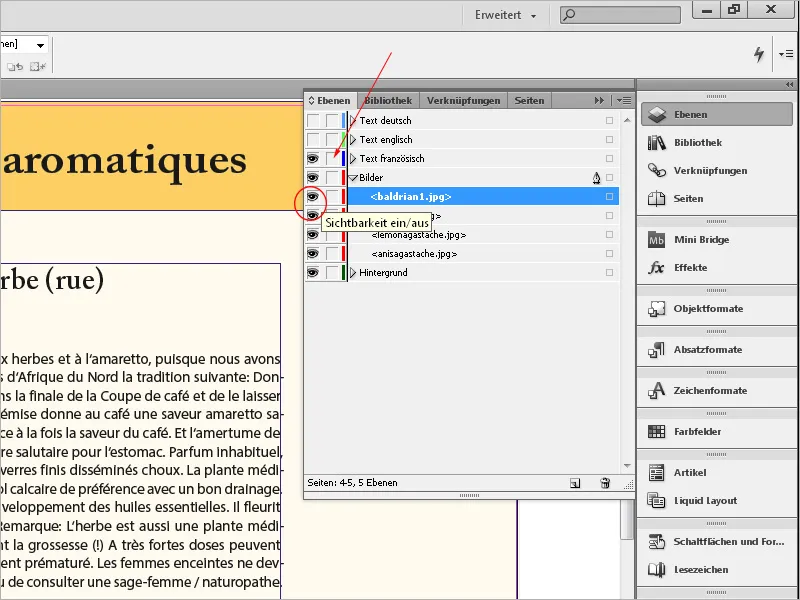
Layer 1 is assigned a blue color by default. Two checkboxes precede the layer name in the panel, allowing each layer to be shown or hidden and locked for editing to prevent unintended changes. By clicking the small arrow before the layer name, a list of all objects used on the layer can be expanded.
Objects within the layer can be moved within the panel in relation to other objects, step by step to the front or back, or to another layer, or even deleted as needed by dragging with the mouse button held down.
Just like the layers themselves, the objects within them can be disabled or locked using the small checkboxes in the expanded list in the panel.

Double-clicking on a layer name calls up the Layer Options dialog box. Here, in addition to the Name and color designation, various settings for display, lock, print, and text wrap can be edited via checkboxes.
To create a new layer, click the button at the bottom of the Layers panel. To work effectively with layers, consider in advance which elements should be placed on different layers for what reason. Moving later to another layer is not a problem. The arrangement of objects in the foreground or background or in between does not require additional layers and can be set through the Context menu.
Layers are particularly useful when different combinations of foreground and background need to be displayed or output. A simple example is a letterhead. It contains fixed elements like a logo, letterhead, fold marks, and footer.
To impress your customer, you have the letterheads printed in your corporate colors in large quantities at a printer.
Correspondence, invoices, etc., are then printed in simple black on your office printer using a second text layer.
However, since a large number of these documents also need to be sent electronically (after all, tax authorities have accepted electronic invoices without a qualified signature since July 2011 - so simple PDF files), in these cases, the output of colorful layout elements along with the text is desired.
Thanks to layers, this can be easily achieved. If the document needs to be printed on paper letterhead, the layout layer is simply hidden. When outputting as a PDF file, it remains visible. And if you want the letterhead templates to be reprinted by a printer, only the layout layer is exported.
The use of layers becomes especially interesting when creating brochures or catalogs that are meant to be output in different language versions. For instance, a background layer with colored areas, logo, page number, and other fixed elements can have an image layer above it and a text layer above that.
Having a separate text layer also has the advantage that for proofreading, not every time the entire color and image part needs to be output, which facilitates editing.
The text layers can now be created individually for each language output. If the text needs to be printed in black, the printer only needs to switch the black plates for the different language versions, which can significantly reduce printing costs.
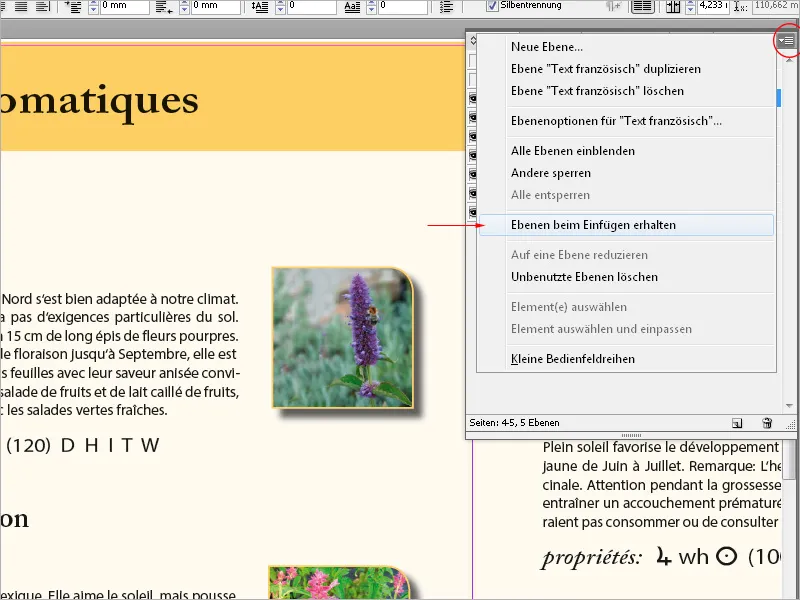
To export only one (language) layer, hide all other layers beforehand. When copying objects from a document with multiple layers to a new or different document, pay special attention to a setting in the Palette menu: There is the entry Keep Layers on Paste:
If this option is activated (it will have a checkmark in the Palette menu), the destination document will have the layer (including its name) from the source document added. If you want to copy only the object without the layer, the option in the source document must be deactivated.
Layers can also be moved up or down by dragging with the mouse button in the layer stack in the panel.
To check the content of a layer, click with the Alt key pressed on the Visibility toggle checkbox. This makes all other layers invisible except the current one. To merge several or all layers of a document, select them in the Layers panel (select multiple with the Ctrl or Shift key), then with a click, select the target layer, which receives a small pen symbol, and then in the Palette or Context menu, choose Merge onto one Layer.
The unnecessary layer can be deleted by using the trash can icon at the bottom of the control panel. However, please always keep in mind that the layer division affects the entire document and not just the currently visible printing sheet.
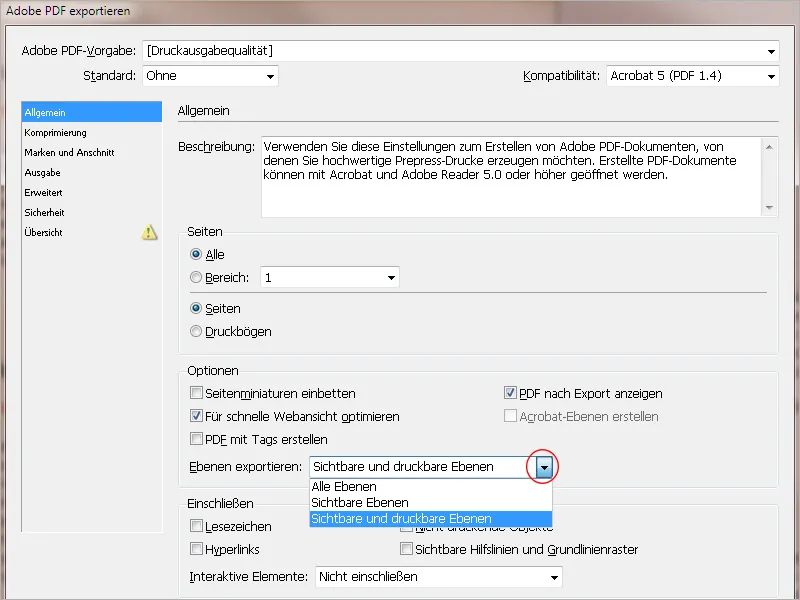
Settings for the output of the included layers can also be adjusted in the Export or Print Dialog.


