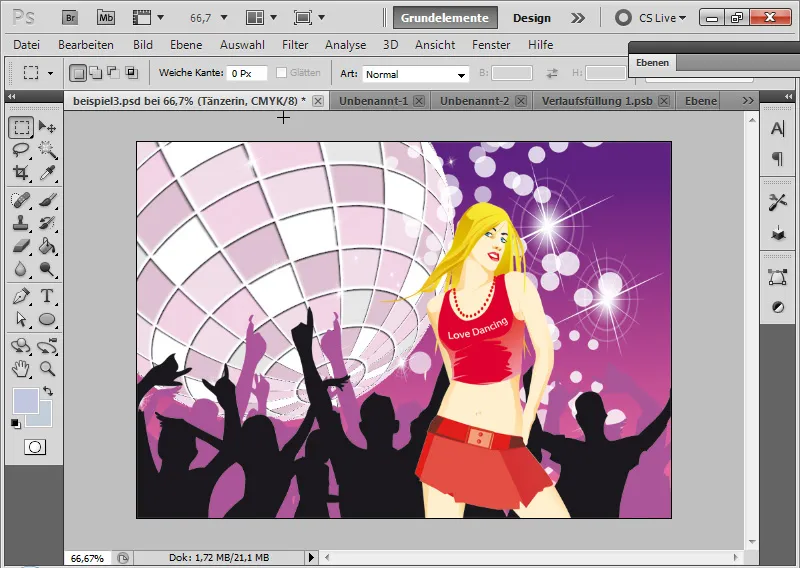
A disco ball is the epitome of party, fun, and energy – and an absolute eye-catcher for flyers and wallpapers. Using Photoshop, you can create an illustrative disco ball that adds a dynamic and festive flair to your designs with vibrant colors and reflective elements. In this tutorial, I'll show you step by step how to create a striking disco ball using simple techniques like circles, gradients, and light reflections. Let's get started and get your designs in the party mood!
1. Creating an illustrative disco ball without 3D functions in Photoshop
For those who are not working with CS4 or CS5 yet, Photoshop still offers a way to create very simple spherical panoramas.

Step 1: Creating a new document
I create a new document sized 800x800 pixels. The background color is white. This is the document where the disco ball will be created. But before getting started, I need to create a pattern for the illustrative dot look in another document.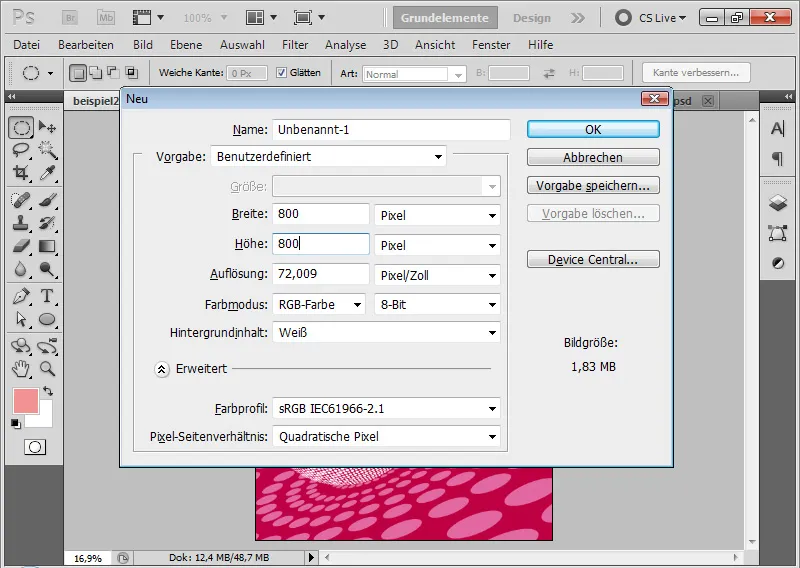
Step 2: Creating another new document
I create another new document sized 40x40 pixels. The background here is transparent. To achieve an illustrative look, my disco ball will have small colored dots. And I define the dots as a pattern in this second document.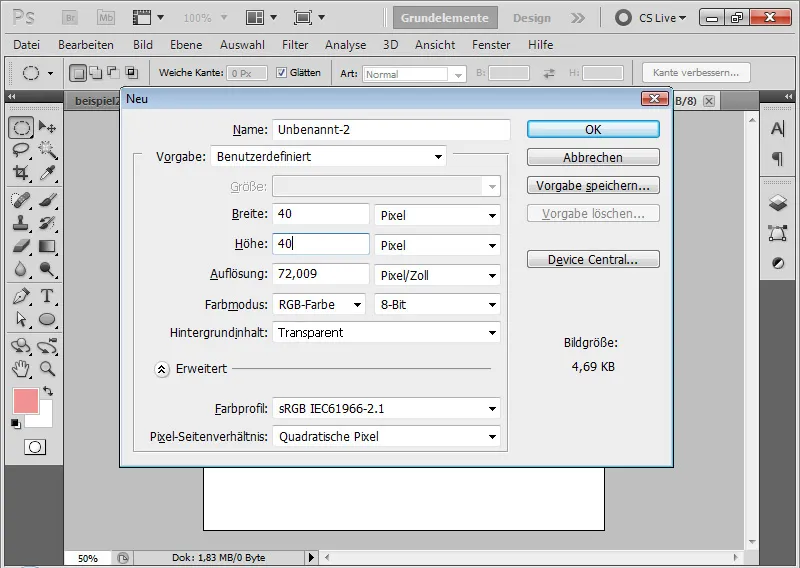
Step 3: Drawing dots
Using the Ellipse tool, I draw a circle in the document while holding the Shift key (which ensures my circle is perfectly round). The color is black – but that's not really important. It's beneficial to zoom in on the document beforehand.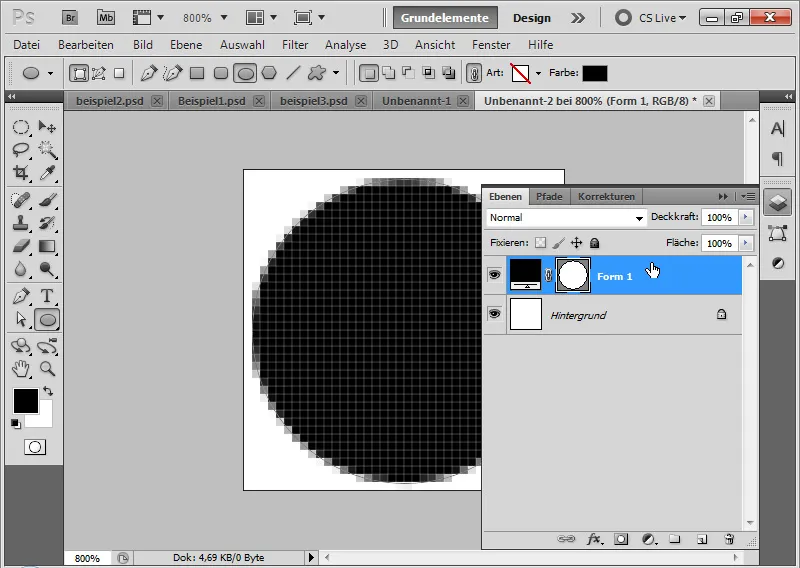
Beneath the dot layer, I create a new transparent layer. The white background layer can be deleted.
Now, I define my pattern through the menu Edit>Define Pattern.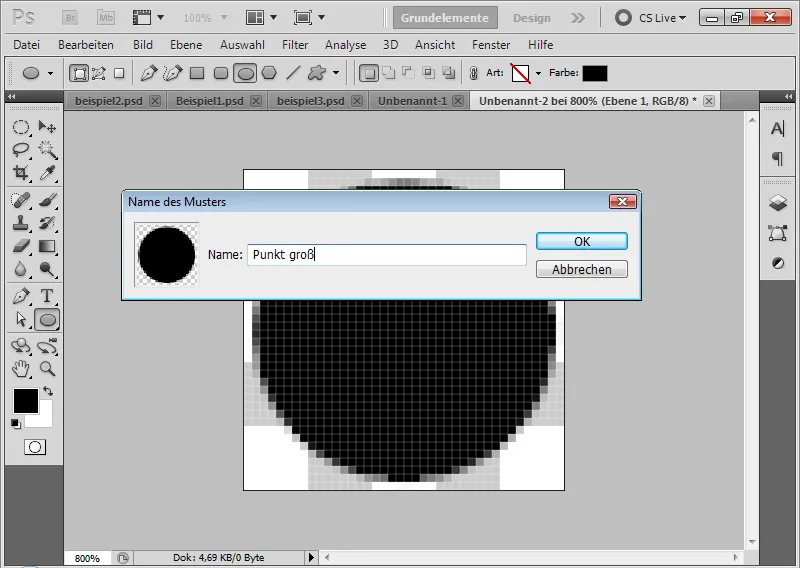
Step 4: Creating several patterns
The more filling the circle is in my pattern, the less space I will have later between the dots on my disco ball. Therefore, it's useful to create several patterns with different dot sizes.
I can even include multiple dots in my pattern, each having different sizes. This provides a nice variation for the eventual disco ball.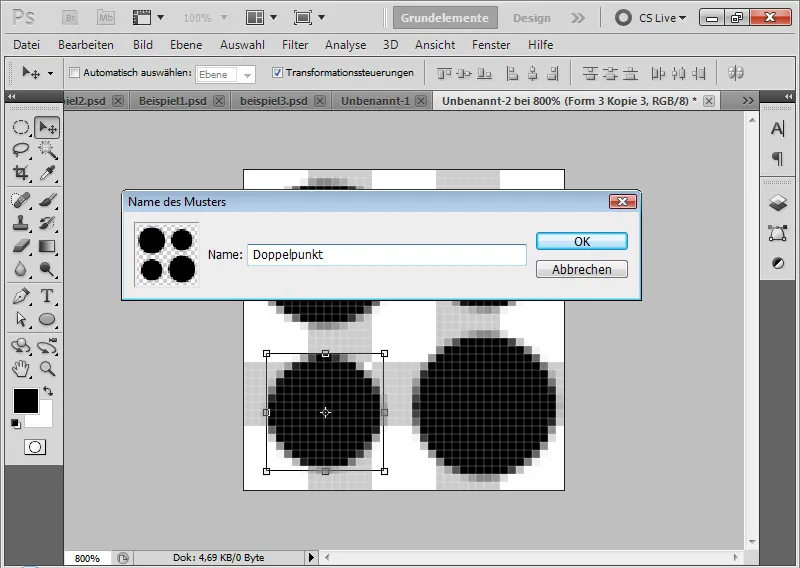
Step 5: Applying the pattern fill
In my first document, I can now use the Fill tool on a new layer to apply the pattern fill. In the menu bar, instead of the foreground color, pattern must be activated. I create a total of three new layers; each for a dotted pattern.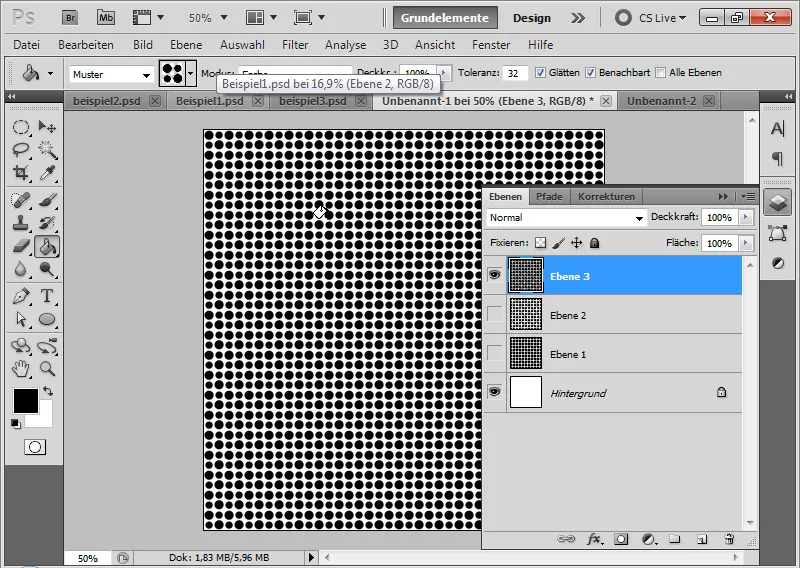
Step 6: Adding gradient as a clipping mask
To make my dots colorful, I draw any gradient on a new layer. In this example, I do it as a gradient fill with a colored radial gradient.
I place the gradient layer as a clipping mask to my dot layer. I do this by clicking between the two layers while holding down Alt or using the shortcut Ctrl+Alt+G.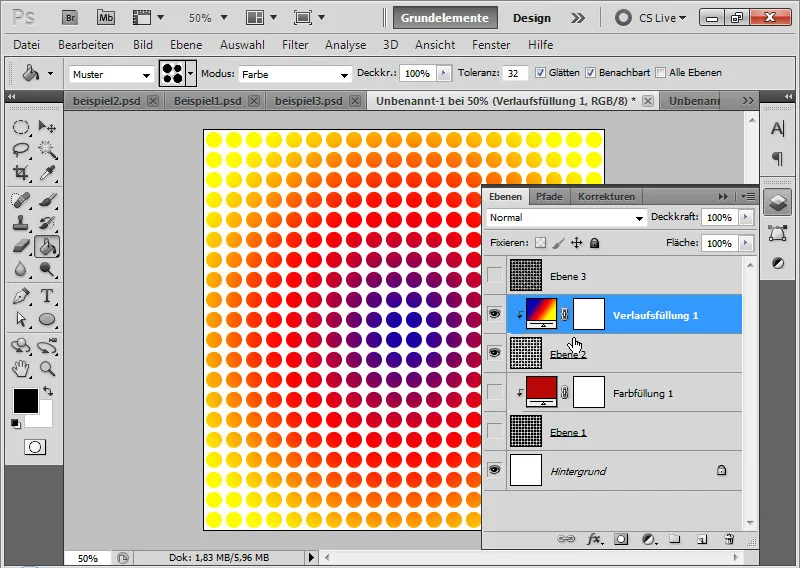
Step 7: Converting to a Smart Object
I select both layers with the Shift key and convert them into a Smart Object. This allows me to change the gradient or the dotting anytime without losing quality.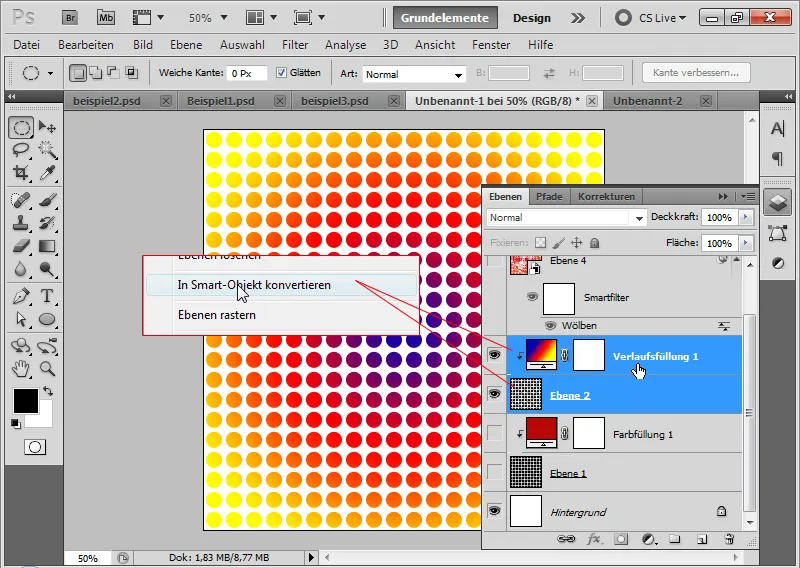
Step 8: Applying Distort Filter Warp
Now I apply the distort filter Warp in Normal mode with 100 percent strength.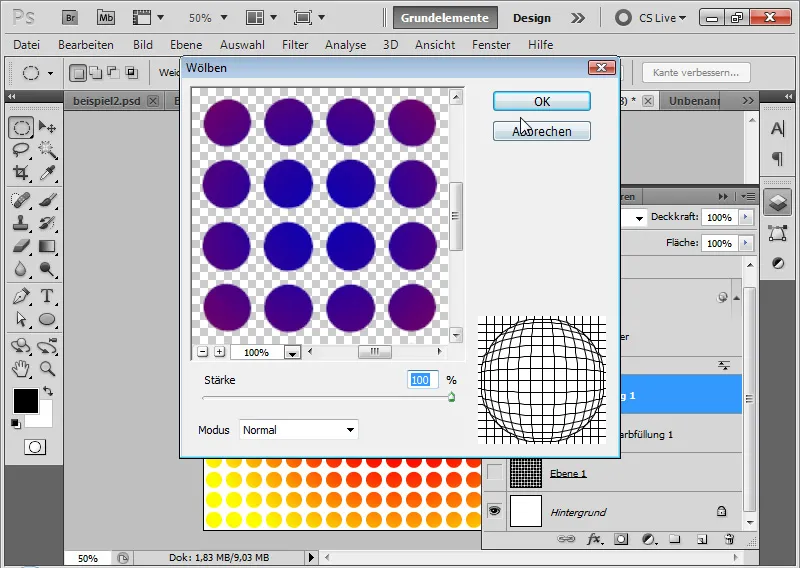
Step 9: Selecting the inner area
Using the Ellipse Marquee tool, I draw a circular selection from top left to bottom right while holding the Shift key to encompass the inner area of the ball. For a little "cleanliness margin," my selection is not right at the edge but 2-3 pixels inside the ball.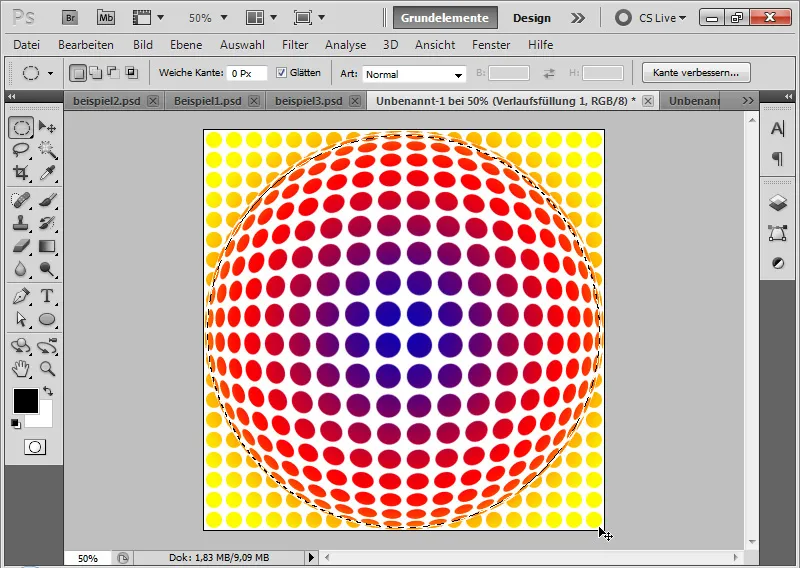
Step 10: Inserting as a separate layer
With Ctrl+C I copy my selection and with Ctrl+V I paste it into a new layer. My illustrative disco ball is ready, which I can now use as a design element within a flyer.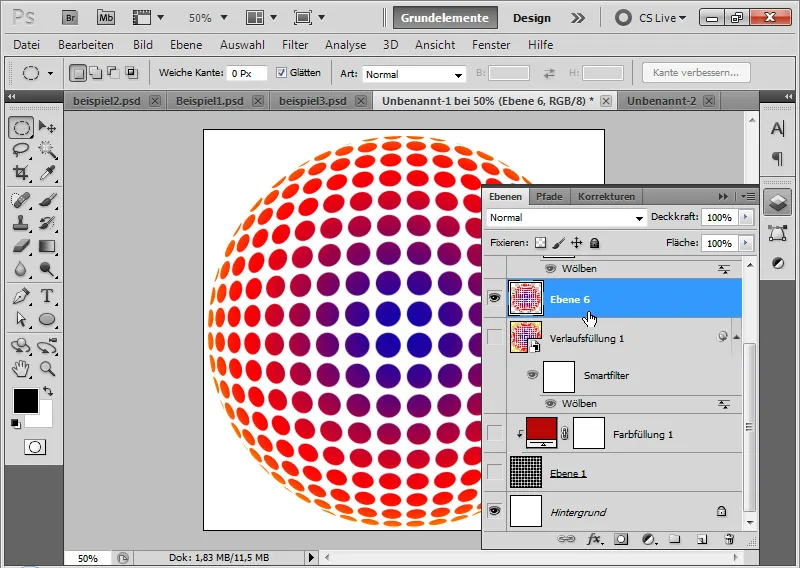
Example: Party flyer Alter Schlachthof Here with a fill layer Color (before CS5 it was still called Solid Color!).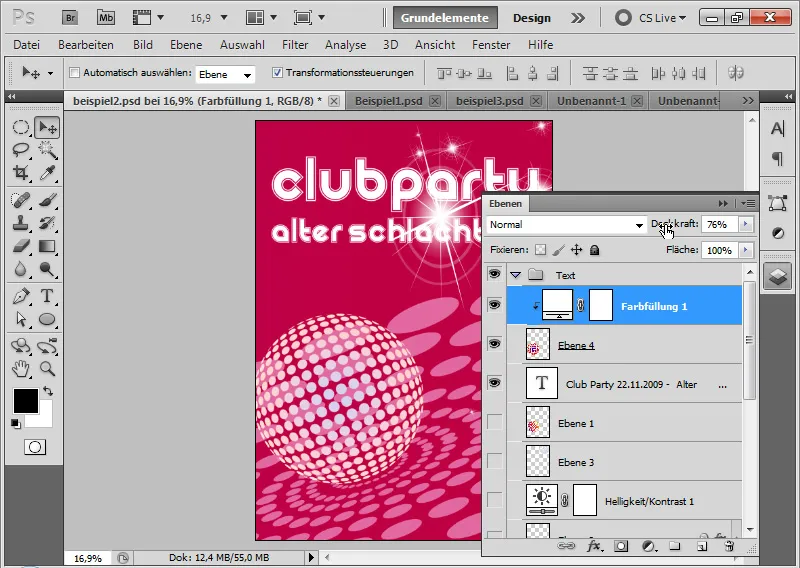
Step 11: Monochrome color dots in the gradient
If I want to keep my dots completely in one color or give them a gradient, I can still do this quite easily.
If the disco ball has a gradient, but the individual dots should remain monochrome, it becomes a bit more difficult. But there is also a solution for this. To do this, I open the Original Smart Object by double-clicking on the Smart Object. A PSB file opens.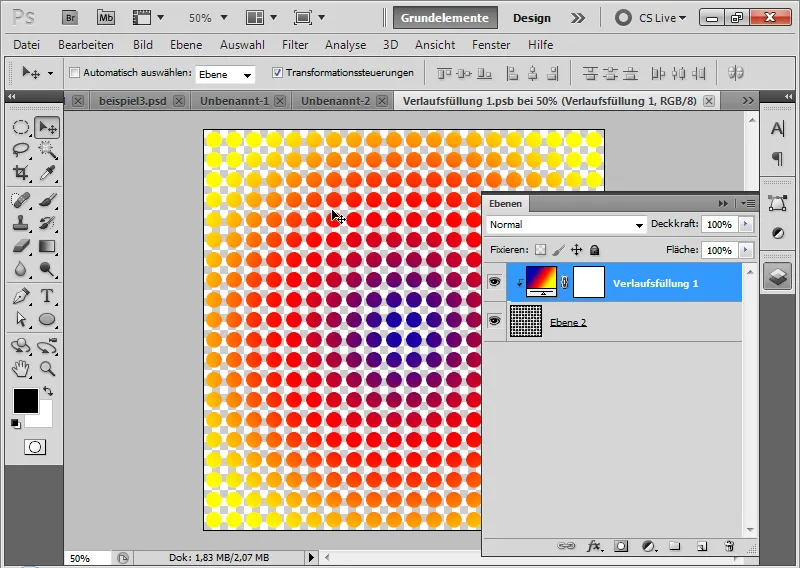
I activate the gradient layer and call the Blur Filter under the menu Filter>Pixelate Filter.
There, I can break down my gradient into a mosaic. The difficulty now is to find the right number of squares so that there are no intersections between the mosaics. But it works. In this example, with 40 squares.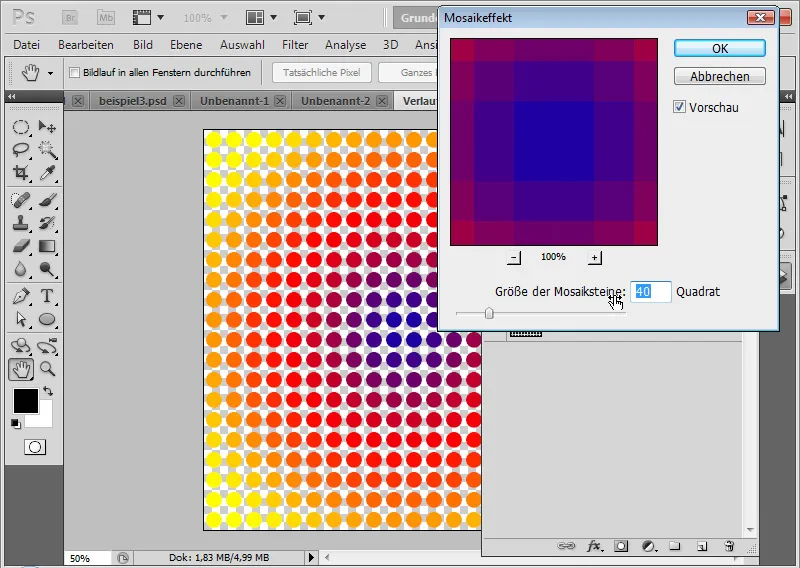
Now the dots in the disco ball have a "full color", but as a whole, they form a beautiful illustrative gradient.
Tip: This circular mosaic effect is also and especially suitable for colorfully mottled images!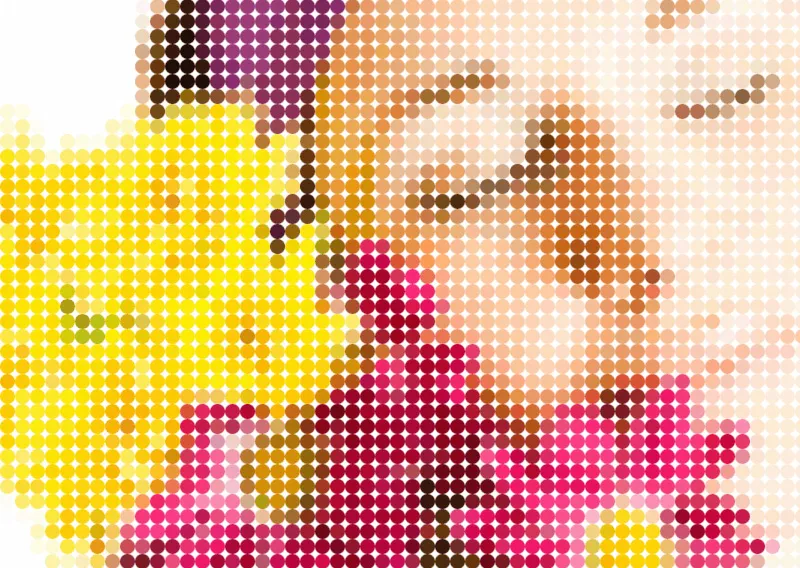
2. The path to the illustrative disco ball using the 3D functions in Photoshop
For all Photoshop users with older Photoshop versions, the above-described path to the disco ball is very practical. Since the look is illustrative, the result can work very well in a flyer. However, the disco ball has an uncomfortable stiffness because the ball is only in the frontal view.
With the 3D functions, I am able to overcome this stiffness and place the disco ball with the right angle in my flyer.
Step 1: Create gradient pattern layer
I create a new group to demonstrate the editing with the 3D functions.
In the new group, I create a new layer, which I also fill with the previously created pattern. I assign a gradient layer as a Clipping Mask to the pattern. The first steps are therefore identical in structure to the conventional way.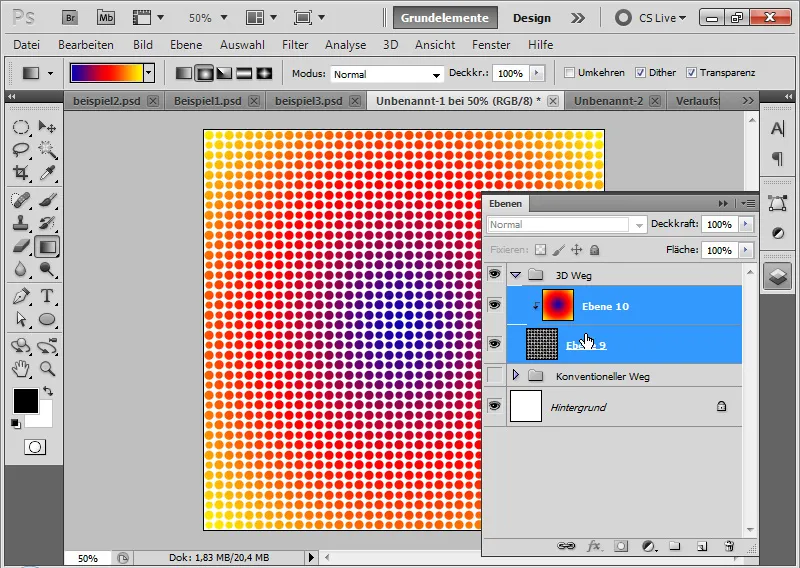
Step 2: Convert gradient pattern layer to 3D layer
I convert my pattern layer together with the gradient layer into a Smart Object. I convert the Smart Object into a 3D layer. To do this, I select 3D>New Shape from Layer>Sphere Panorama from the menu.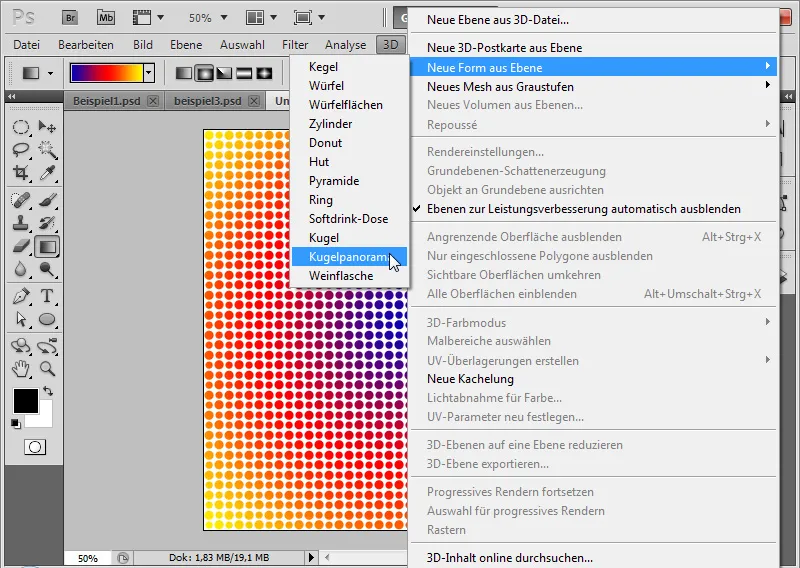
Step 3: Positioning
Using the 3D Object Tools, I first zoom out a bit and rotate my disco ball to the desired position.
Now it becomes apparent what advantage lies in the 3D technique: I can give my disco ball a certain focus. Whether the view should be from below or from above is very easy and intuitive to adjust.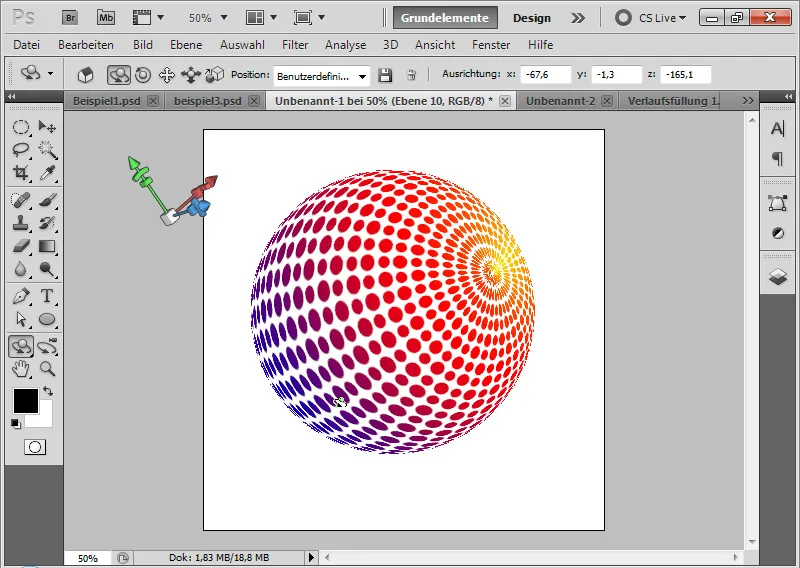
Step 4: Rendering
Once I have found the right position, I just need to render my result. This also smoothes out the edges, giving my disco ball a nice illustrative look.
For rendering settings, I choose in the 3D Panel under the menu Scene in Quality the option Raytracing. While I'm still in the editing phase, Draft is sufficient. Once the work is almost complete, I can also set Final for Raytracing. However, the rendering time is considerably longer in this case.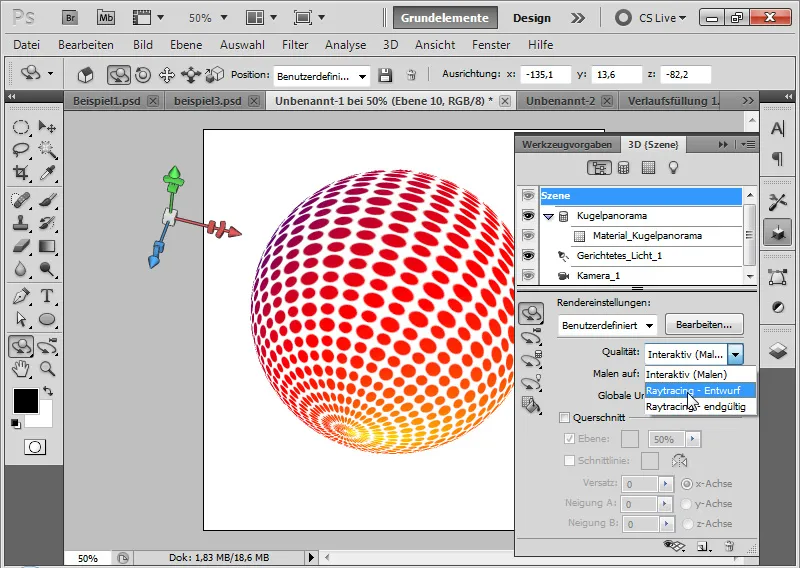
Step 5: Modifications
If I want to change my pattern, I can easily do so by clicking on my original layer in the 3D layer.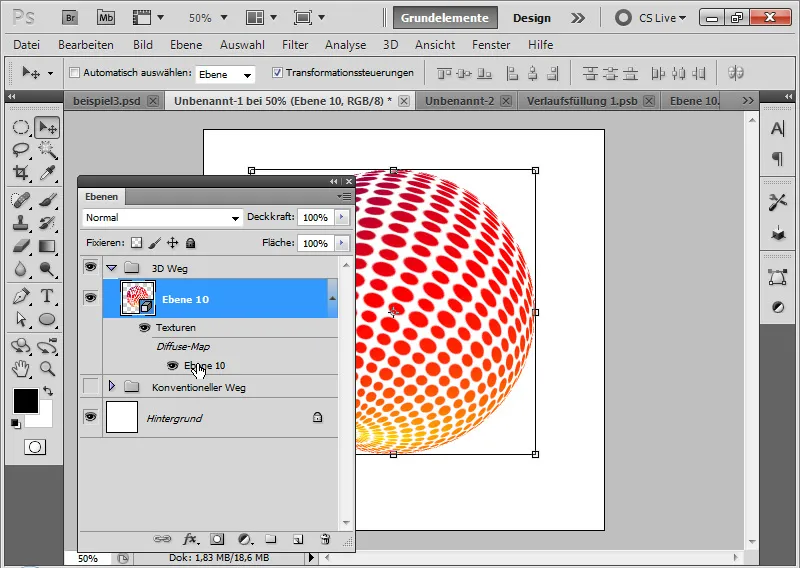
Now, I can change my pattern in shape or color. By saving the PSB file, this change will immediately be reflected in my 3D disco ball. In this example, I adjusted the color gradient.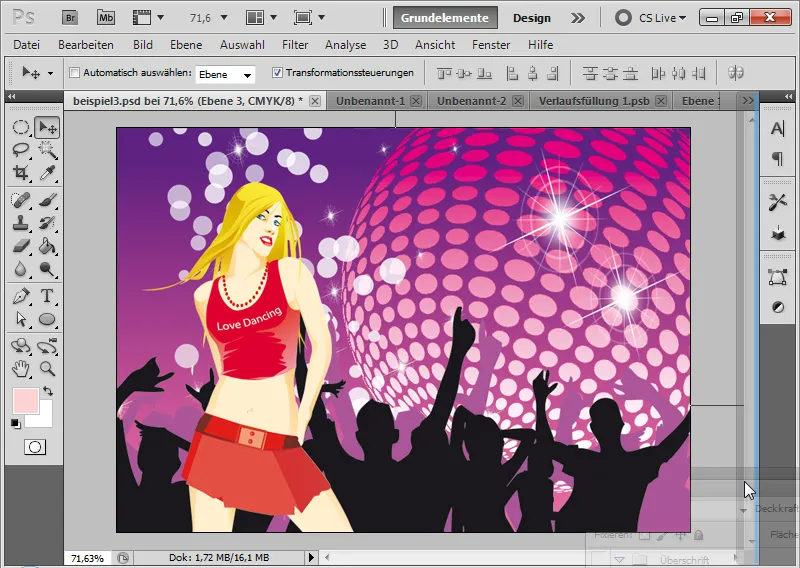
Step 6: Variation in the illustrative look
If instead of the illustrative dot look I prefer a solid disco ball texture, all I have to do is prepare my pattern or the underlying texture accordingly.
To do this, I create my pattern file again in the size of 40x40 px and draw a square inside. It is important to preserve a small transparent area on the left and top because the pattern should be seamlessly extended.
I save the pattern via the menu Edit>Define Pattern.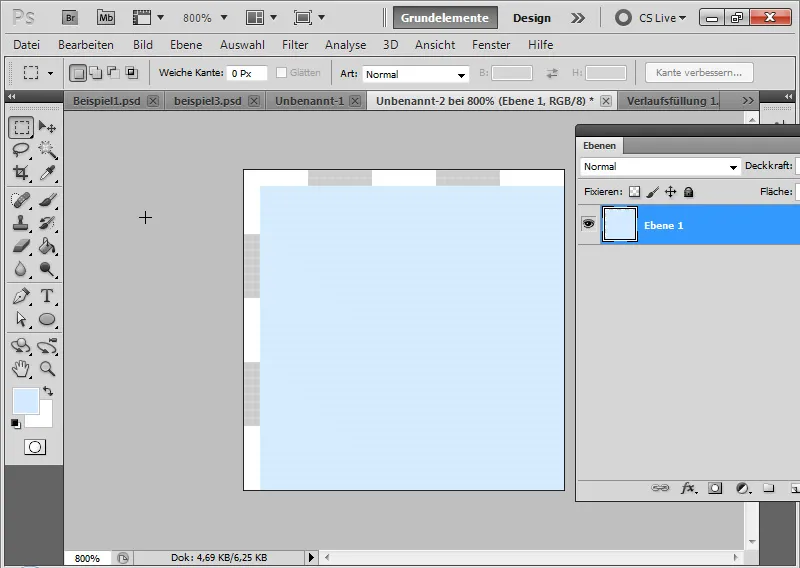
Now I expand the workspace to 160x160 pixels and create a new layer. I fill the layer with the fill tool using the square pattern I just created.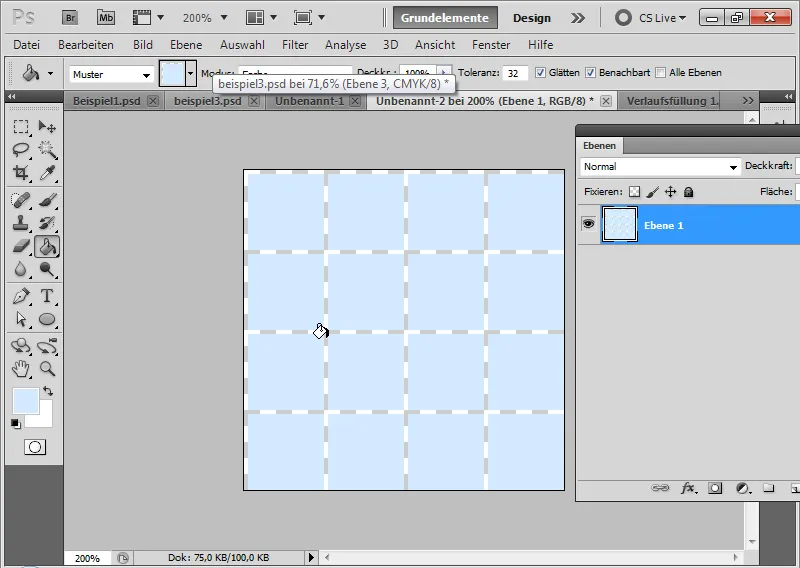
I choose various light foreground colors and fill the individual areas.
Then I also set this pattern. (For your information: The first square pattern was only used to shorten the way a bit).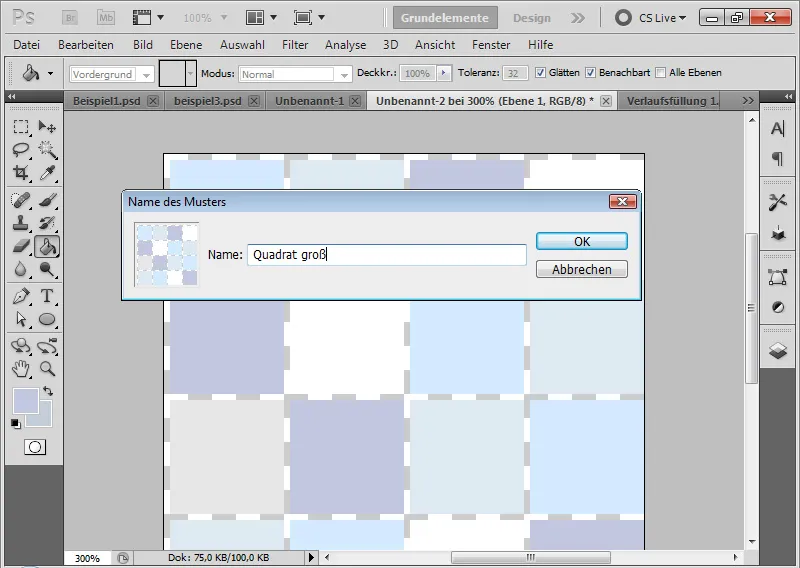
If I now simply call up the pattern texture in an existing disco ball in the Smart Object and use my square texture for the dotted texture, a new, very beautiful illustrative look emerges again.
It is worth setting a flattened edge with 1 pixel size at 100 percent depth in the Fill Options. The depth mode is increased to 100 percent opacity. This nicely separates the individual areas from each other; this gives the disco ball a little more depth.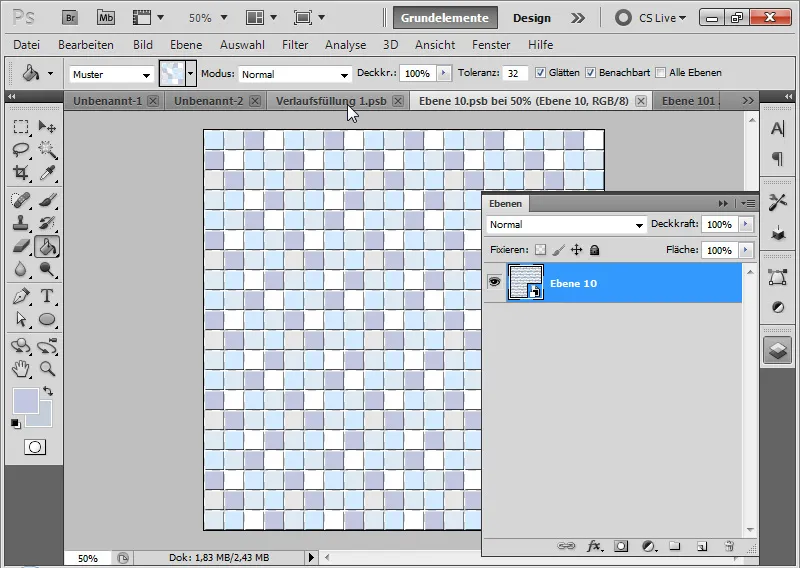
My disco ball in an illustrative square look is finished.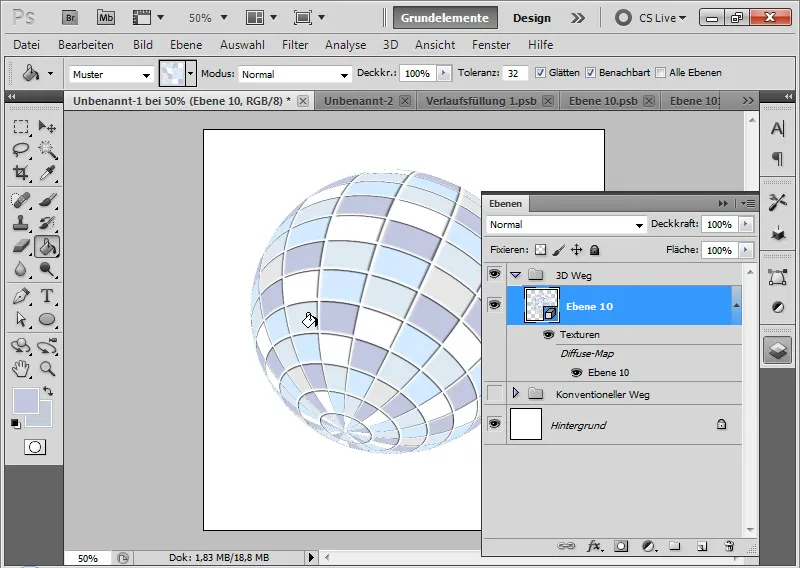
Color changes can also be made just as quickly here. In this example, the disco ball also received a Hue/Saturation adjustment layer, which converts the blue tones to red tones.