With an appealing overlay for your stream, you can not only strengthen your branding, but also attract viewers. In this guide, I will guide you step by step through the process of creating a custom overlay using Photoshop. I will cover the important aspects and give you tips to make your overlay unique.
Key Insights
- Use a customized overlay for each stream title or game to showcase your professionalism.
- Design the overlay with specific shapes and text elements to reflect your brand and audience.
- Export your overlay in PNG format for transparency and easy integration into streaming software.
Step-by-Step Guide
Step 1: Create a Document for Your Overlay
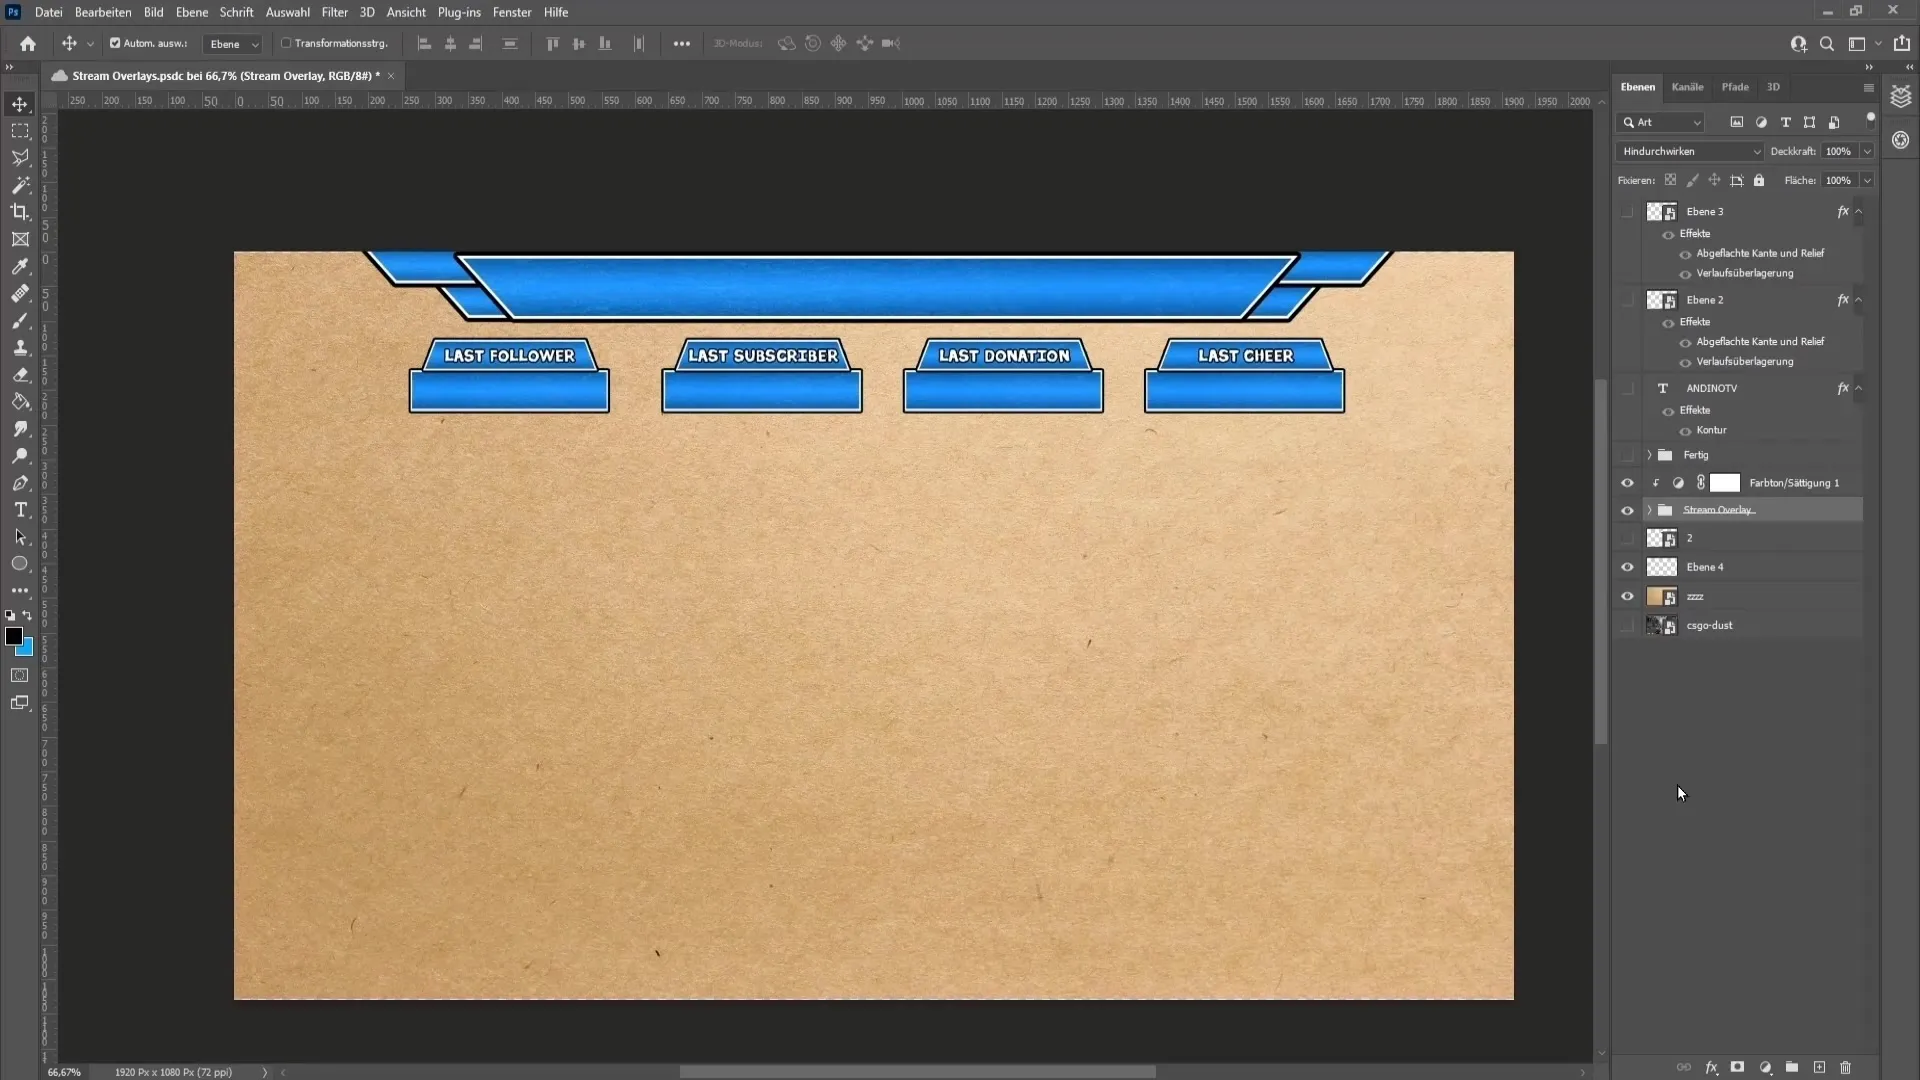
First, open Photoshop and create a new document. Set the width to 1920 pixels and the height to 1080 pixels – the standard format for HD streams. You can set the resolution to 72 dpi, which is entirely sufficient. Click "Create" to start designing.
Step 2: Set Up Guidelines
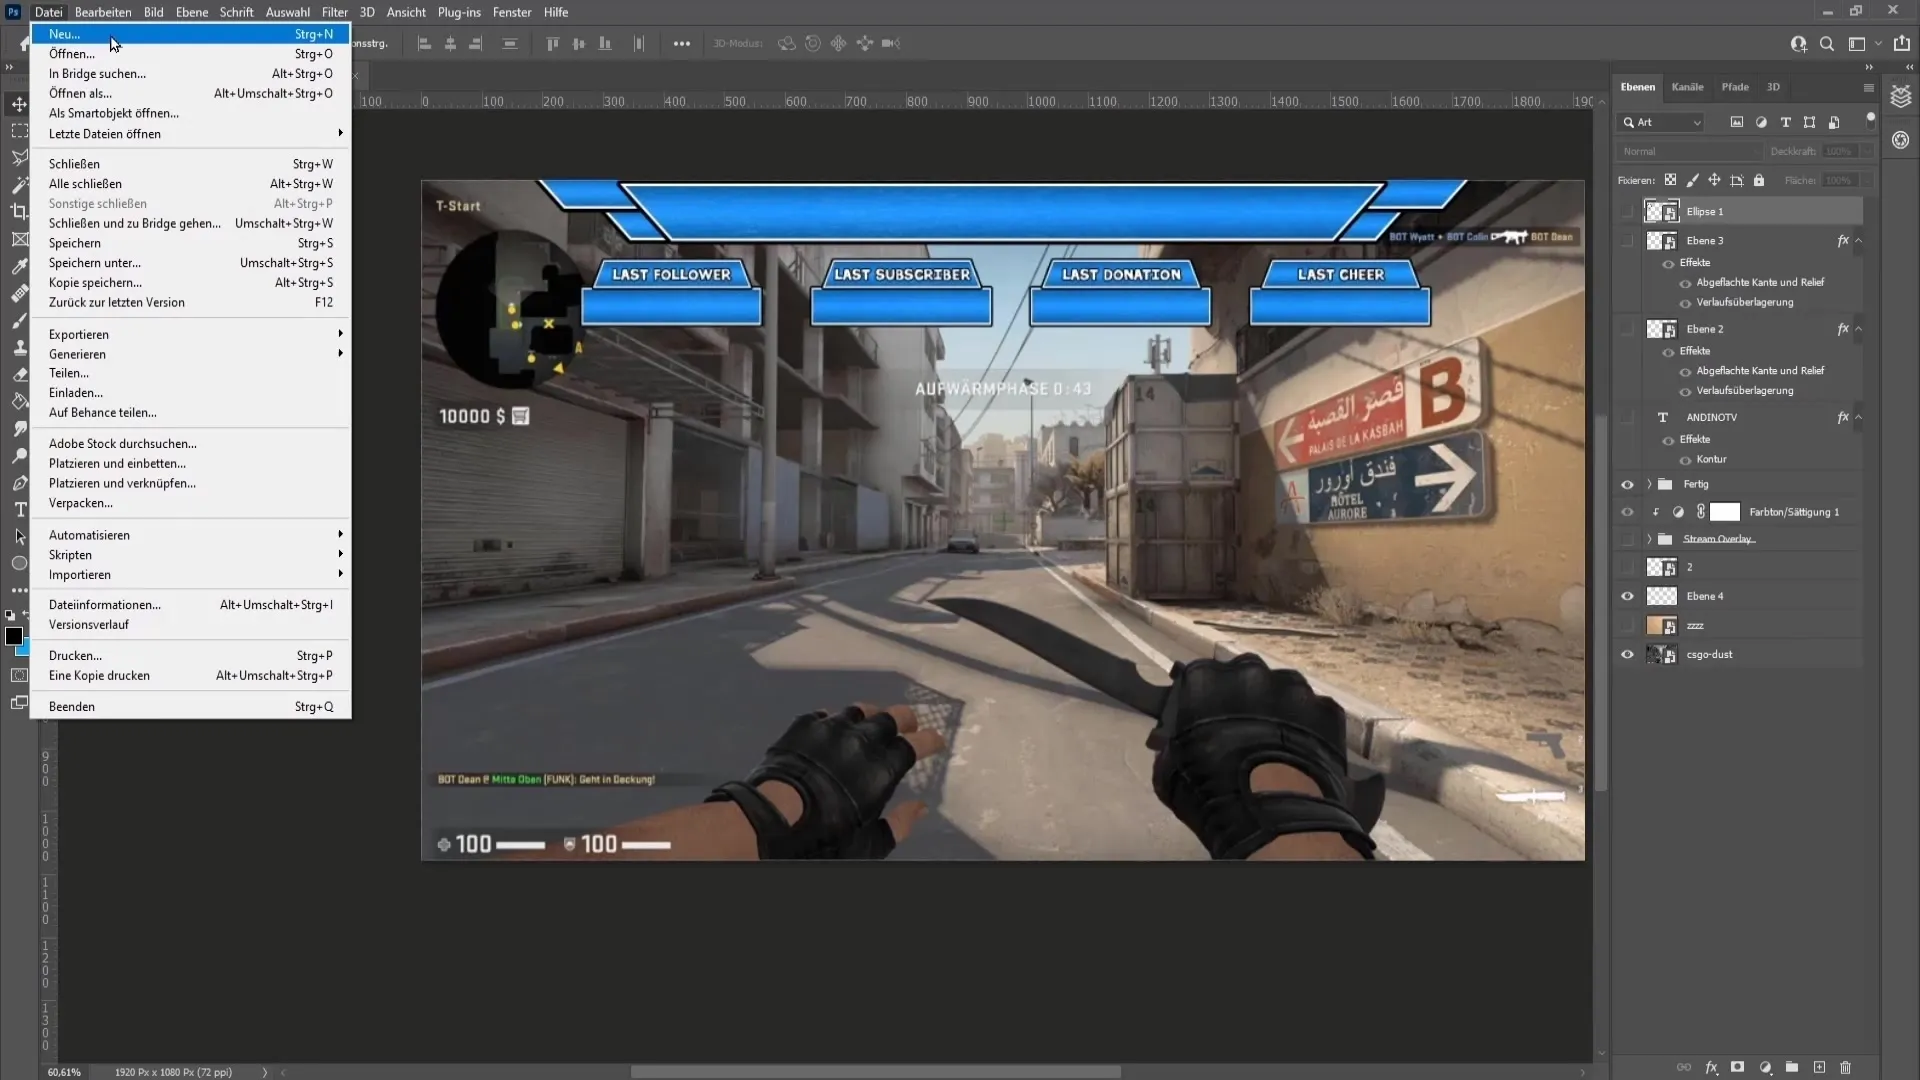
To ensure precise alignment of your elements, it is advisable to use guidelines. Activate the rulers under "View" and drag horizontal guidelines to the desired positions to delineate the areas for your overlay.
Step 3: Create Basic Shapes
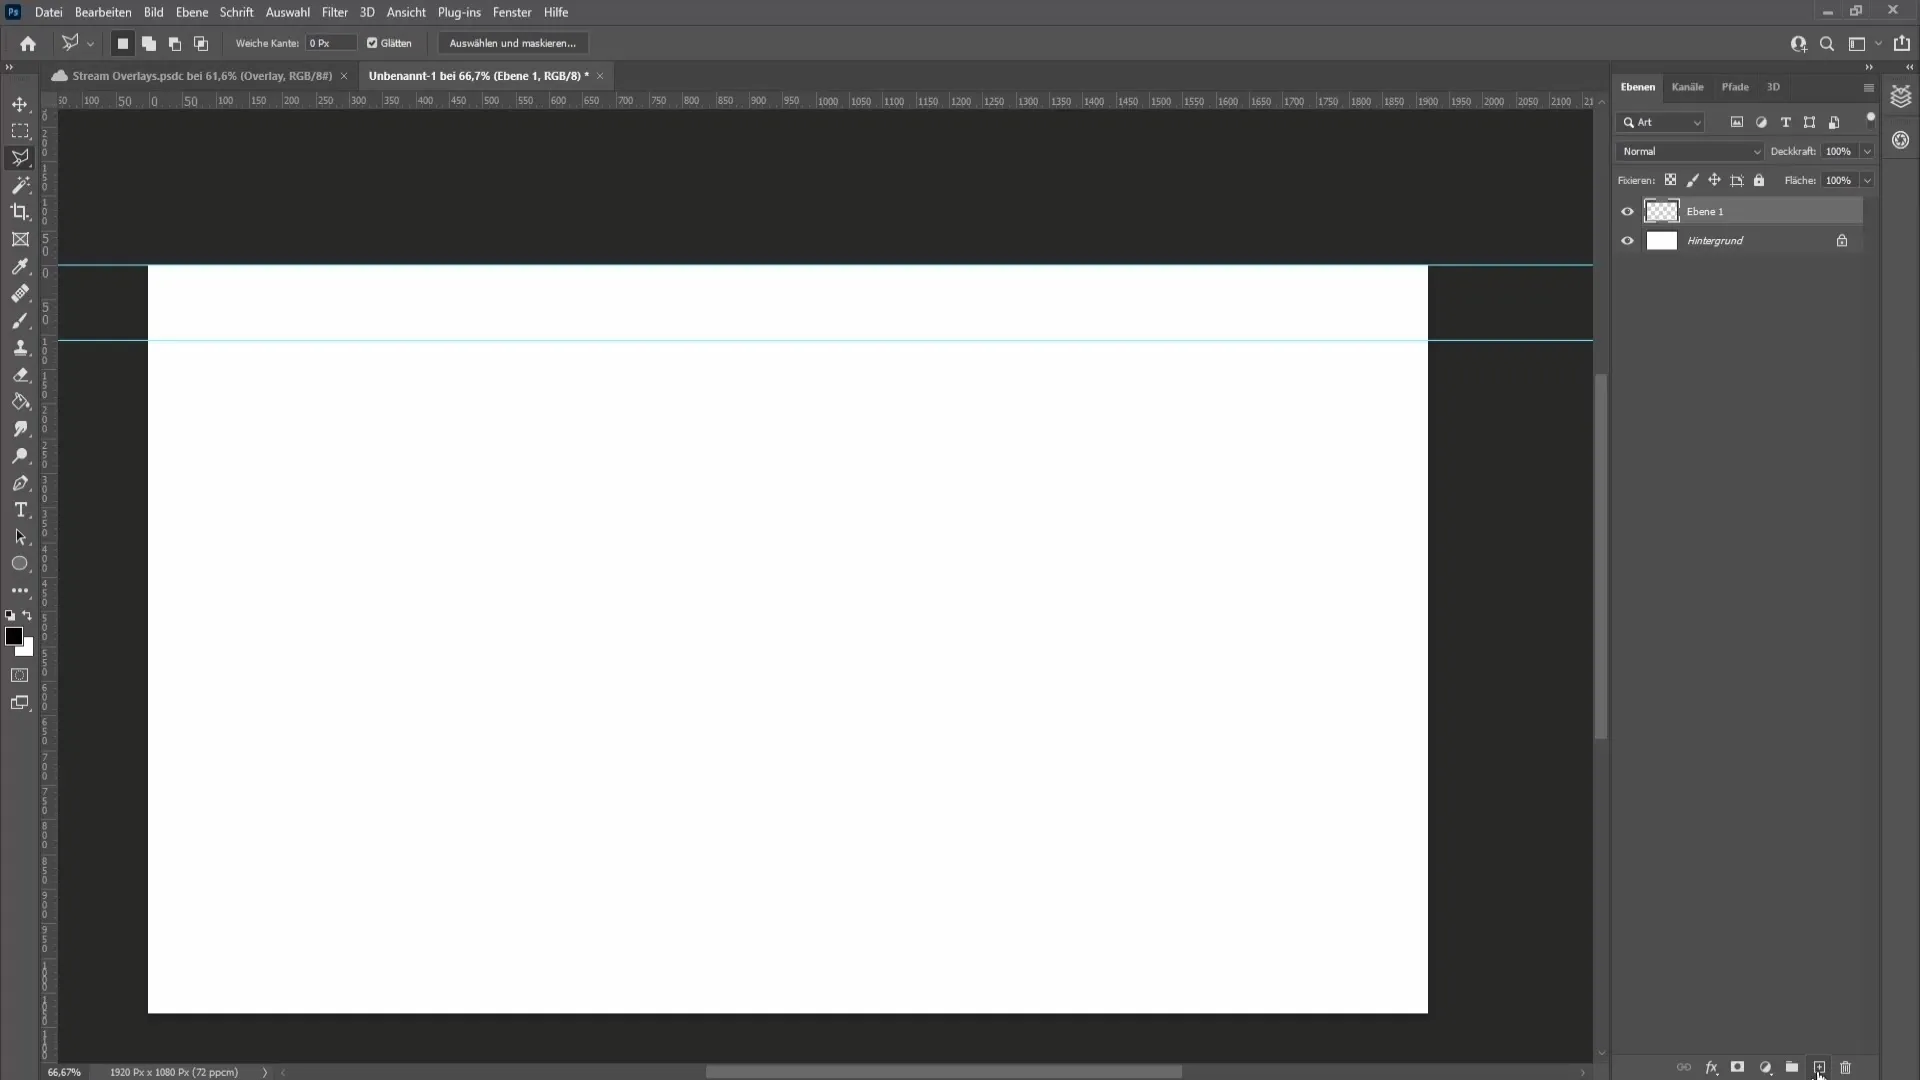
Now, you can use the Polygon Lasso Tool to create the basic shapes of your overlay. Click on the guidelines to set the corners of the shape. Make sure to use smooth edges without anti-aliasing to achieve clear lines.
Step 4: Apply Color and Stroke
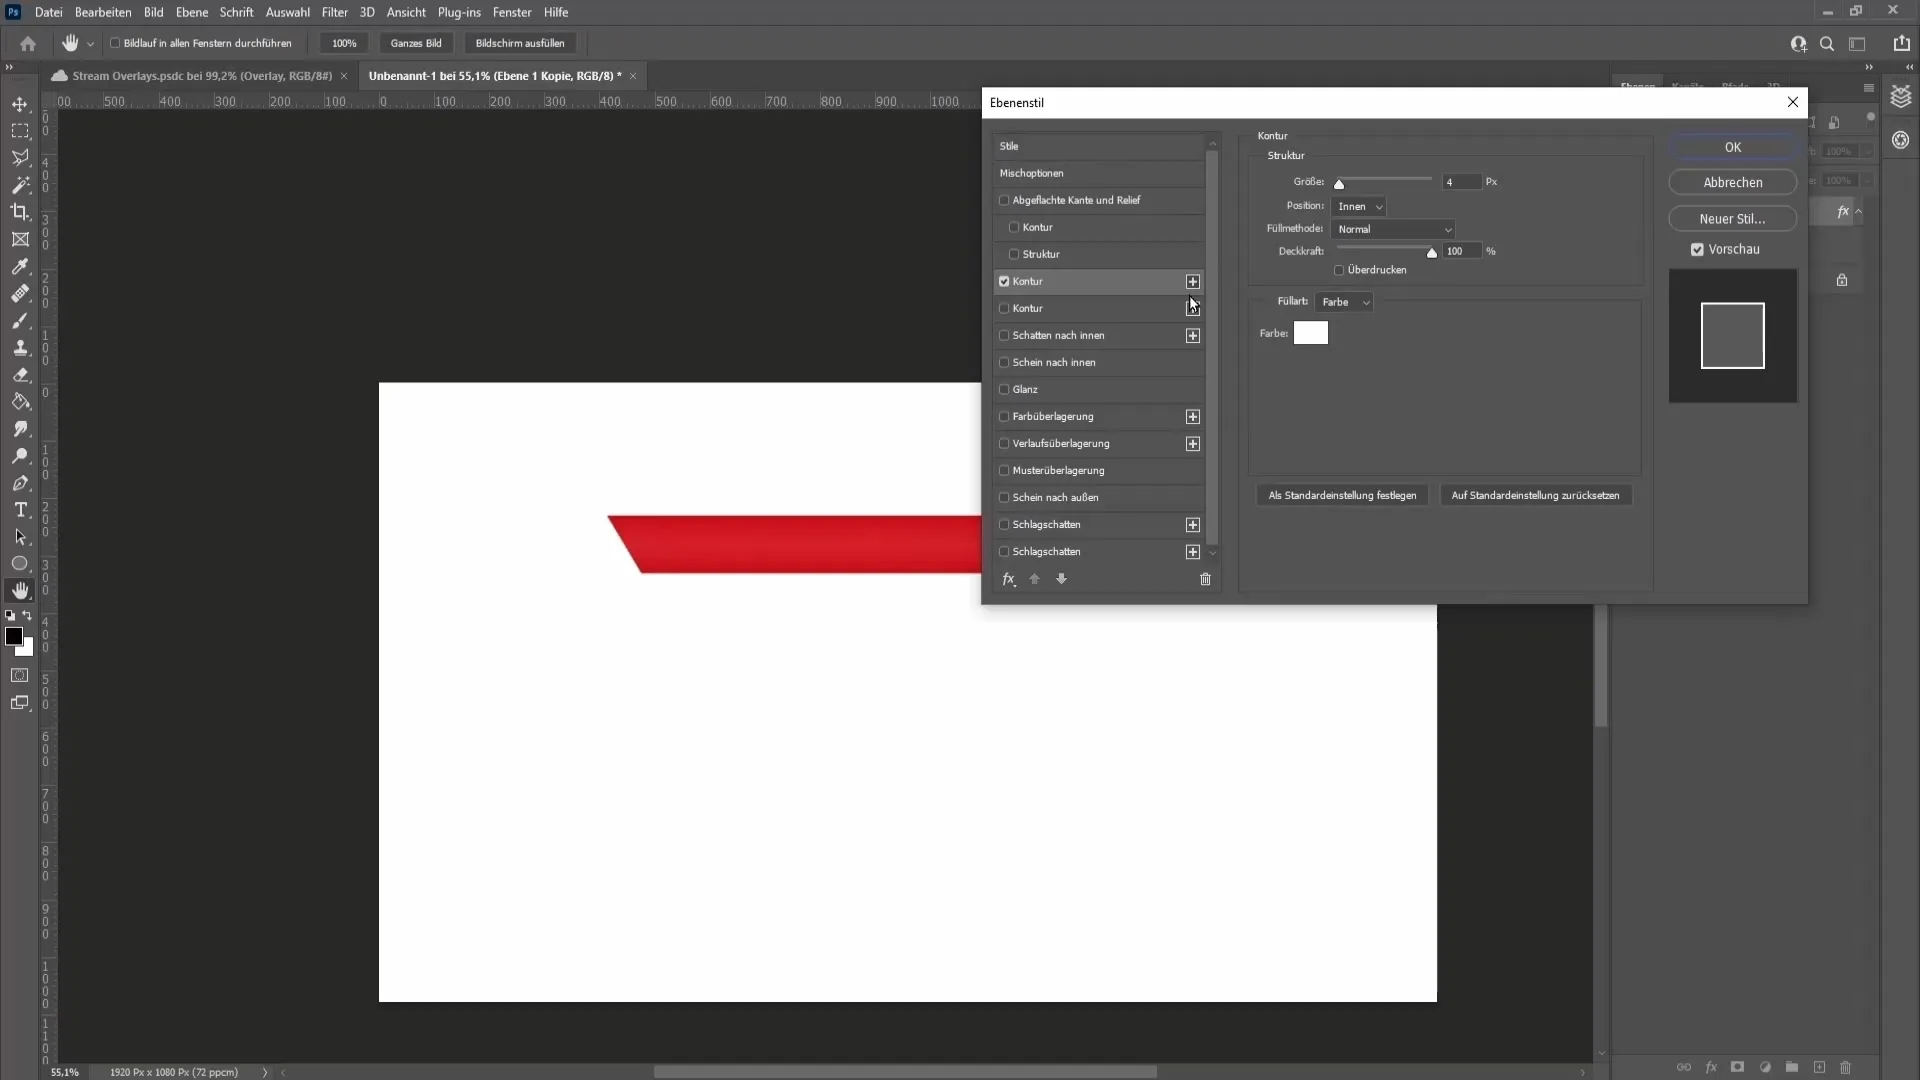
Once your shape is ready, you can define the fill color and stroke. Double-clicking on the layer opens the Layer Styles window, where you can add a stroke and a gradient. Here, you can also adjust the thickness and color of the stroke.
Step 5: Add Effects
To give your overlay more depth, you can use effects like "Inner Glow." Adjust the size and opacity to achieve the desired effect. Experiment until you are satisfied with the result.
Step 6: Create Text Boxes for Information
Now is the time to create text boxes for information such as "Last Follower" and "Last Donation." Use the text tool to add the desired text and adjust the font size and style to your liking.
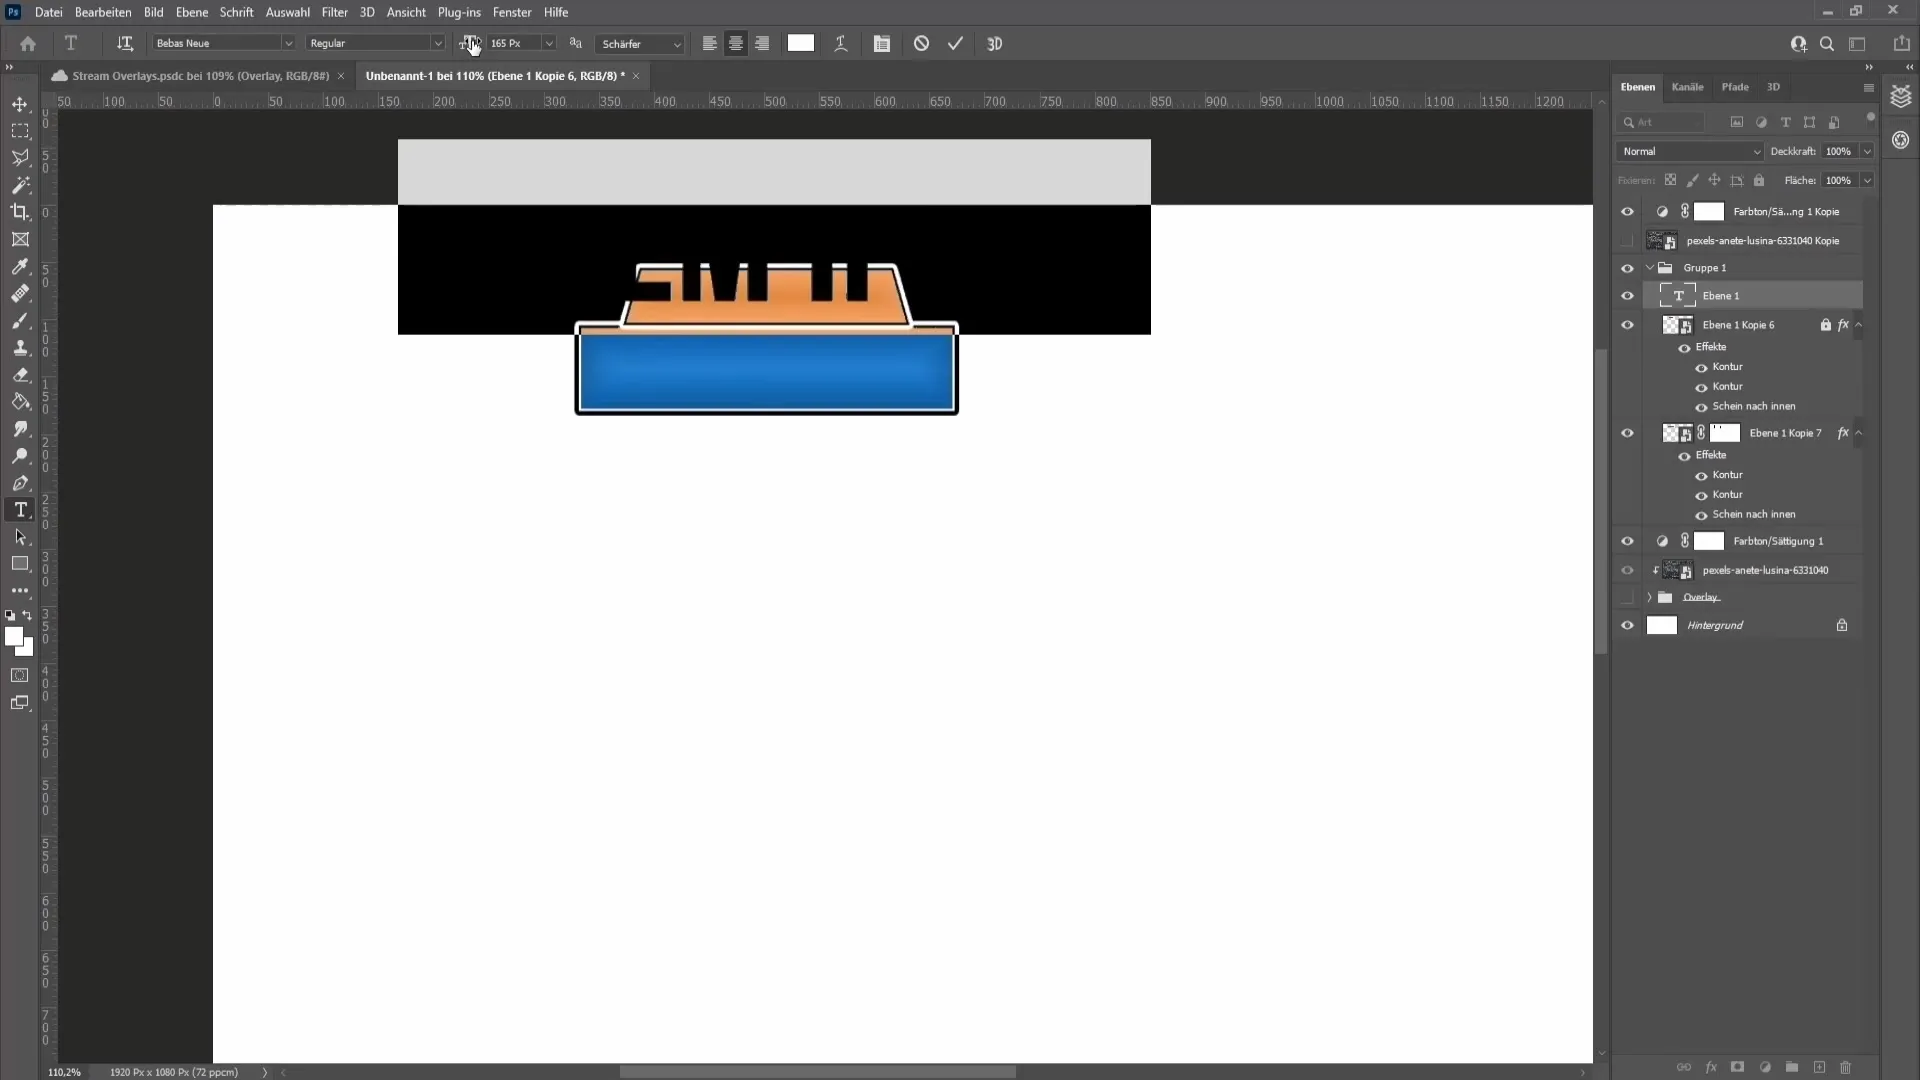
Step 7: Adding Textures
To give your overlay a special touch, you can use textures. Download a texture, position it on your overlay, and adjust the opacity and blending mode to make it look harmonious.
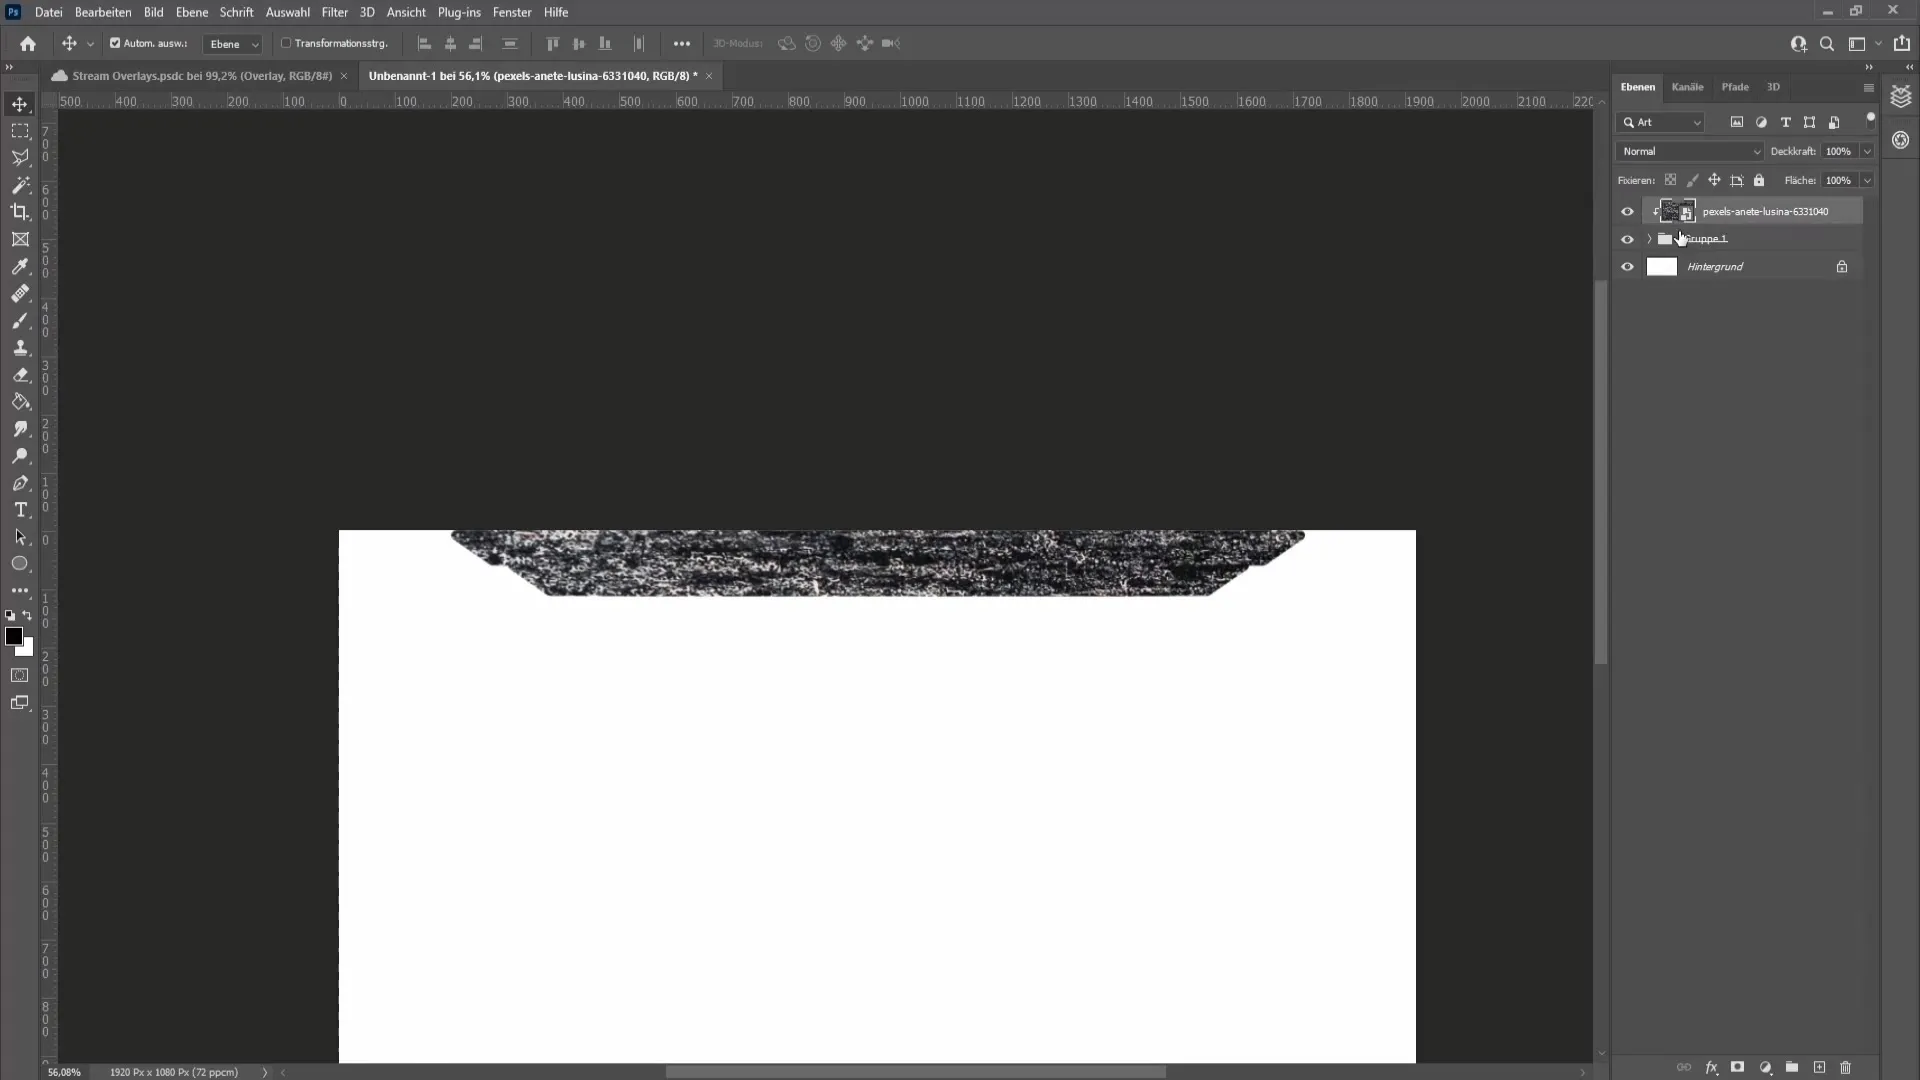
Step 8: Exporting the Overlay
Once you are satisfied with the design, it's time to export your overlay. Make sure to select the PNG format to preserve transparency. This is important for your overlay to be displayed correctly in the streaming software.
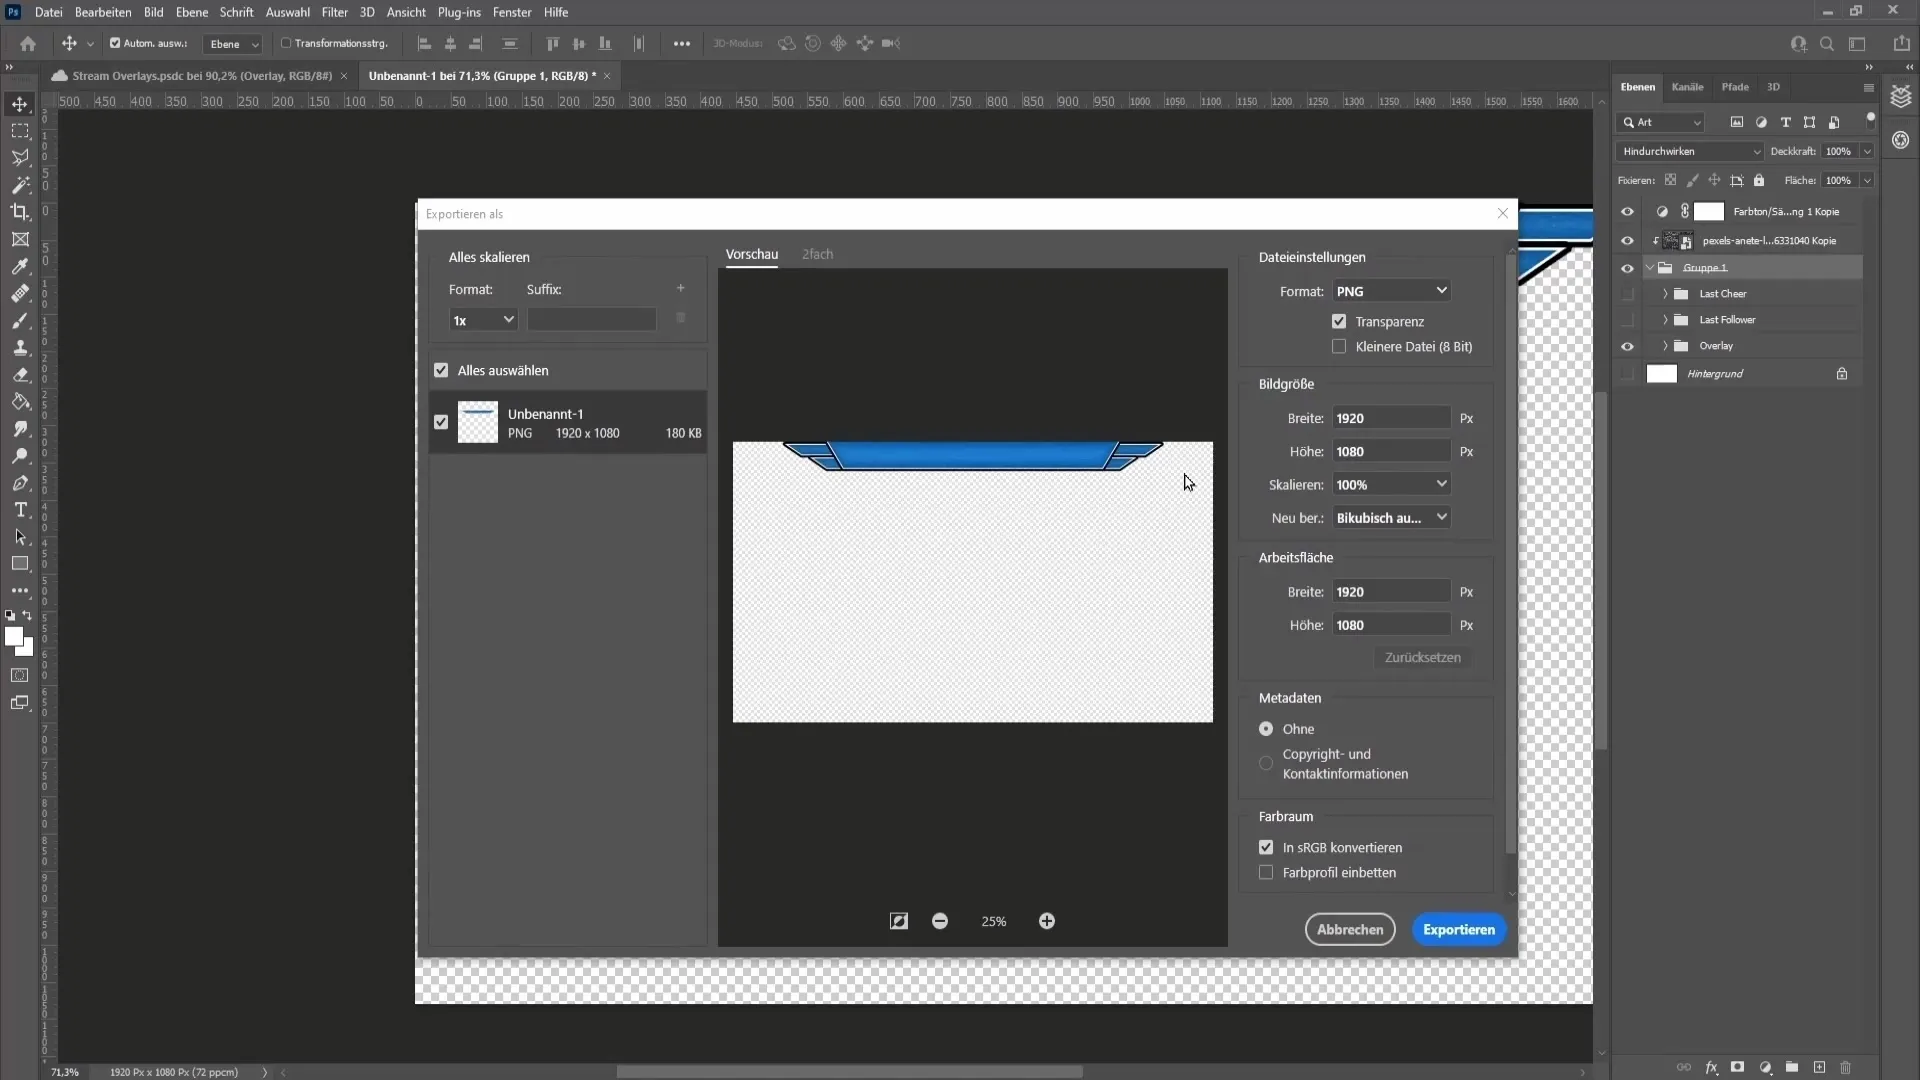
Step 9: Importing the Overlay into Streaming Software
Switch to your streaming software (e.g. Streamlabs OBS) and add your overlay as an image source. Make sure to place the source in the correct scene and adjust its size to integrate well into the layout.
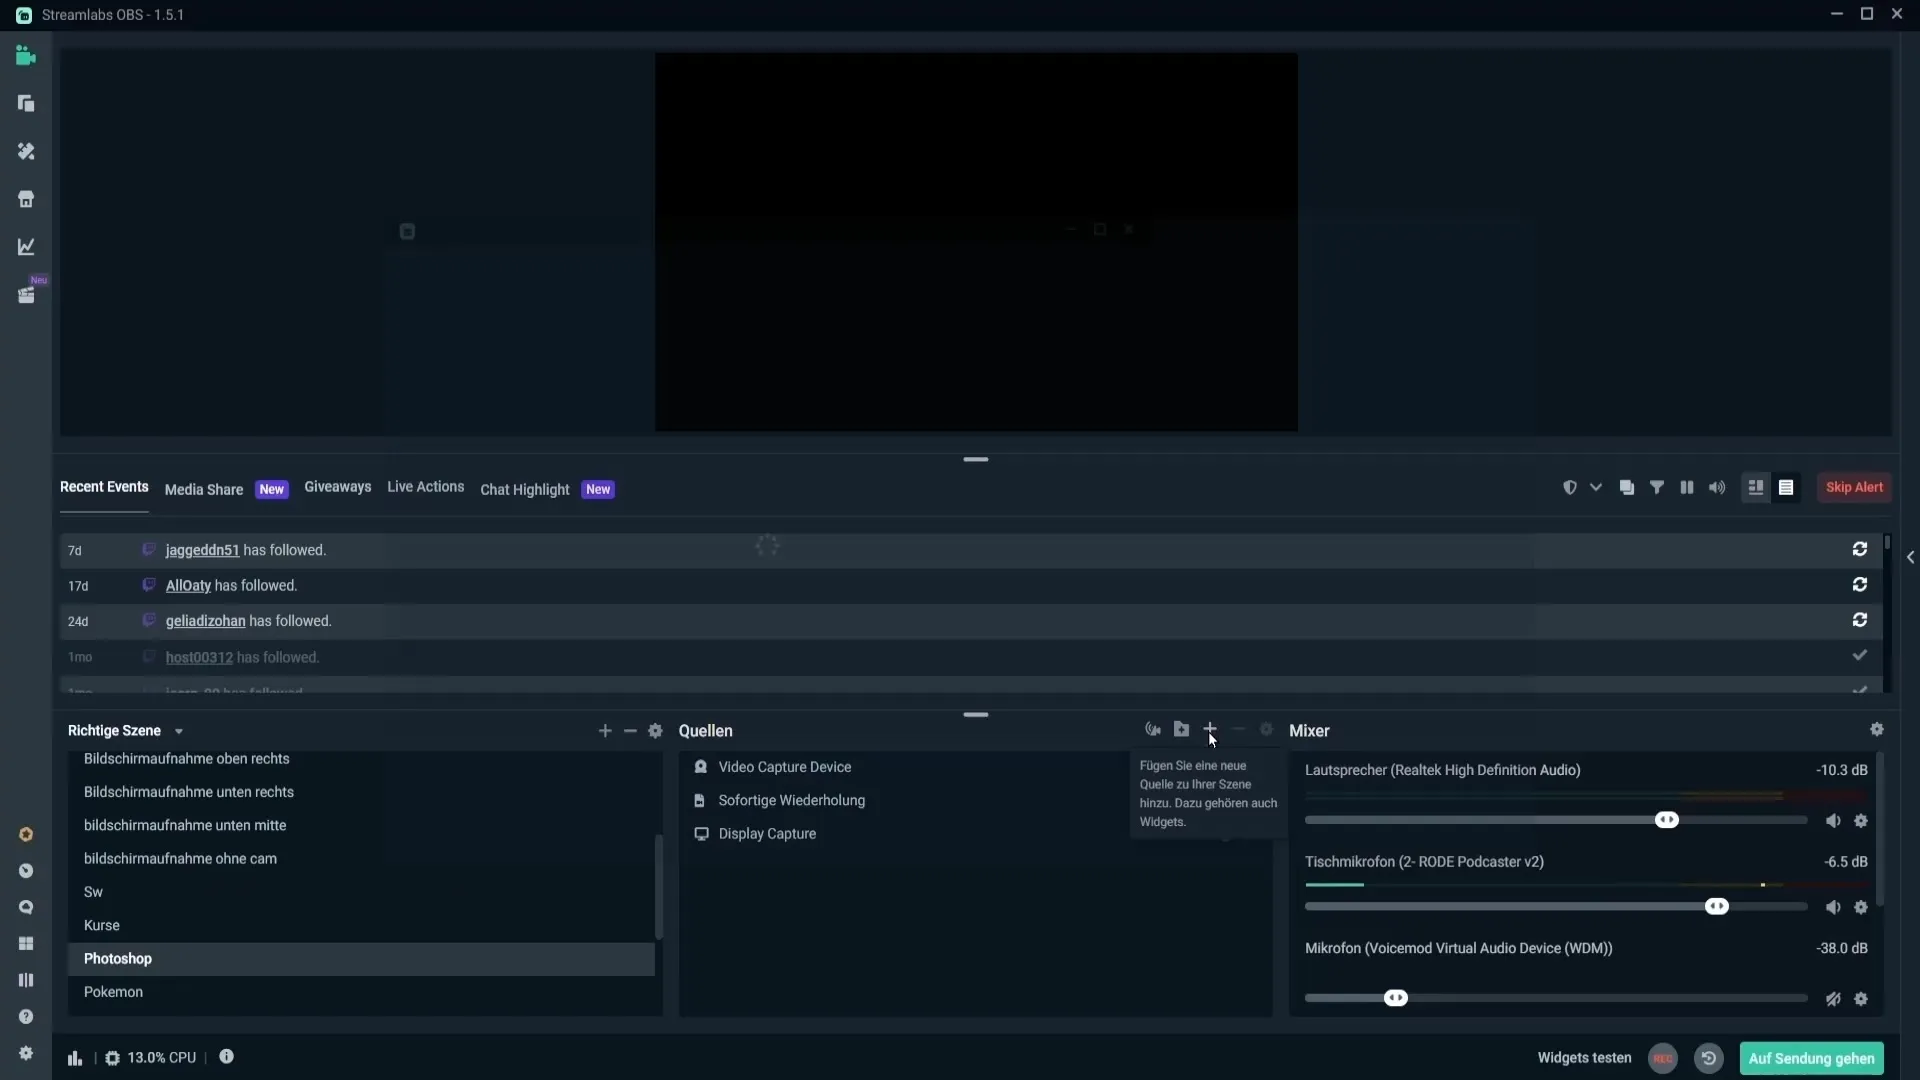
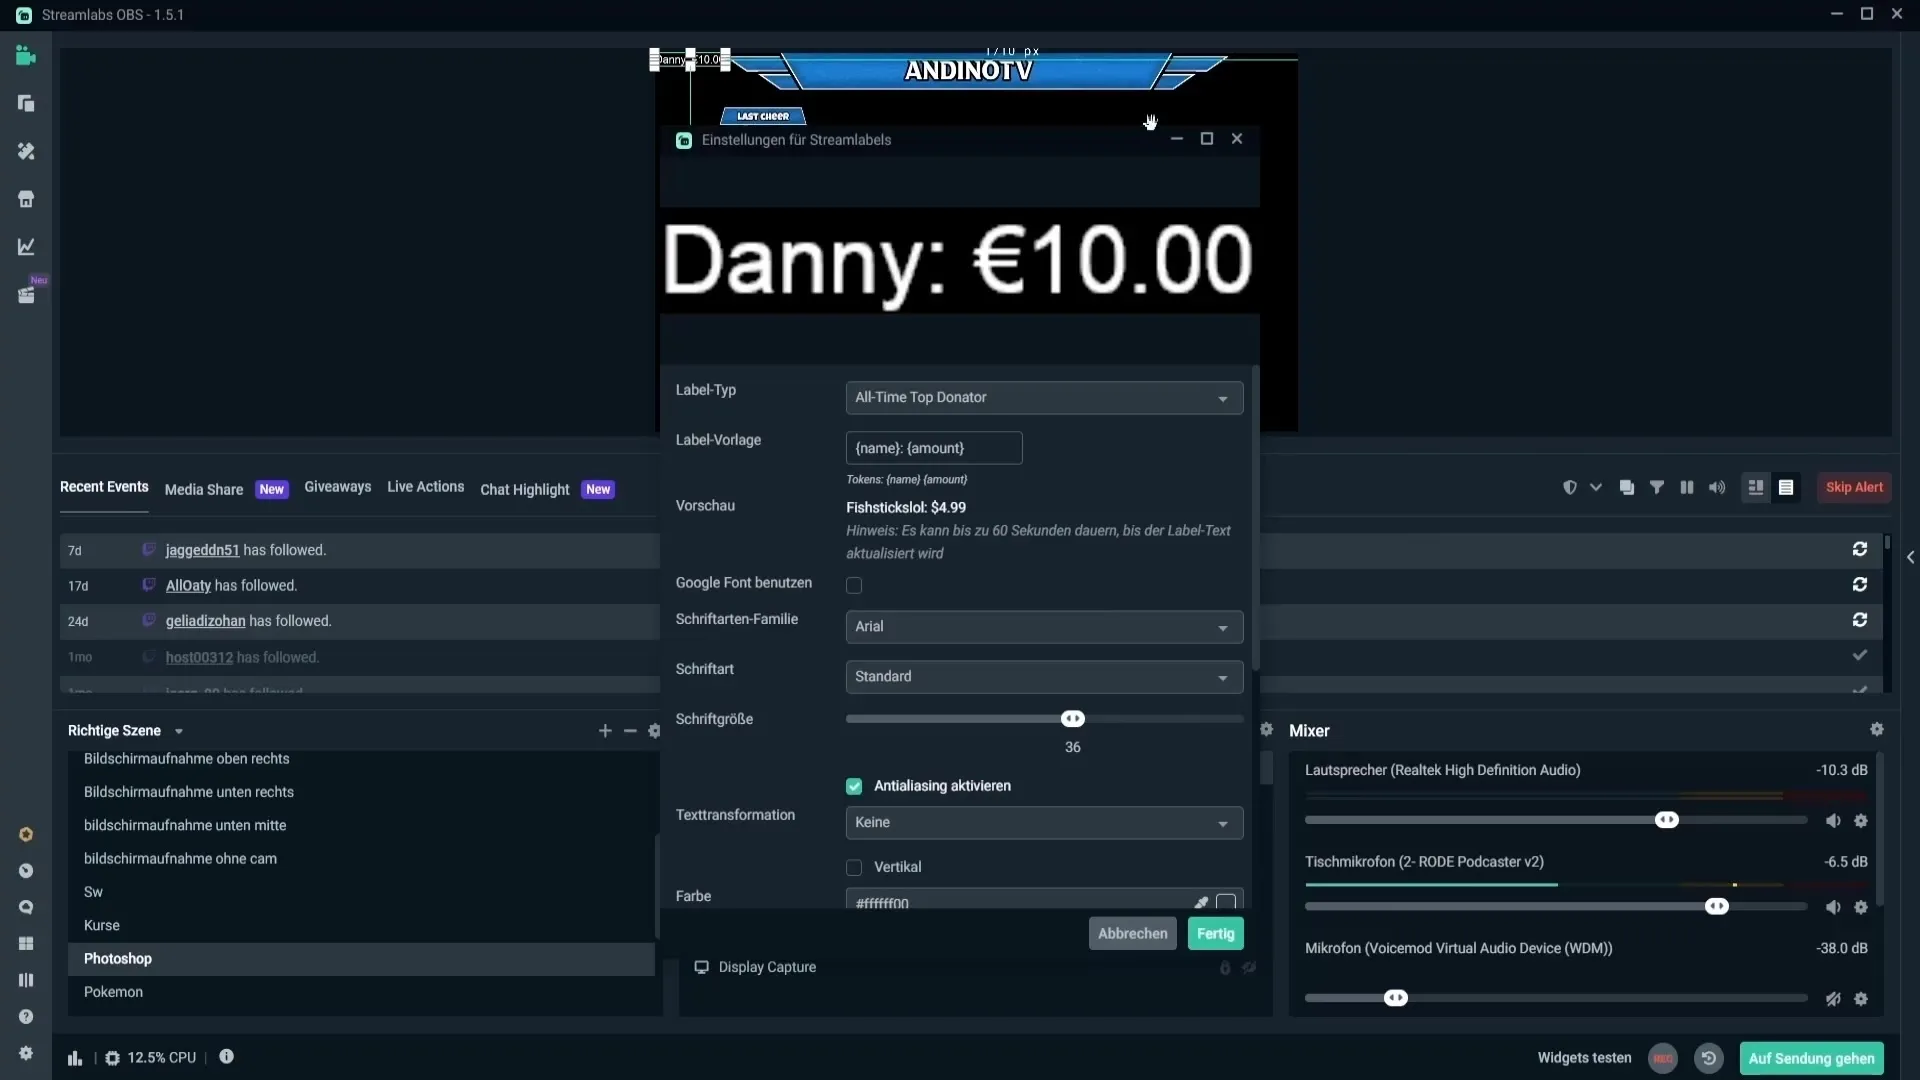
Step 10: Add text for followers and donations
Add text sources for "Last Follower", "Last Donation" and other interactive elements. Configure the settings accordingly and experiment with formatting to create an appealing overall image.
Summary
You are now well-equipped to create your individual overlay in Photoshop. By combining design, text, and effects, you can develop a professional presentation that enhances your stream and increases viewer engagement.
Frequently Asked Questions
How can I save my overlay in Photoshop and use it for OBS?You can export it in PNG format and then import it as an image source in OBS.
Are there specific software settings for optimal export?Make sure to set the format to PNG and leave the resolution at 1920x1080 at 72 dpi.
Can text creations be automated?Yes, many streaming softwares offer automated label functions to display the most recent followers or donations.
What should I consider when designing my overlays?Take into account the color palette and fonts that match your branding, and keep the design clear and appealing.

