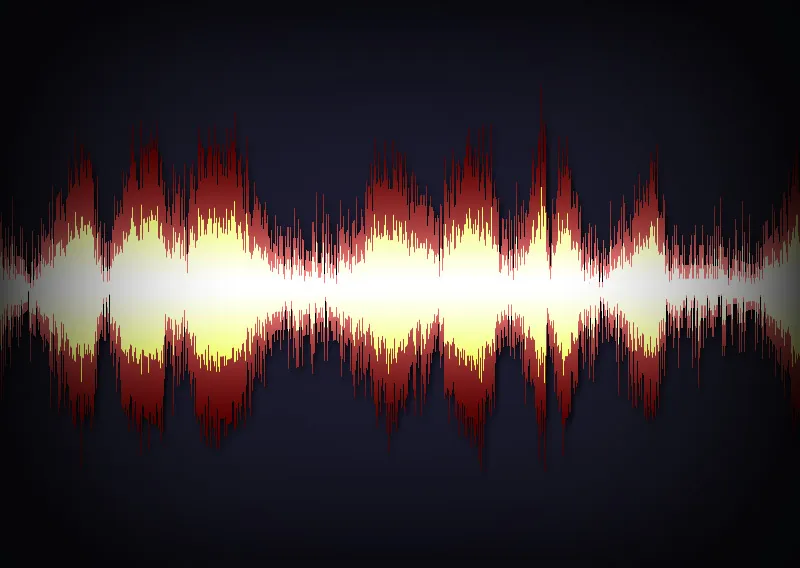
Sound level effects are dynamic and modern design elements that are ideal for party flyers, event banners, or wallpaper. With their rhythmic lines and vibrant colors, they add energy and movement to your designs. In this tutorial, I will show you how to create impressive sound level effects using Photoshop by combining shapes, gradients, and glow effects. Let's get started and give your projects the perfect beat!
1. Creating a retro-style sound level
In the first technique, I will describe how a retro-style sound level can be created. A similar effect has already been described by raptor31 in a tutorial here on PSD-Tutorials.de.
The technique is quite simple and does not require too much care in its creation, as the most important part is done by a filter.
Step 1: Create a new document
I create a new document (Ctrl+N) sized 800x600 pixels and fill the background layer with black.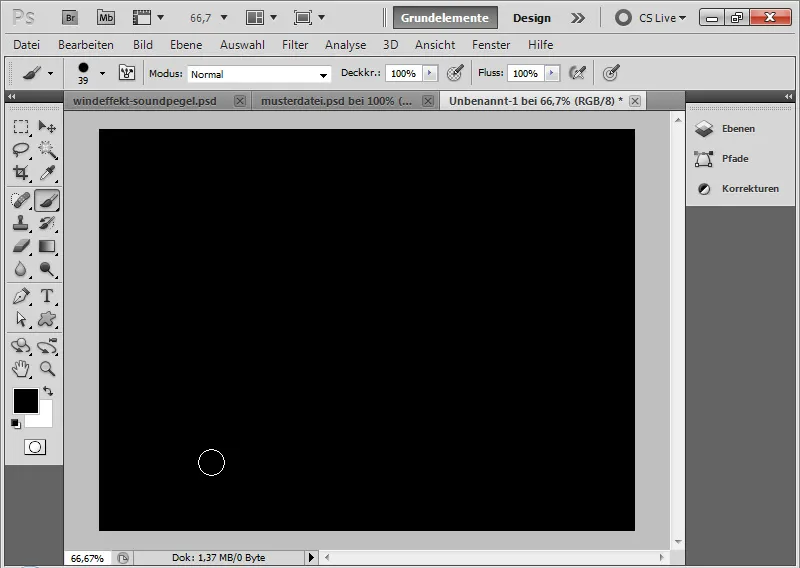
Step 2: Draw equalizer outline
I create a new layer with Ctrl+Alt+Shift+N. Using a round, white brush (B) sized 5 pixels, I draw the outline of the top level in the new layer.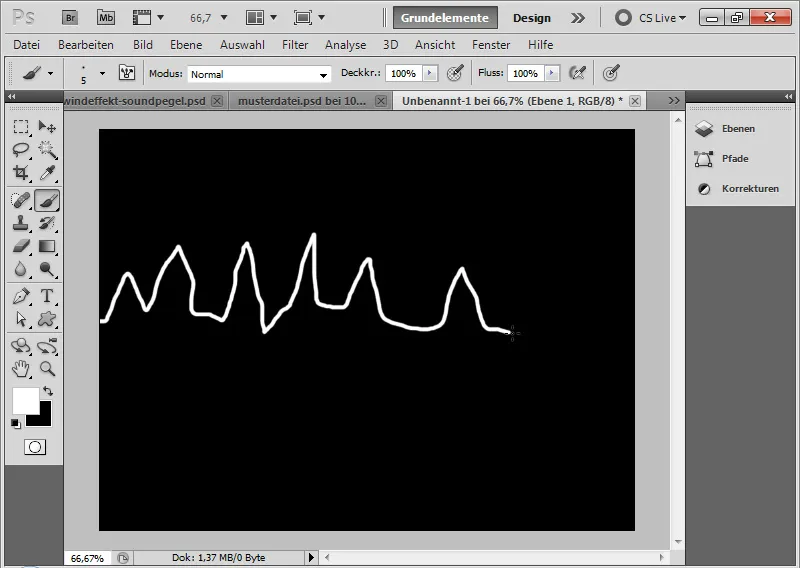
Step 3: Duplicate and mirror layer
I duplicate the layer with the equalizer outline using the shortcut Ctrl+J and mirror it vertically using Ctrl+T>Flip Vertically. I move the layer using the Move tool to the bottom edge of the original equalizer outline.
Step 4: Merge both layers
I select both outline layers in the Layers panel and merge them into one using the shortcut Ctrl+E.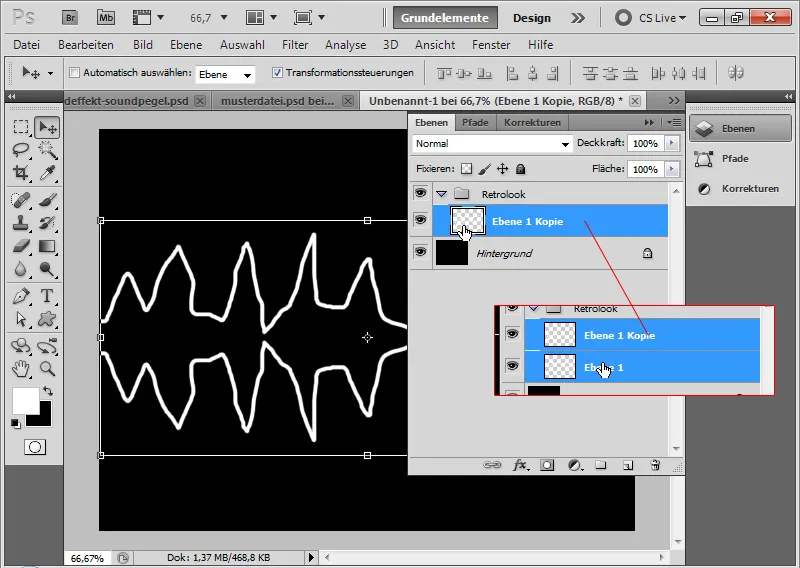
Step 5: Fill inner area
Using the Fill tool (G), I fill the inner areas of the outline layer with white color.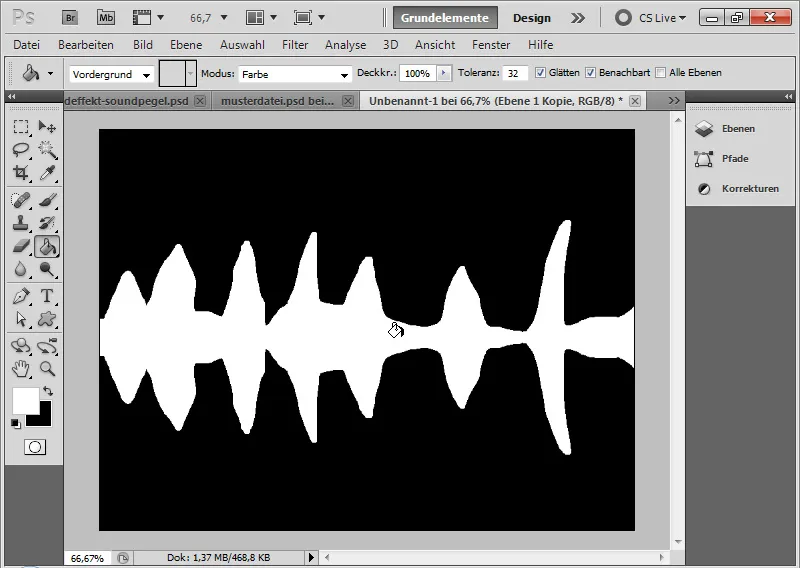
Step 6: Rotate image by 90 degrees
I rotate the entire document 90 degrees clockwise through the menu Image>Image Rotation>90° CW. This is important because the filter applied in the next step only works from right to left, not up or down.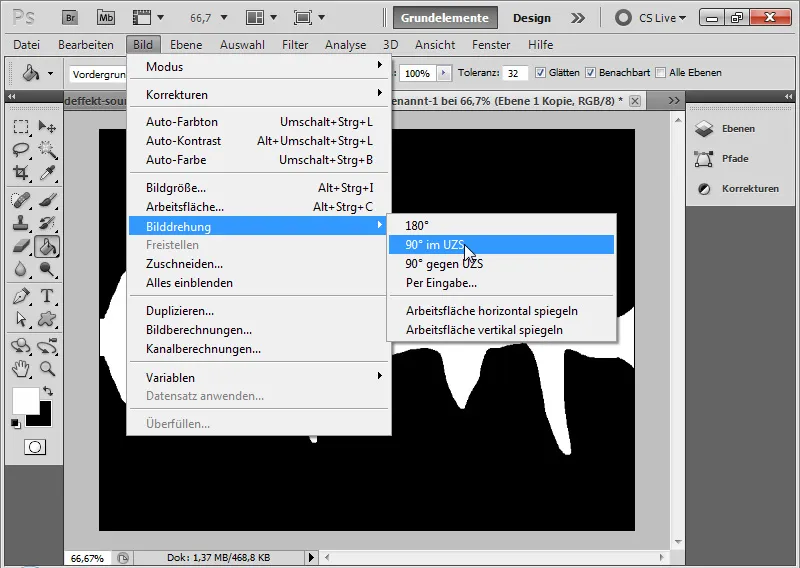
Step 7: Apply stylize filter for wind effect to the right
From the Filter menu, I access the Stylize Filter and select the Wind effect dialog.
I choose the checkbox for Stagger with the direction to the right. Then I confirm with OK.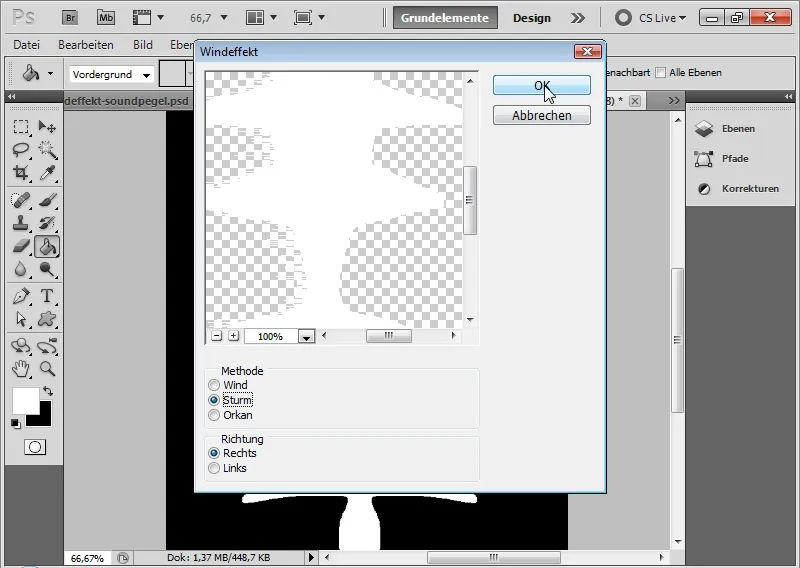
Step 8: Repeat filter
In the Filter menu, I locate the option to repeat the last filter at the top. I click on that or simply use the shortcut Ctrl+F. I repeat the filter application around 2-3 times.
Now the familiar equalizer outline appears, the one I also want in my first sound level look.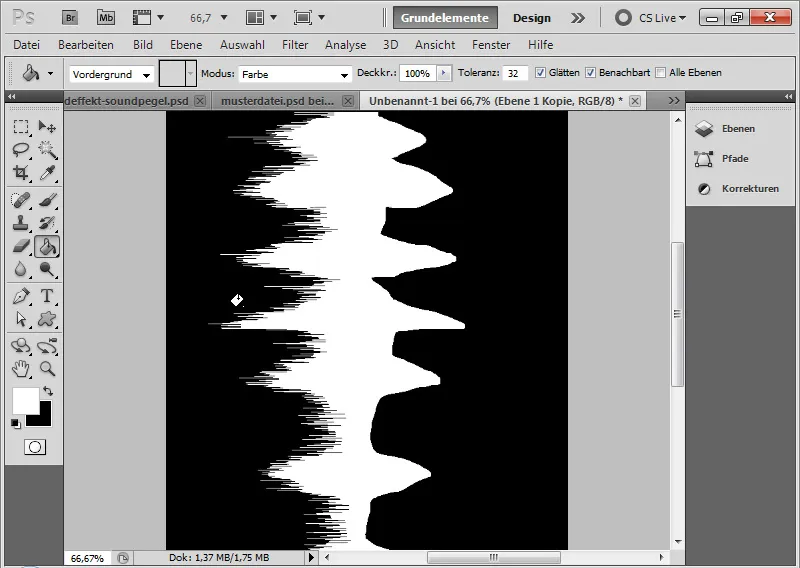
Step 9: Apply stylize filter for wind effect to the left
I now access the filter again through the Filter menu and change the direction to the left. Again, I repeat the filter application 2-3 times until the effect fits.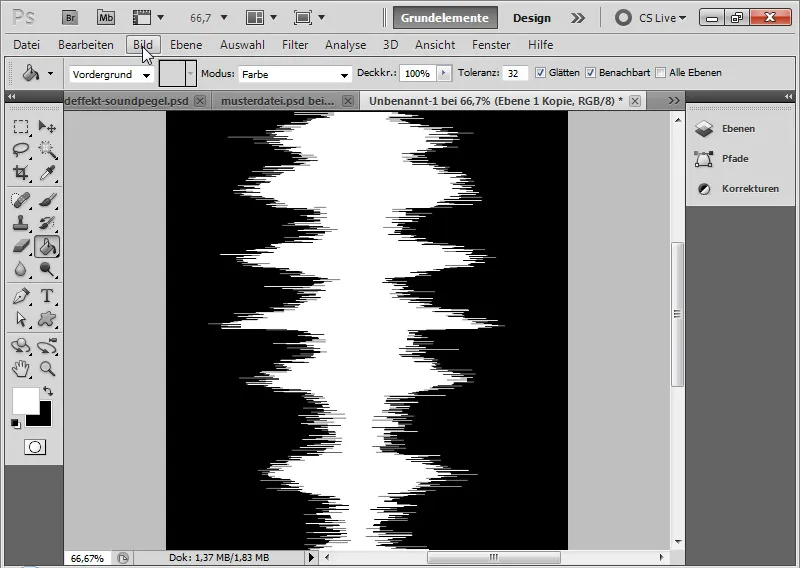
Step 10: Rotate image back
Through the menu Image>Image Rotation>90° CCW, I rotate my document back.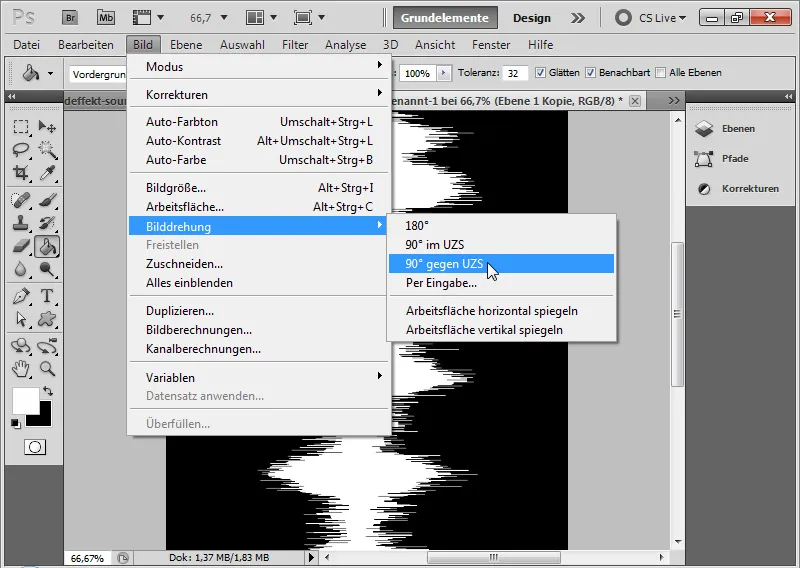
Step 11: Gradient fill layer
To color the white level indicators, I choose a Gradient Fill as a fill layer.
The gradient goes from light red to blood red and is set to reflective.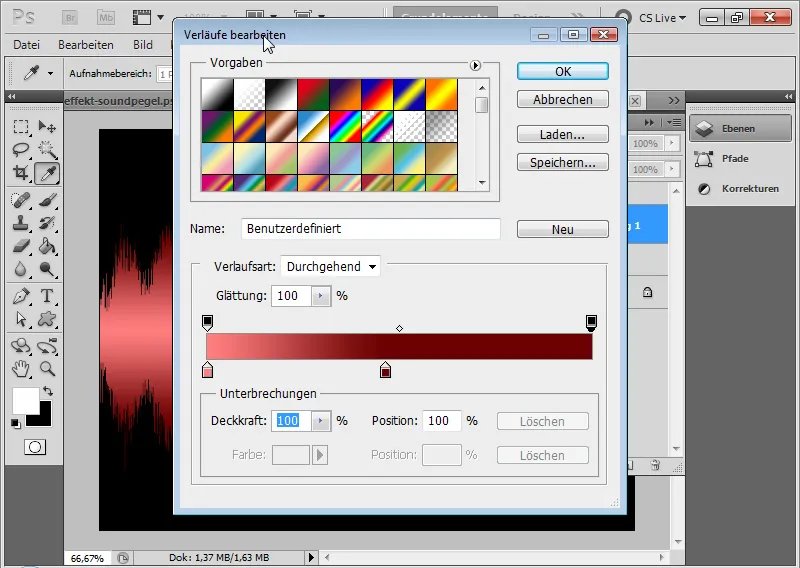
I place the fill layer as a Clipping Mask using the shortcut Ctrl+Alt+G.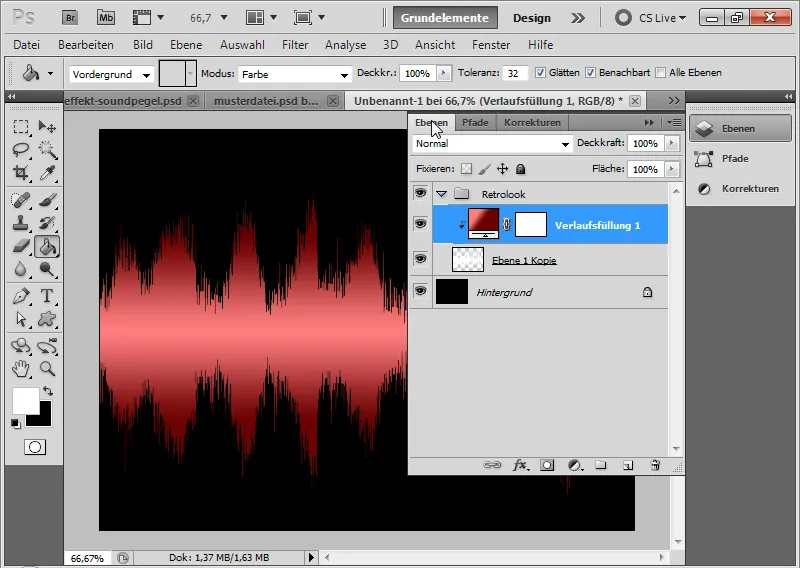
Step 12: Duplicate Peak Level Layer with Fill Layer
I duplicate the peak level layer together with the fill layer because I am now creating the inner area of the peak level.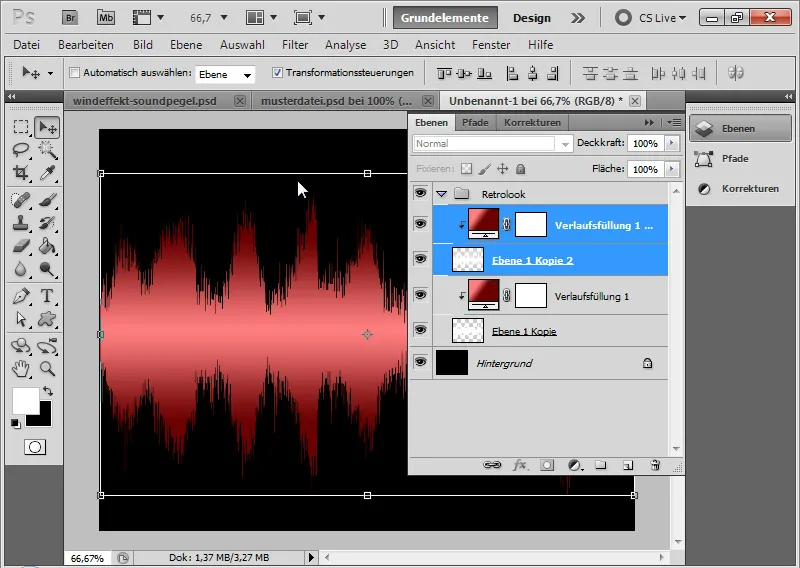
I transform the peak level with Ctrl+T. I simply shrink the peak level inward by adjusting the side points.
I adjust the gradient fill to be white to yellow.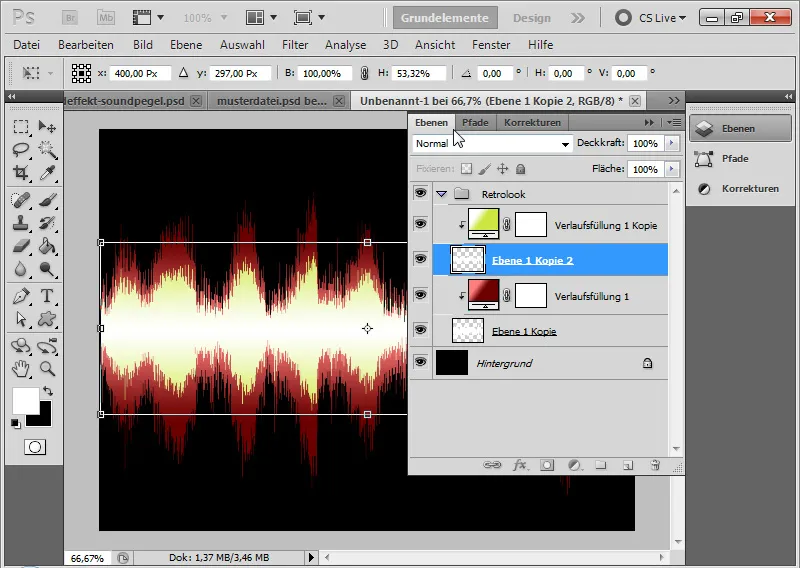
Step 13: Convert Both Layers into a Smart Object
I select both layers and merge them into a Smart Object. This way, I can edit both layers uniformly, but still have access to individual layers.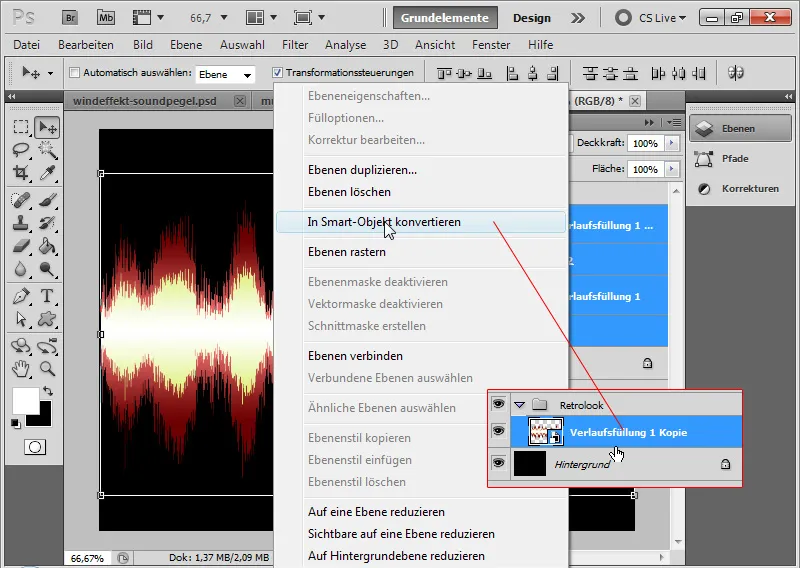
Step 14: Fill Options
Now I add a few more fill options to my Smart Object to further accentuate the effect.
• Drop shadow:
• Opacity: 100 percent
• Distance: 6 pixels
• Size: 6 pixels
• Outer glow:
• Color/Brightness: White
• Opacity: 4 percent
• Size: 43 pixels
To make the drop shadow noticeable, I applied a new background with a radial gradient from dark blue to black.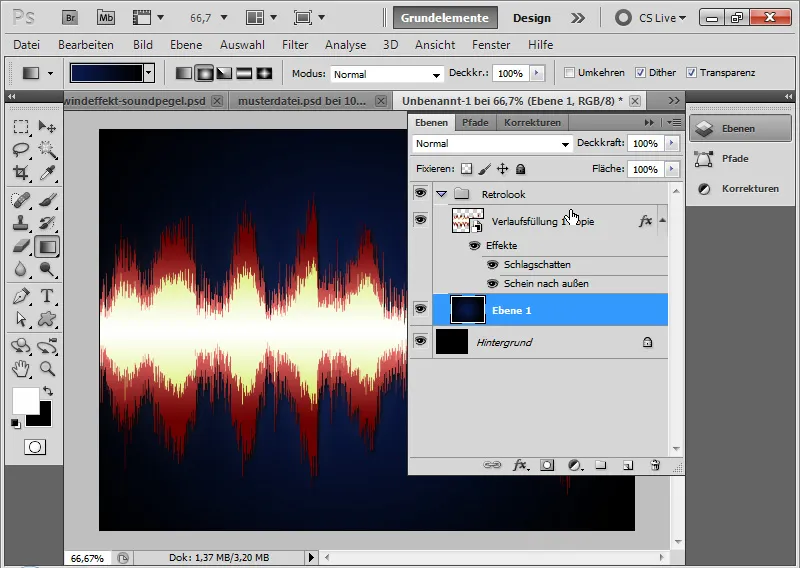
Step 15: Final Touch with Vignette
The peak effect can now be used effectively as a design element in wallpapers and flyers. However, if I want to keep it in this form and size, I can enhance it further by adding a vignette.
I create a new layer and fill it with any color.
I set the Fill slider in the Layers panel to 0 percent. This means that the layer content is not displayed. Only the set layer styles are displayed. I adjust these styles now.
I open the fill options and select inner glow with the following settings:
• Color/Brightness: Black with the fill method Multiply
• Opacity: 75 percent
• Size: 250 pixels
The vignette is now complete.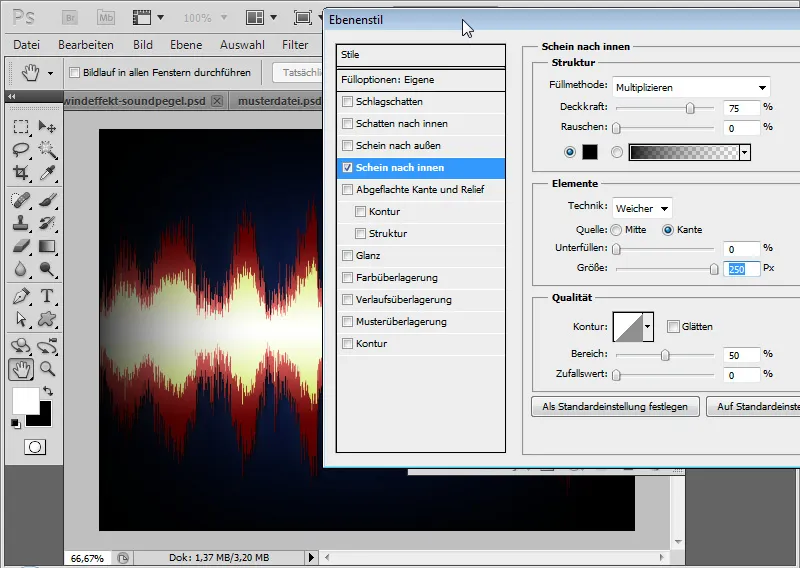
Step 16: Variation with Text Area
If I leave a white area within the peak, I can utilize it effectively for texts.
Using the selection tool within the Smart Object, I first select the upper area up to the middle, copy it with Ctrl+C, and paste it into my document with Ctrl+V. I do the same with the lower half of my peak effect.
With the move tool, I shift the two new layers so that there is space for text in the middle. Then, I merge both layers by pressing Ctrl+E. I fill the transparent inner area with a white brush.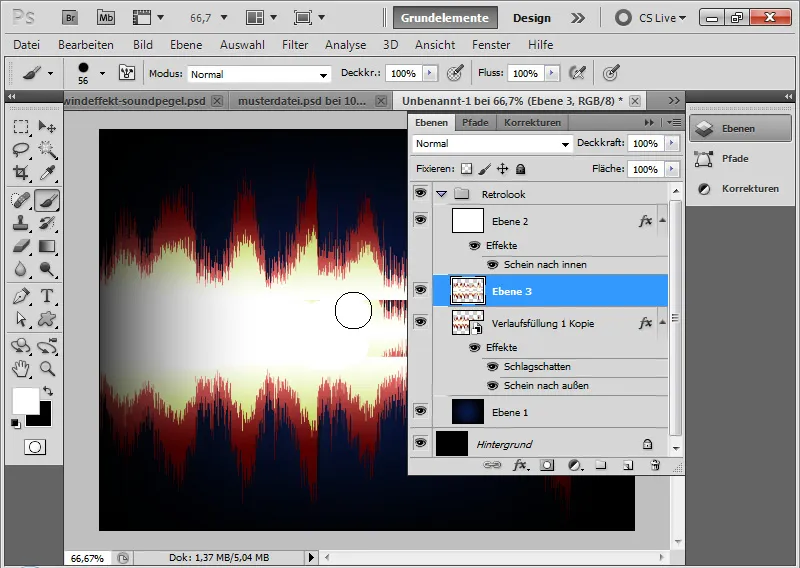
Step 17: Placing Text
With my text tool, I can now write any text inside the inner area. I choose the Swatch it font and simply write PSD-Tutorials.de. From a thematic perspective, an announcement for a techno party would suit much better.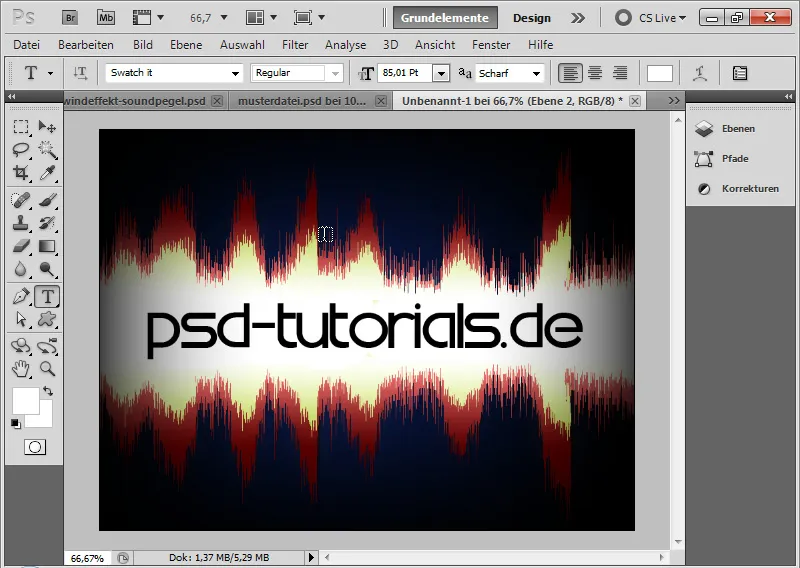
Create a Digital Bling-Look Sound Level Effect
Another way to create a sound level effect as a graphic element for flyers and wallpapers is to imitate a digital bling look.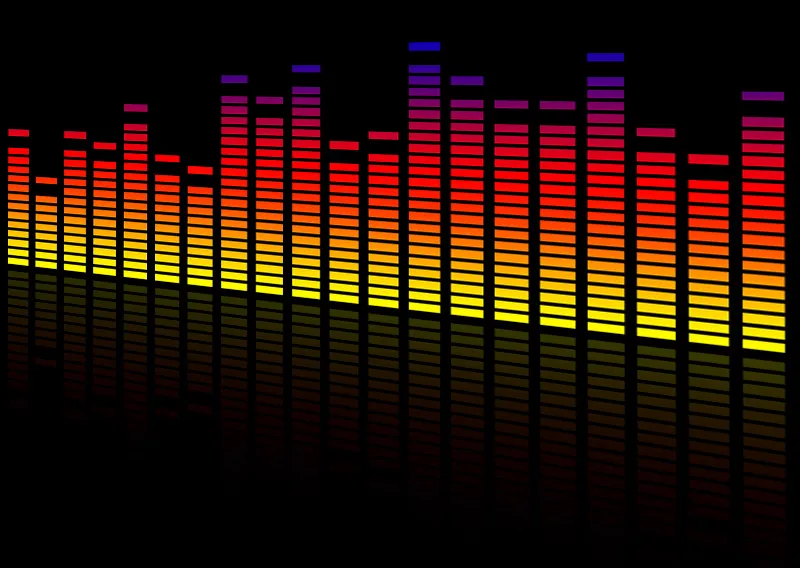
Step 1: Document with Black Background
I can create a new document with the size 800x600 or simply continue using my existing document and create a new group to organize these effects.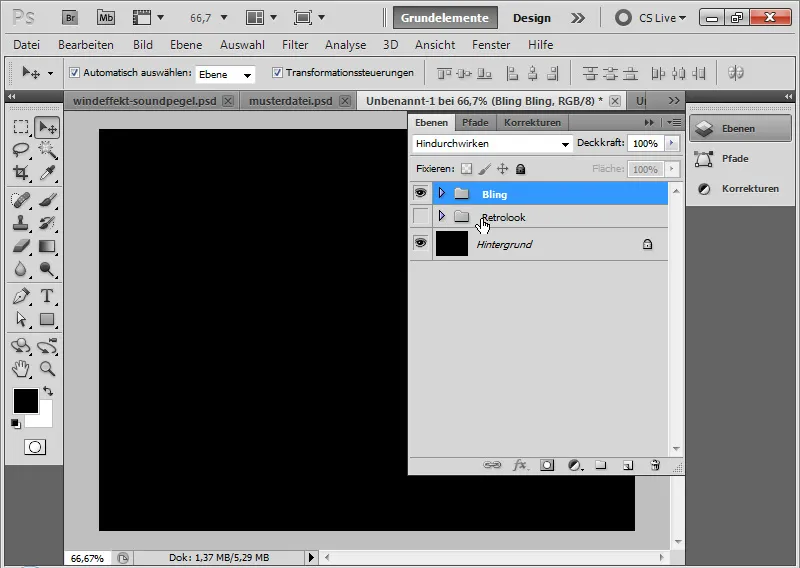
Step 2: Creating a Pattern
In a new document with the size 42x42 pixels, I create a grid template for myself.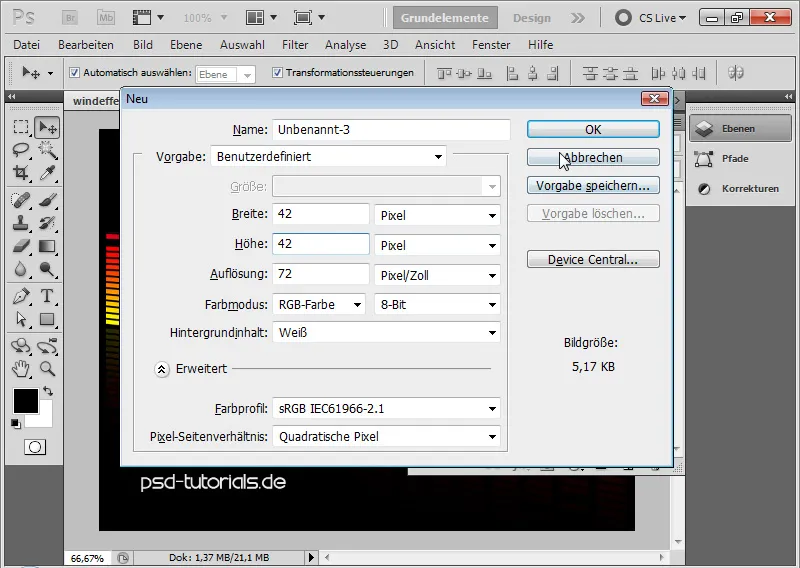
For this, I draw a black, medium bar vertically on the right side of the document and three thin black bars horizontally on the left side. In high zoom range, the pixel grid is displayed to assist me in positioning the bars.
Using the rectangle tool, I first draw the three 4-pixel high rectangles horizontally, and then the 10-pixel wide rectangle vertically in the document. The spaces between the thin rectangles are 10 pixels!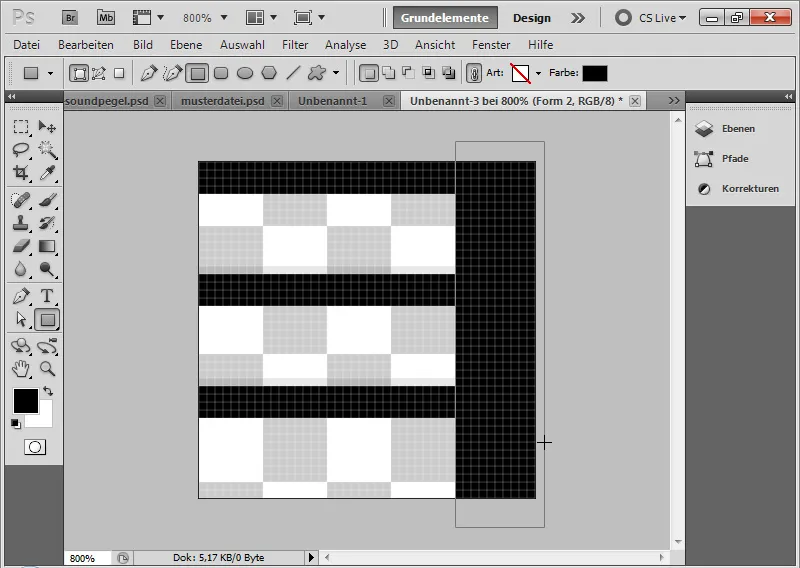
It is important that the background is transparent when defining the pattern. Finally, I can set my pattern via the menu Edit>Define Pattern.
Step 3: Create Gradient
To create the desired gradient in the colors as the gradient fill should appear in my sound levels, I generate the desired gradient in a new layer.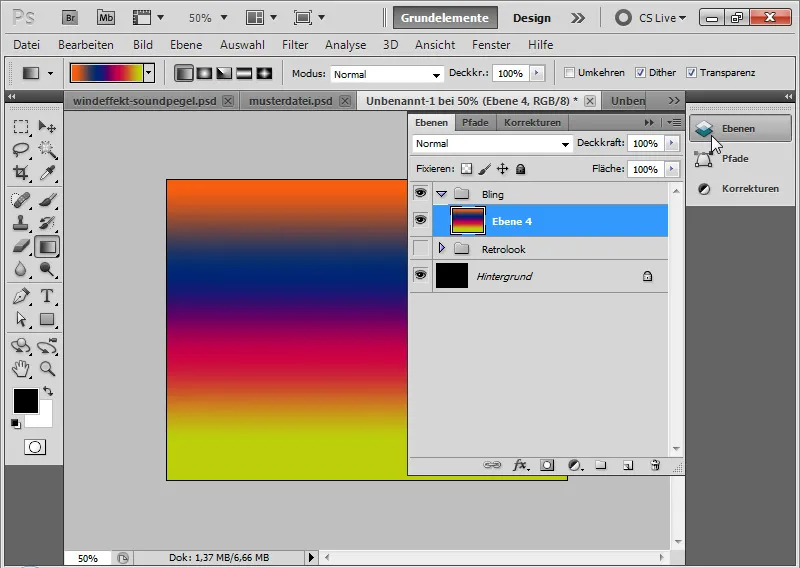
Step 4: Apply Pattern
I create a new layer and fill it with the gradient tool. Instead of the foreground color, the pattern is activated in the menu bar. There I assign my newly created pattern. Then I fill the layer with my pattern.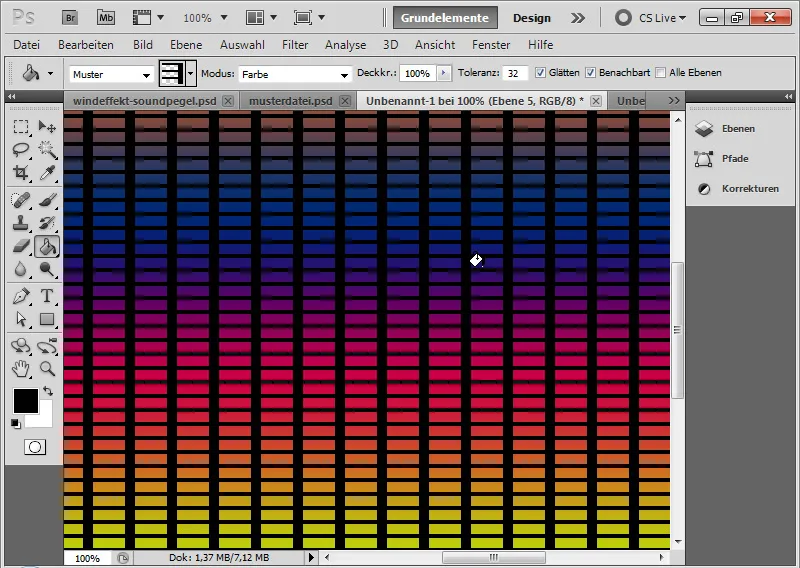
It is useful for layer handling to create the pattern layer as a clipping mask to the gradient layer. I do this with Ctrl+Alt+G or with Alt and Click between the two layers in the Layers panel.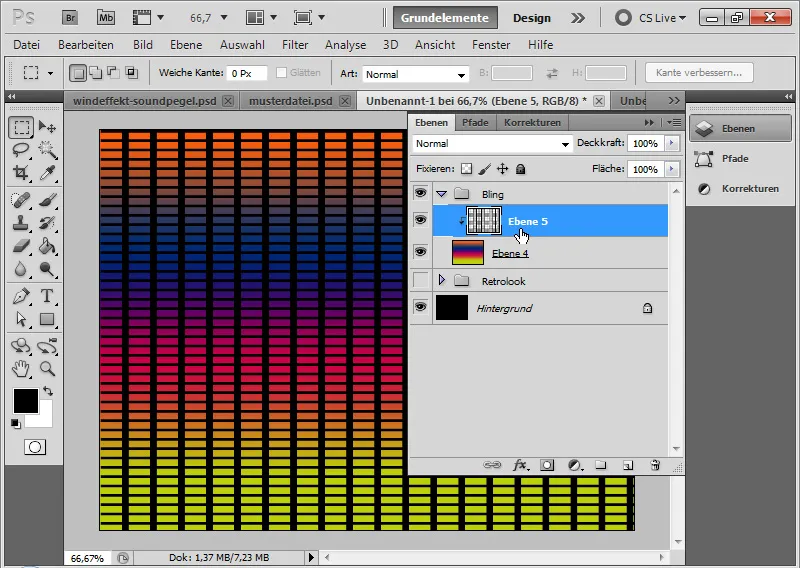
Step 5: Draw Level Peaks in Layer Mask
I add a layer mask to the gradient layer. There, I can now color in the areas that do not belong to my level peaks. I can conveniently do this with a black brush. Alternatively, it is also possible to simply mark the areas with the selection tool and fill them with black in the layer mask. The foreground color can be applied using the shortcut Alt+Backspace.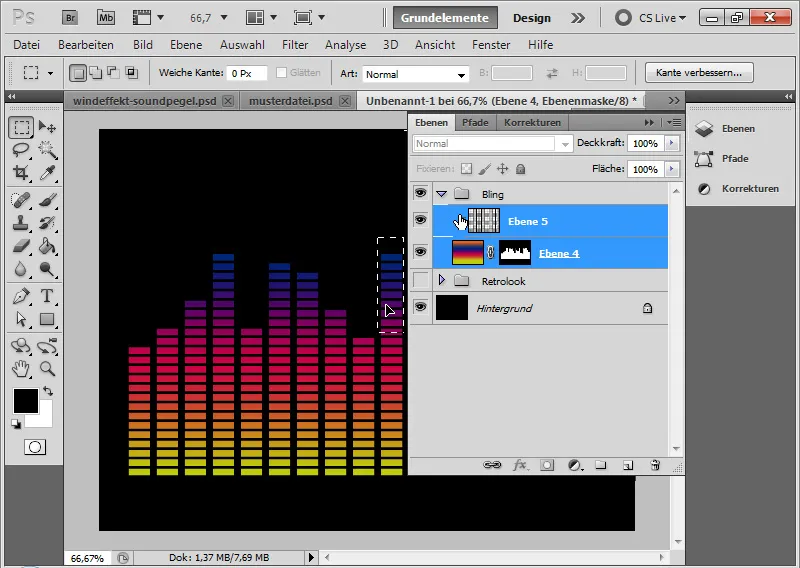
Step 6: Create Smart Object
I select the gradient layer and the pattern layer and embed both in a smart object (Right-click>Convert to Smart Object). It is better if both are in the smart object and further edited together, as this way I can easily move the smart object upwards in the document.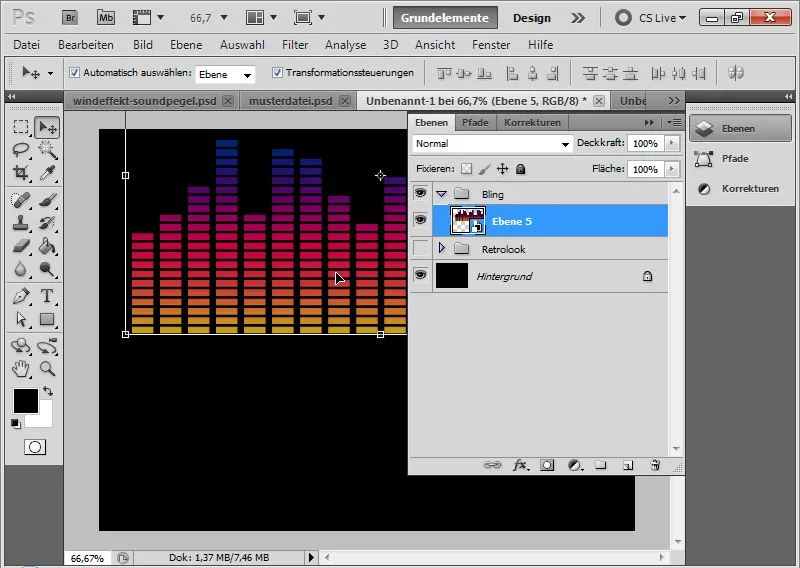
Step 7: Duplicate and Mirror Smart Object
I duplicate my smart object with Ctrl+J.
With Ctrl+T>Vertical Flip I can vertically mirror my duplicate – surprise, surprise.
With the Move Tool I pull it down a bit so that both "bottom pieces" of the level peaks almost touch. Now I reduce the opacity to 40 percent.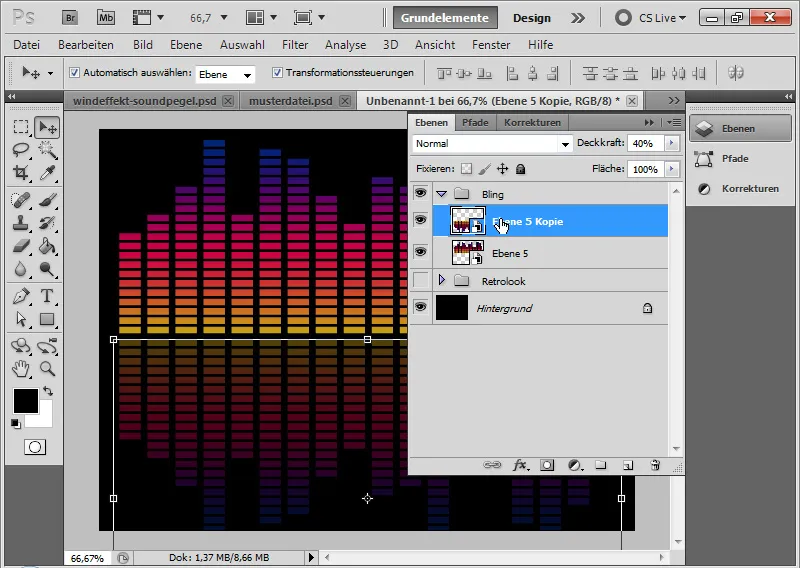
Step 8: Fading Reflection
To give the reflection a fading effect towards the dark end, I simply add a layer mask to the smart object.
With a black-white gradient, I drag from bottom to top so that the lower area becomes gradually transparent.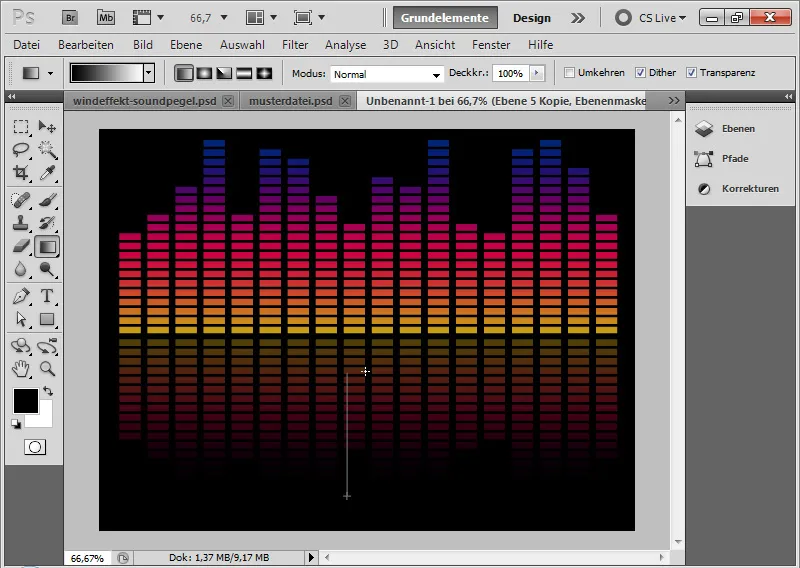
Step 9: Transformation
I select both smart objects and can transform them as a unit using Ctrl+T. It is recommended to transform the effect a bit perspectively and distort it. This adds a bit of dynamism to the effect. And that's it. The sound level effect provides a nice graphical element for flyers and wallpapers.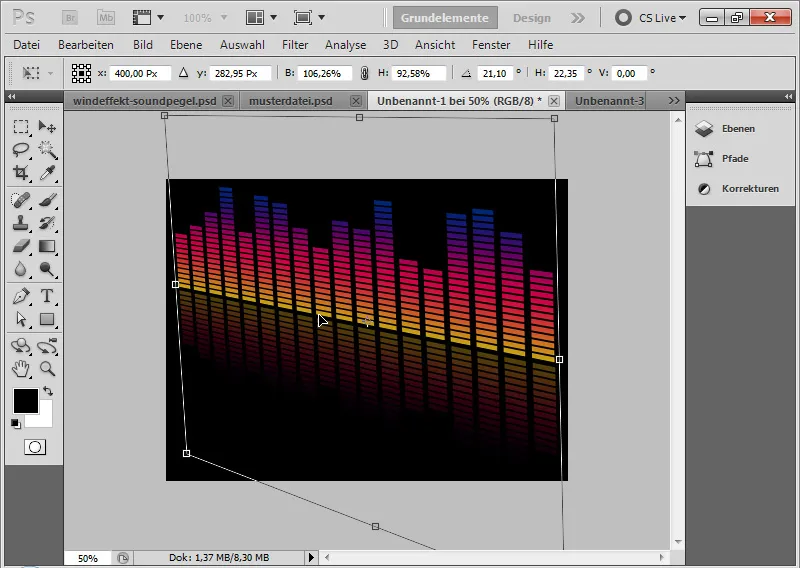
Step 10: Variation
It is convenient that I can change the colors of the gradient at any time. So I simply double-click on the smart object of the top level view. I now access the PSB document where my two original layers were included.
There, I can change the gradient color as desired.
If I want to create another variation, I can skip the level peaks. This emphasizes the graphical effect in a special way.
To do this, I paint the second individual level of each level peak in the layer mask. This will make it disappear in the view.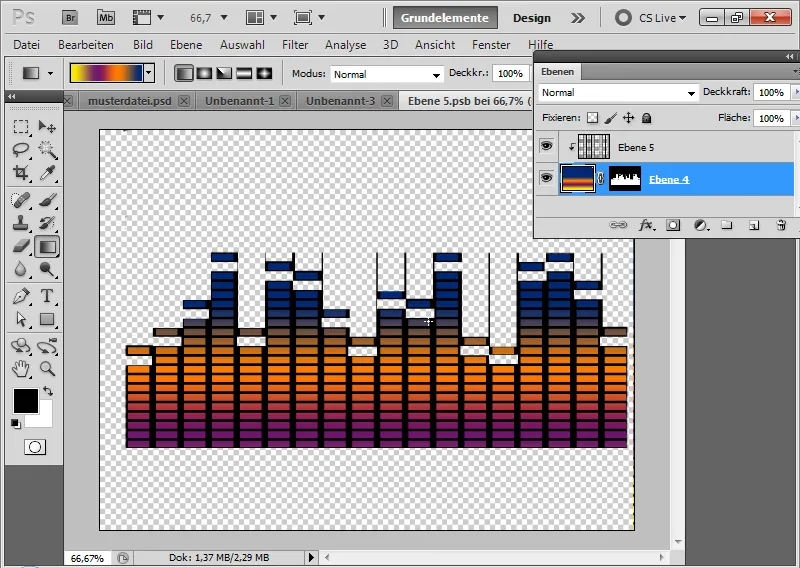
By saving the PSB document, the changes will be reflected in the PSD file.
What stands out? The variations have also been incorporated into the reflection. Cool! But this is not magic, it simply happens because duplicates of smart objects through the Layers panel or with the shortcut Ctrl+J set an instance to the original smart object. And so the changes from the original are also "inherited".
By the way: If I do not want this change, I can duplicate via the menu Layer>Smart Objects>New Smart Object via Copy.


