Animating texts can give your projects a dynamic and appealing touch. In this tutorial, we will focus on the first steps to create and animate texts in Adobe After Effects. You will learn how to use Keyframes to make your text move from left to right and apply different interpolation options. Let's get started and bring your text to life!
Key Takeaways
- Keyframes are crucial for animations in After Effects.
- You can adjust the position of the text along the X and Y axes.
- Different interpolation methods can affect the motion path of the animation.
Step-by-Step Guide
To learn the basics of text animation in After Effects, follow these steps:
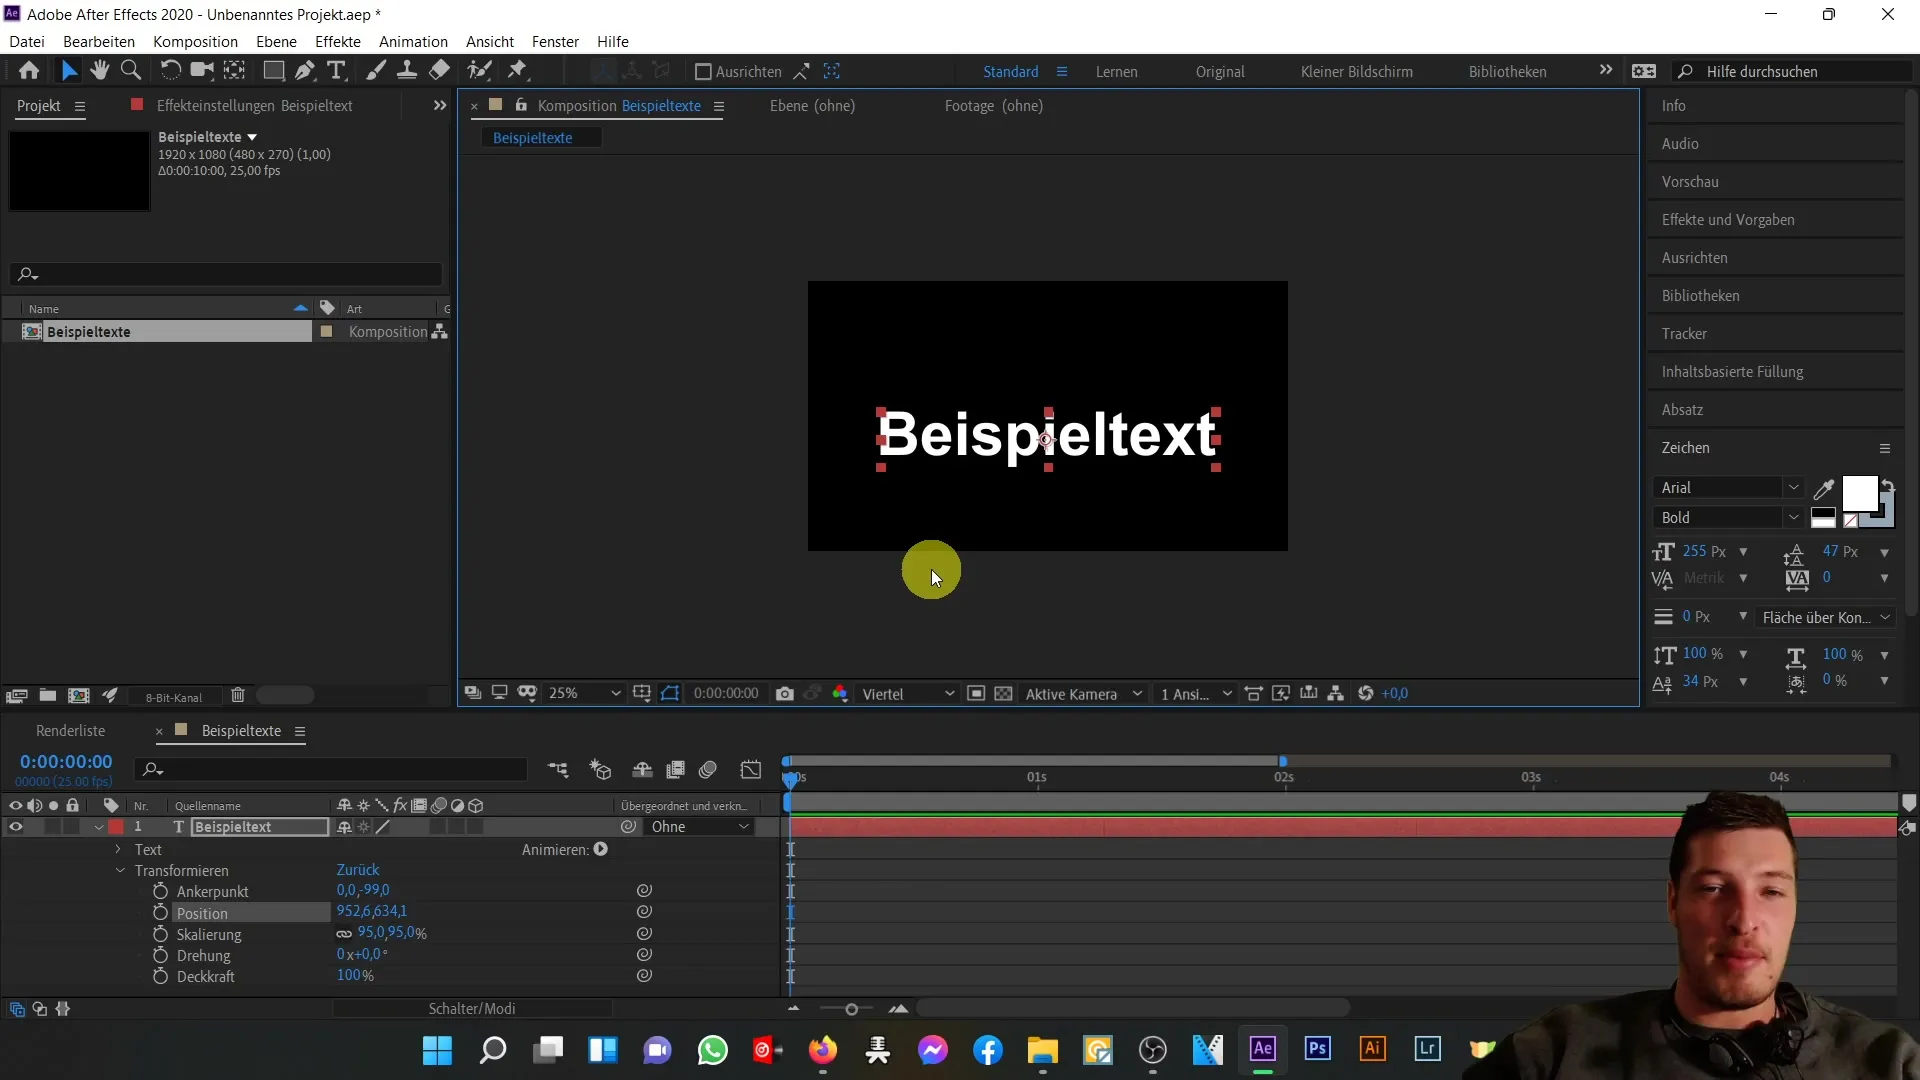
Start by creating a new text in your After Effects project. Click on the text tool and type in your desired text. Now, let's animate this text with keyframes. To do this, let's examine the position values along the X and Y axes. We are at time zero on our timeline. To set the first keyframe, click on the stopwatch next to the position setting. Now you will see that the first keyframe has been set on the position plane. This keyframe stores the information about the position of your text at this moment.

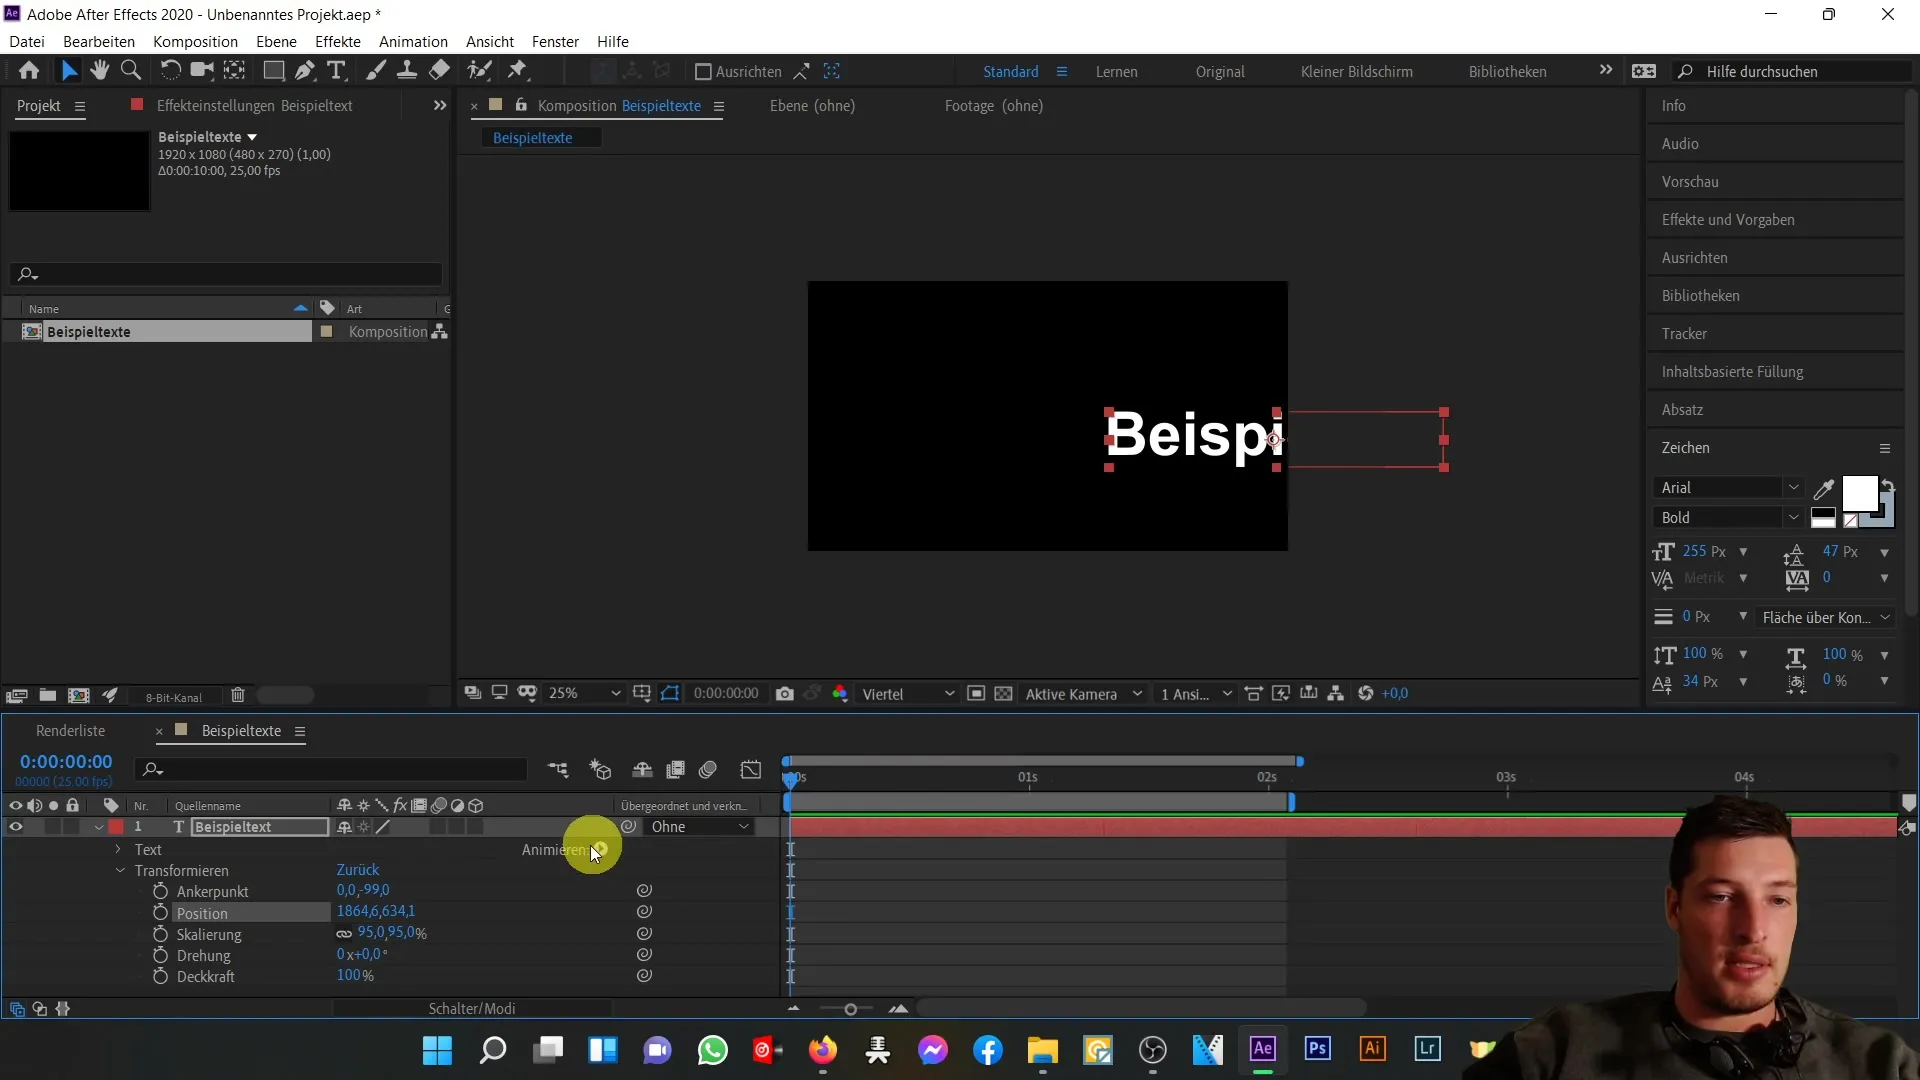
Now let's jump ahead to 2 seconds. Here, you will adjust the position on the X-axis. Move the text to the right; you will notice that a new keyframe is automatically added. In the preview window, you will see the path the text takes over time. To review the animation, zoom out a bit and move the timeline to the end of the keyframes. Press the space bar to see the animation in motion. The text now linearly moves from left to right.
For our example text, we started with an X value of 952 and a Y value of 634. The Y value remains the same, while the X value increases to 1864. This establishes the basic left-to-right movement.
For the next step, I want to make the animation a bit more interesting. At the beginning, the text should be positioned to the left outside the composition, then fly in relatively quickly, slow down, and then quickly move out of the frame to the right again. To achieve this, select the two keyframes and delete them. You will see that now there is no animation, and the position returns to its current value. Click again on the X value and drag it to the left with the mouse to position it outside the frame. Now click on the stopwatch again to set the next keyframe.

Now go about 10 frames further in the timeline. Here, you will see the text moving back into the frame. Let the text stay there for a second and then slowly move it to the right - this will automatically trigger the next keyframe. To complete the animation, go about 10 frames further and move out of the frame completely to the right. If you have done everything correctly, you can now play the animation.
You may notice that the animation doesn't look as linear and shows a kind of "bounce-back" effect. This is due to the interpolation After Effects uses between keyframes. If you wish, you can adjust this. Right-click on the keyframe, choose "Keyframe Interpolation," and change the spatial interpolation from "Bézier" to "linear." You can do this for both keyframes to ensure a rigid transition.
To better understand the difference between "Bézier" and "linear," try an animation with triangles. Scale your text, move it down and to the left to the zero-point position. Go to the middle of the animation, move it slightly up and to the right, and then set the position to the bottom right for 2 seconds. The result will show the Bézier interpolation. However, if you switch to linear, you will see no curves, just a rigid transition from one point to another.
These were the essential basics to animate your text in After Effects. In the next section, we will edit more parameters and animate individual properties of our text.
Summary
In this tutorial, you have learned how to use keyframes in After Effects to create smooth text animations. Understanding position, timing, and interpolation will help you achieve visually appealing results.
Frequently Asked Questions
How do I add keyframes in After Effects?Click on the stopwatch next to the desired property to set a keyframe.
What are interpolation methods and how do they affect my animation?Interpolation methods determine how the motion between keyframes will flow; they can be linear or Bézier, influencing the motion path.
Can I adjust the duration of my keyframes?Yes, by moving the position of keyframes in the timeline, you can adjust the duration and thus the timing of your animation.


