The animation of texts in After Effects is a creative process that can be both technically and artistically challenging. In this tutorial, you will learn how to apply advanced techniques for text animation, including adding keyframes and integrating motion blur. These skills are particularly useful for making your projects more vibrant and dynamic.
Key Insights
- Animating text parameters like opacity and tracking enhances visual effects.
- Working with keyframes enables precise adjustments during the animation.
- Motion blur contributes to the realism of the animation.
Step-by-Step Guide
First, we will look at animating additional parameters for your example text. Here, you will focus on opacity, tracking, and enabling motion blur.
Step 1: Animate Opacity
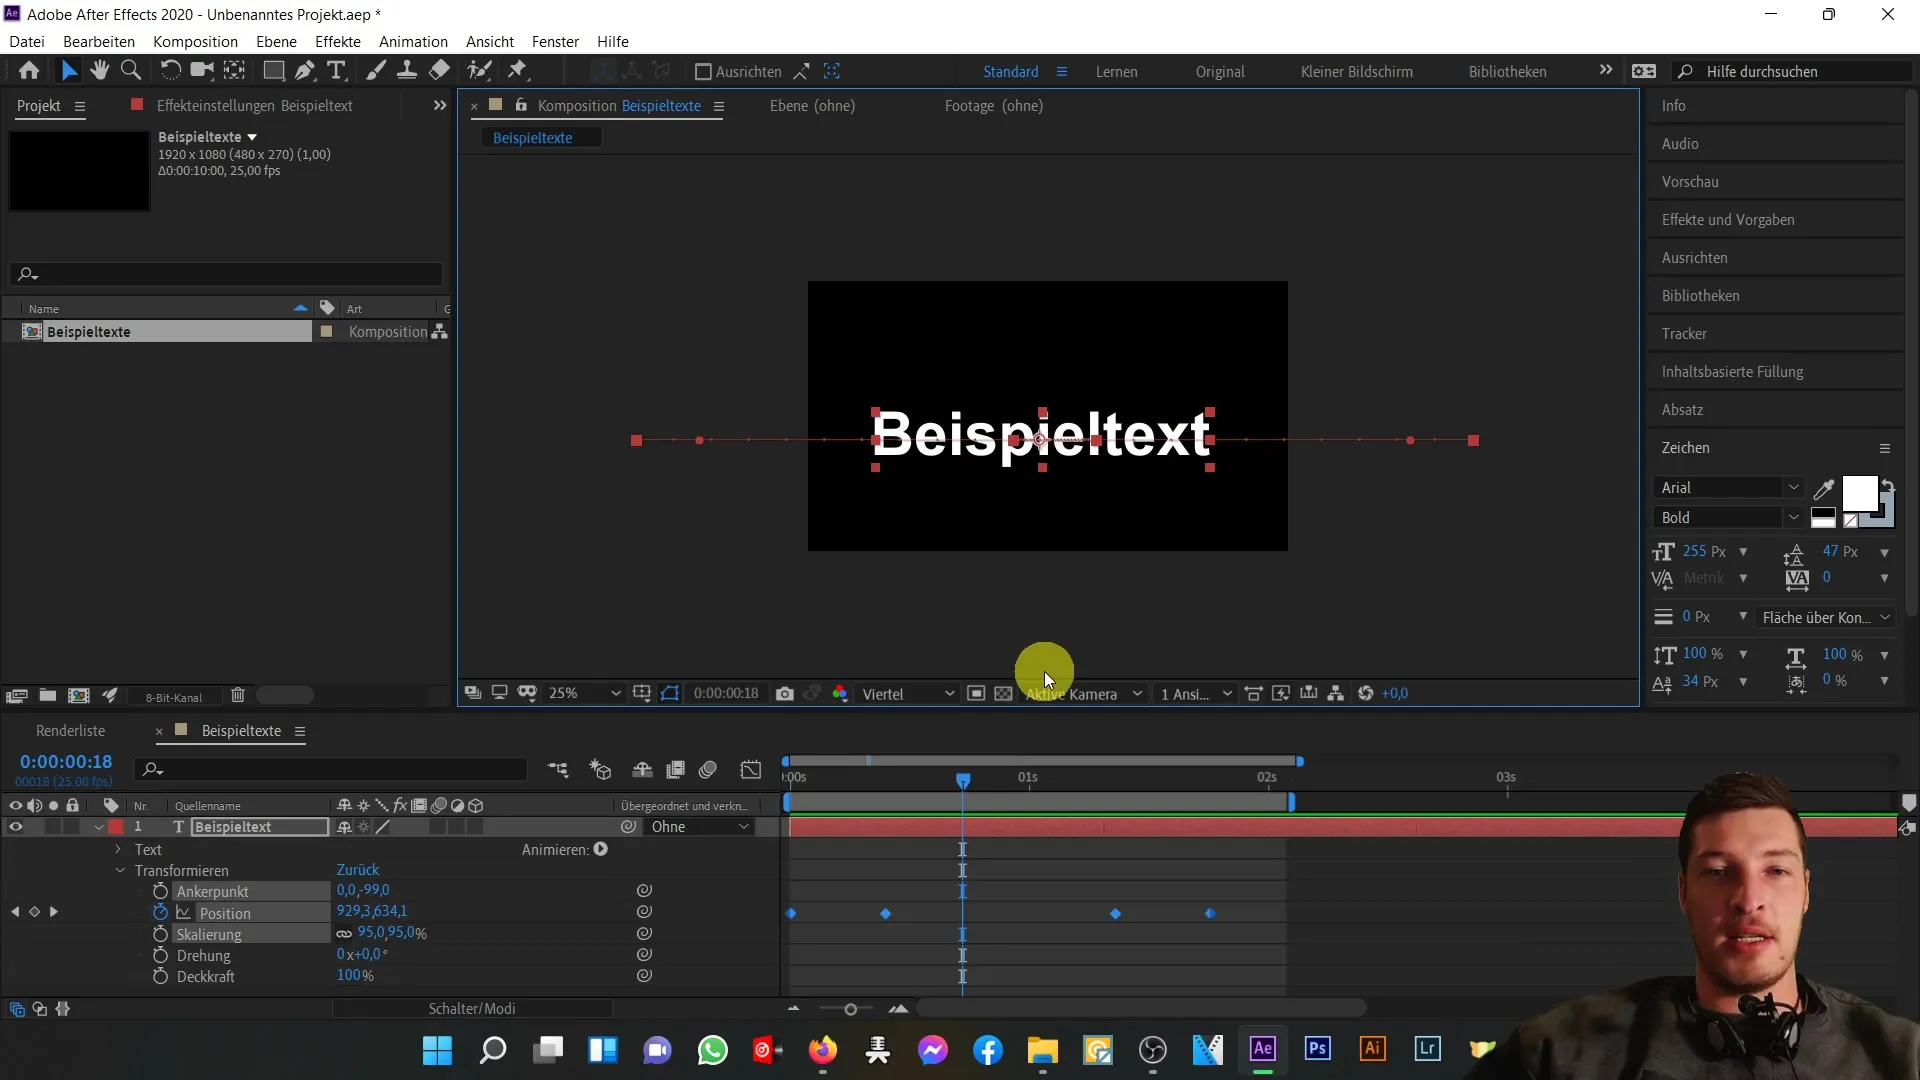
To adjust the opacity of your text, begin the process in the Transform area. First, activate the stopwatch next to the opacity. This sets a keyframe at this point, making the text immediately visible.

Now, go to the beginning of the timeline and drag the keyframe back. Set the opacity value to 0%. This makes the text invisible as it enters the screen.
As the text flies into the center of the screen, you want it to be fully visible (100% opacity). Add a new keyframe while changing the value to 100%.
Before the text exits the screen, add another keyframe with a value of 0% for opacity.
Now you can preview the result by pressing the spacebar. You will see the text smoothly fade in and out as it moves.
Step 2: Animate Tracking
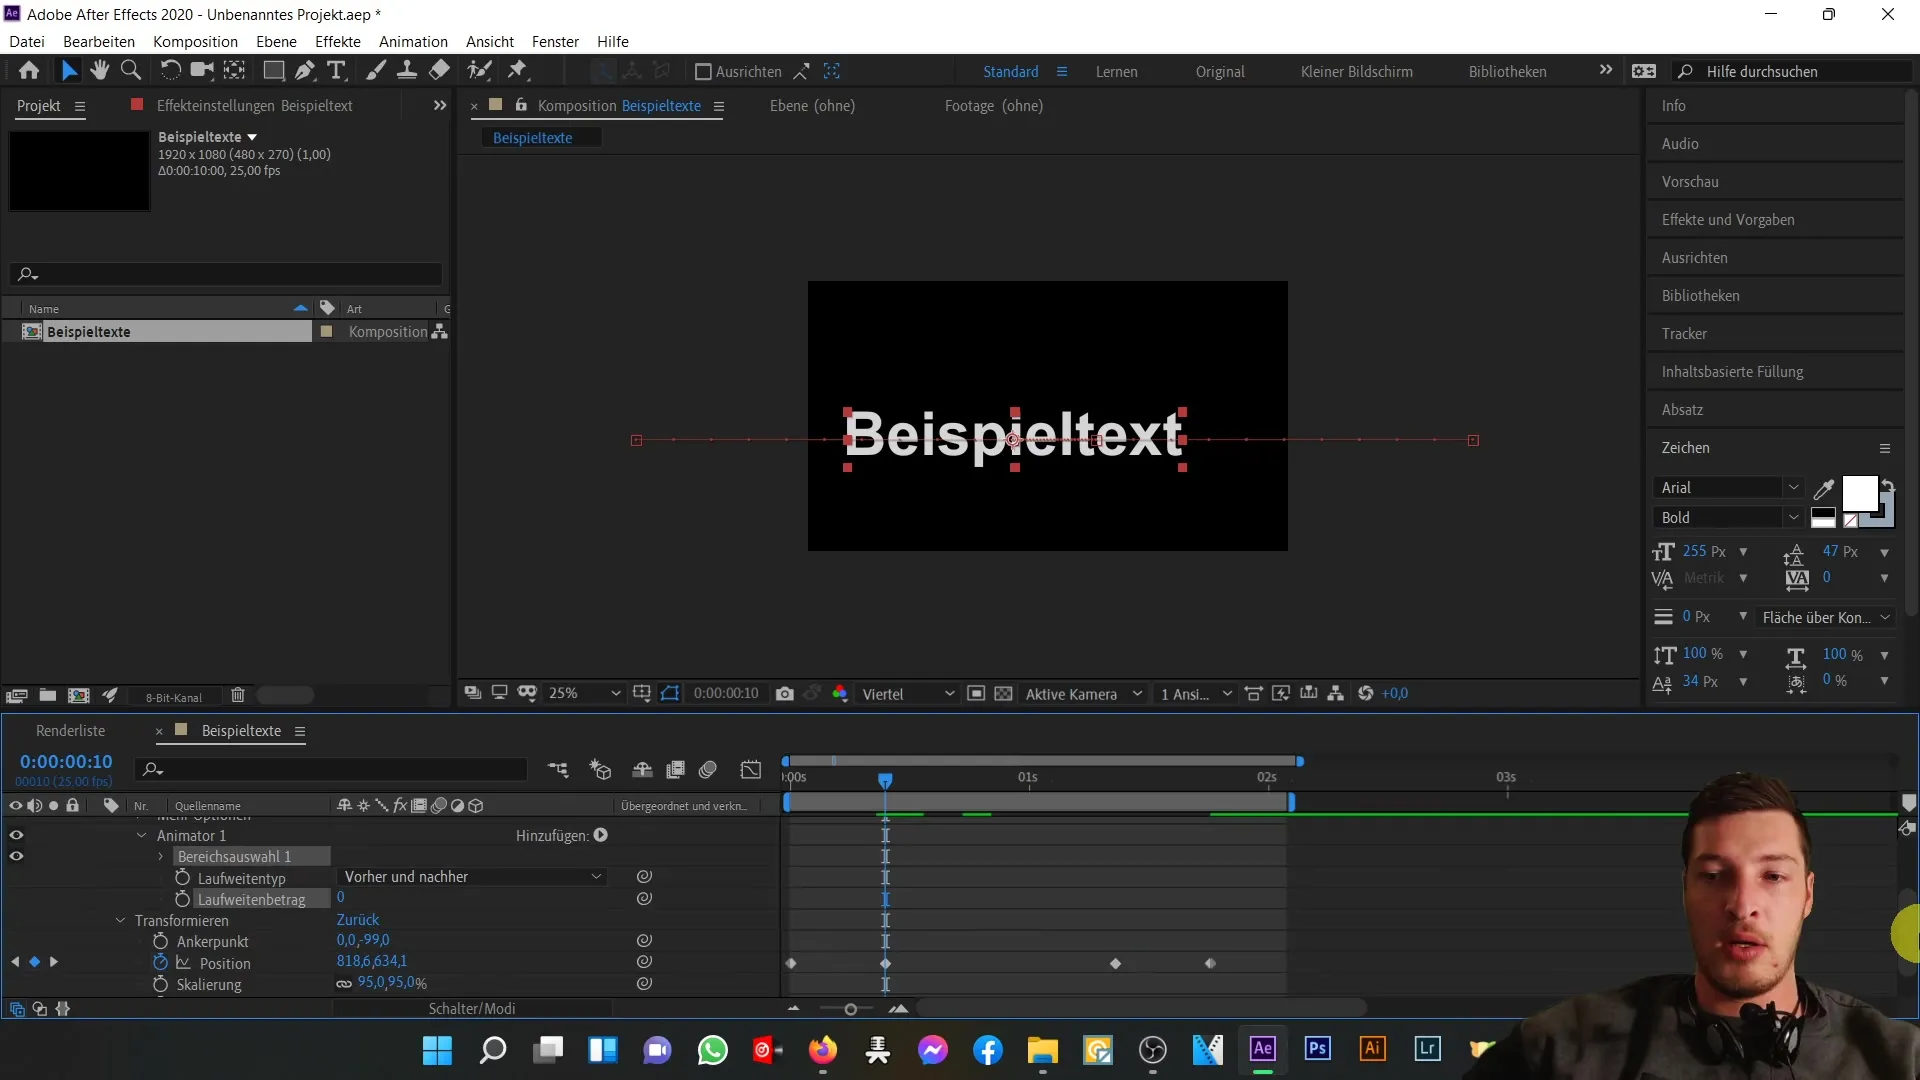
The next step is to animate the tracking of the text. Navigate to the text options and choose "Animate." Select "Tracking," which controls the spacing between characters.
Set a keyframe at a value of 0 here.

Then, go to the point in your animation where the slow movement of the text ends, and increase the tracking to around 13.
After these adjustments, play again by pressing the spacebar. You will notice that the tracking widens as the text moves, making it appear even more lively.
Step 3: Activate Motion Blur
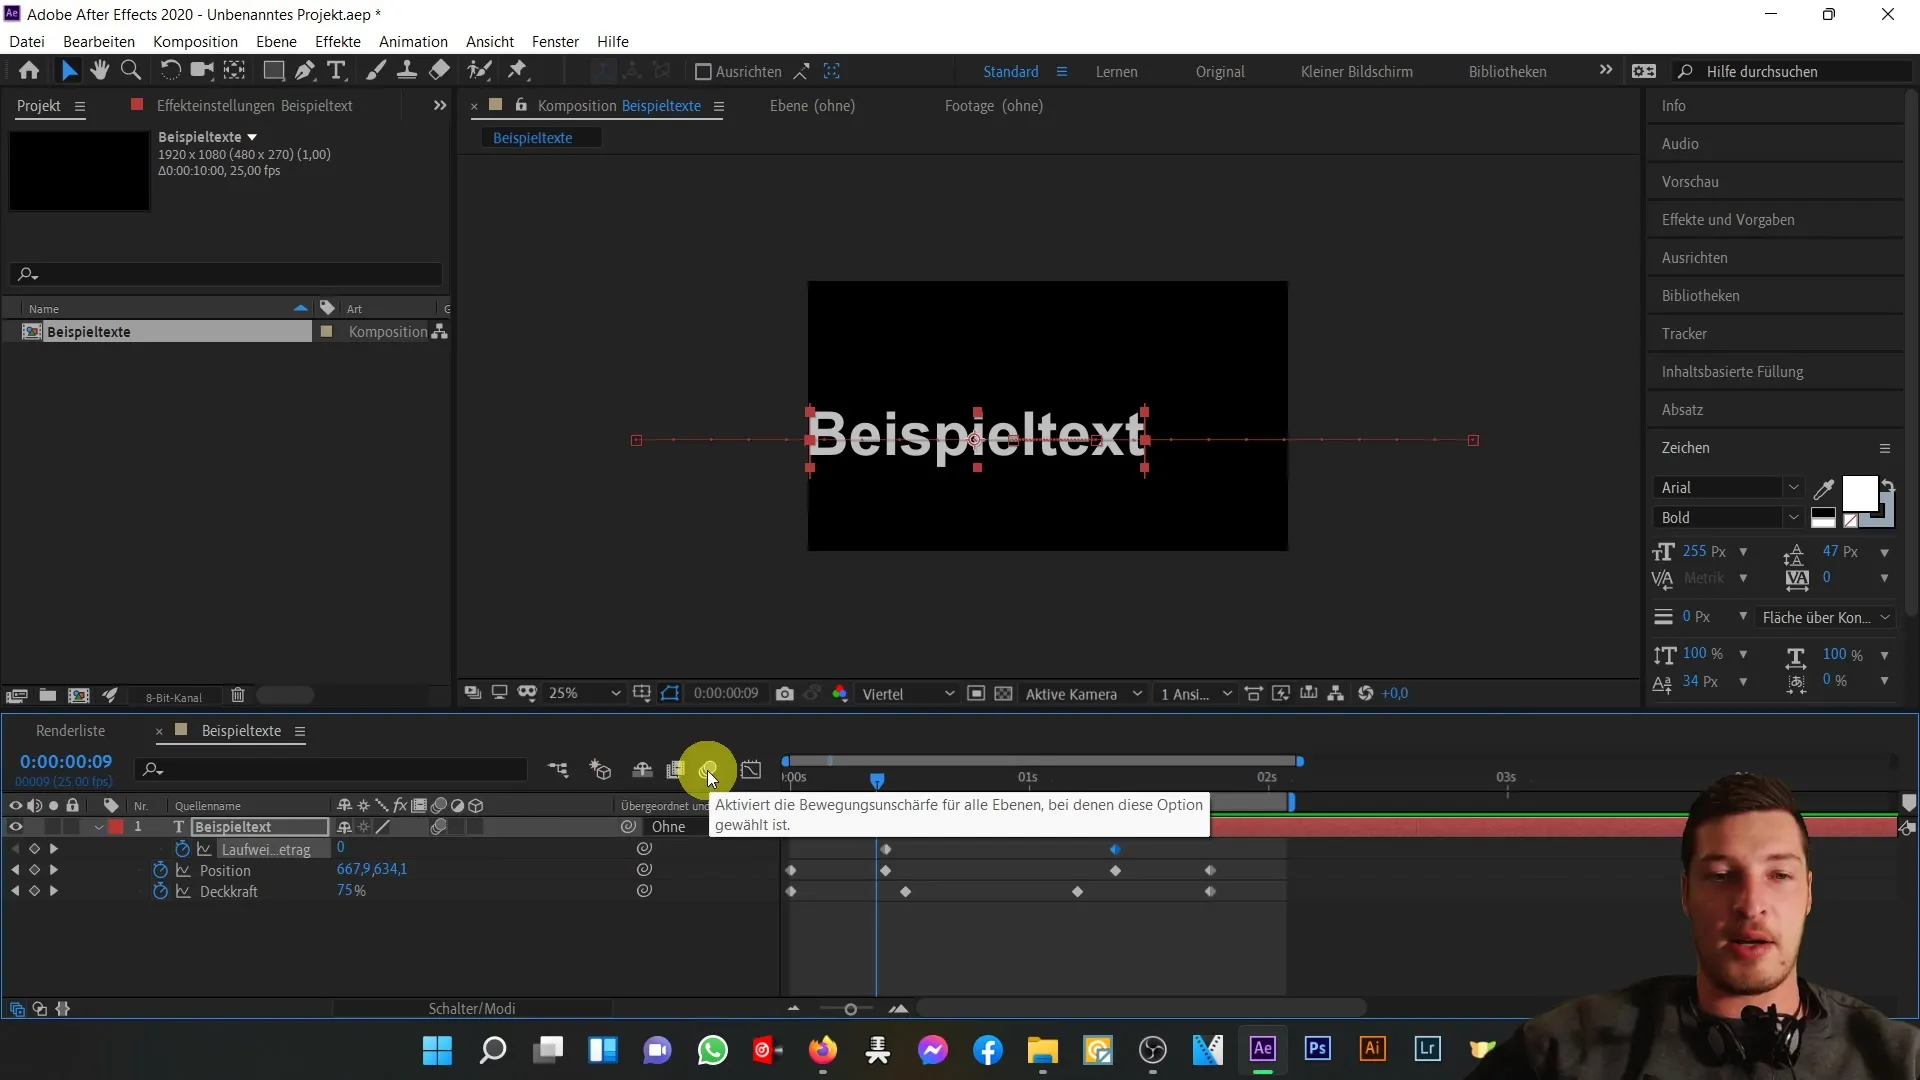
As a final step, activate motion blur for your text. You will notice that the text is not blurry when flying in quickly.
Activate the motion blur switch for the entire composition. This ensures that this effect is applied to all layers. If you disable it, the effect will not be active.

Now, you can press the spacebar again to view the complete animation. The text will be displayed as blurry when flying in, adding more dynamism to the entire piece.
Summary
In this tutorial, you have learned how to animate text in After Effects using keyframes and adding motion blur. By animating opacity and tracking, you can give your text an impressive presentation. Motion blur ensures that the animations look smoother and more realistic.
Frequently Asked Questions
How do I enable the creation of keyframes?By activating the stopwatch next to the desired parameter.
Can I adjust the tracking multiple times?Yes, you can set as many keyframes as you like to change the tracking during the animation.
How do I enable motion blur for my composition?This is done by activating the motion blur switch in the composition settings.
Are these techniques applicable in all versions of After Effects?The described techniques are available in most current versions.


