Exporting video sequences in After Effects is one of the basic skills you should master as a user of this versatile software. Especially the AVI format offers you a way to create high-quality videos. However, despite its advantages, there are also some challenges when using the AVI format. In this guide, you will not only learn how to export your compositions as an AVI file, but also which important settings you should pay attention to.
Key Takeaways
- The AVI format allows the lossless export of videos.
- However, the file size can be very large and is not always suitable for sharing.
- By adjusting settings in After Effects, you can effectively control the export quality and parameters.
Step-by-Step Guide
First, make sure your workspace in After Effects is set up correctly. To ensure efficient work, select the area of your composition that you want to export. In this scenario, it will be from 0 seconds to 6 seconds.
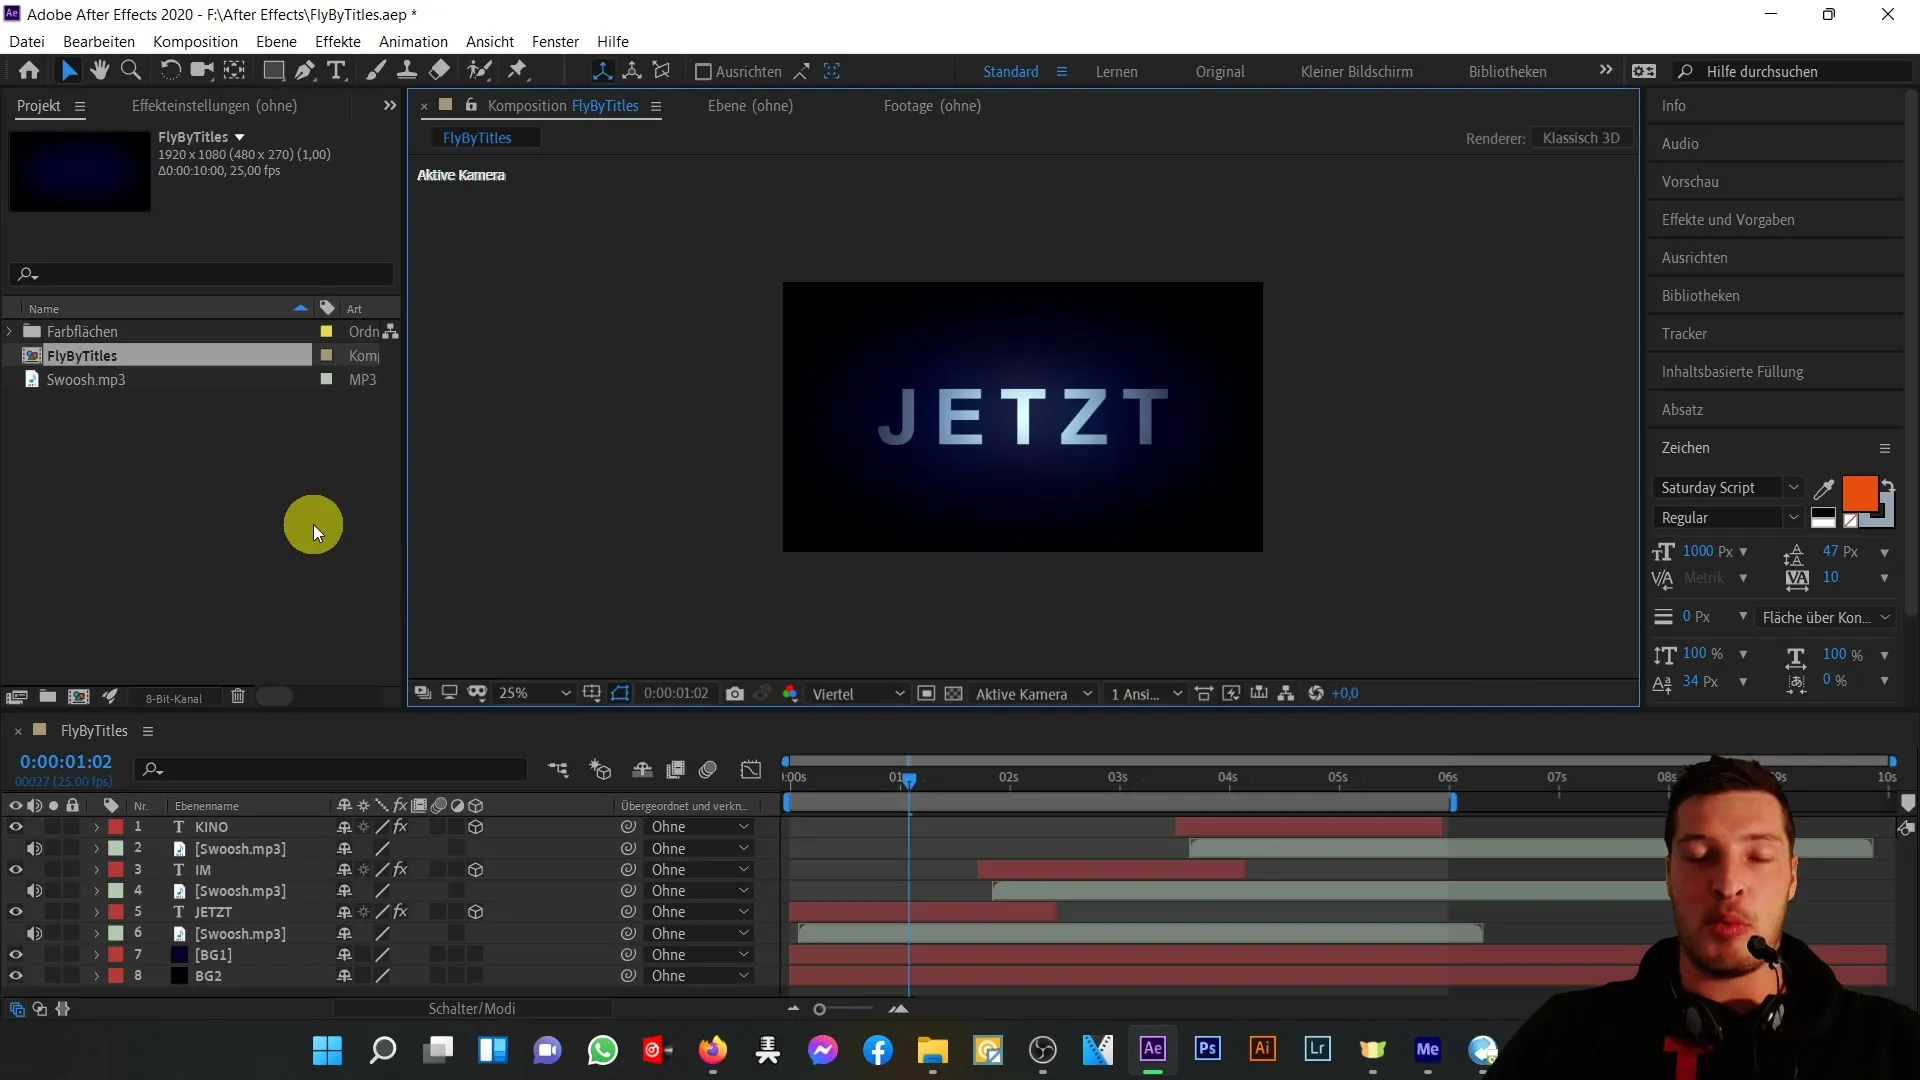
The next step is to add the composition to the render queue. You have several options to do this: you can either select "Composition" in the top menu bar and then click "Add to Render Queue," or use the shortcut Ctrl + M. Alternatively, you can perform this step by going to "File" and then "Export."
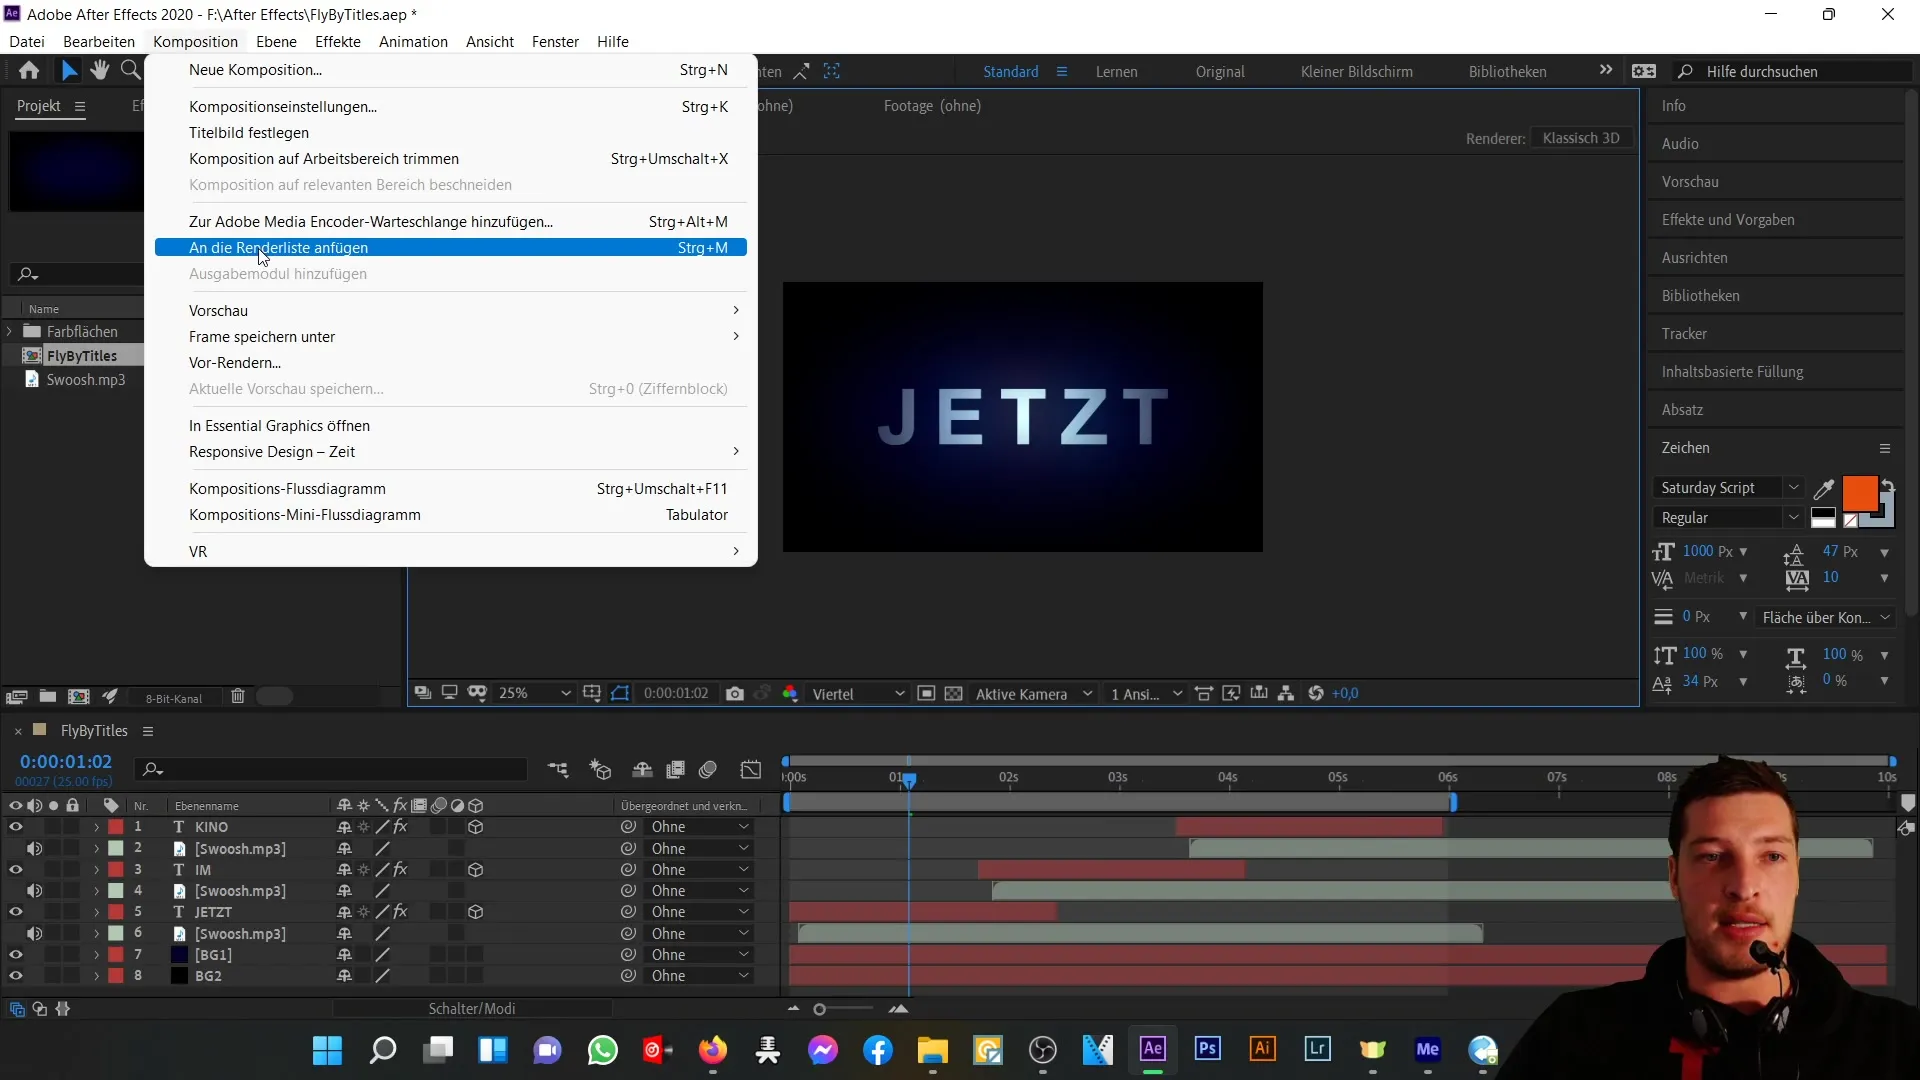
After you have opened the render queue, make sure the composition has the status "Ready to output." Now, it's time to make the necessary settings for the export. To do this, click on "Output Module Settings."
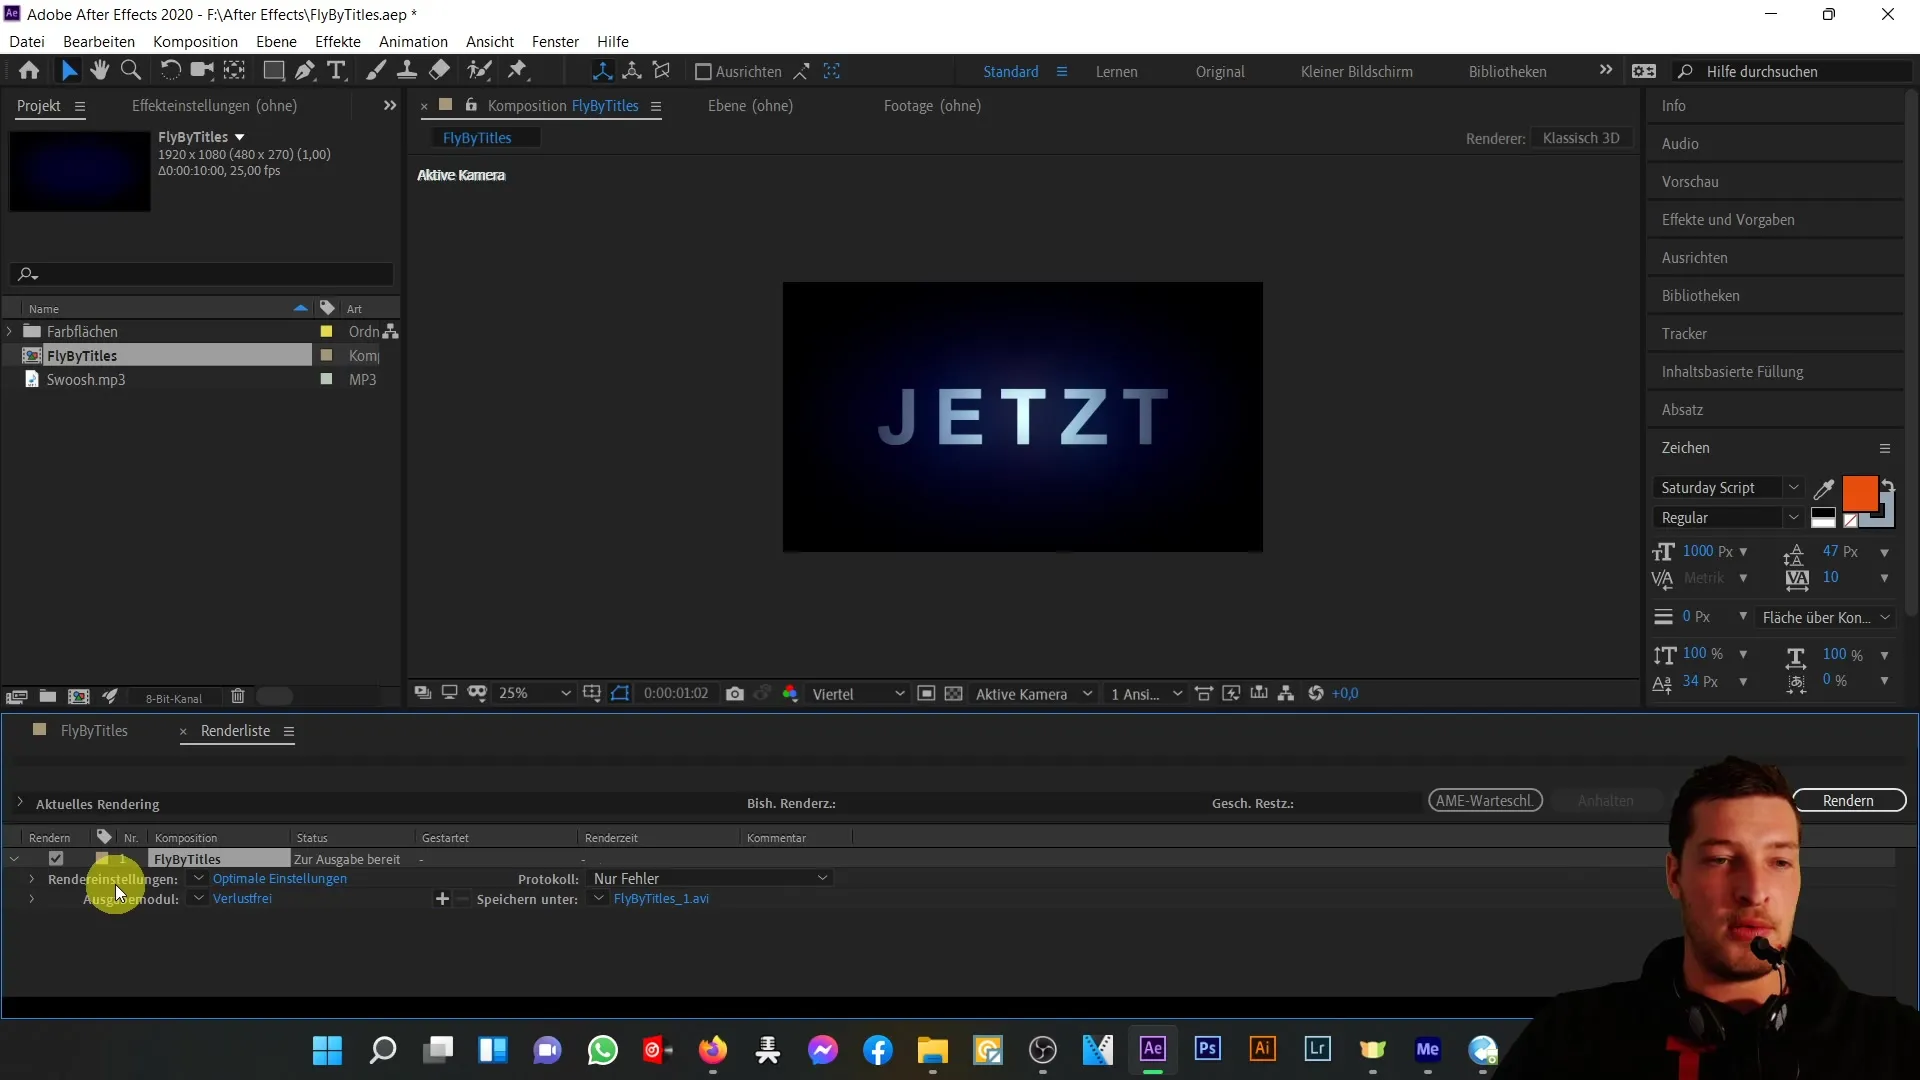
The output module is usually set to "lossless" by default, which means the exported video will be generated in the highest quality without loss of details. In this step, you can make sure the container format is set to AVI. AVI stands for "Audio Video Interleave," a format developed by Microsoft that has its pros and cons.
A major advantage of AVI is the lossless quality; however, you need to be aware that the generated files are usually very large. With only 6 seconds of video material, the file can quickly grow to almost 1 GB. This is an important point to consider, especially if you intend to send the video.
Next, let's focus on the settings for audio output. When selecting the audio output, it is important to leave it on "auto." If there is audio material in your composition, it will be included by default.
As you review the parameterized video output, make sure that the RGB channels and the color depth of 16.7 million colors are also selected. You do not need to change the composition settings afterward unless you want to edit the size of your composition.
If you want to maintain the composition in full HD size, keep this option unchanged as well. If you decide that a certain part of the composition, for example, sections you do not want to export, should be cropped out, you can deselect the crop option.
If you are satisfied with these settings, click "OK" to close the window. This will switch the output module back to "Custom AVI."
Now, check the render settings, which are usually set to "best settings." It is advisable to keep the quality at "best," although this will increase the file size to retain all details of your composition. Make sure to also keep the resolution at "full."
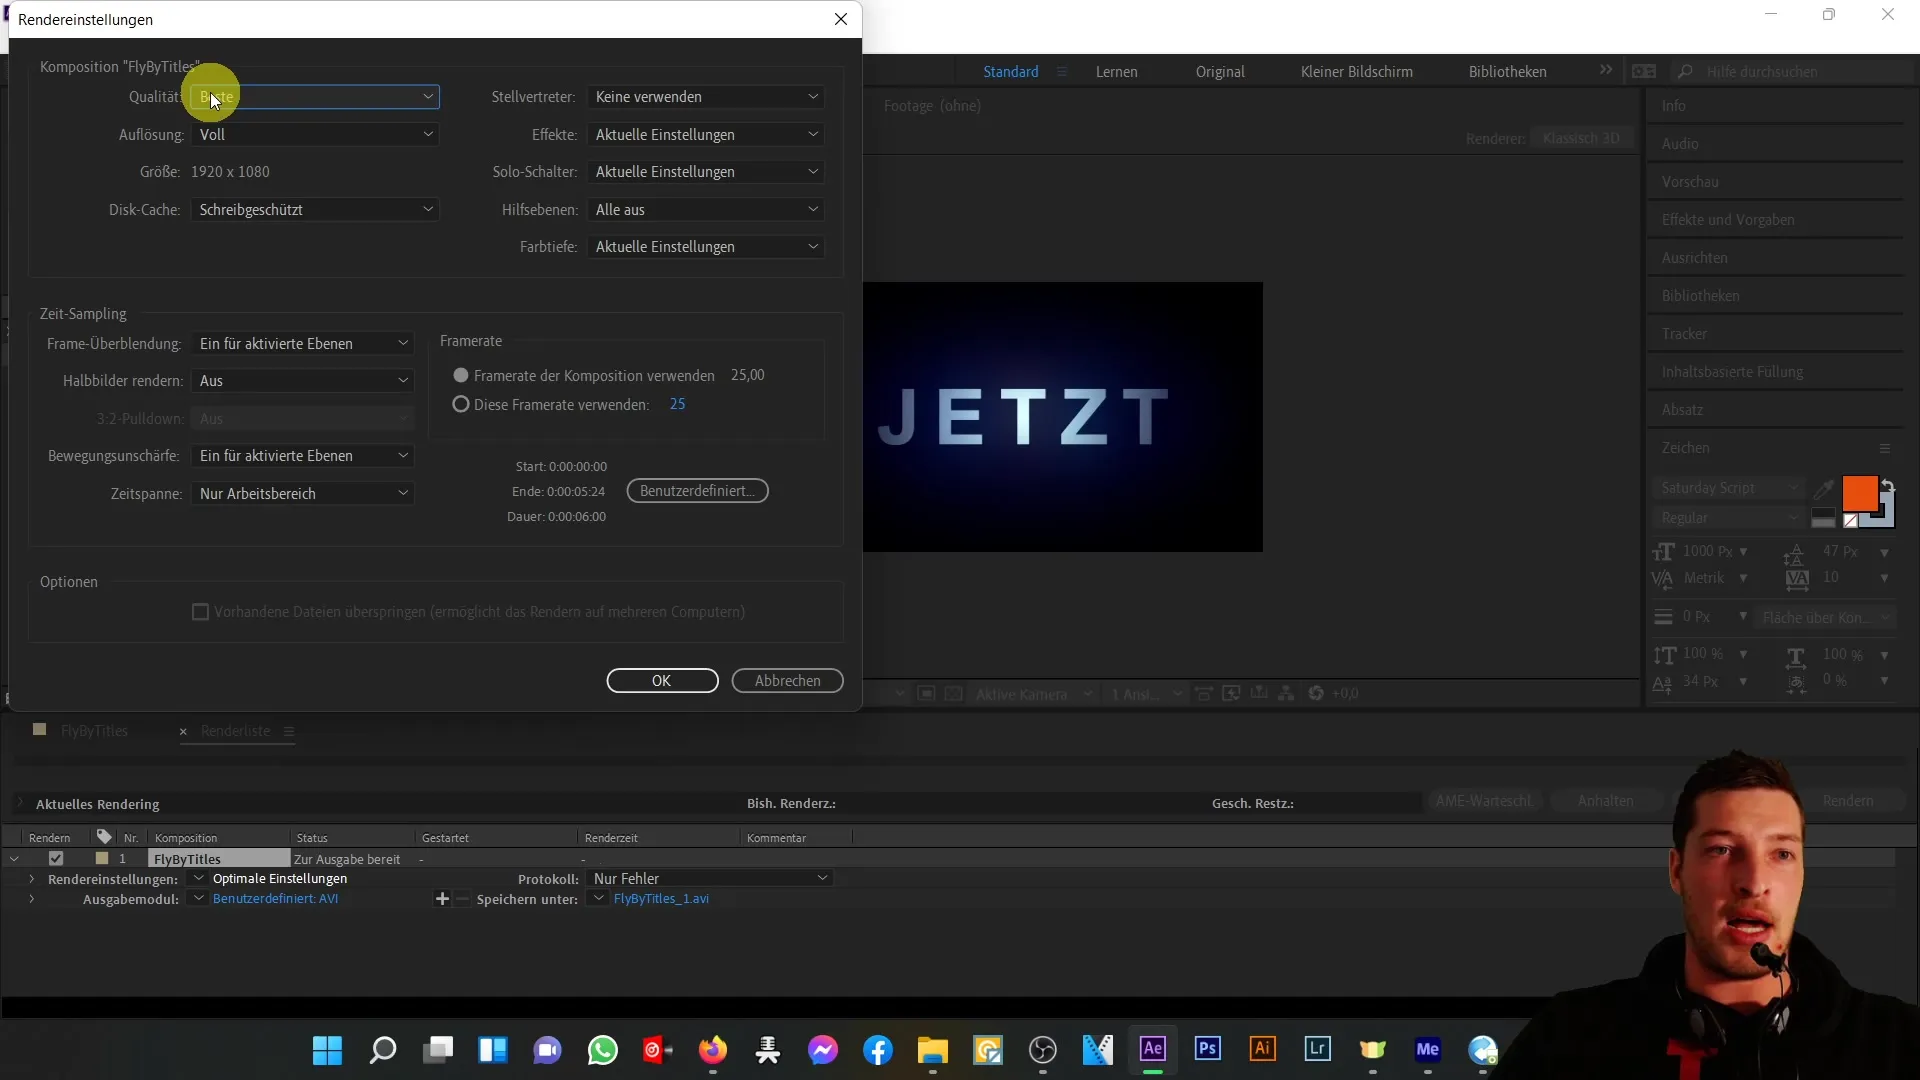
In the "Effects" section, you can decide whether to include them. I recommend keeping the current setting to avoid accidentally hiding the effects, unless that is your desired outcome.
After checking the time sampling, make sure you only want to export the specified time span. Set the frame rate to "Use composition's frame rate," which in this case means 25 frames per second.
The final step is to select a location for your exported video. Choose a folder, e.g. "fly by titles", and give the file a suitable name. It is important not to overwrite existing files here, unless it is intended.
To start the export, click on "Render". The copying process will be initiated, and you will see a progress bar. This process may take a few seconds to minutes.
As the rendering progresses, you can prepare to explore additional formats and options in the next video. I will show you how to effectively achieve smaller file sizes without major quality loss.
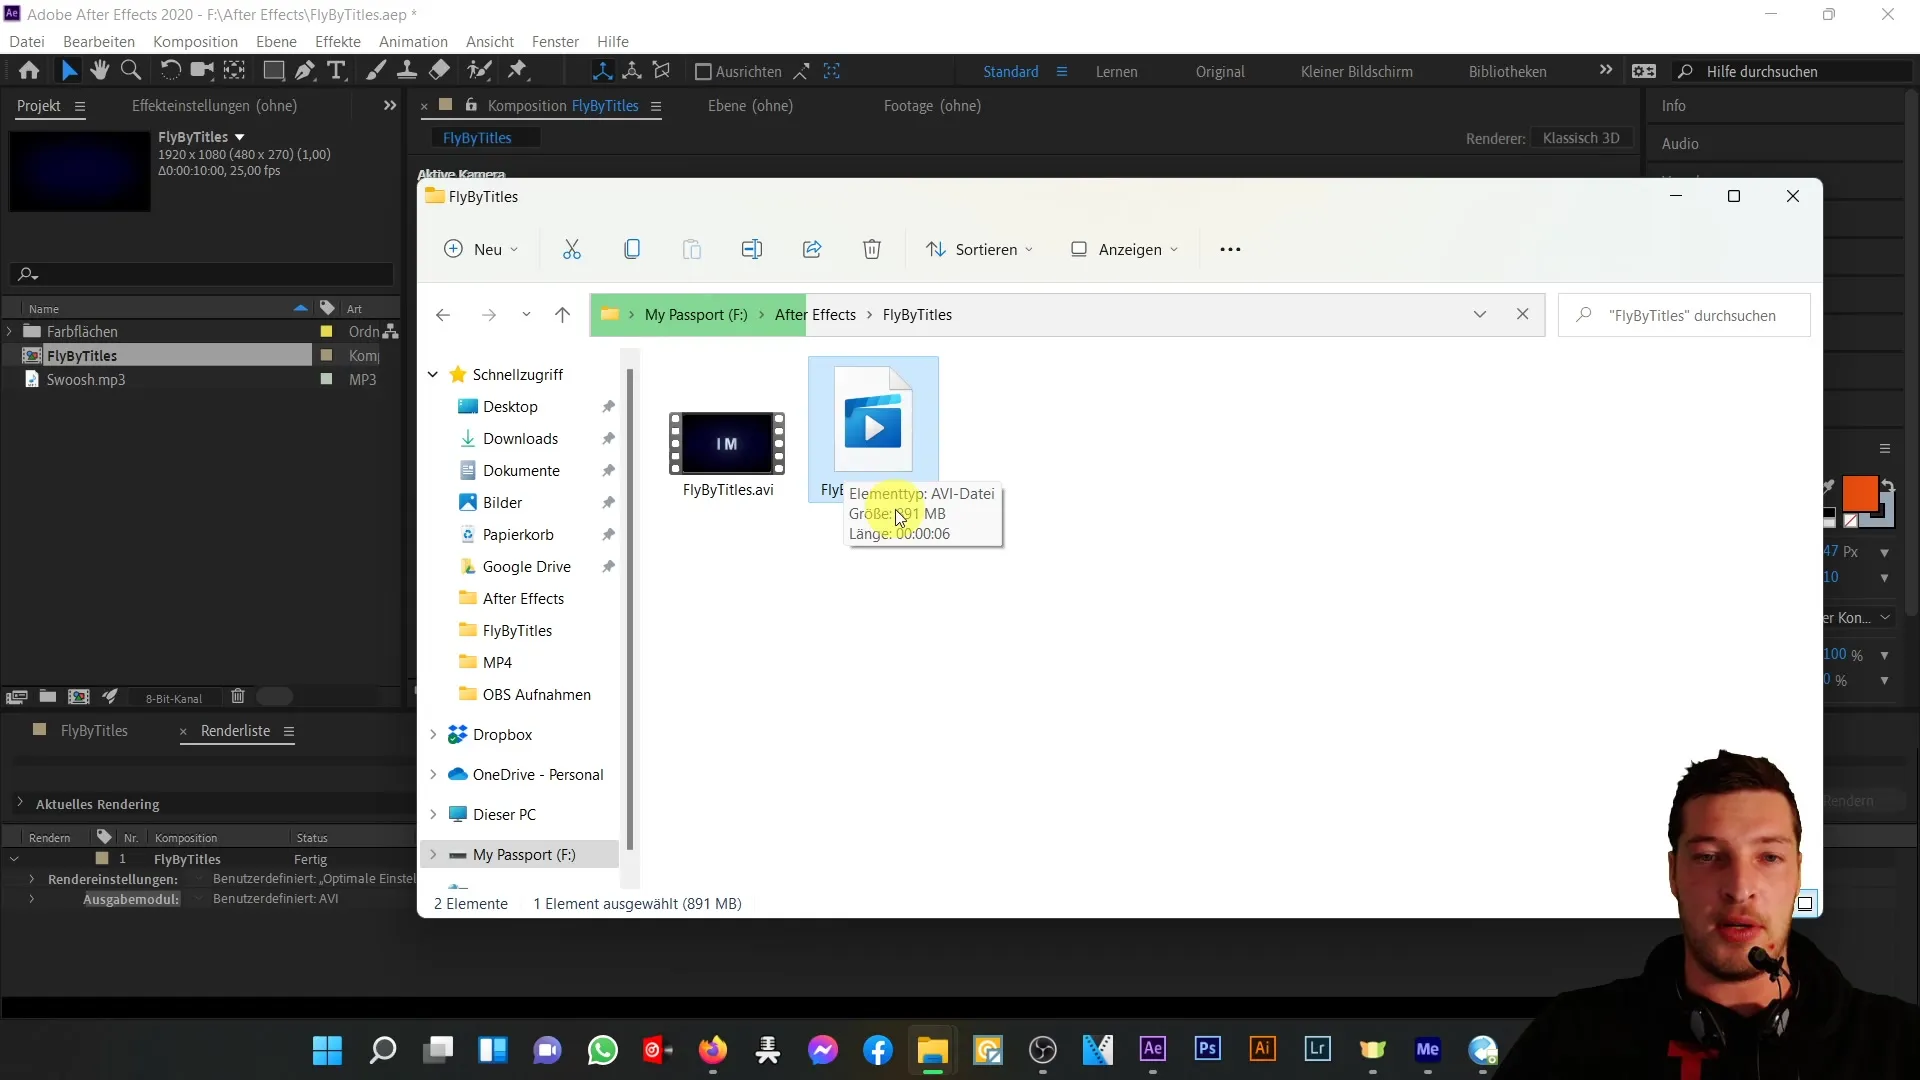
After the process is completed, you should check if your video has been exported to your satisfaction.
Summary
Exporting video sequences in After Effects is an essential step for anyone looking to share their work. The AVI format allows for high quality, but is associated with large file sizes. With the right steps and settings, however, you can ensure that your export runs smoothly.
Frequently Asked Questions
How do I export my composition in After Effects as an AVI file?Use the render queue and select the AVI format in the output modules.
Are there disadvantages to exporting in the AVI format?Yes, the file size can become very large, making it difficult to send via email.
How can I ensure that the audio output is included in my export?The audio output should be set to "automatic", which is usually the default.
Do I need to consider the effects in my composition when exporting?Yes, you should keep the settings so that the effects in your export are included, unless you want to remove them.
How can I set the storage location for my exported file?Select the desired storage location in the "Save As" dialog and name the file accordingly.


