When you want to realistically depict visual effects in After Effects, creative techniques are often used to provide the viewer with an intense experience. In this tutorial, I will show you how you can simulate an effective brake light and skid mark for a car accident scene. These two elements are crucial for increasing the drama and authenticity of the accident.
Main Takeaways
- Brake light can be created using color solids and masks.
- Mask options help optimize the visibility of the light.
- Skid mark is tracked and visualized through animated masks.
Step-by-Step Guide
Adding Brake Light
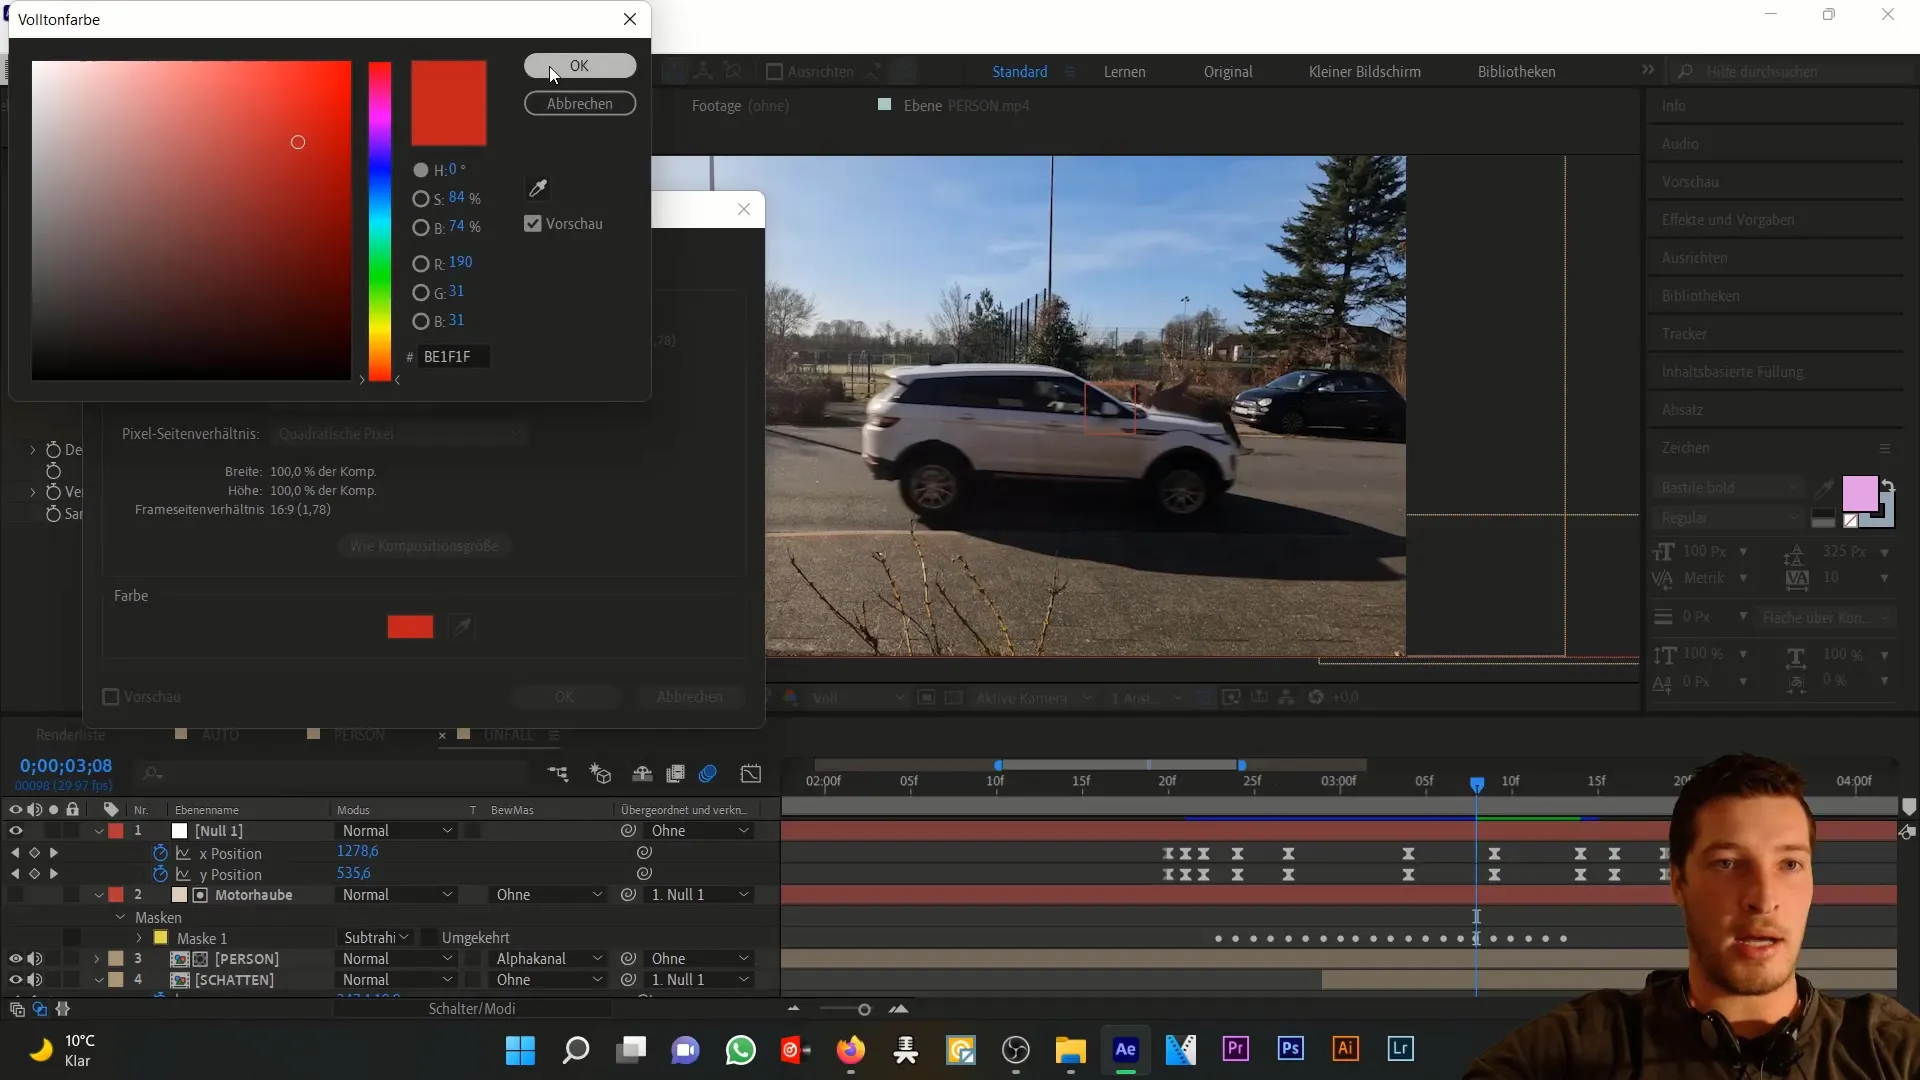
Start by preparing your scene. You have already mastered the initial steps; now let's add the brake light for the car. Begin by creating a new color solid in a deep red color. This is the right starting point for the brake light.
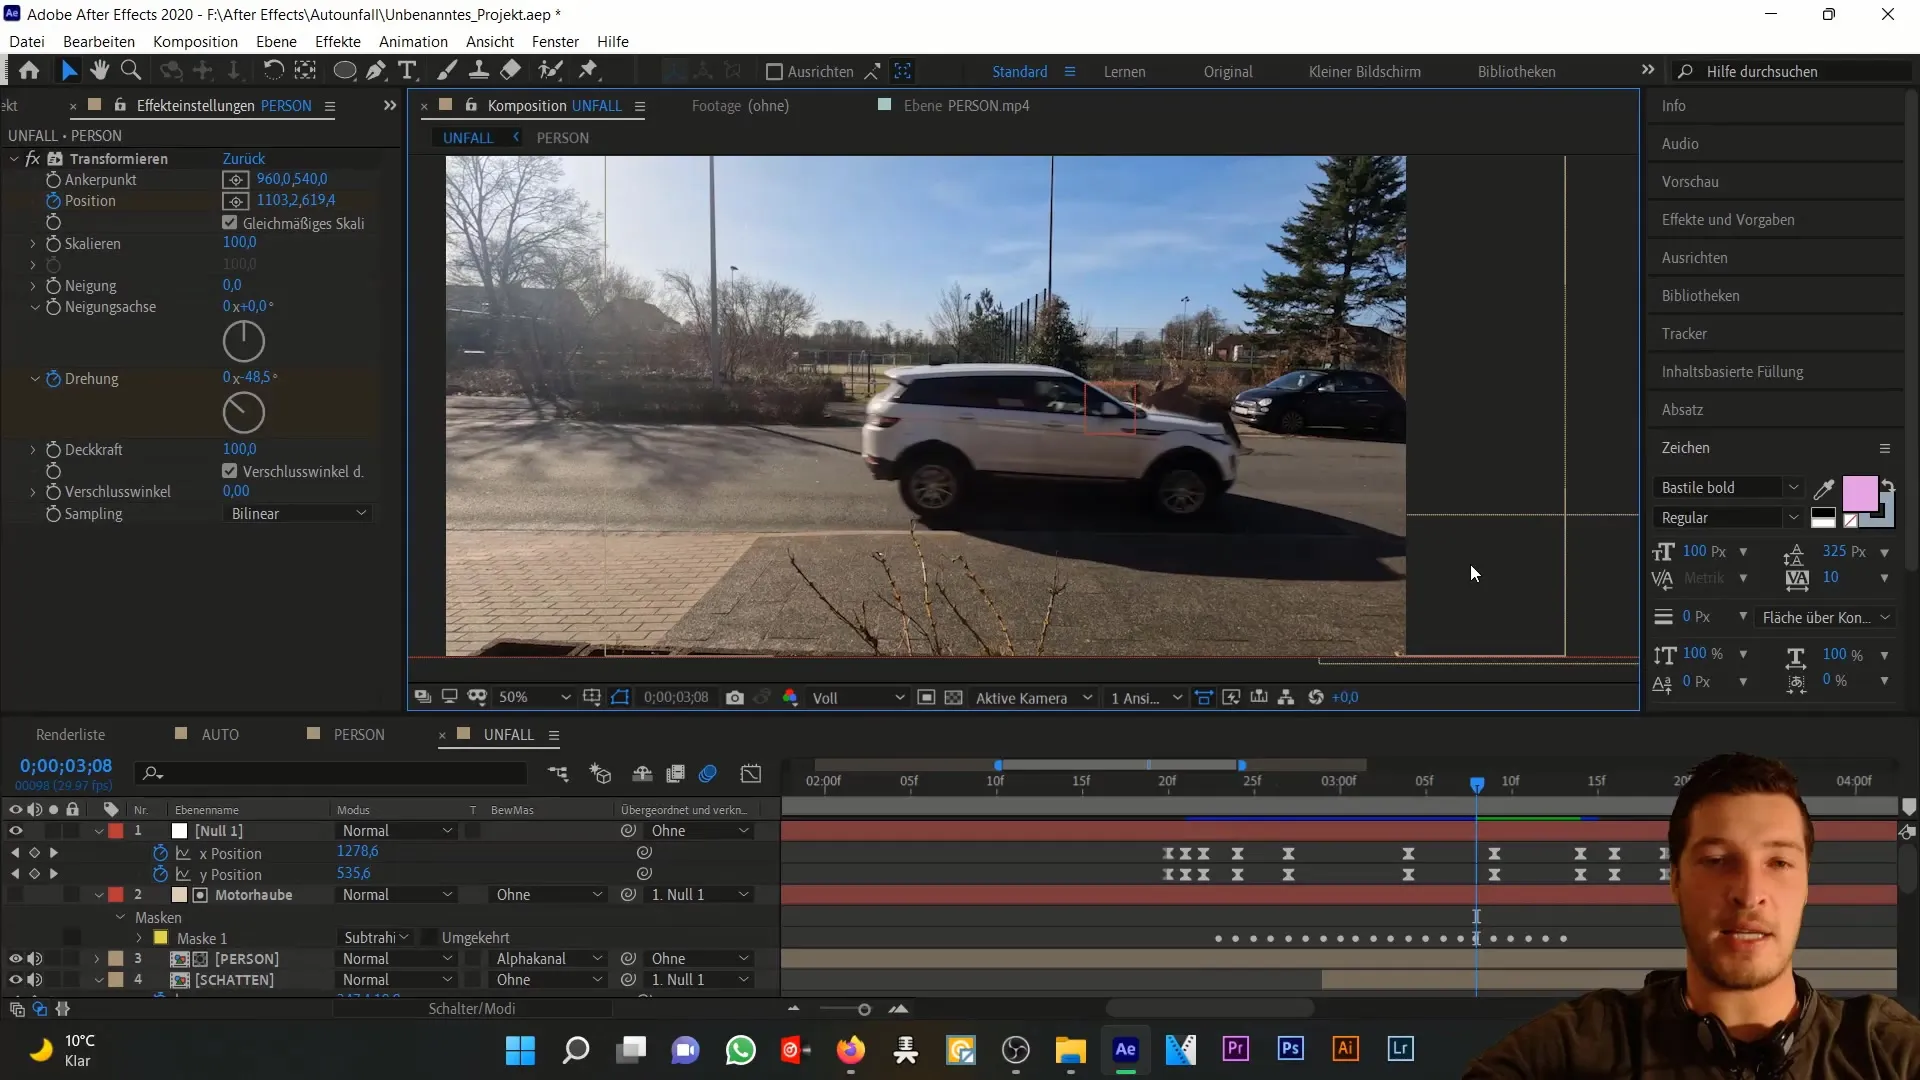
Rename the color solid for easy reference later. A good name could simply be "Brake Light." Consider that you can adjust the color solid to the size of your car; it doesn't necessarily have to match the composition size.
Now activate the pen tool to draw a mask around the car's light. Don't worry about a perfectly clean line, as these initial steps are about roughly defining the light.
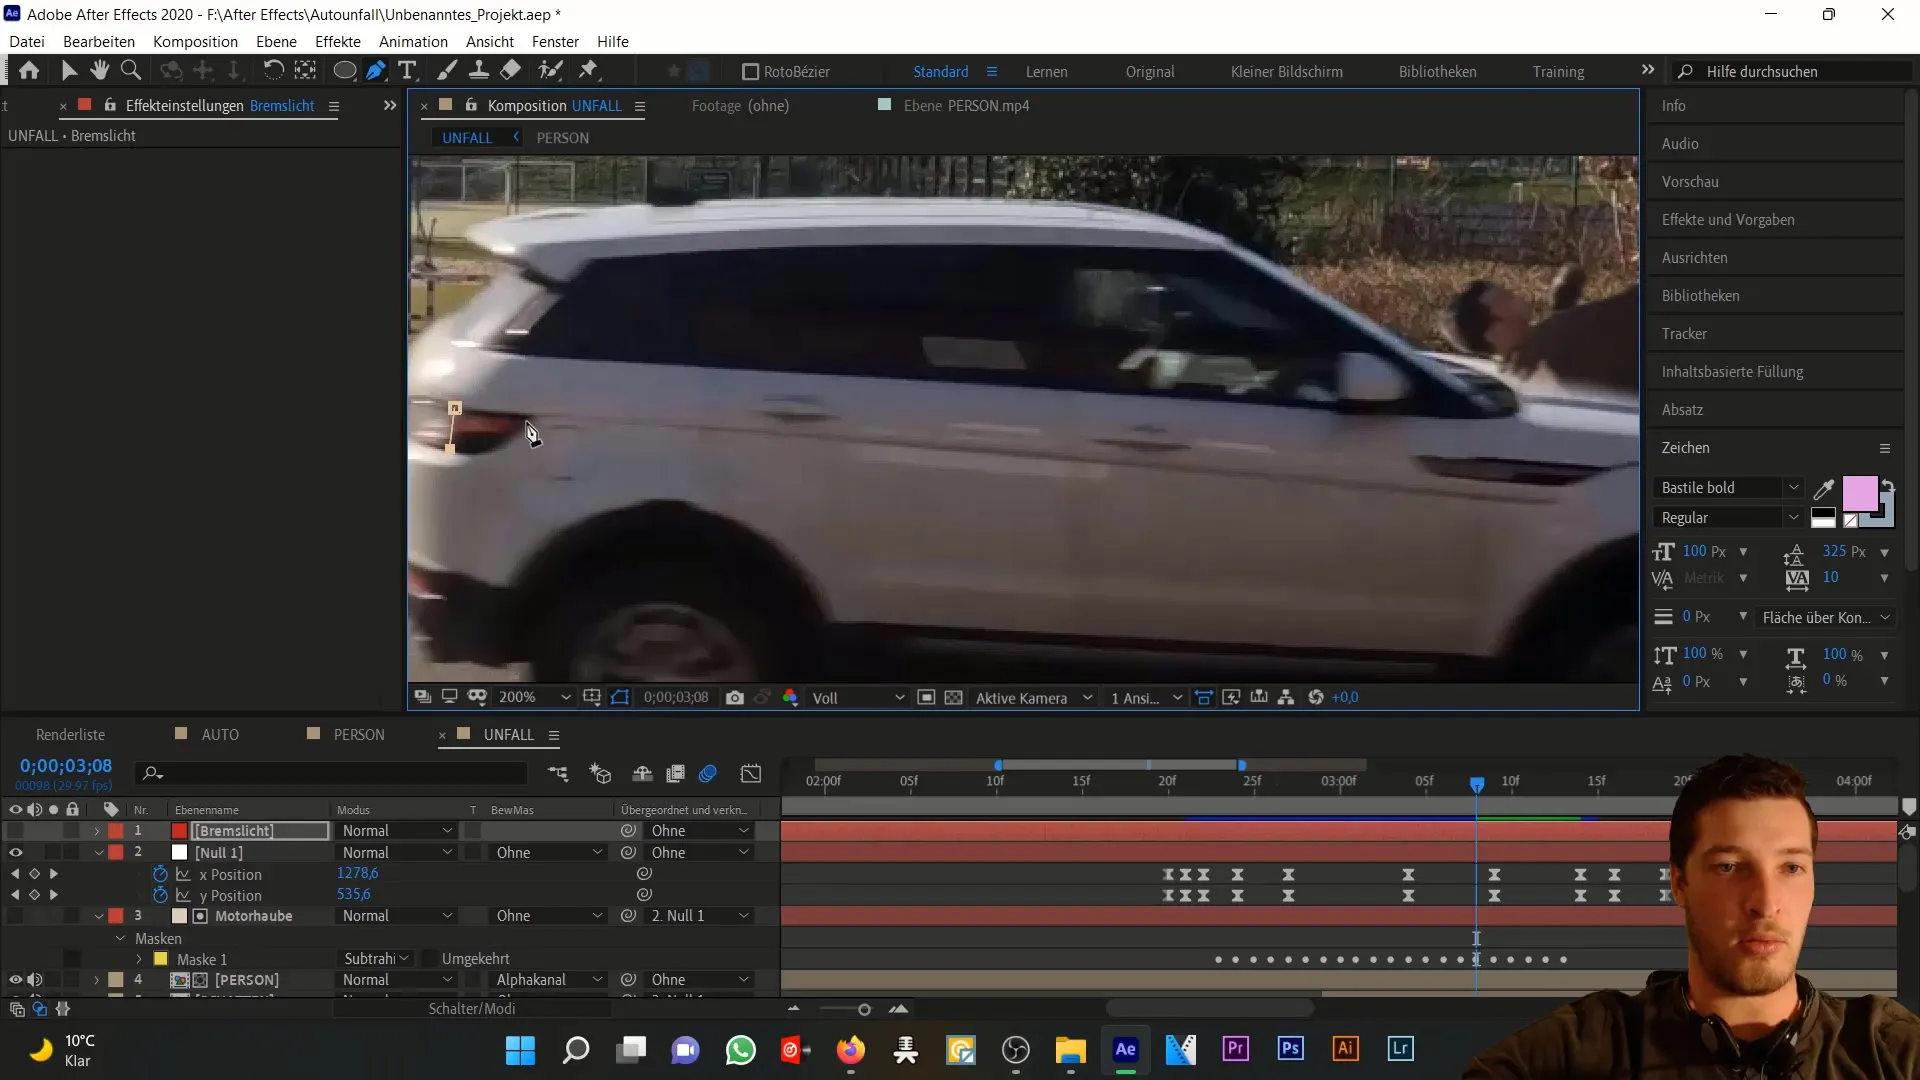
Once you have set the mask, re-enable the brake light layer. The light should now be visible in the correct position and color. However, it doesn't look quite realistic yet.
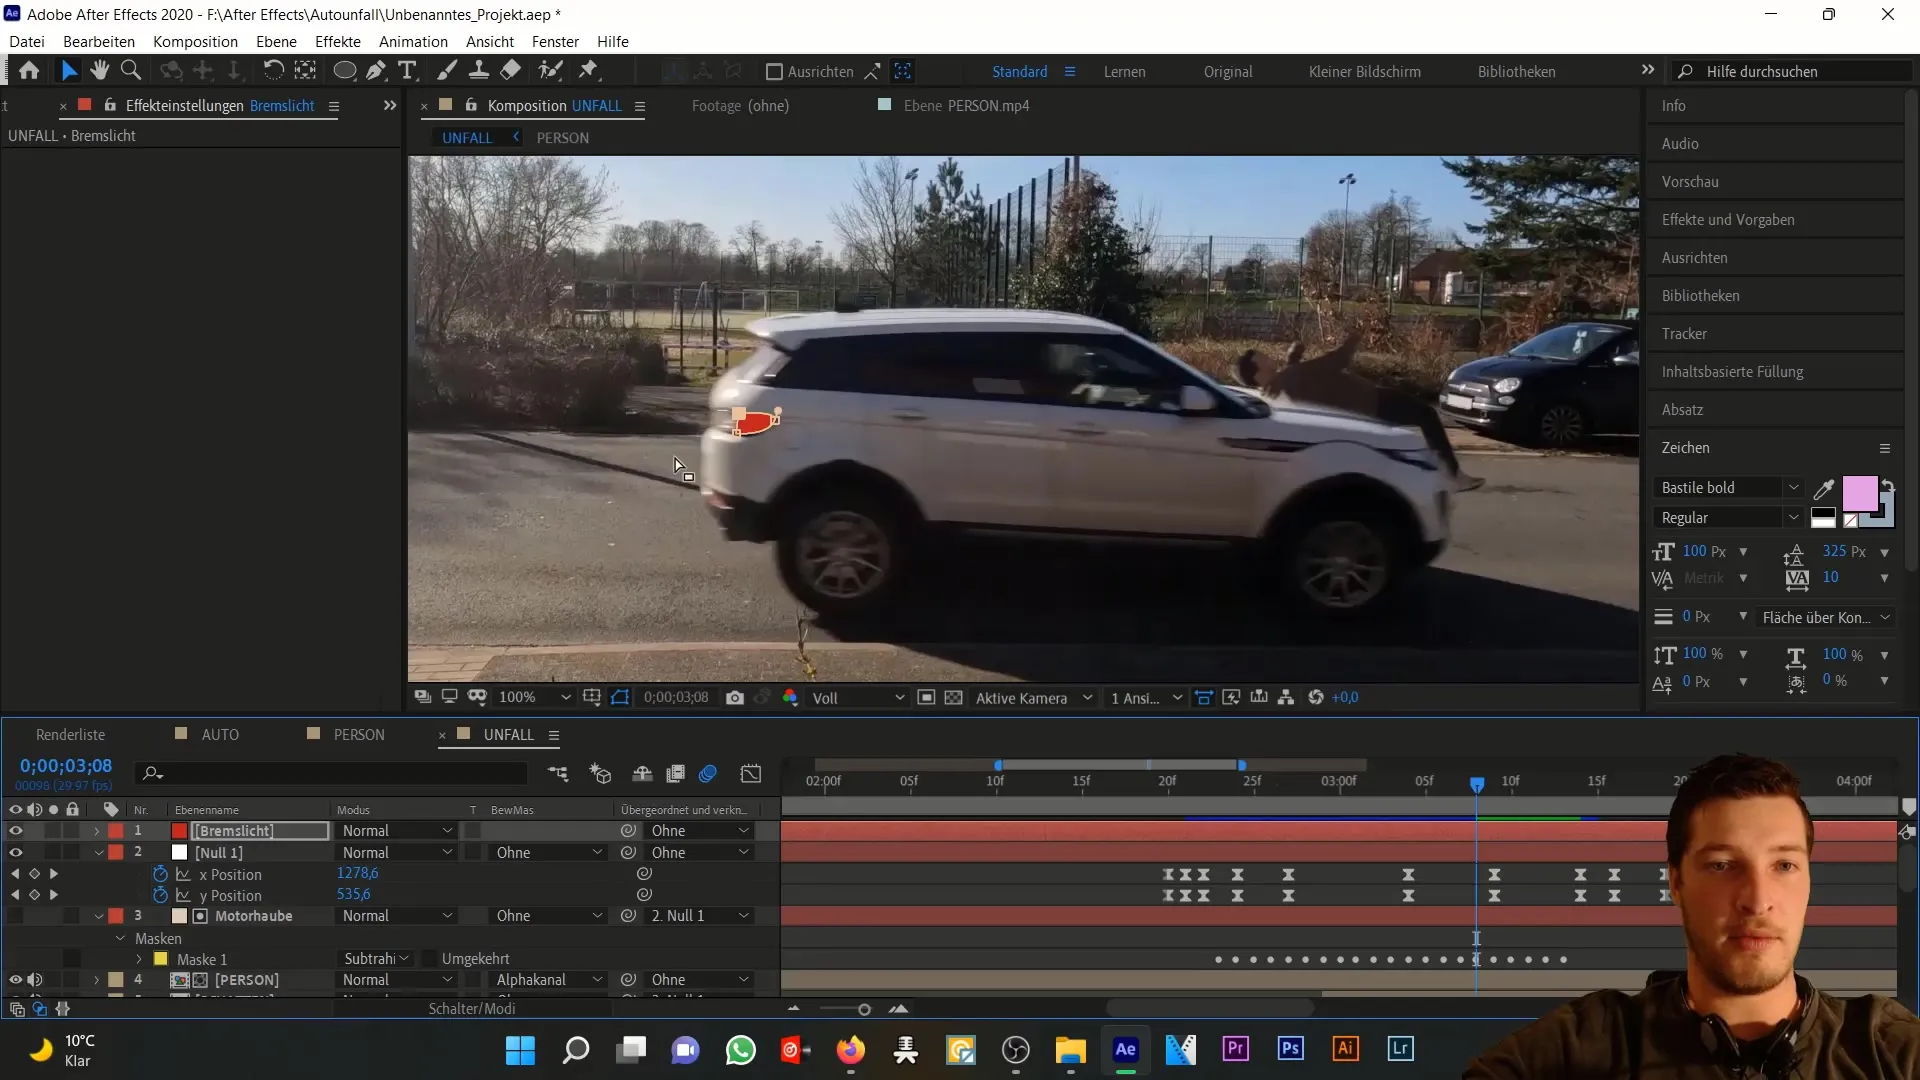
To enhance the effect, go to the mask options, which you can access by double-clicking on it. Choose a soft mask feather of about 25 pixels. This will increase the realistic effect of the brake light.
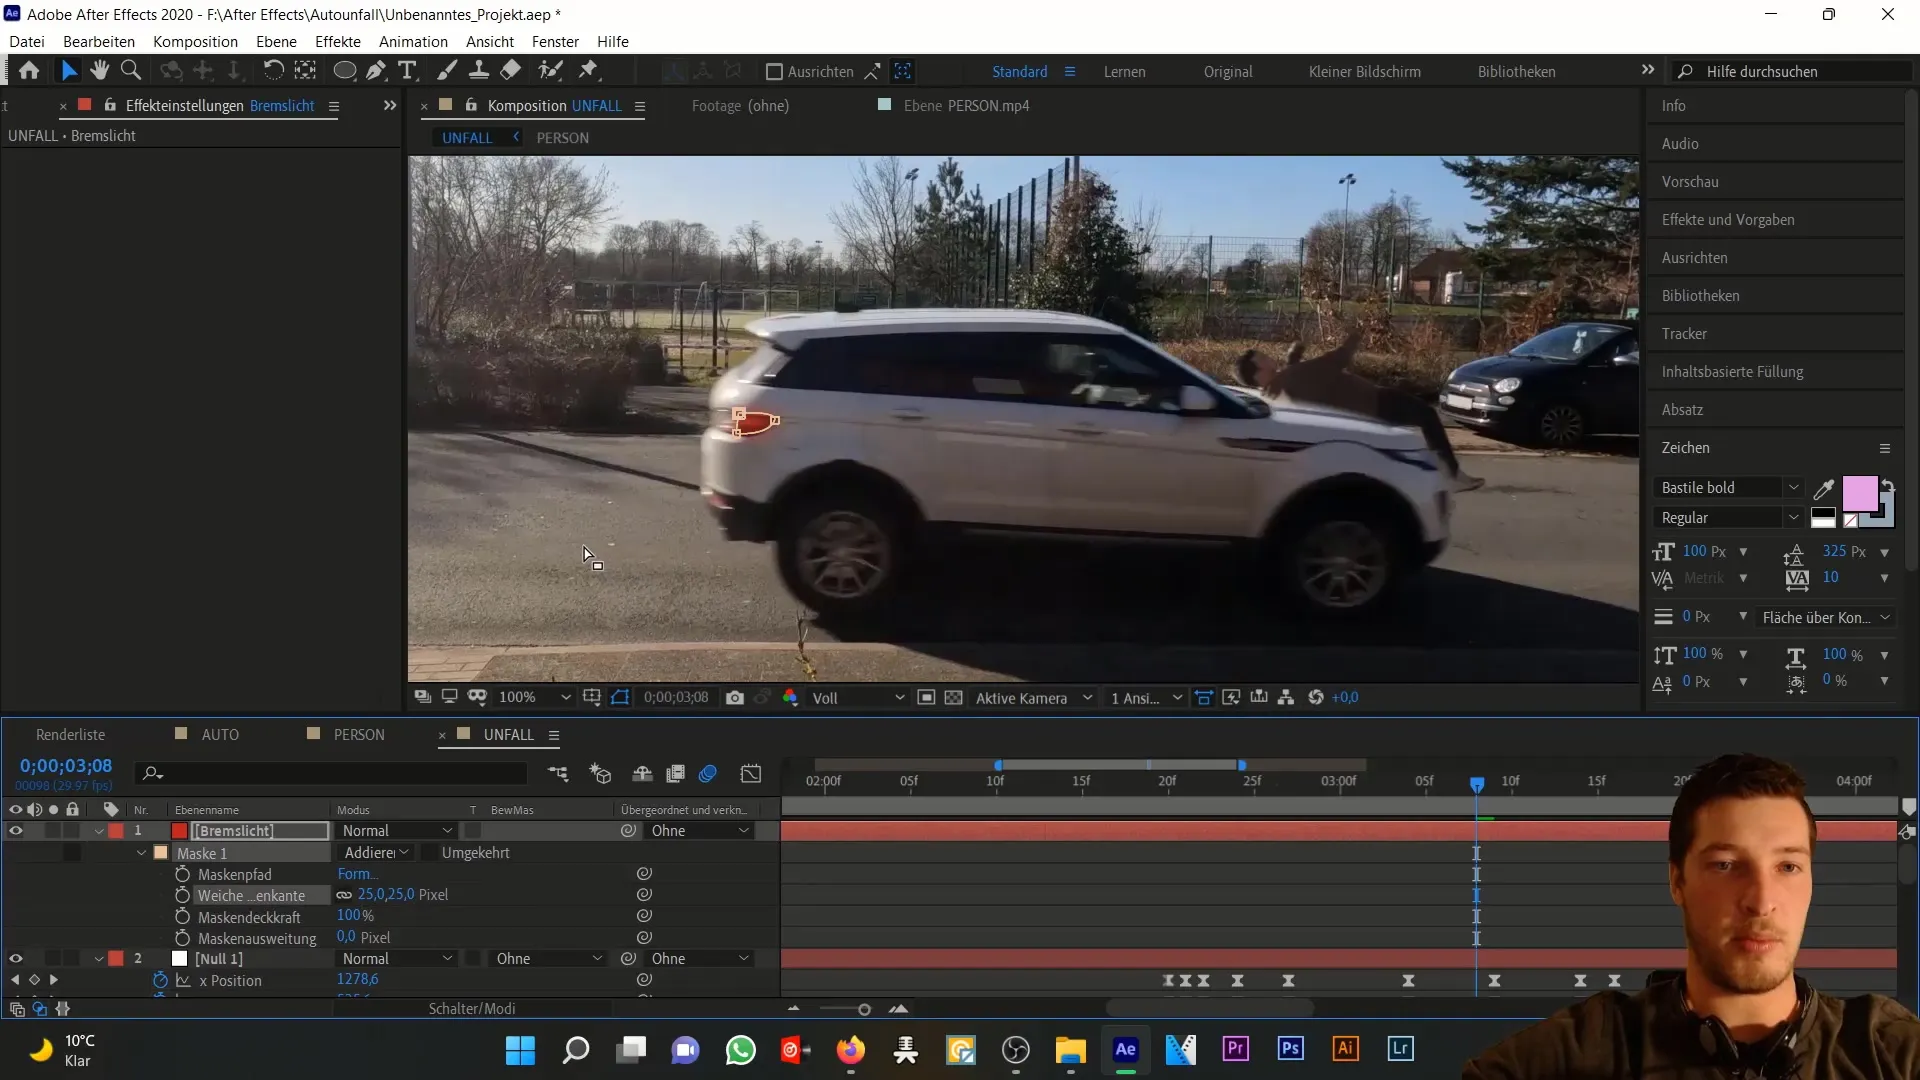
Now it's time to also improve the style of the light. Go to the effects and choose the light effect. Increase the radius to about 90 pixels and decrease the intensity to around 0.75.
The light should now be much better integrated into the environment. Compare it before/after. The brake light now has a stronger impact on the environment, which also appears slightly illuminated in red.
However, the brake light also needs to drive off the frame with the car. To achieve this, link the brake light layer to the car through a null layer. This ensures that the movement is synchronized.
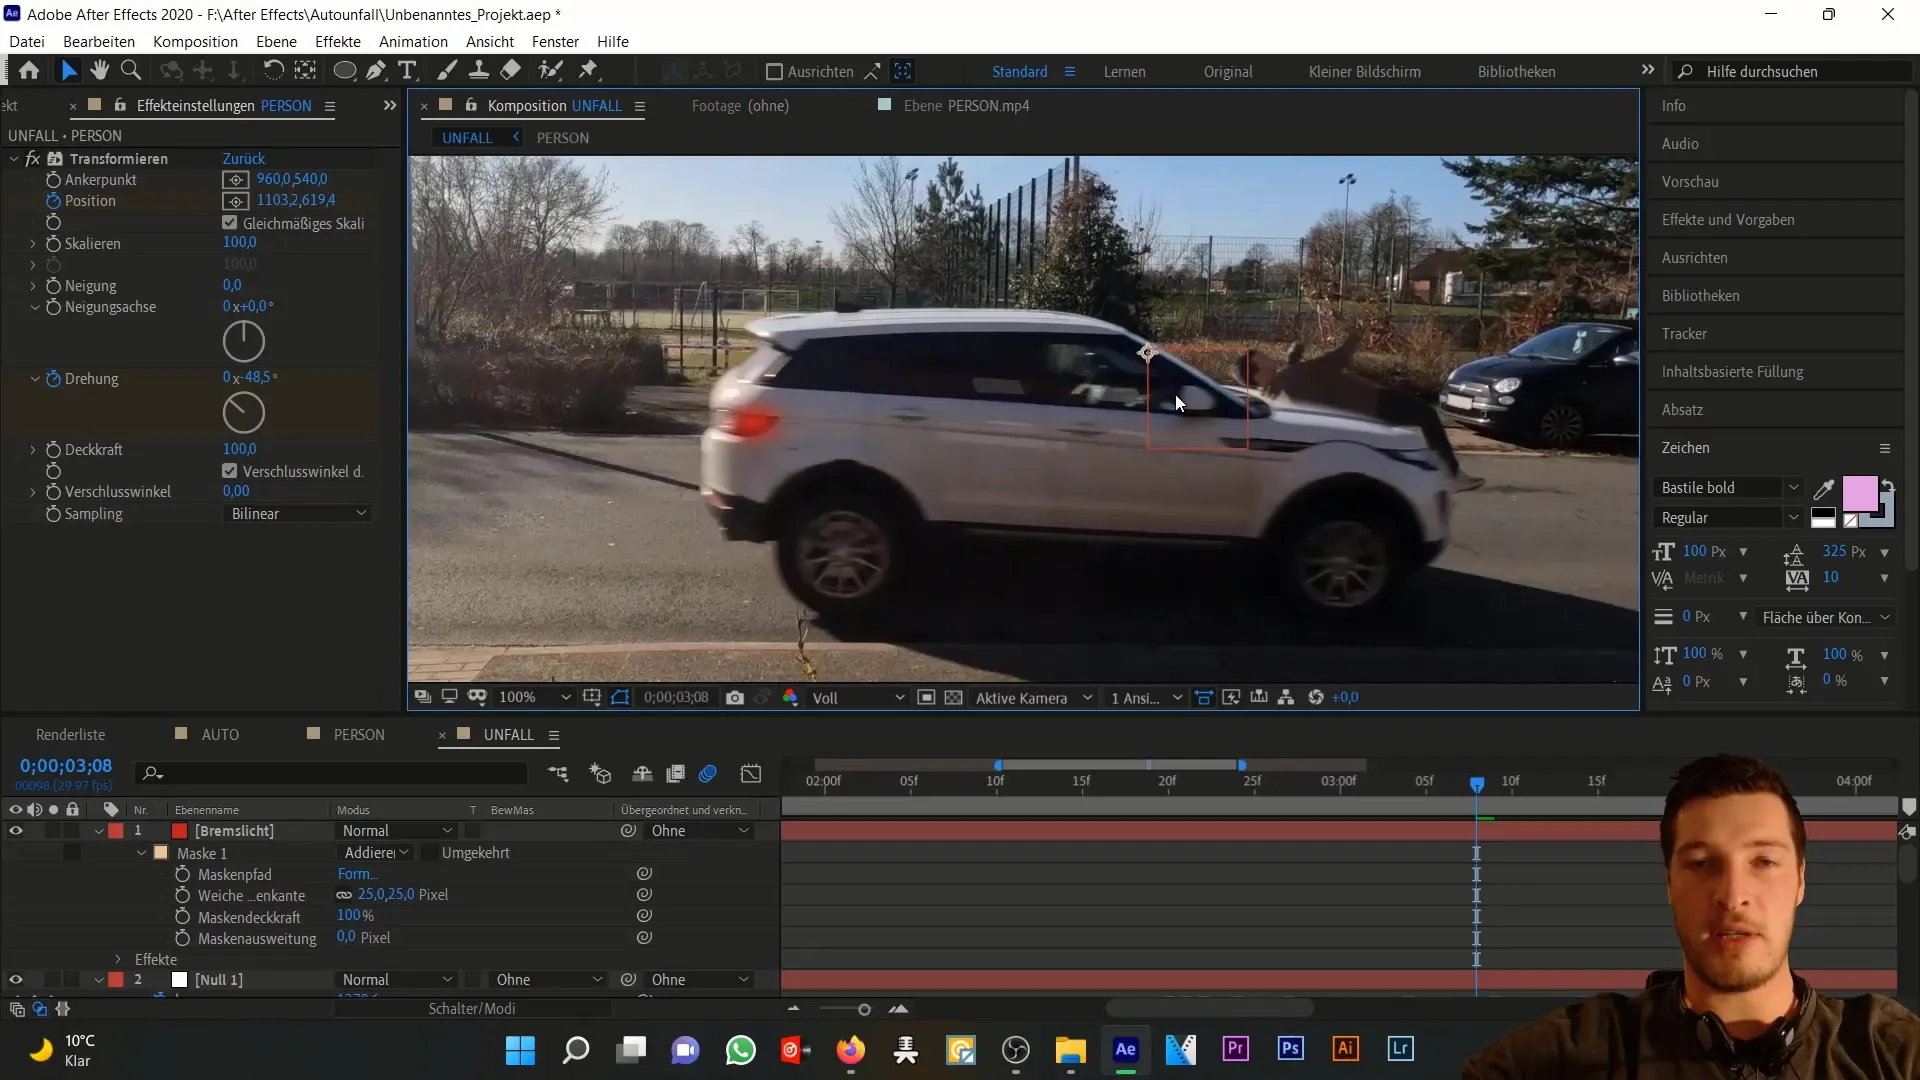
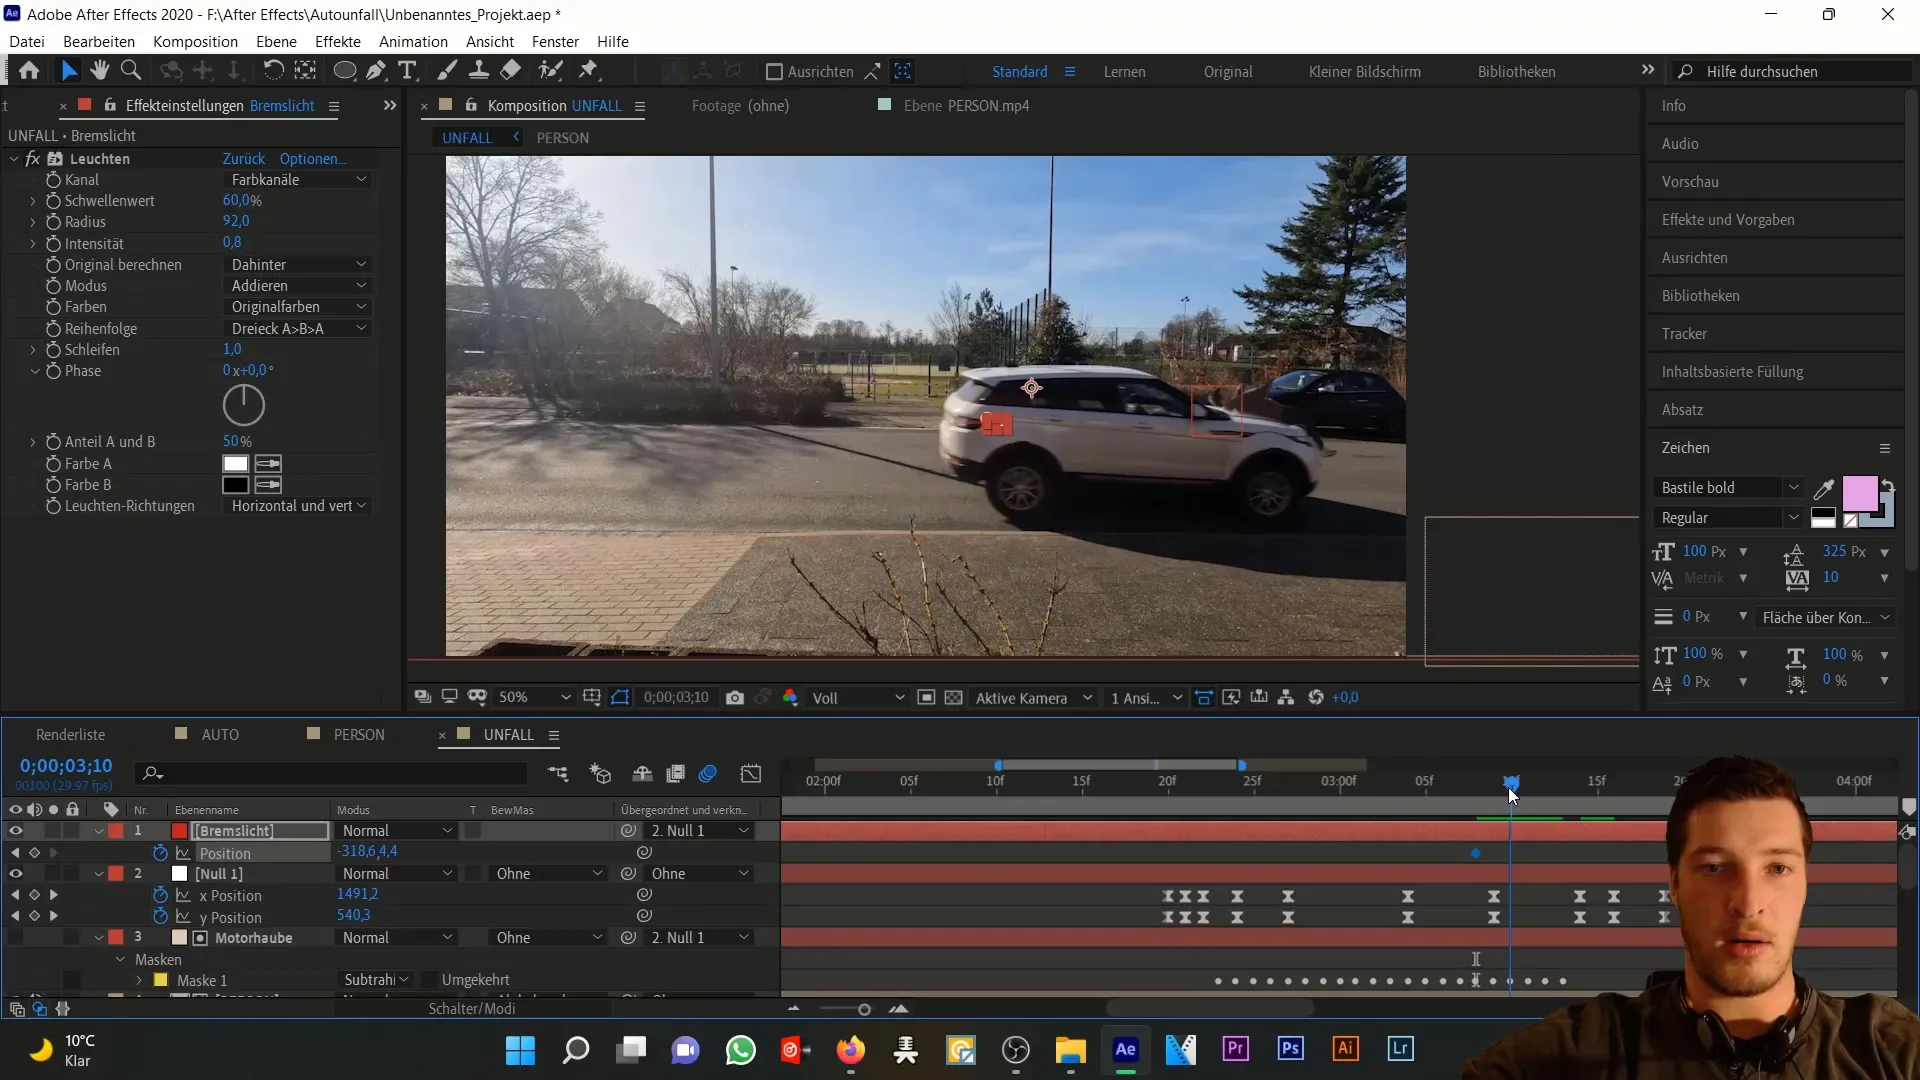
If necessary, you can adjust the position of the brake light. Press the "P" key to access the position settings and adjust the values for the position until everything looks perfect.
Creating Skid Mark
After the brake light has shone, it's time to move on to the skid mark. You should have already created a white color solid to illustrate the skid mark. This color solid is temporary and is used for visualization purposes; it will be deactivated shortly.
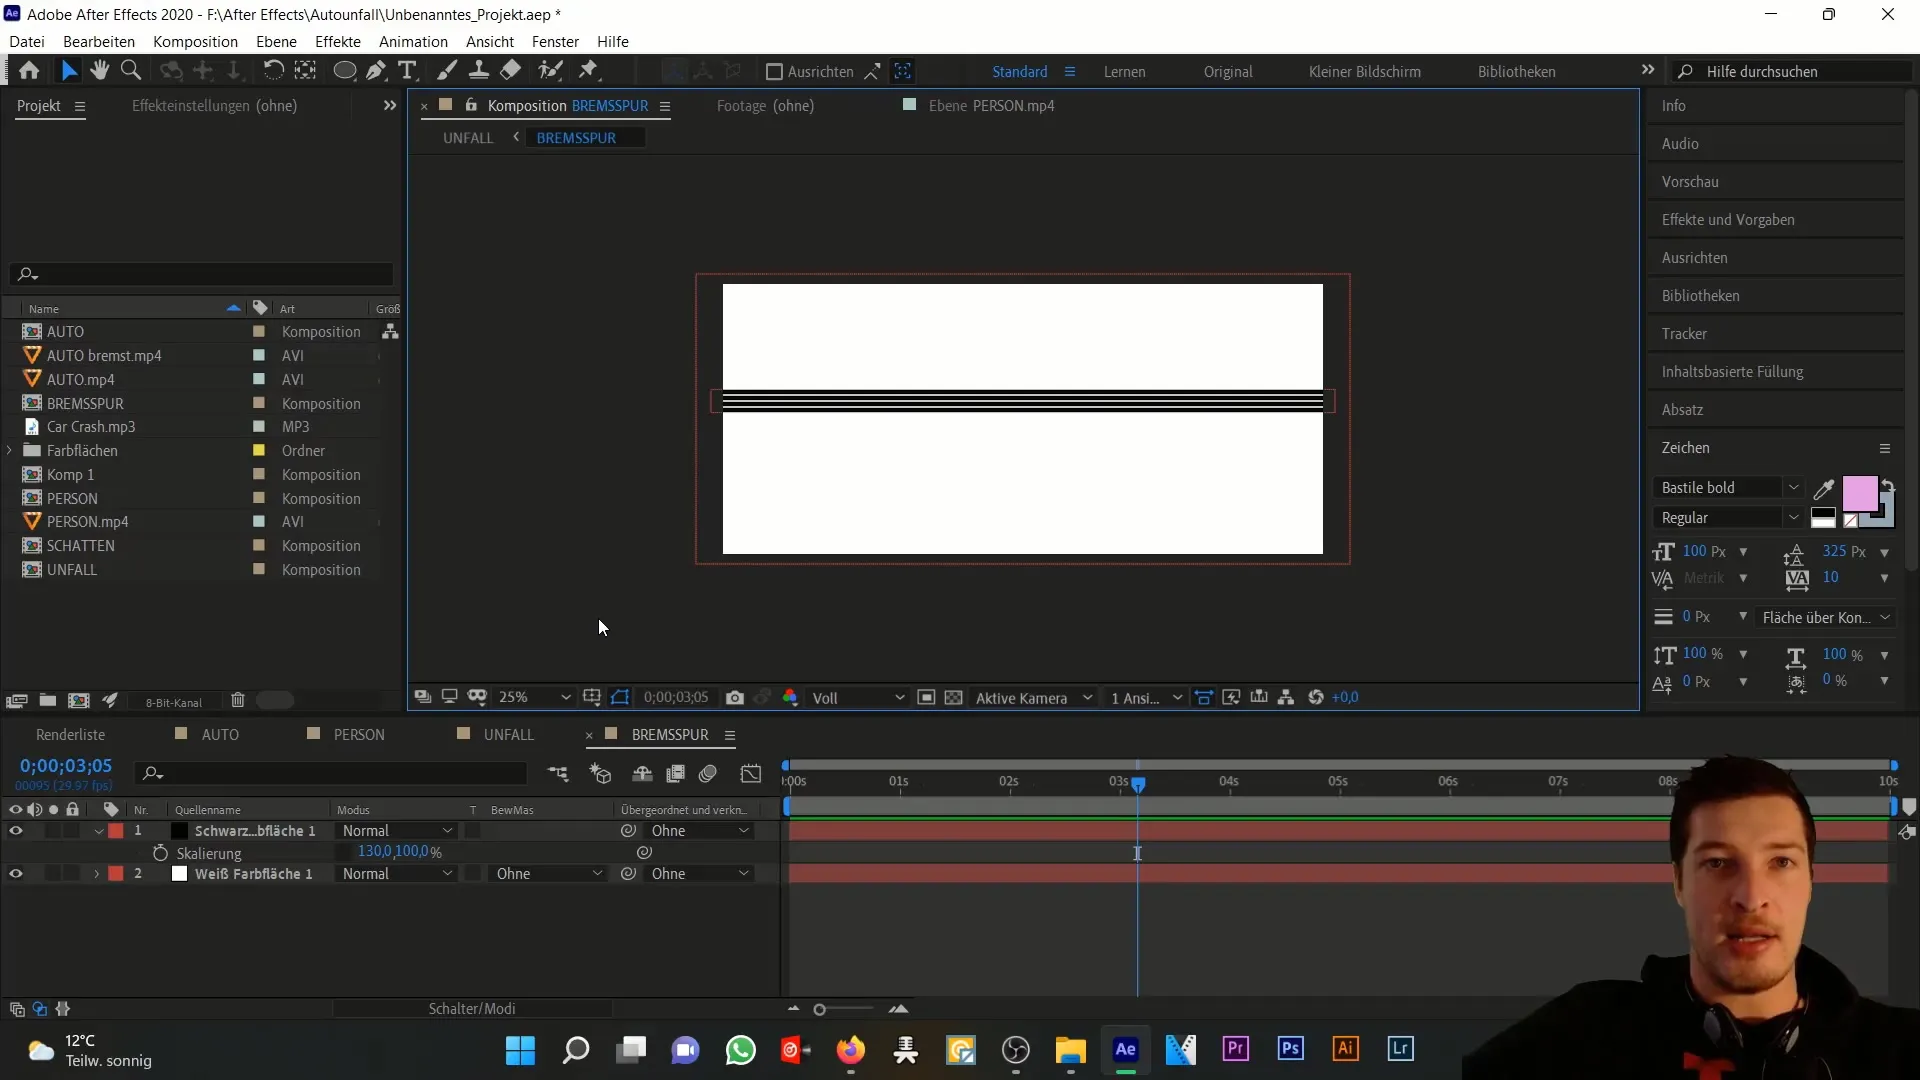
Now you need to add a black color solid, which serves as the framework for the skid mark. The rectangle tool is your friend here. Drag a mask from left to right across the color solid.
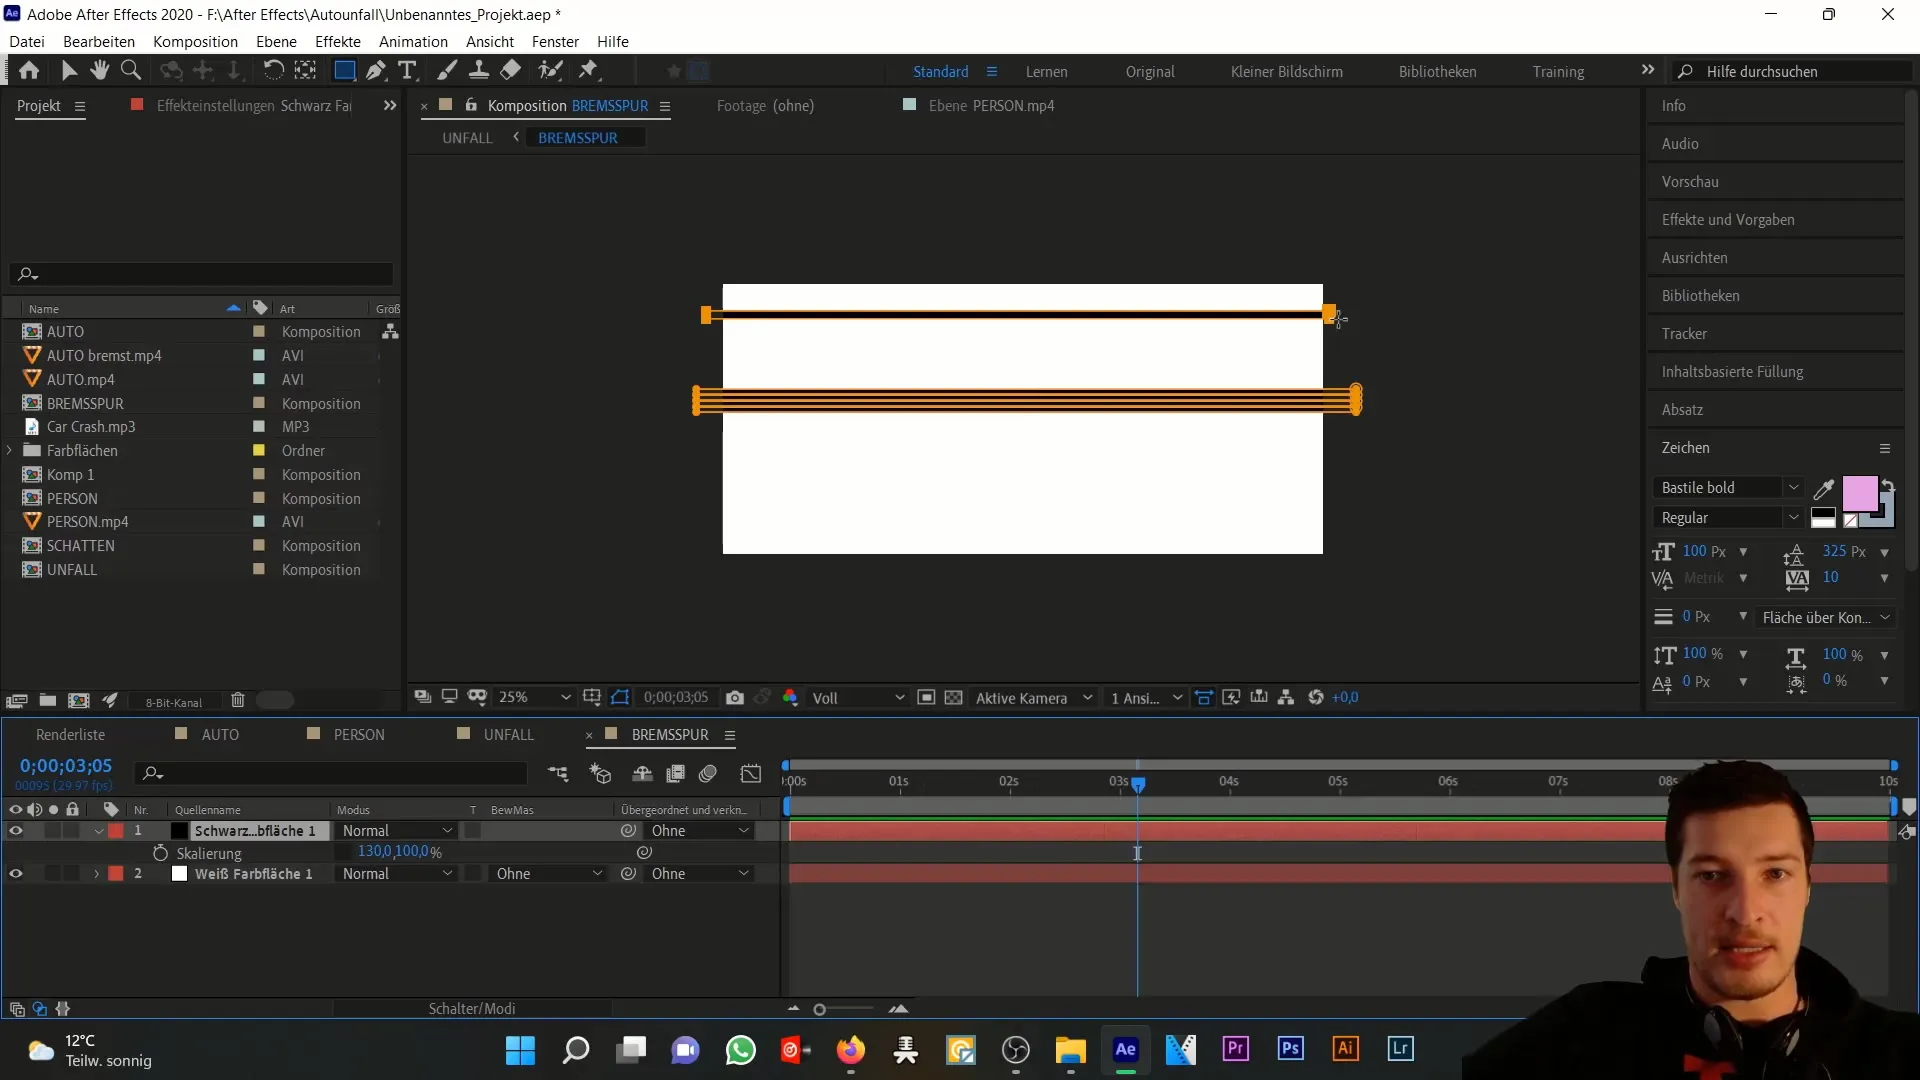
Duplicate this mask with Ctrl+D and move the copy down so that a second track is created, which runs parallel to the first.
The composition is slightly wider than the original composition to cover the full width of the brake track. Make sure to set this track in 3D to enhance the effect.
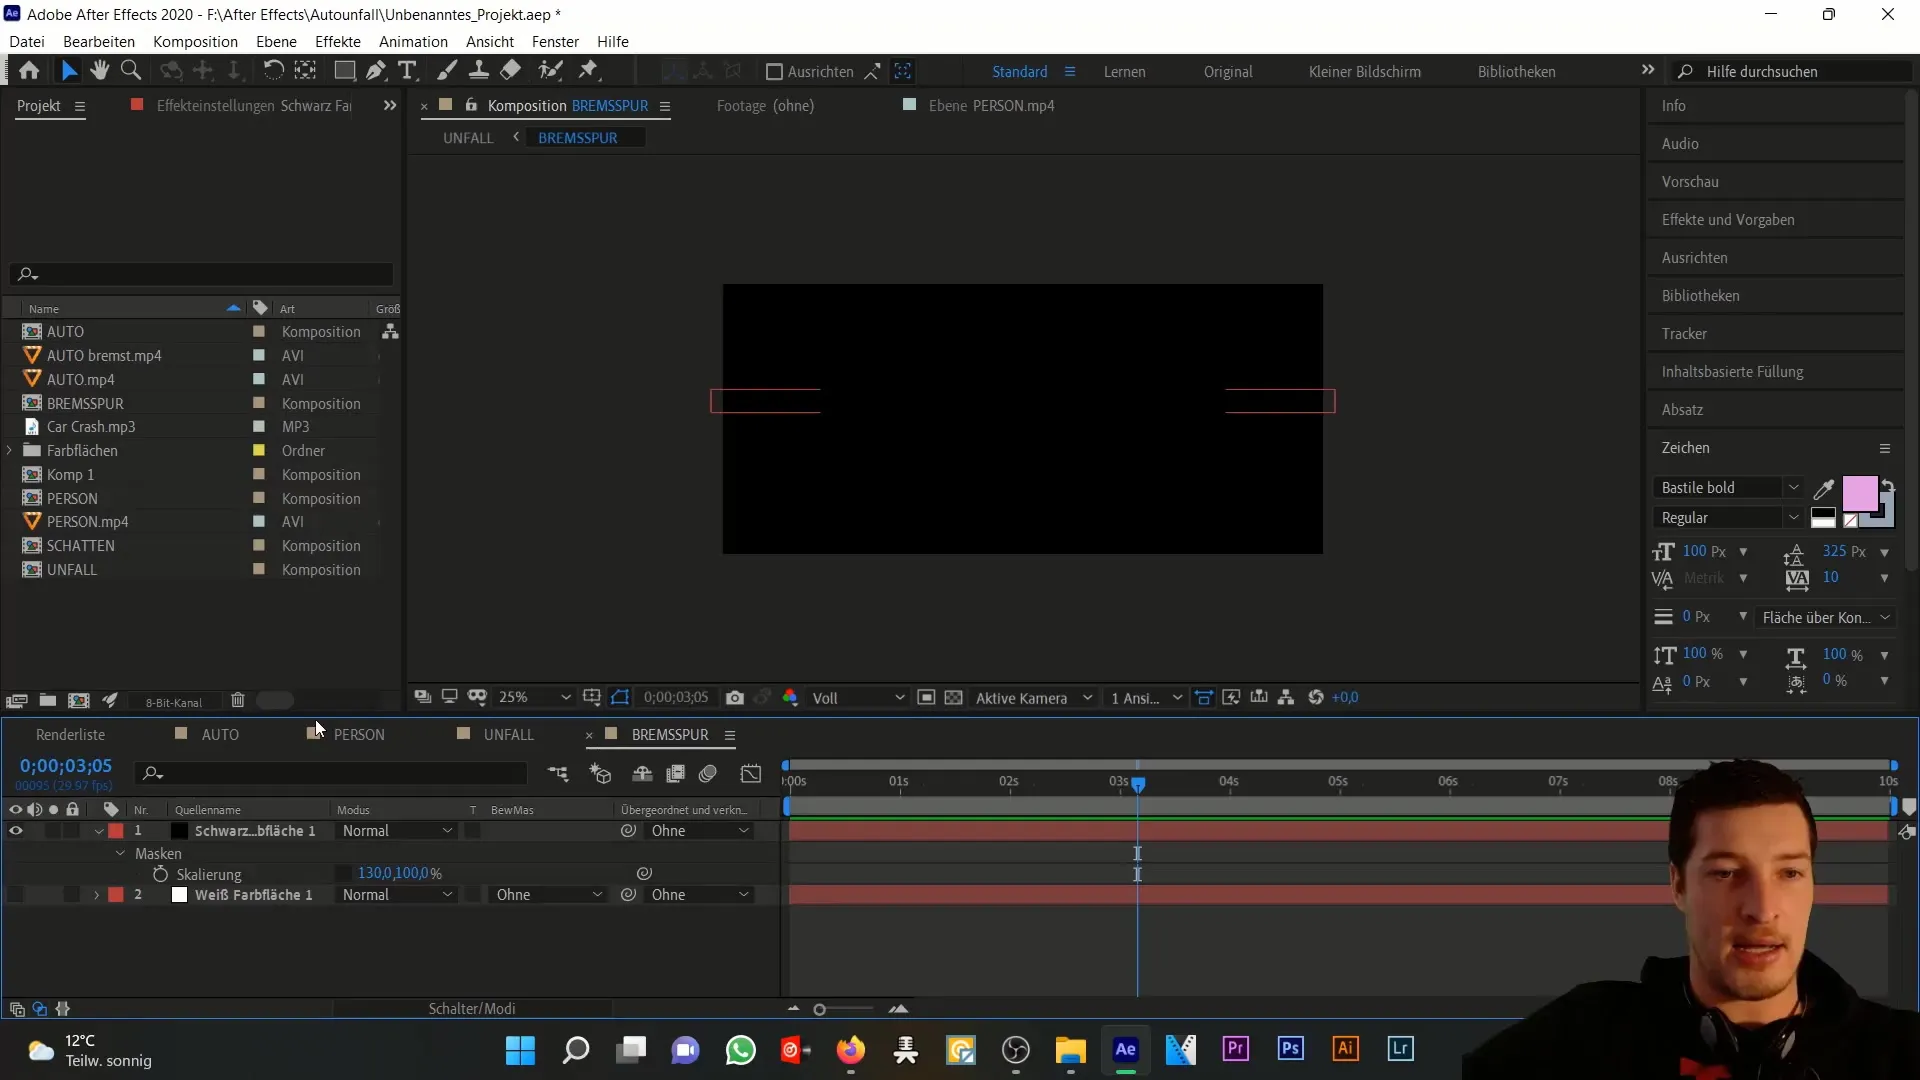
Reduce the opacity of this layer to about 40%. With proper rotation, it appears as if the brake track is actually on the road. A rotation in the X-axis will be necessary.
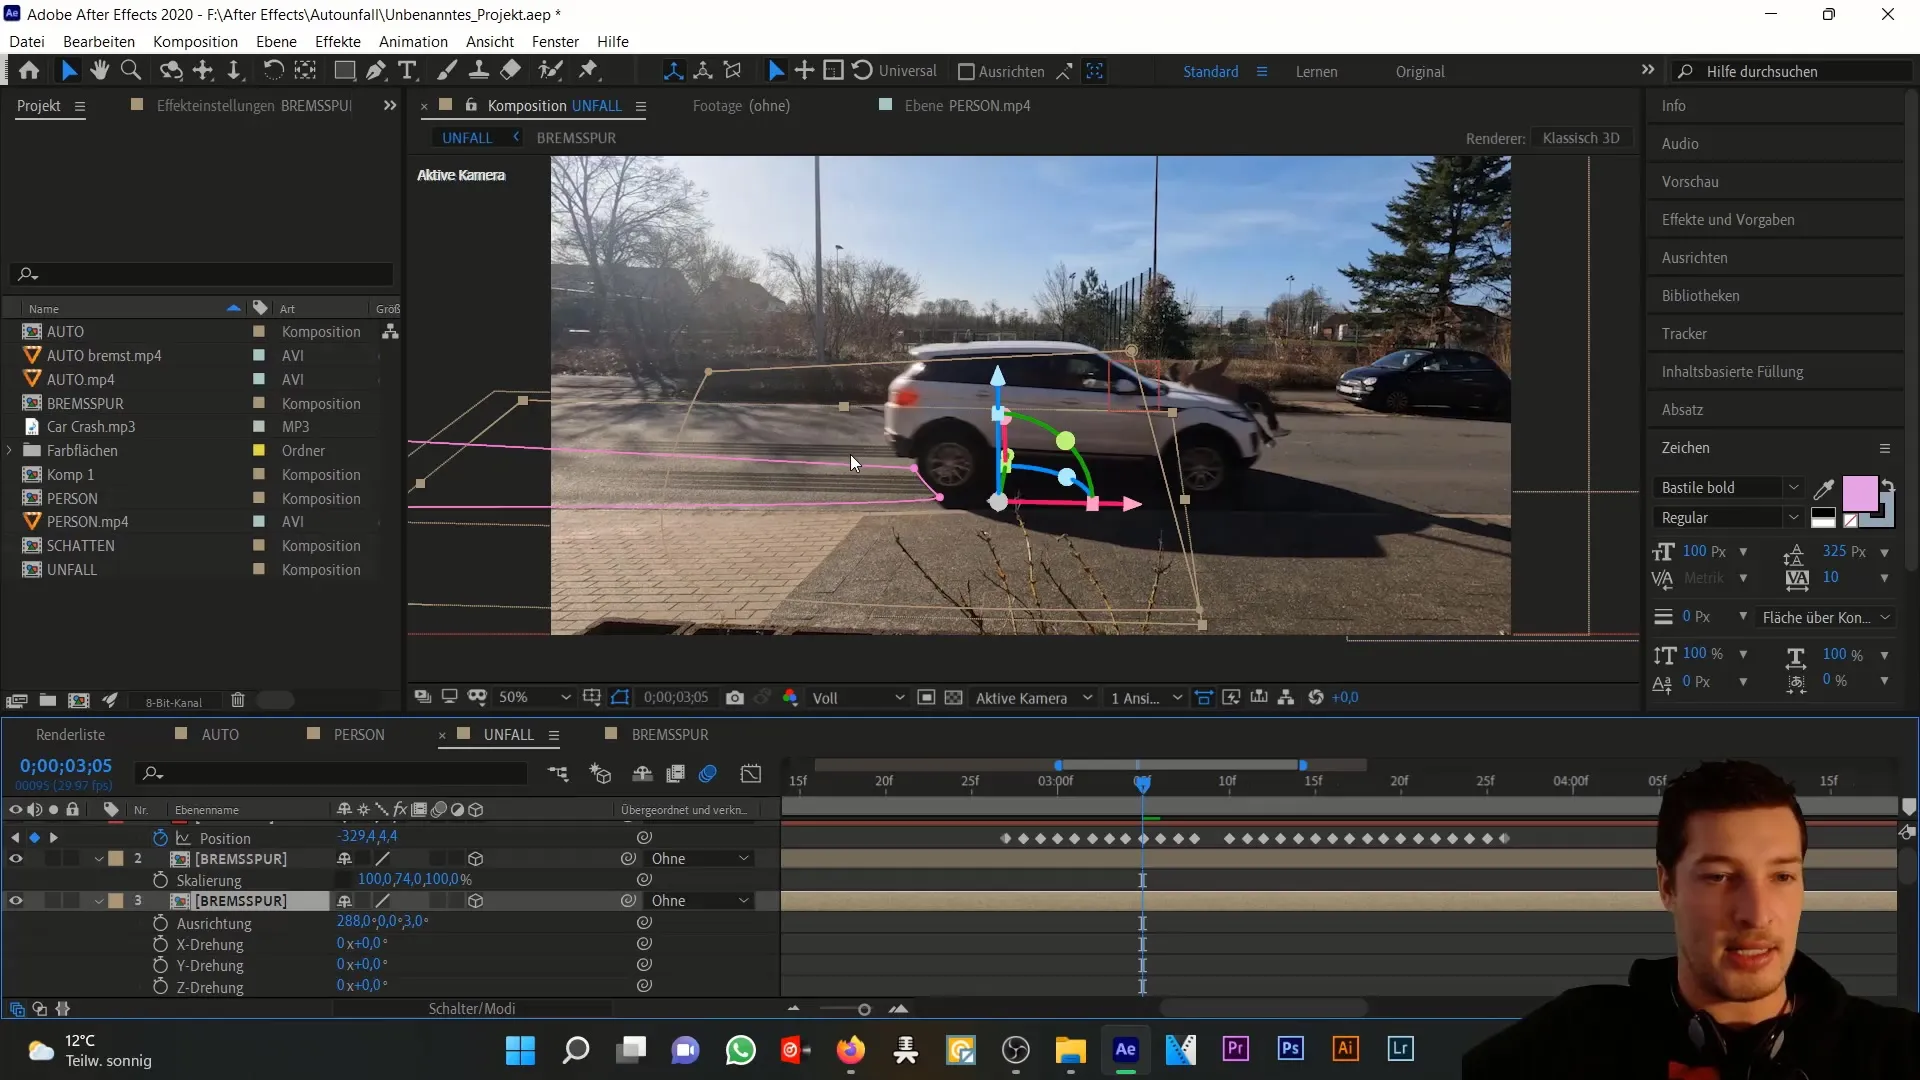
Now we move on to the masks that need to be animated. The first mask is applied to the car's tire and ensures that the brake track runs realistically.
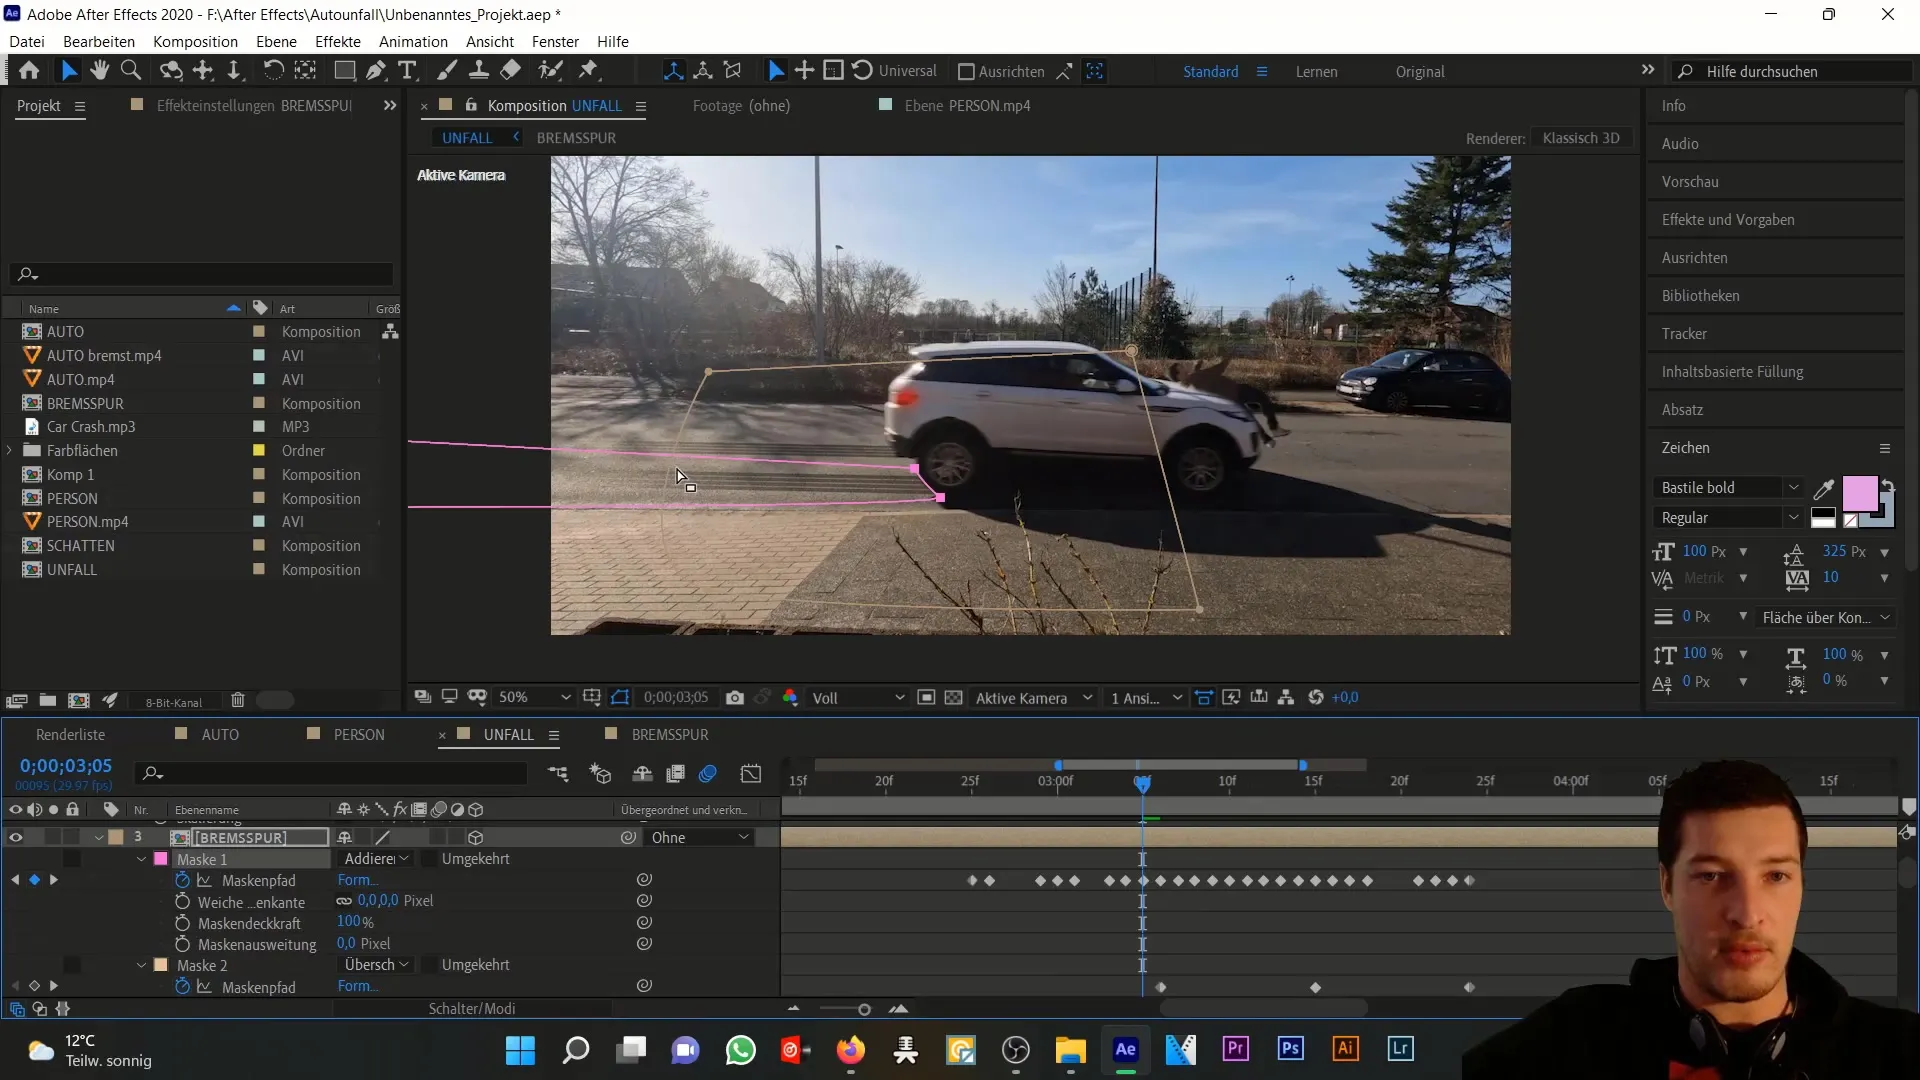
The second mask helps to optimize the overall appearance of the brake track by creating softer edges. Set the value of the soft mask edge to almost 400 pixels.
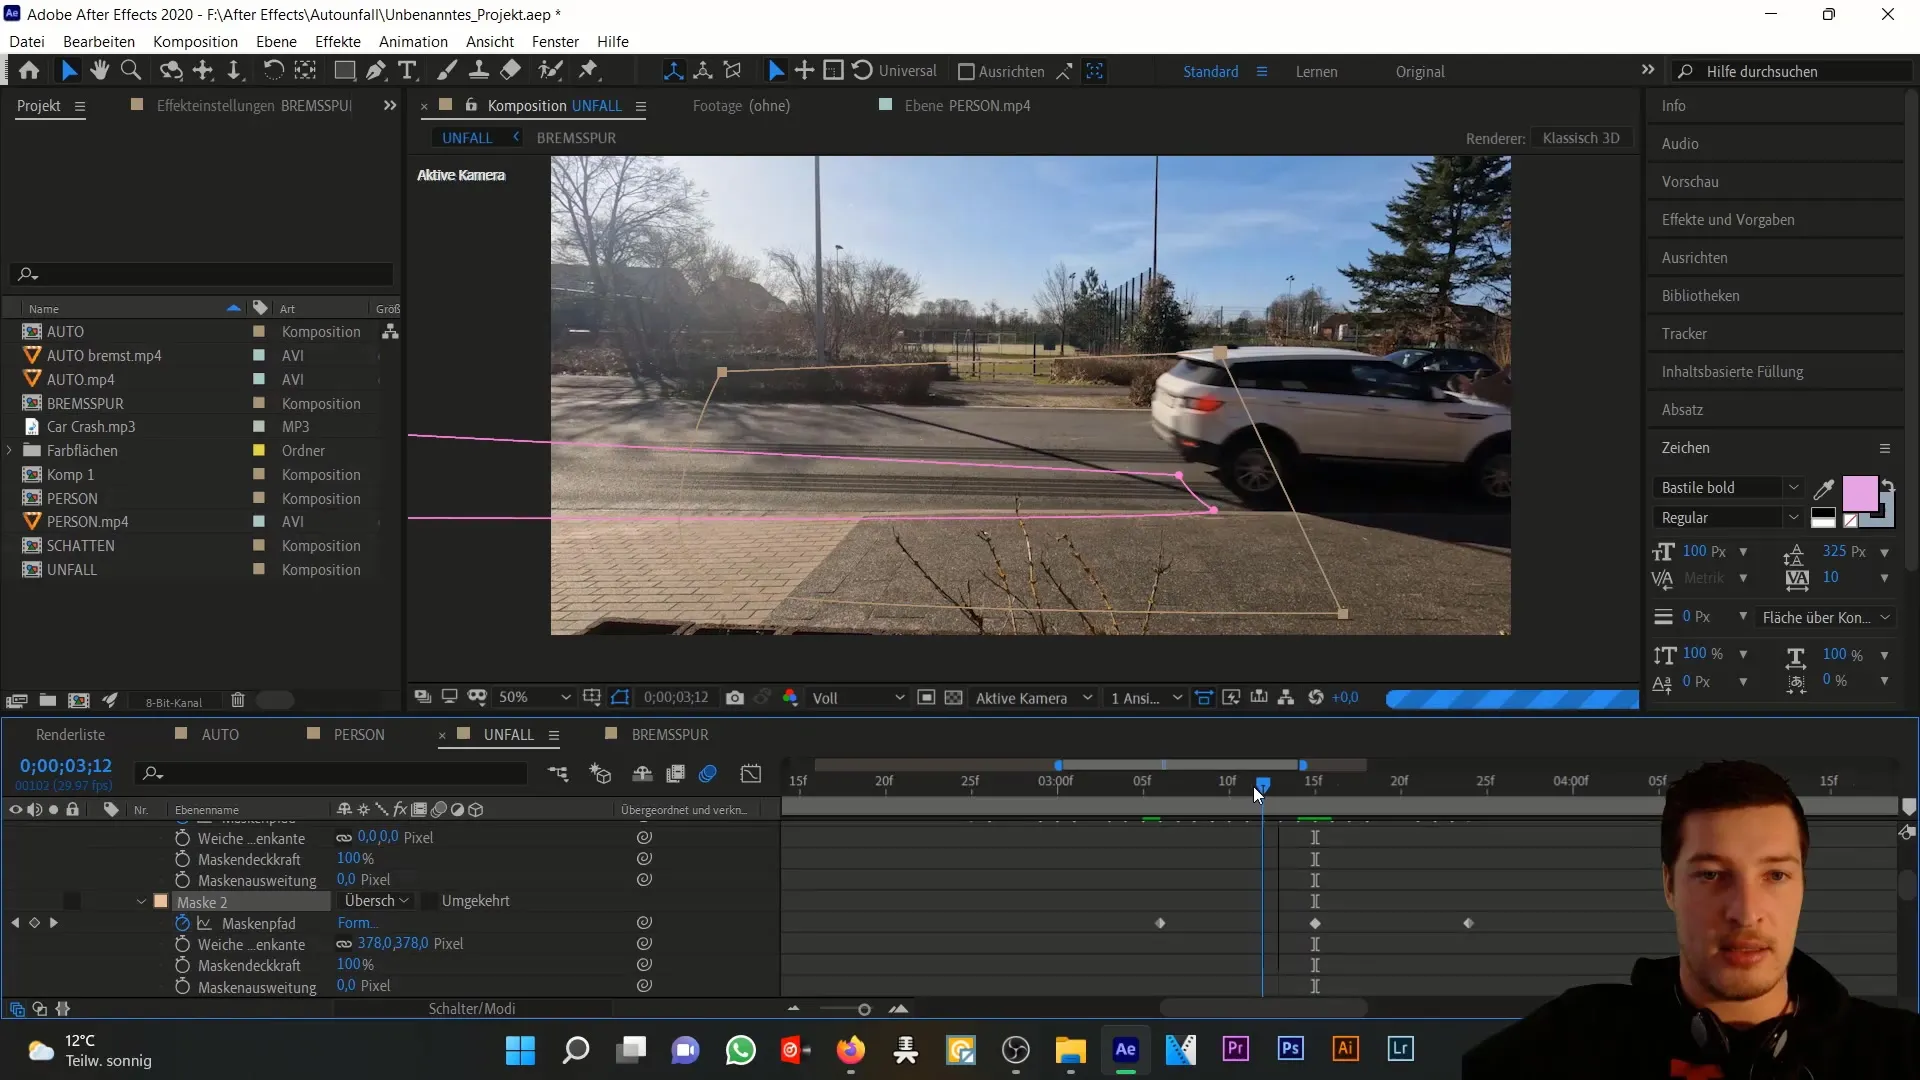
Animating the mask will give a realistic feeling of the brake trace as it travels behind the car. By using similar settings for the second instance of the brake trace layer, you can create a convincing effect.
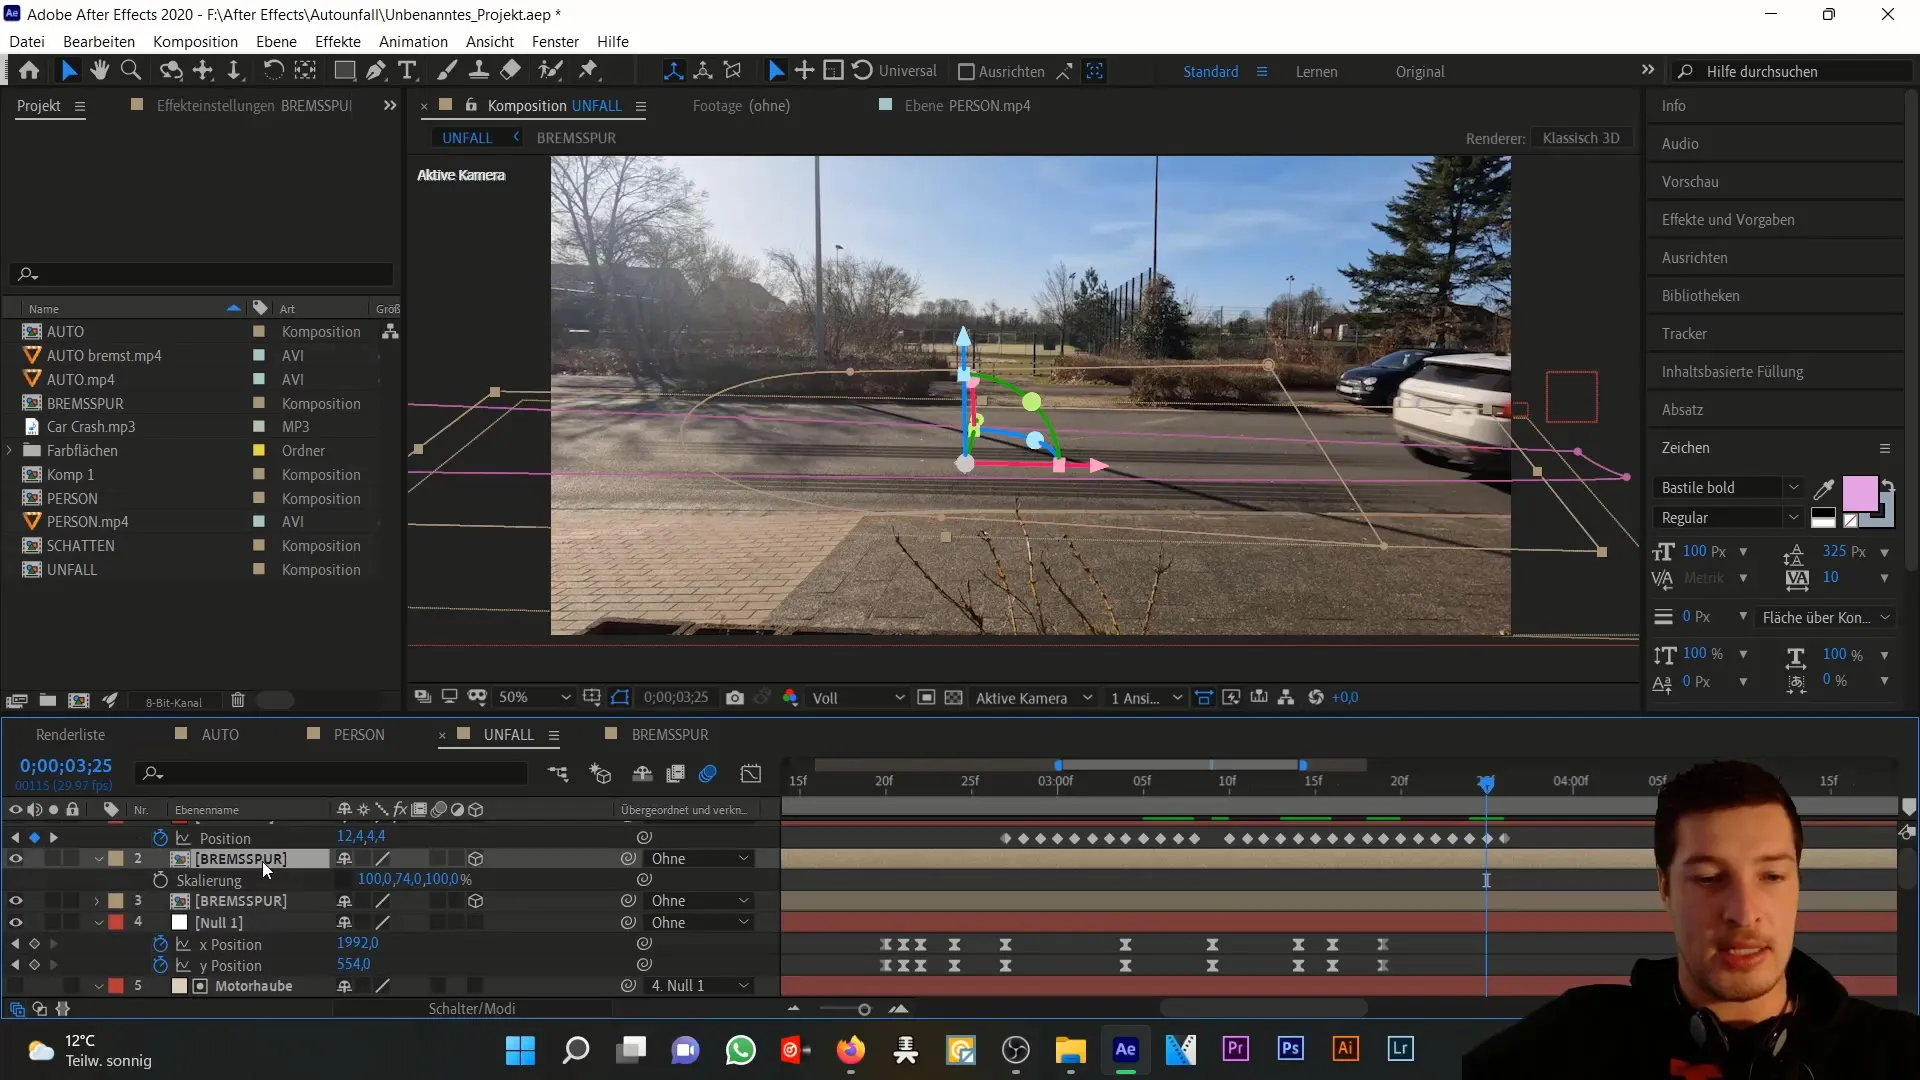
Apply these techniques and you will quickly learn how to achieve creative and impressive results in After Effects using masks.
Summary
Throughout this tutorial, you have learned how to simulate a brake light and brake track in After Effects. These elements significantly enhance the visual drama and realism of a car accident scene.
Frequently Asked Questions
What is the first step in creating the brake light? Start by creating a new solid layer in a deep red color.
How can I synchronize the brake light animation? Use a null layer to link the brake light to the car.
By how many pixels should I set the soft mask edge? Set the soft mask edge to about 25 pixels for the brake light.
What is the ideal opacity for the brake track? The ideal opacity for the brake track is about 40%.
How can I realistically animate the brake track? Use animated masks that synchronize with the movement of the car.
