Variables and live column headings in Adobe InDesign are powerful tools to create dynamic and automated content in your layout. Variables allow you to automatically insert repetitive information such as file names, page numbers, or chapter headings. Live column headings update automatically based on paragraph formats, ensuring consistent and efficient designs, especially in extensive documents like books or magazines. In this guide, I will show you step by step how to work with variables and live column headings to make your layouts look professional and flexible. Let's get started!
Placing InDesign Files
In addition to images, texts, and graphics, other InDesign documents or individual pages from them can also be placed in a document. You may only need one or two pages from different files to create a new document.
So first create a new document with the required number of pages. Through File>Place or Ctrl+D, you can now search for the InDesign file you want to place. Make sure to check the Show Import Options checkbox and click Open.
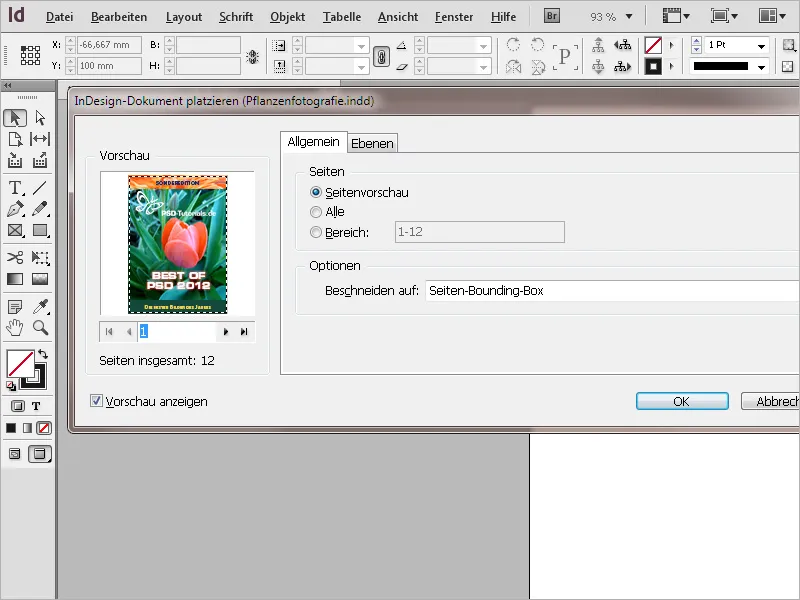
In the following import dialog, you can select the page of the document to be placed using the small arrows. In the preview, you can orient yourself based on the content of the pages. Instead of one page, you can also place all pages or a specific range of pages. Through the Crop to option, you can choose whether the page(s) should be placed with or without bleed.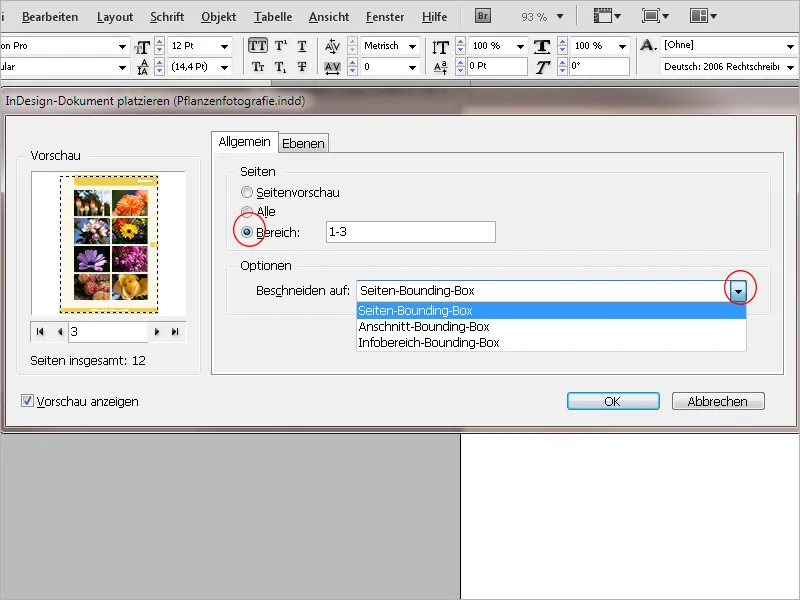
In the Layers tab, the layers contained in the document being imported are listed and can be deactivated if necessary, excluding them from the import. The preview shows the effect of this action.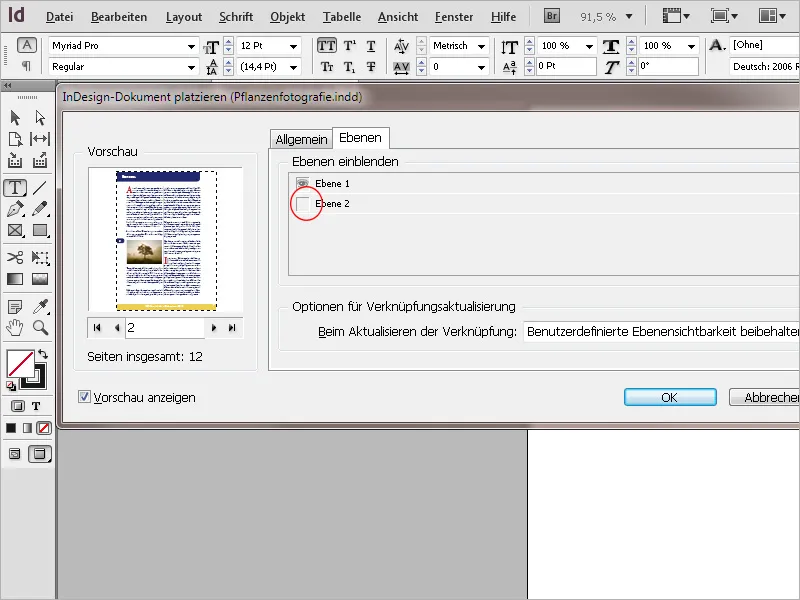
By clicking OK, the file is loaded into the cursor and can now be placed full-page by clicking on the upper left corner of the current print sheet. Alternatively, you can draw a frame with the mouse that is proportional to the dimensions of the loaded page and place it that way. If you have set multiple pages for import, the cursor tip now shows a thumbnail of the next page, which will also be placed at a different location.
The view of the placed file initially appears qualitatively unsatisfactory. By activating the setting View>Overprint Preview, the file will be displayed in full resolution, making the pixels and jagged edges disappear.
The placed files behave like objects and cannot be edited. They are listed in the Links panel as images and graphic files. Changes in the source file are signaled by a yellow warning triangle at the top of the page. Additionally, the display performance is reduced to Normal.
By clicking with the Selection tool on the warning triangle, the link will be updated, and the display performance will be set back to high quality.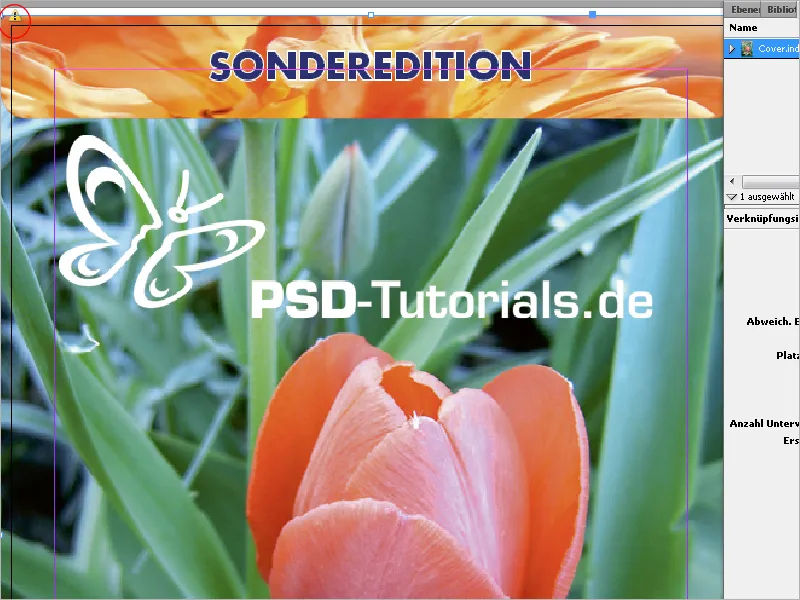
To edit the linked file, open it via the Links panel. Right-click on the entry and choose Edit Original from the Context Menu. The images used in the source document are also listed in the Links panel. Click on the small arrow next to the linked page for that.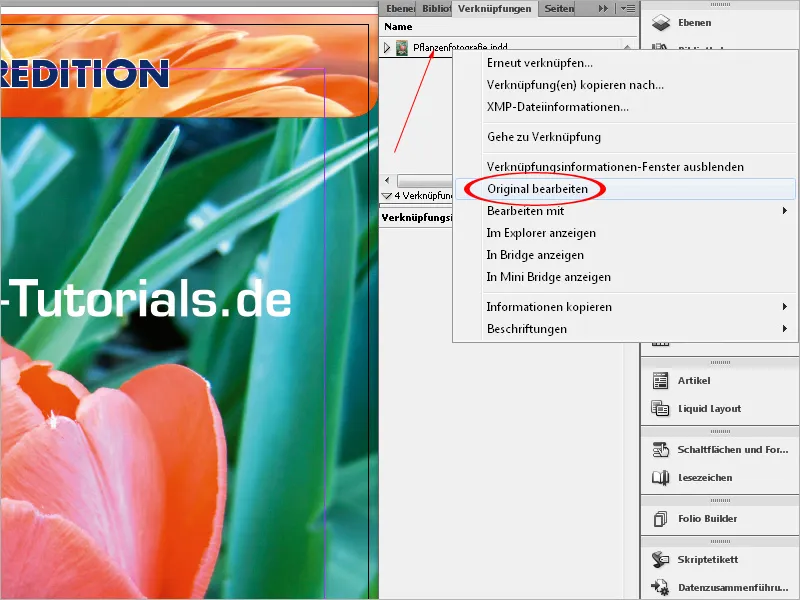
This way, you can work on different documents at various workstations connected over a network, which can later be merged into a new document. This can also be done over the internet using a Dropbox. However, the individual documents must also be stored therein.
When packaging the file for printing, all linked InDesign files, including the images and graphics in them, are saved in a separate folder. Just like InDesign files, PDF files can also be placed.
Working with Variables
To insert certain recurring elements into a document, you can use variables. This can be a date or a page number, but also custom text. For example, if a specific name is used repeatedly, you can simply create a variable with that text and later insert it into the text through the Context Menu.
To create your own text variable, click on the menu Type>Text Variables>Define.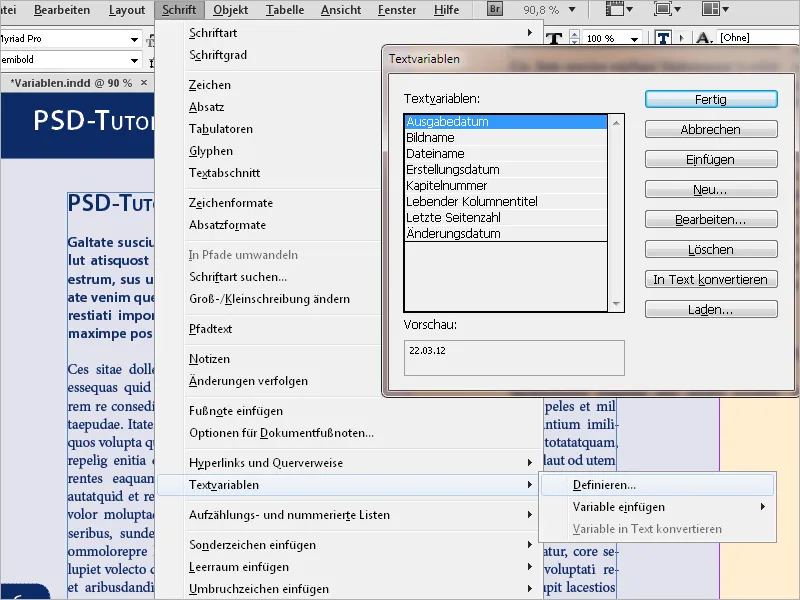
Now click on the New button.
First, give it a name and choose Custom Text from the dropdown menu Type.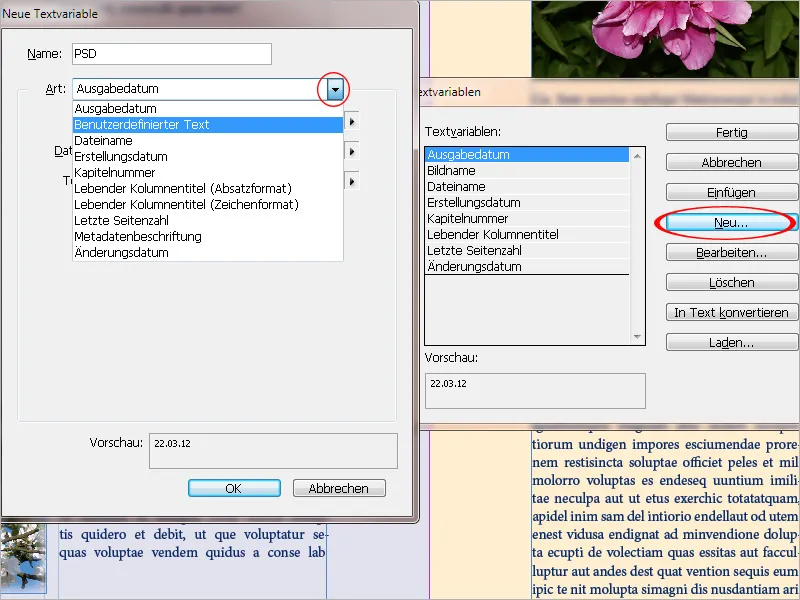
Now enter the desired name, text, or whatever you want in the Text field. If it should be inserted between two words in running text later on, you can also add a space at the end right away; this will save you manual insertion later on.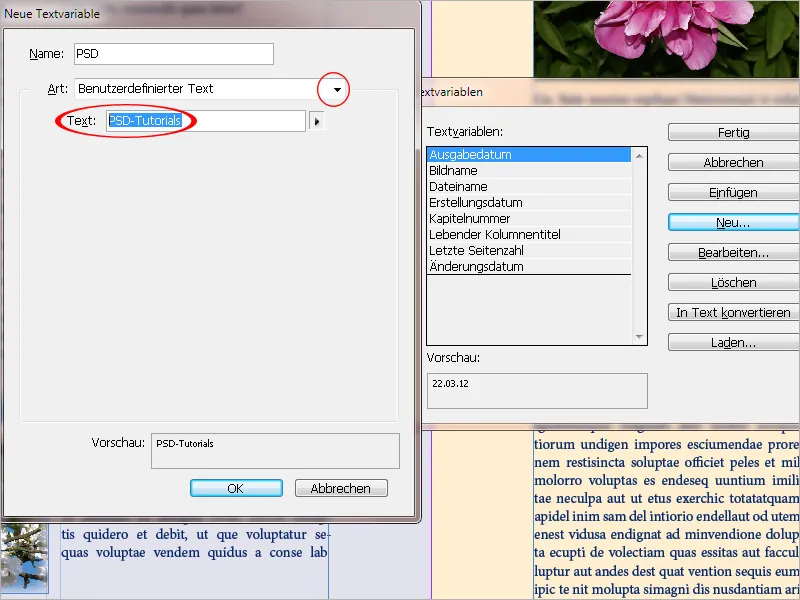
With OK and Done, the necessary preparatory work is completed. Now you can insert the variable at any text location via the Context Menu (Insert Variable>My Variable). The formatting adjusts to the current paragraph style. If you later want to edit the variable (select the entry via the Type>Text Variables>Define menu and then click on Edit), the change will also apply to all instances in the document.
Live column titles
Especially in magazines and journals, readers should be given orientation about the content of a page right at the top in a title line. This is where a special type of variable works excellently: the live column title.
In this case, the text is extracted from a predetermined paragraph format and dynamically inserted into the header or footer. Typically, the paragraph format of headings is used here, but it can also be any other format.
The easiest way is to create the variables directly on the master pages. Then, the text of the first (or last) heading on each individual content page is automatically inserted into every header. The variable is created again as described above through the menu Type>Text Variables>Define. This time, however, from the drop-down menu of the Type field, choose Live Column Title (Paragraph Format).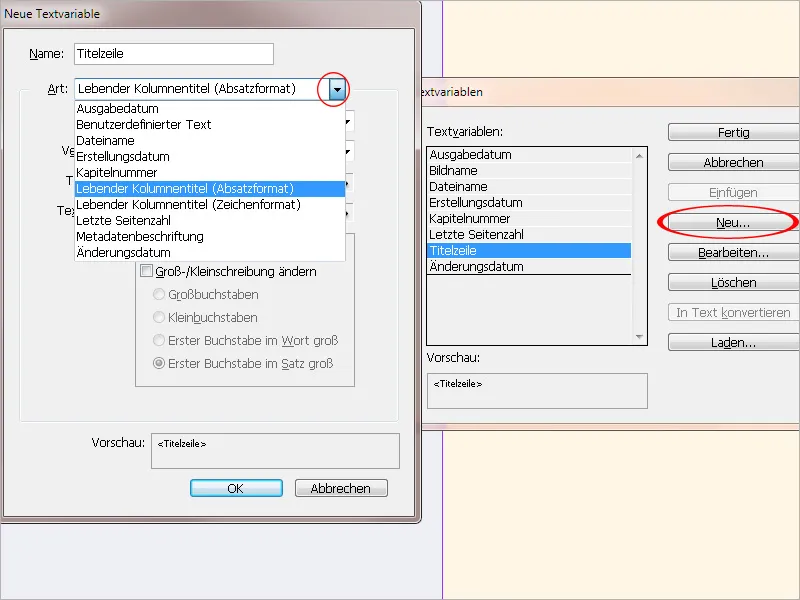
In the Format field, the paragraph format of the heading to be extracted must now be selected. In the Use section, you can choose between the first or last paragraph that is formatted on the page (usually the first).
If necessary, you can also enter text before or after it.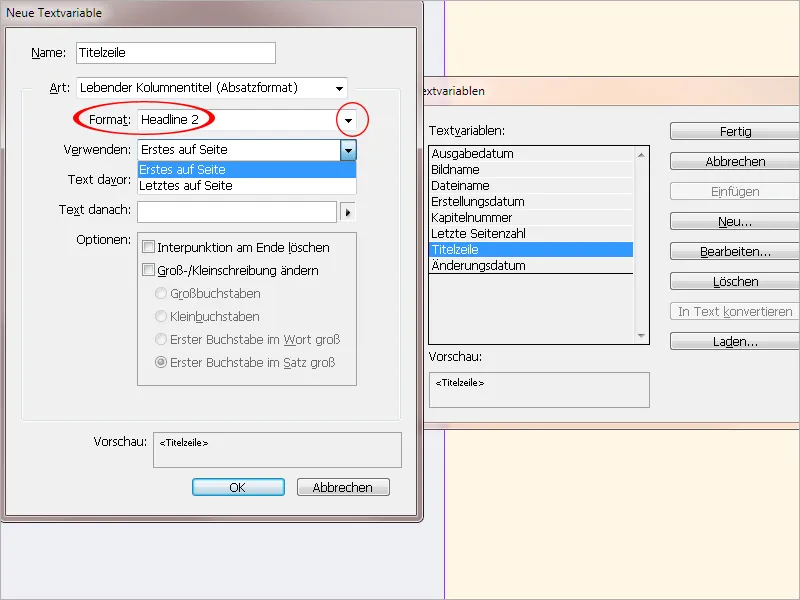
With OK and Done, the necessary preliminary work is completed. Now you can insert the variable into the text frame for the header line - preferably directly on the master pages - via the context menu (Insert Variable>My Column Titles). When the text of the heading is changed on the page, the title line will now automatically change - but you will need to briefly scale the view for it to update.