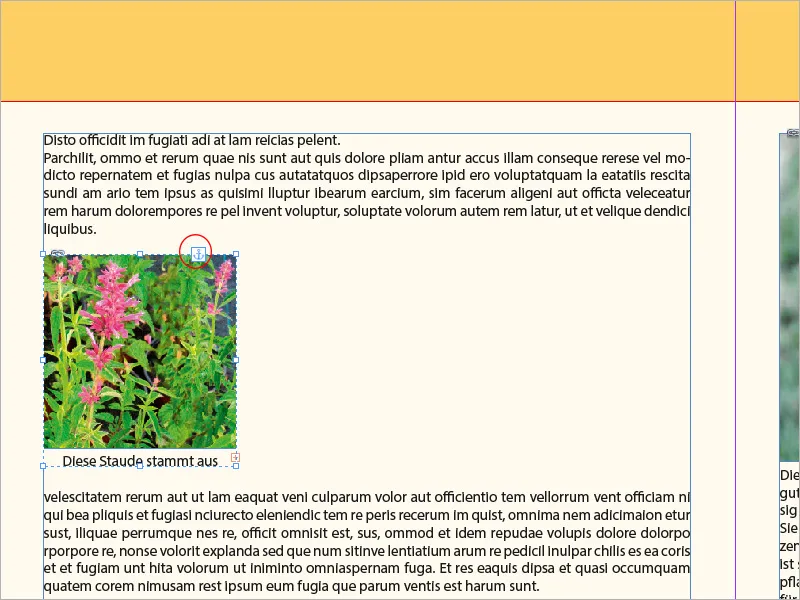
Captions are an essential part of many layouts to complement images with informative or explanatory texts. In Adobe InDesign, you can automatically generate, manually insert, and flexibly adjust captions. With the right tools and formatting, captions can be seamlessly integrated into the design. In this guide, I will show you step by step how to create, customize, and professionally design captions to give your layouts a perfect blend of aesthetics and functionality. Let's get started!
Images taken with digital cameras contain a lot of metadata that is already written into the files by the camera. You can get an overview of this in Adobe Bridge.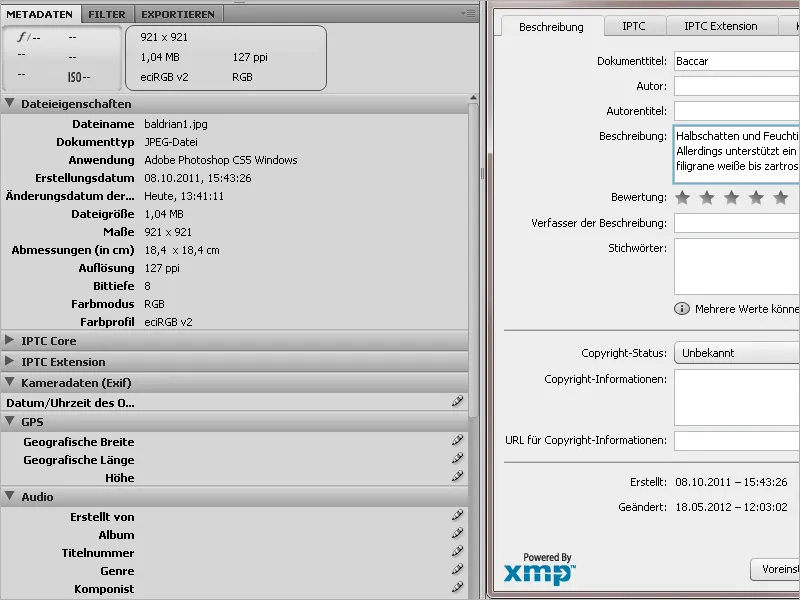
This metadata can be used for captions if needed. To do this, right-click on a placed image with the Selection tool and from the context menu choose Caption>Set Caption.
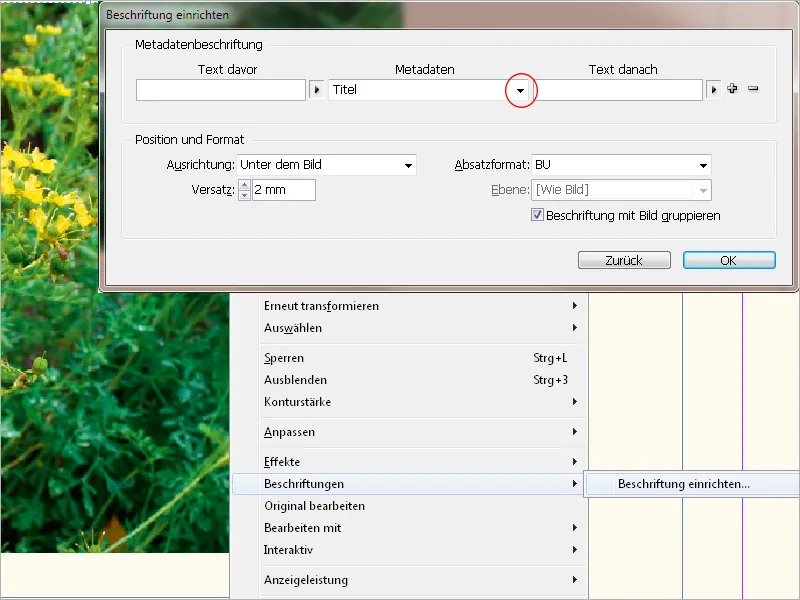
Here, from the Metadata drop-down menu, you can select the desired category. This category must, of course, also contain information to be displayed. If you want to display information from multiple categories (e.g., size, color space, and ICC profile), click on the plus symbol beside each one. This will create a new line where you can enter the next desired category.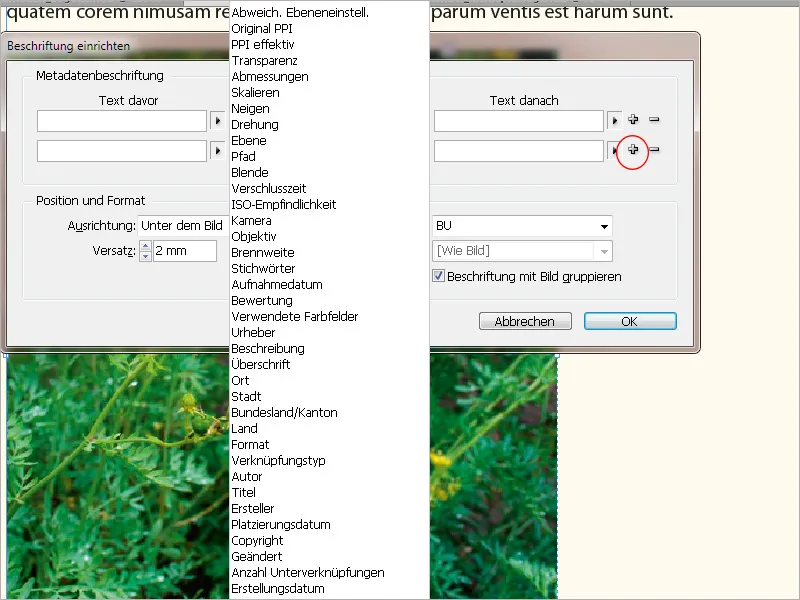
In the Position and Format section, you can define where the text frame will be placed in relation to the image and set the desired offset. Next to that, you can select the paragraph style to apply to the caption text, or create a new one if needed.
Below that, you can specify which layer in the document the caption should be associated with. Finally, by checking the box, the text frame of the caption can be grouped with the image frame, so that they move together when repositioned. Clicking OK will finalize the caption setup.
To add a caption to an image, right-click on the selected image and choose Caption>Create Static Caption from the context menu.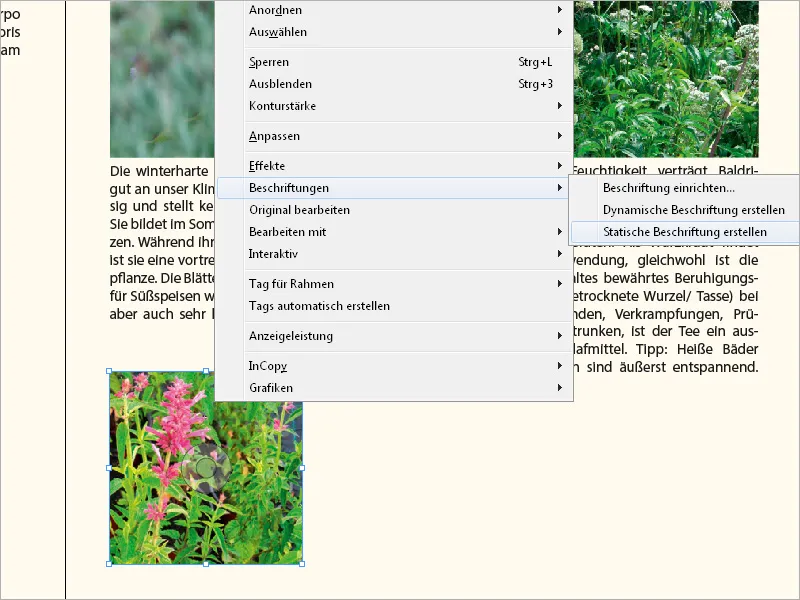
In addition to these static metadata, captions can also be equipped with self-created file information. The path to this leads back through Adobe Bridge. From the context menu of the selected image file, choose File Info.
Here, fields like Title, Author, Description, Keywords, etc. can now be freely edited. In fact, this allows for comprehensive maintenance of an image data pool.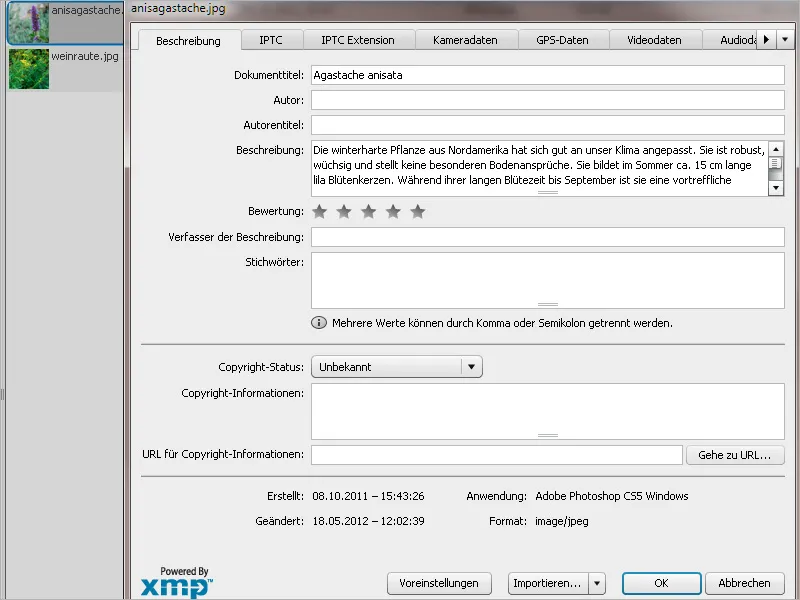
This data can also be used for captions. This way, not only the title of an illustration can be inserted but even a detailed description, with the text frame adjusting to the content.
The process is the same as described above (i.e., right-click on a placed image with the Selection tool and choose Caption>Set Caption from the context menu) – but this time select the title or description as metadata.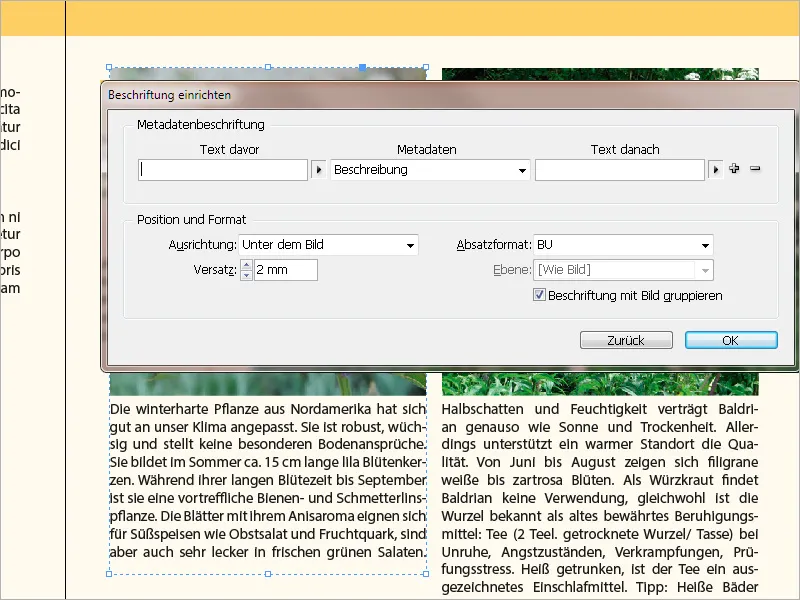
The text of static image captions can be edited in InDesign at any time, and text frames can be adjusted as needed.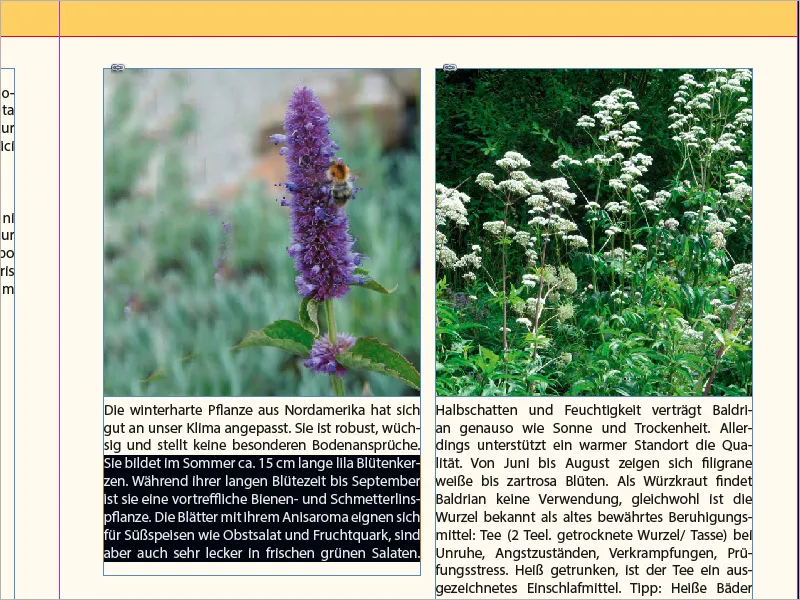
If you want to change the options for captions, again use the Set Caption dialog box. These settings will only affect captions created afterward and not those already existing.
The method for inserting captions can also be used to simply create a placeholder text frame grouped with the image, distinguished by a chosen paragraph style, to manually input your own text.
Instead of a static caption, a dynamic one can be set up as well. The effect of this is that subsequent changes to the image or file information will be detected by InDesign, and shown as a modified link in the Links panel. After updating, the caption will then display the changed content from the file info.
While dynamic captions are useful, it's important to note that variables will be output in a single line. Longer descriptions would overlap in a single line, so they should be included as static captions.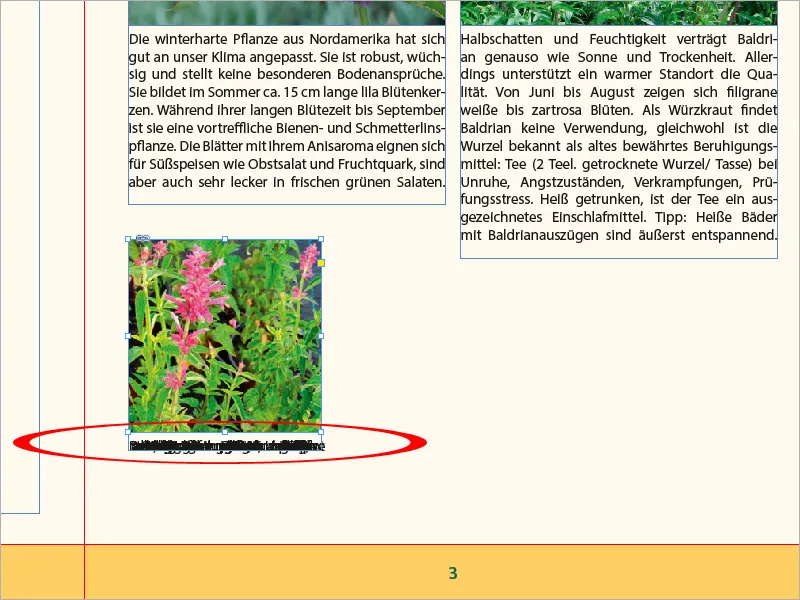
If a dynamic description becomes unreadable due to exceeding the character limit for a line, you can convert it back to readable by using the Captions>Convert to Static Caption option from the context menu.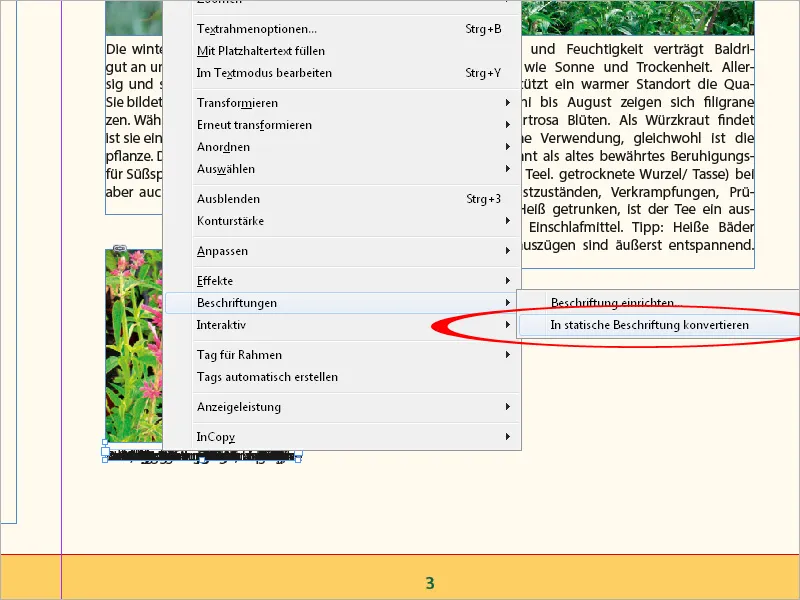
To do this, click with the Text tool in the overlapped text and then switch back to the Selection tool. Now, the text frame is selected, and the depicted command is available via the context menu.
This will convert the variable text to static, and any future changes to the file information will have to be manually edited. Another limitation when using captions in general is that text-anchored objects cannot be associated with captions - for reasons known only to Adobe.
A way to work around this limitation is to place the desired image in a free area of the layout, add an appropriate caption, and then cut it out.
Next, position the Text tool where you want the image, and then choose Paste from the context menu.
The image will be inserted at the cursor position and can be moved along with the text. The image frame will receive a small text anchor sign as an indicator of an object anchored in the text.