Designing graphics for your podcast is a crucial step in creating visual interest and standing out on social media. Canva offers a variety of tools and settings to customize your images individually. In this tutorial, you will learn how to use filters, adjustments, and image cropping with Canva to make your podcast visually appealing.
Main Insights
- Canva offers various filters and adjustment options to modify images.
- You can crop and mirror images to optimize the design.
- Harmonious colors and contrast are crucial for a successful look.
- Combining images and using practical effects gives your graphics a professional touch.
Step-by-Step Guide
1. Upload and Select Image
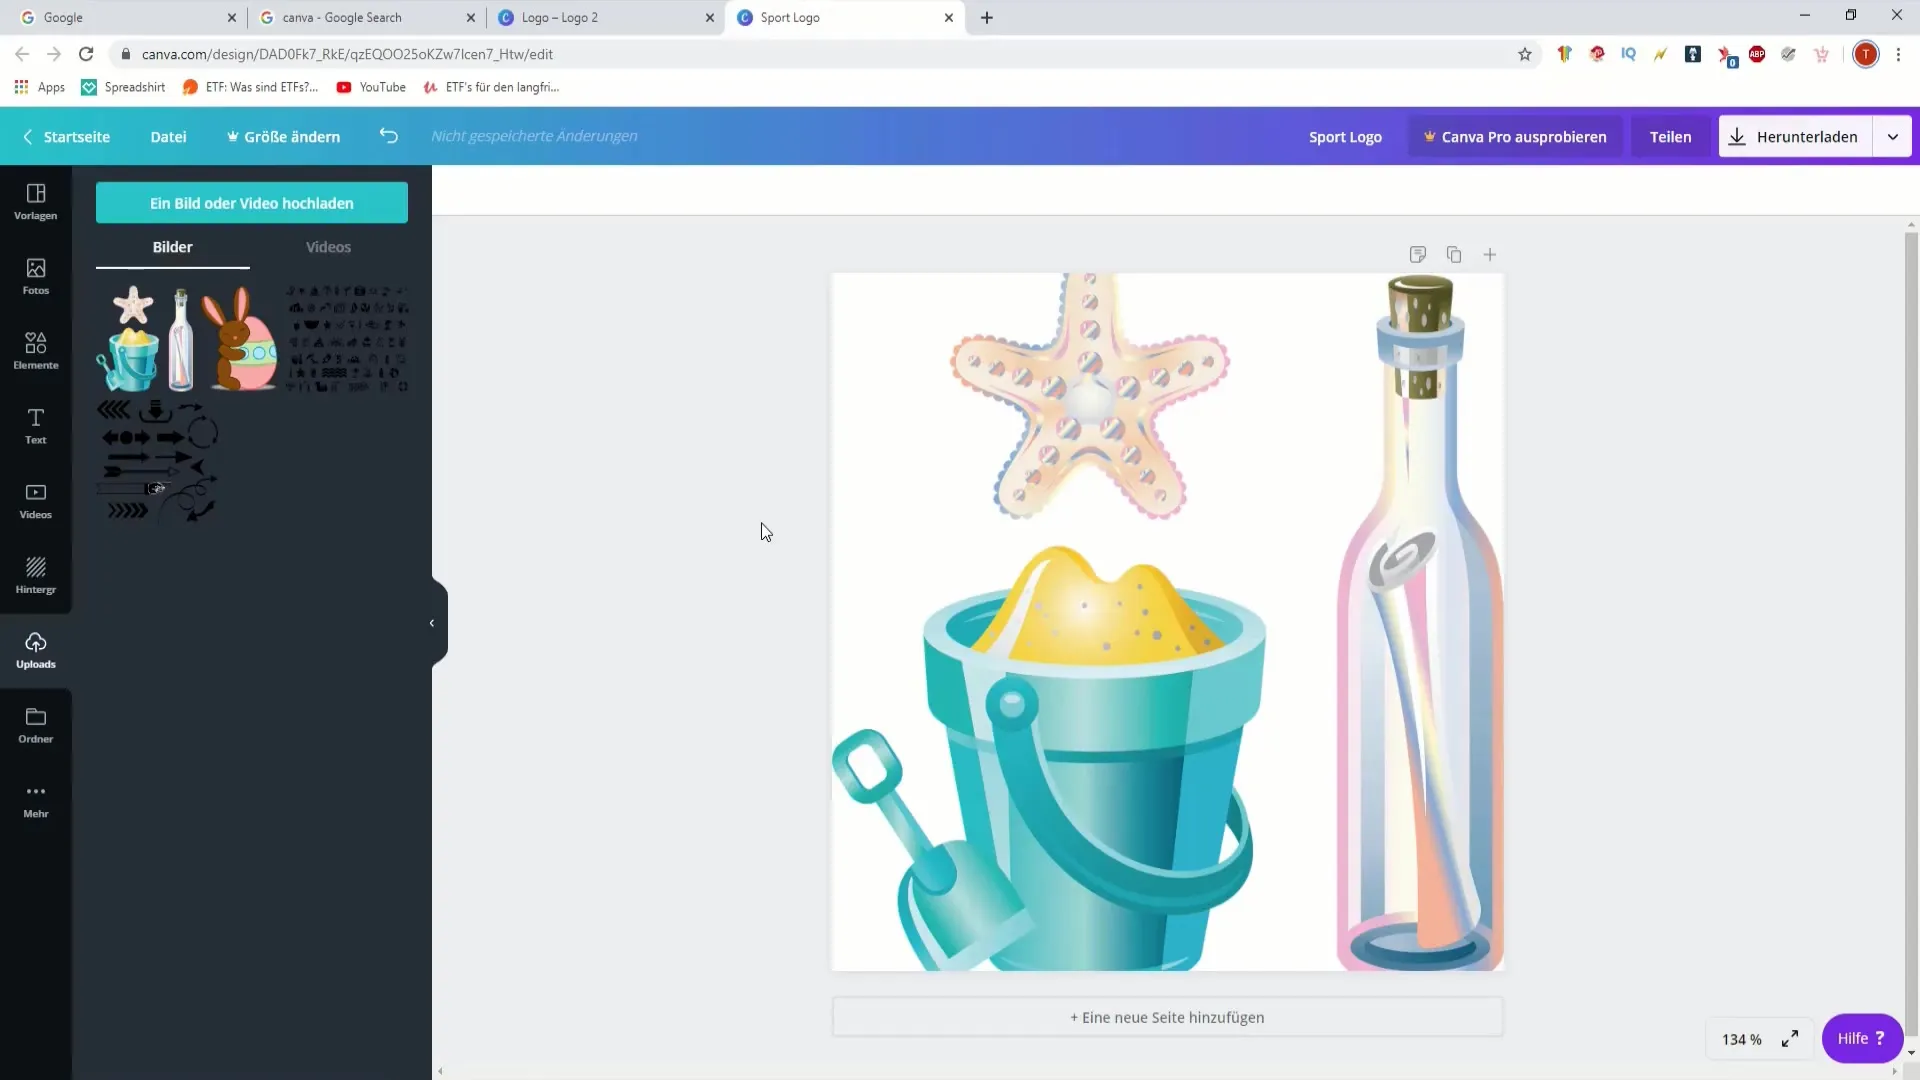
First, you need to upload an image you want to use for your project. Open Canva and click on "Upload." Choose the image from your collection that you want to edit. An example could be an image of your sandbox toy or a rabbit; here you simply select the desired image.
2. Crop the Image
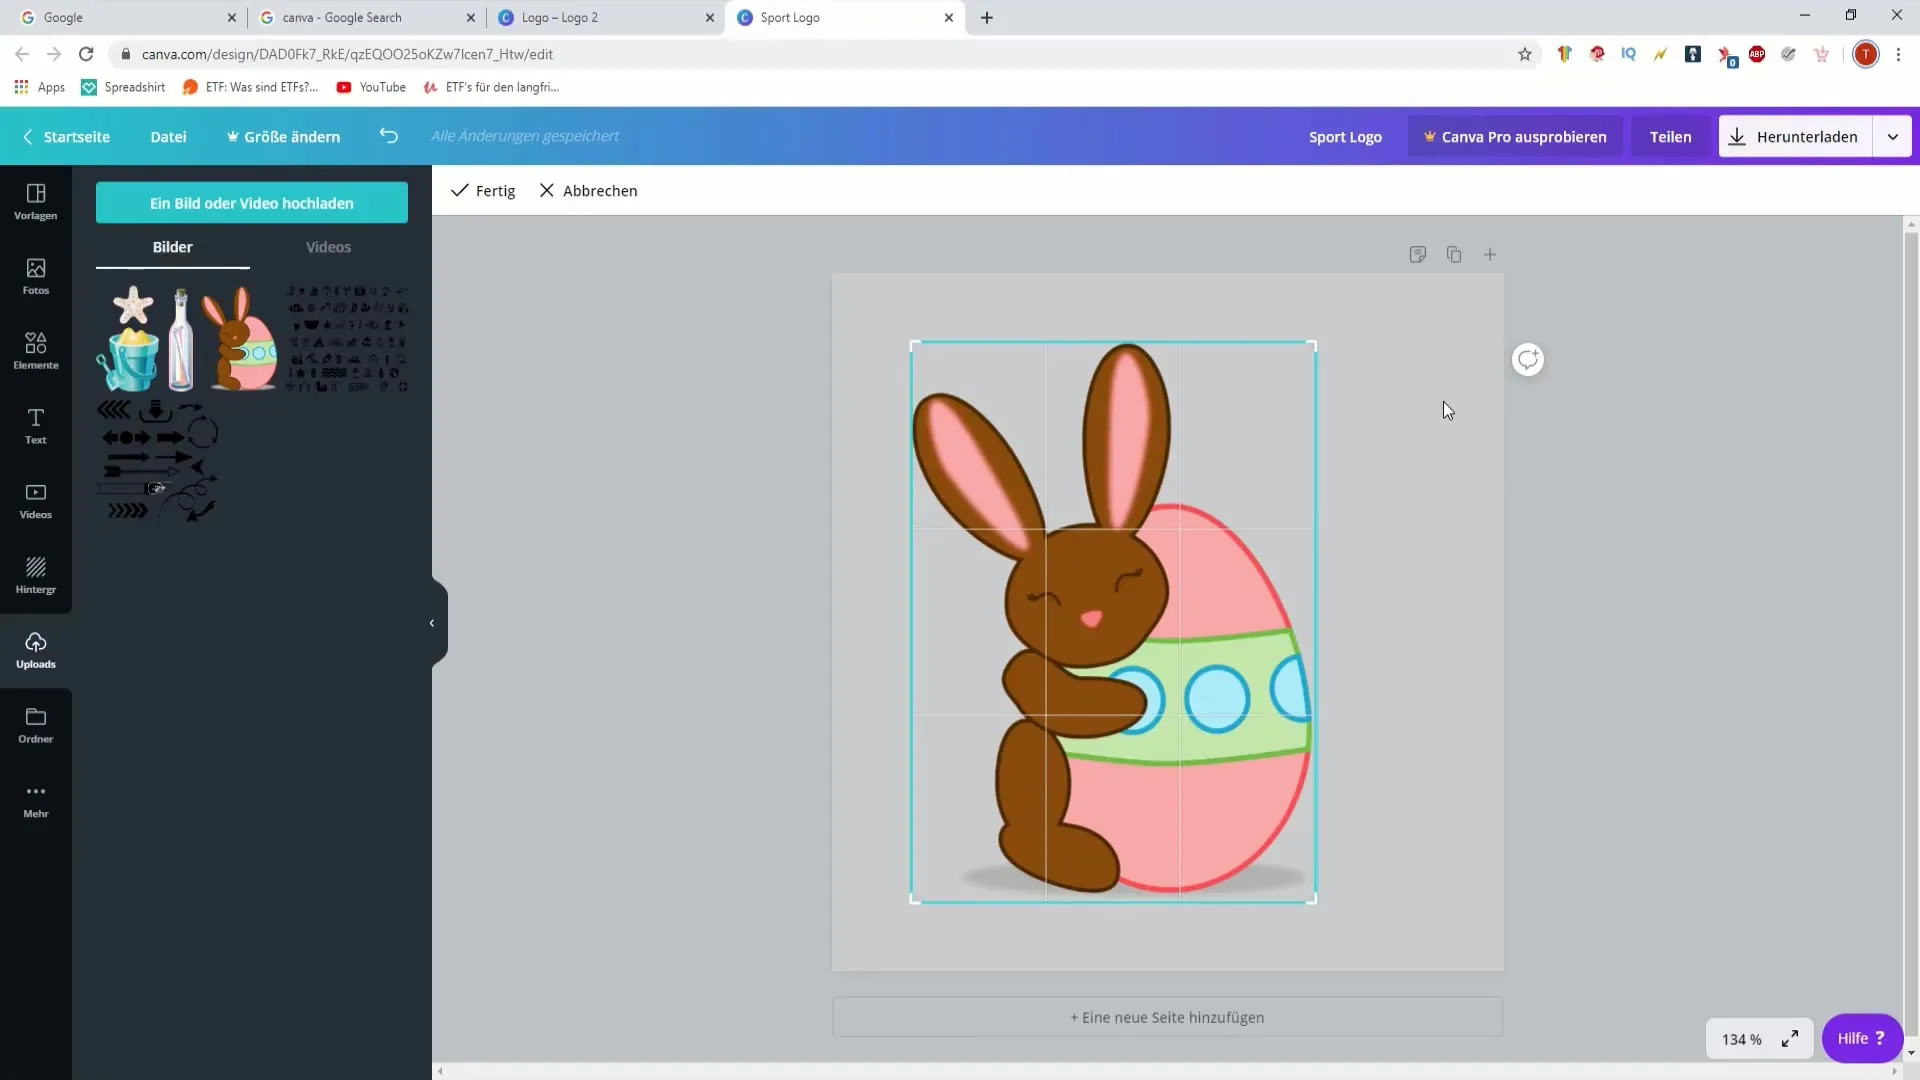
After uploading the image, you can use the cropping option. Select the image, and then click on the crop icon. Here, you can decide if you want to remove parts of the image, such as the rabbit's ears, or if you just want to adjust the image.
3. Rotate or Mirror the Image
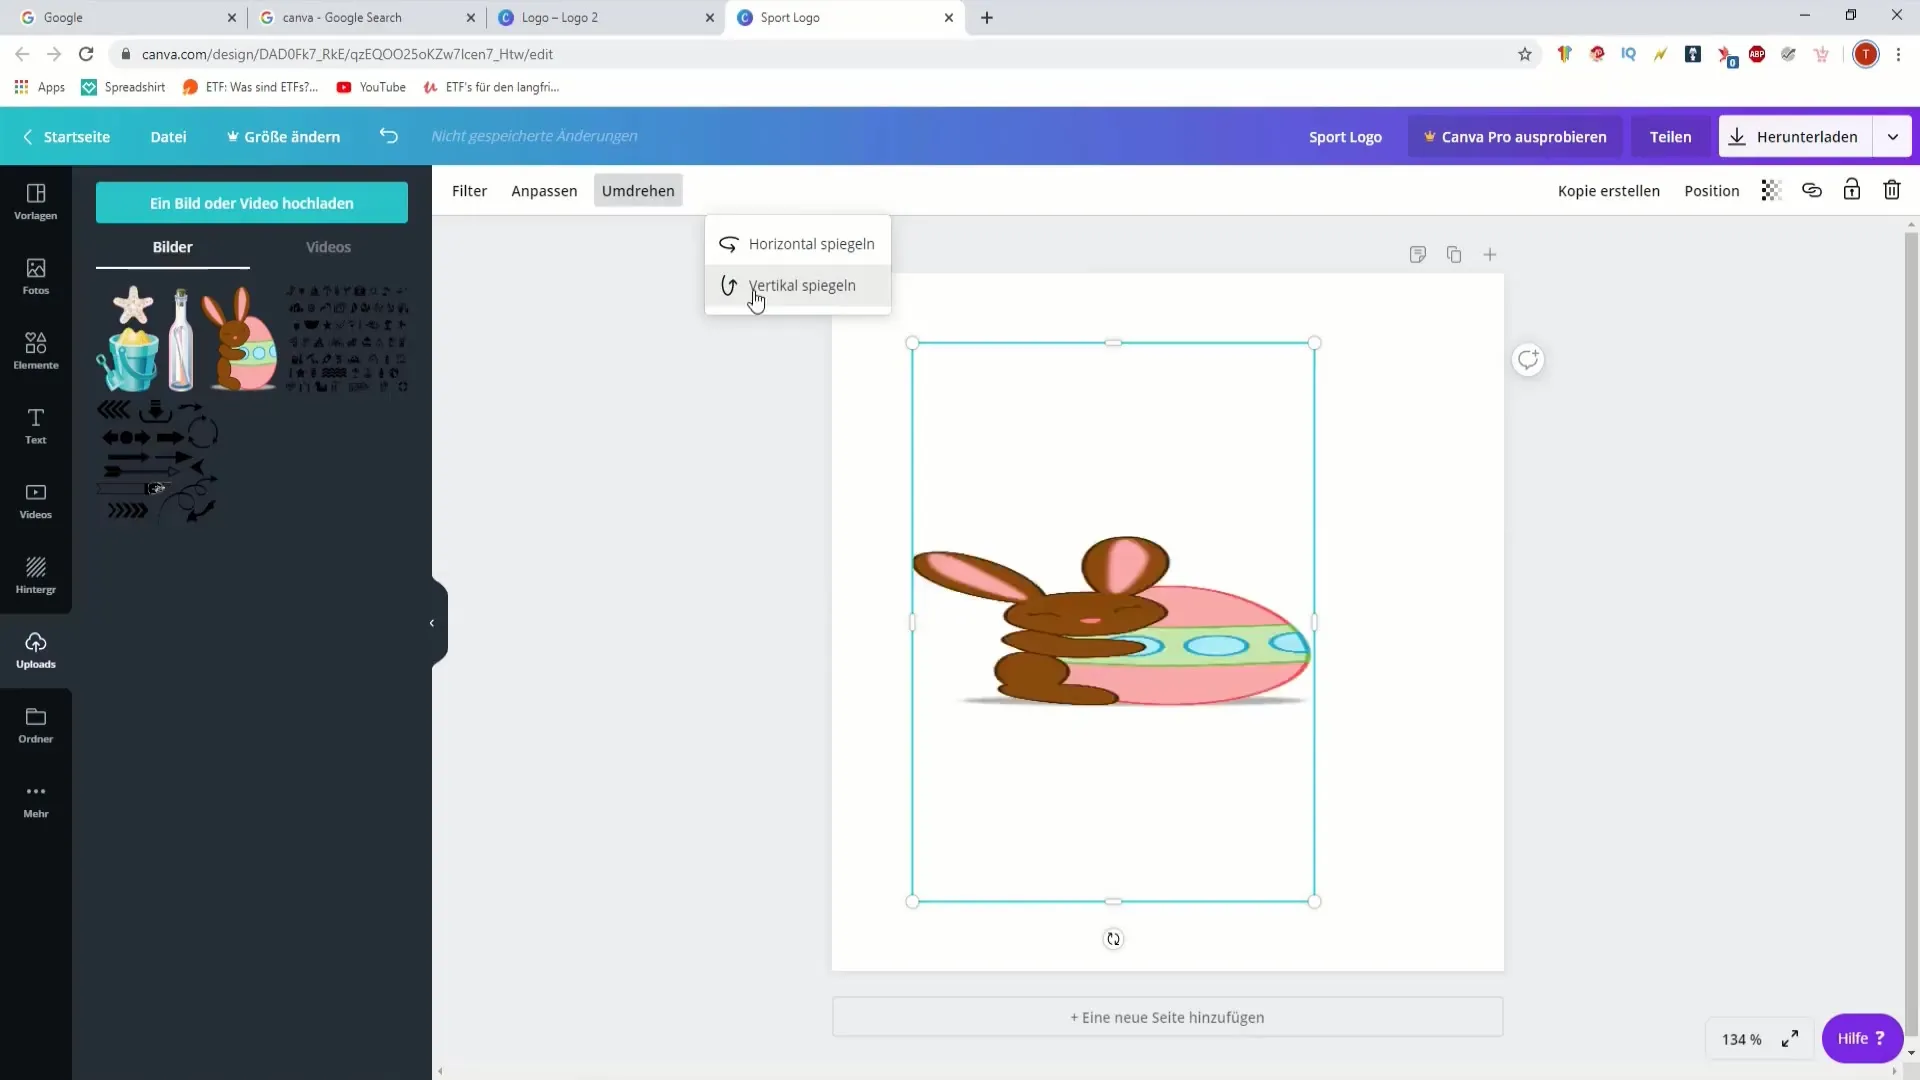
If you want to creatively design your image, you can also rotate or mirror it. Through the options in the editing menu, you can rotate the image vertically or horizontally. This is a great way to create different perspectives on the image and enhance visual interest.
4. Apply Filters
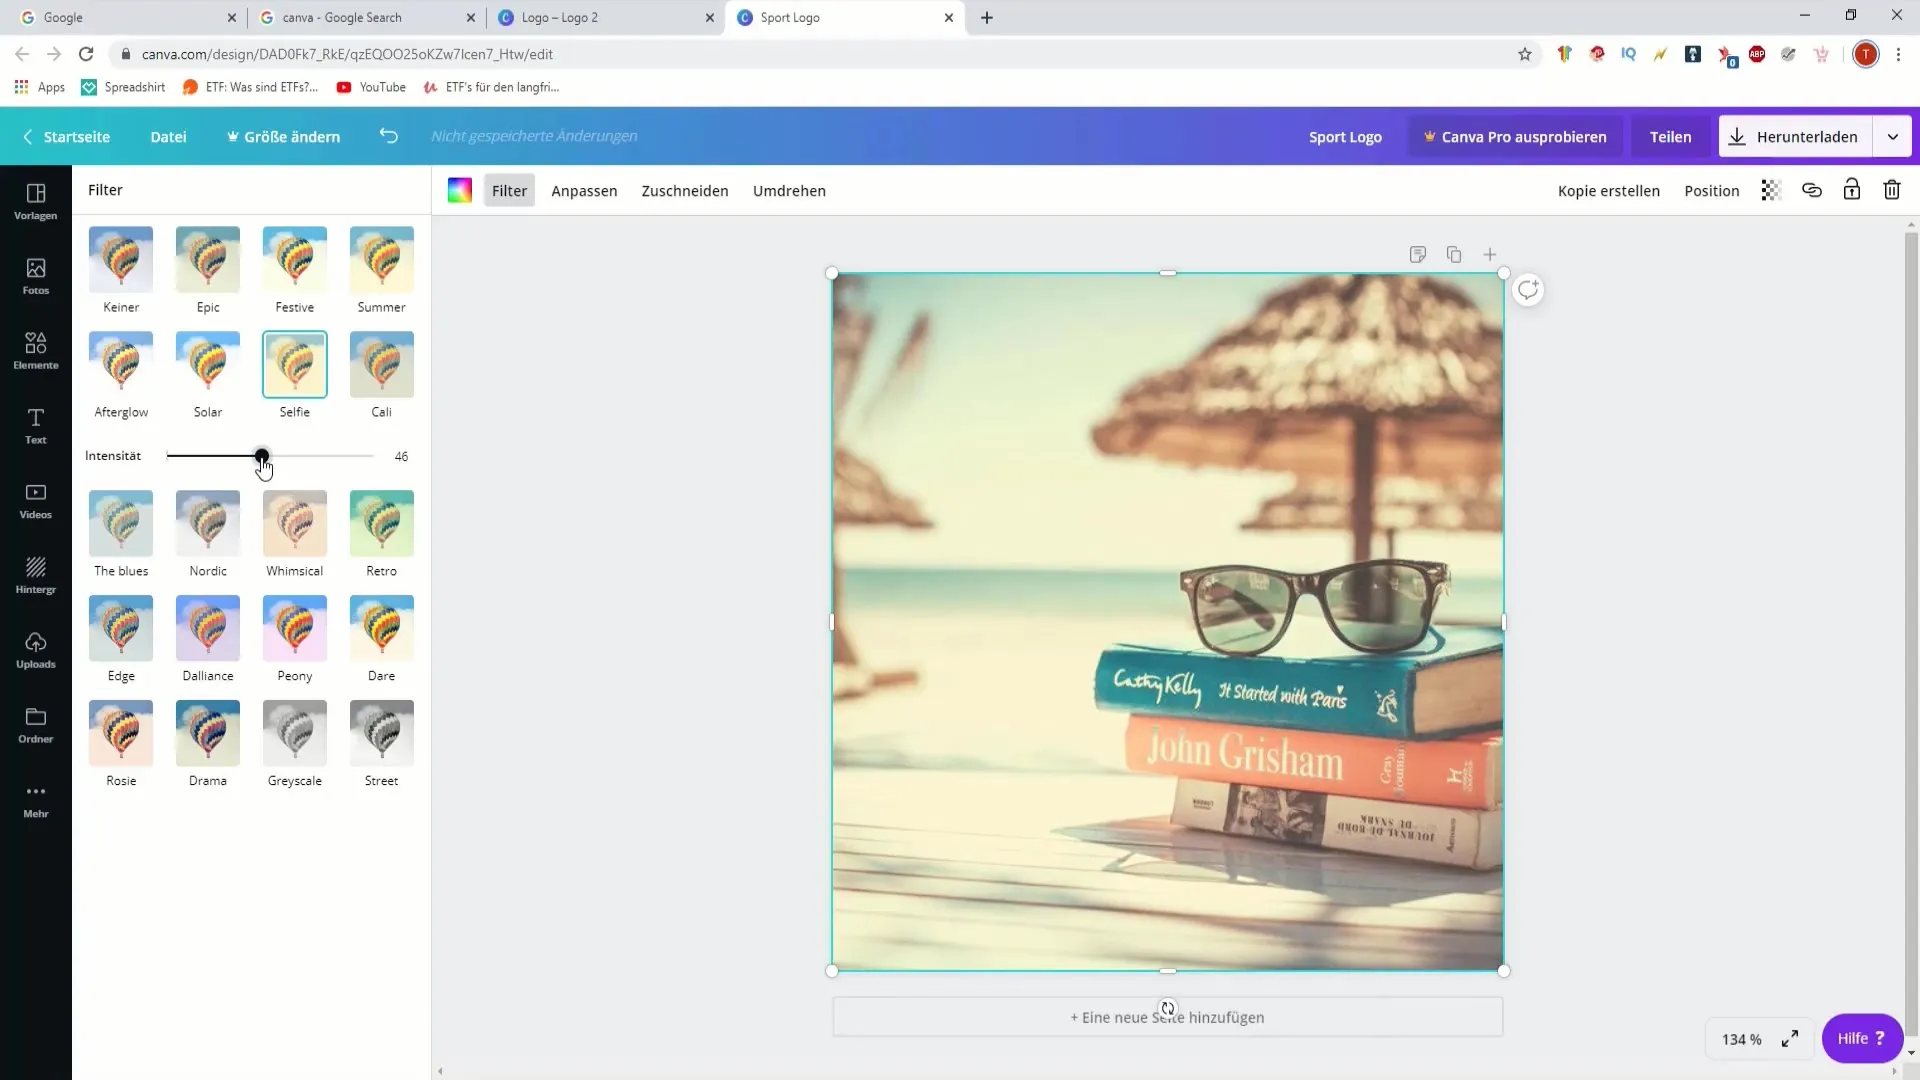
Canva offers a variety of filters that can give your image a new look. Select the "Filters" tab in the menu and try out different options. Notice how the mood of the image changes as you switch from one filter to another and adjust the intensity to your liking.
5. Adjust Settings: Brightness and Contrast
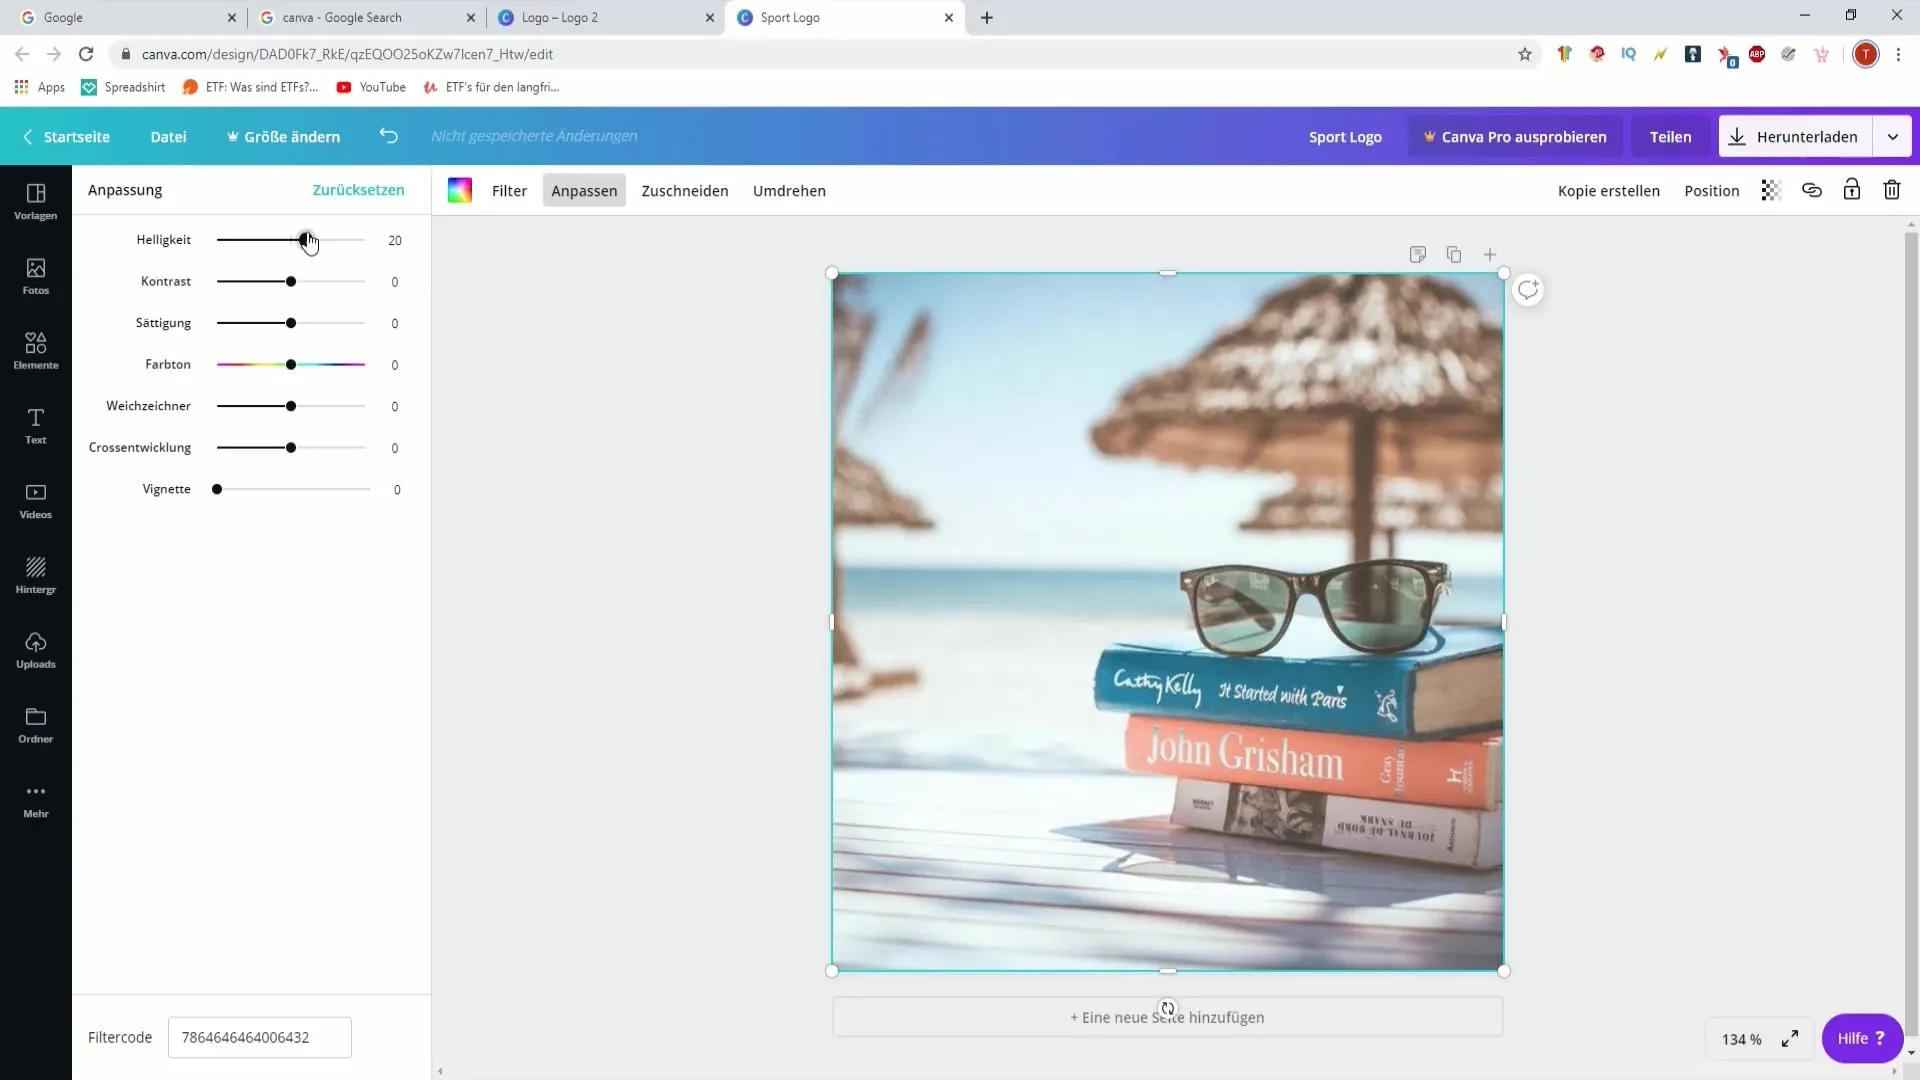
One of the most important settings you can adjust is the brightness and contrast. In the editing options, you'll find the "Adjust" setting. Here, you can increase or decrease the brightness with the slider, while also adjusting the contrast. Experiment with these settings to achieve the best perception for your image.
6. Adjust Saturation and Hue
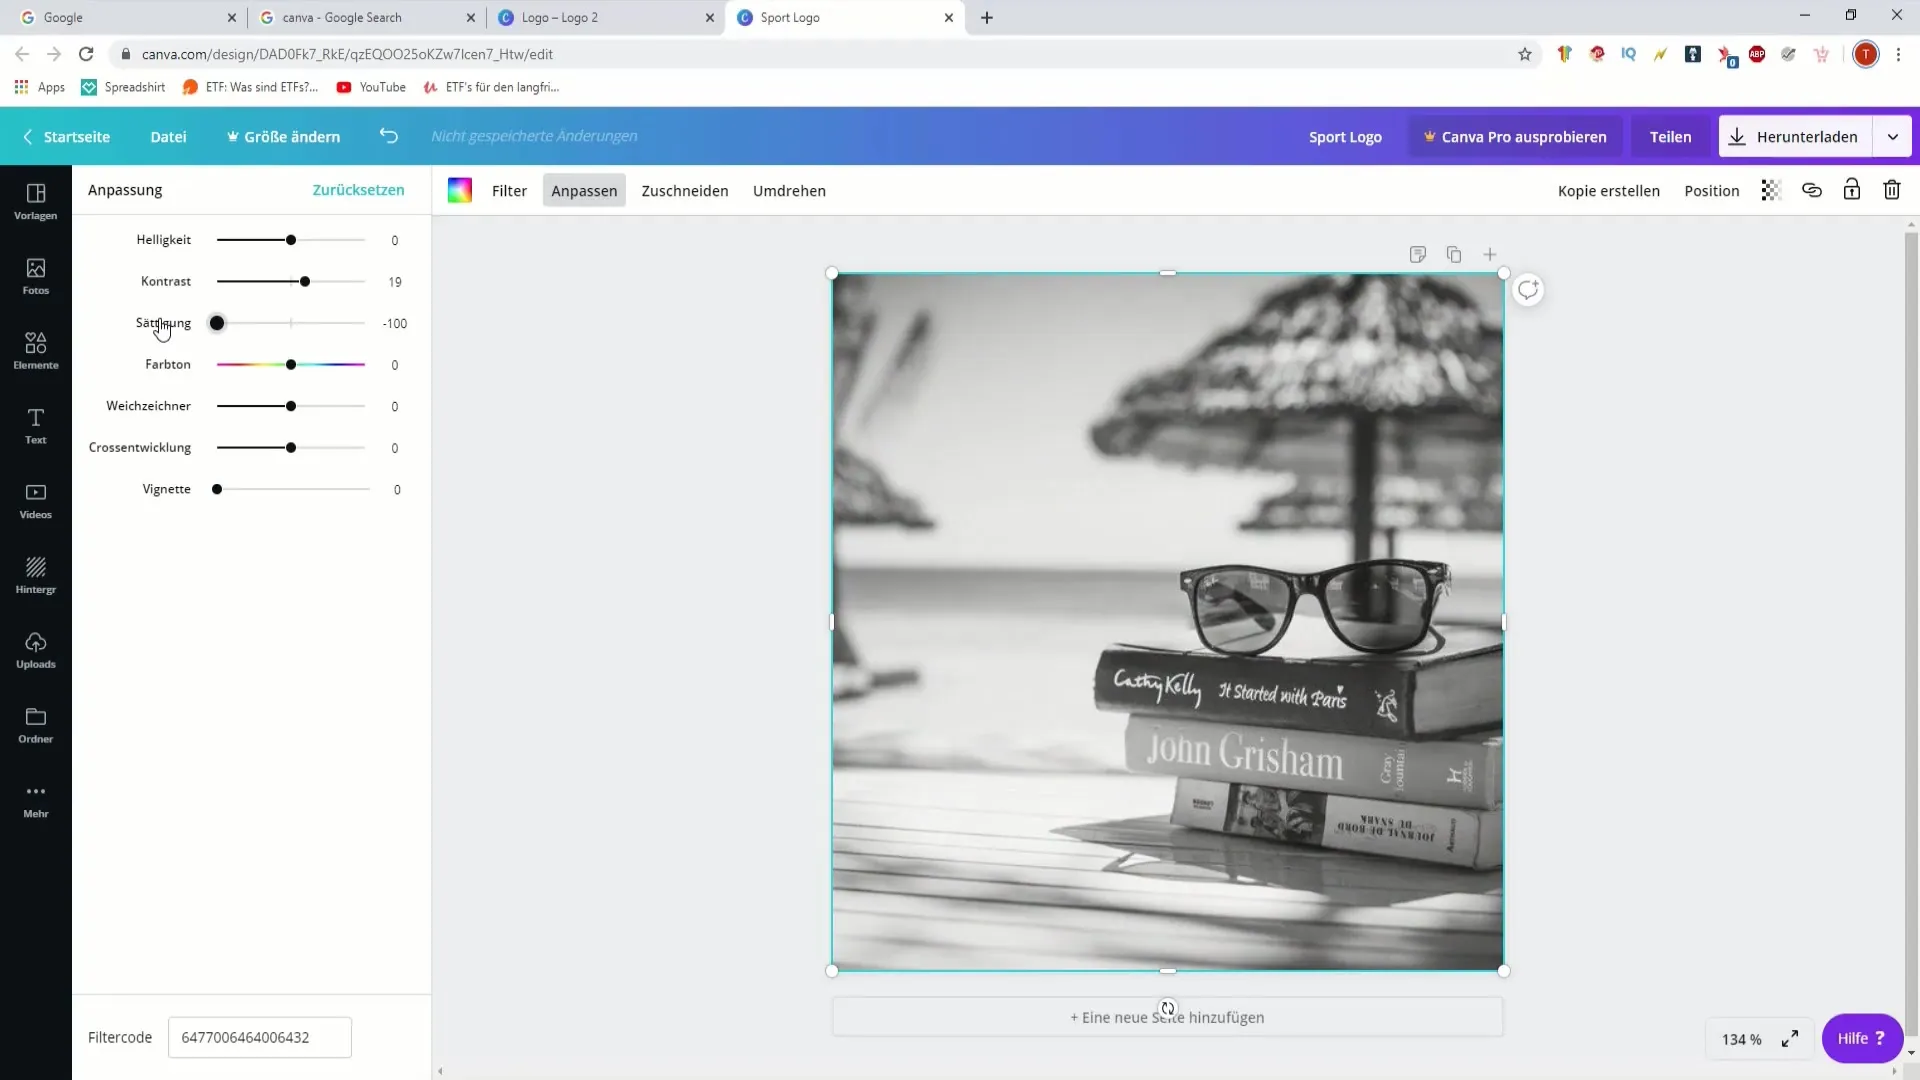
Saturation determines how vibrant the colors in your image appear. By playing with the sliders, you can adjust the hue and emphasize or diminish certain colors. This feature is particularly useful if you want to give your podcast a specific style or color scheme.
7. Soften for a Gentle Look
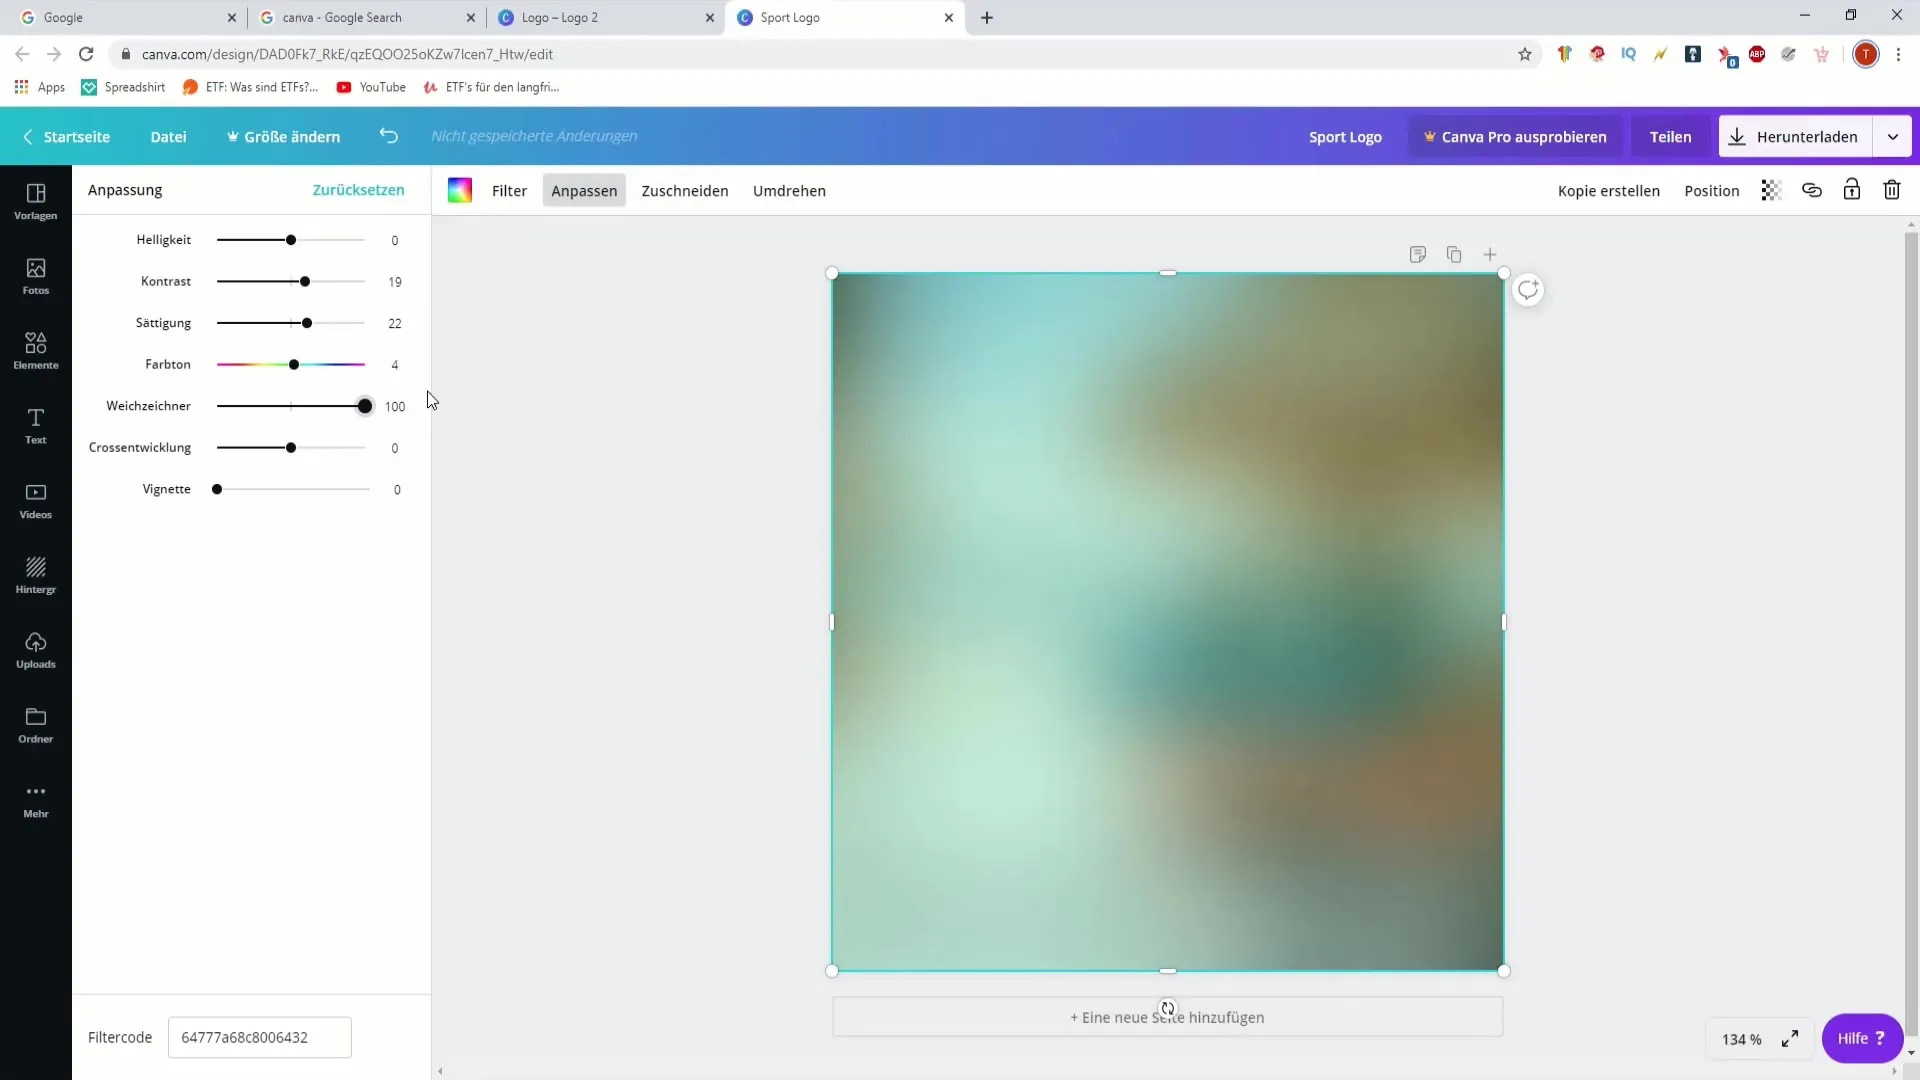
The softener is another helpful tool in Canva that can give your image a gentle touch. You can use it to blur backgrounds while keeping the main subject sharp and clear. Make sure to increase the intensity only minimally to avoid losing the overall impact of the image.
8. Combining Images
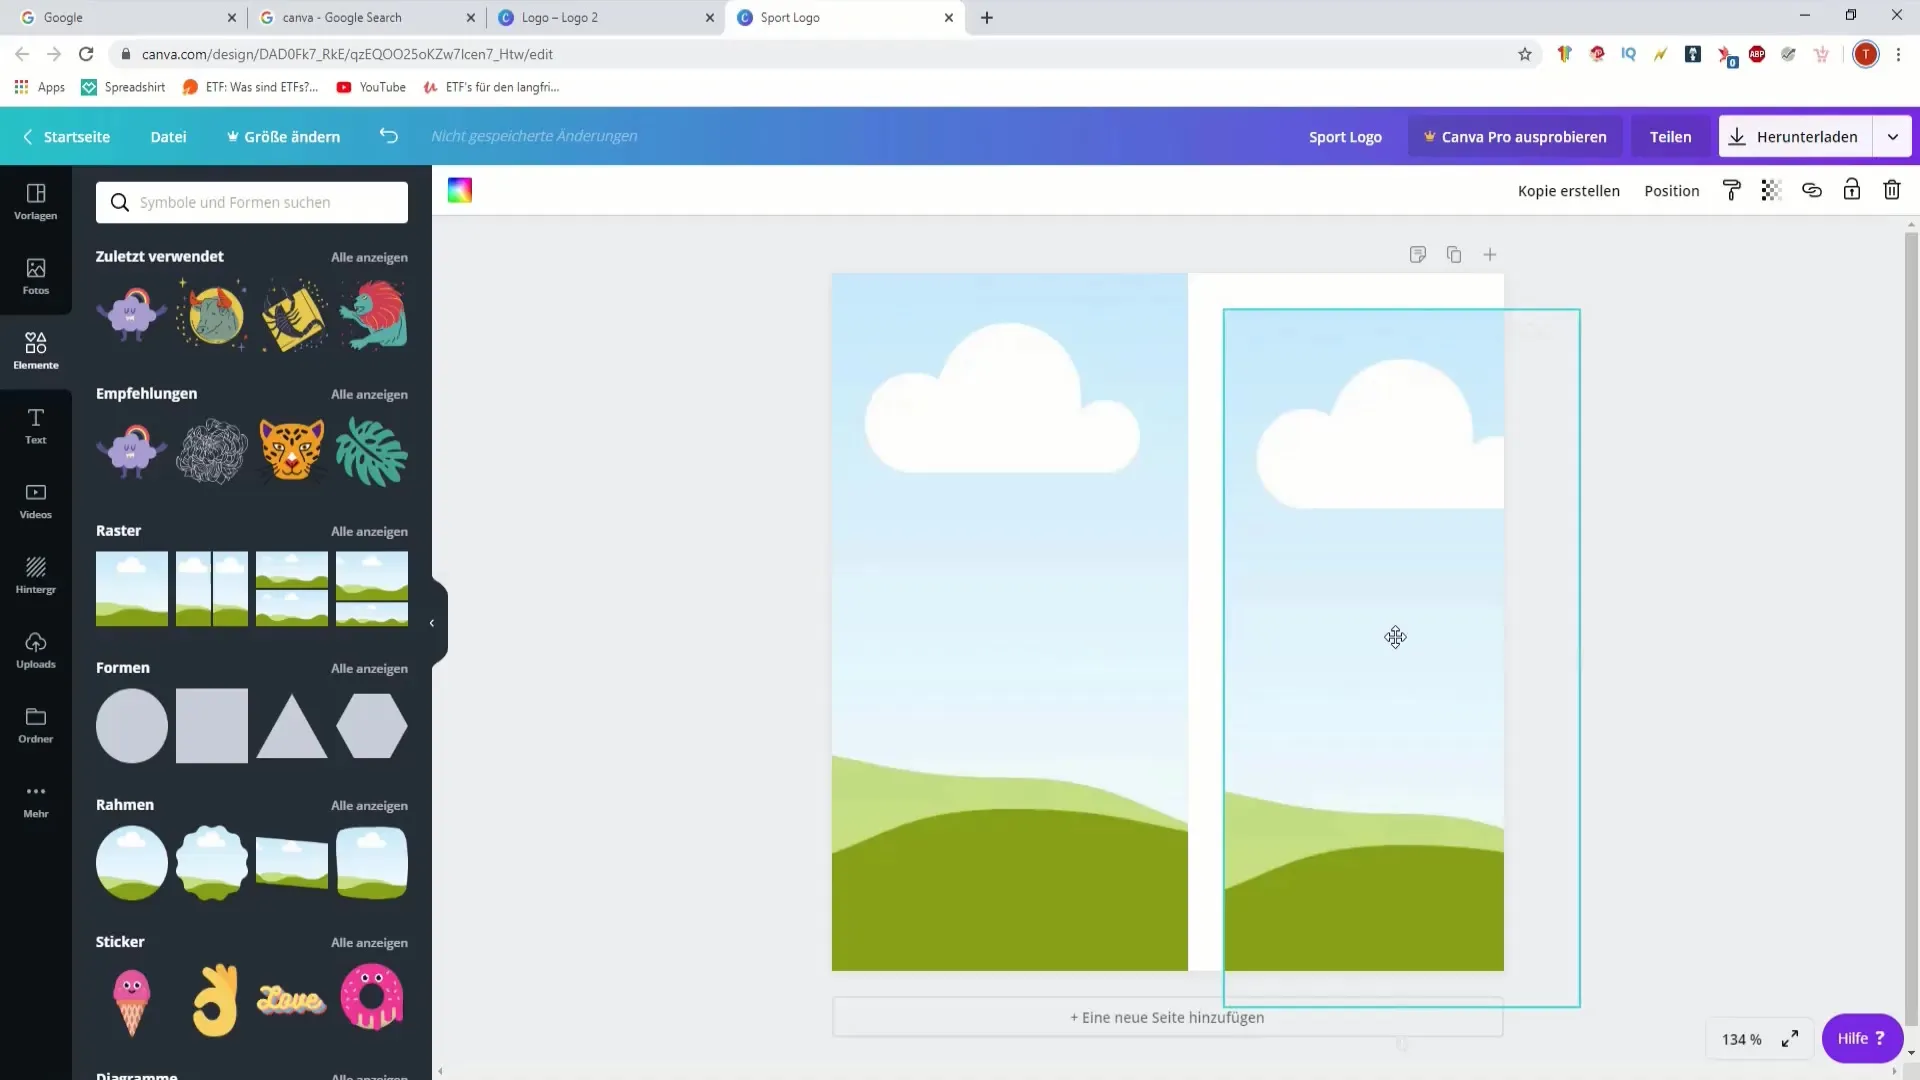
If you want to combine multiple images in a graphic, you can also do this in Canva. Go to "Elements" and then to "Grid" to create a layout that can accommodate multiple images at once. This is great for holiday collages or to showcase different aspects of your podcast.
9. Fast Working with Templates and Filters
If you wish, you can also use templates that enable you to quickly and consistently design your images. Whether it's logos or thumbnails, make sure to apply the filters and settings you have learned to ensure the consistency of your graphics.
10. Review and Finalize
Check out your finished image and review all the adjustments you have made. Make sure everything harmonizes well together and the overall impression matches your desired style. You can now use the image for your podcast or make any necessary adjustments.
Summary
In this tutorial, you have learned the essential steps to use Canva to create and customize your podcast graphics. From image selection to cropping to applying filters and saturations, you now have the necessary knowledge to express your creativity and create visual content that impresses.
Frequently Asked Questions
How do I upload an image in Canva?Click on "Upload" to choose and upload an image from your computer.
How can I crop an image?Select the image and click on the crop icon to remove the desired parts of the image.
What filters can I apply in Canva?Canva offers various filters that you can choose under the "Filter" option in the editing menu.
How do I adjust brightness and contrast?Go to "Adjust" and use the sliders for brightness and contrast to optimize your image.
Can I combine images together?Yes, you can click on "Grid" under "Elements" and combine multiple images in one graphic.


