To integrate a stove into your digital image, you need not only the right software like Photoshop, but also a clear step-by-step plan. This guide ensures that you seamlessly insert the stove into your image and make it look professional. Following these instructions, you will be able to achieve an appealing result.
Key takeaways
- Create a new workspace with the correct dimensions.
- Isolate the stove using the path tool.
- Soften edges for a realistic appearance.
- Position and rotate the stove for a harmonious composition.
Step-by-Step Guide
First, you should create a new workspace to work on. In the "File" menu, select "New". Ensure that the dimensions are 4800 x 2900 pixels and the resolution is 300 dpi. The RGB color model and 8-bit are sufficient for your needs. After entering this data, click "OK" to create the workspace.
Now it's time to start with the stove. Open the image of the stove you want to use by going to the "File" menu and selecting "Open" again. The image of the stove should be well lit, ideally using a softbox, so that the reflections in the image are clearly visible. Make sure you use an image that has been well photographed in advance.
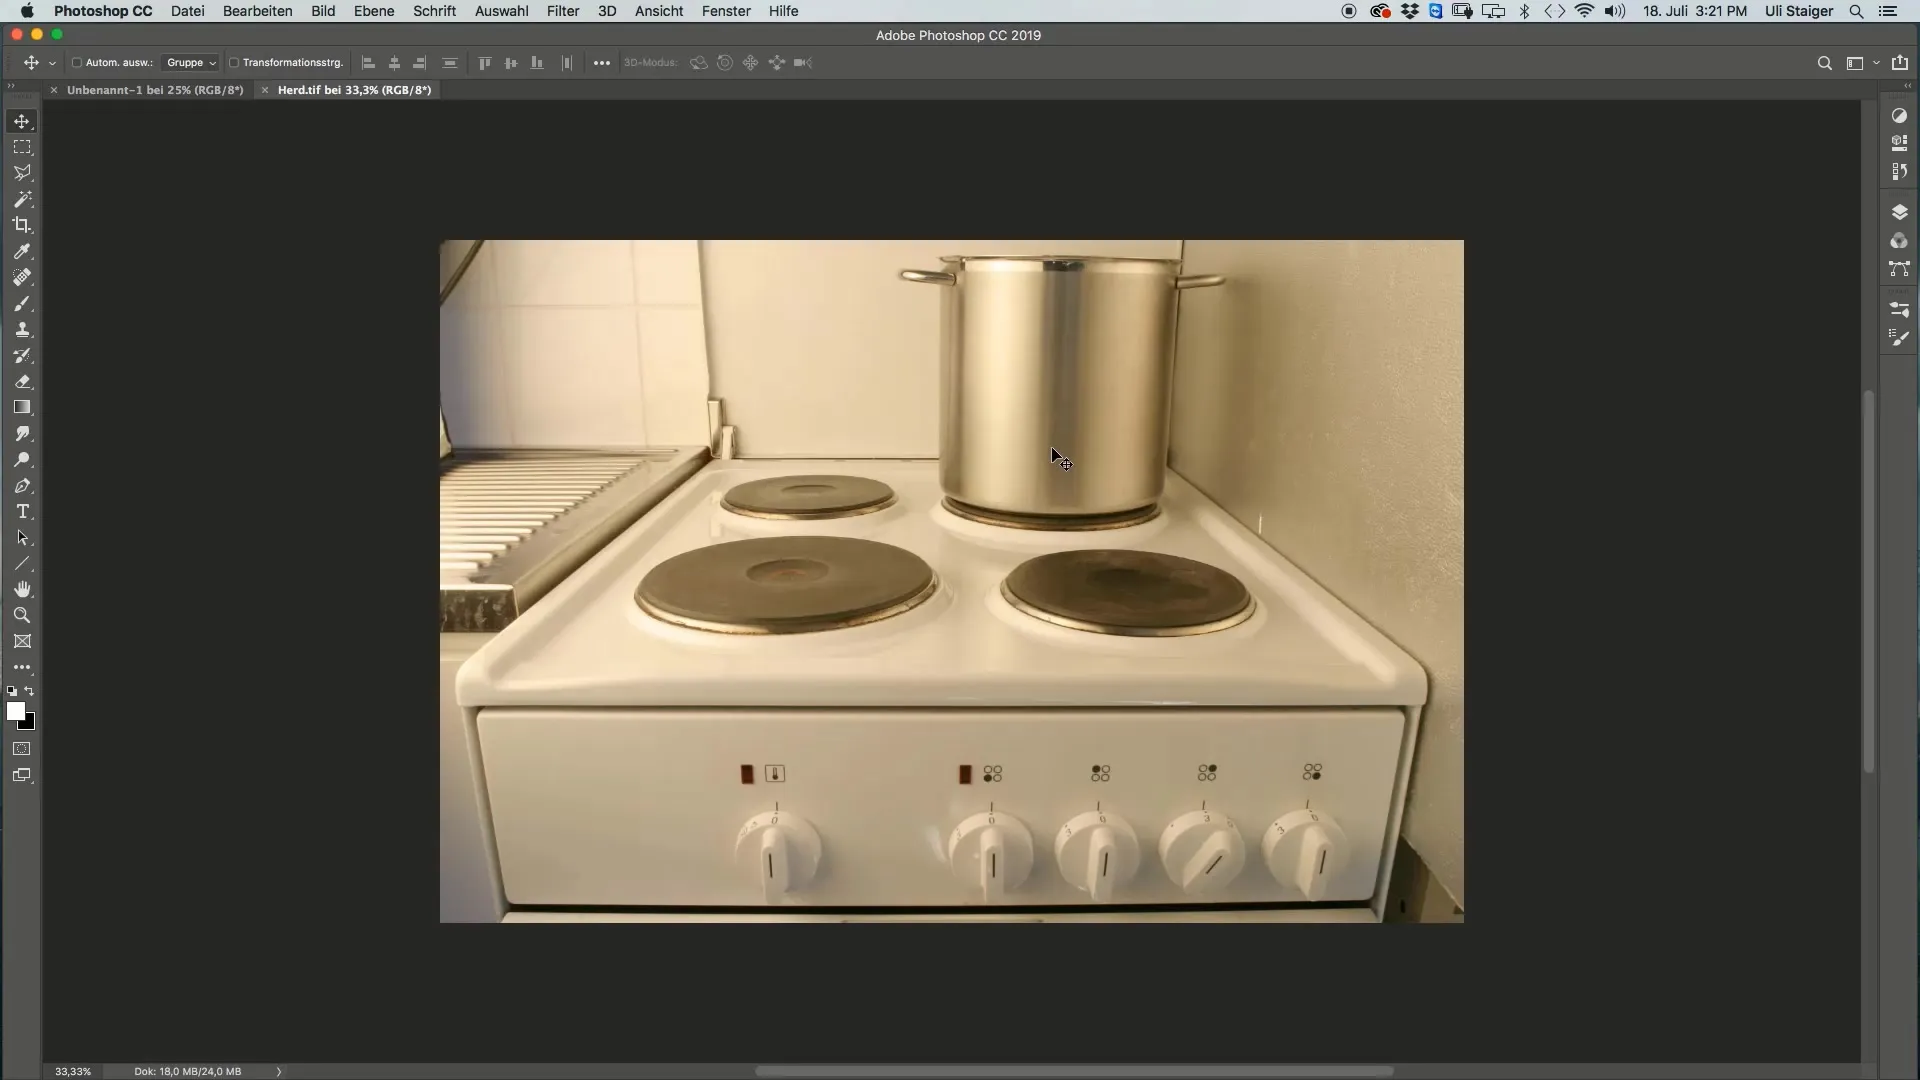
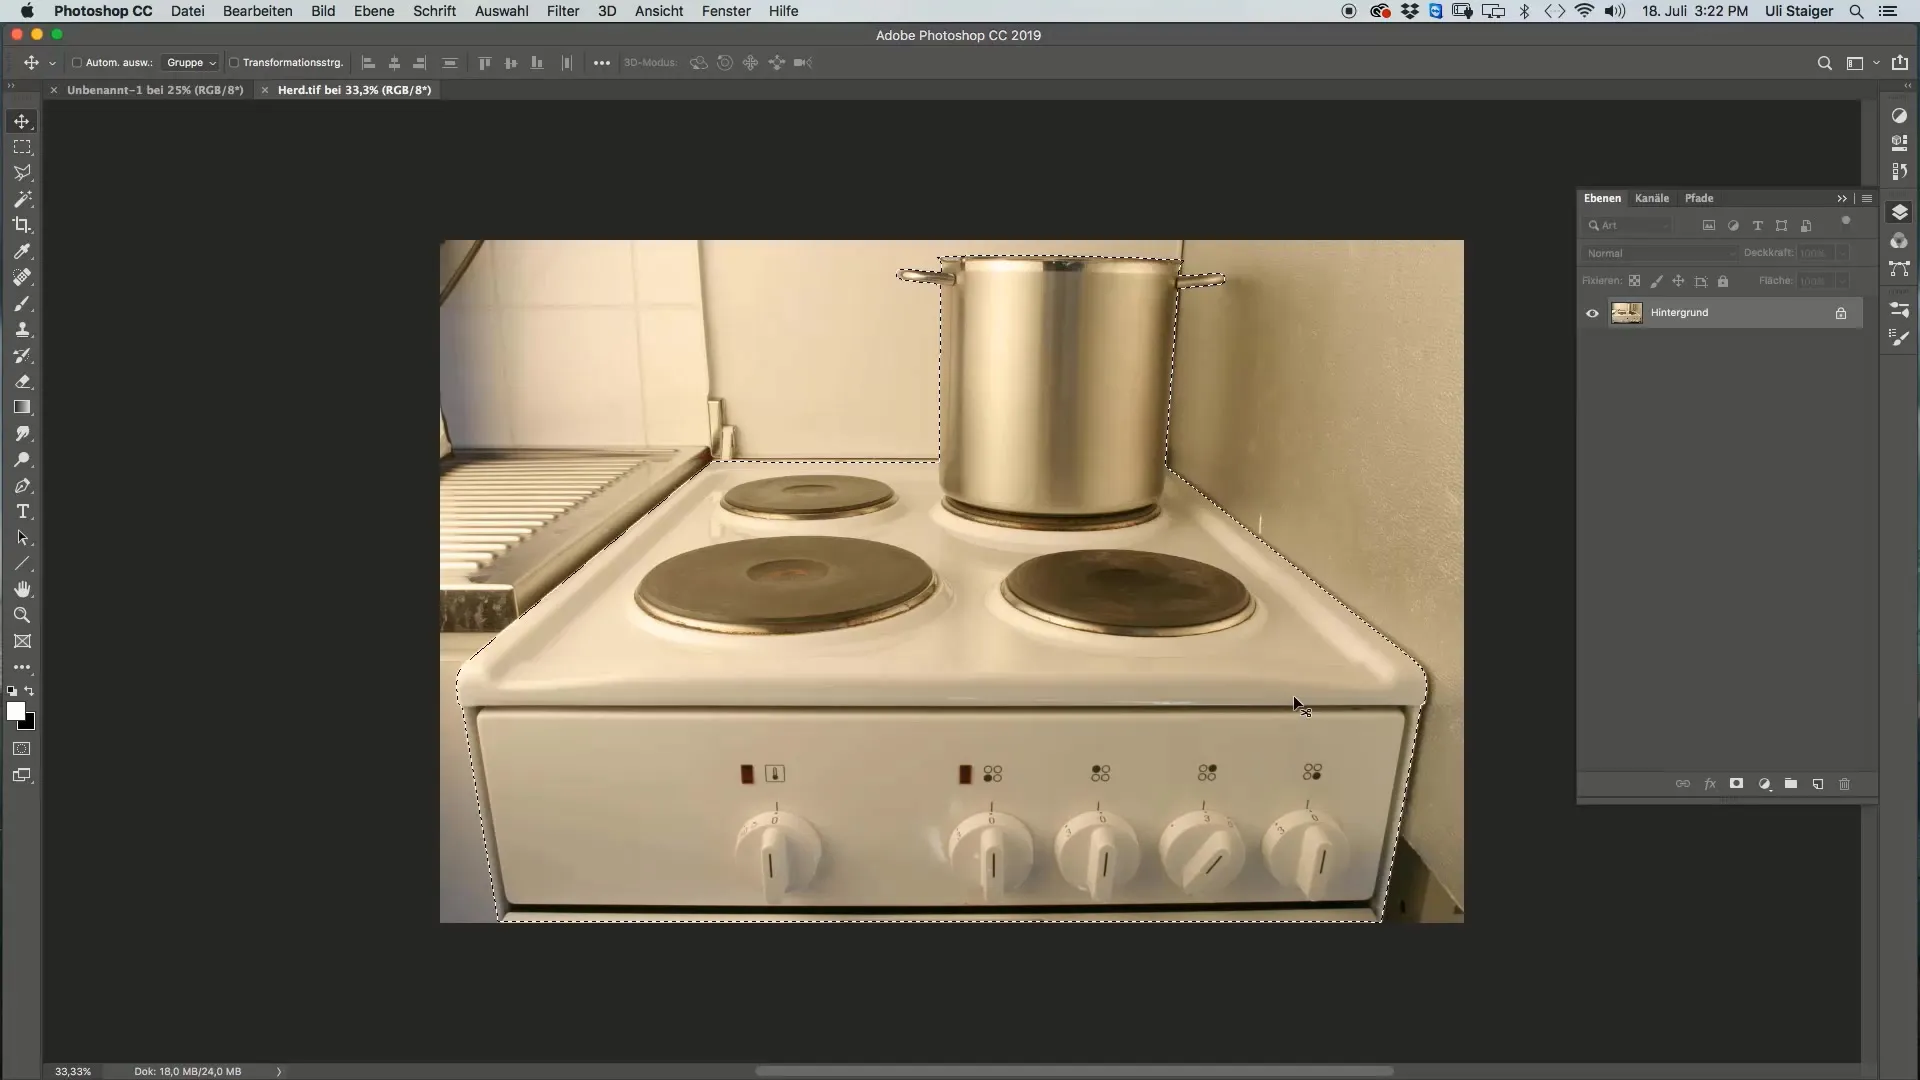
To isolate the stove, go to the channels and load the selection you already saved for the stove. This is called "Stove outline". Click the small checkmark next to the selection and confirm it. It is important to activate a new selection to start the isolation work. Then click on the layer mask to isolate the image.
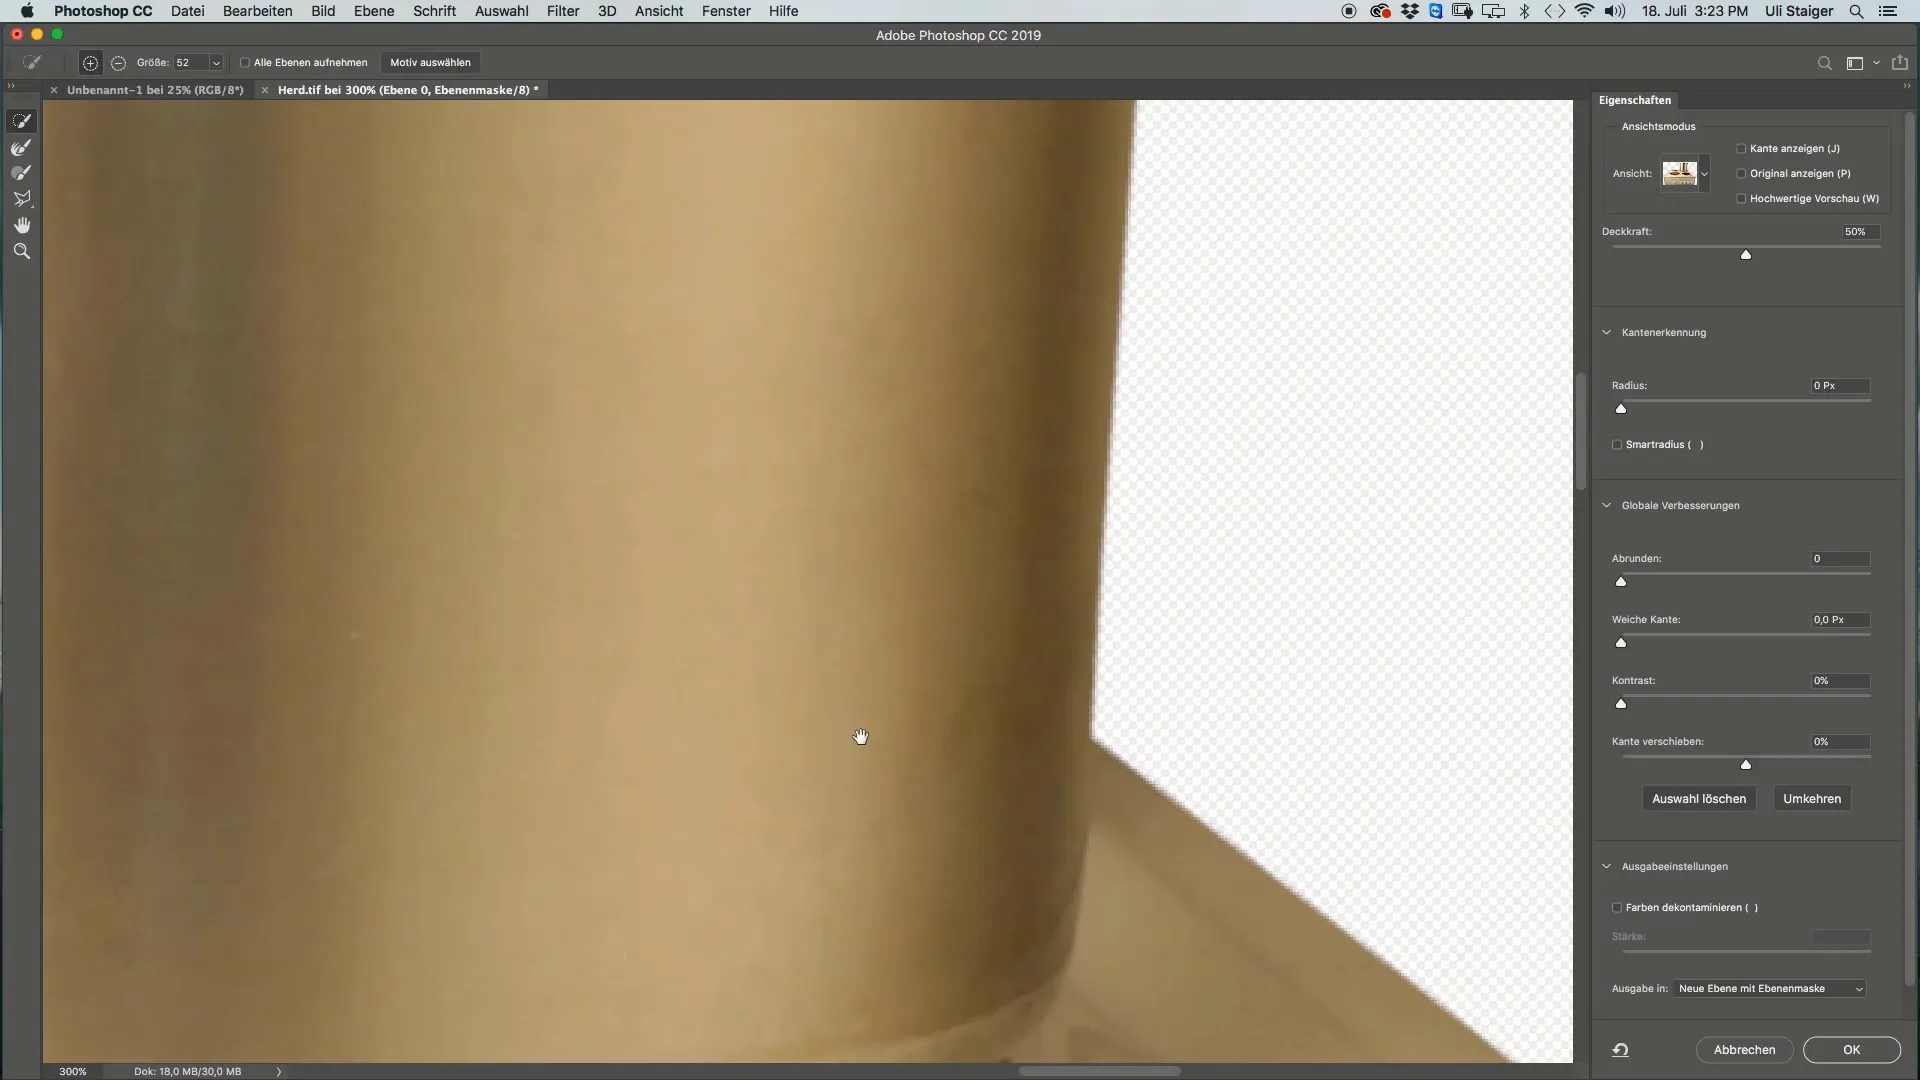
The edges of the selection may appear a bit too harsh. To fix this, navigate to "Select" and then to "Select and Mask". There you can soften the edge of the stove, about 0.3 to 0.4 pixels should be sufficient for this image size. Click "OK" to confirm the changes.
Now you can drag the isolated image of the stove onto your workspace. Select the Move tool and drag the stove onto the newly created workspace. Make sure not to release the mouse button or stylus until the stove is placed in the desired position.
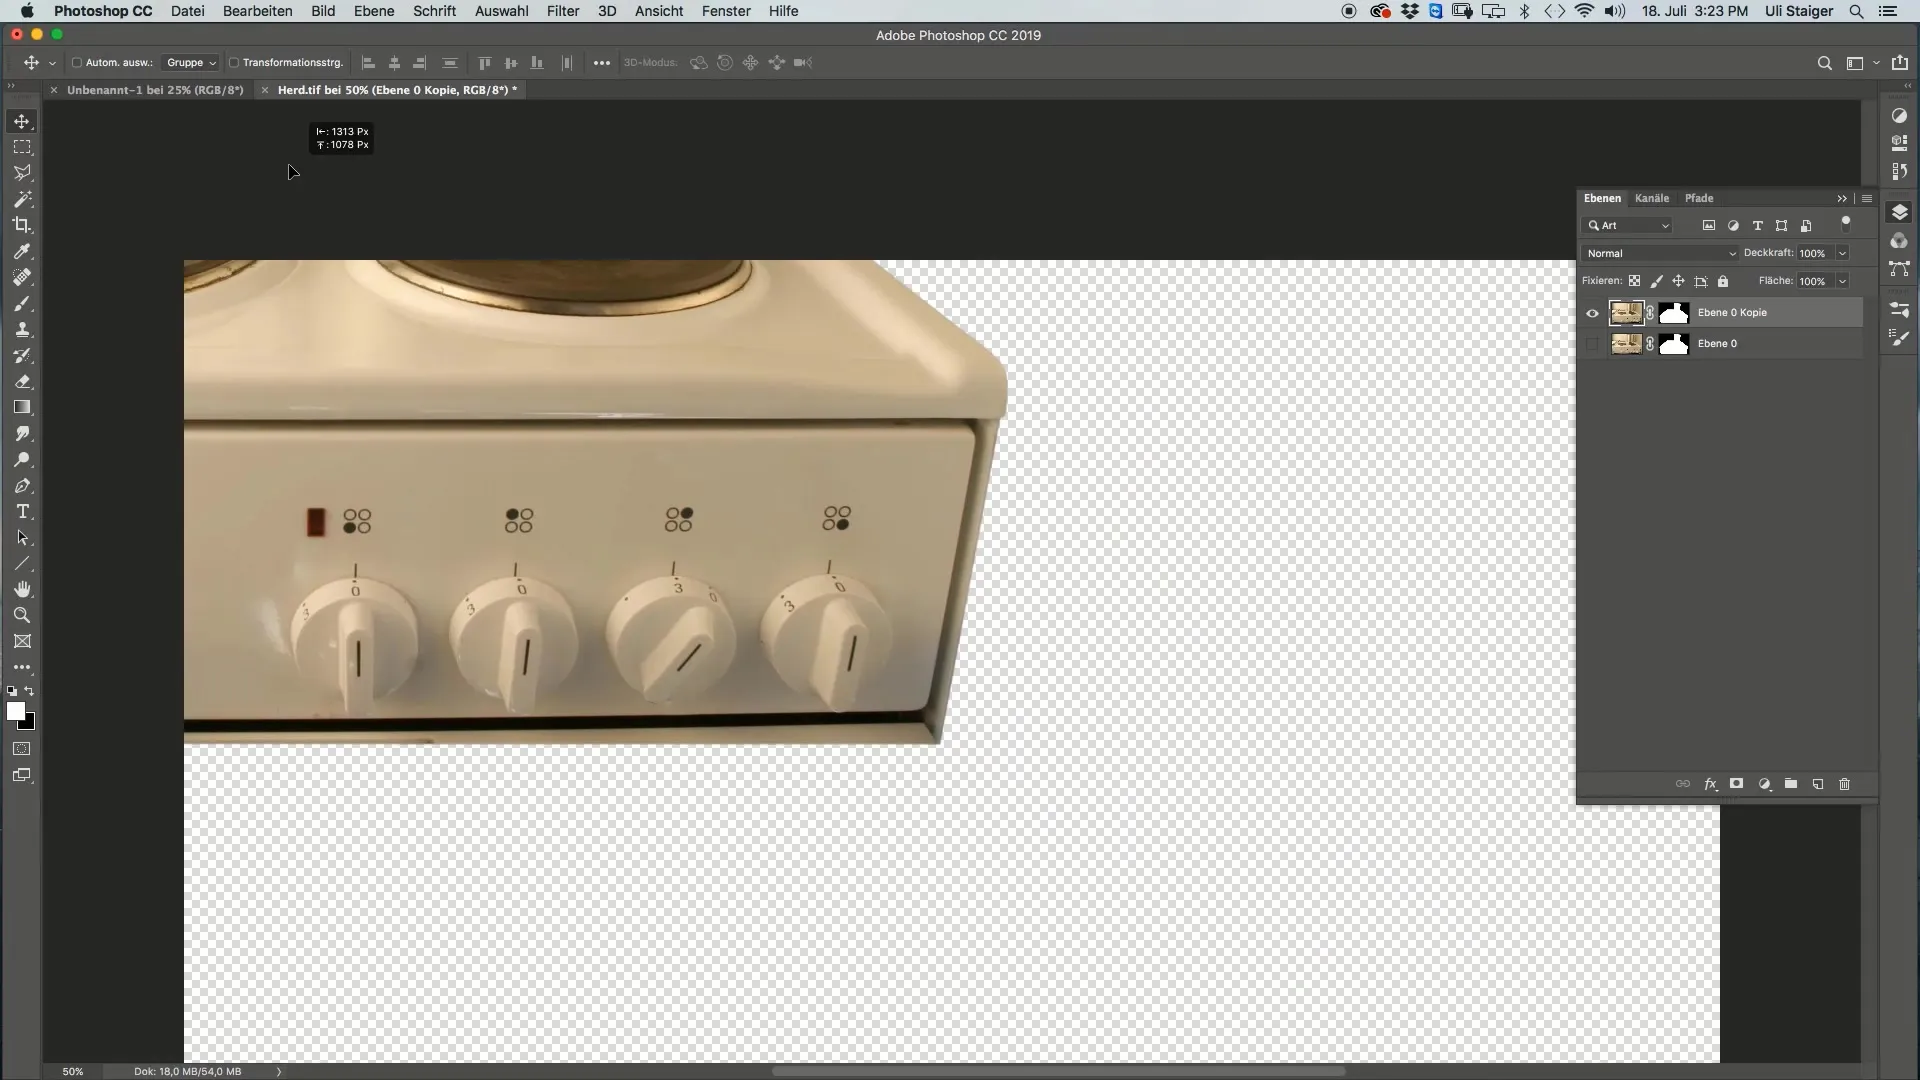
To make the stove more dynamic, it is recommended to rotate it slightly. Go to "Edit" and select "Transform", followed by "Rotate". You can rotate the stove however you like; a rotation of about 11 degrees works best in this case. Enter the value 11 in the options bar if you want it to be precise and confirm the transformation.
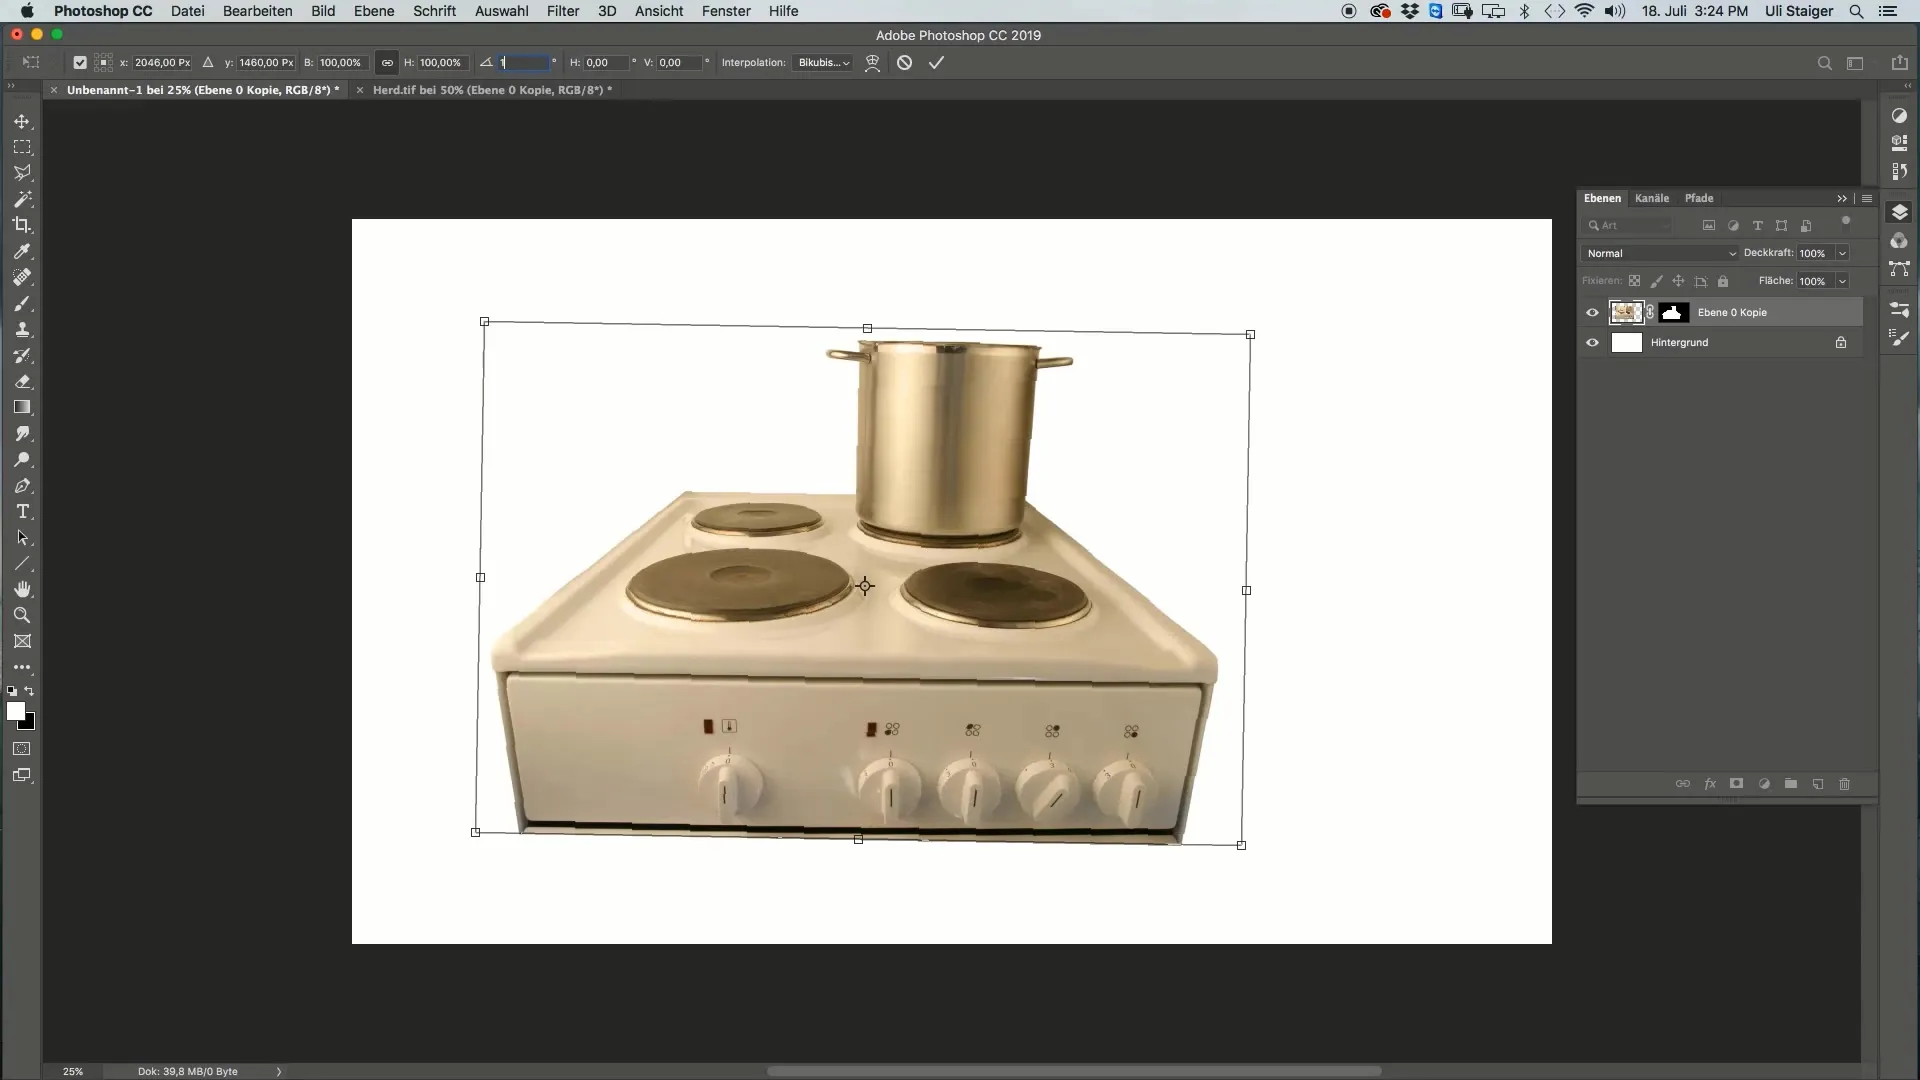
Position the stove to make it look appealing. Make sure to keep the device's characteristic features, such as the switch, visible to make it look like a real stove. By placing it correctly, you can ensure that the entire composition looks harmonious and attractive.
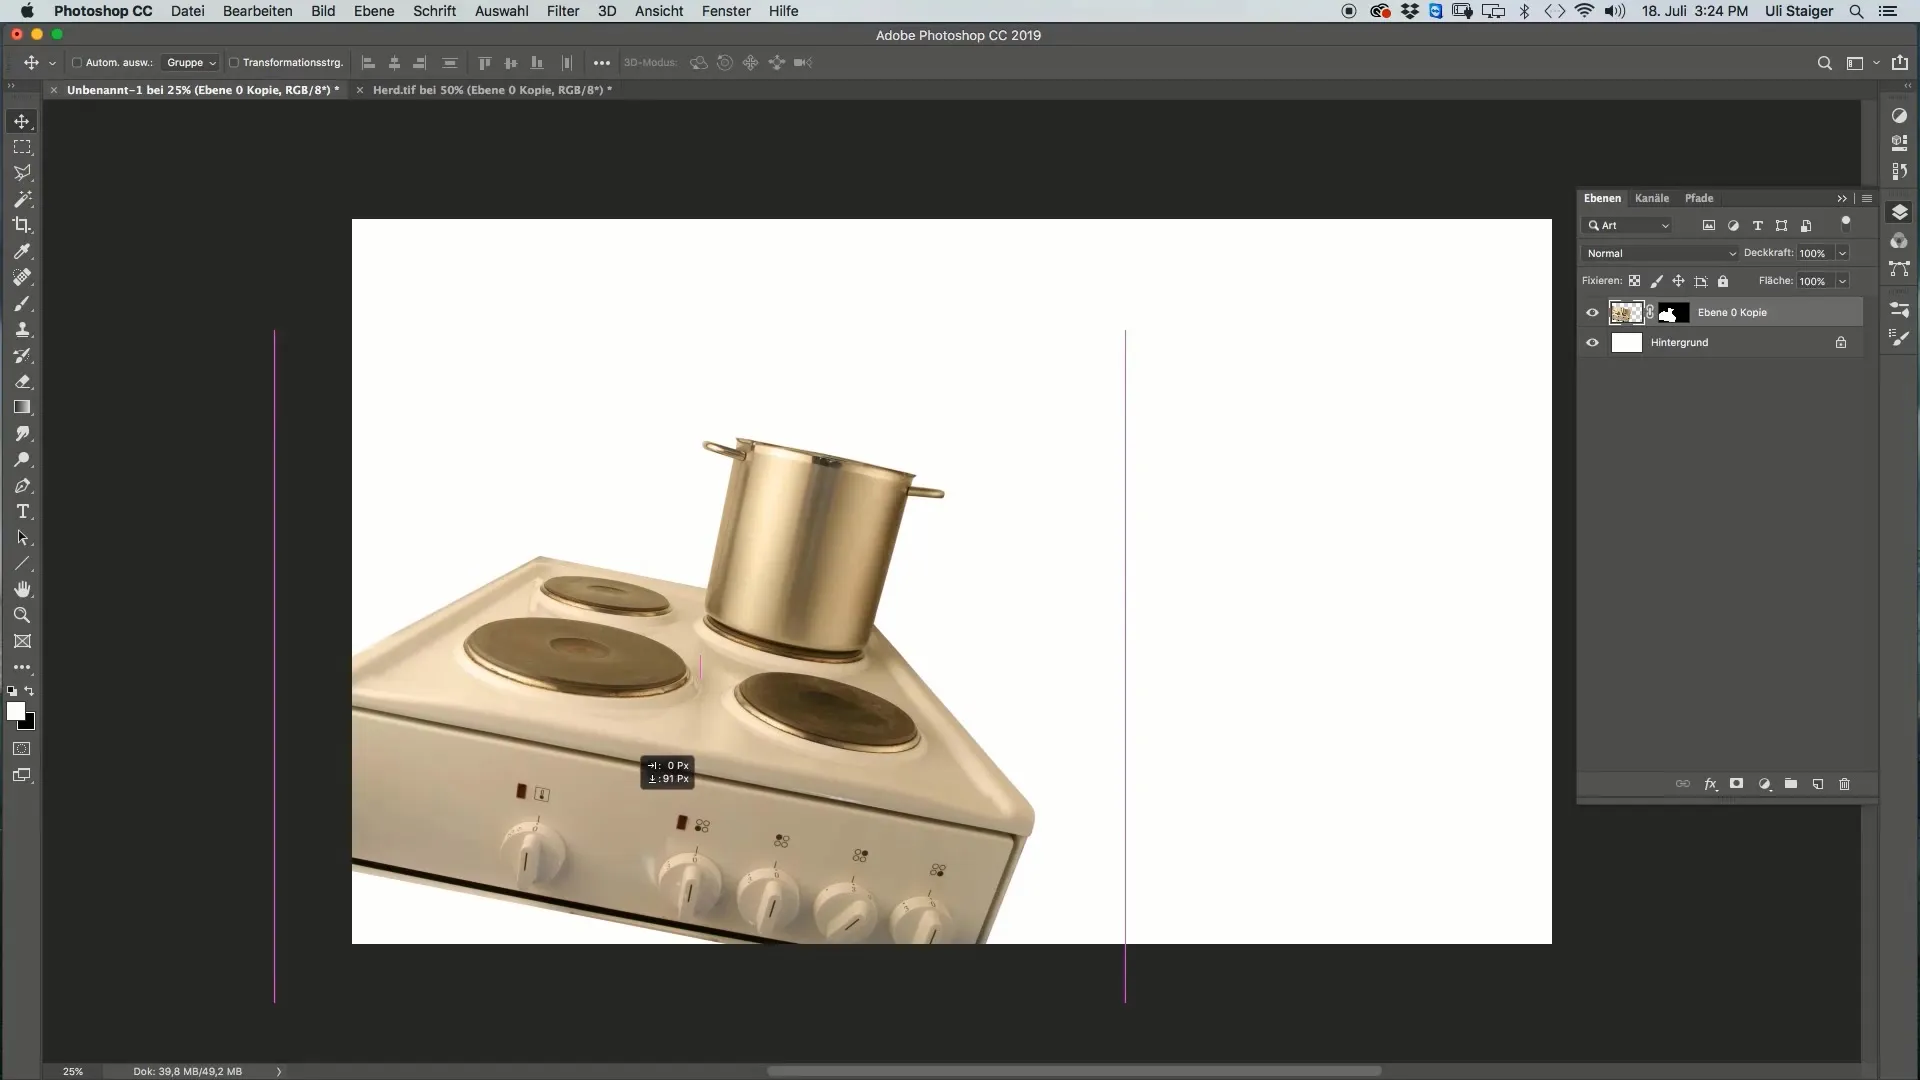
You are now done with the first step and the grey background of the stove. Continue experimenting with different settings and positions to achieve the desired result.
Summary
In this guide, you learned how to effectively insert a stove into your digital image. By creating a workspace, isolating the stove, softening the edges, positioning, and rotating the object, you have gone through all the necessary steps to achieve an appealing result. Continue to experiment with further design possibilities in Photoshop in the future!
Frequently Asked Questions
What is the ideal resolution for the workspace?The ideal resolution for the workspace is 300 dpi.
How can I load a selection for the stove?You can activate the selection through the "Select" menu and then "Load Selection."
How soft should the edge of the isolated object be?An edge of 0.3 to 0.4 pixels is optimal for this image size.
Can I edit the stove after isolating it?Yes, you can continue editing and adjusting the image of the stove at any time.
How can I precisely set the transformation of the stove?Enter the desired degree in the options bar to precisely set the transformation.


