Whether you are a hobby photographer or an aspiring graphic designer, creating appealing product photos can be challenging. In this tutorial, you will learn how to effectively insert, edit, and present a Pasta Box in Photoshop. The focus is on how to sensibly use light, shadows, and output formatting to give your box a professional appearance.
Key Takeaways
- How to set the optimal lighting for product photos.
- Clipping techniques to improve image quality.
- Using smart objects for flexible editing.
- Strategies for removing unwanted elements from the image.
Step-by-Step Guide
Start by preparing your Photoshop project and gathering the necessary materials. It is important to set up the workspace optimally to achieve the best possible result.
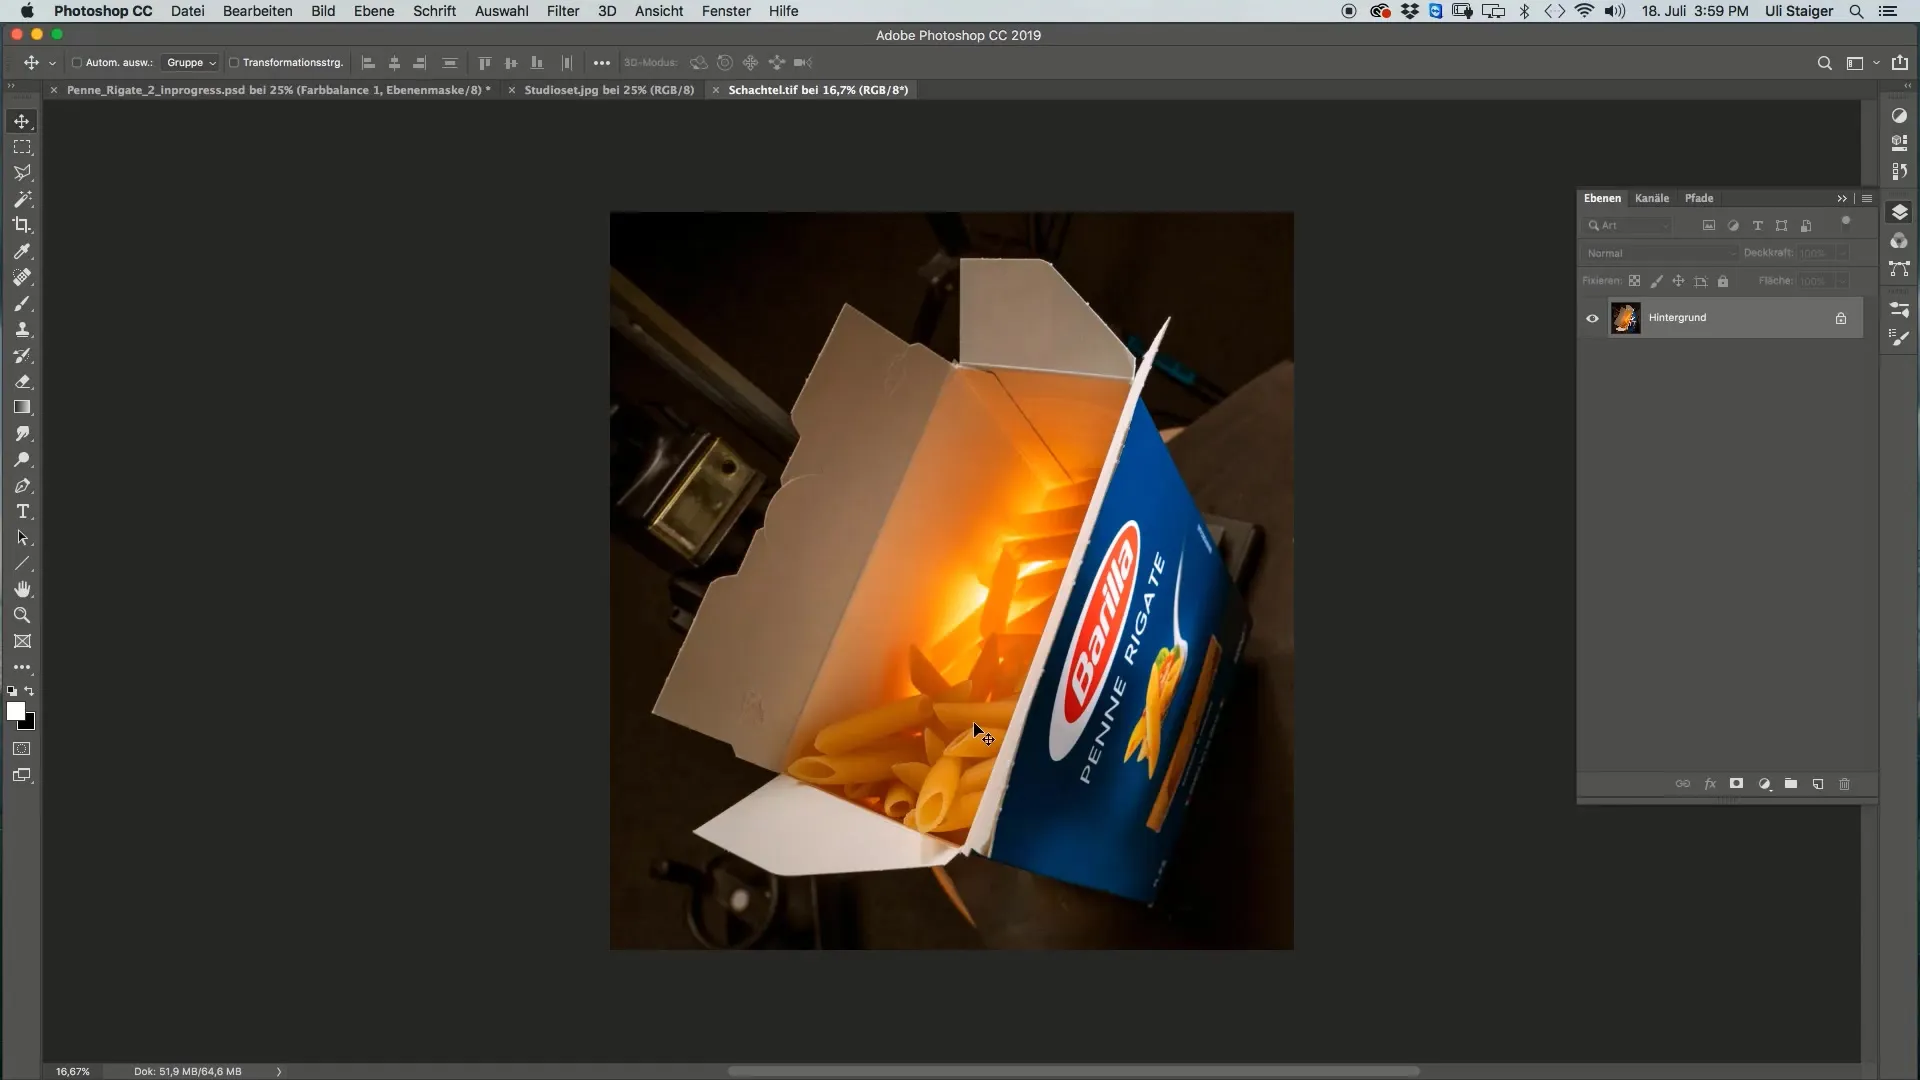
The first step is to photograph the pasta box. Position the box so that the light enters well. In this case, I used a large reflector to direct the light directly into the box, while also using a small reflector for additional light placement.
To present the box attractively, I covered a window with clear film to prevent the pasta from falling out. This ensures a clear and clean look. Pay attention to the placement of the main light to maintain the basic brightness and create an attractive effect on the foreground.
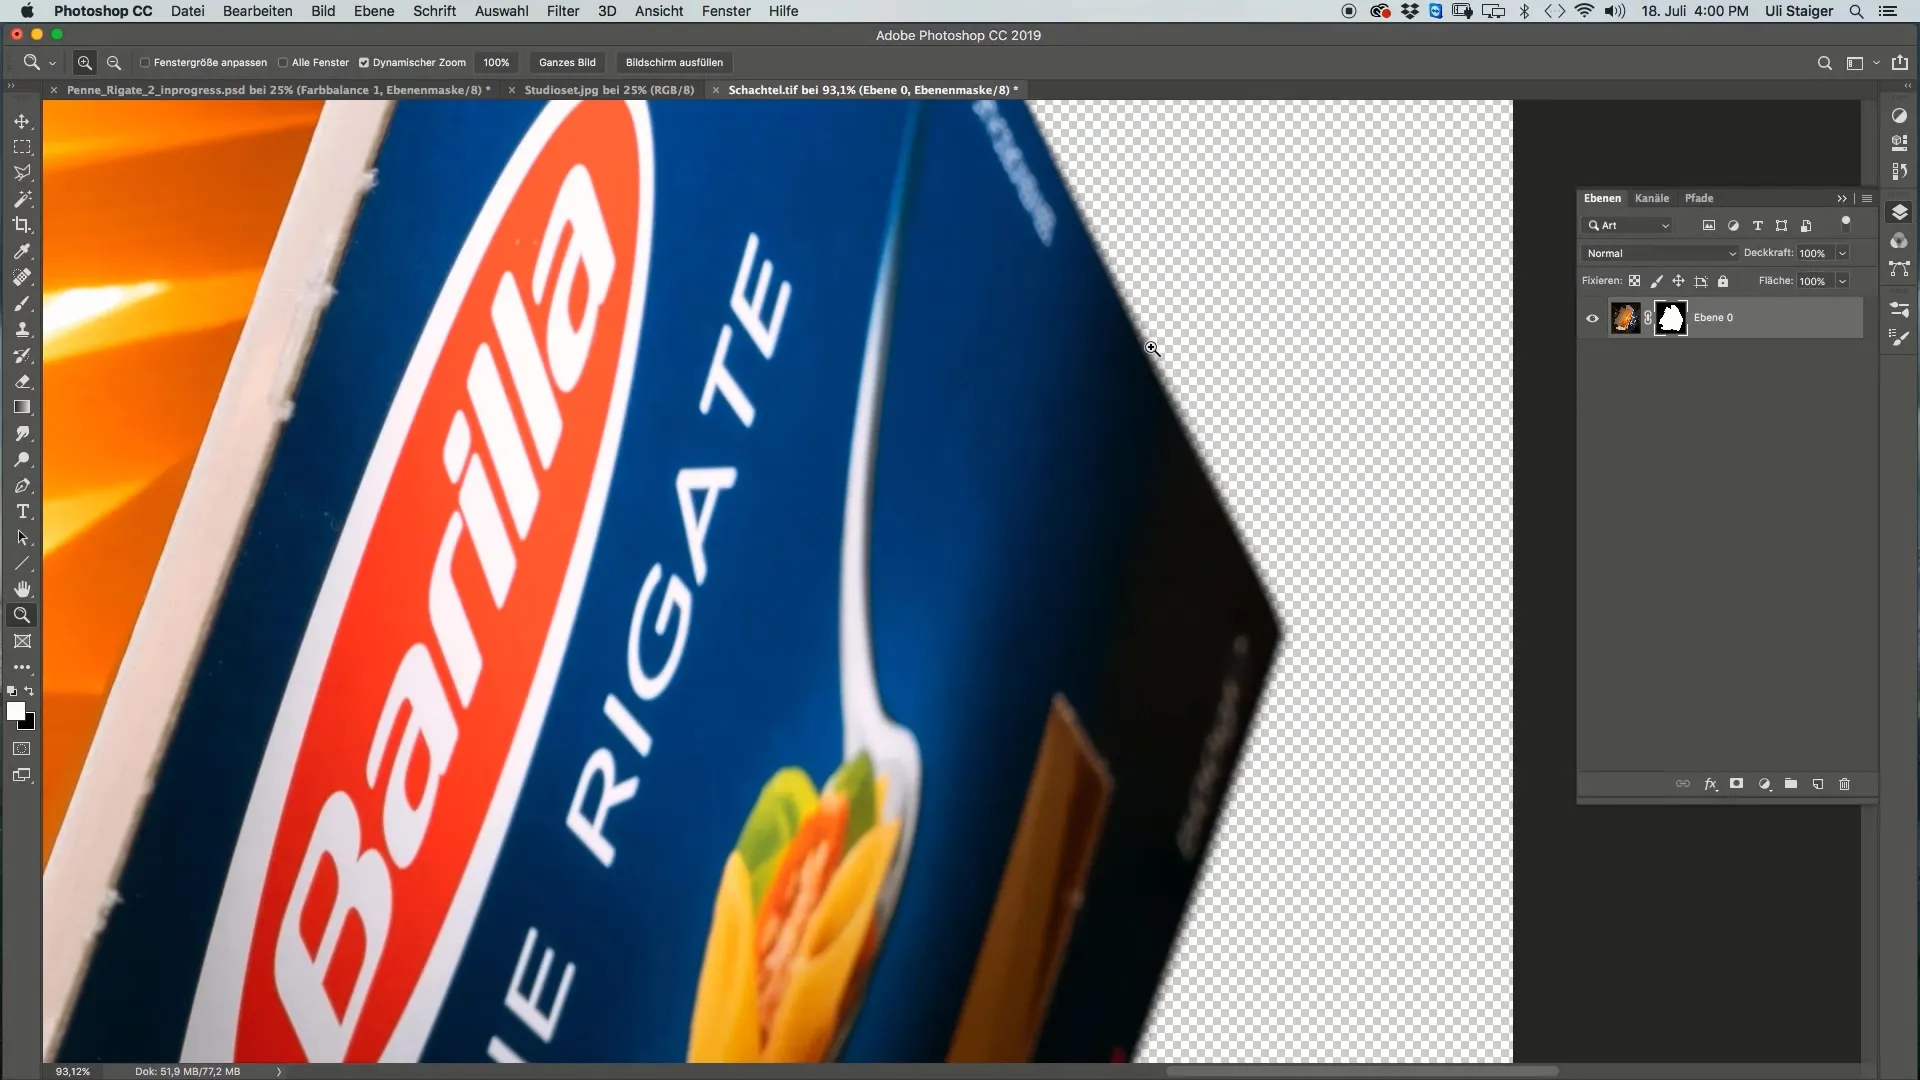
You can now start the clipping process. In the Channels menu, select the box by clicking on the appropriate selection. Alternatively, you can also load the selection manually.
Once the box is selected, create a layer mask. Note that some areas should be softly blurred to make the transitions appear more natural. The blur tool can be helpful in creating a gentle transition zone.
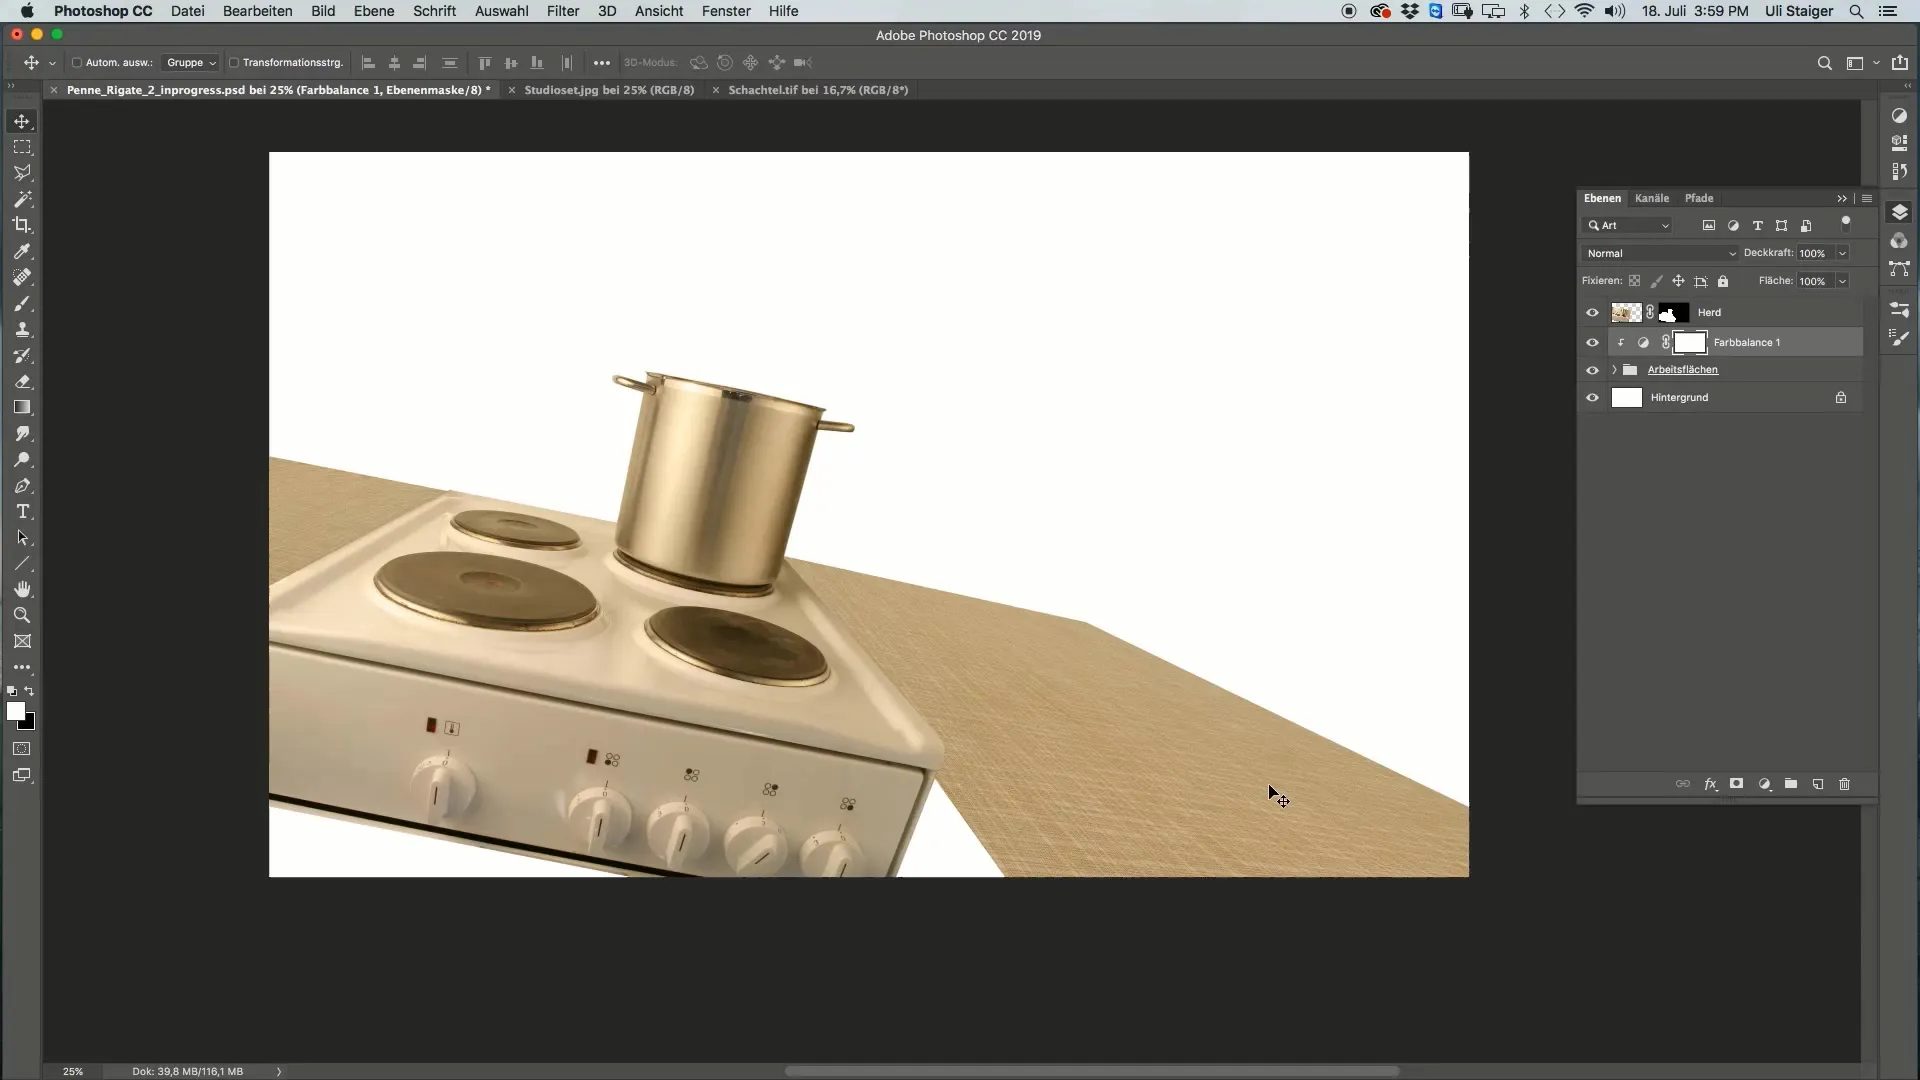
After creating the mask, drag the box onto your main image. Use the Move tool to position the box where you want it. Make sure the box is well placed on the worktable in the image.
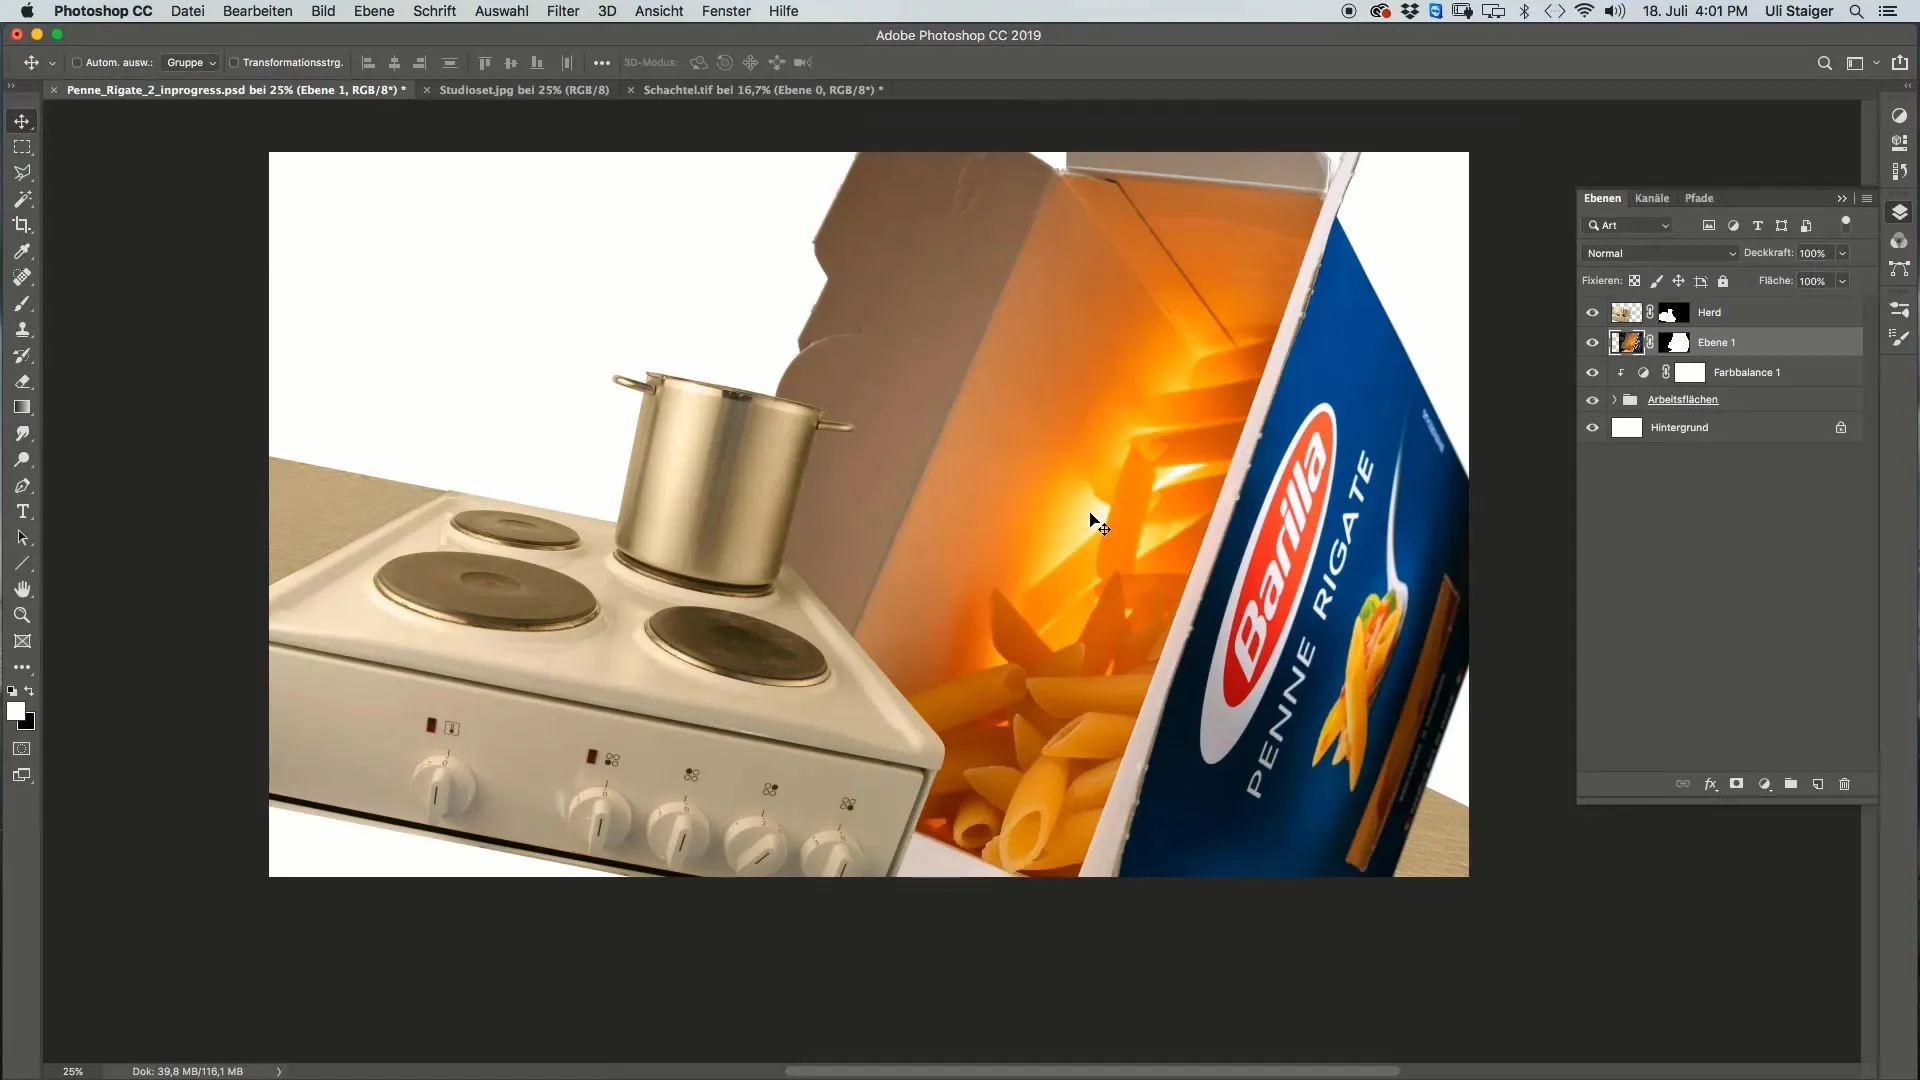
Before making changes, name the layer appropriately to ensure clarity. I call it "Pasta Box". Then go to "Filter" and select "Convert Smart Filter". This gives you the flexibility to readjust the layer later.
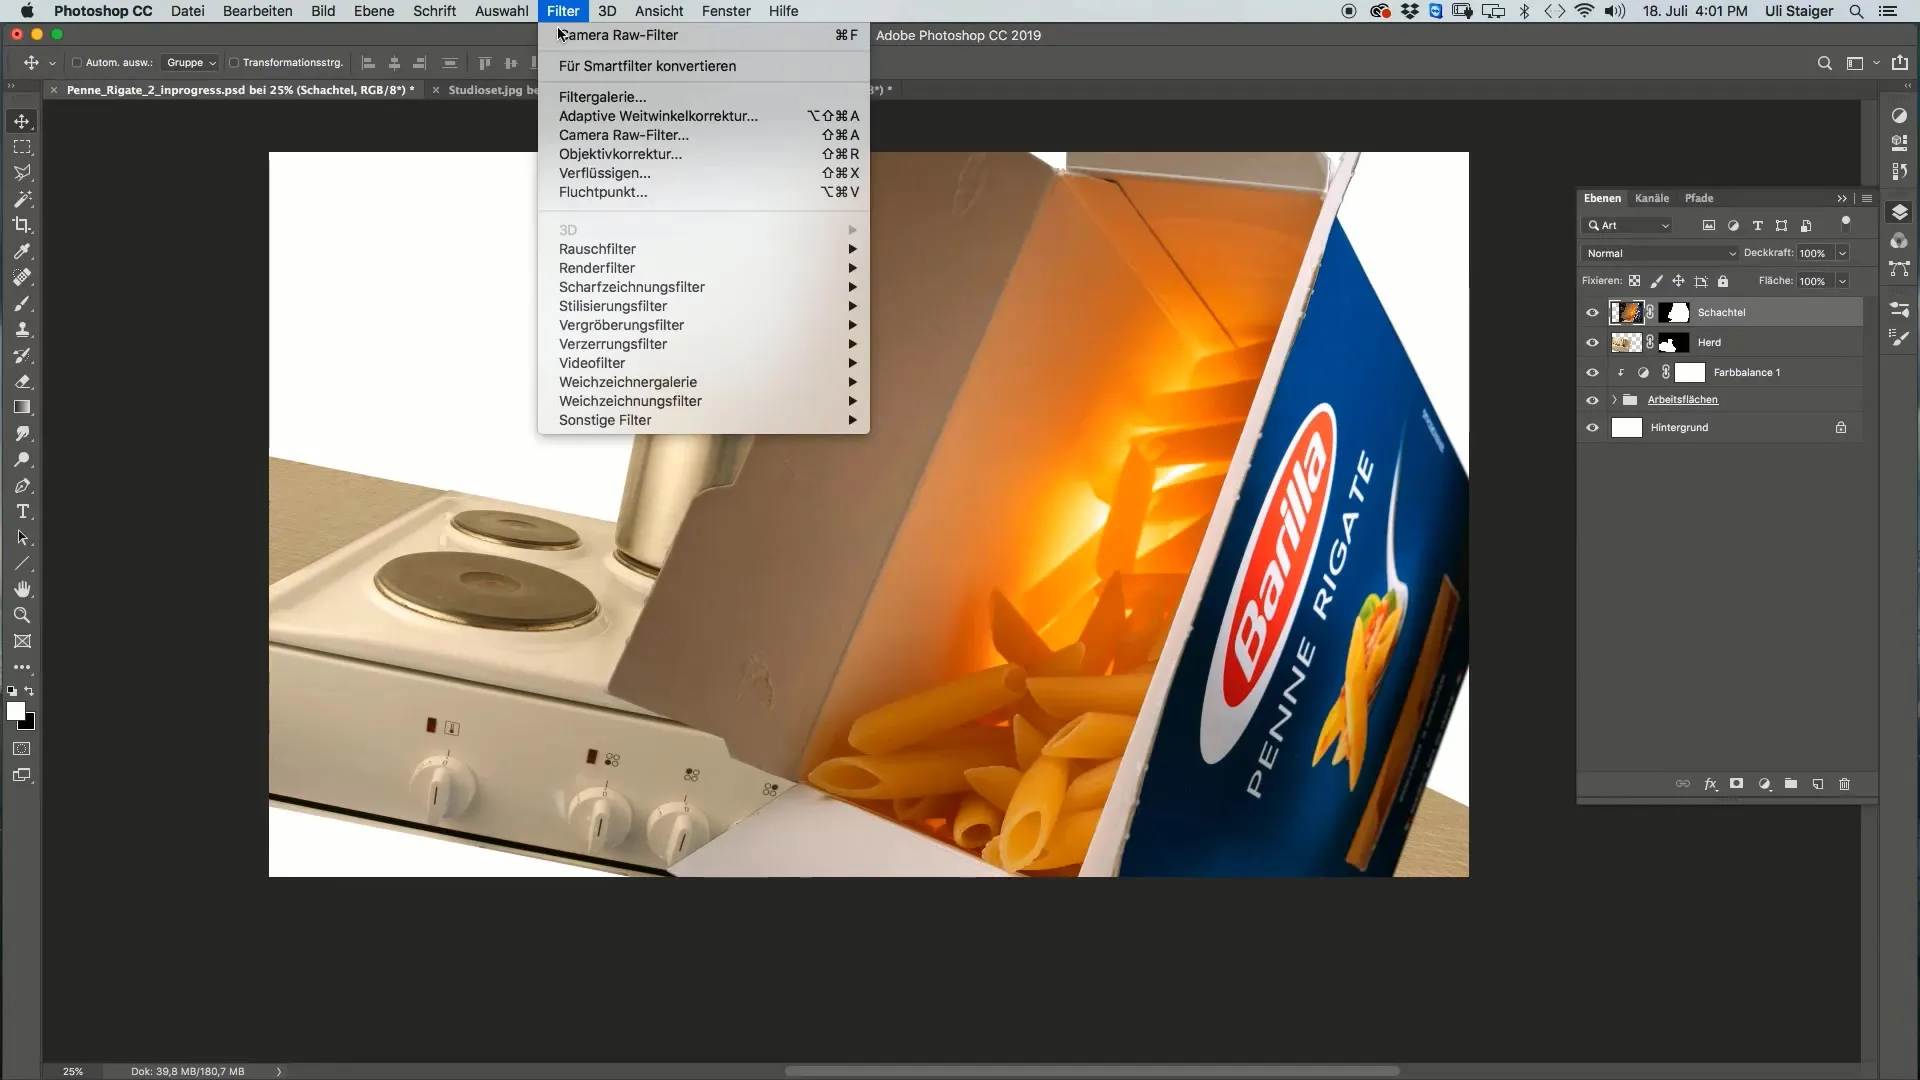
Now you can scale the box. Hold down the Shift key while dragging the corners to maintain proportions. Make sure the box is the right size for the background and workspace.
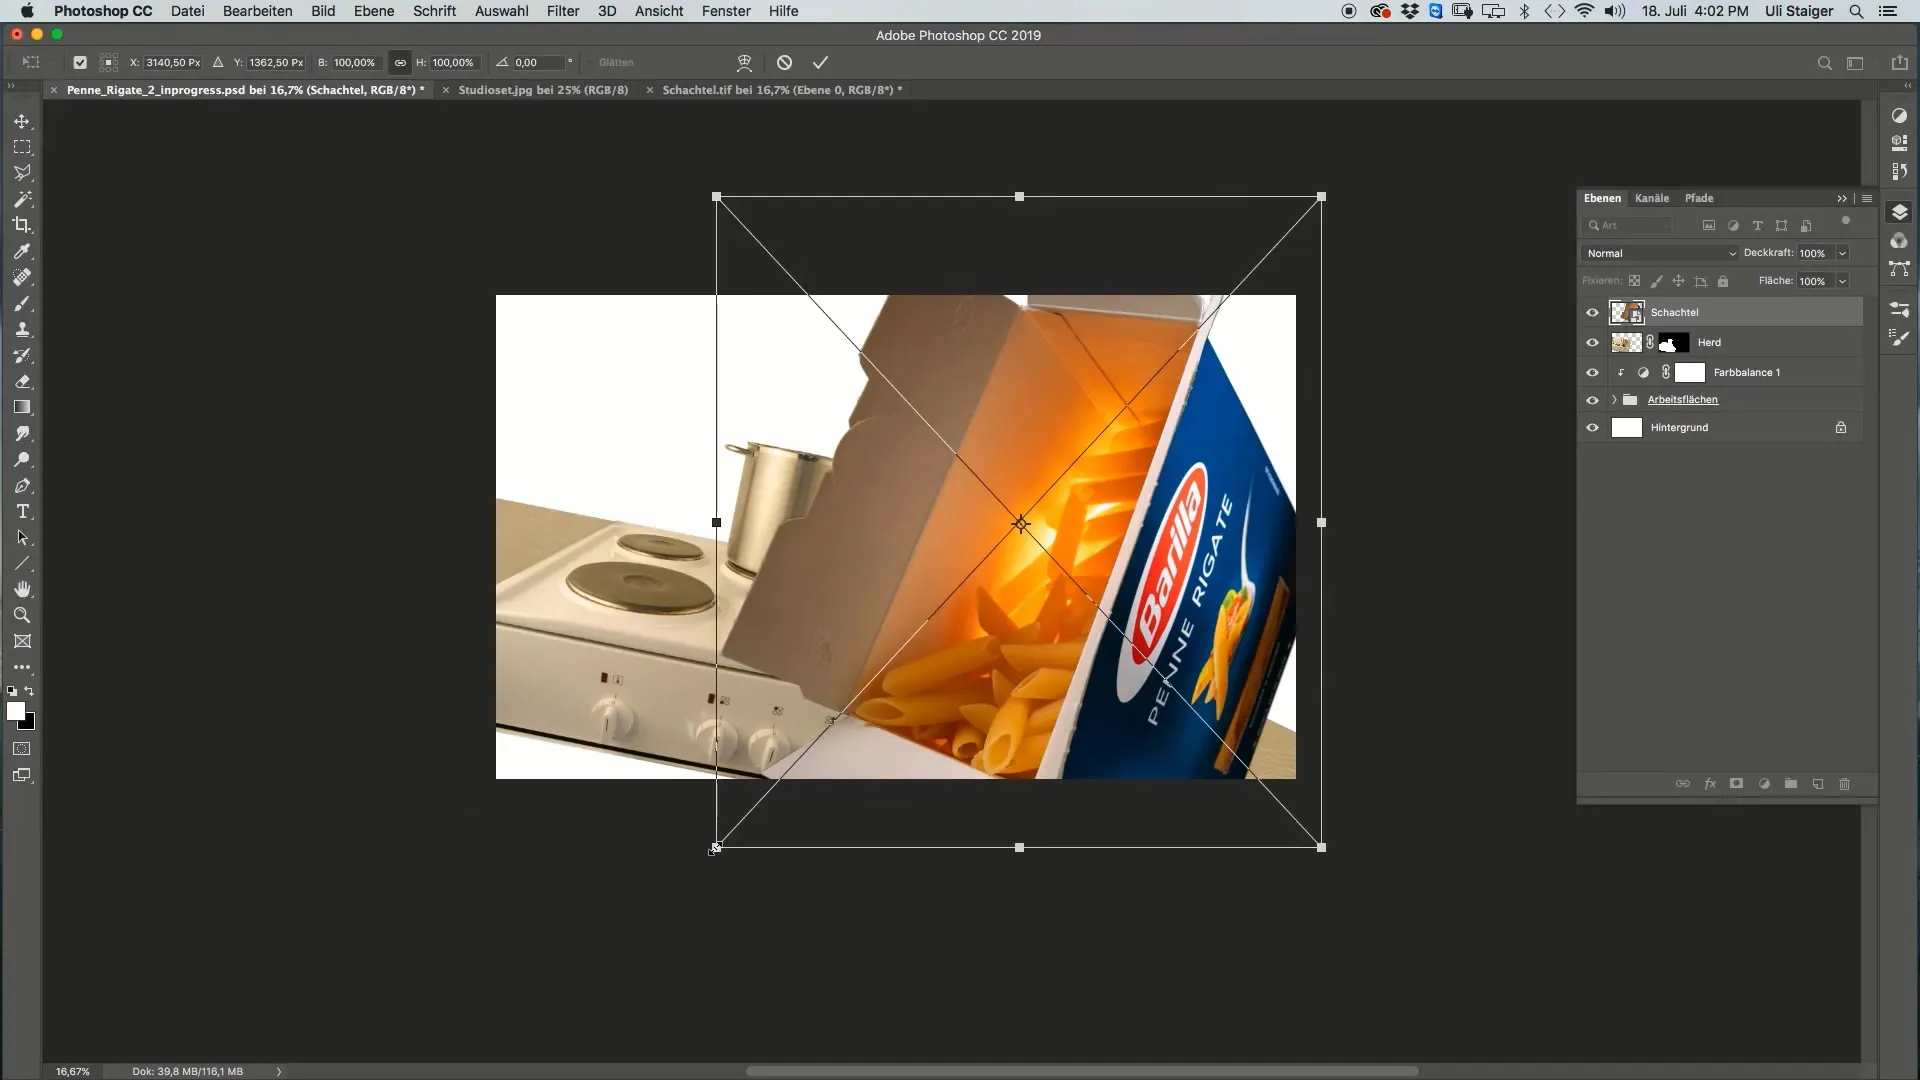
Next, position the corners of the box so that they do not disturb the overall image. Avoid unnecessary straight lines to achieve a more natural look. This ensures that the image looks less arranged and more dynamic.
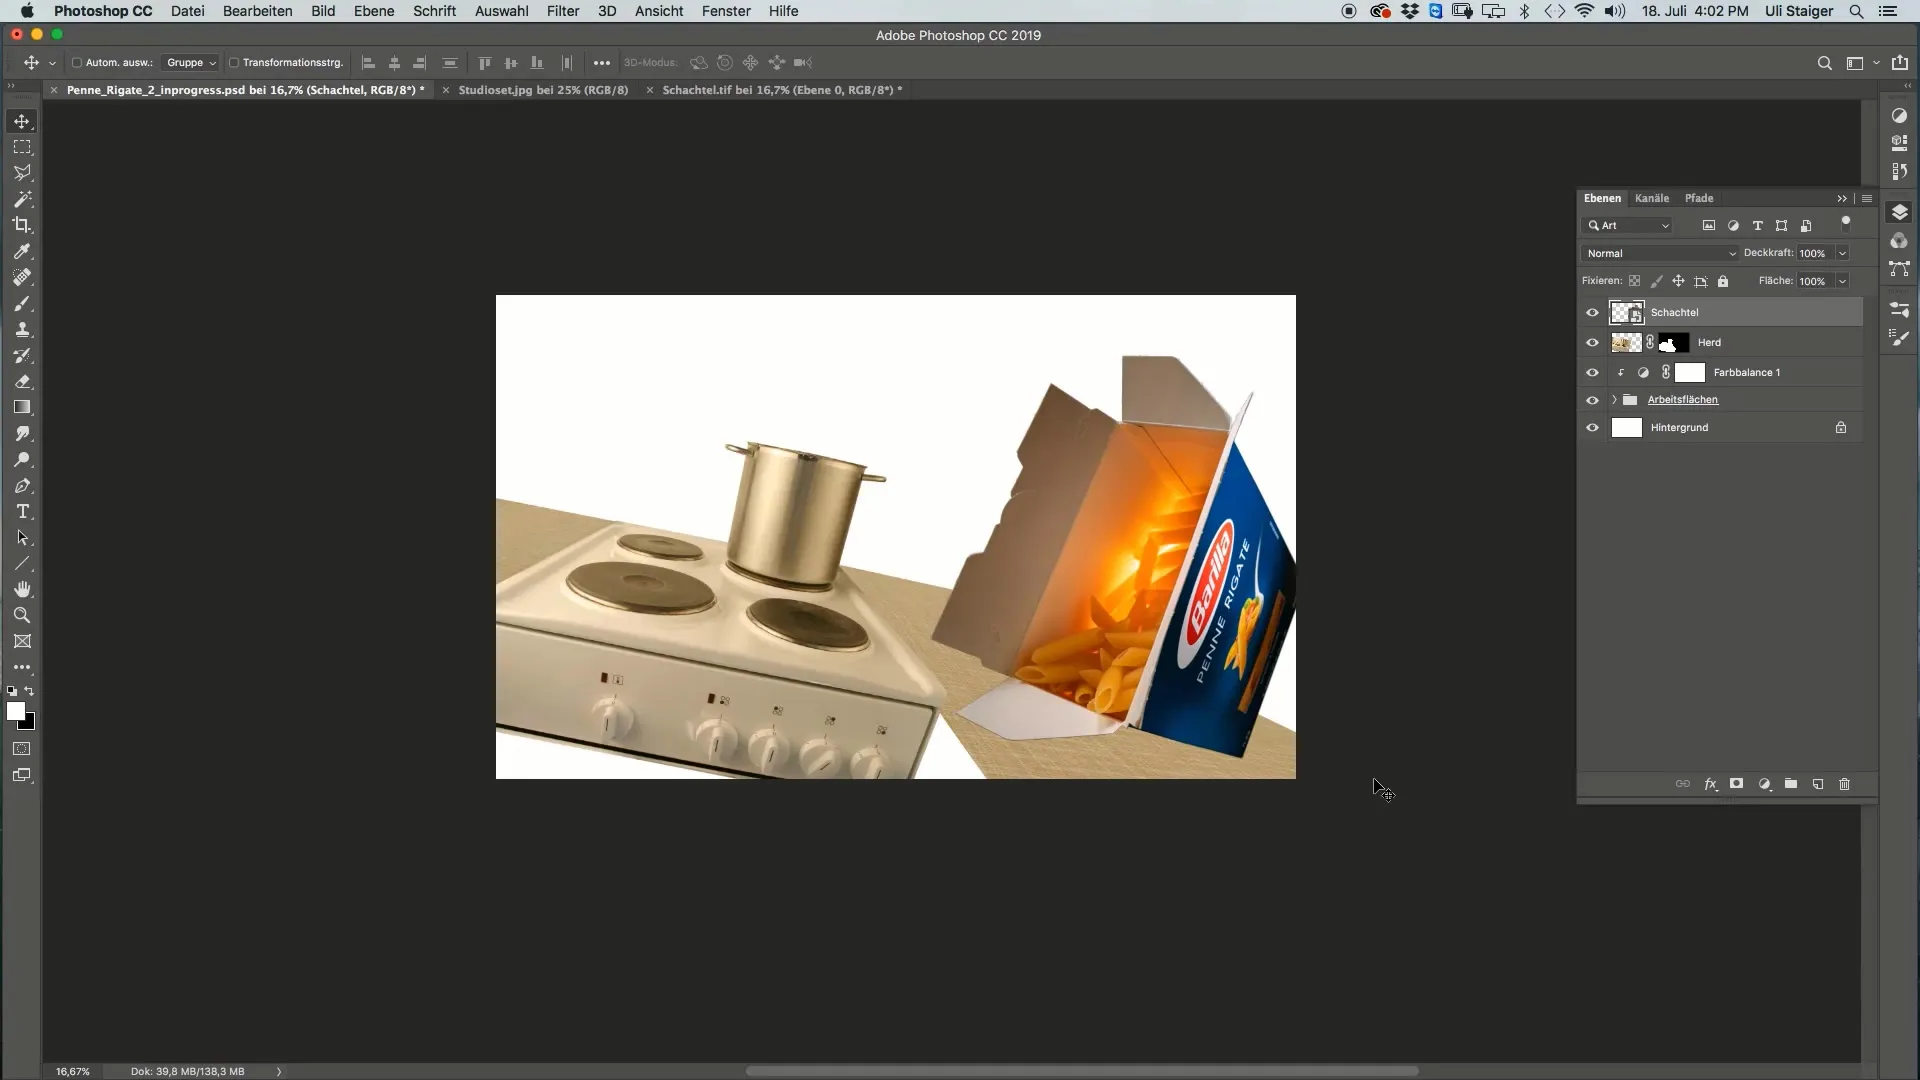
Another step to improve image quality is to retouch unwanted parts of the workspace. Create a new layer and use the brush tool to fill the areas with the stove color.
Choose the appropriate stove color with Alt+Click to create a harmonious overall image. Paint the areas with 100% opacity to make the transition seamless.
It is also possible to use a darker shade for shaded areas to create depth. It is important that the colors harmonize well and the image appears vivid.
These adjustments help make the end result look natural. By softening everything and applying the right effects, you will achieve an appealing image of your pasta box.
Summary
In this tutorial, we learned together step by step how to optimally insert and edit a pasta box in Photoshop. From lighting to clipping to effectively using smart objects – you now have the necessary knowledge to create impressive product photos.
Frequently Asked Questions
How can I cut out the selection better in Photoshop?Use channels to select the box and use a layer mask for natural transitions.
How can I avoid issues with image size?Use smart objects to be able to adjust the box repeatedly without losing the original image quality.
What should I do if the image still looks too yellow or too blue?Use the color correction tools in Photoshop to make color adjustments and create a harmonious image.
