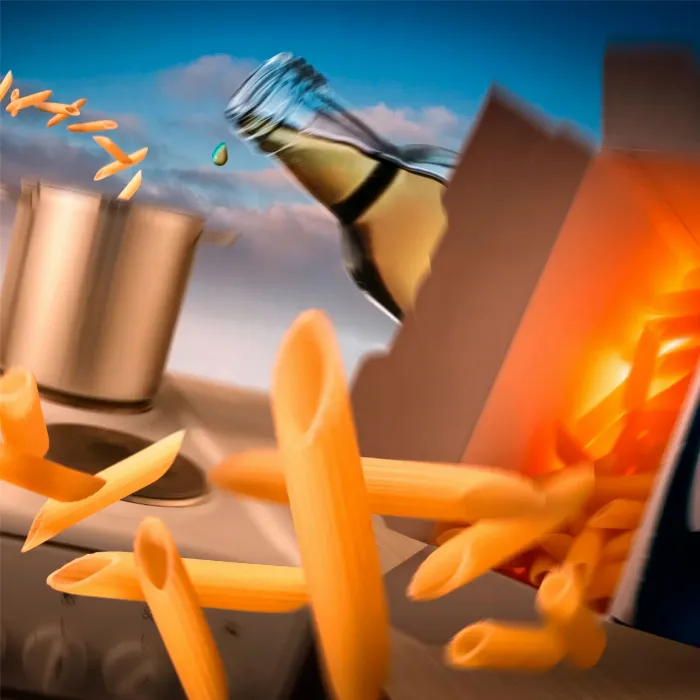
The right exposure and the balanced ratio of light and shadow can make the crucial difference in the impact of the image. Especially in digital images, it is essential to control the light effects deliberately to achieve an appealing result. In this guide, I will show you how to darken and enhance specific areas of your image using tonal corrections and layer masks in Photoshop.
Key Takeaways
- A tonal correction can adjust the brightness of areas without affecting the entire image.
- With layer masks, you can precisely control where the adjustments are applied.
- Color adjustments are also important to avoid unwanted color casts.
Step-by-Step Guide
First, make sure all desired elements are placed in your image. If you want a fresh look at your image, it can be helpful to let the image rest for a day or two. This way, you might notice details that escaped you before, especially regarding the stove in your image.

The stove is quite bright on the front and top, giving the image a flat impression. When looking at the lights on the stove, this impression might differ slightly, as the light comes more from the left side. It is important to adjust the brightness to match physical reality and make the image more vibrant overall.
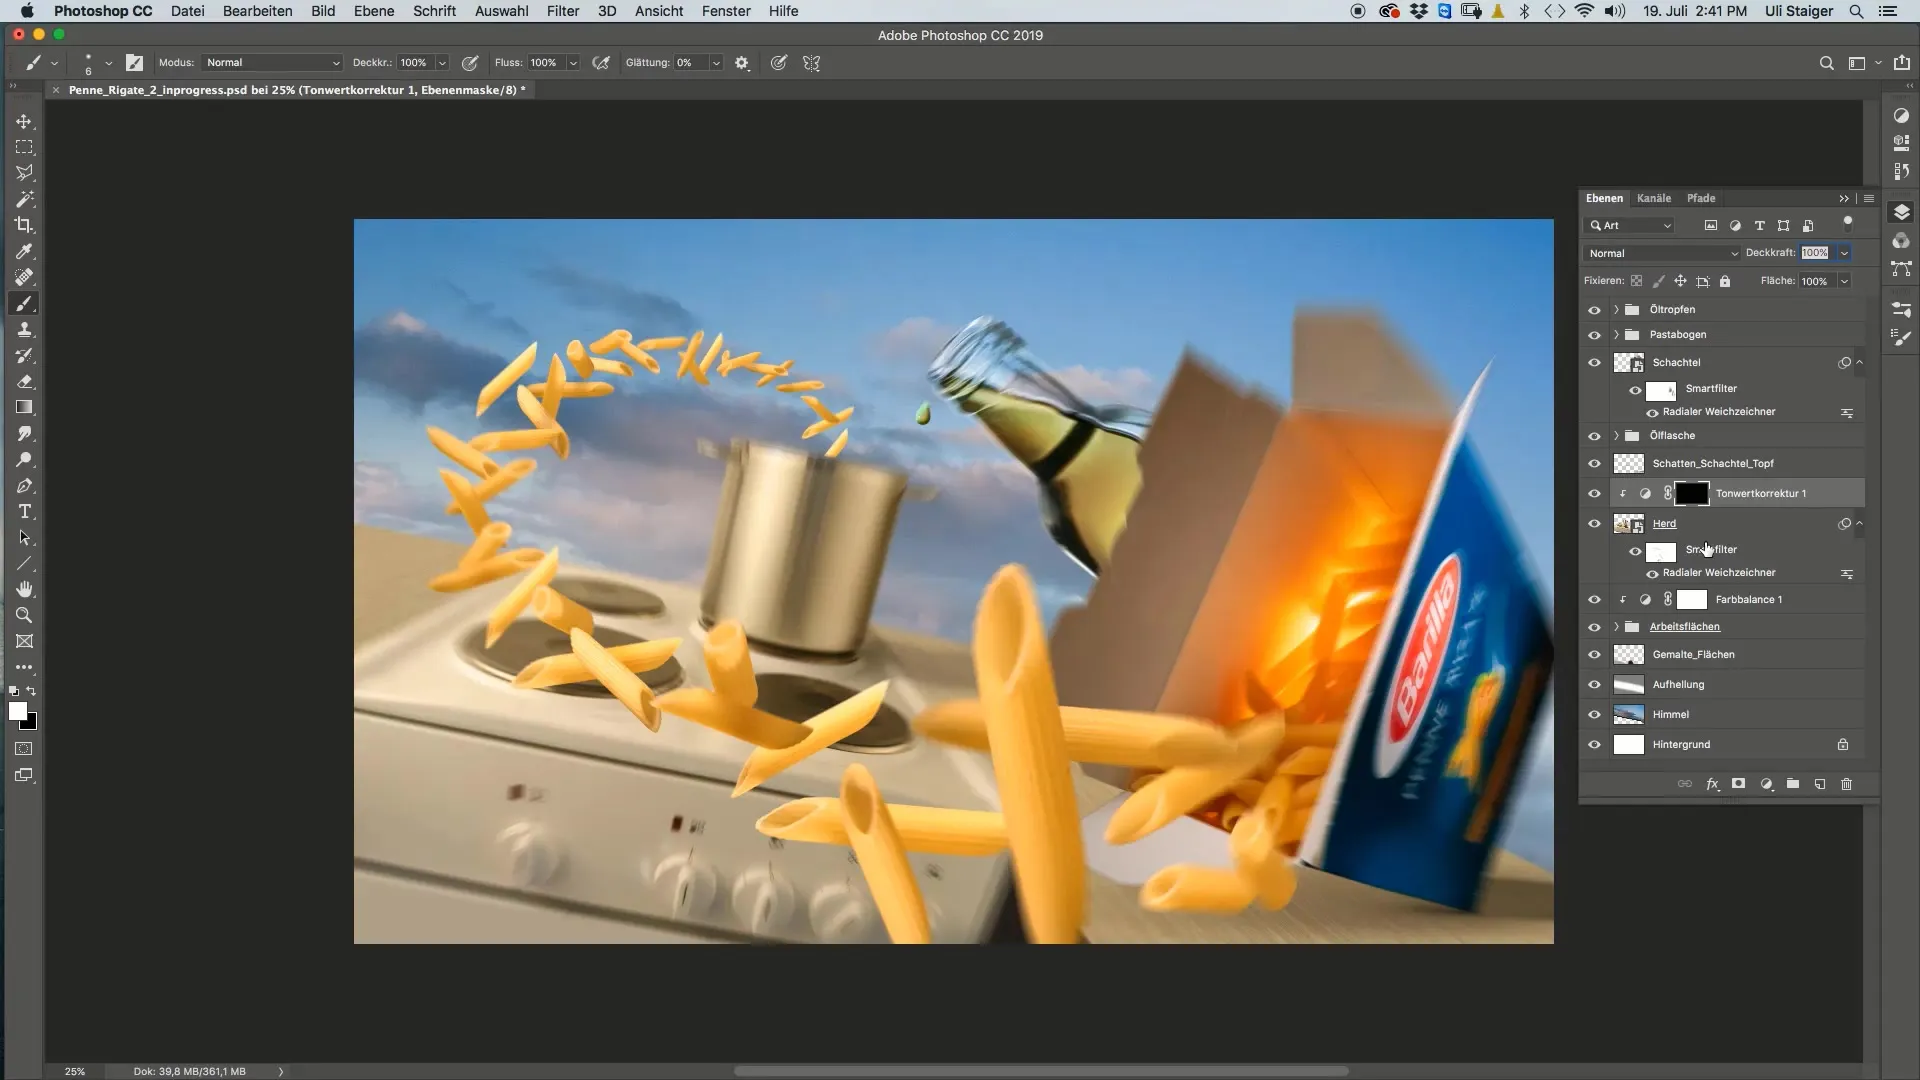
To make the stove more effective, we will focus on the tonal correction. This will be used to darken the light on the stove selectively without altering the contrast too much. Start by setting the tonal correction to a value of about 190. Note that this effect should not be applied to the entire stove.
To do this, flip the layer mask by pressing Command + I or Ctrl + I. This means that the tonal correction will not be visible at first. Now, take a brush, set it to a soft edge, and paint with 100% opacity over the front of the stove to apply darkness there specifically.
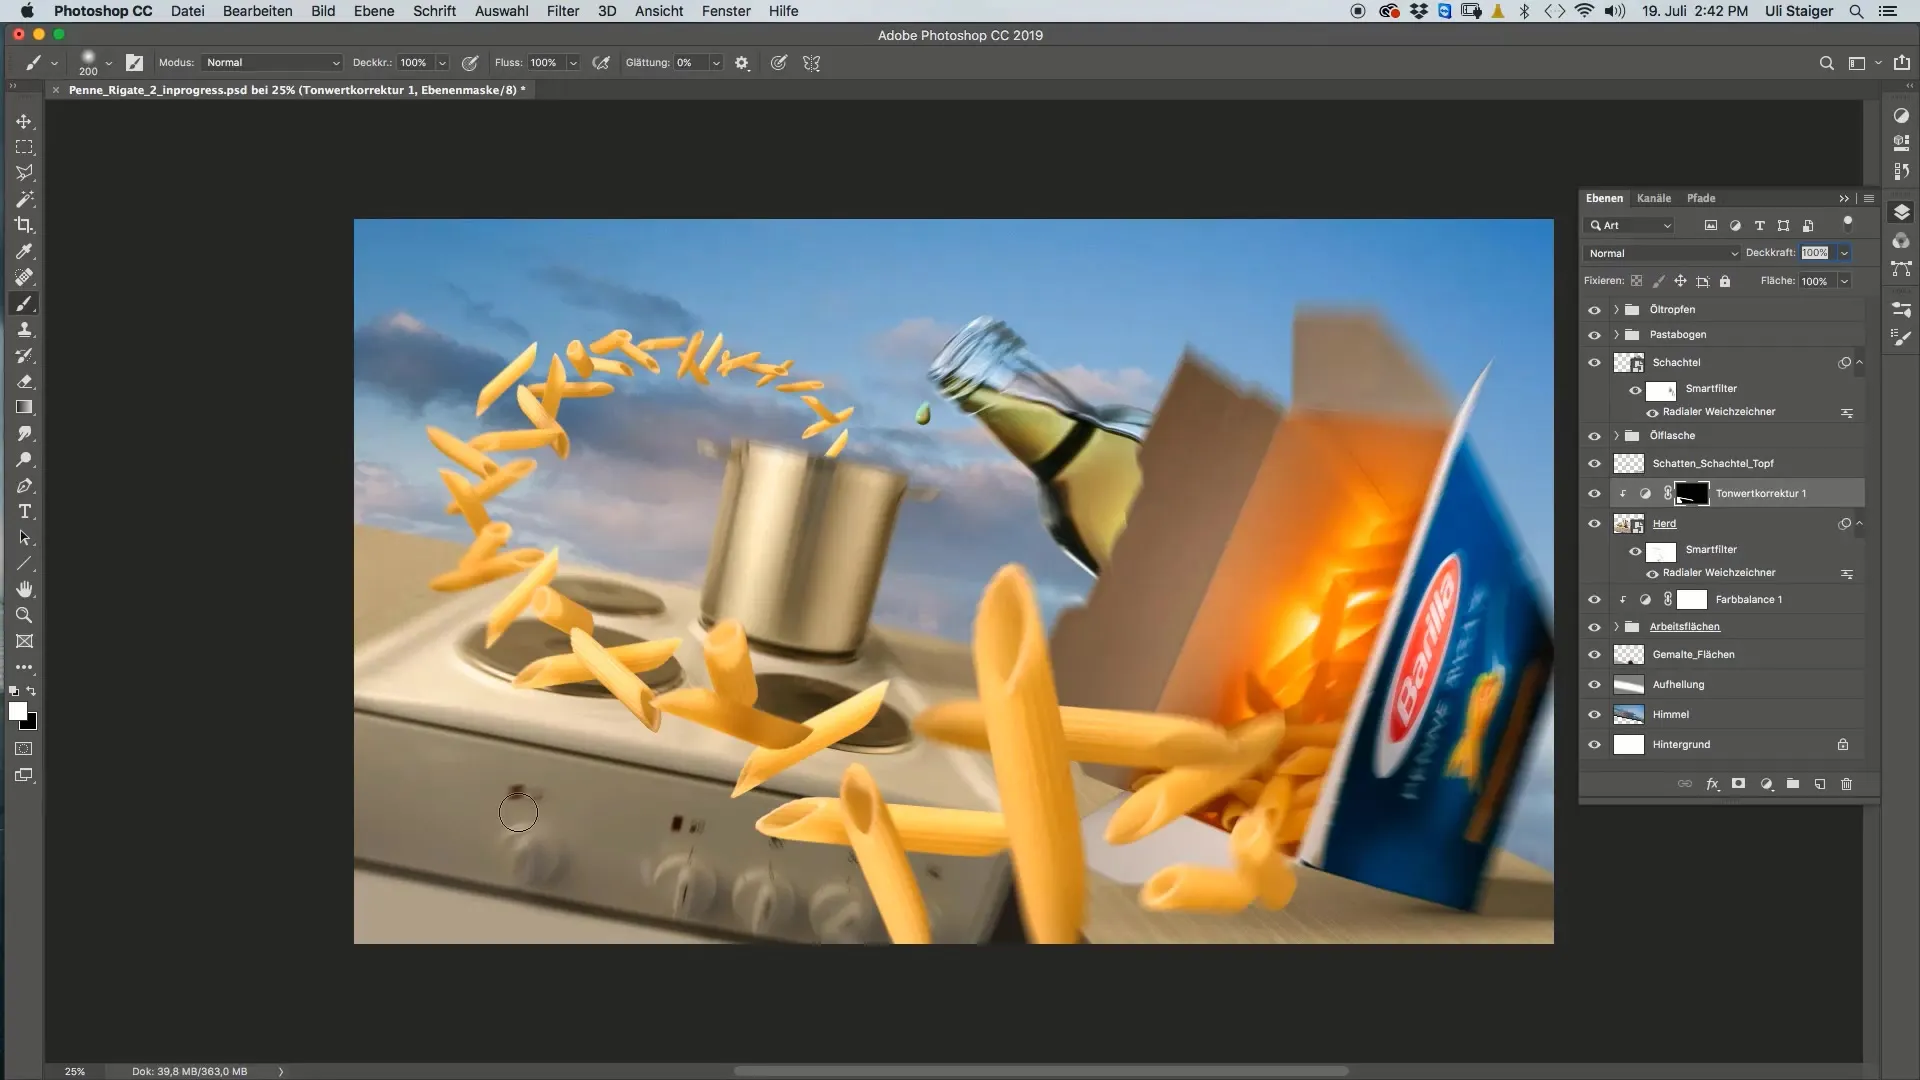
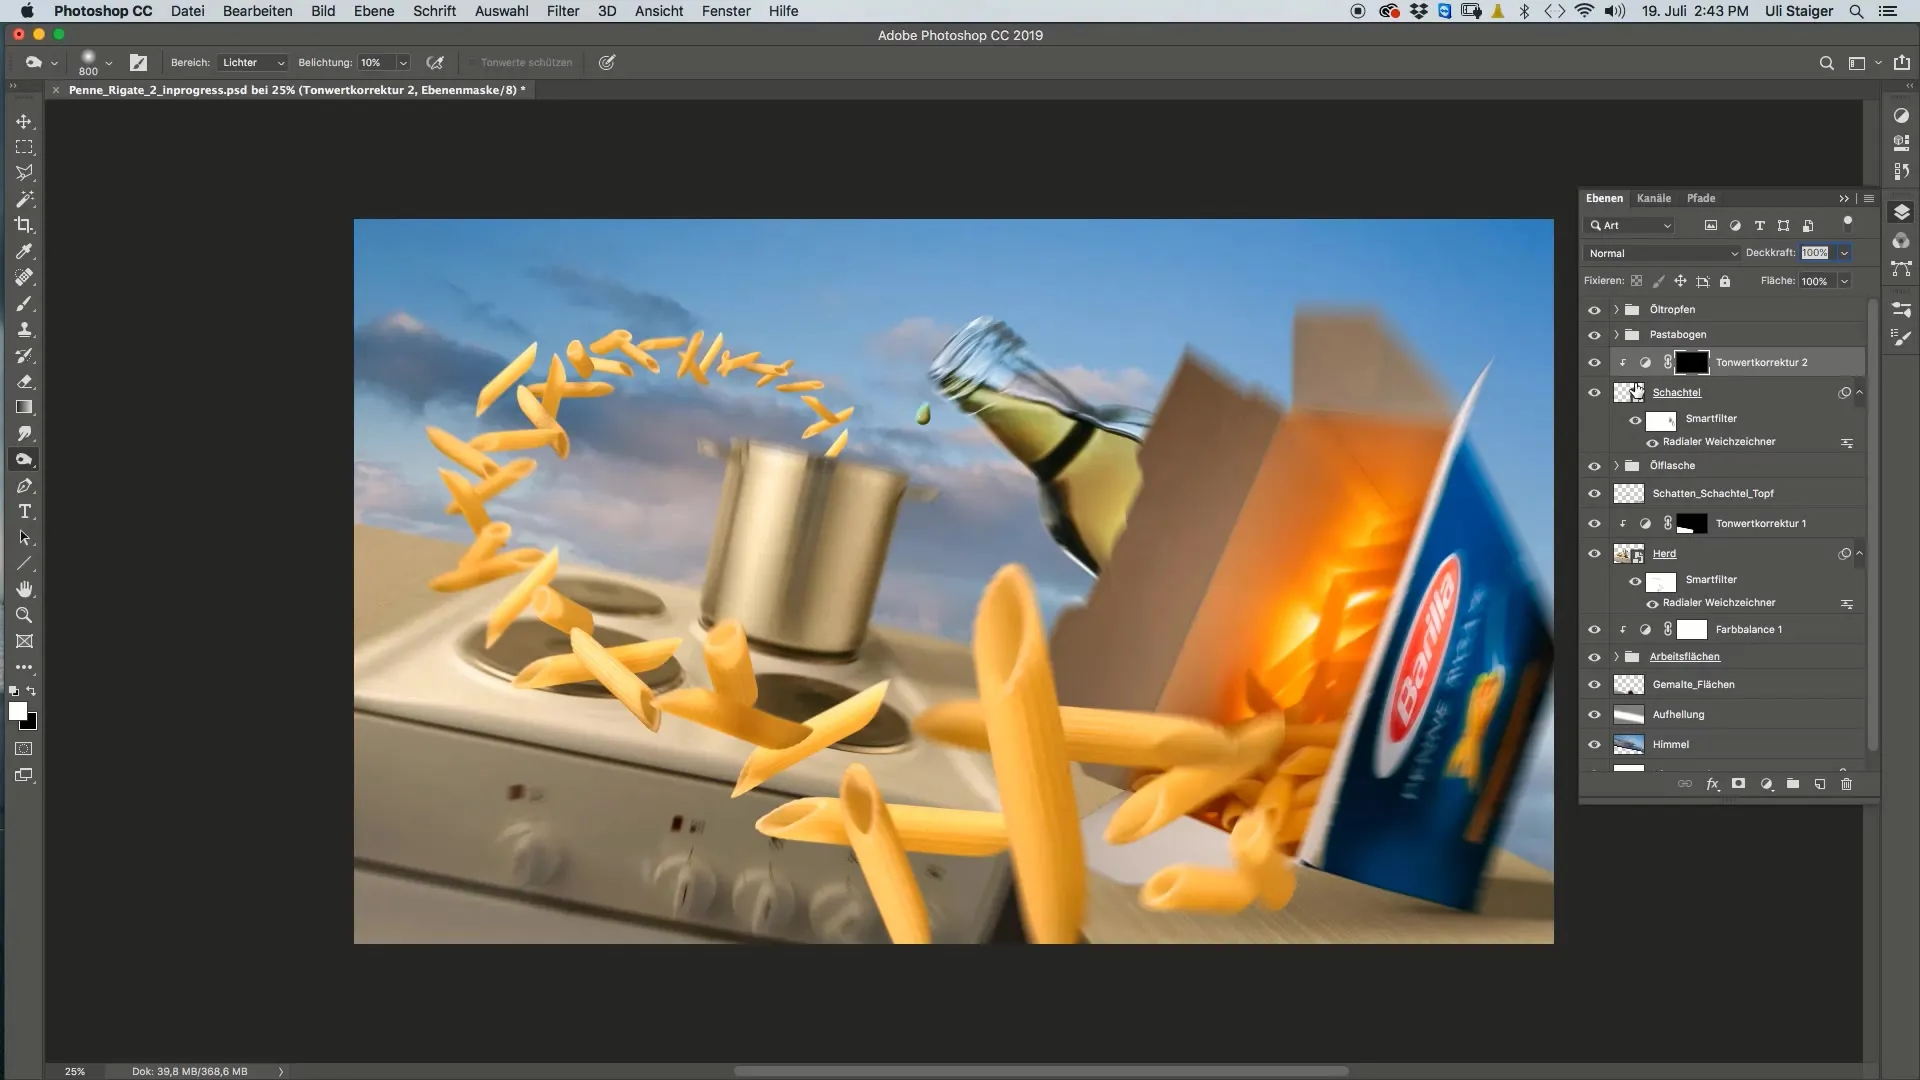
The applied color may appear slightly too bright. In this case, you can use the Burn Tool. Set the exposure to about 10% and use a large brush to darken the areas you want even more.
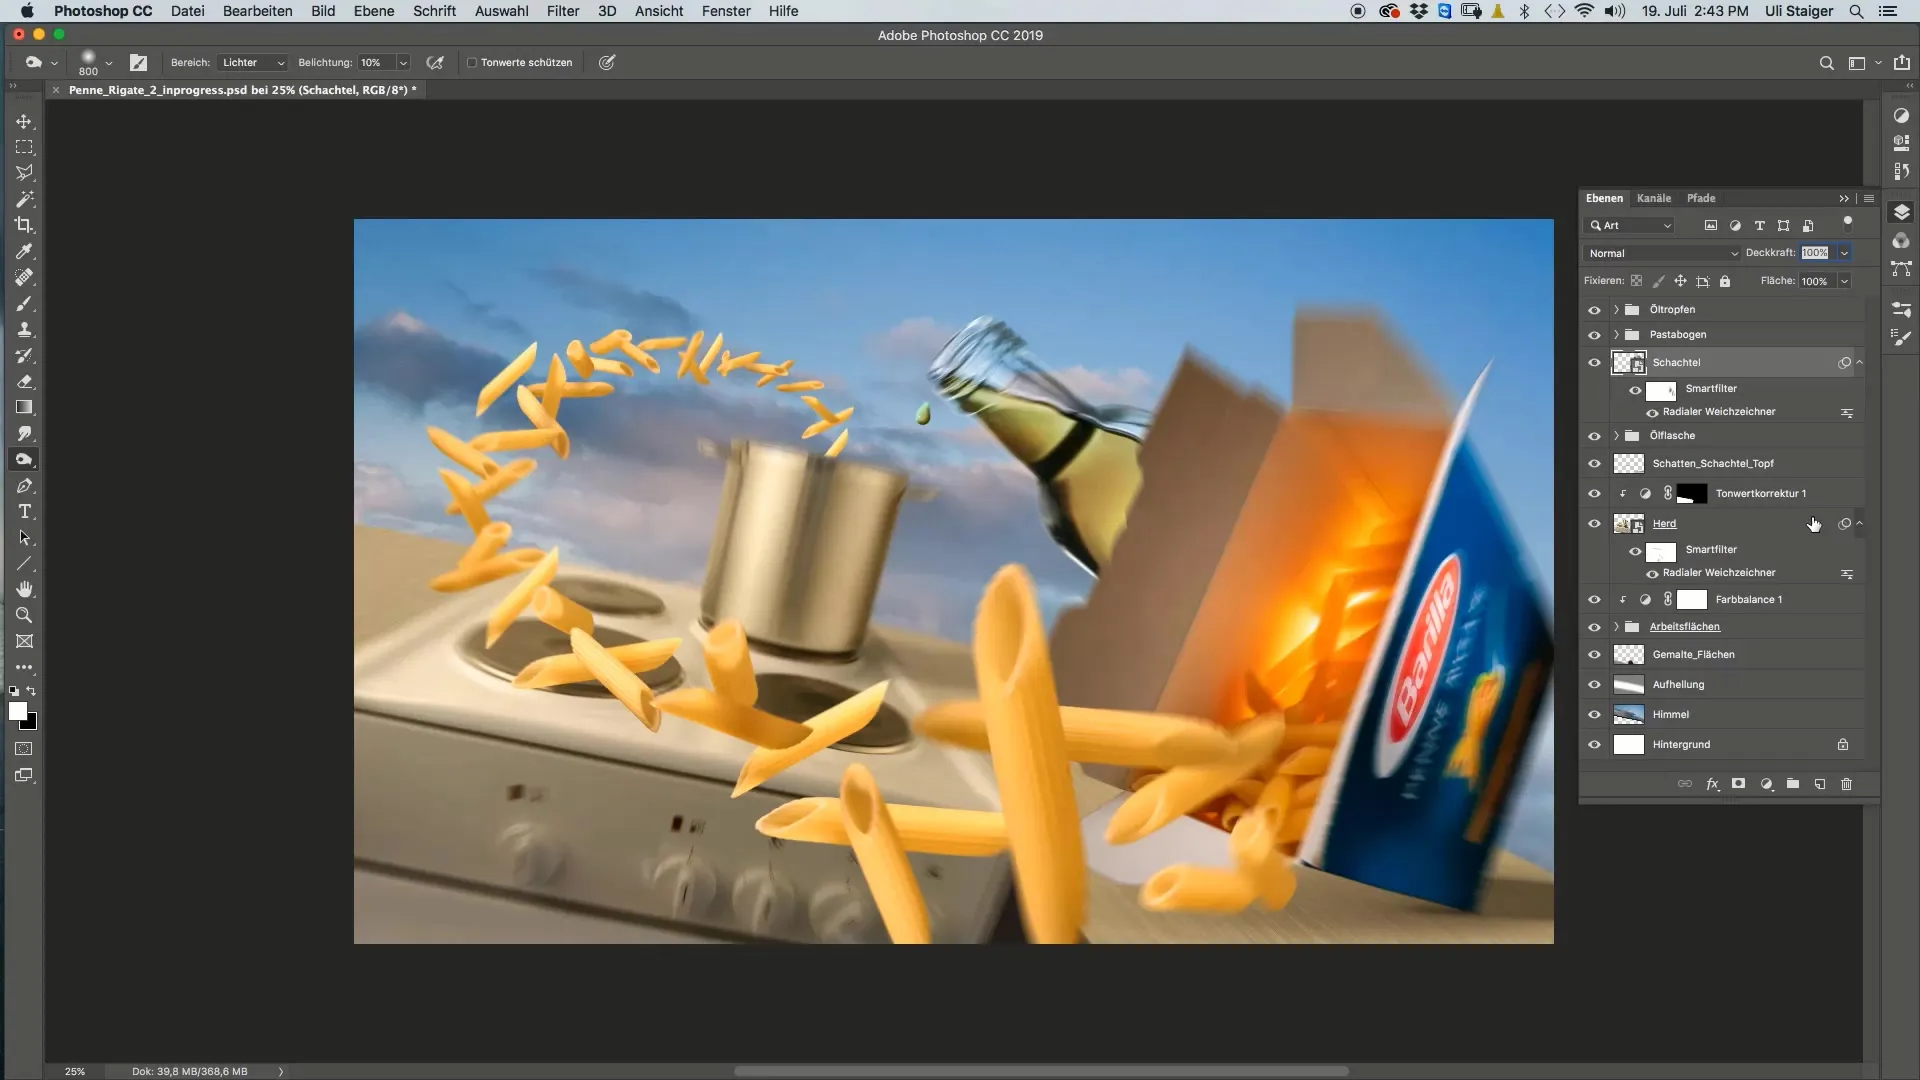
If other areas in your image, like the box, also appear too bright, another tonal correction is needed. You can either copy the existing correction or create a new one. Apply this tonal correction in a clipping mask so it only affects the box.
Similar to the first correction, we will mask out the changes using the layer mask. By pressing Command + I or Ctrl + I, flip the layer mask so it is not visible initially. Then, take a white brush and paint over the box to apply the correction.
If the hues do not match the desired outcome, open the RGB channels and adjust the brightness in the blue and green channels to achieve a balanced color. Add as much blue or green as needed to obtain a harmonious hue.
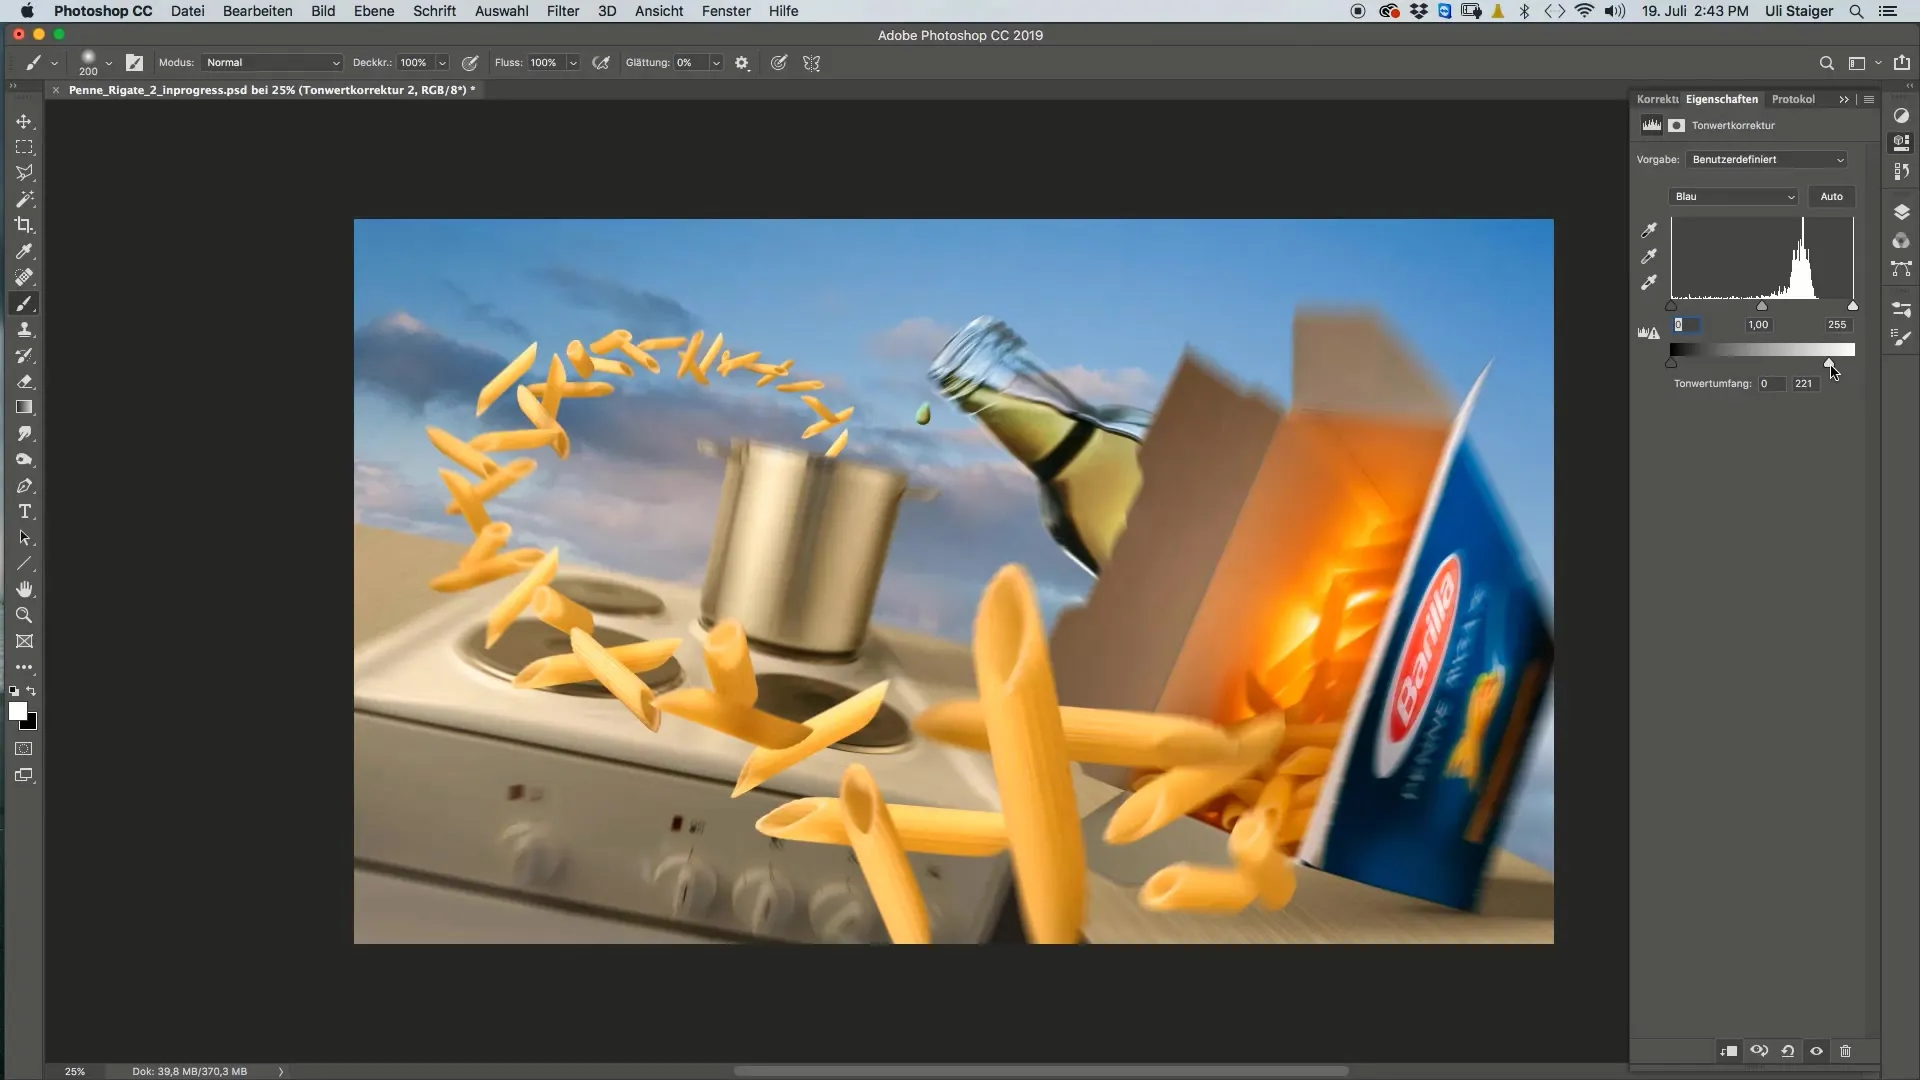
After making the adjustments, ensure the effect looks good on both the stove and the box. Do not lose sight of the conceptual thought. This way, you create an image that meets both technical quality and design requirements.
Summary
This final consideration shows that tonal corrections and colors in Photoshop are not only technical adjustments but also represent creative decisions. By deliberately controlling the light and colors of your image, you can significantly enhance its overall impact and create an appealing visual narrative.
Frequently Asked Questions
How do I perform a tonal correction in Photoshop?Select the image, go to tonal correction, and adjust the values as you prefer.
What do layer masks do in Photoshop?Layer masks control how and where adjustments become visible in an image.
How do I change the color in an image?You can adjust the RGB channels to control the color balance of an image.
Why are tonal corrections important?They help adjust contrasts and brightness selectively, optimizing the image composition.
How do I deal with areas too bright in my image?Use a tonal correction or the Burn Tool to darken these areas selectively.
