Design and user experience are essential in the digital world. When working with design tools such as Adobe XD, you have the opportunity to design intuitive user interfaces, create prototypes, and efficiently share them with others. In this guide, you will get an overview of the basics of Adobe XD, starting from the fundamental design principles to prototyping techniques and collaborating with different teams.
Key Insights
- Adobe XD allows you to create designs for different media and platforms.
- An effective design process includes multiple stages, from low-fidelity mockups to high-fidelity prototypes.
- Using wireframes and UI kits speeds up the design process.
- Prototypes can be viewed and tested in real-time on mobile devices.
- A collaborative approach with clear handoffs to developers can significantly improve the workflow.
Step-by-Step Guide
Step 1: Setting Up the Workspace
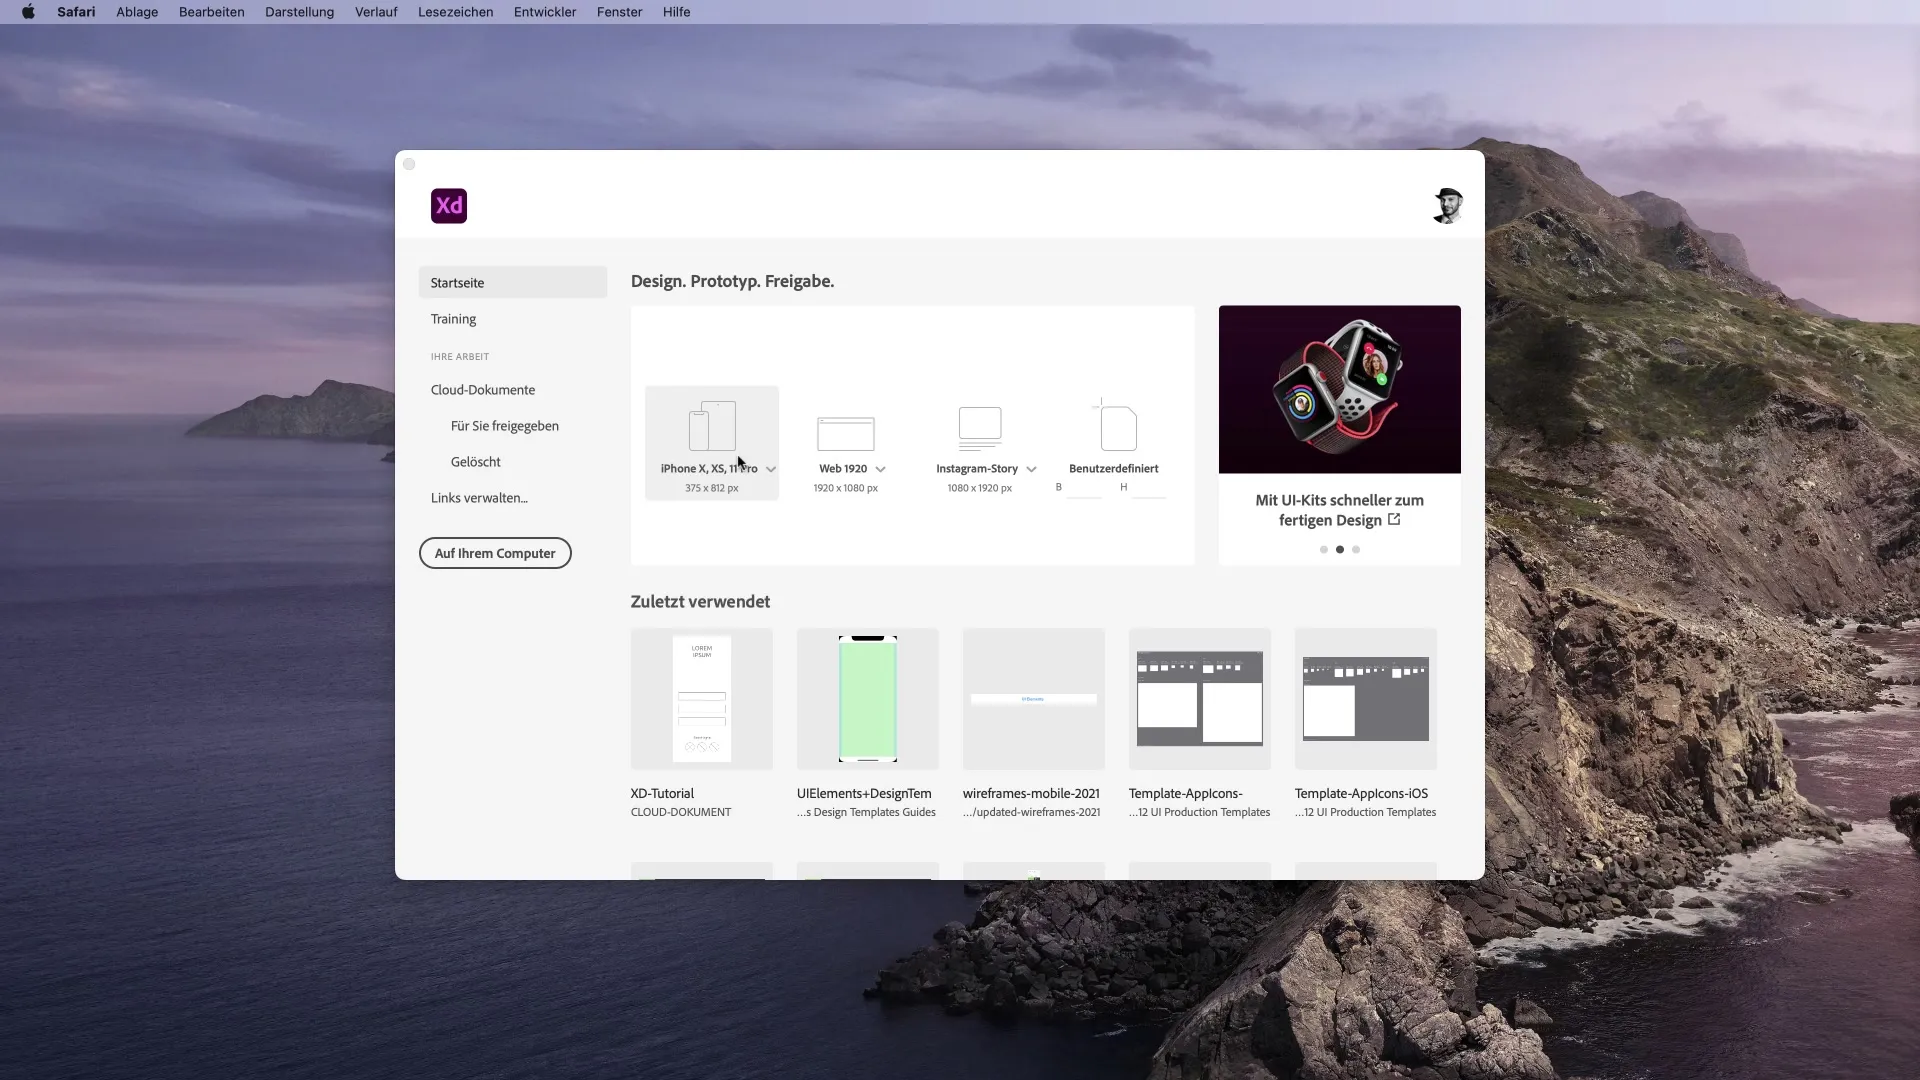
To start with Adobe XD, open the application and choose the desired artboard type. You can create designs for different devices such as smartphones, tablets, or websites. A simple start is to select an iPhone layout to begin working with the workflows.
Step 2: Exploring Tools and Features
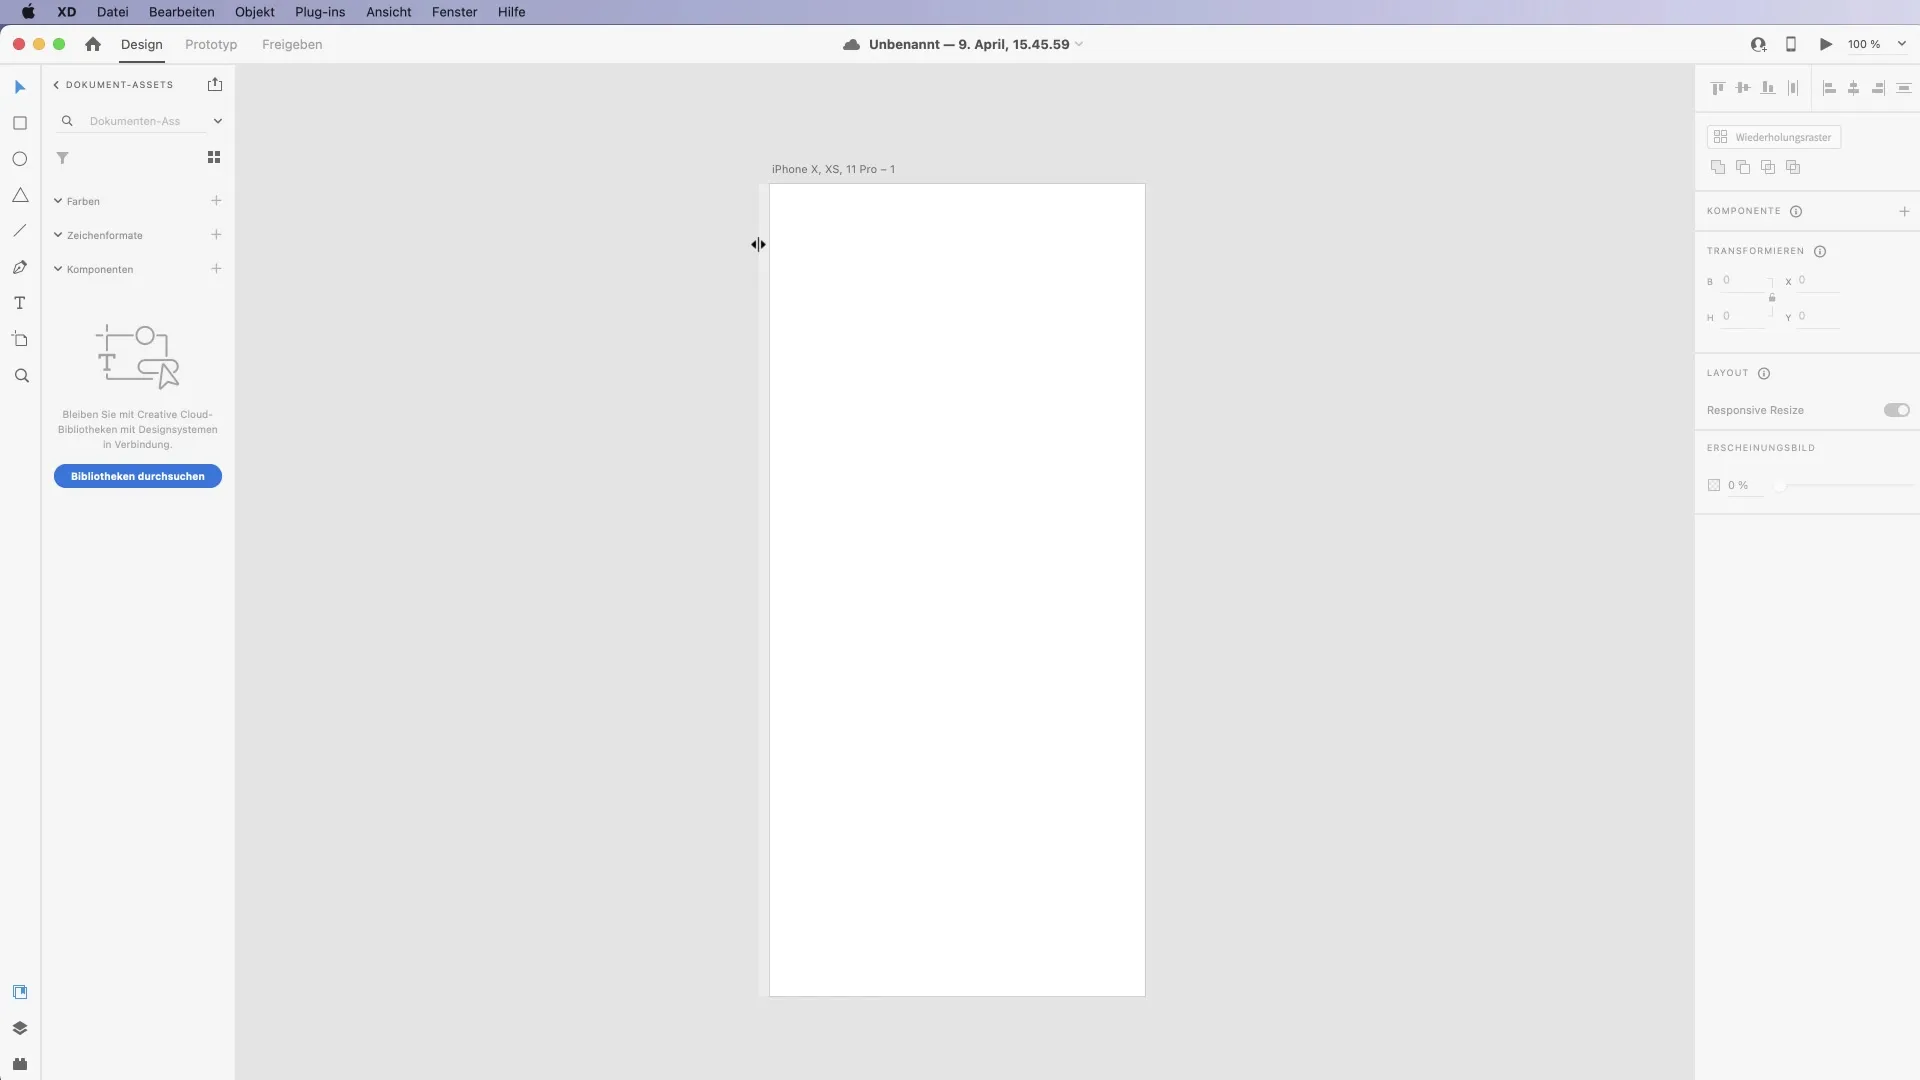
Adobe XD offers a variety of tools found in the toolbar on the left side. Here, you can add shapes, texts, colors, and images. To create a visual design, experiment with texts and shapes. The more you play around with the tools, the more familiar you will become with the program.
Step 3: Creating Low Fidelity Mockups
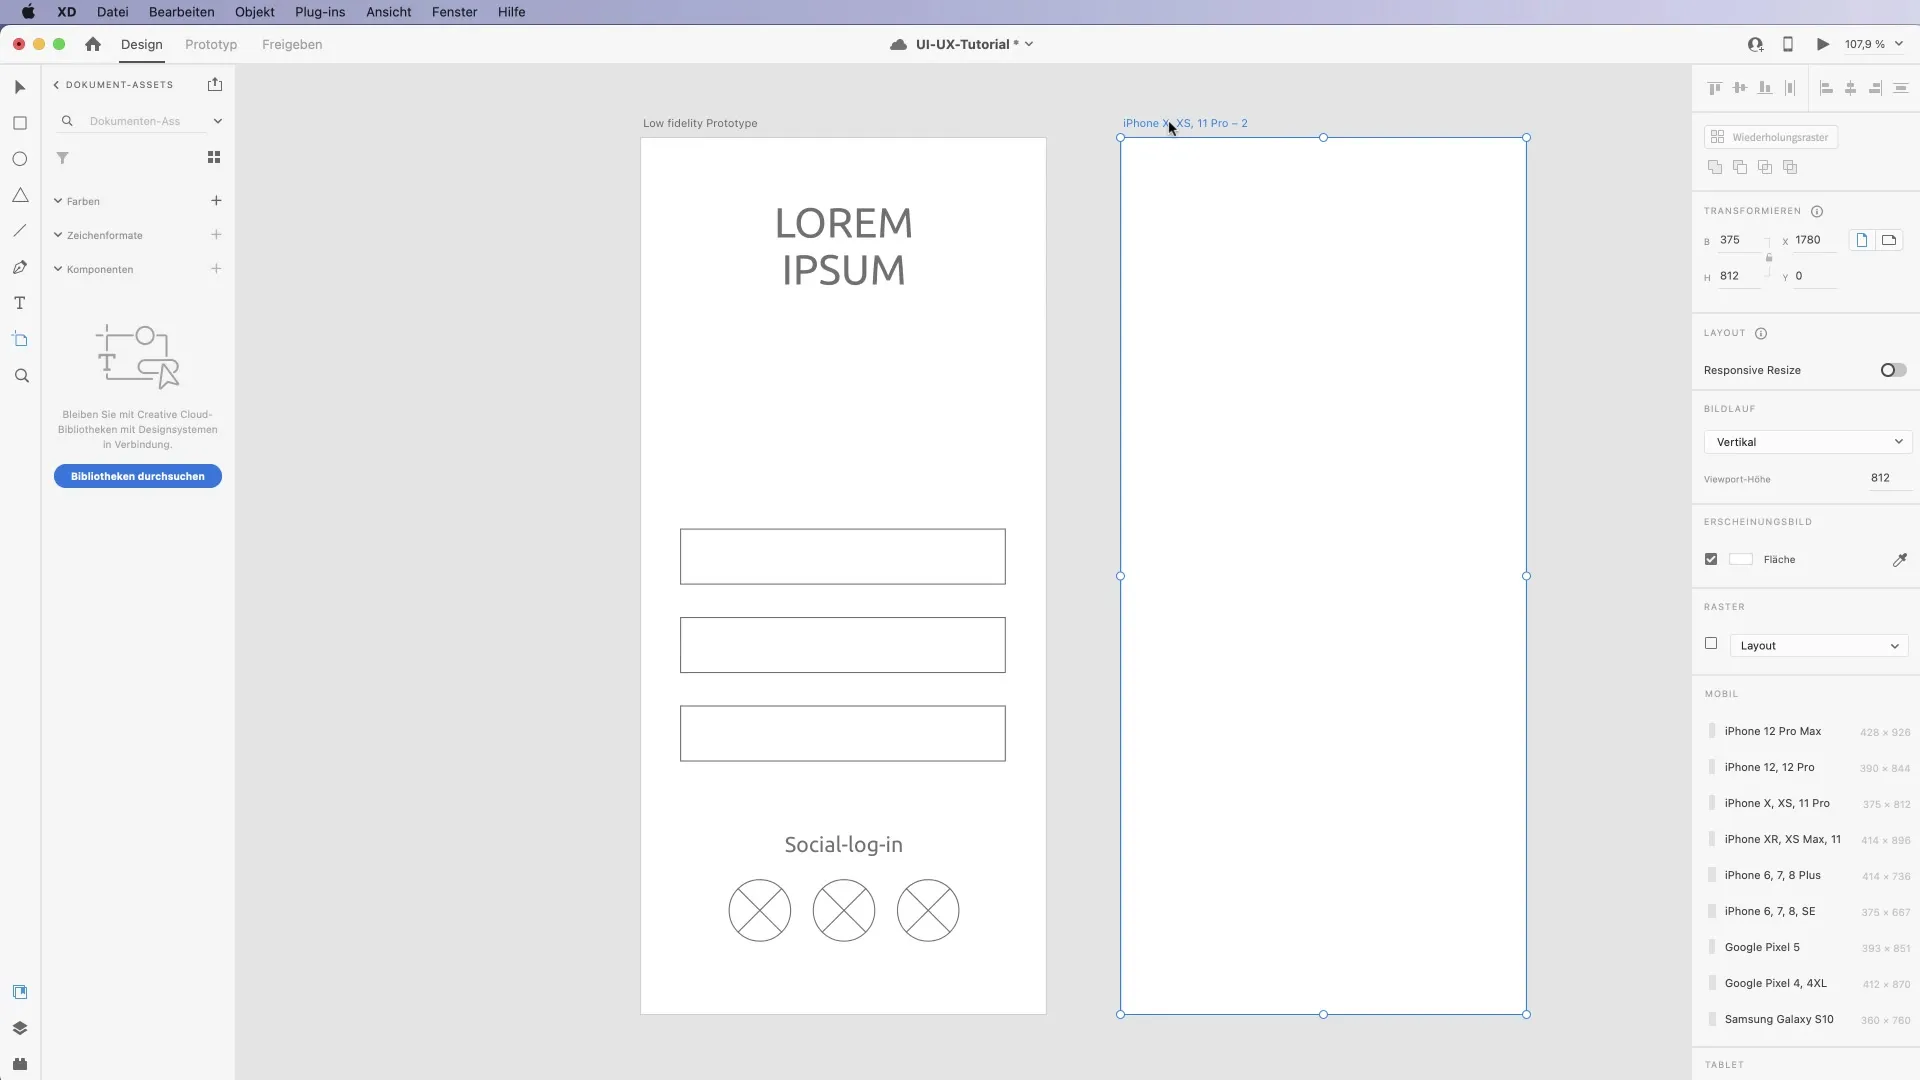
Start by creating a low-fidelity prototype to establish the basic logic of your design. Roughly sketch where elements like text fields, buttons, and images should be placed. This will help you plan the basic layout without getting lost in the details.
Step 4: Refining the Design
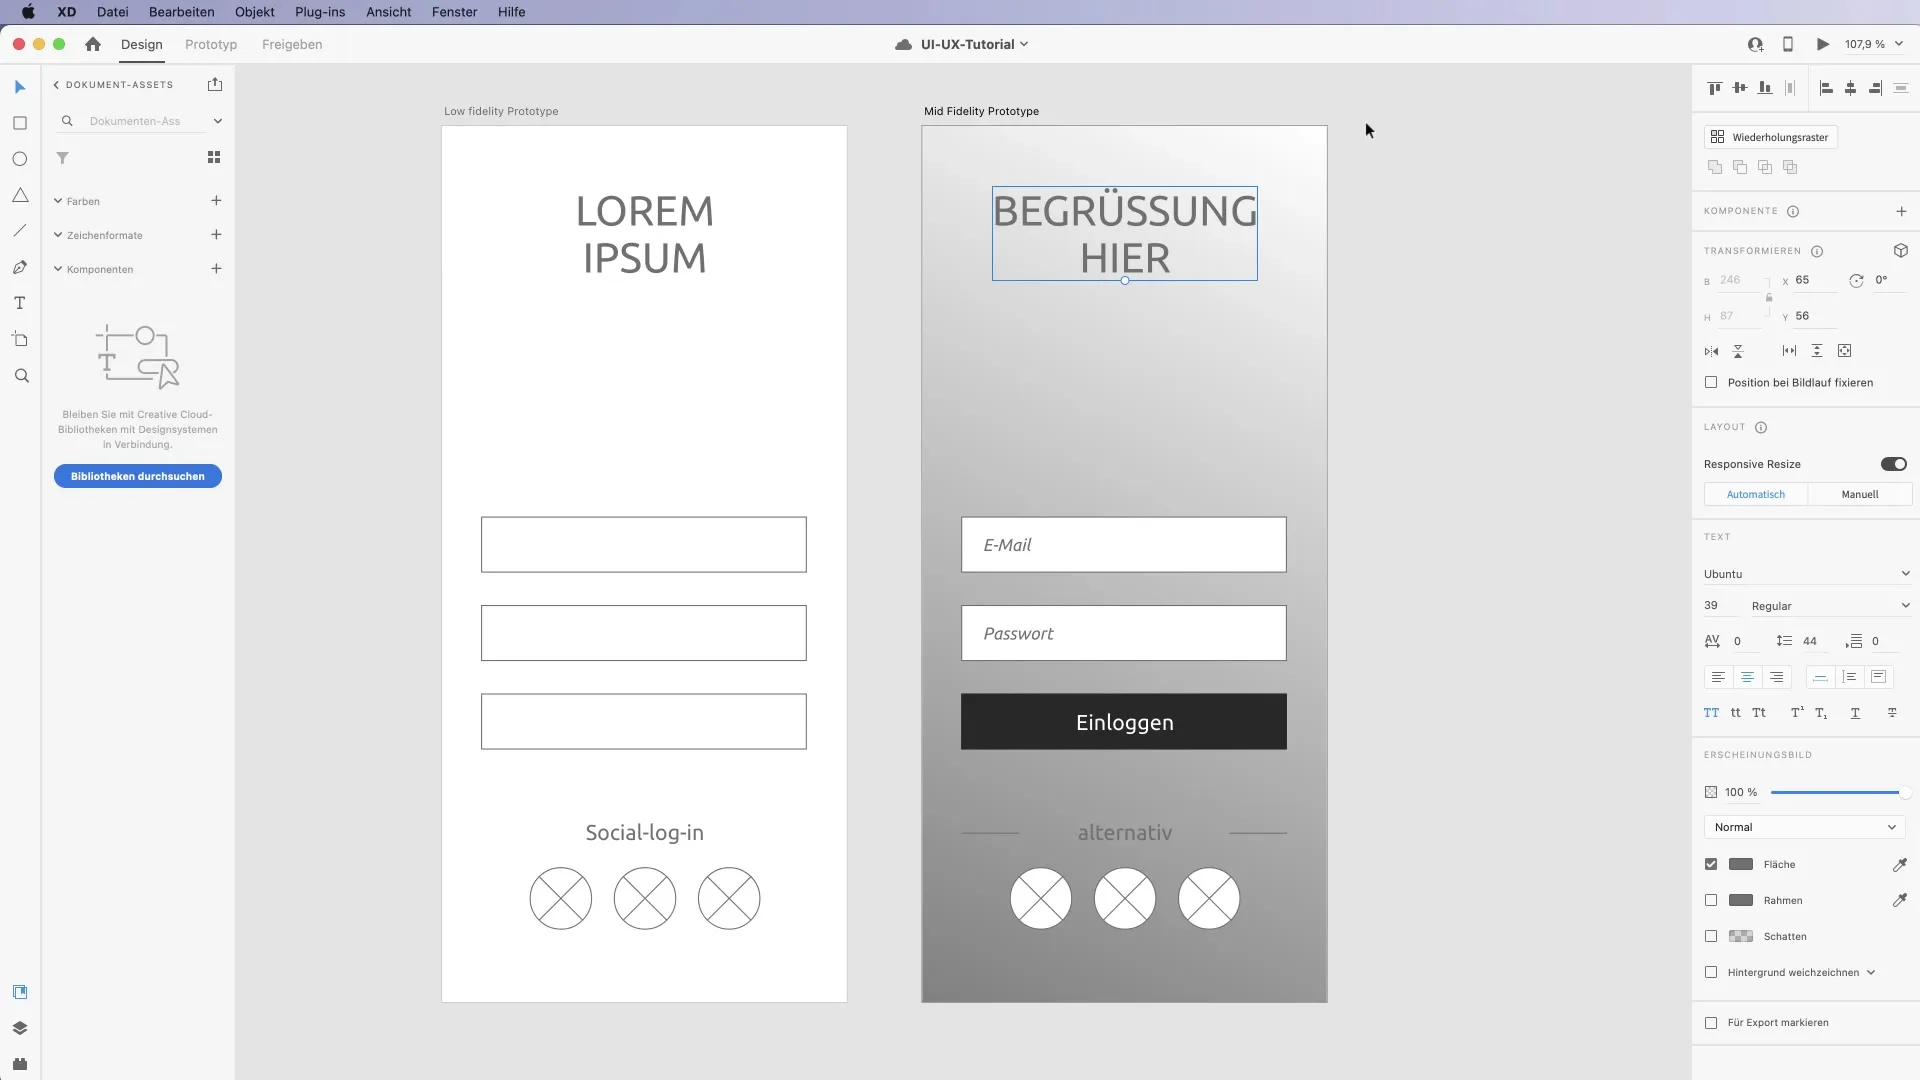
After completing your low-fidelity prototype, ensure that the logic and user flow are clear. Begin refining a medium-fidelity prototype where you add more details. You can now include background colors, text styles, and buttons to make the design more appealing.
Step 5: High Fidelity Prototyping
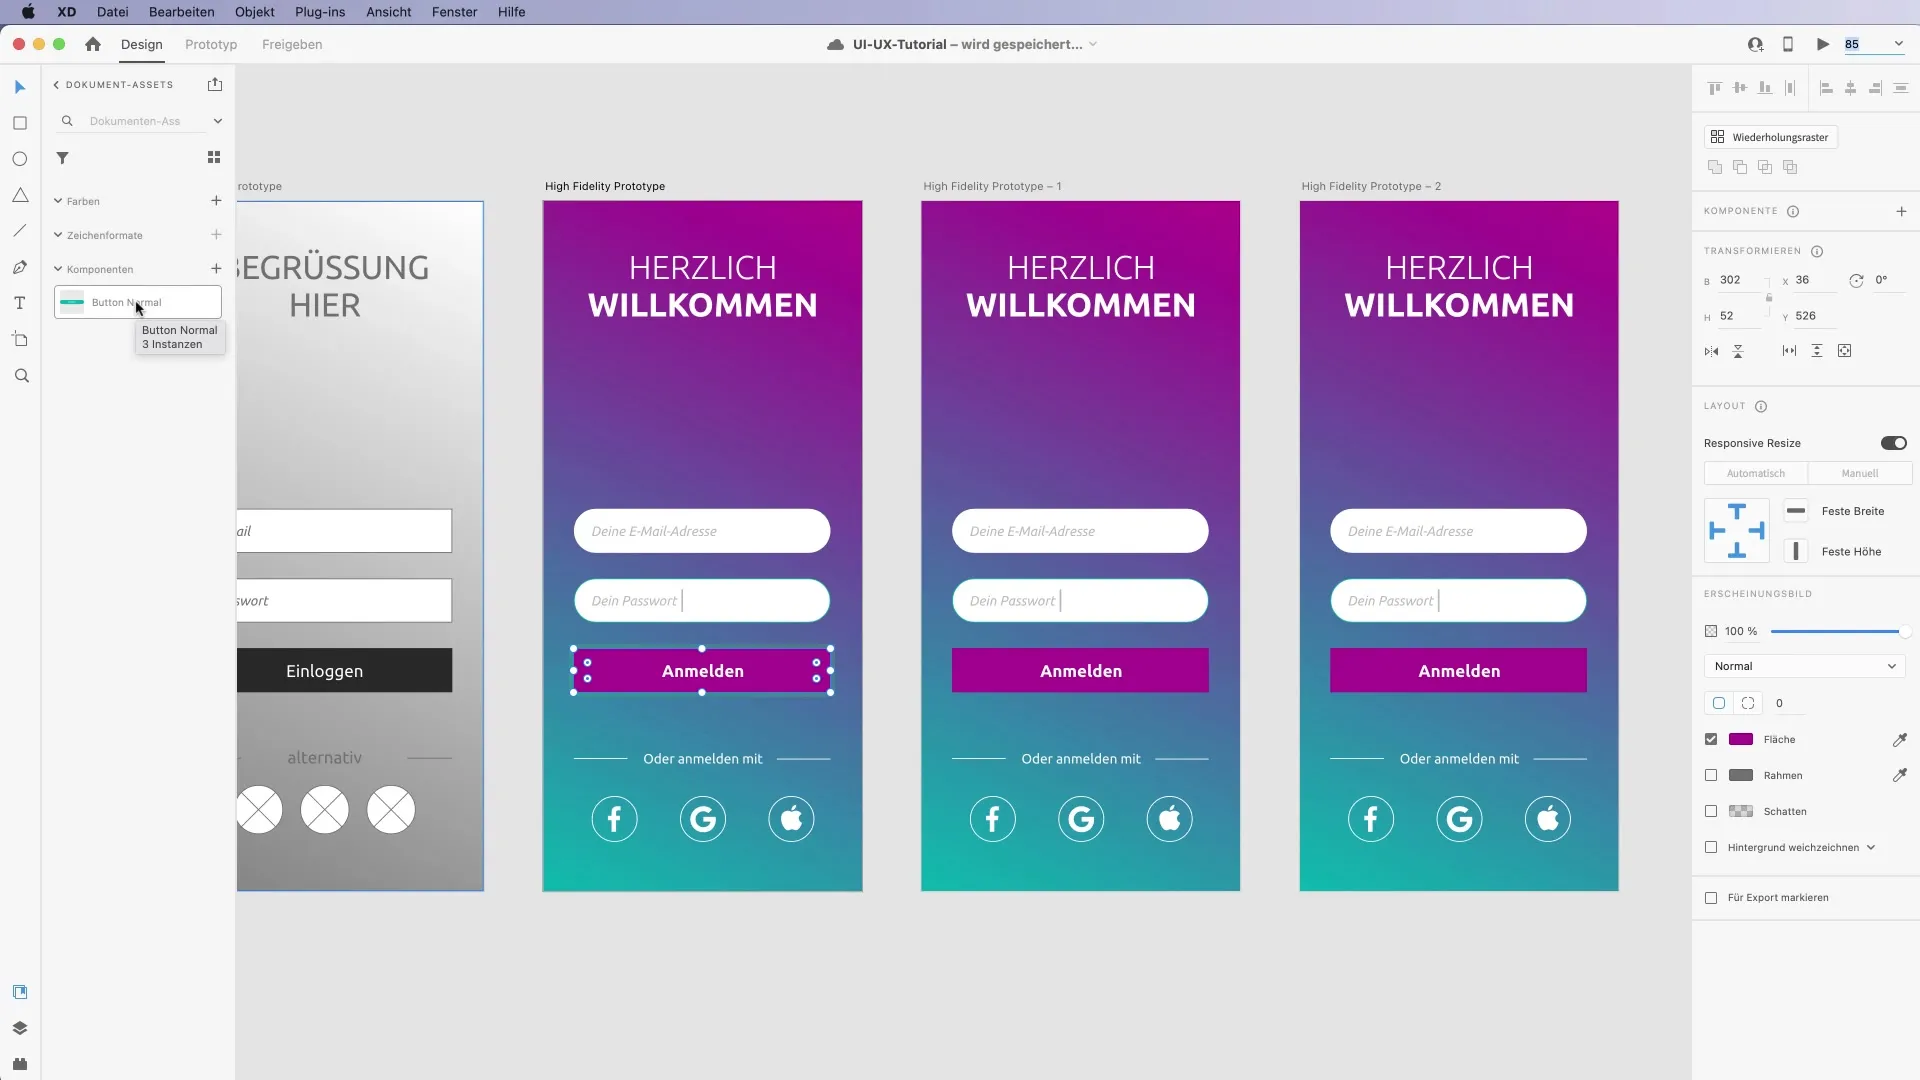
Now you can move on to the high-fidelity prototype, meaning you add precise colors, fonts, and design elements to give the design a realistic impression. Fine-tune the buttons and other interactions to ensure everything looks good and functions properly.
Step 6: Testing Prototypes on Mobile Devices
One of the strengths of Adobe XD is the ability to test your prototype in real-time on mobile devices. Connect your smartphone via a USB cable and upload your prototype to see how it functions on a real device. This helps you identify issues early on.
Step 7: Using Components
Utilize components for recurring design elements. When something changes, the change will automatically apply to all instances of that component. This saves time and ensures consistency in your design.
Step 8: Utilizing Wireframes and UI Kits
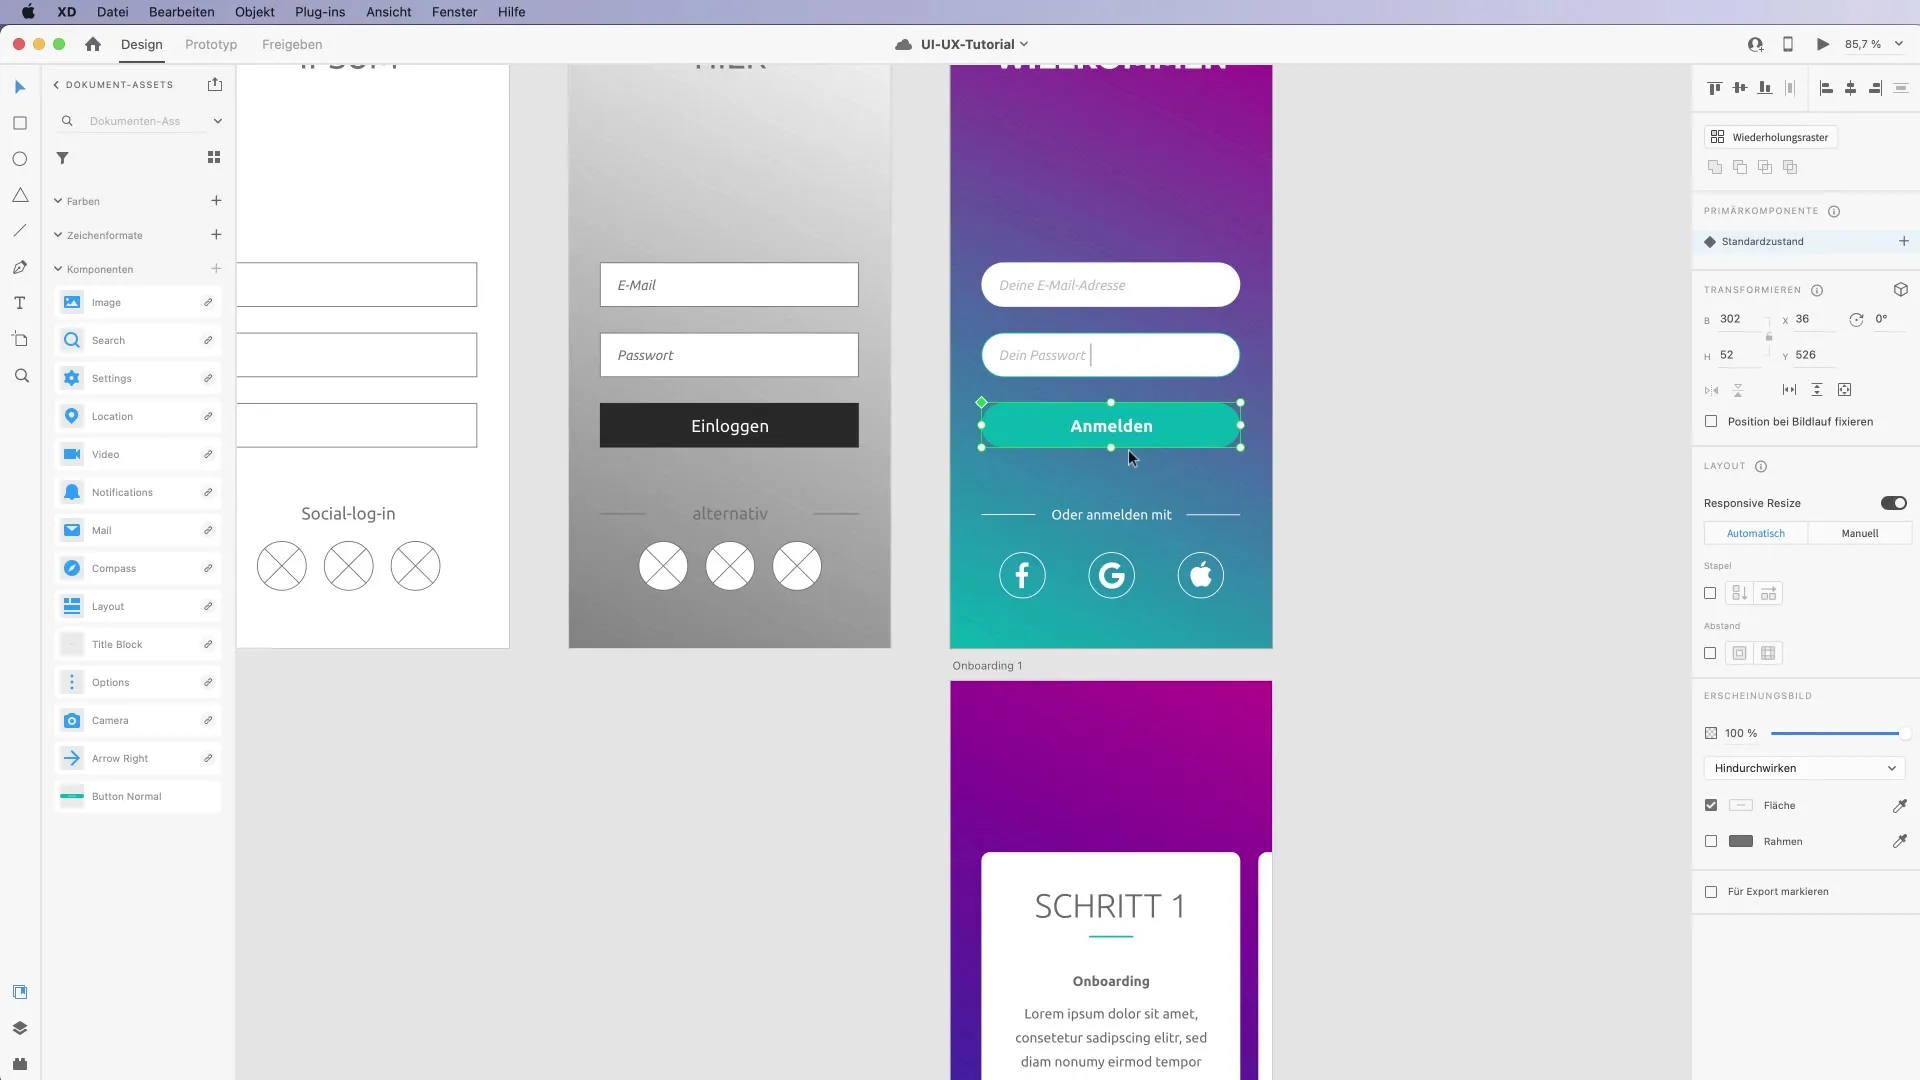
To speed up the design process, you can use pre-made wireframes and UI kits. These resources provide you with a solid foundation to start working quickly and overcome creative blocks. Download the desired kits and customize them to fit your design.
Step 9: Customer Journey Mapping
Use wireframes to map out the customer journey. This helps you visualize the entire user flow from sign-up to onboarding and beyond. Create the necessary artboards and test the transitions to gain a better understanding of the user experience.
Step 10: Feedback and Iteration
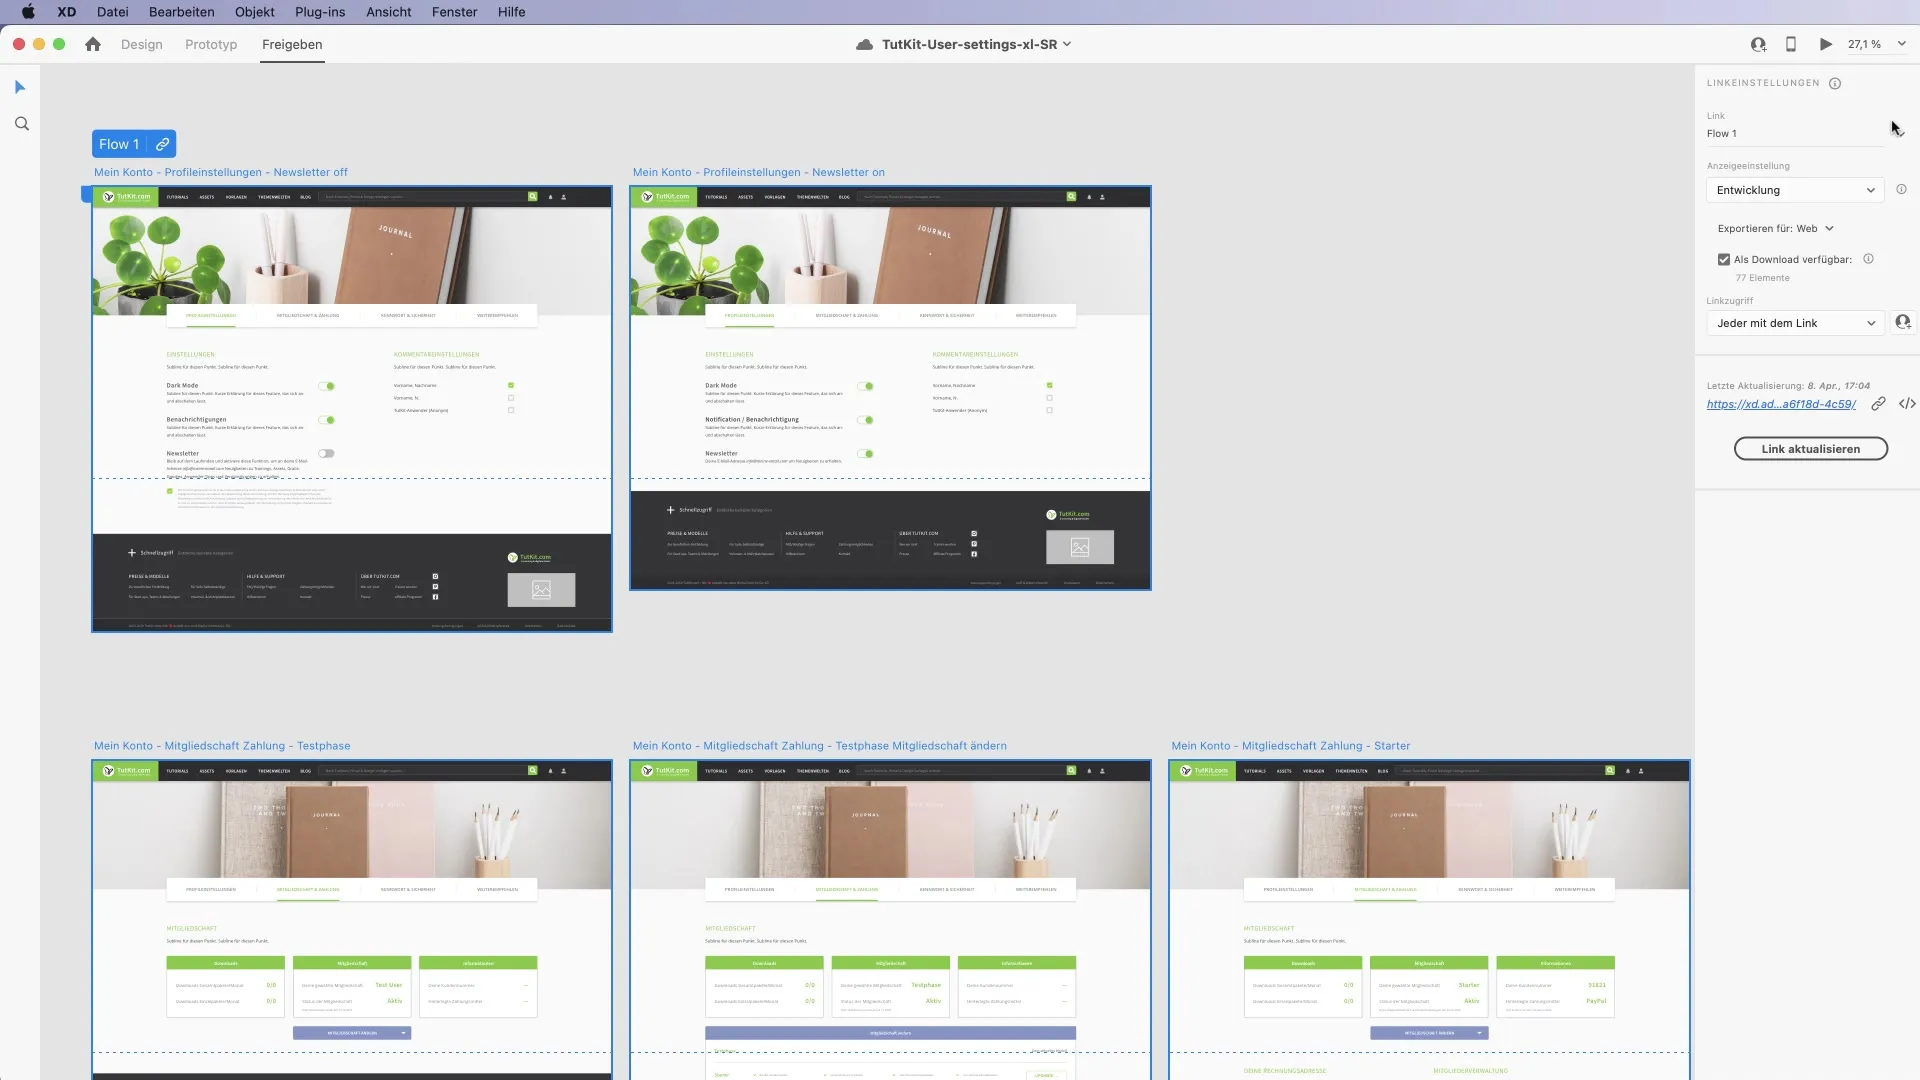
When you are satisfied with your prototype, it's time to gather feedback. Share your detailed prototype as a link so that others can provide their feedback. Make sure to consider their suggestions and make any necessary adjustments.
Step 11: Handover to Development
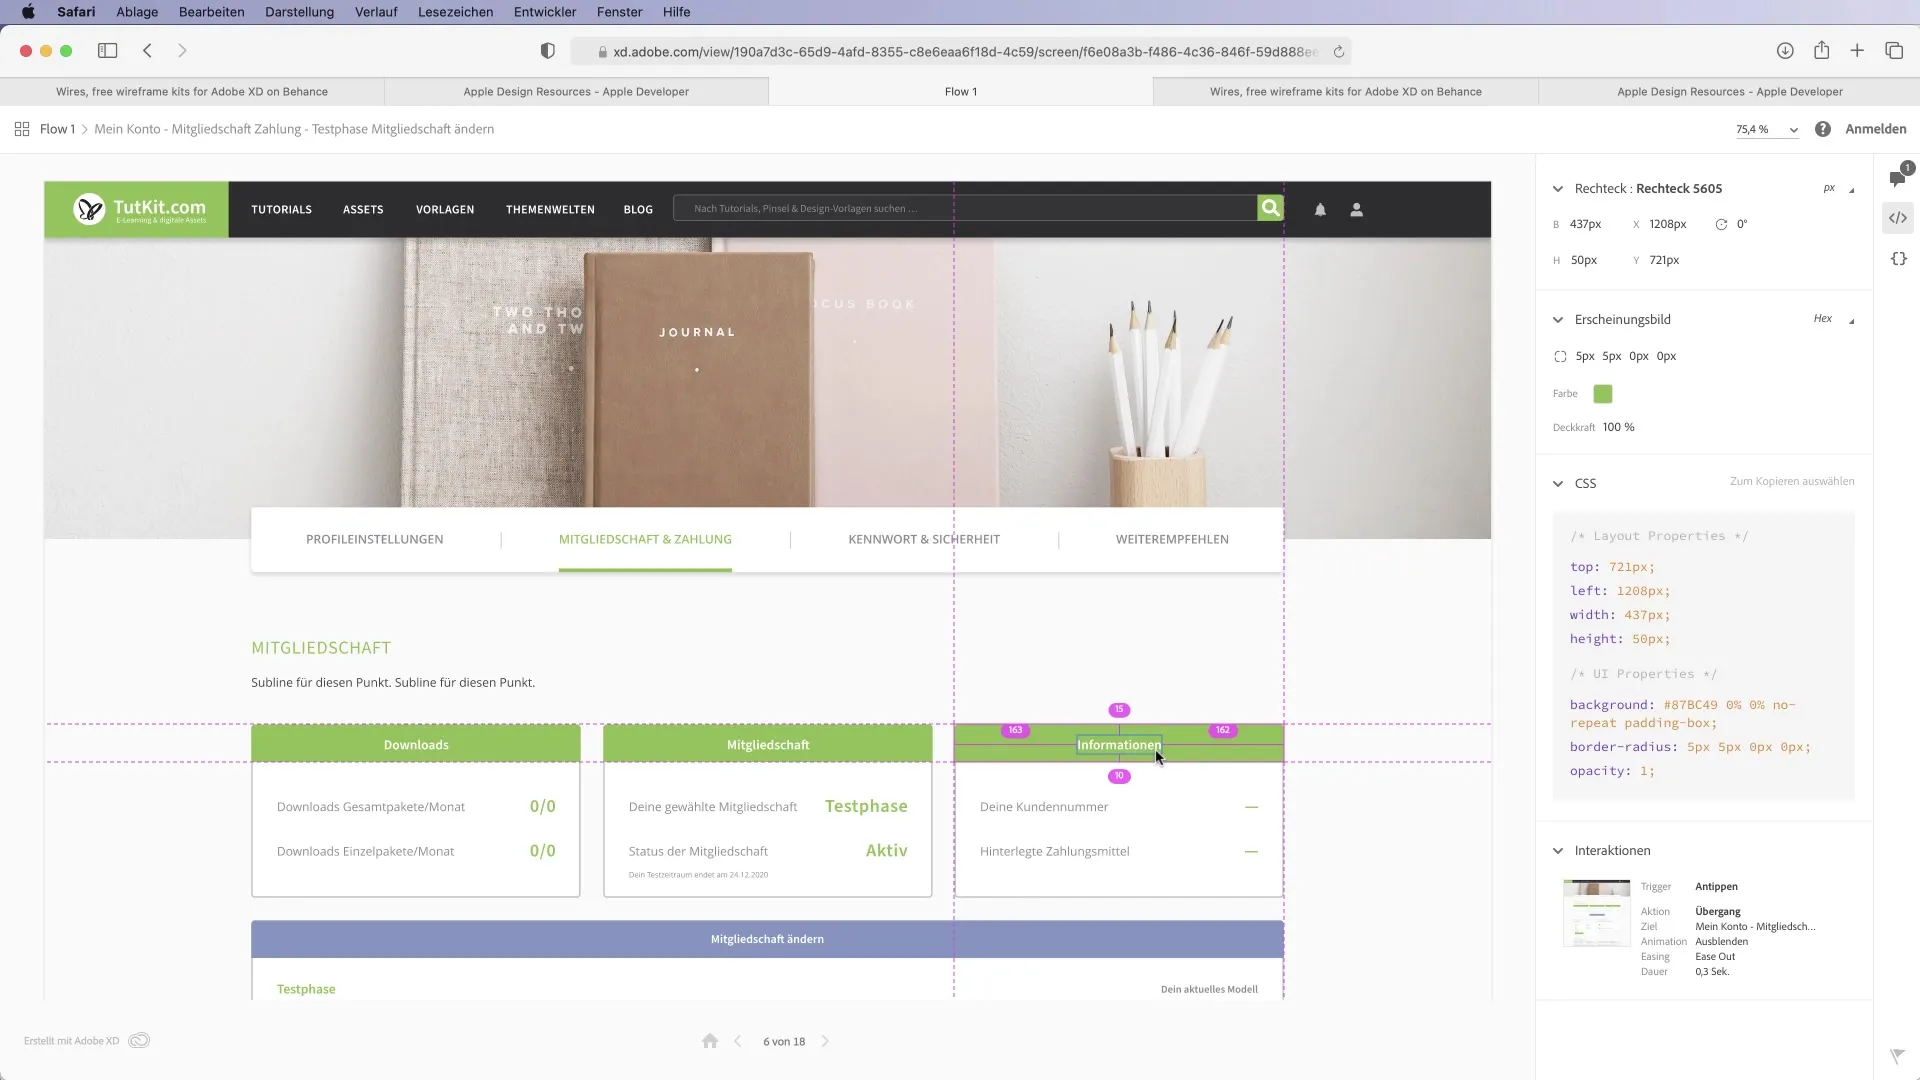
Once your prototype has been approved, pass it on to the development team. Ensure that all design specifications are correct and provide all necessary resources they need for implementation. This includes colors, fonts, and all other design components.
Step 12: Completion and Reflection
Finally, after completing the project, reflect on the entire process. What went well? What challenges did you face? Think about how you can work even more efficiently next time.
Summary
This guide provides you with a comprehensive overview of working with Adobe XD in UI/UX design. You have learned the various steps from concept to prototyping to handover to development. With this knowledge, you can work creatively and efficiently, optimizing your design process.
Frequently Asked Questions
How do I start with Adobe XD?Open the application and select the desired artboard type.
What are Low-Fidelity Mockups?These are rough sketches to establish basic logic and layout flow.
How do I test my prototype on mobile devices?Connect your smartphone via a USB cable and upload the prototype.
Why are components important?They provide consistency and offer a quick way to make changes to design elements.
How do I get feedback on my design?Share the prototype as a link to gather feedback from others.
