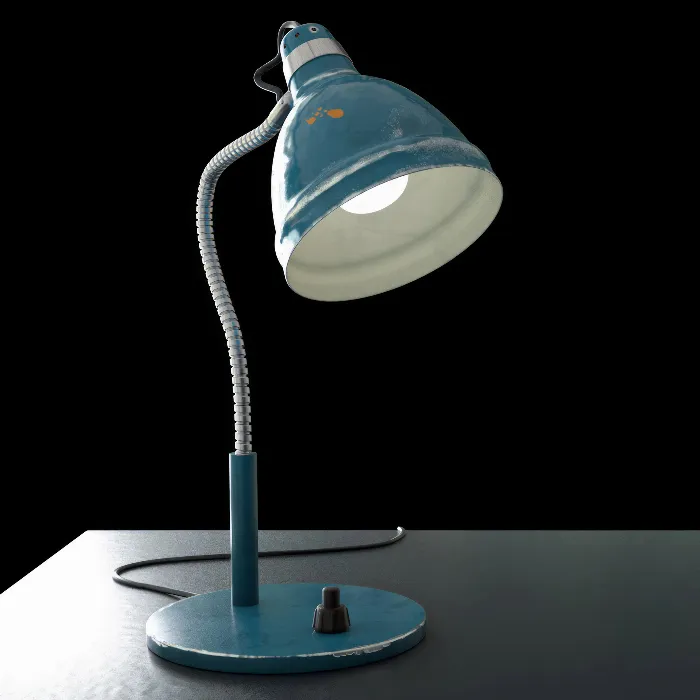
Welcome to this practical training on BodyPaint 3D. If you've been thinking about trying BodyPaint for a while but haven't quite dared to, you've come to the right place. In this tutorial, I'll explain to you how to effectively use UV Edit and 3D Paint.
We will be working on a simple model together - a lamp. This model is relatively simple, allowing you to focus entirely on the techniques you want to learn. I will also provide you with the corresponding project files so you can apply what you have learned directly.
Key Takeaways
- Unwrapping body UVs correctly is the first step before starting to paint in 3D Paint.
- The tools in 3D Paint are similar to those in Photoshop, making it easier to get started.
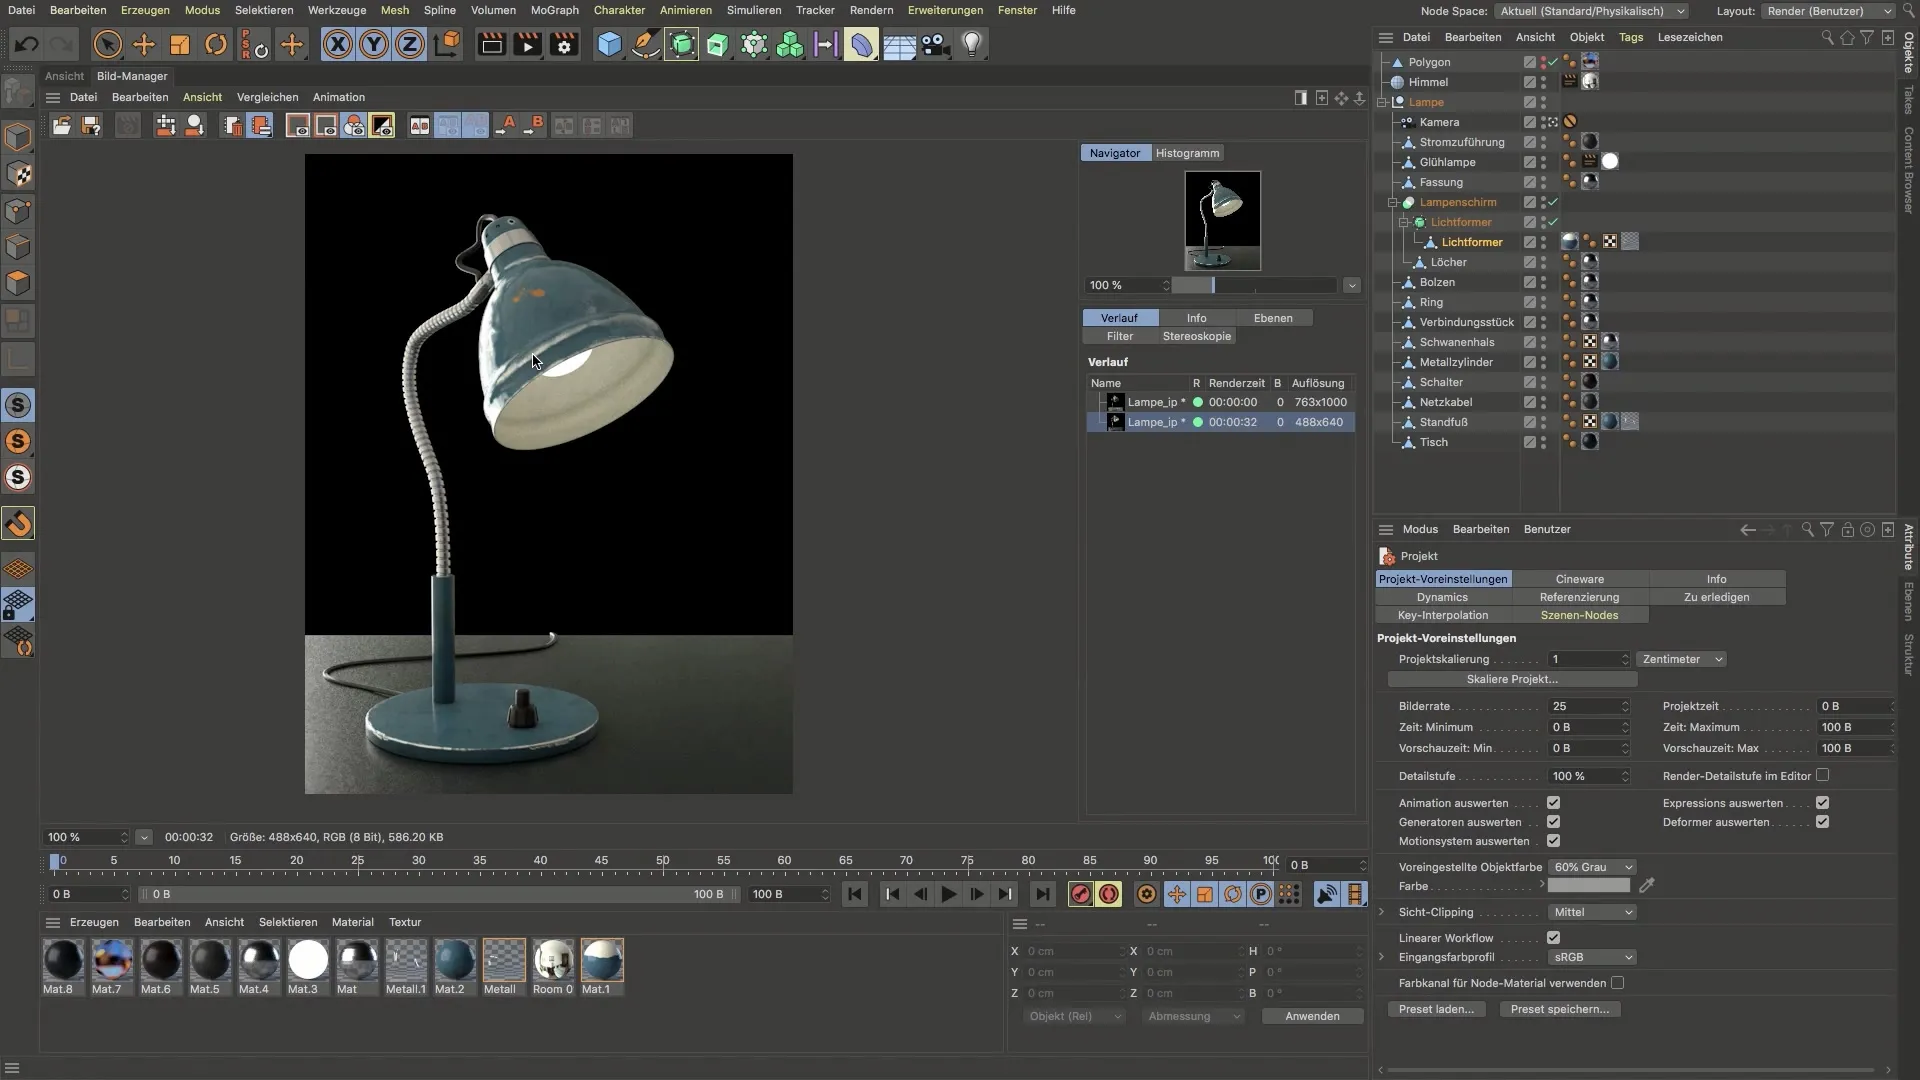
- The result will be a lamp with realistic material wear achieved through different textures.
Step-by-Step Guide
1. Selecting and Preparing the Model
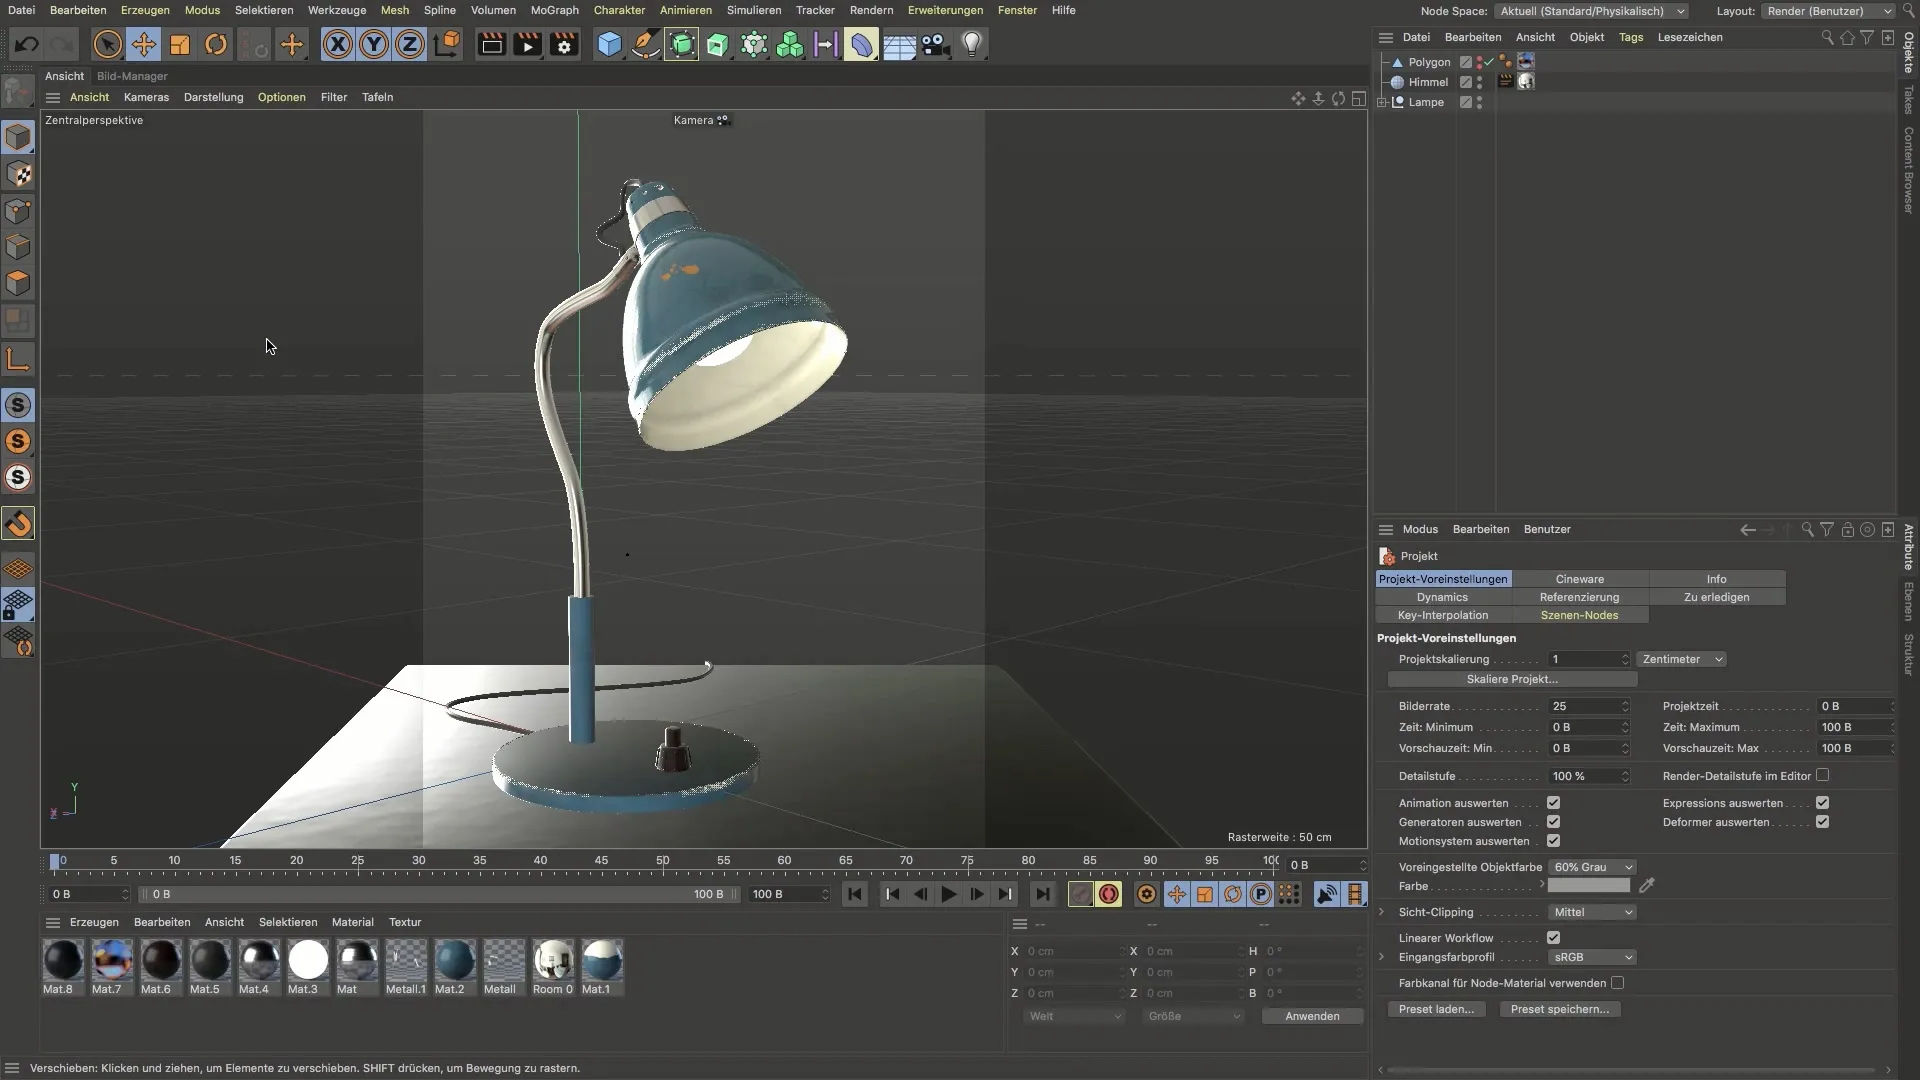
Start by selecting the model you want to work on. For this tutorial, we will be using the example of a lamp. You can find the lamp in the project files. Make sure that the interior and exterior parts of the lamp are clearly visible, as they will need to be painted later.
2. Unwrapping UVs
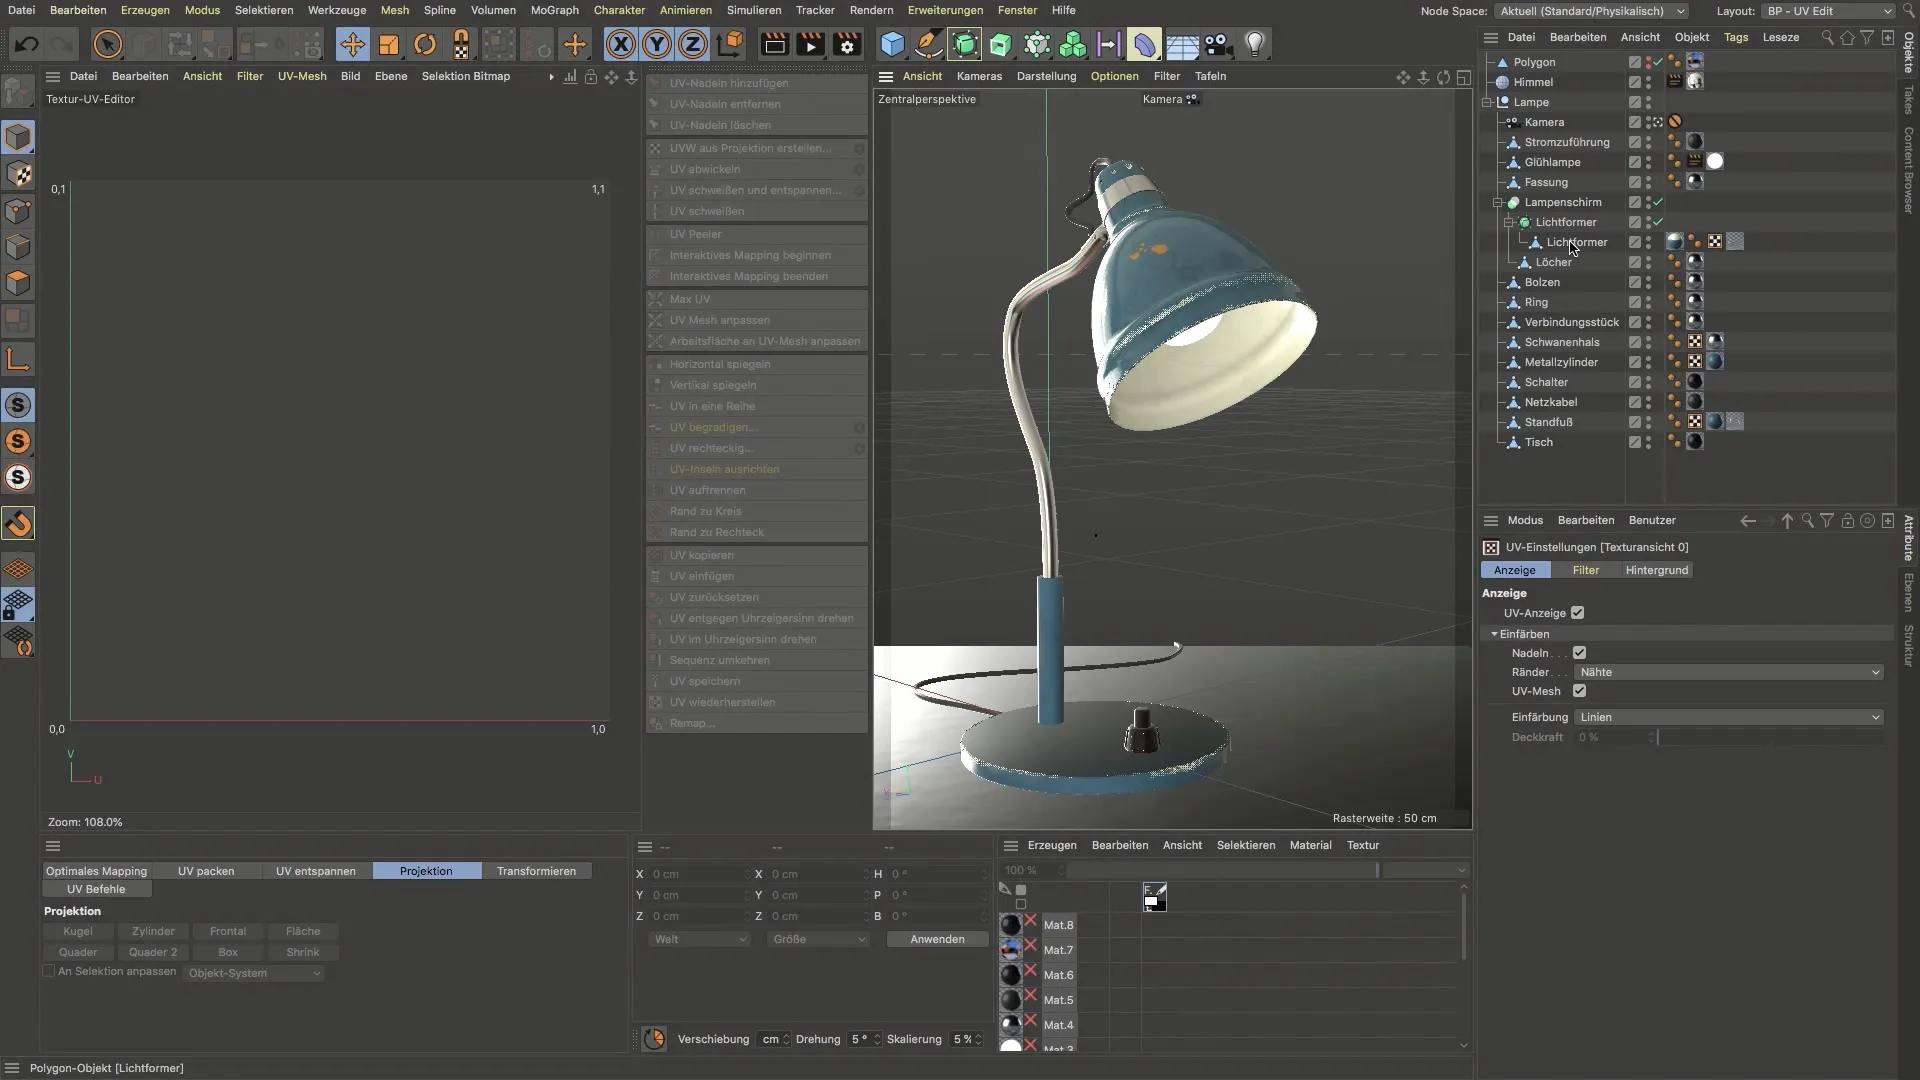
Next, switch to UV Edit to unwrap the UVs of the lamp. Select the relevant part of the lamp - in this case, the reflector. Make sure all surfaces are properly arranged on the UV layout so that painting works later on. Precision is important here to avoid unwanted distortions.
3. Opening 3D Paint
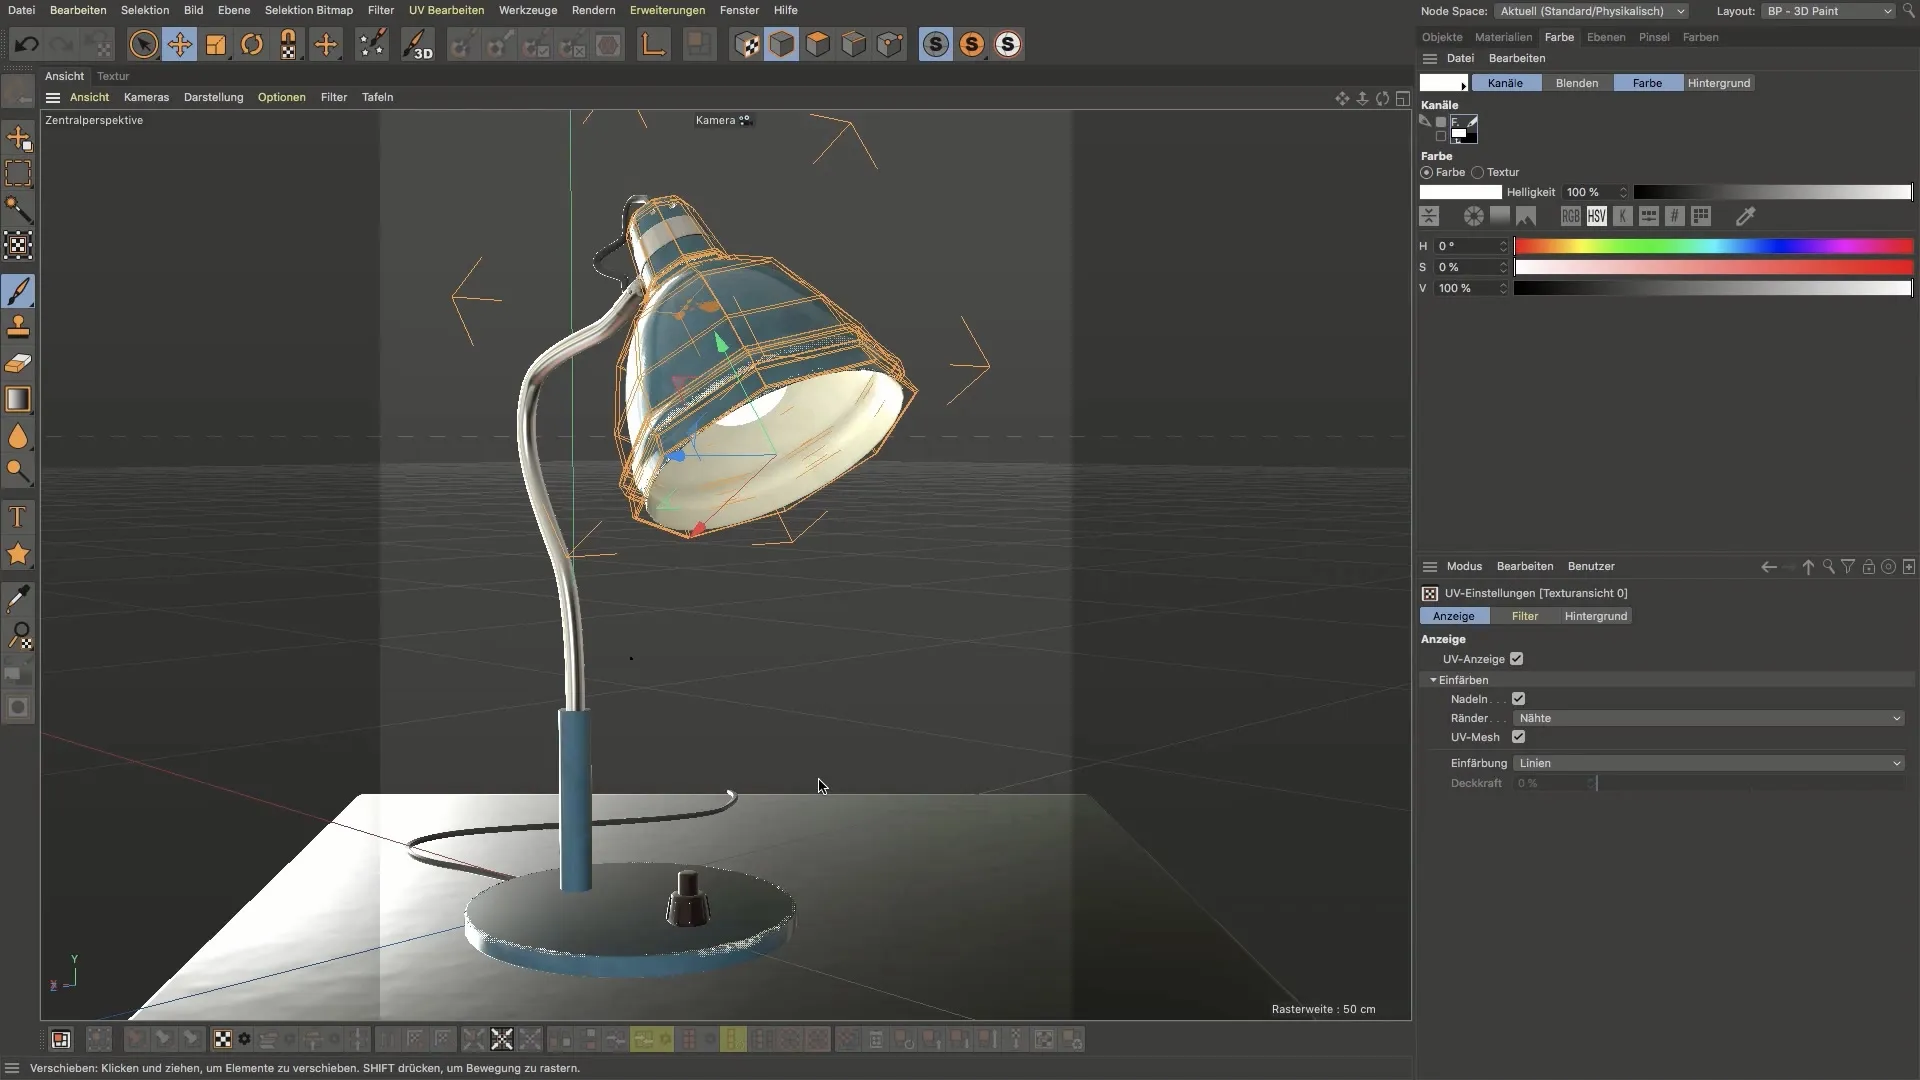
Once the UVs are unwrapped, open 3D Paint. This is the tool you will use to paint your lamp. In the 3D Paint interface, you will see a variety of tools that may be familiar in operation, such as brushes, erasers, and other common painting tools found in software like Photoshop.
4. Selecting Materials and Textures
Before starting to paint, you should select the desired materials and textures. This will help you combine different effects, such as wear or color gradients. Make sure to adjust the colors and textures according to your vision of the final look.
5. Painting in 3D Paint
Now it's time to get down to business: you start painting the lamp. Use the various tools in 3D Paint to create details like wear marks, abrasions, or splashes of color. It takes some practice to achieve the desired effects, but with patience, you will surely achieve satisfactory results.
6. Final Checking and Saving
Once you have finished painting, you should check your work. Examine the lamp from different angles to ensure that the painting looks realistic and the UVs have been correctly applied. Don't forget to save your project before closing BodyPaint.
Summary
You have now learned the basics of BodyPaint 3D and gone through the necessary steps to create and paint a lamp. The skills you have learned here will help you creatively implement your own ideas in the 3D field in future projects.
Frequently Asked Questions
How does unwrapping UVs work in BodyPaint?Unwrapping the UVs happens in UV Edit, where you can arrange the surfaces to avoid distortions.
What tools does 3D Paint offer?In 3D Paint, you will find brushes, erasers, and other painting tools that are familiar if you have experience with Photoshop.
How do I save my project in BodyPaint?You can save your project by opening the file menu and selecting "Save".
