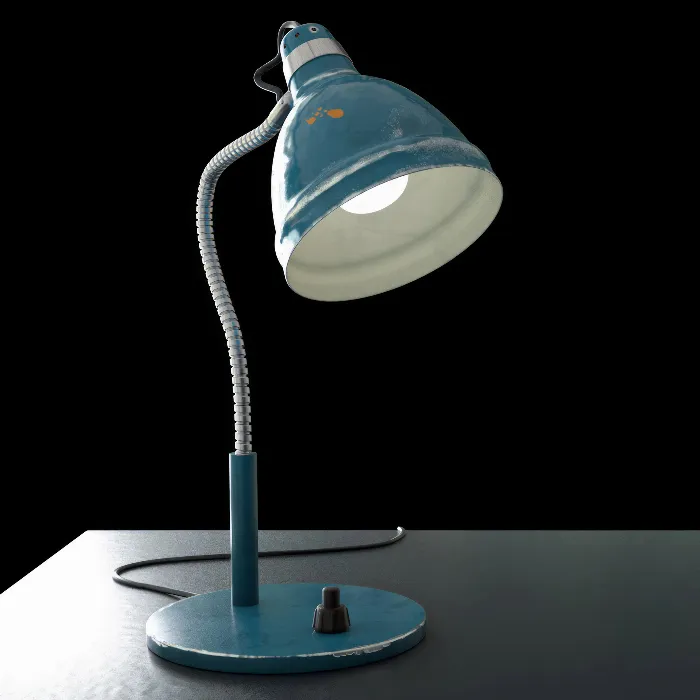
The art of UV Mapping is an essential skill that you should master as a 3D artist. Especially when designing objects like cylinders, precise UV unwrapping can be crucial to achieve a visually appealing result. In this tutorial, I will show you how to effectively unwrap the UVs of a cylindrical object in BodyPaint 3D. Let's dive straight into practice without much delay.
Main Insights
- The correct structure and selection of edges are crucial for a clean UV unwrapping.
- Applying rounds and the proper conversion of objects are essential to avoid distortions.
- With the right tools in BodyPaint, you can create an appealing UV mapping for cylindrical objects.
Step-by-Step Guide
Start by preparing your scene by opening the lamp in BodyPaint 3D. This scene contains all objects relevant to the tutorial. You should work in the standard mode to begin unwrapping.
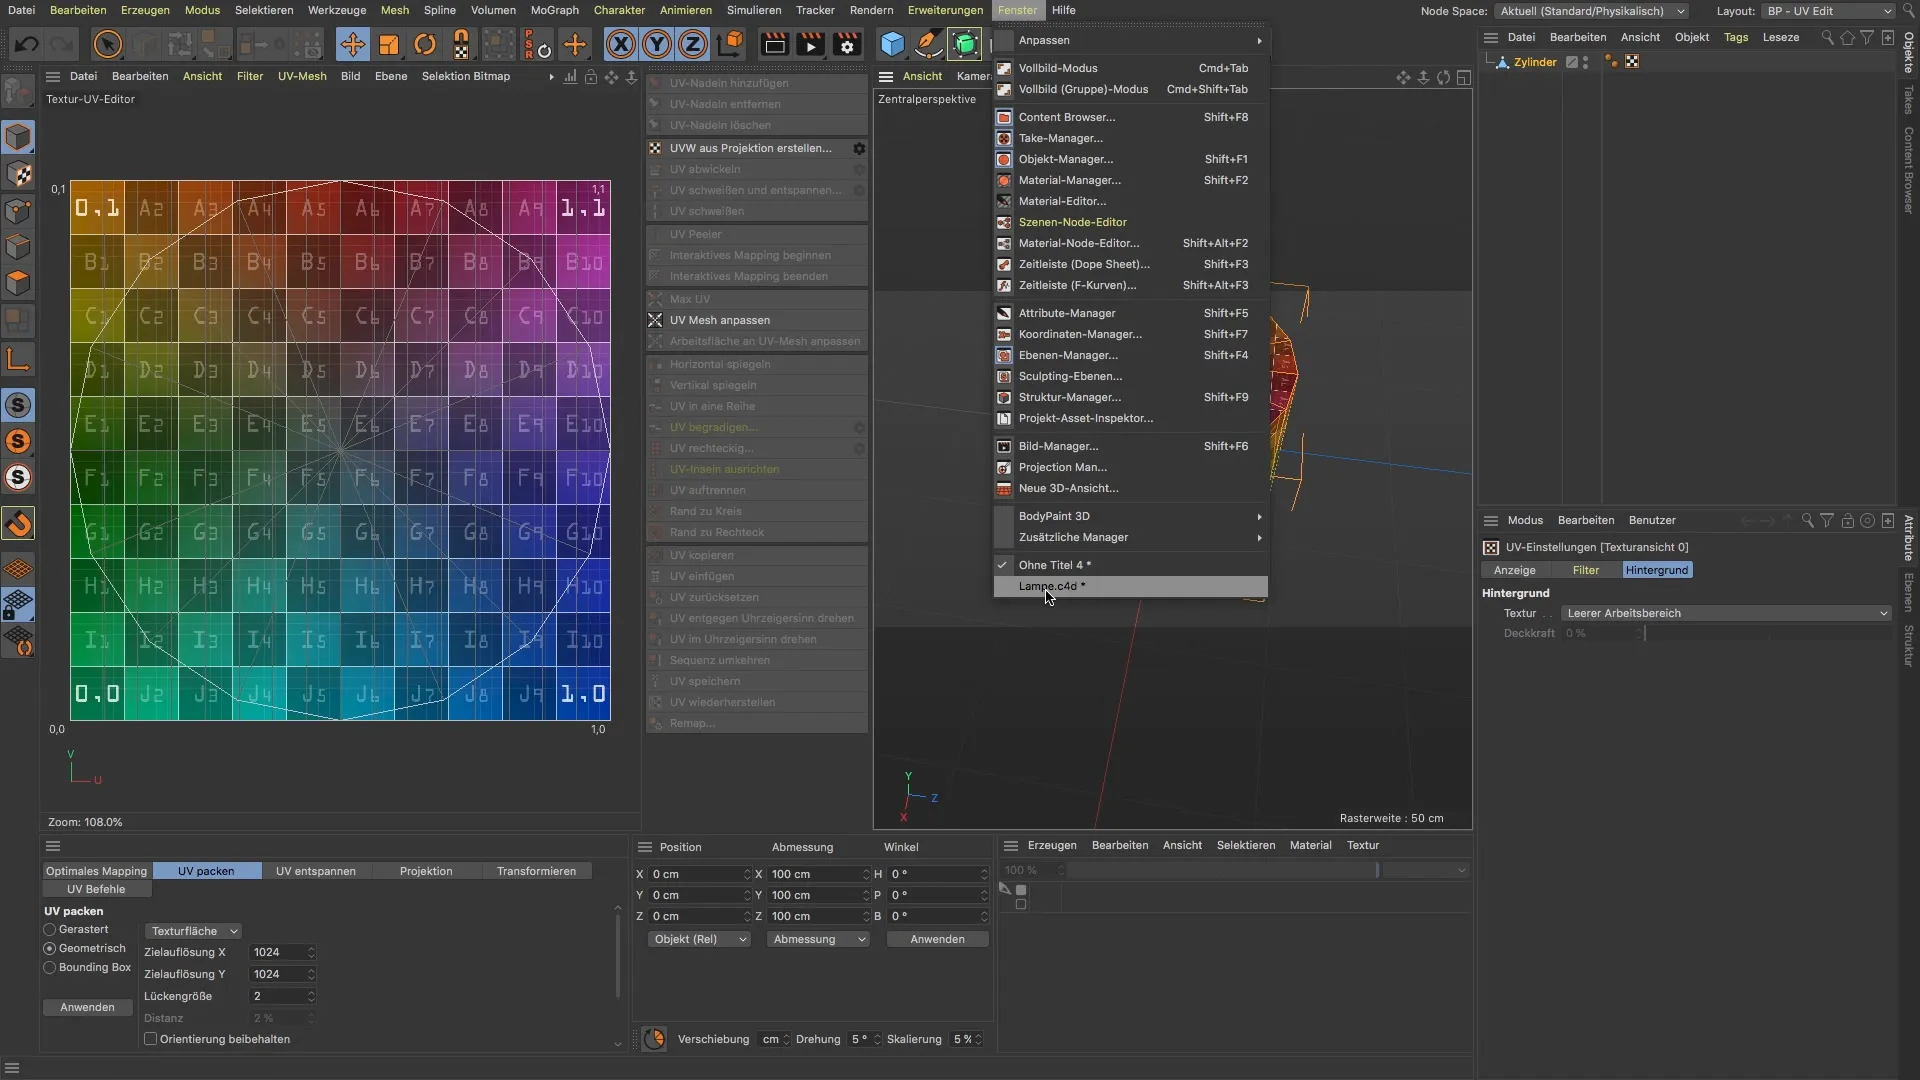
Select the lamp base and then switch to UV Edit. Here you will see that all UVs of the cylinder are stacked on top of each other. This is not ideal, as you should aim for a clear and separate representation of the top, bottom, and edges.
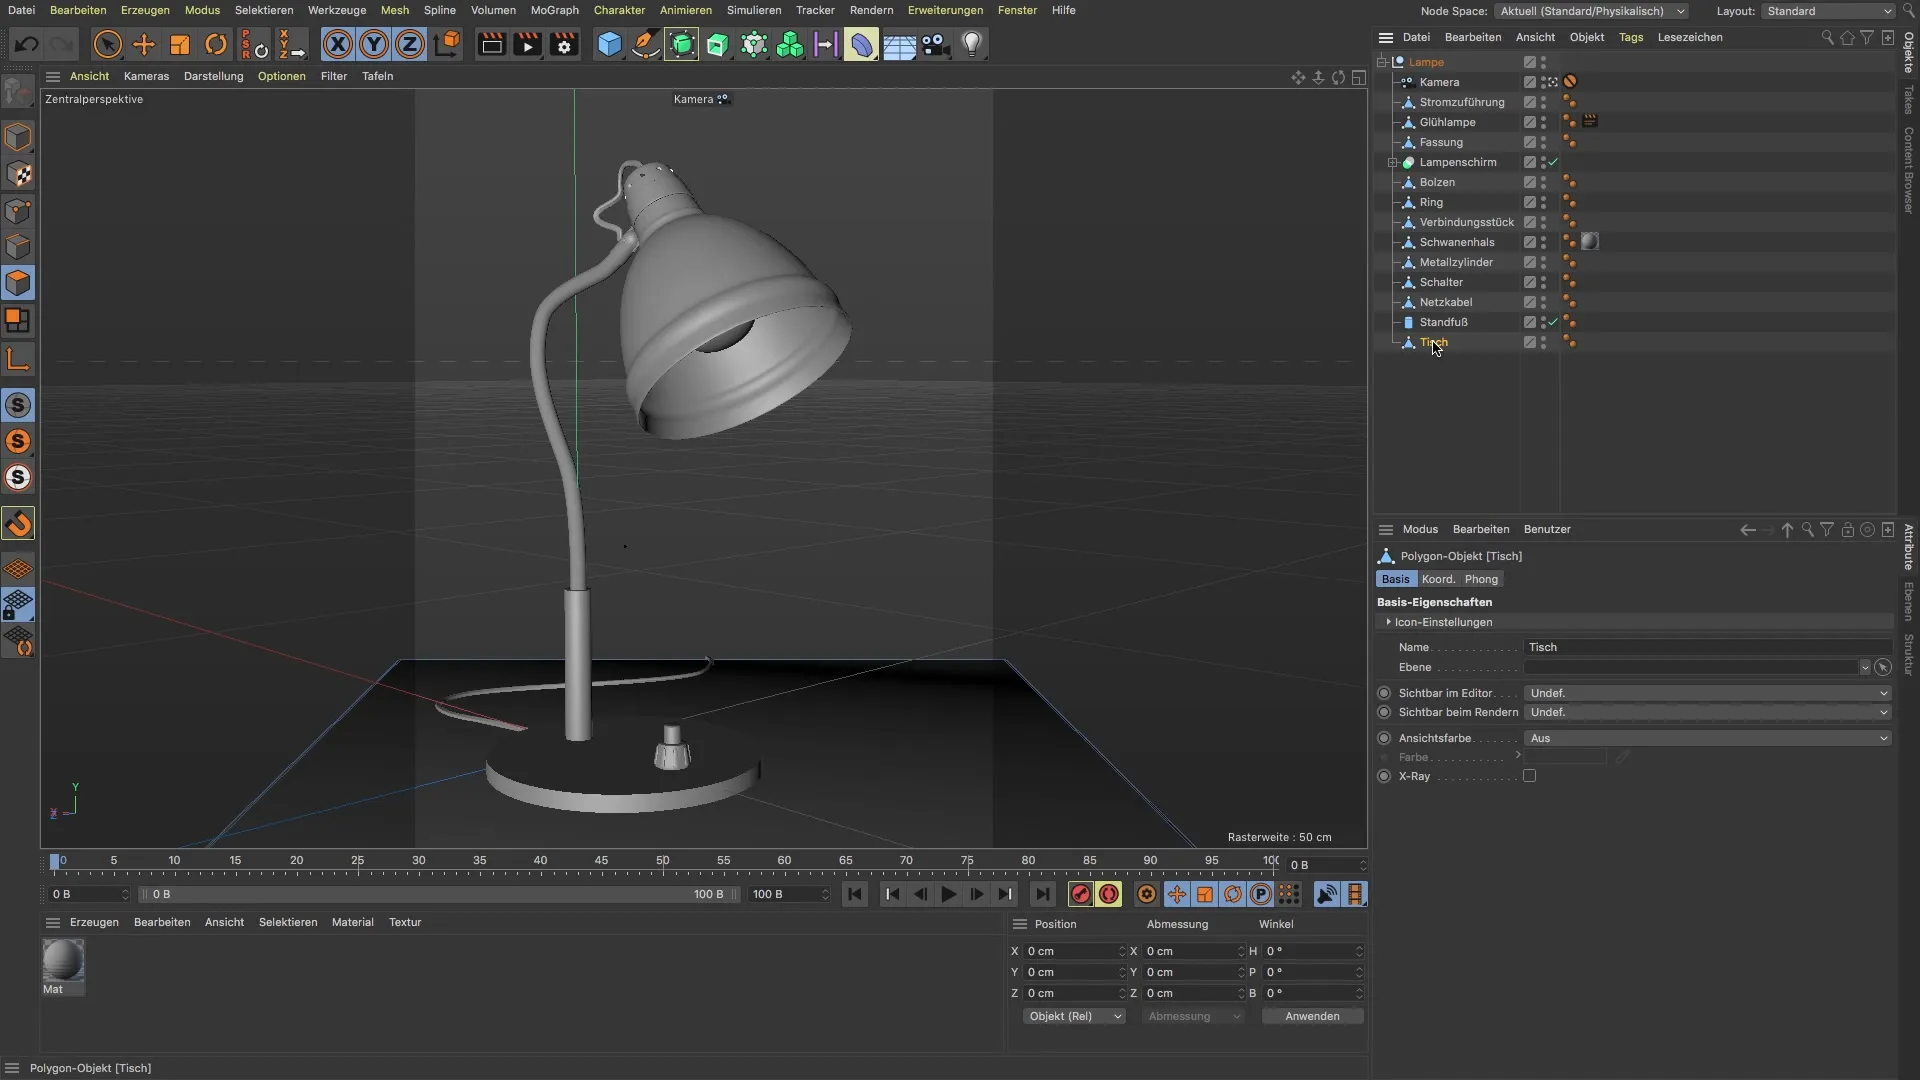
To improve the cylinder's geometry, click on "Deckflächen" and select the "Rundungen" option. Set five segments and a radius of 0.1 cm to create technical edges, ensuring that your UVs no longer overlap.
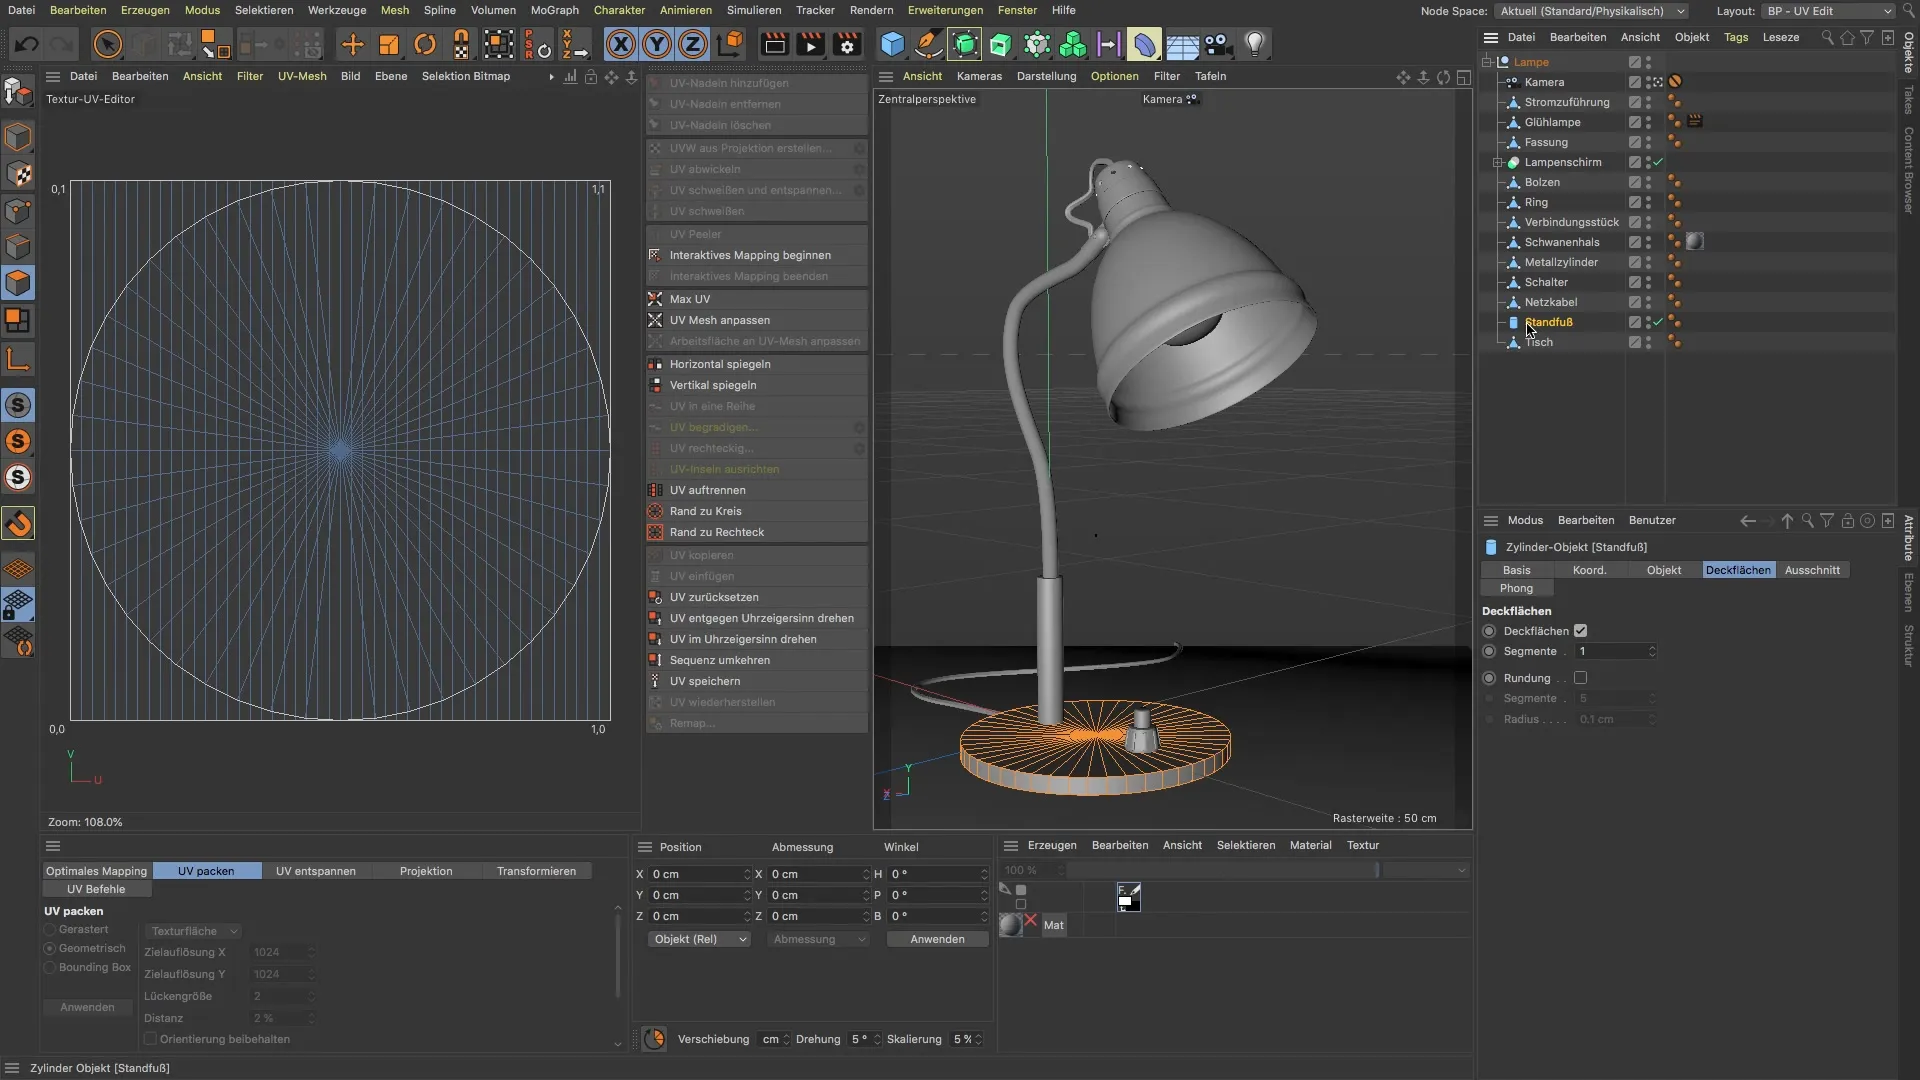
Before you start unwrapping the UVs, you need to convert the lamp base to obtain a UV tag. If the UV tag seems meaningless at the moment, you can simply delete it to start anew.
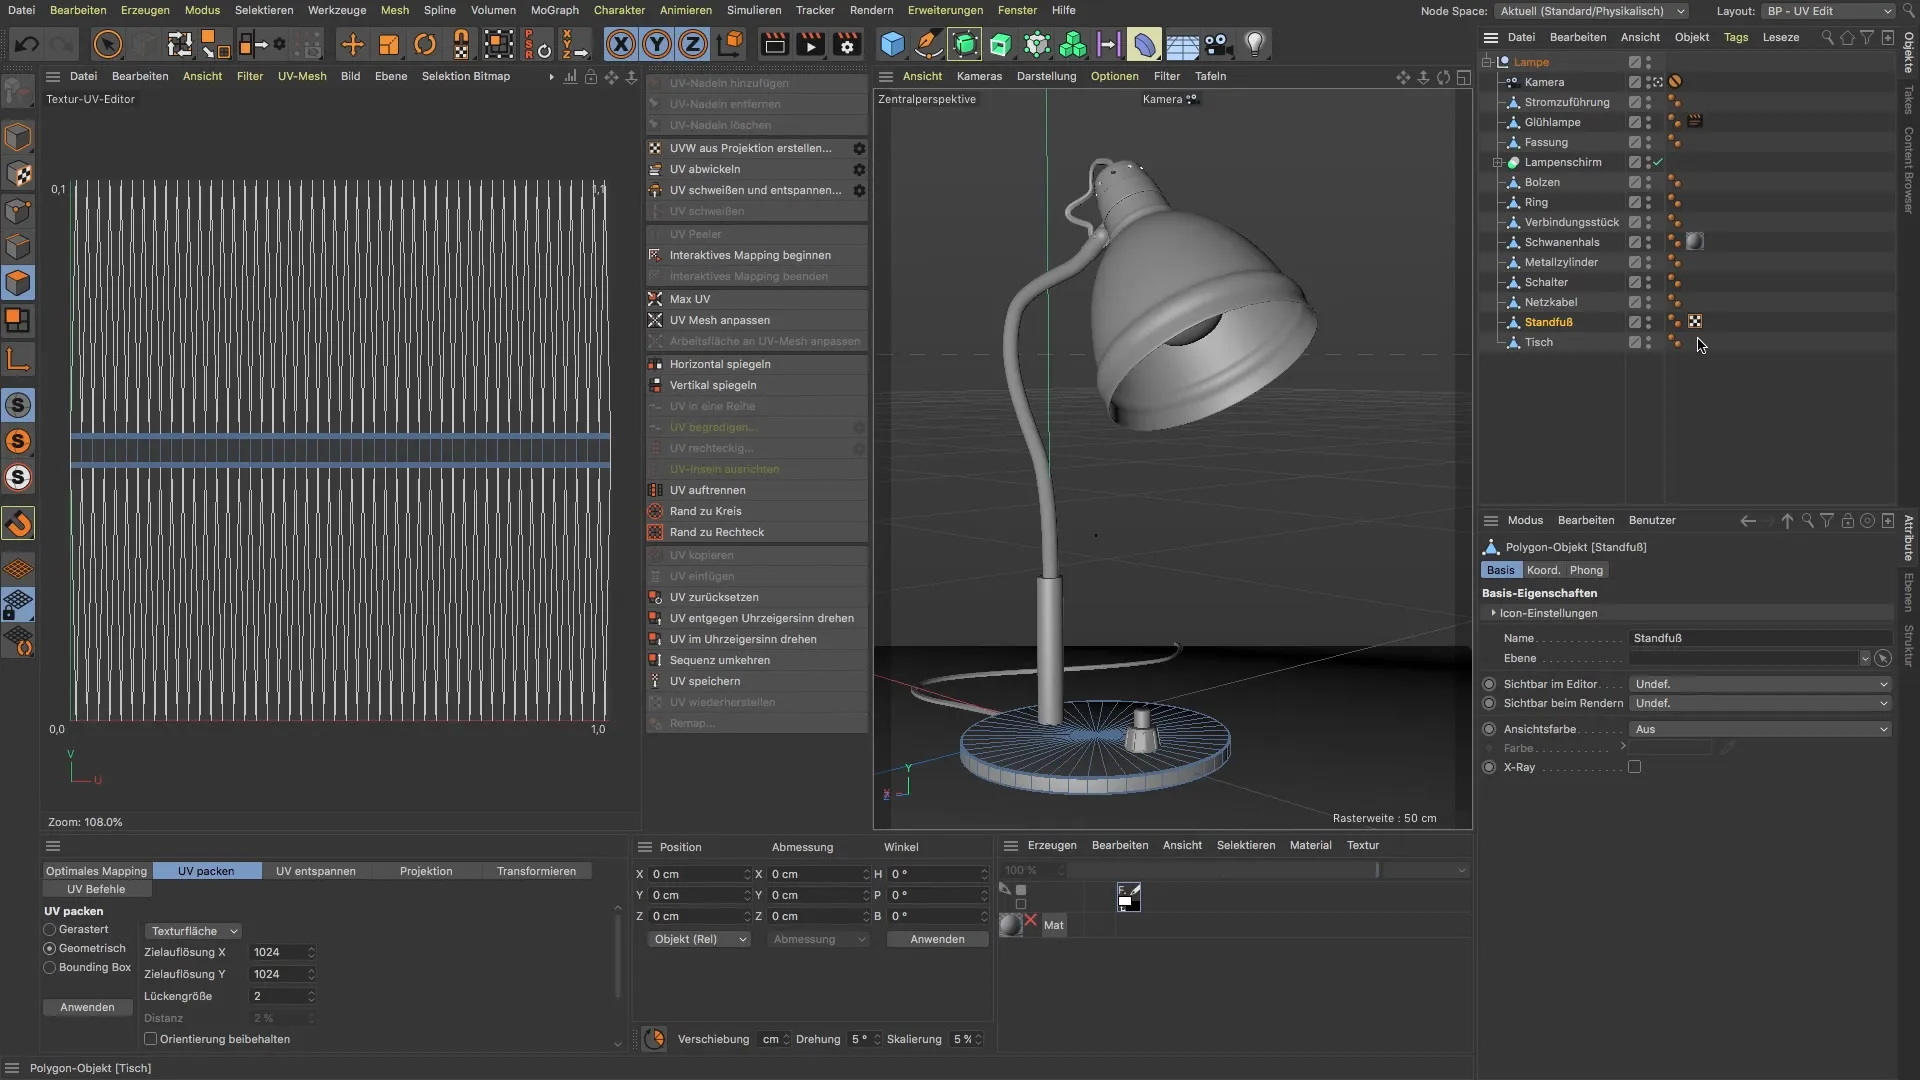
Now you have the option to use the commands "Create UV from Projection" or "Unwrap UV." However, first make sure that the lamp base is fully selected for unwrapping; this makes working with the UVs easier.
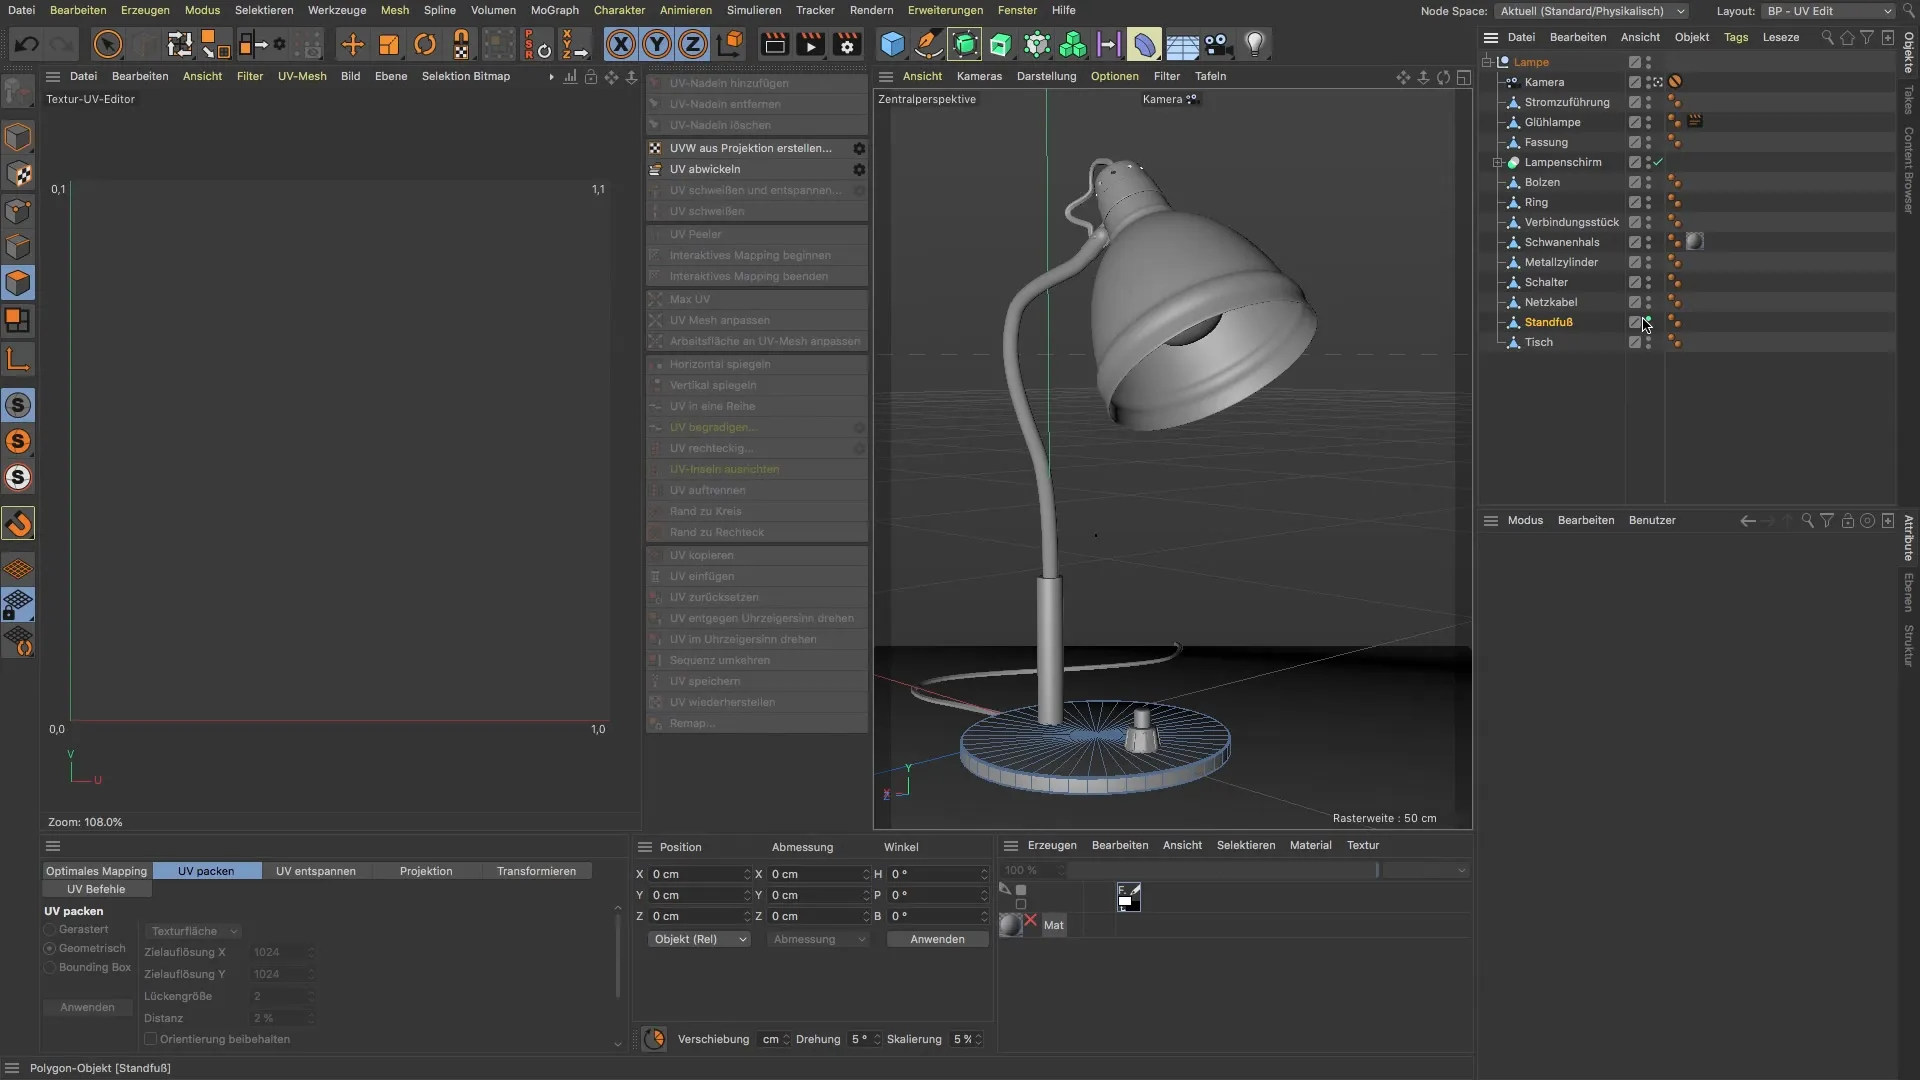
To organize the UV mapping clearly, you should optimally arrange the top, bottom, and edge. Make a loop selection for the edges and choose the respective edges in edge editing mode.
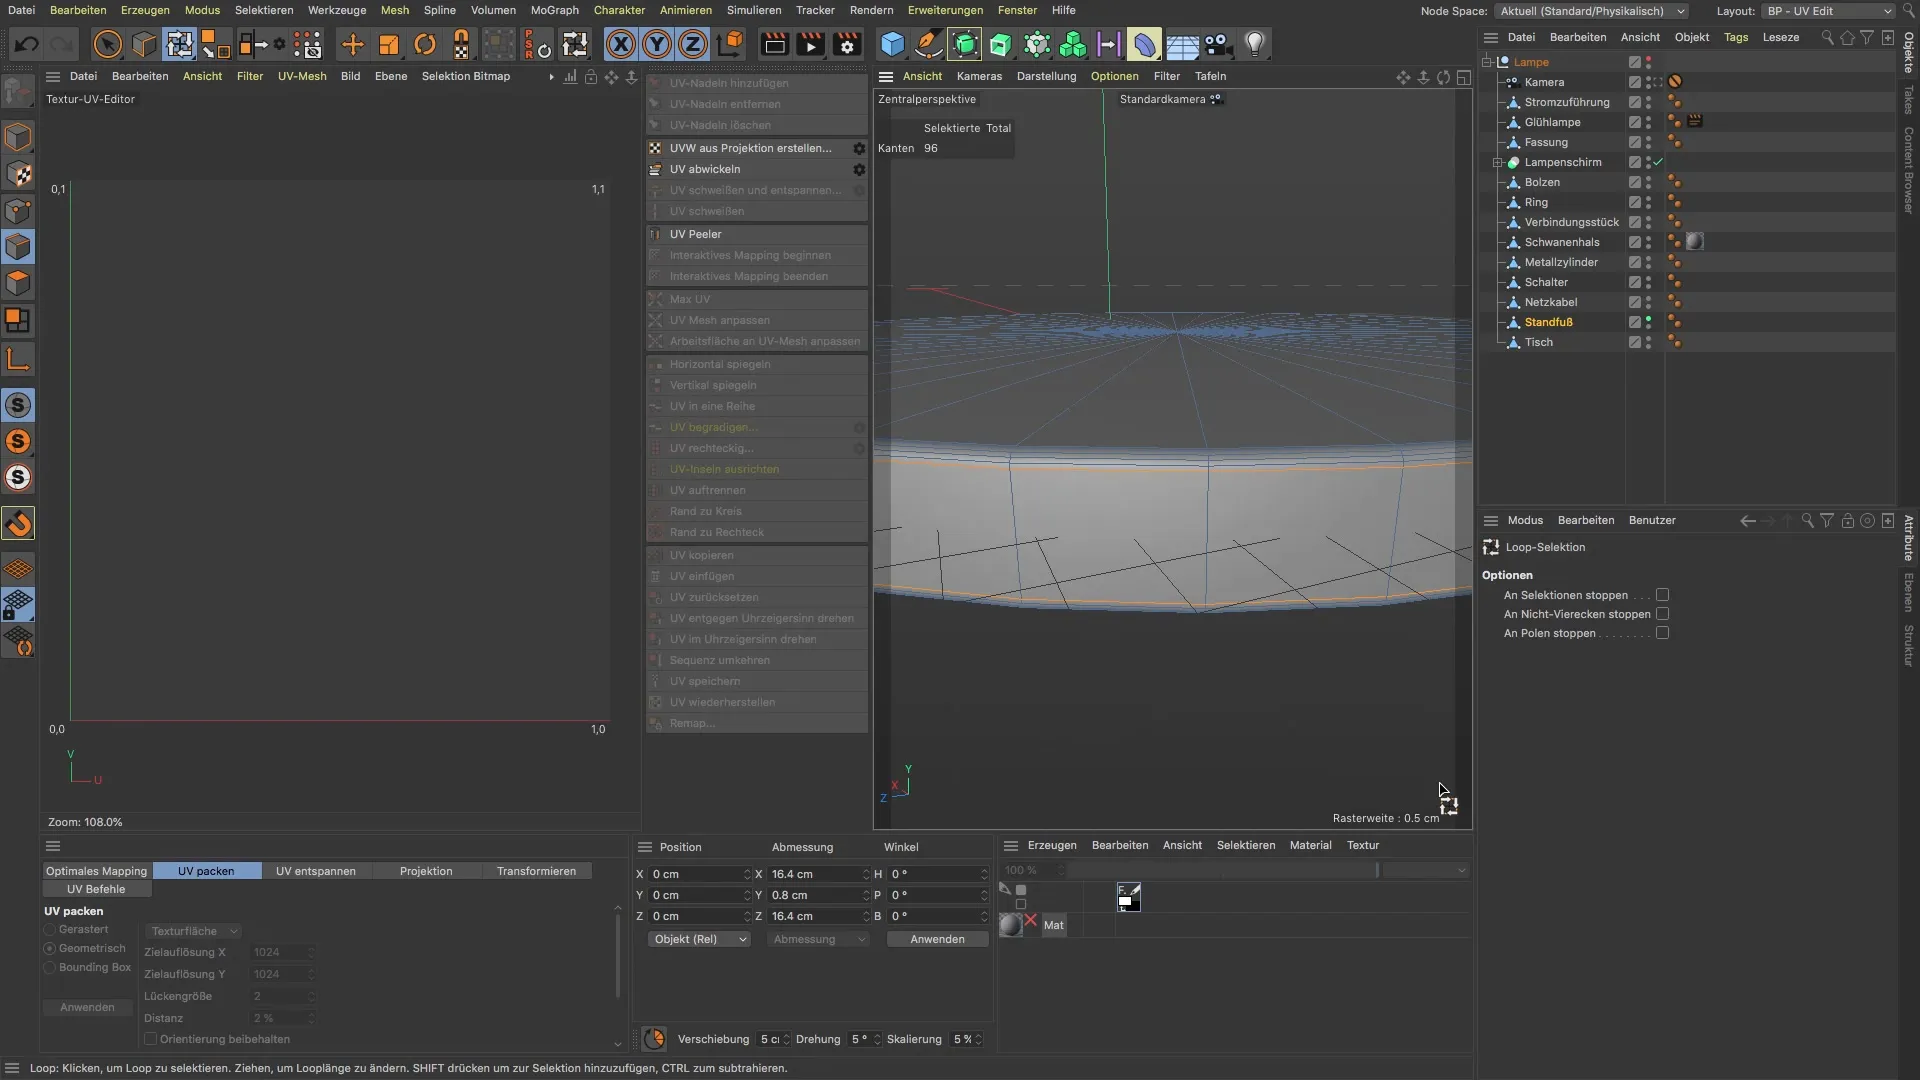
After selecting the edges, go to the "Unwrap UV" option. You will notice that the top and bottom sides now lie nicely side by side. However, there might be some distortion on the surrounding polygons.
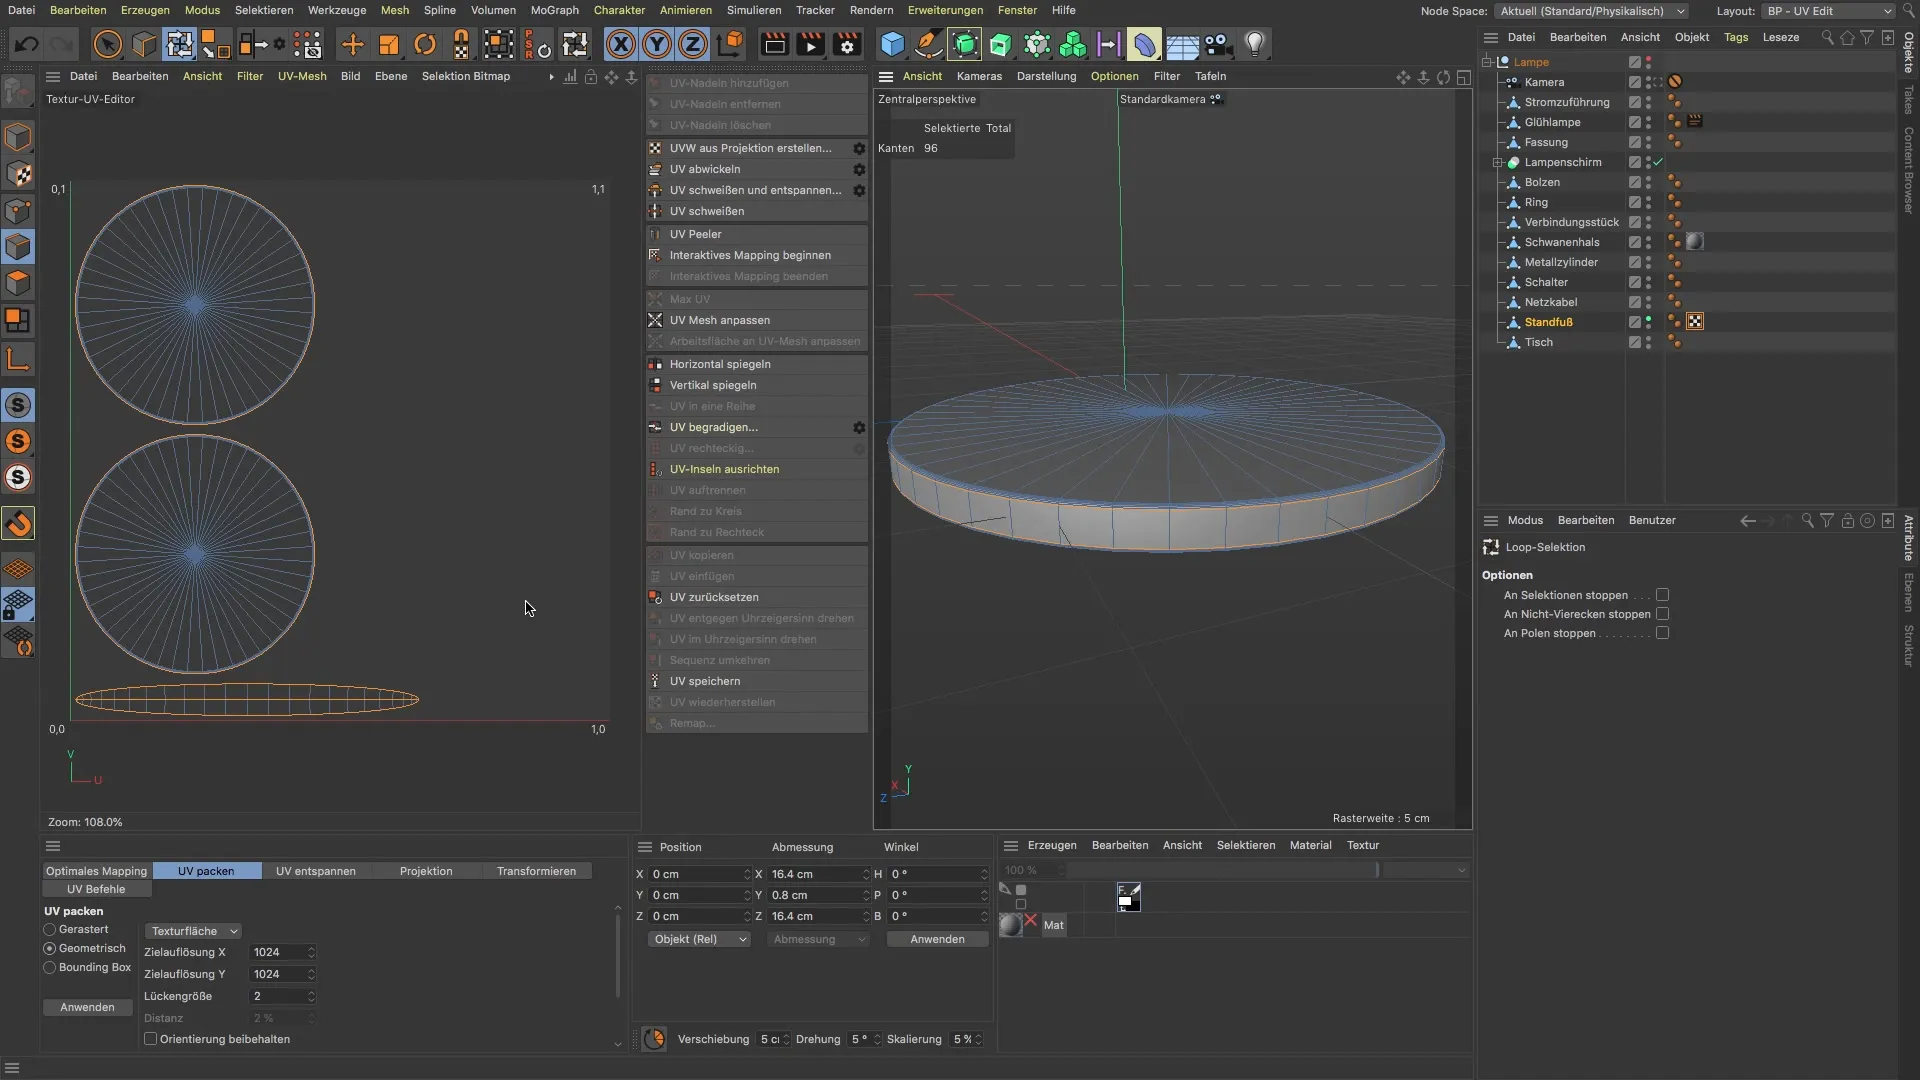
To fix this distortion, select the individual polygons on the sides and make another unwrapping attempt. This significantly improves the UV representation and gives you a true-to-scale result.
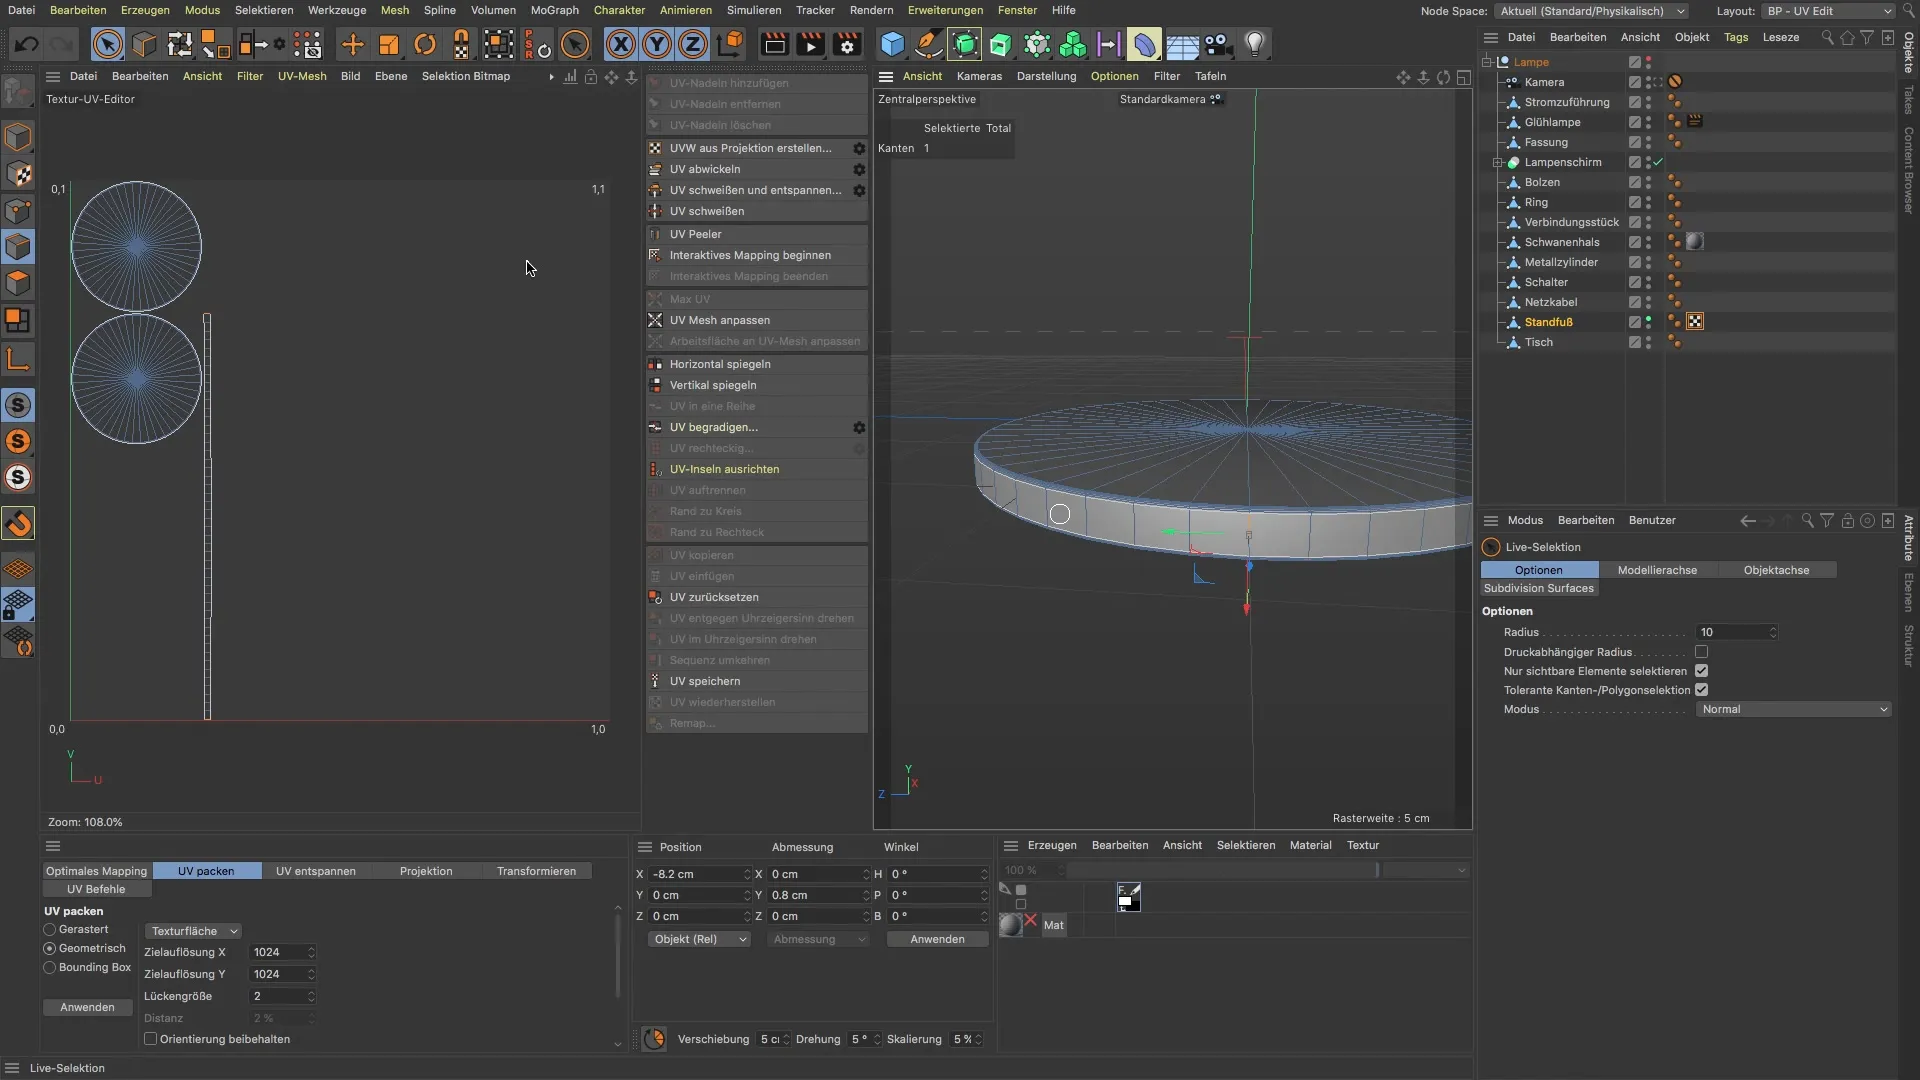
Now that your UVs look good, you have the opportunity to apply textures to them. Get a UV map to visually check the different surfaces and ensure they are correctly arranged.
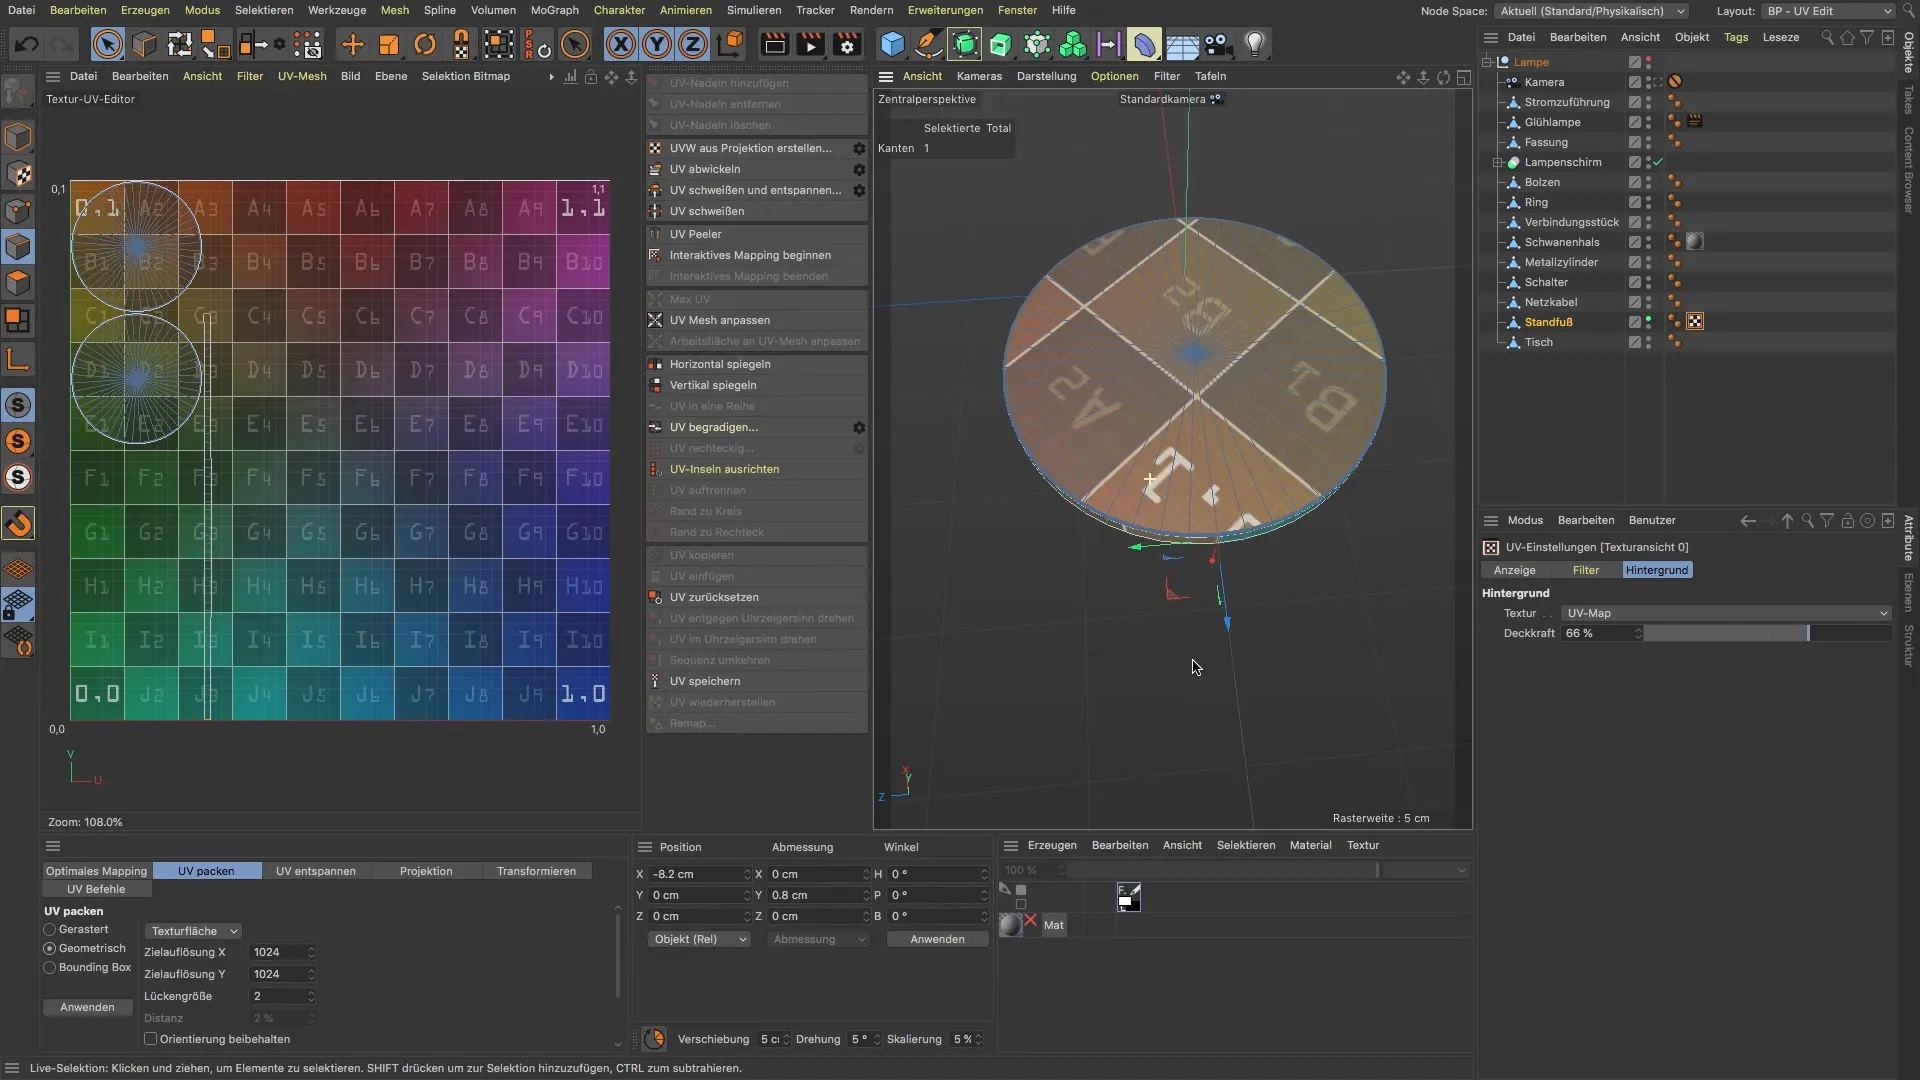
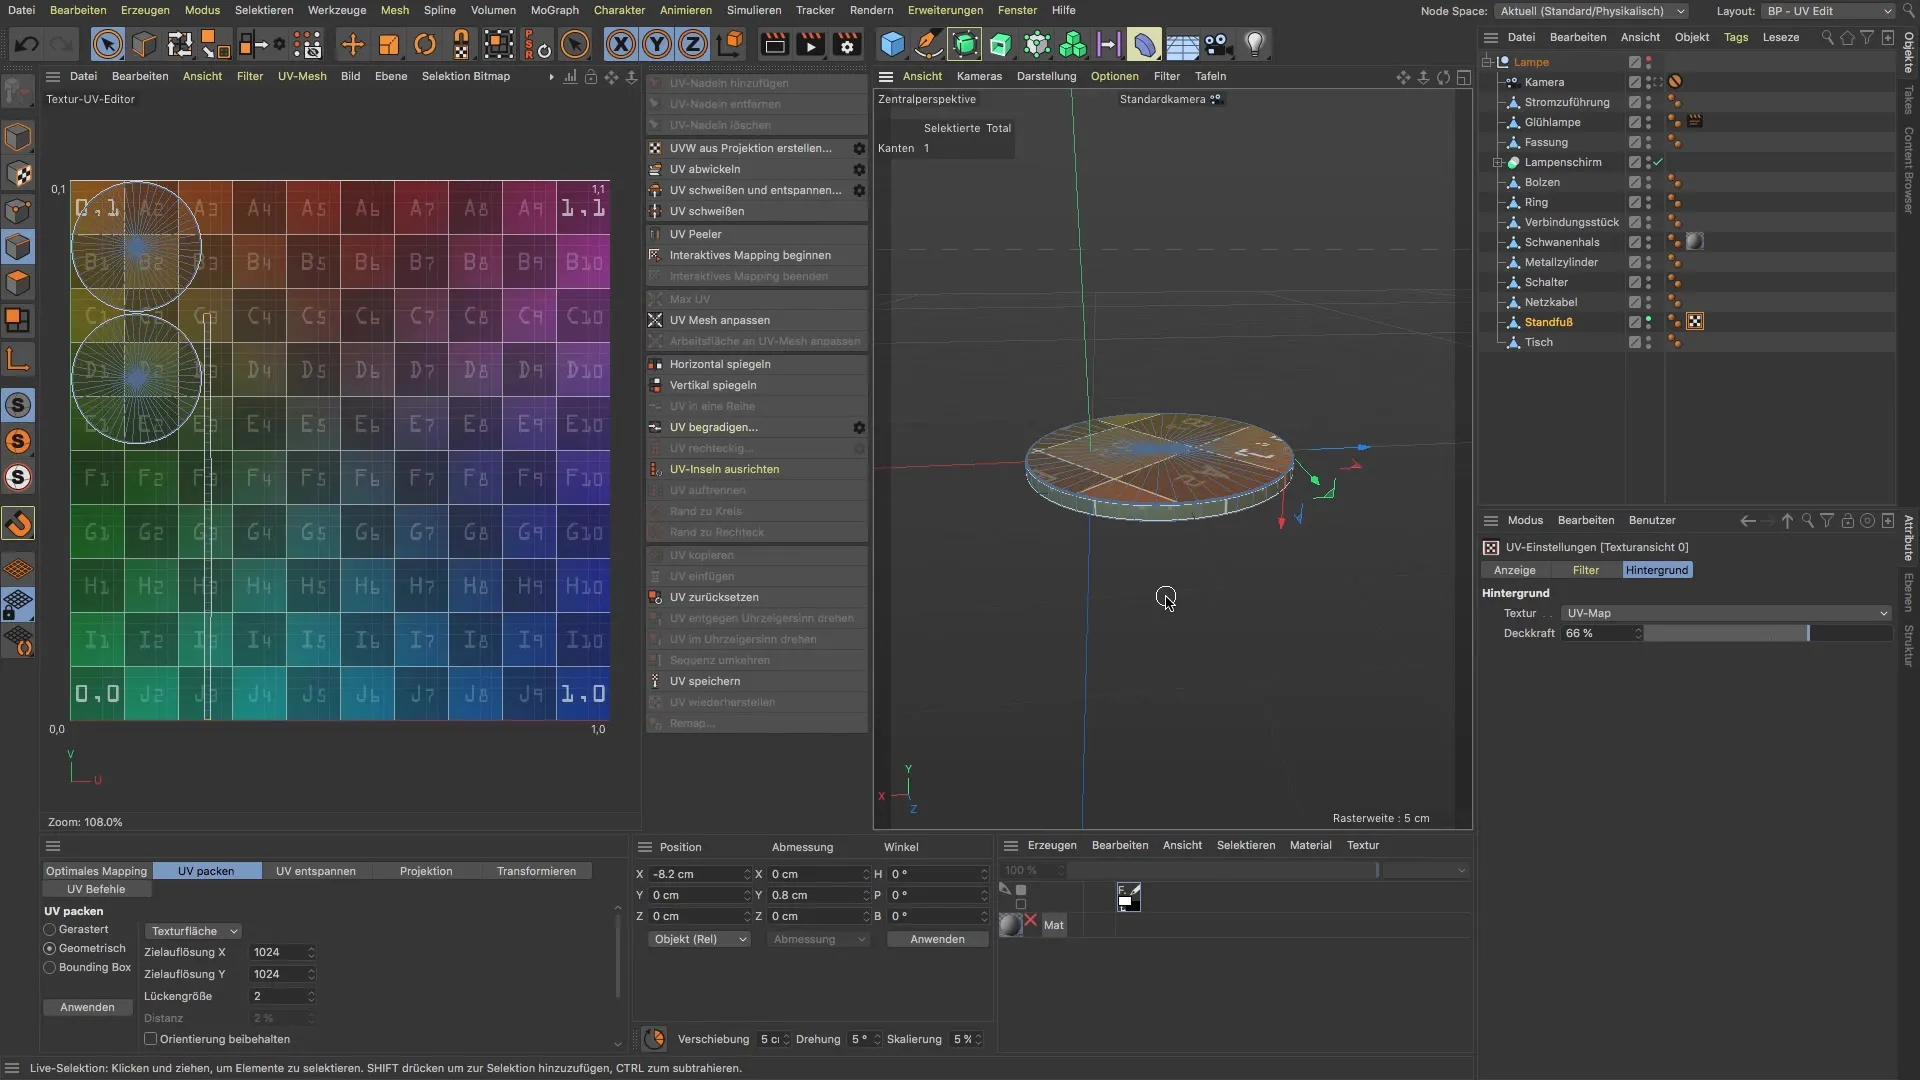
If you are satisfied with your UVs, you are almost there. In the final steps, you can review the results and ensure that the colors and textures are displayed on your cylinder as desired.
Summary
Throughout this tutorial, you have learned how to effectively unwrap the UVs of a cylinder in BodyPaint 3D. By selectively choosing the edges and properly converting the objects, you can create a clean and appealing UV unwrap. Now it's up to you to apply the techniques you have learned in your projects.
Frequently Asked Questions
How do I select the right edges for the UV unwrap?To select the right edges, go into edge edit mode and use loop selection to choose the corresponding edges.
Can I unwrap other objects as well?Yes, the techniques are adaptable and can be applied to different objects as long as you consider the geometry's structure.
Why is the conversion of the base necessary?The conversion allows for the creation of a UV tag, which is essential for the proper unwrapping of UVs.
