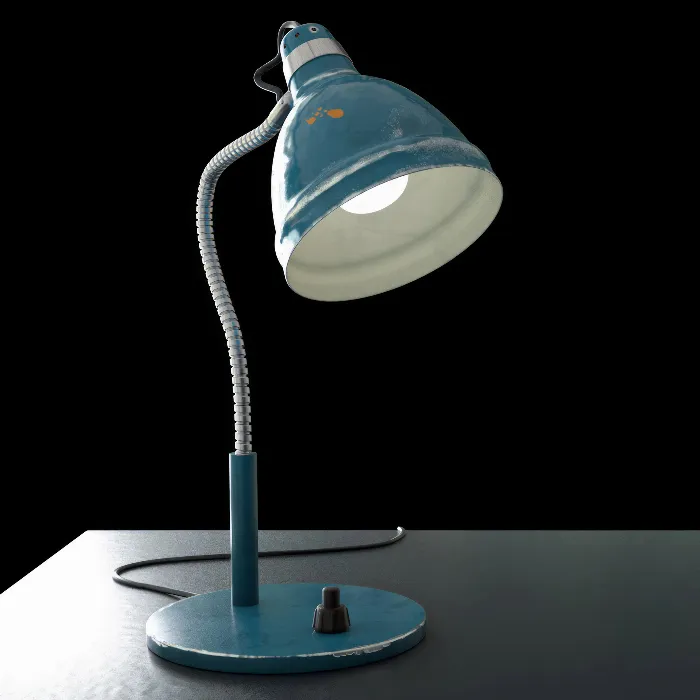
The process of unwrapping plays a crucial role in 3D modeling, especially when it comes to preparing for textures. This tutorial will show you how to effectively unwrap a lampshade that is more complex than a simple cylinder. You will learn to make targeted selections to optimize UV coordinates. Let's dive into the details!
Key Insights
- Use targeted selections to cleanly separate the inside and outside.
- Your UV layout must minimize distortions to facilitate texturing.
- Key steps like setting loop cuts help optimize UV mapping.
Step-by-Step Guide
1. Preparing the Model
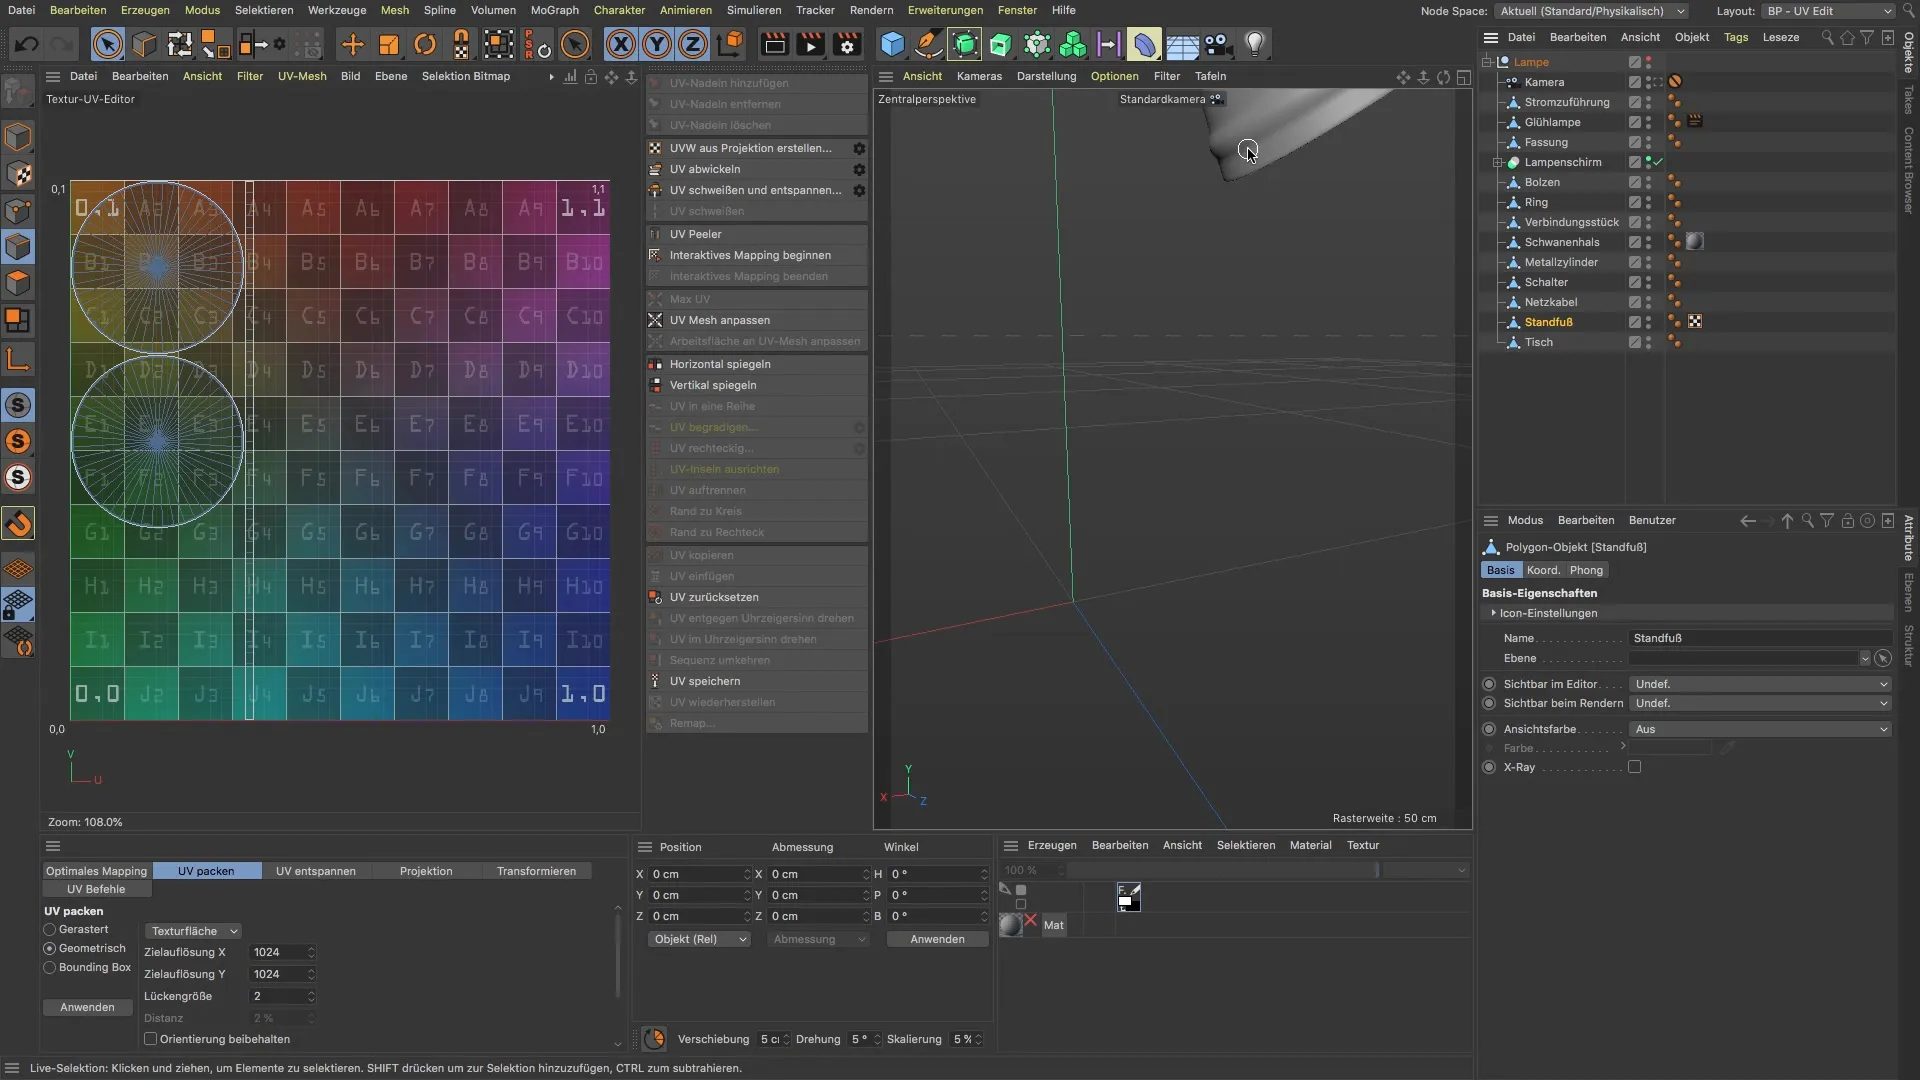
First, make sure your lampshade model is ready for unwrapping. Click on the respective lampshade and ensure that the geometry is correctly reflected. Turn off all unnecessary objects and elements to avoid distractions.
2. Switching to Edge Mode
To efficiently unwrap, switch to edge mode. This will help you be precise when selecting the edges needed for unwrapping.
3. Creating the UV Projection
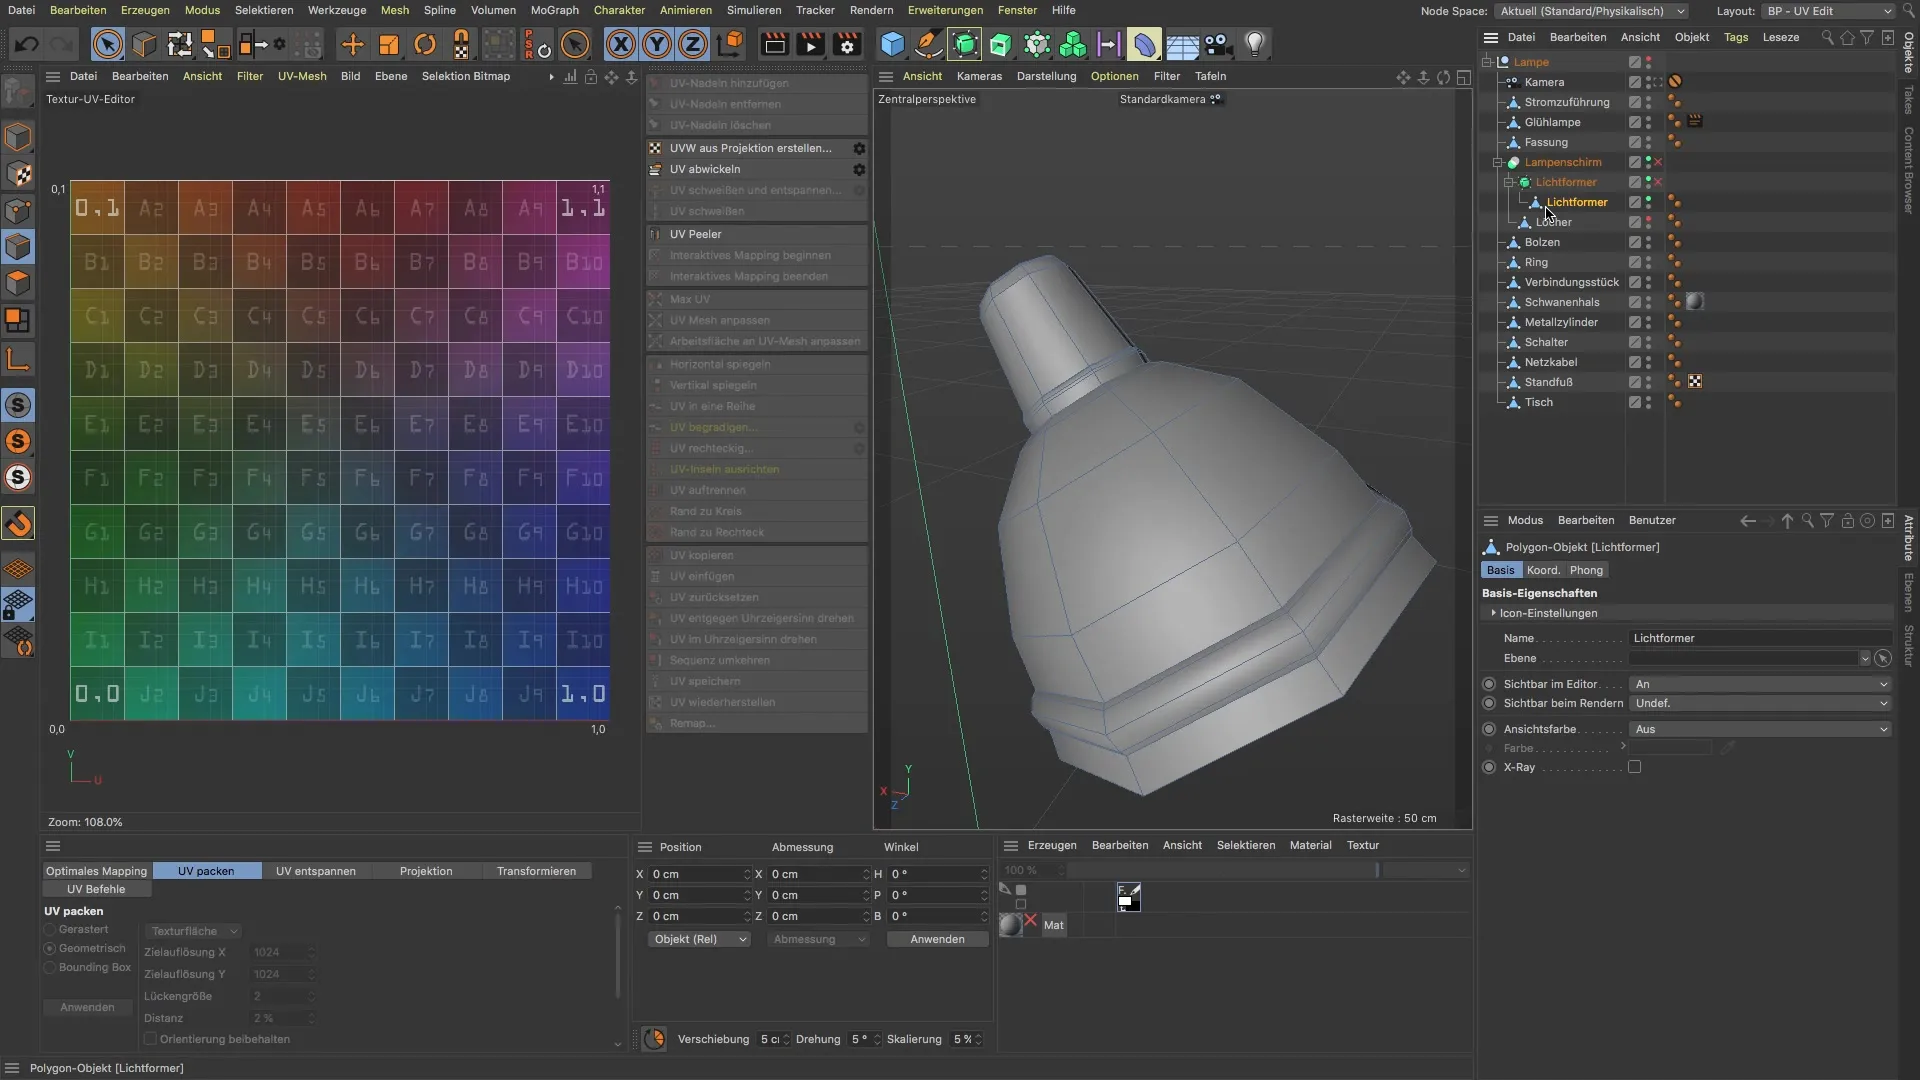
Use the command "Create UV from Projection". This will generate an initial UV map that serves as the basis for your further adjustments. Note that this map may be inaccurate, so it's important to refine it later.
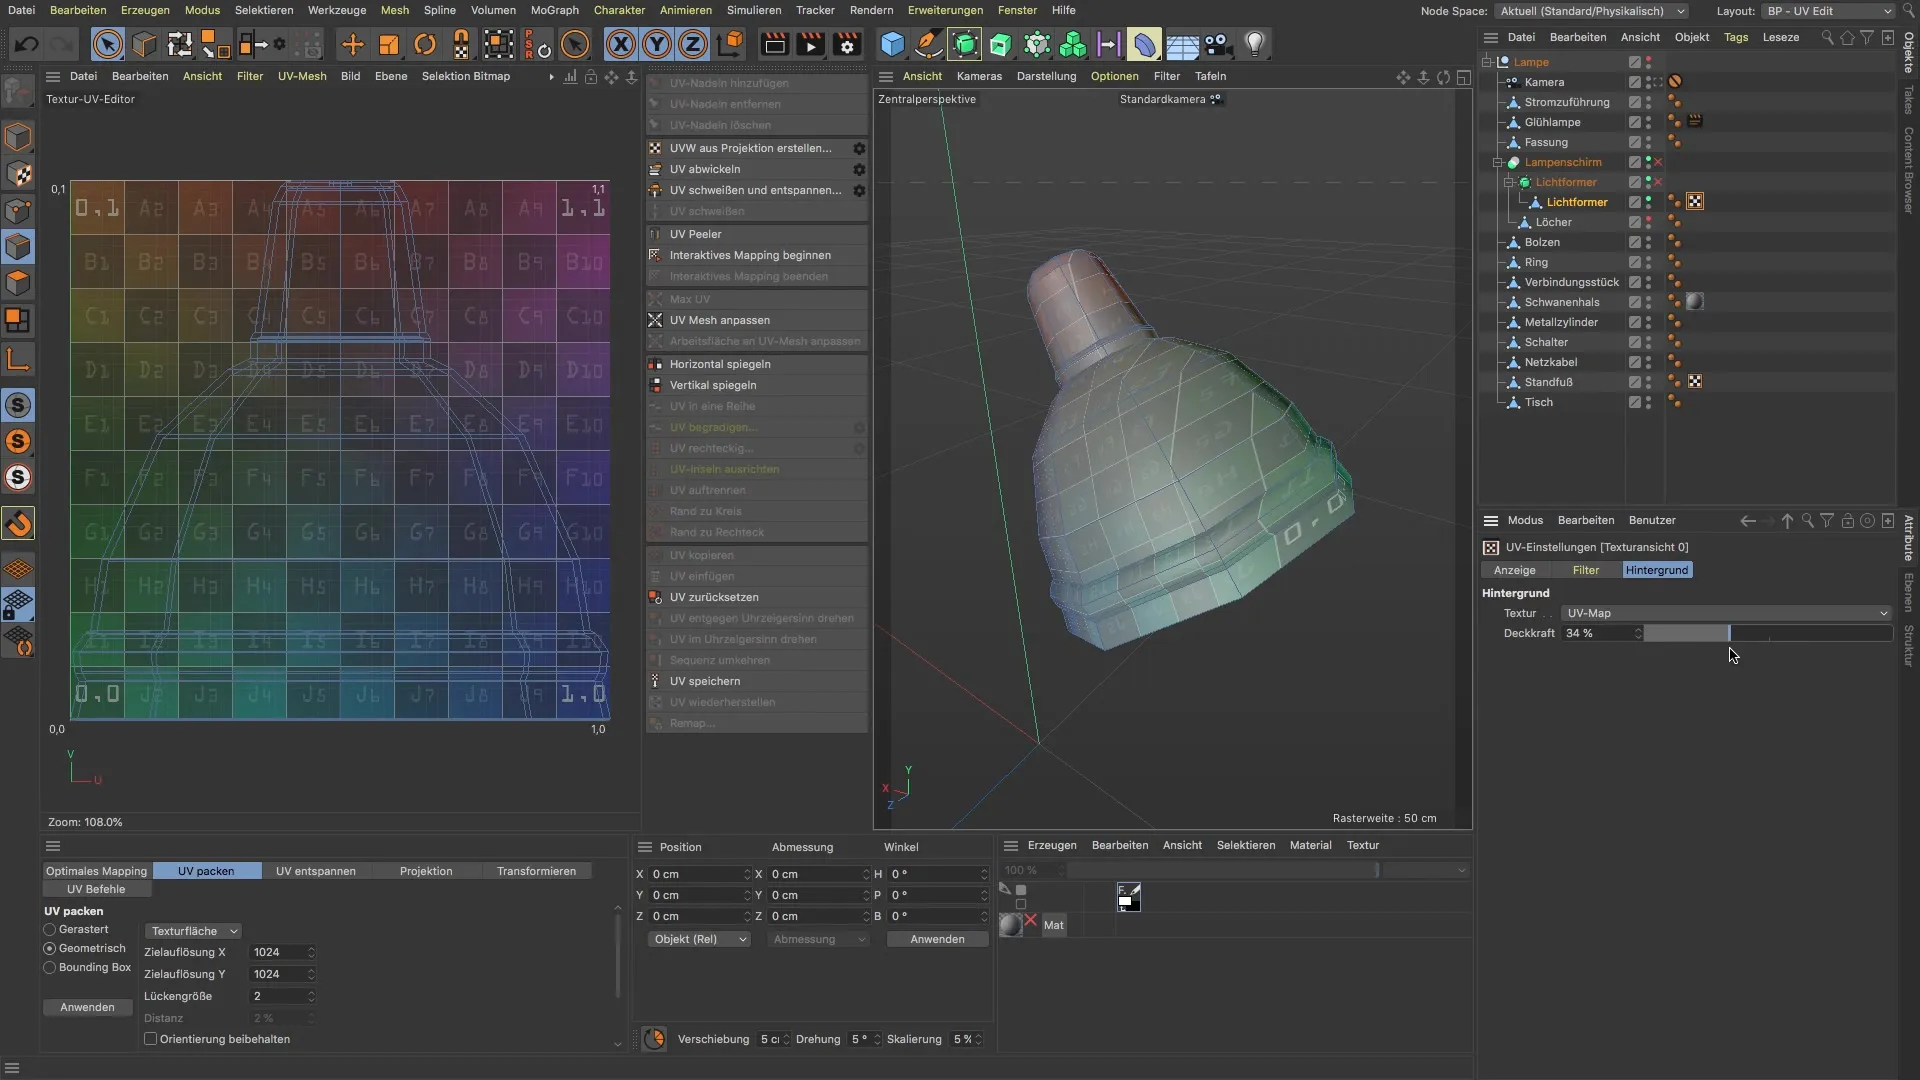
4. Increasing Visibility of UV Edges
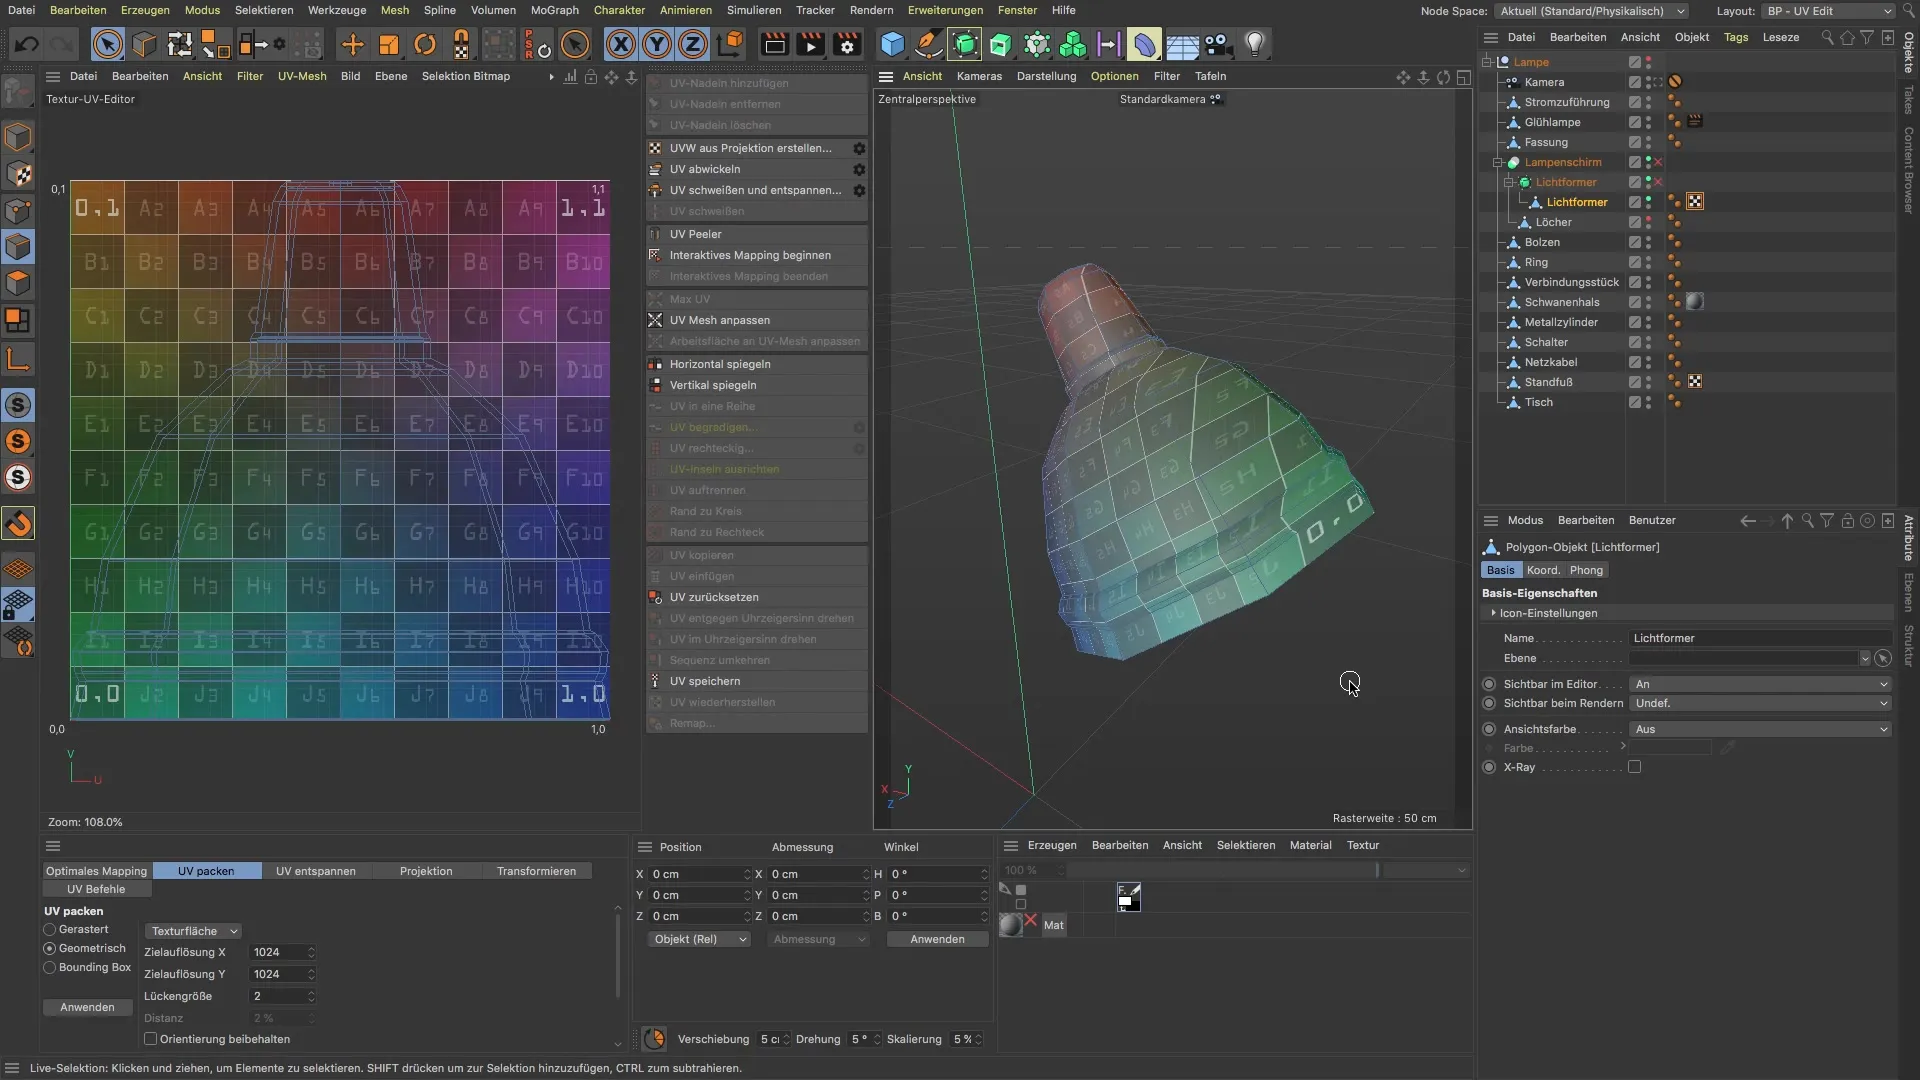
To better identify the edges of your UV map, reduce the opacity of the background in the UV settings. This will enhance the visibility of the UV edges, helping you understand the structure better.
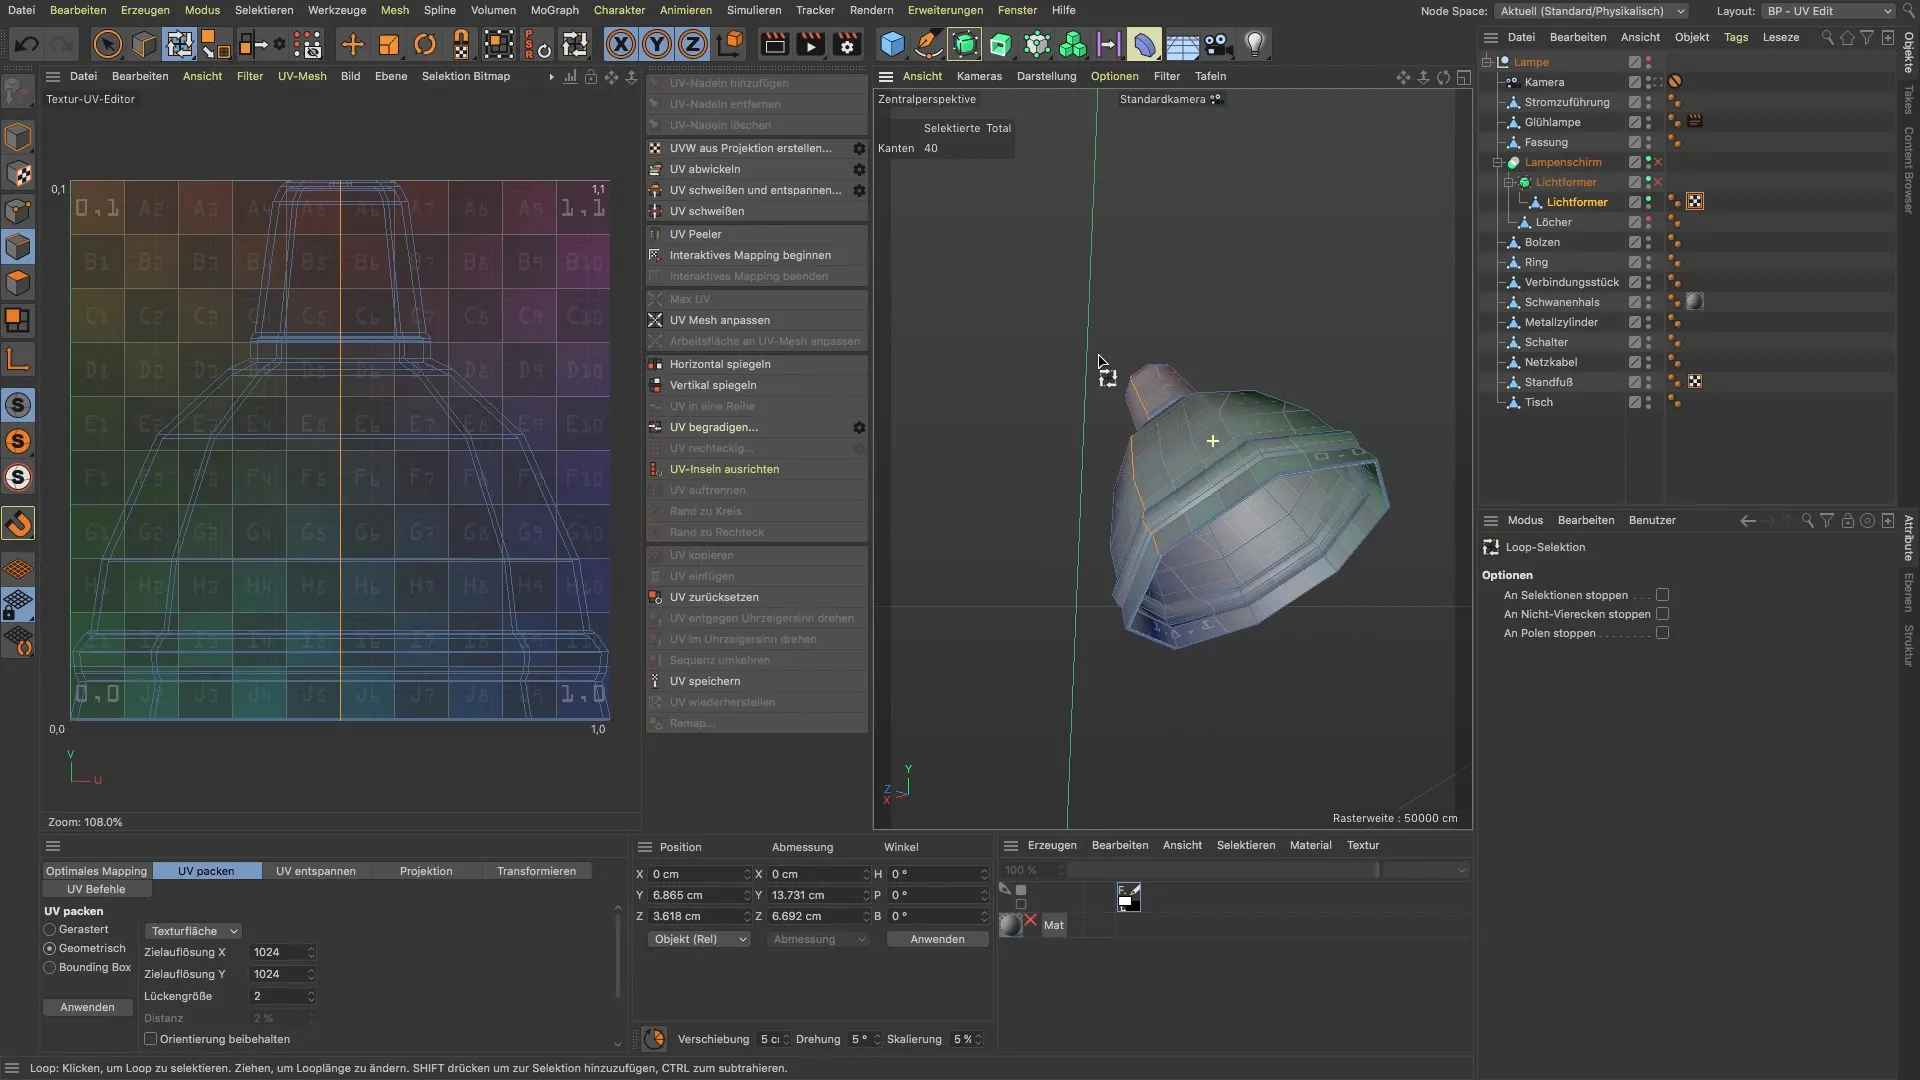
5. Separating Inside and Outside
Make targeted cuts to separate the inside from the outside of the lampshade. Use loop selection to quickly and effectively select the required areas.
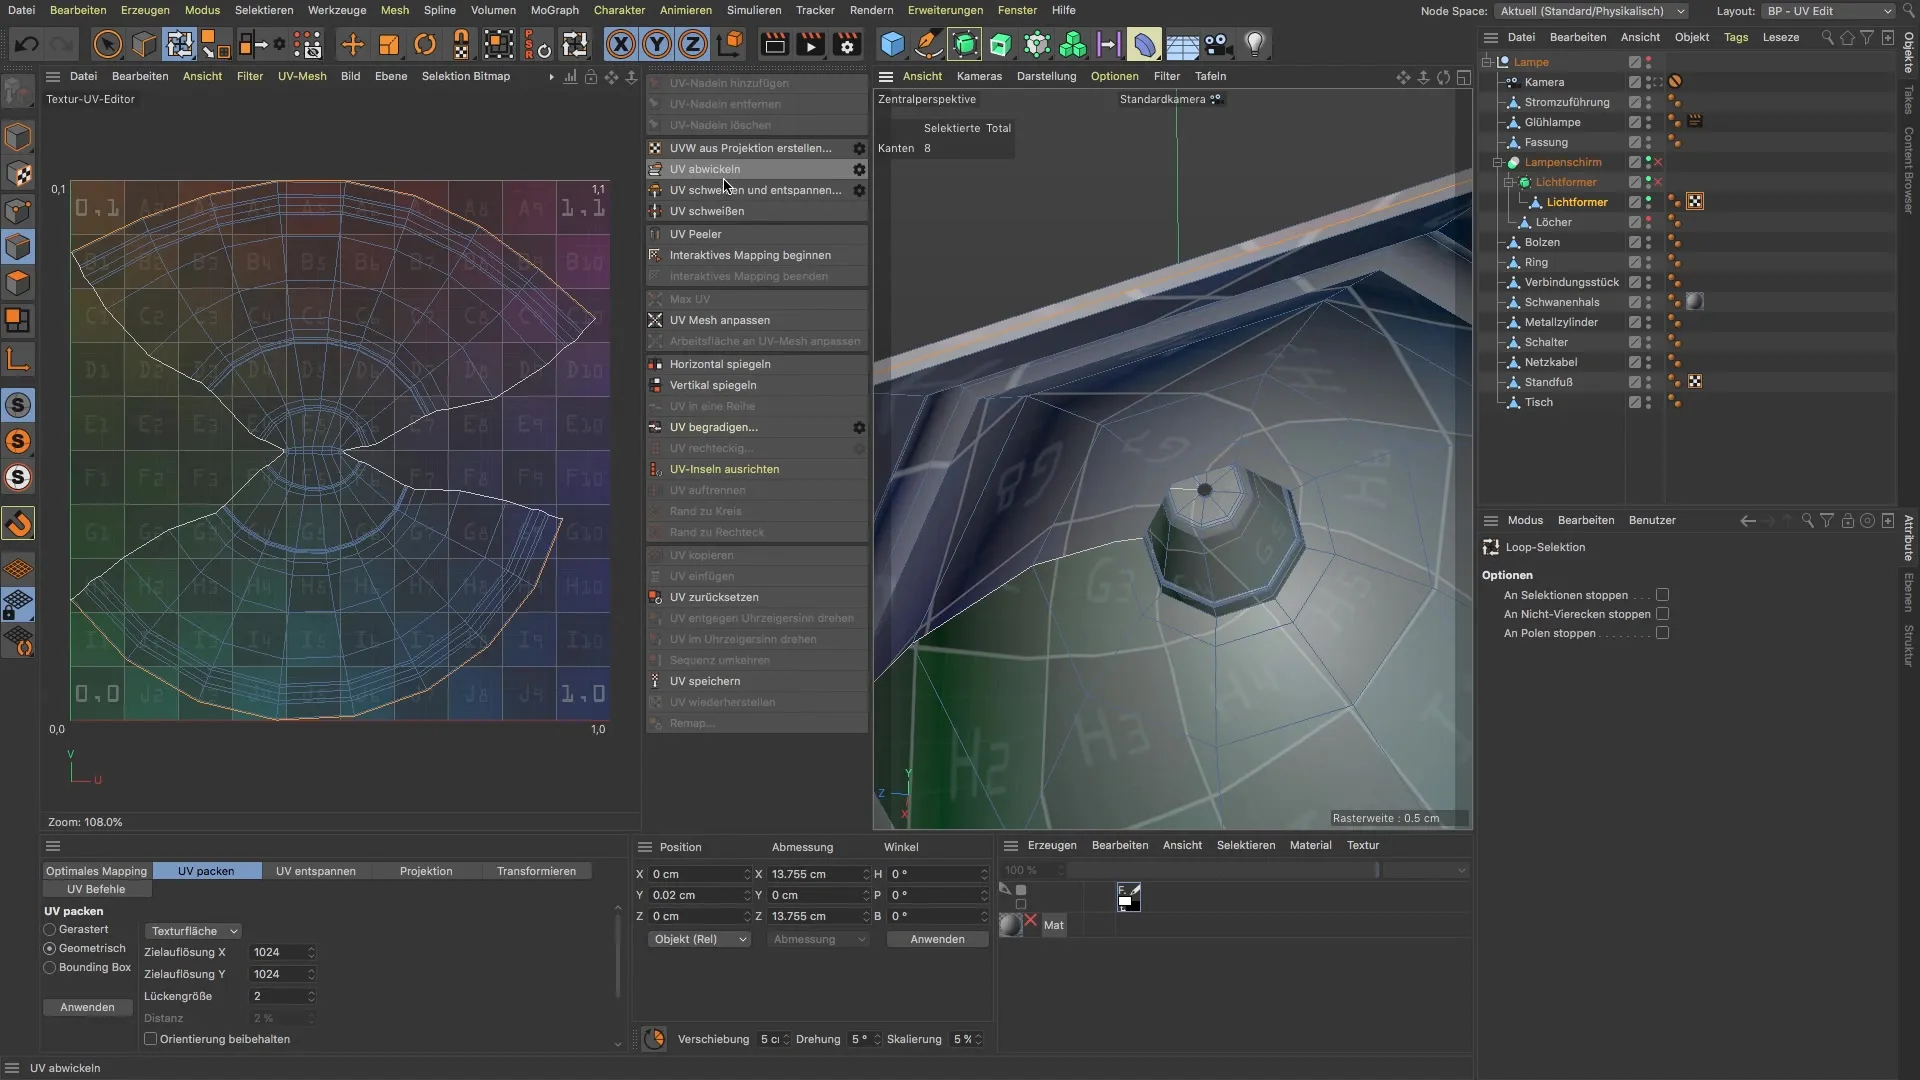
6. Setting Additional Cuts
If necessary, carefully set additional cuts along the height and around the upper edge of the lampshade. This ensures that the texture can be applied well to the surfaces later on.
7. Unwrap Twice
After setting your cuts, go back to "Unwrap UVW" once again. This will update the layout of the UV coordinates and ensure you get a better representation of your inside and outside.
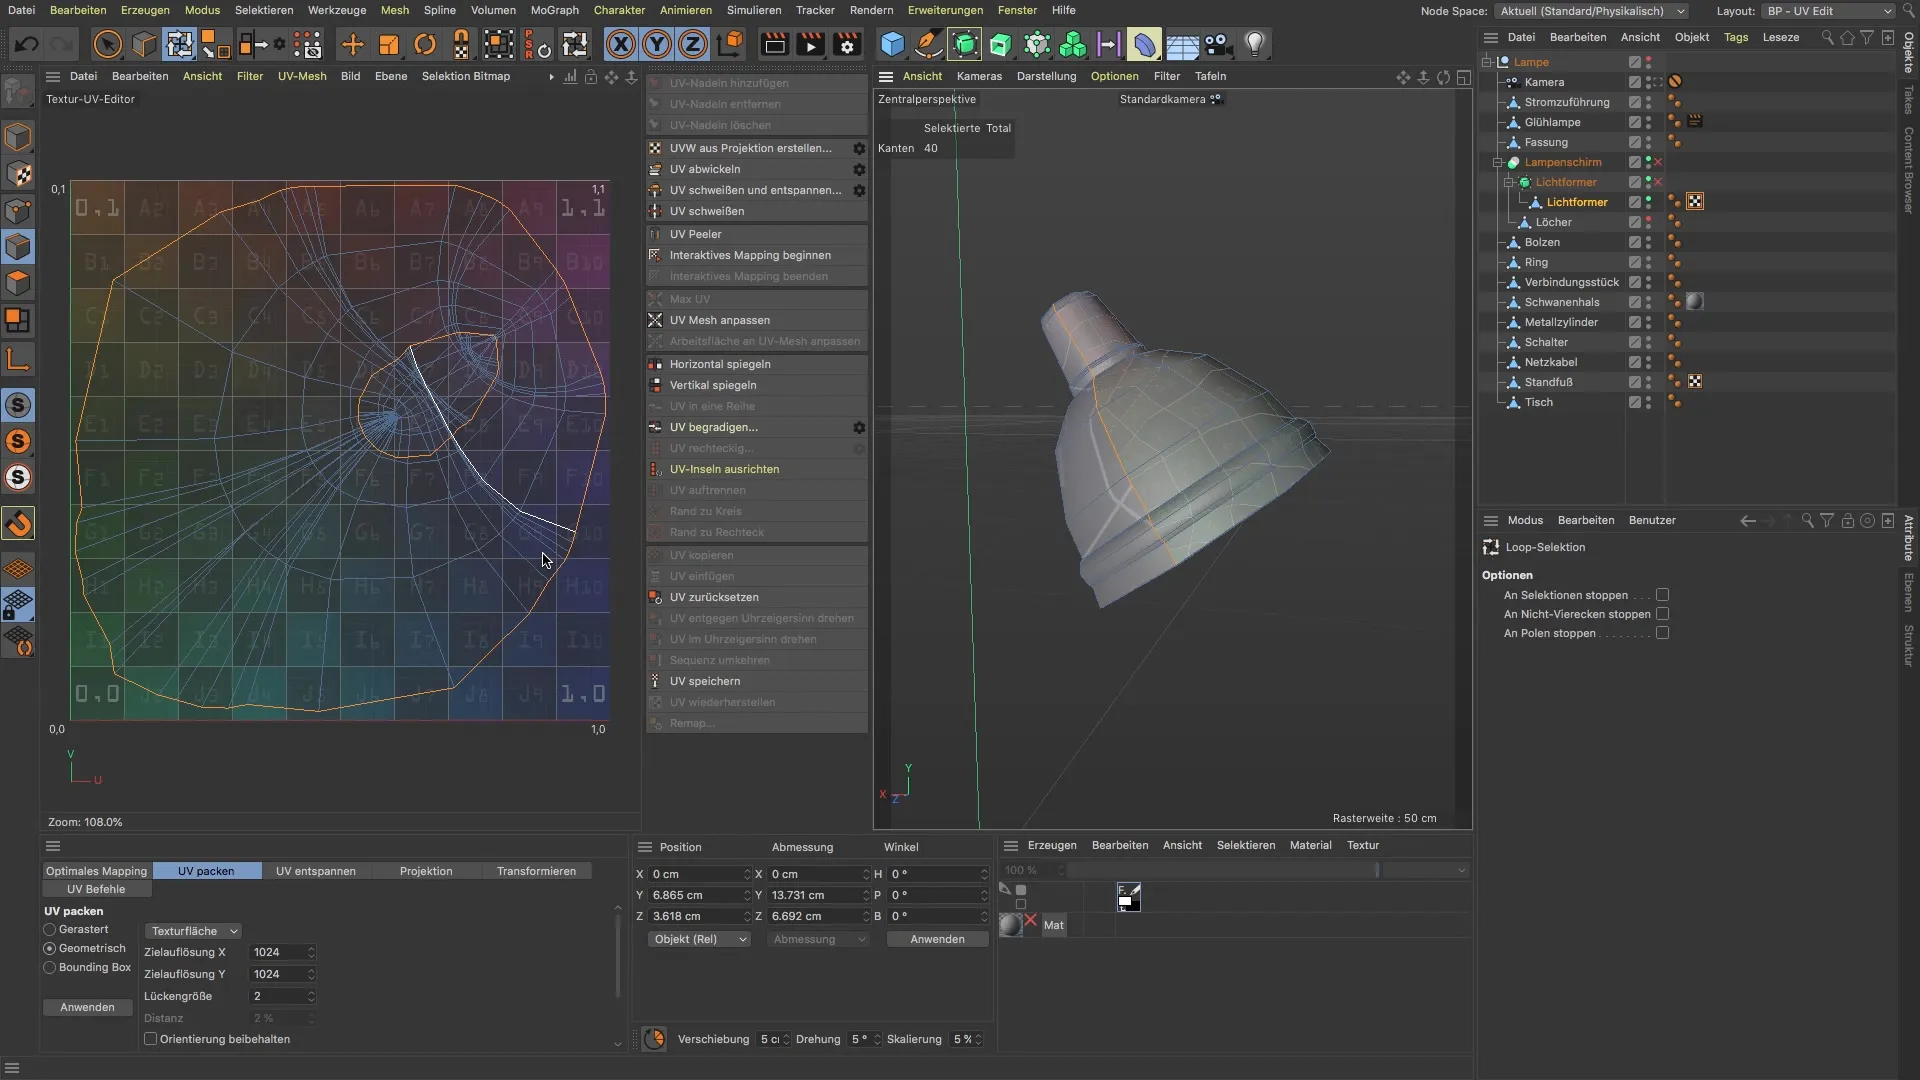
8. Optimizing the UVs
It's normal to have edges and overlaps in your UV map. Evaluate if these overlaps could have significant effects on the texture. Make further adjustments if necessary.
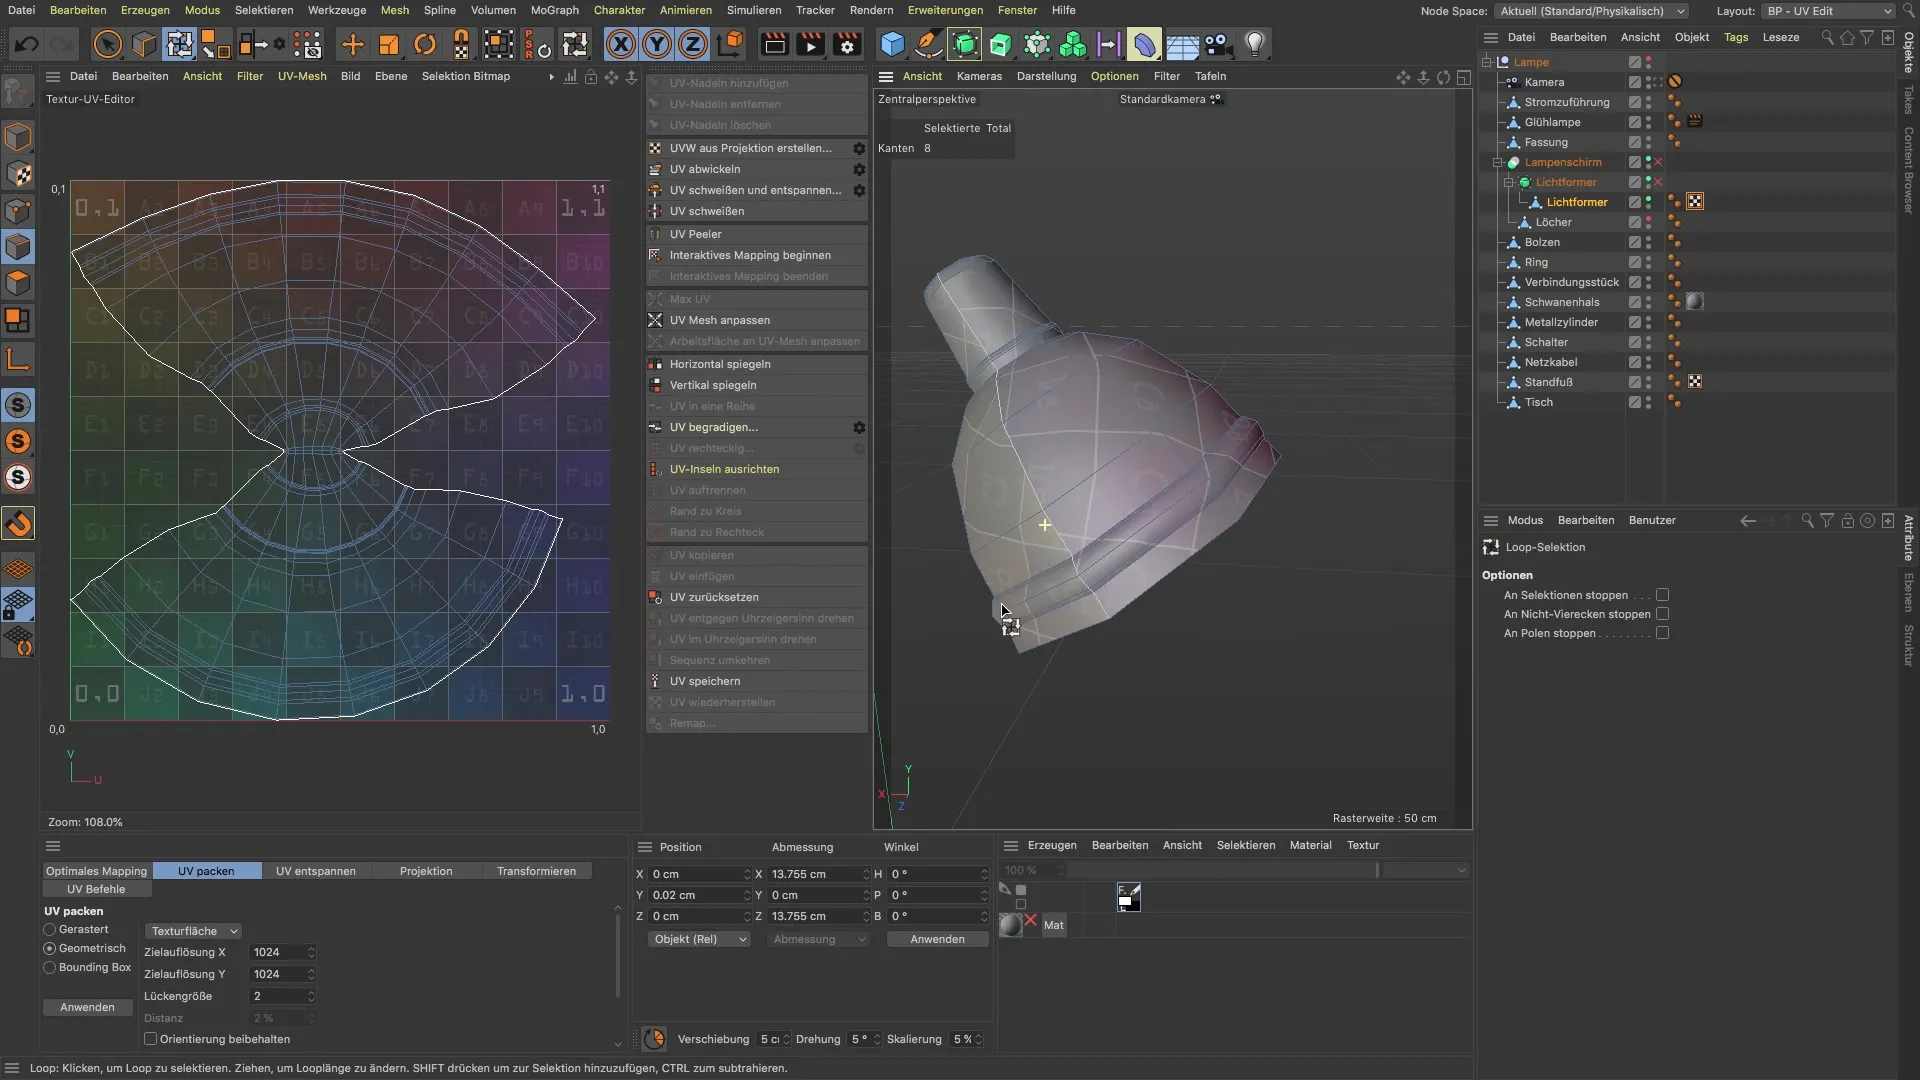
9. Making Final Adjustments
Review your UV layout once more to ensure you have accurately considered all areas. Go through all areas and see if any further adjustments are needed. Ideally, there should be a clear separation between inside and outside.
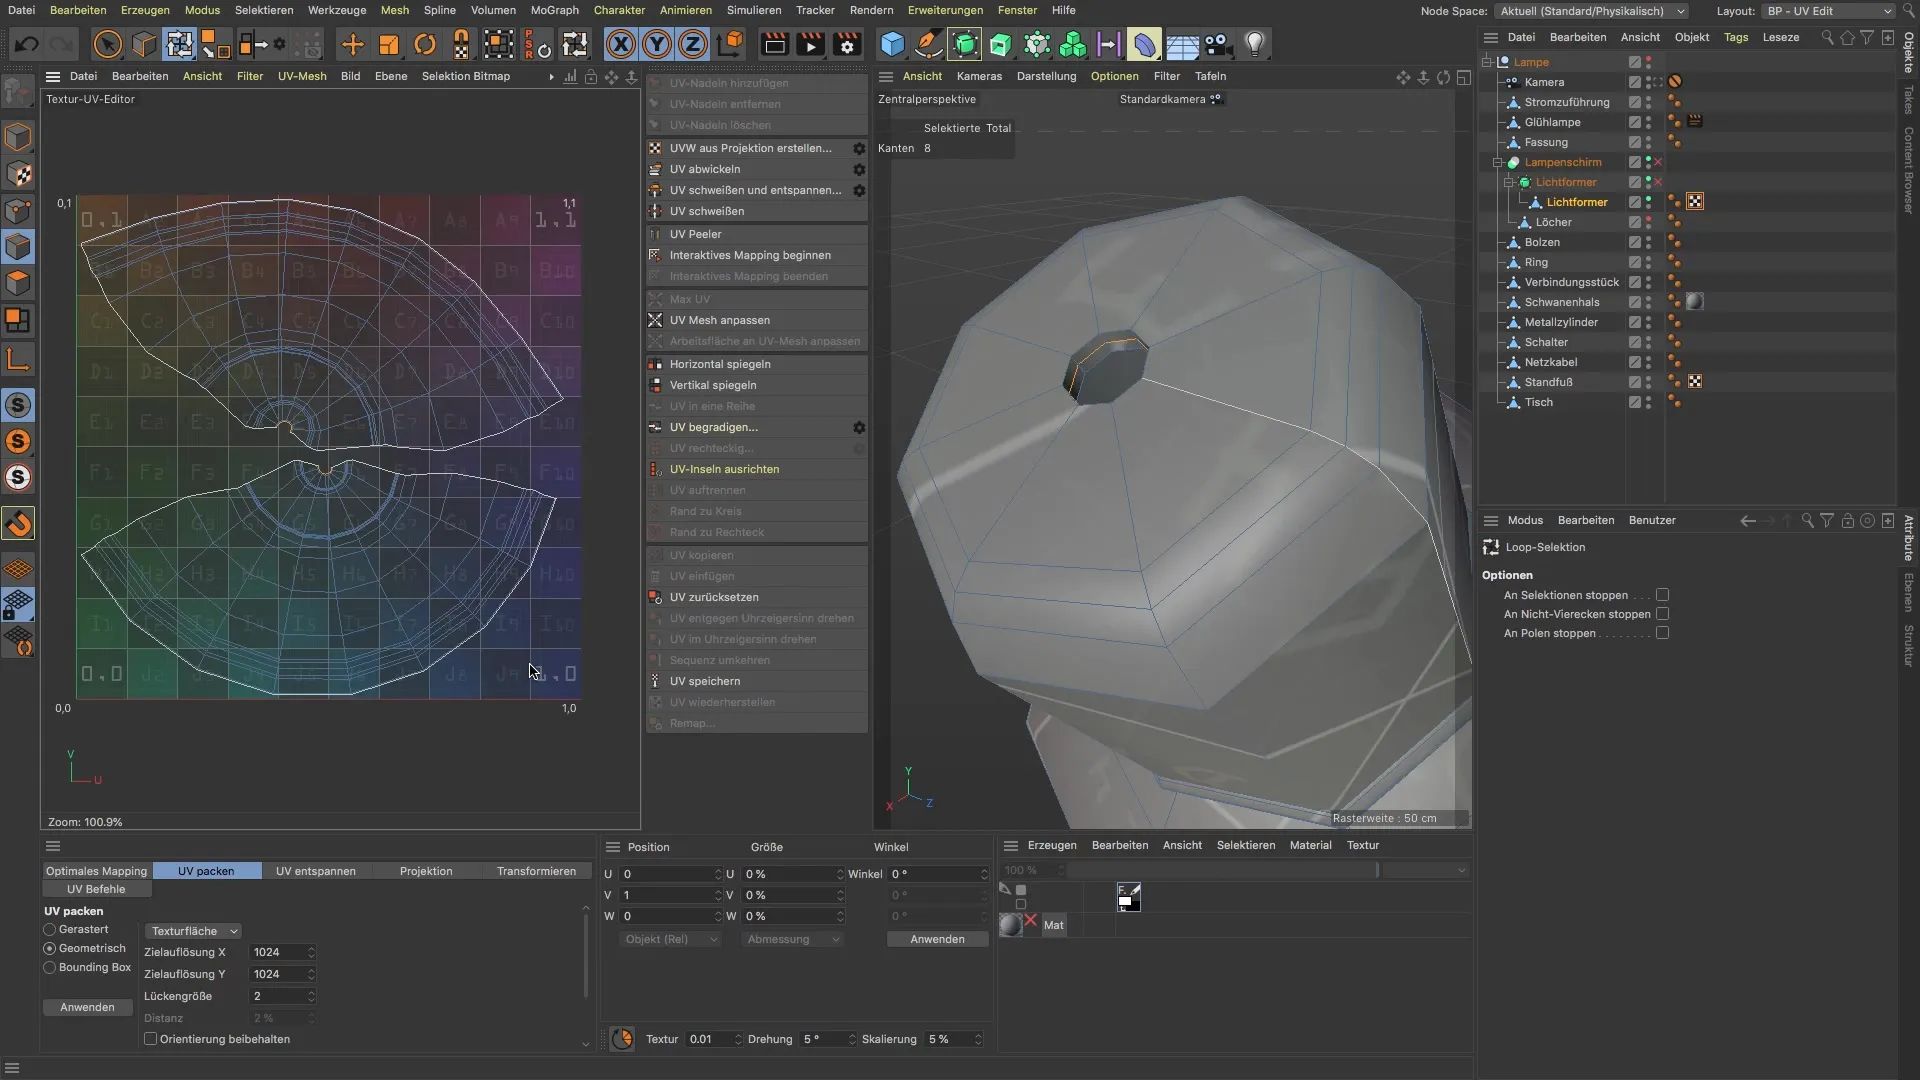
Summary
Unwrapping a 3D model like the lampshade requires patience and precision. You have learned how to select edges, make cuts, and adjust your UV layout to achieve optimal results. These skills are fundamental for seemingly smaller projects that can still offer a lot of creative freedom.
Frequently Asked Questions
How can I ensure that my UVs are not distorted?Make sure to make targeted cuts and regularly check your UV map.
What should I do if I find errors in my UV map?Use the undo function and reapply your cuts and unwraps.
Can I make changes to my model after unwrapping?Yes, changes to the geometry can be made at any time, but this can affect the UVs.
Do I always have to make the same cuts?The cuts depend heavily on the respective model; there are often several ways to achieve the goal.
