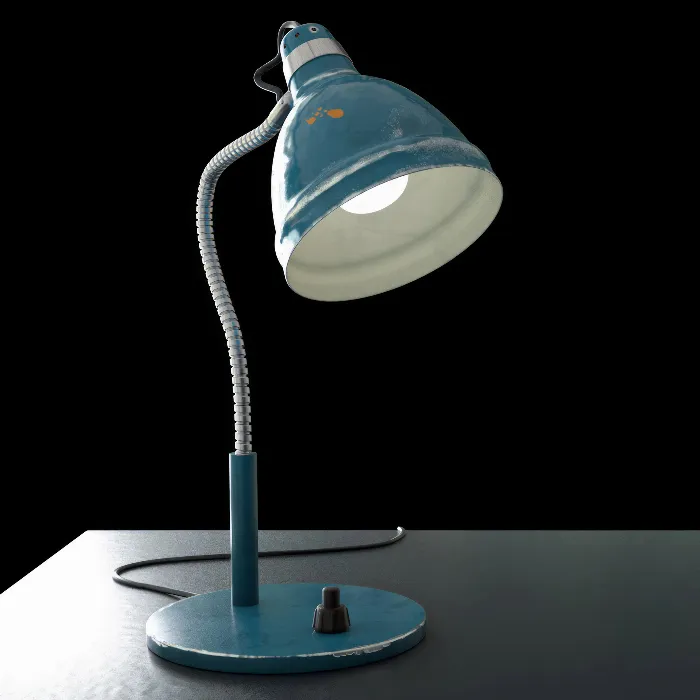
Unwrapping 3D objects, such as a lampshade, is often a challenge. You want to transfer the UVs efficiently and without major distortion into 2D space. It is advisable to follow some basic steps to achieve the desired results. This tutorial describes these steps in detail so that you can prepare your UV map optimally.
Main Findings
- Ensure that the polygons are of similar size and distortion to make it easier later on.
- Consider whether you want to make cuts to minimize distortions.
- Use the functions to weld and relax UVs to reduce distortions.
- Ensure that the UV islands are arranged proportionally in relation to the geometry for more efficient work.
Step-by-Step Guide
Checking Polygon Distribution
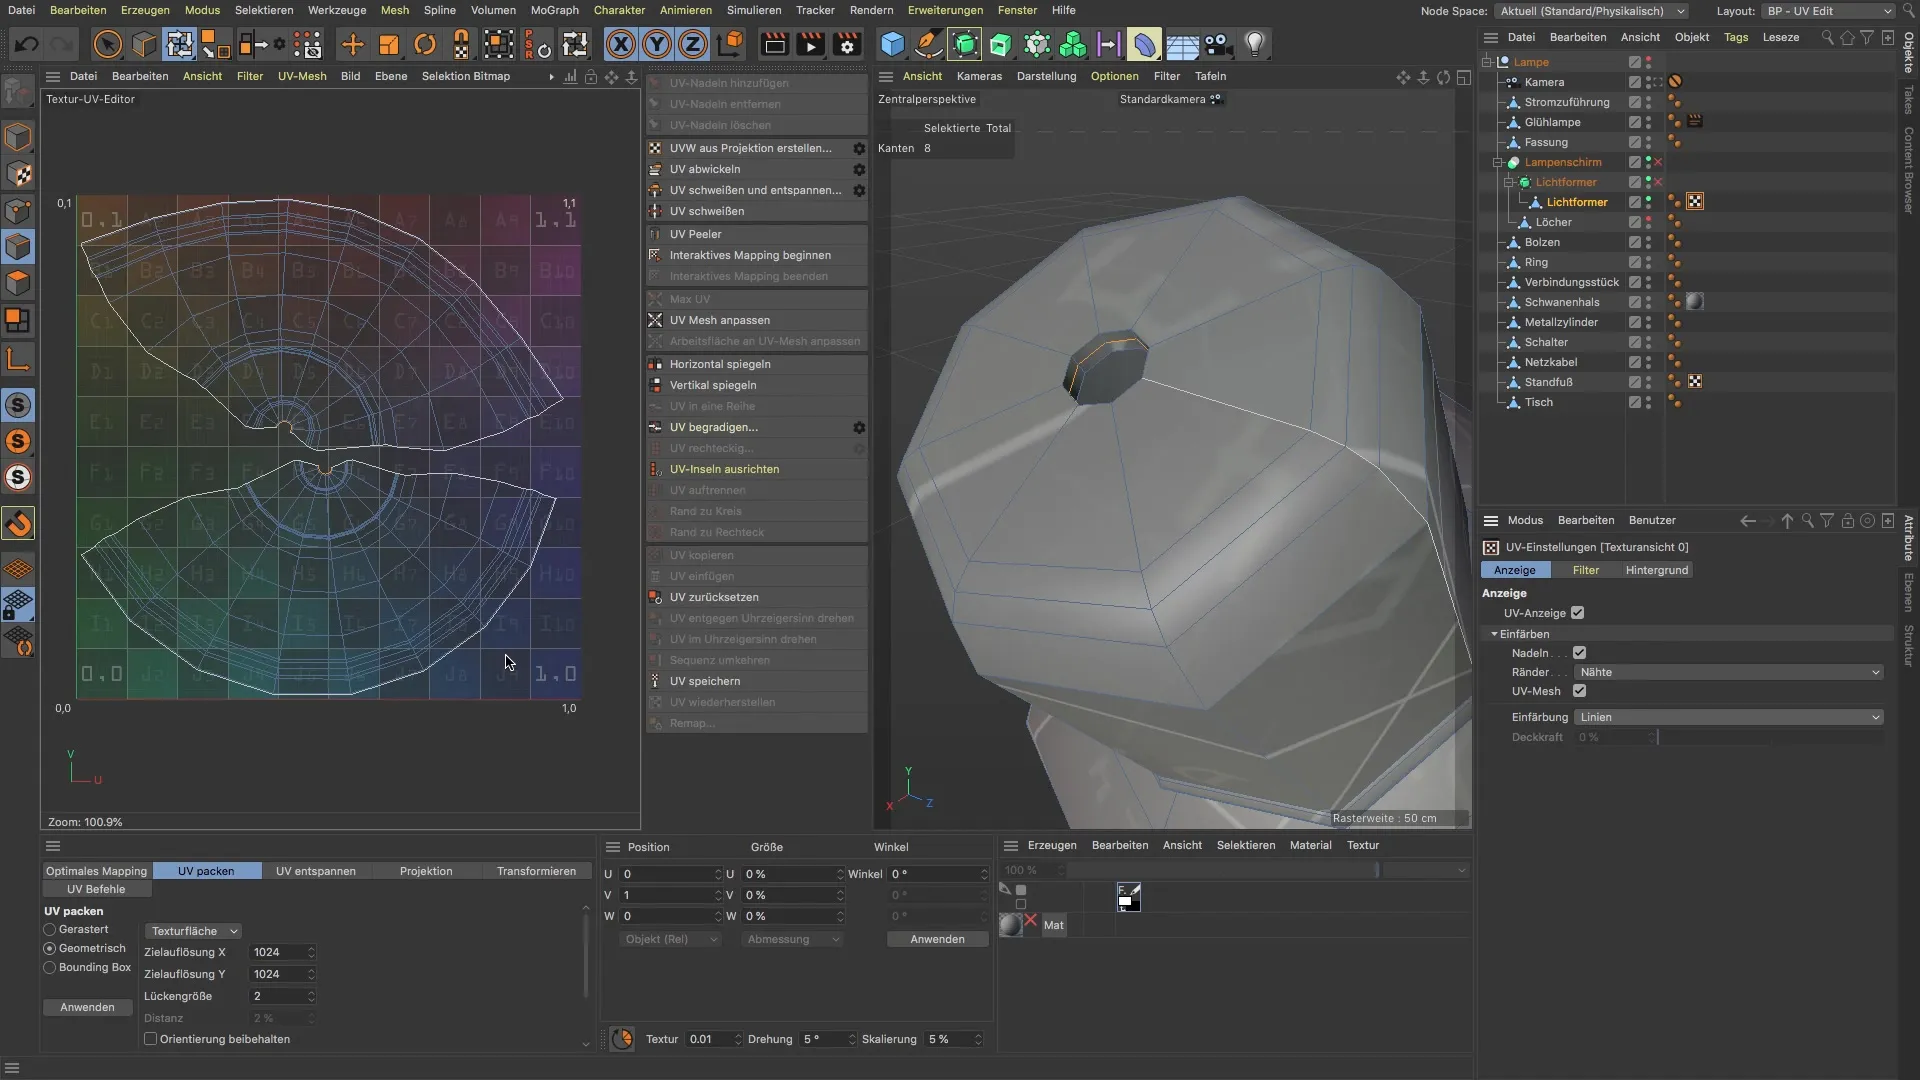
Before you start unwrapping, take a look at the distribution of the polygons of your model. It is important that all polygons are approximately the same size to ensure uniform distortion. Non-uniform distribution can lead to difficulties when painting later on.
Distortion Analysis
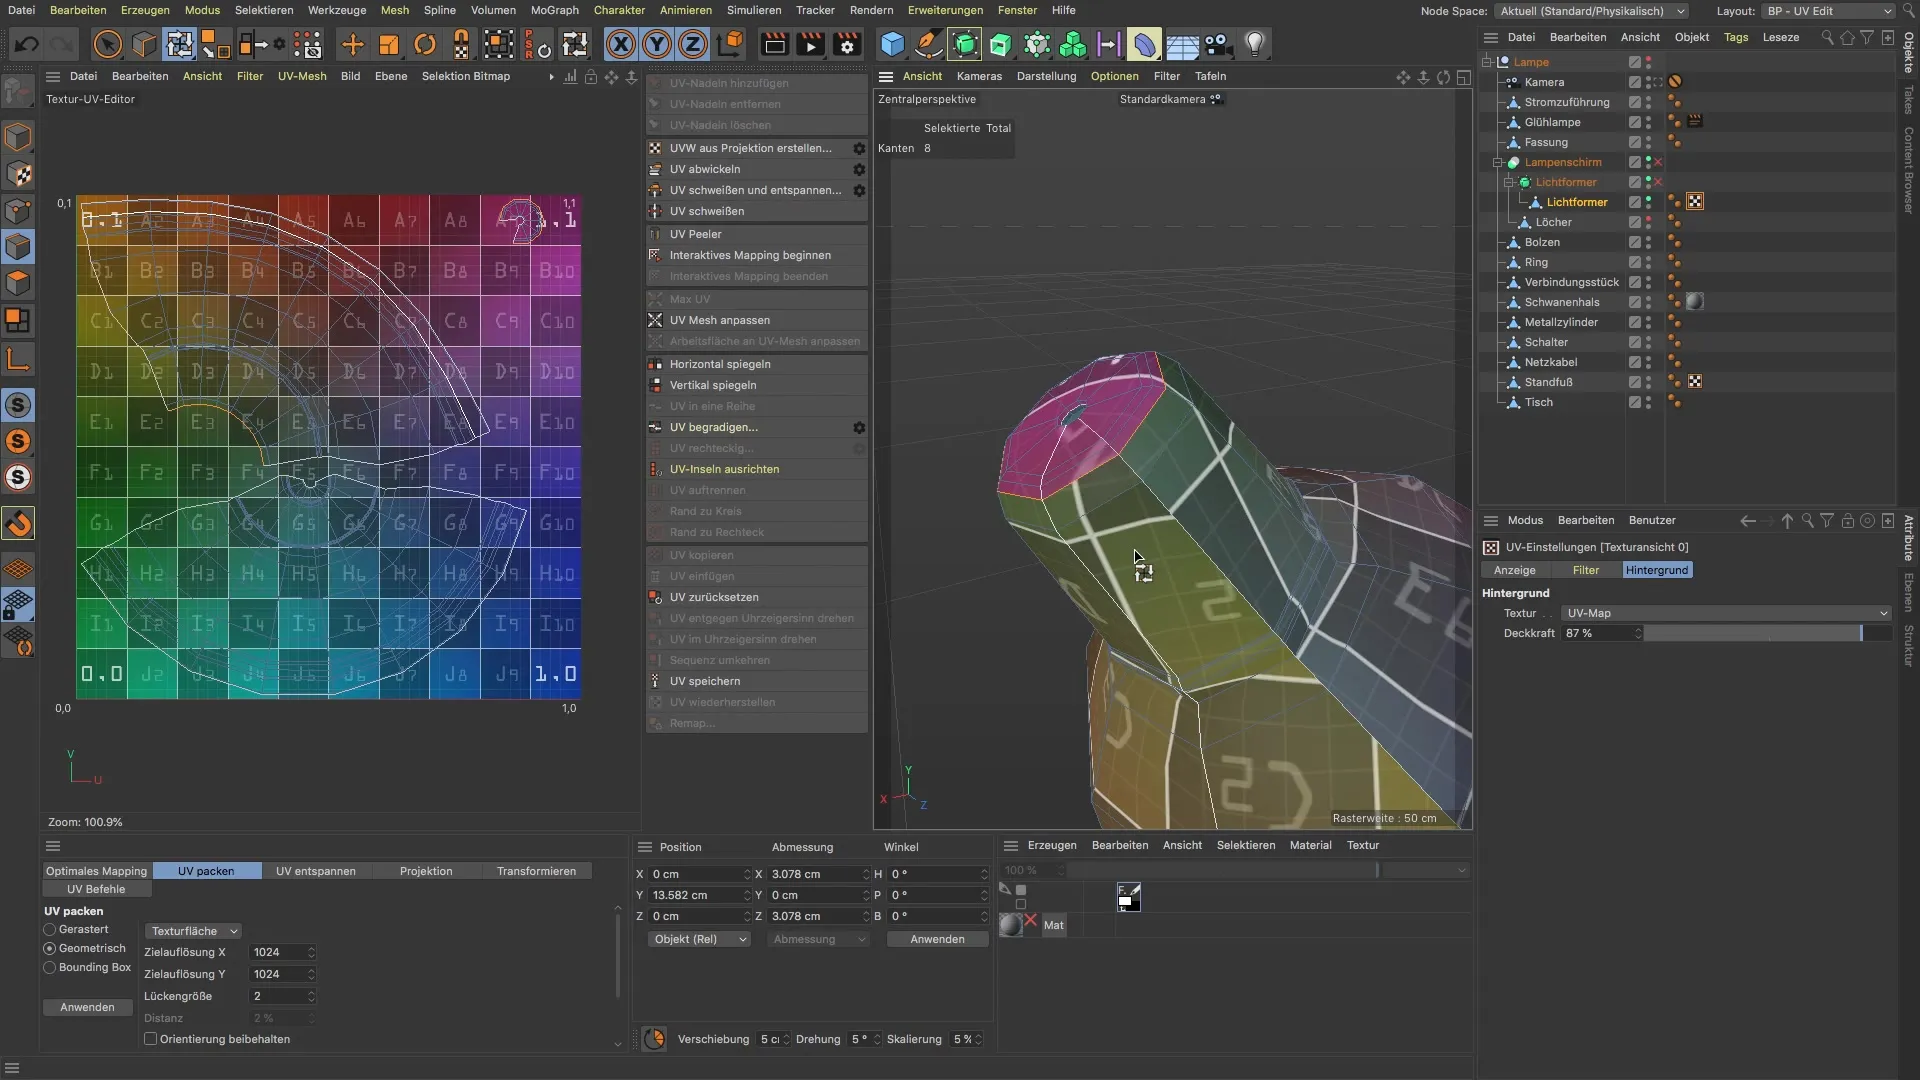
To assess the distortions in your UVs, switch to the corresponding setting in the software. By displaying the distortion, you can see which areas are problematic. Make sure to evaluate the distortion on a relative scale – less is more.
Decision on Cuts
Cuts can be made at various points to minimize distortions. You may need to make cuts at heavily distorted polygons, even if this results in seams. A supportive transition from one polygon to another can be helpful in this case.
UV Unwrapping
After setting your cuts, perform the UV unwrapping. Make sure the UVs are correctly placed on the UV layout. Check if the appearance of the surface looks better now. It is often an iterative process that needs to be done multiple times until you are satisfied with the result.
Merging UVs
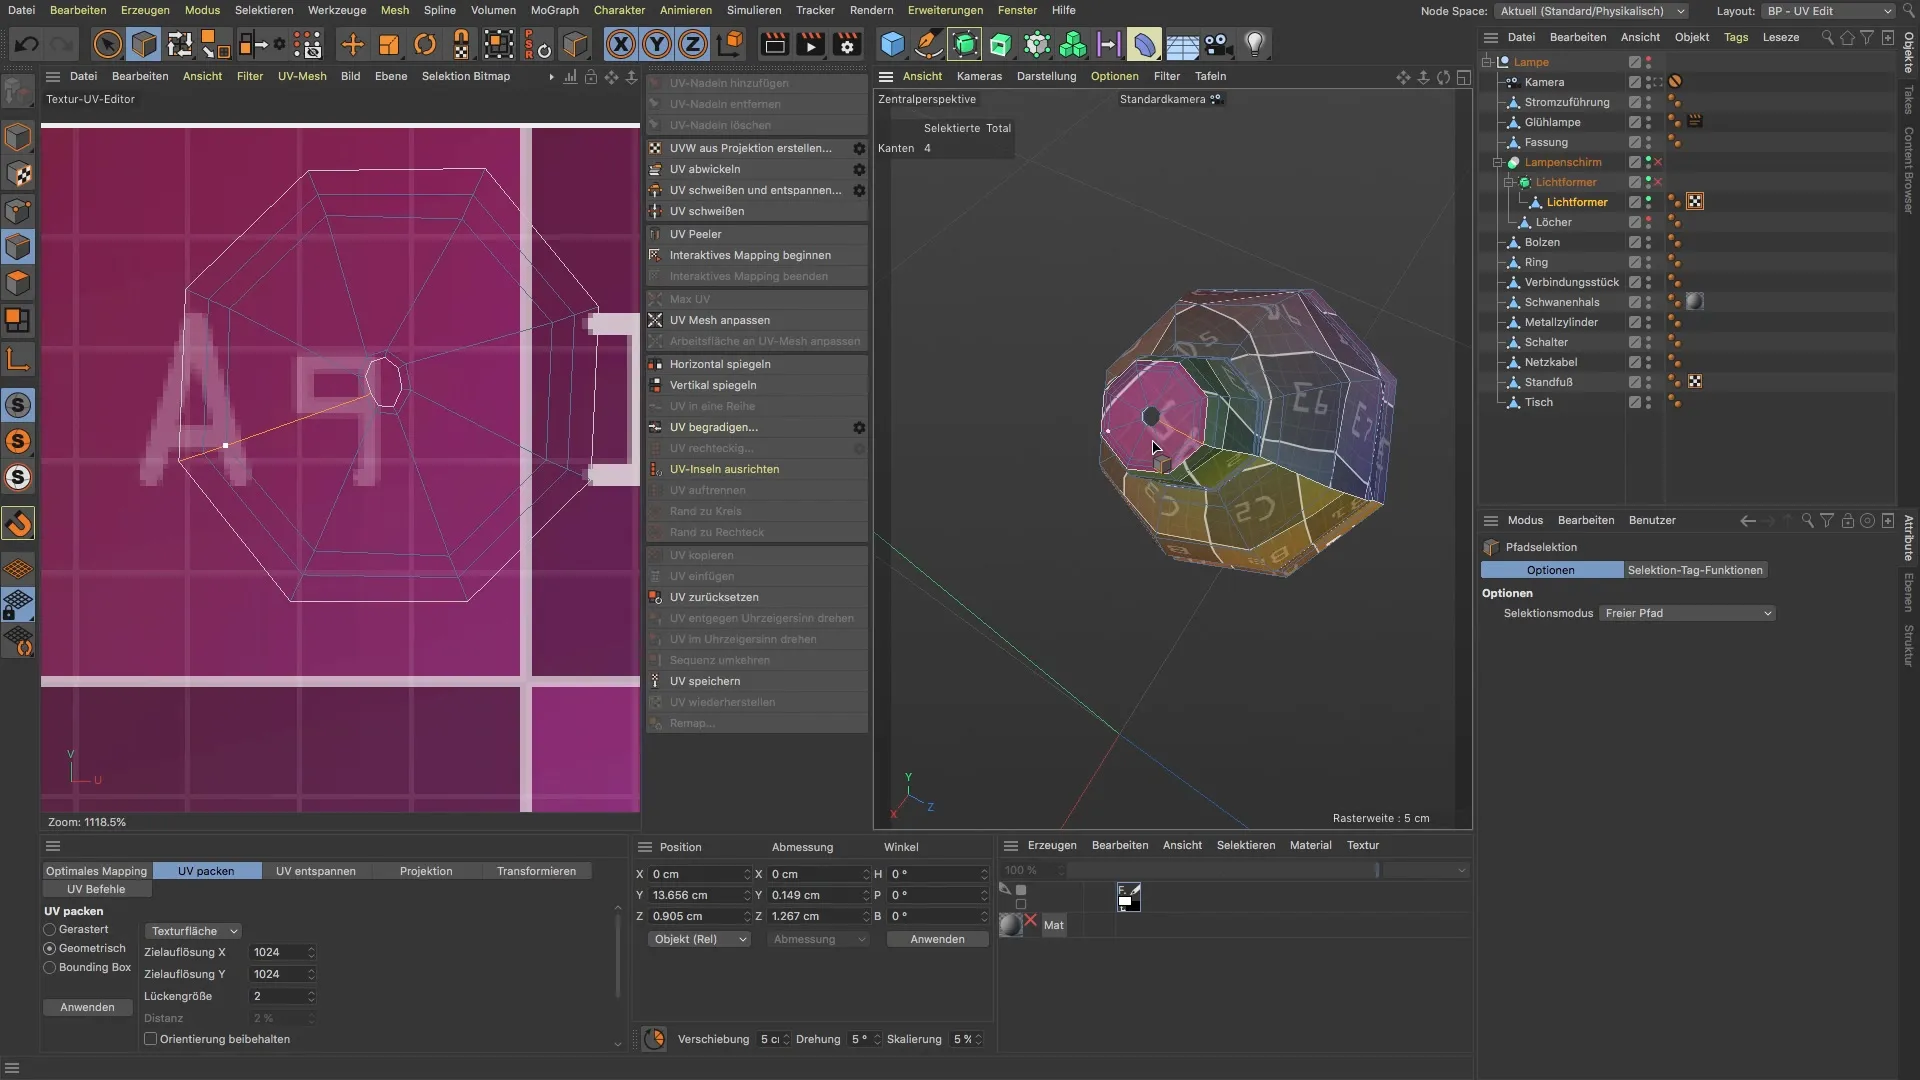
To minimize strong distortions, go to the point where you want to merge original UVs. Use the selection tools to mark the relevant edges and then weld them together. This method not only reduces distortions but also improves the overall quality of the texture.
Proportional Adjustment of Islands
Once all UVs are merged, it is important to adjust the size of the UV islands so that they are proportional to each other. You can find this function under the UV tools. You can choose the "Adjust Island Size" option to ensure they are correctly scaled in relation to the original geometry.
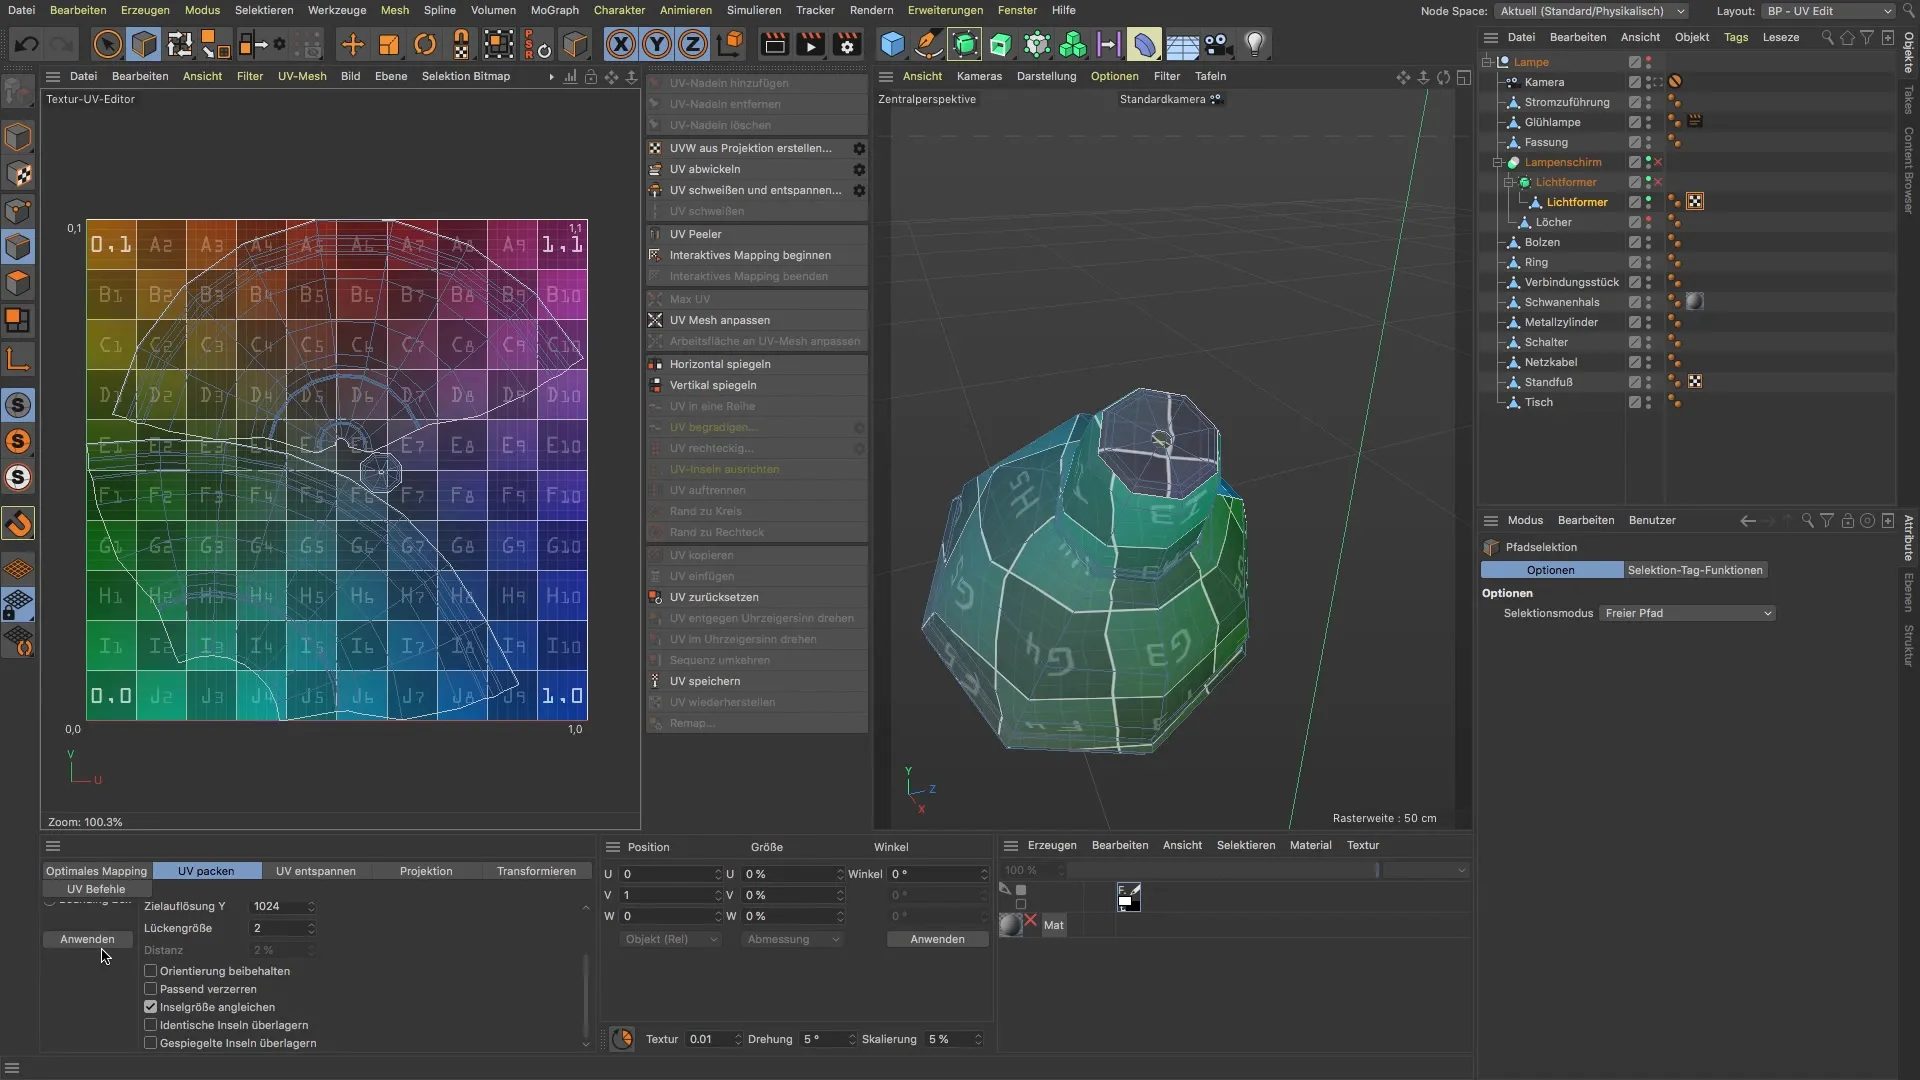
Placement of UV Islands
Now you need to ensure that the UV islands are optimally distributed on the texture. Go to polygon editing mode and move the islands to create maximum distance between them. This is important to avoid overlaps when painting later on.
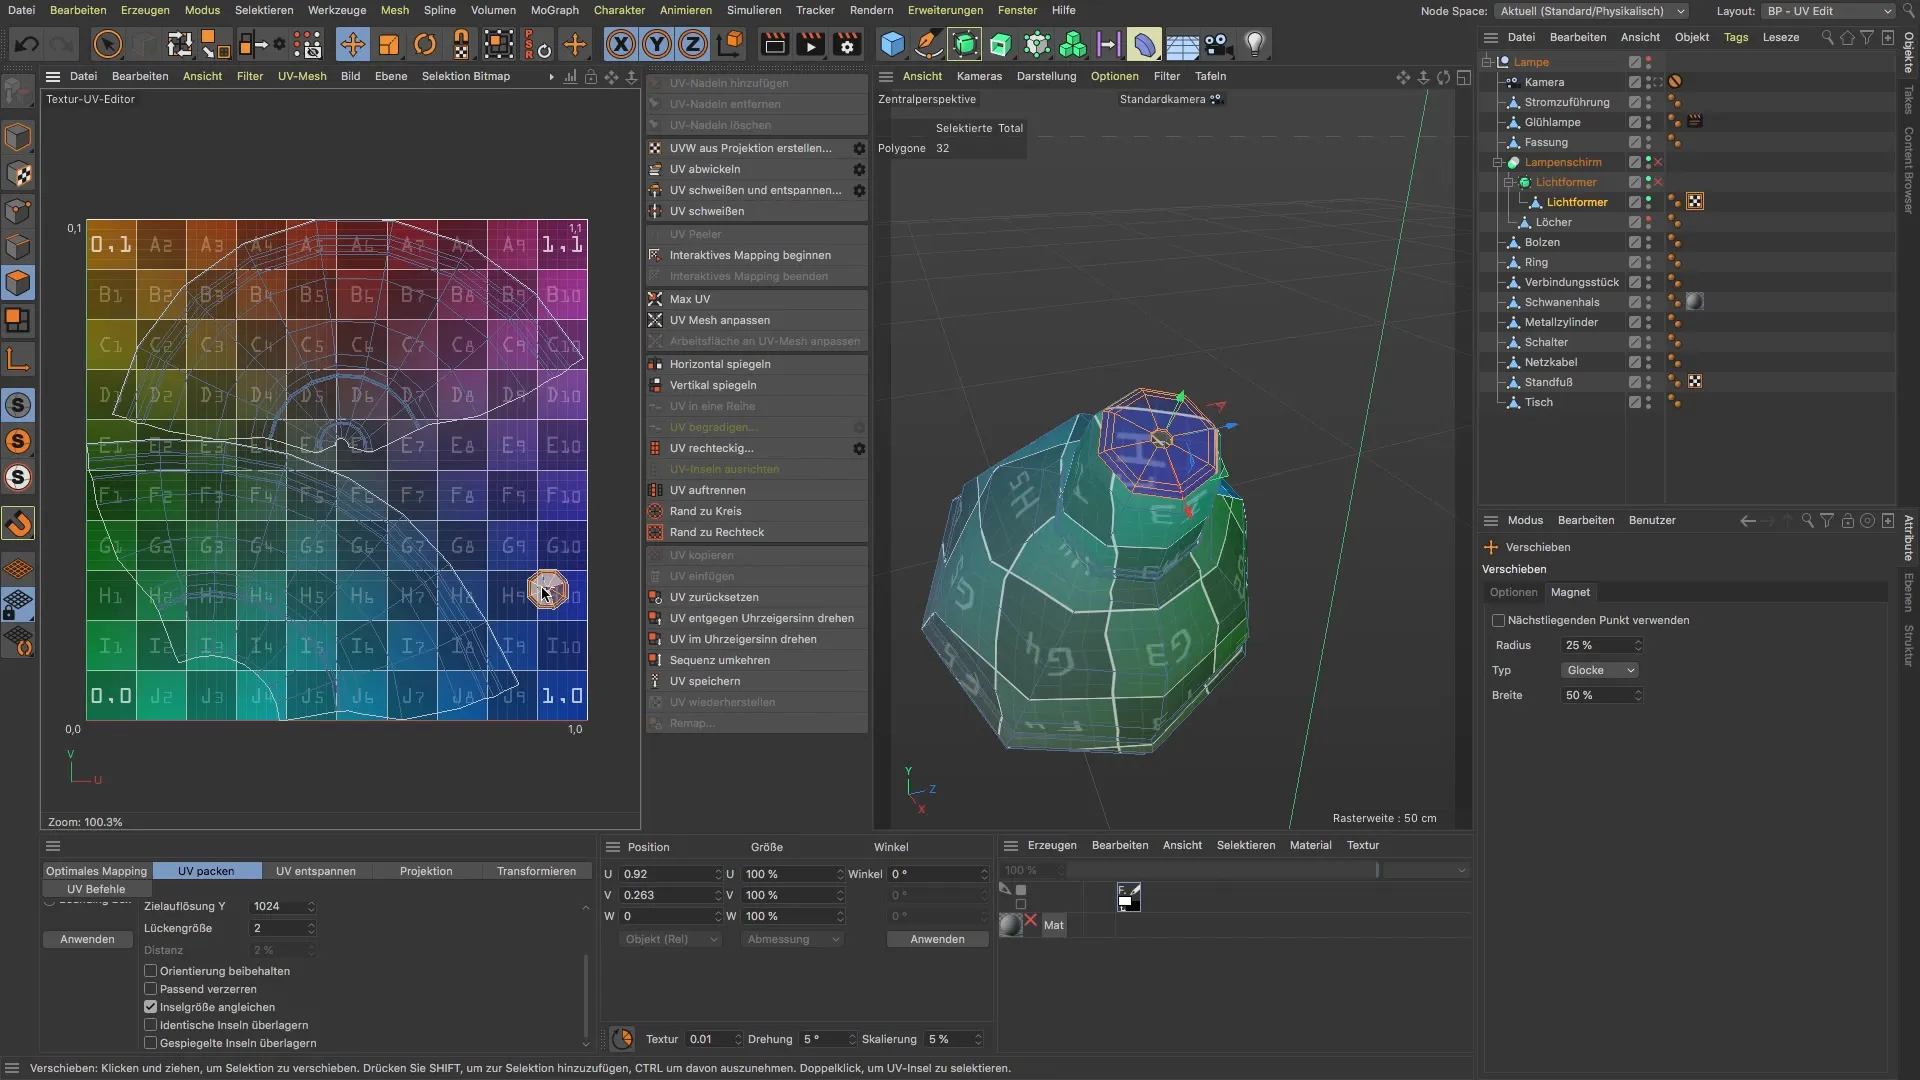
Completion and Preparation for Painting
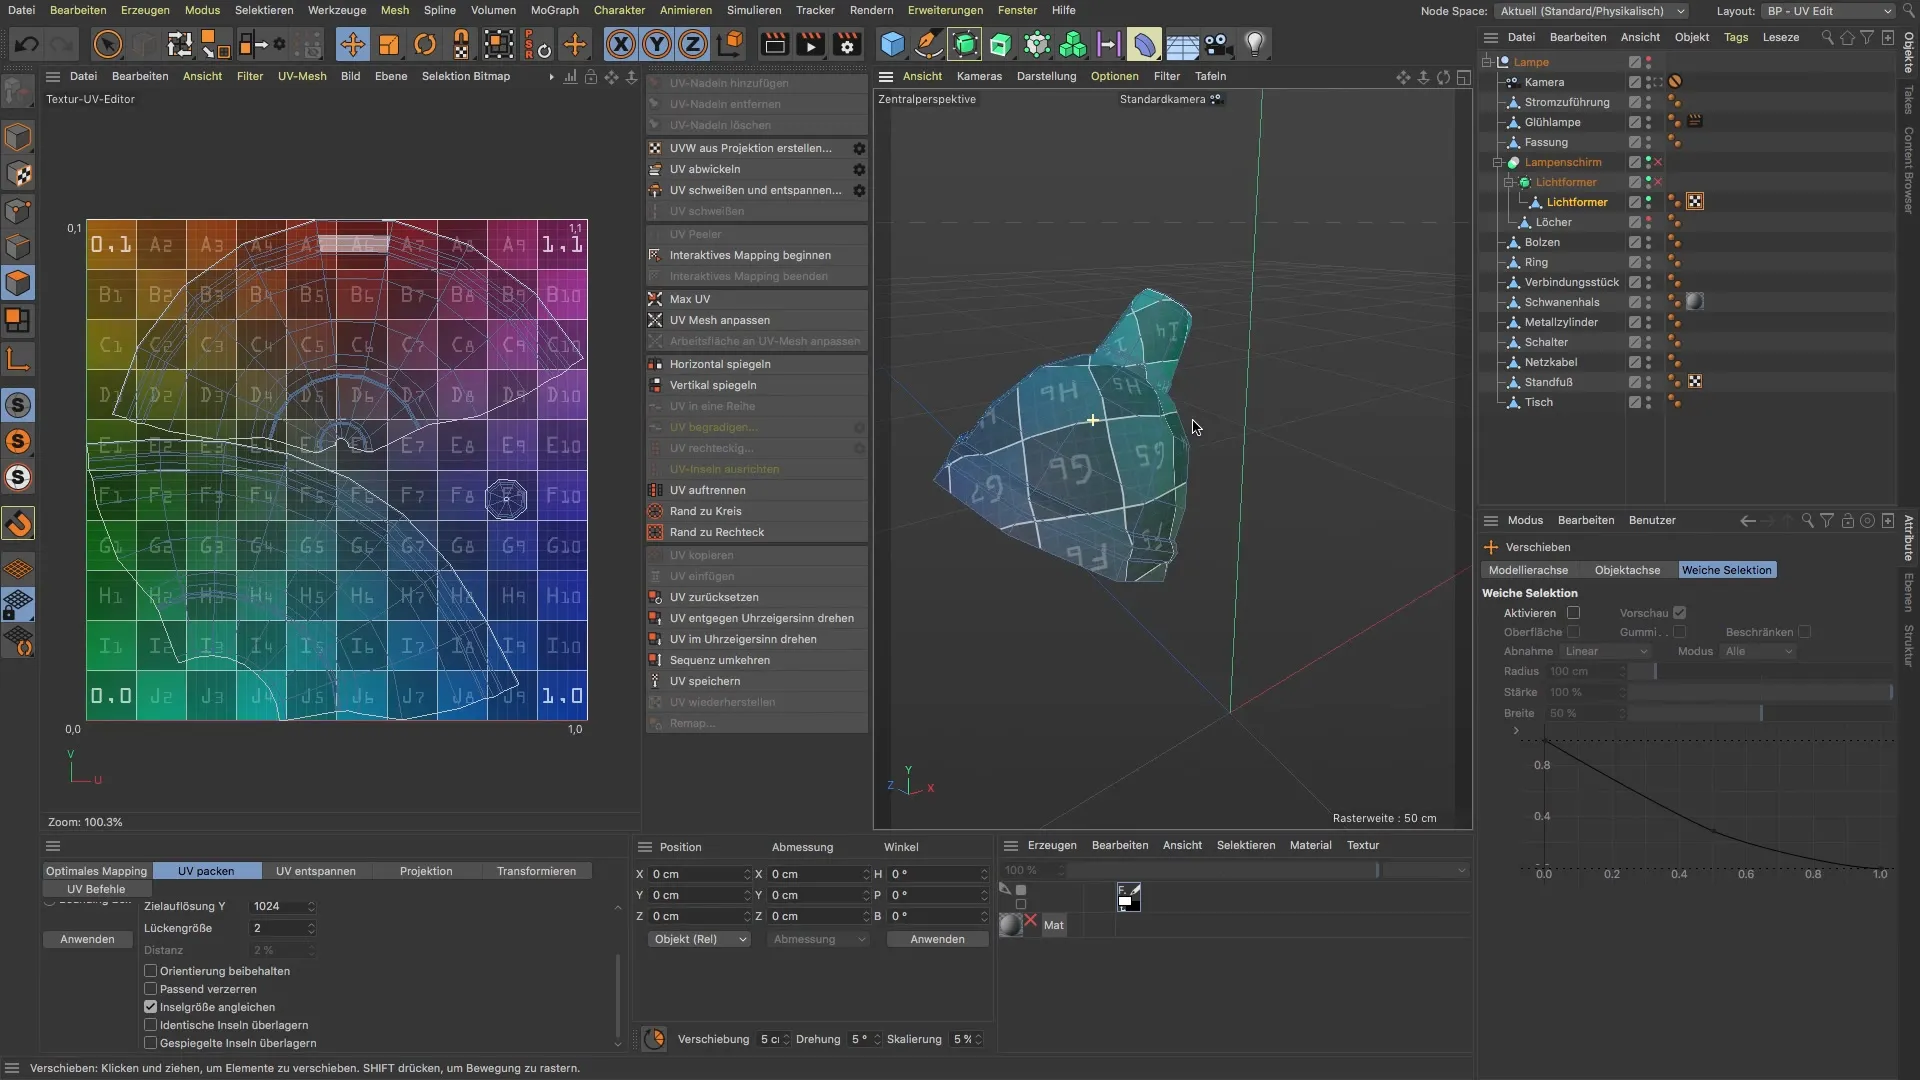
Once everything is properly aligned and your UV islands are proportional to each other, your lampshade is now perfectly prepared to be painted in the next phase. You should now be able to achieve a high-quality texture result.
Summary
Throughout this guide, you have learned how to effectively unwrap the UVs of your lampshade. You have covered important points such as checking polygon distribution, setting cuts, and merging UVs. In addition, you have learned important steps for proportional adjustment of UV islands that will help you create a high-quality texture.
Frequently Asked Questions
What are UVs and why are they important?UVs are coordinates that map the 2D texture to 3D objects. They are important for correctly applying textures.
How can I minimize distortions in UVs?Place cuts at strategic points and use functions like "Weld" and "Relax" for the UVs.
Why is proportional adjustment of UV islands important?Proportional adjustment makes it easier to paint textures and ensures that the end result looks cohesive.
How often should I check my UV unwrapping?It is advisable to check the UV unwrapping after each significant change to ensure that distortions are minimized.
