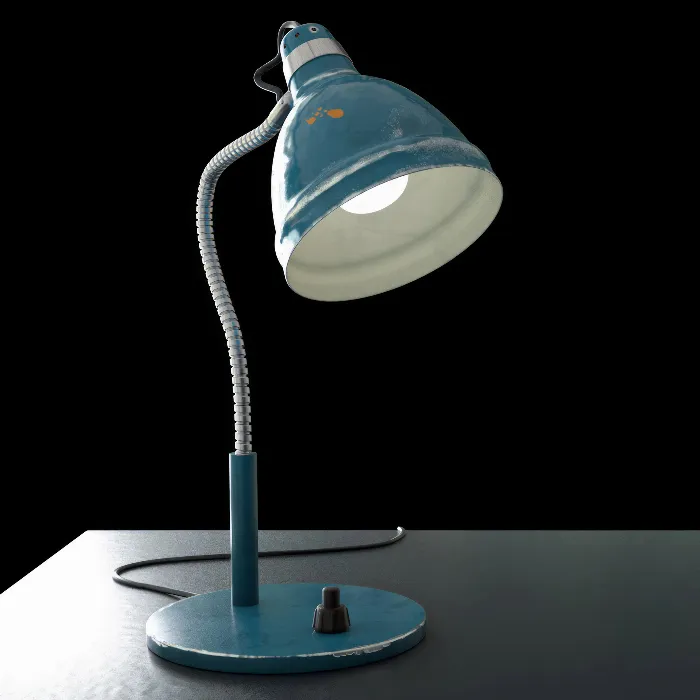
Handling materials and textures is a central part of BodyPaint 3D in order to create realistic 3D models. One of the most effective methods to bring out the details of surfaces like metal is by using personalized brushes. In this tutorial, I will show you how to design your own brushes in Photoshop and use them in BodyPaint to achieve impressive results.
Key Takeaways
- You can create custom brushes in Photoshop and use them in BodyPaint to paint specific textures.
- It is important to work simultaneously on both the alpha channel and relief channel to achieve realistic effects.
- Adjusting brush settings significantly influences the quality and appearance of the textures.
Step-by-Step Guide
Naming and Activating the Material
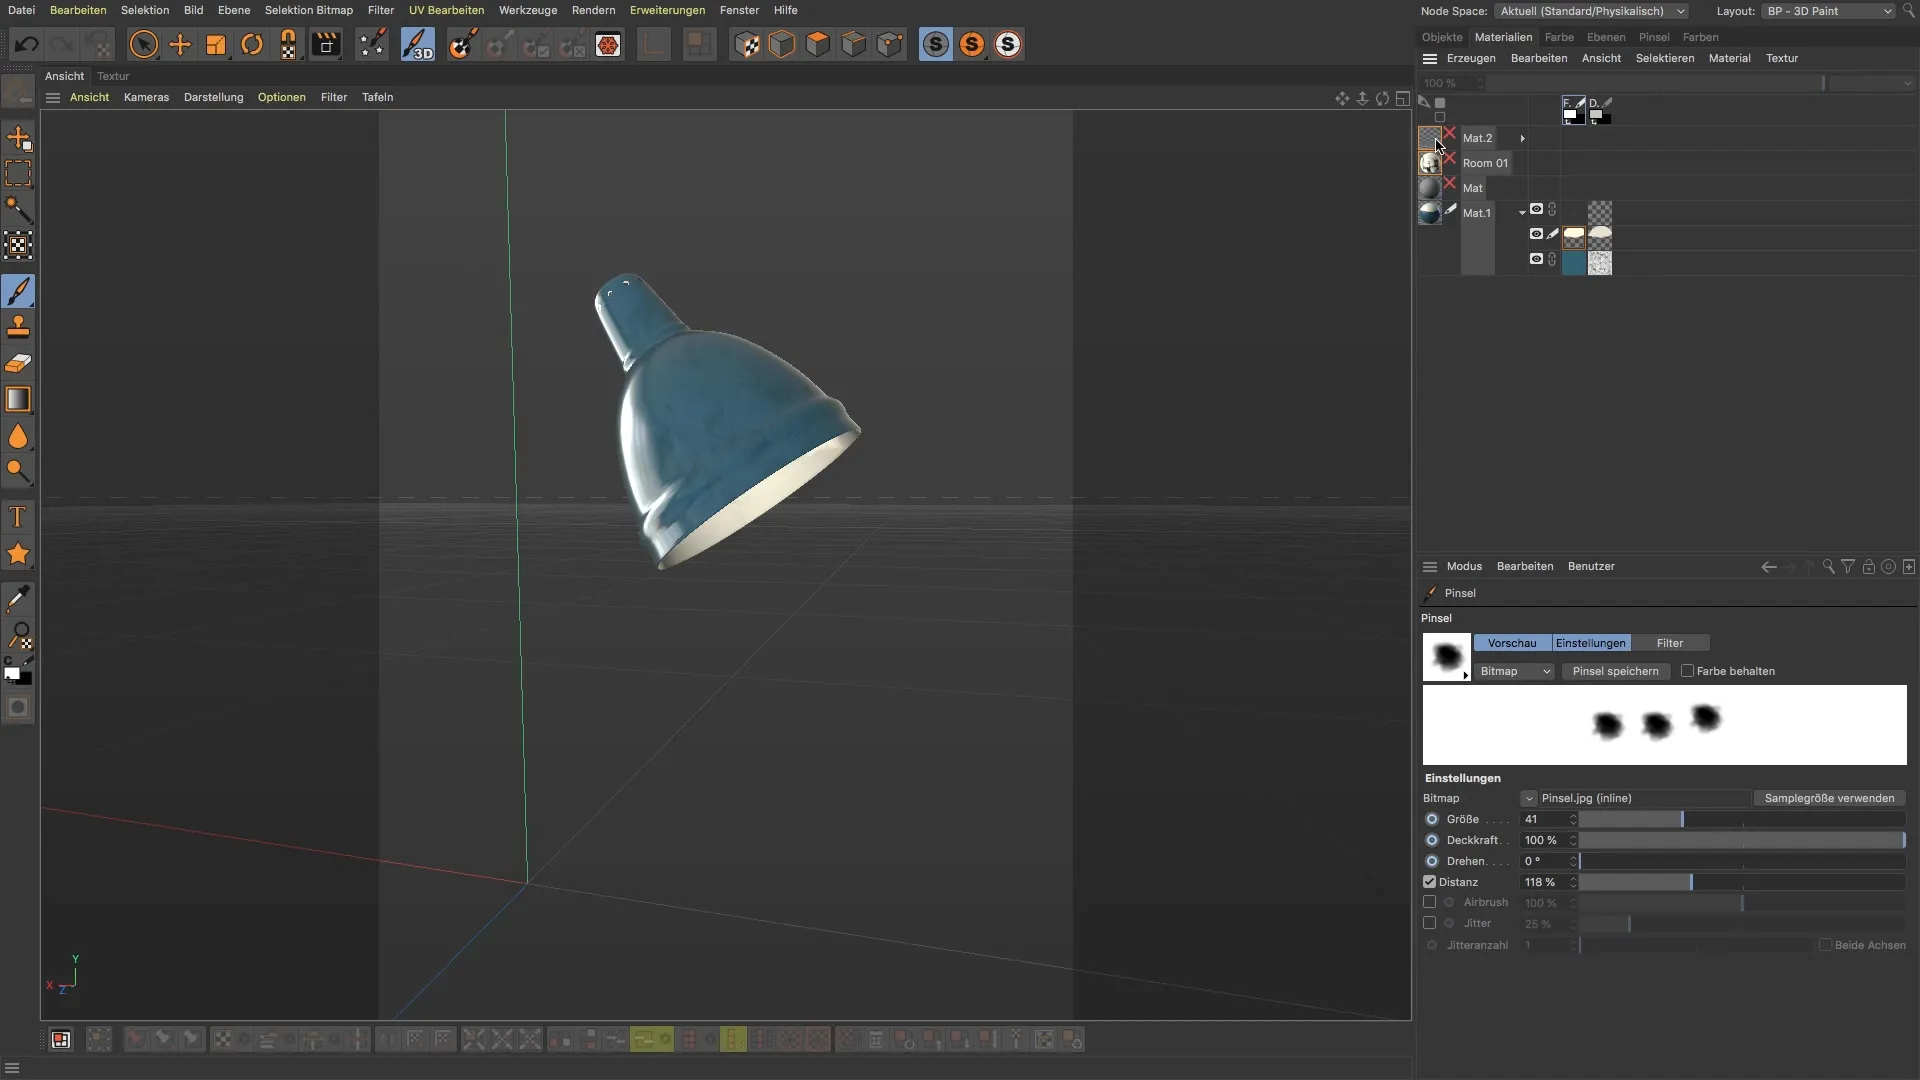
First, name your new material. Simply double-click the default material and name it "Metal" for immediate recognition of the material you are working with. The red cross indicates that the material is currently inactive. Click on it to activate the material. Now you can start working with the white brush.
Choosing Brushes
To achieve the best results, it would be helpful to know that BodyPaint provides various brush presets. Under the main folders, you can choose between "Default" and "Presets". Here you will see a variety of brush variations, from artistic brushes to special shapes. In this tutorial, we focus on creating custom brushes as they often deliver the best results.
Creating Custom Brushes in Photoshop
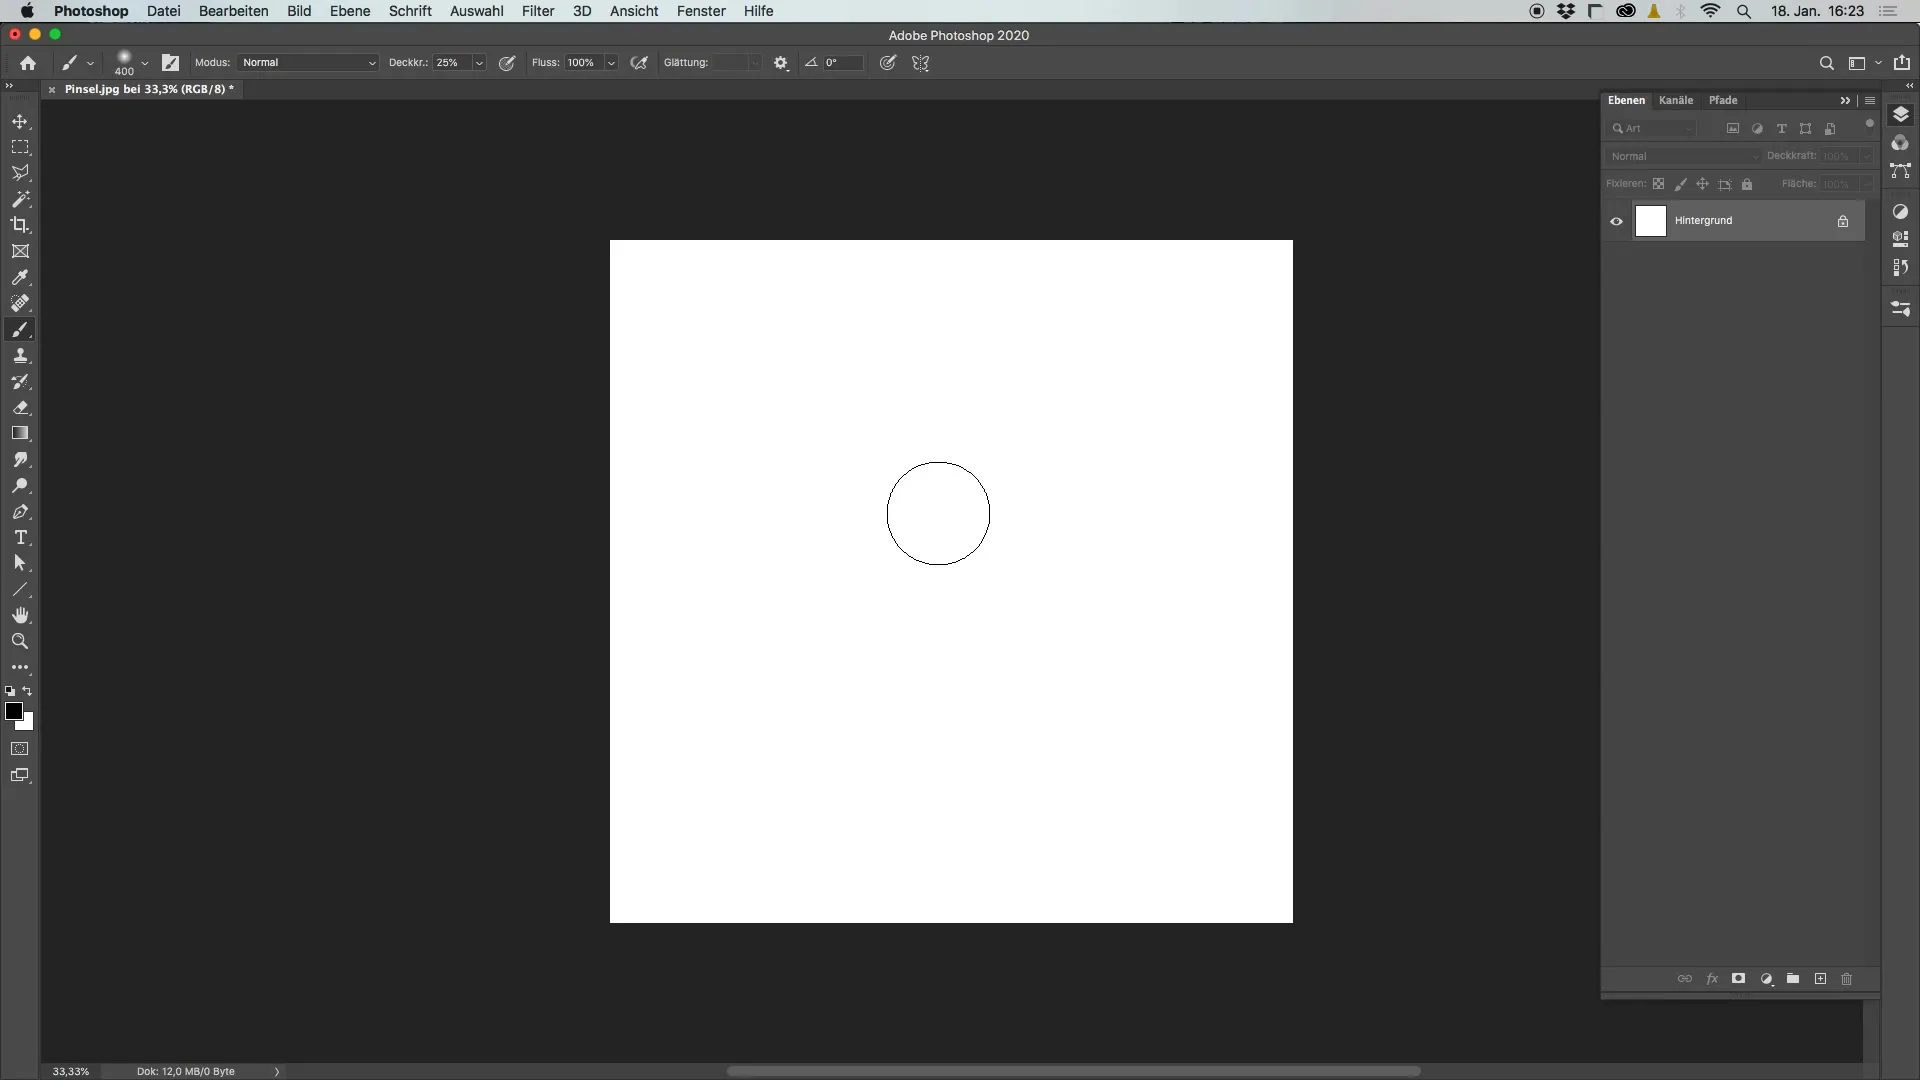
To create a custom brush, open Photoshop. Create a new texture with a size of 2048 x 2048 pixels. Choose the color black with an opacity of about 25% and start designing an exciting brush stroke. It is not necessary to worry if this brush is perfect right away; the goal is to show the basic concept of the brush.
Saving the Brush
Once you are satisfied with your brush, you need to save it as a brush. Before saving, it is recommended to invert the image as this affects the brush properties. In Photoshop, you can easily do this by using Command + I (Mac) or Ctrl + I (Windows) to invert the image and then save it. Now your brush is ready to be used in BodyPaint.
Loading the Brush in BodyPaint
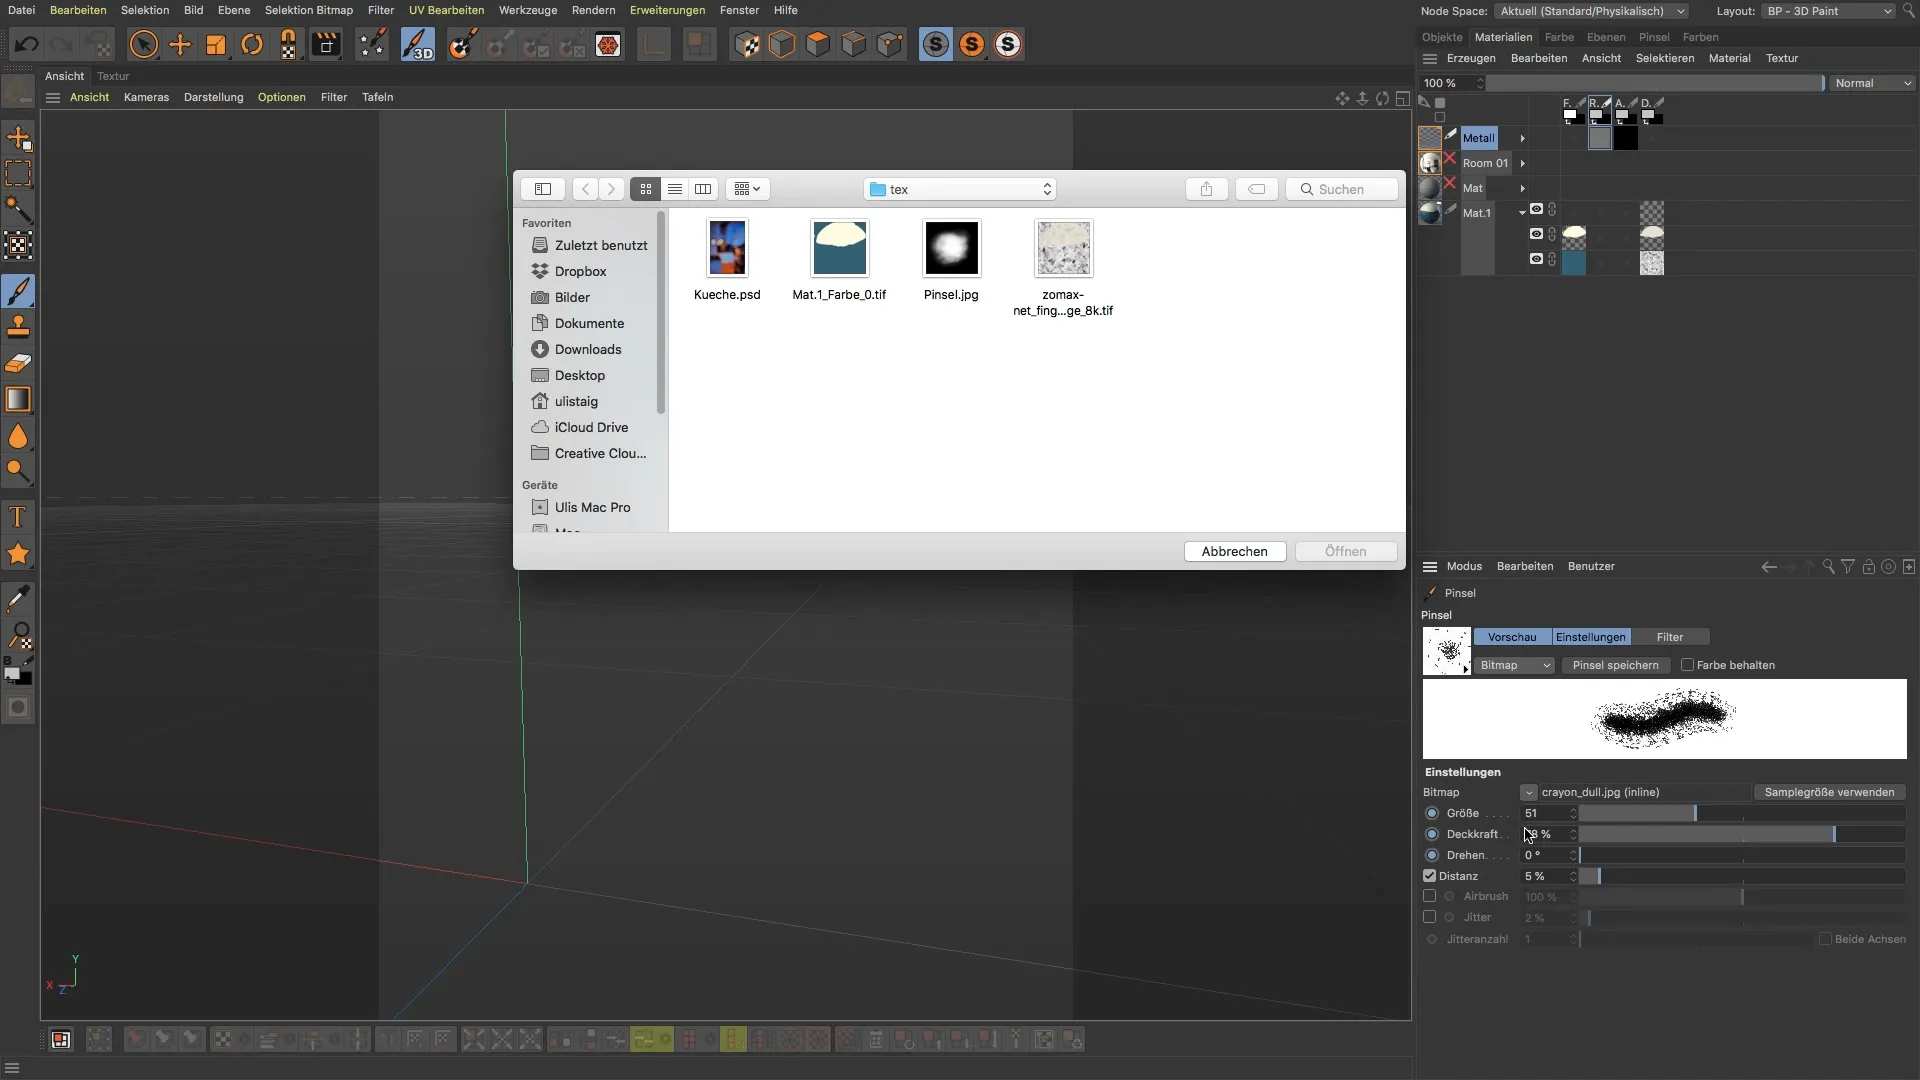
Switch back to BodyPaint and click on the "Load" button to import the brush you just saved. After loading, you can see that the brush is now available and displayed there.
Adjusting the Brush
To customize your new brush, you can modify the various settings. Increase the spacing to shape the texture. Depending on your needs, you can also adjust the opacity by clicking on the little icon that allows you to set different values for opacity. Do not hesitate to experiment with these settings to achieve the best results.
Working with Existing Brush Preset
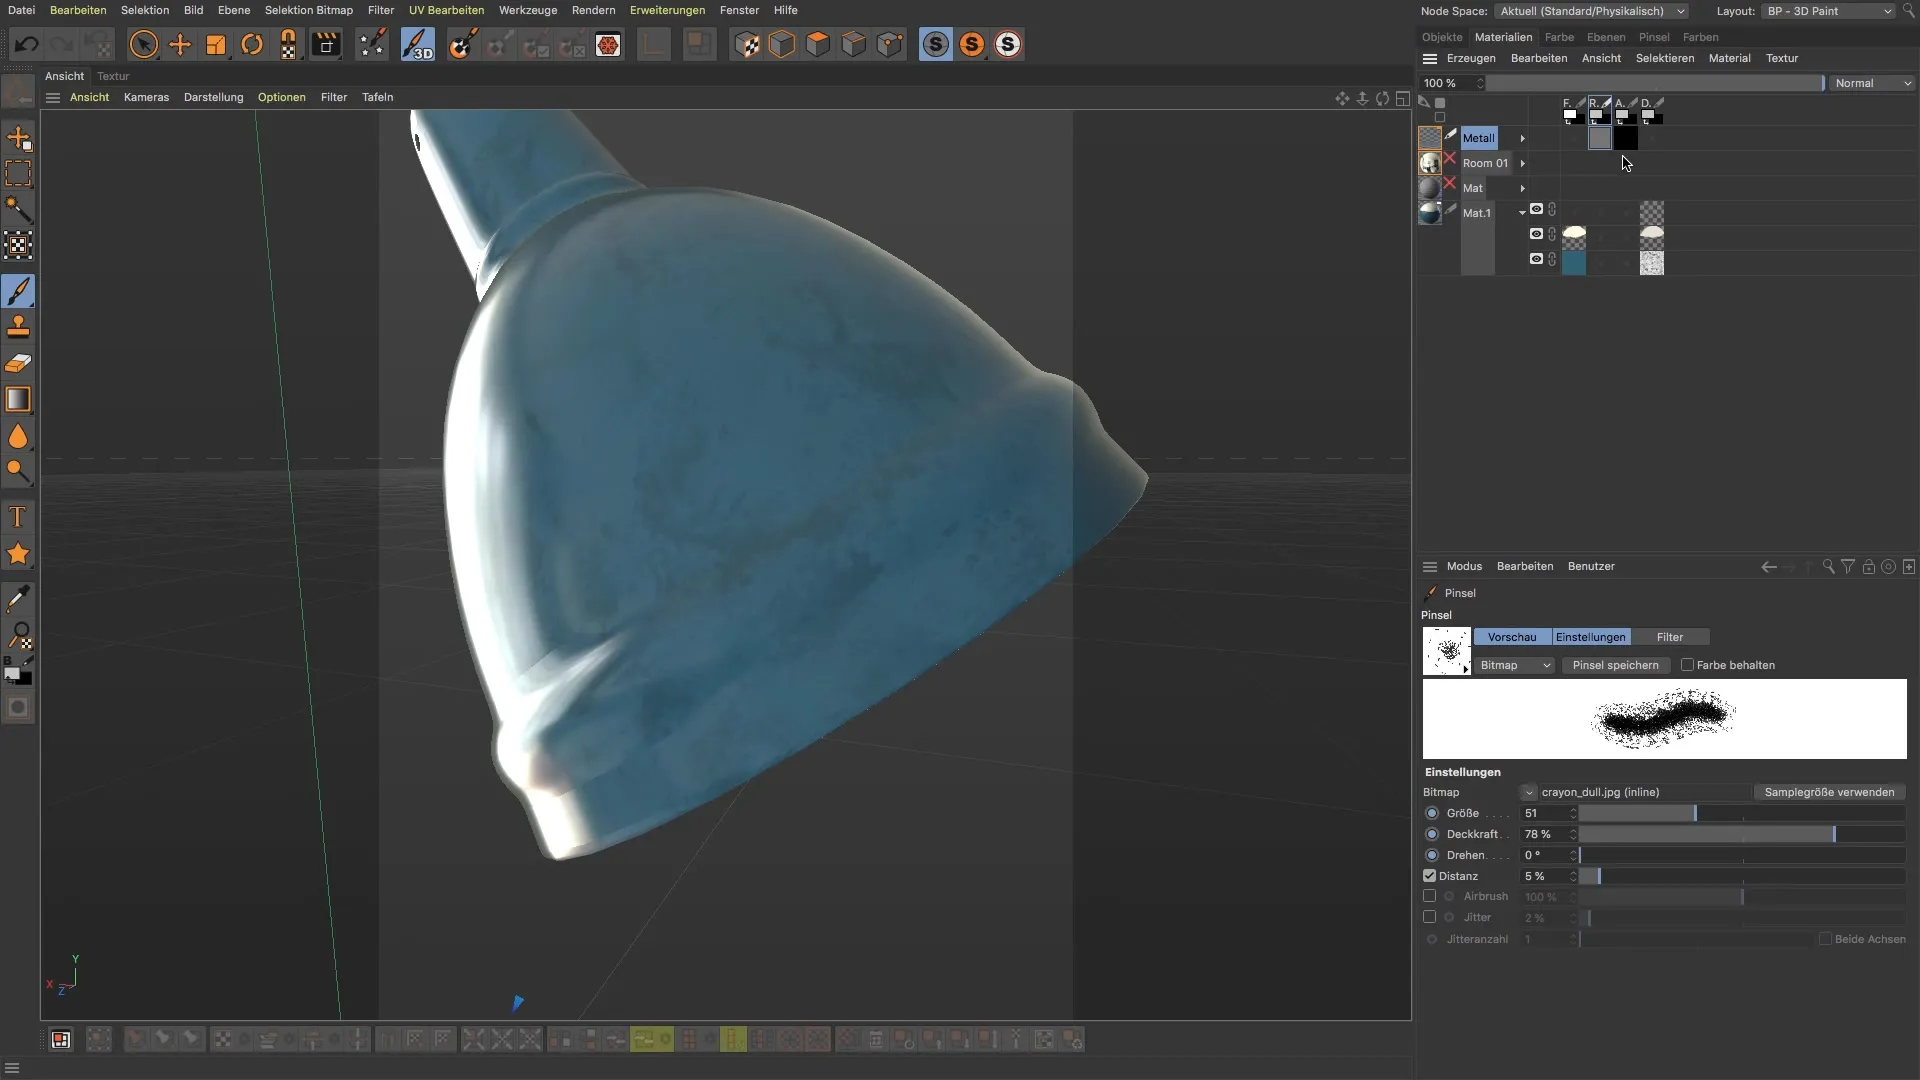
Now that you understand the principle of designing your own brushes, you can also use existing brushes like "Crayon". These brushes are often very helpful and allow you to create diverse textures. Make sure to rotate the brush accordingly to avoid a regular pattern.
Painting in the Alpha Channel and Relief Channel
To bring out the metal texture properly, you need to work in both the alpha channel and the relief channel. Start by creating a new layer in the relief channel to paint there. Use a white color to represent elevations and make the metal structure visible. Also, remember to modify the opacity to create realistic wear effects.
Reviewing the Results
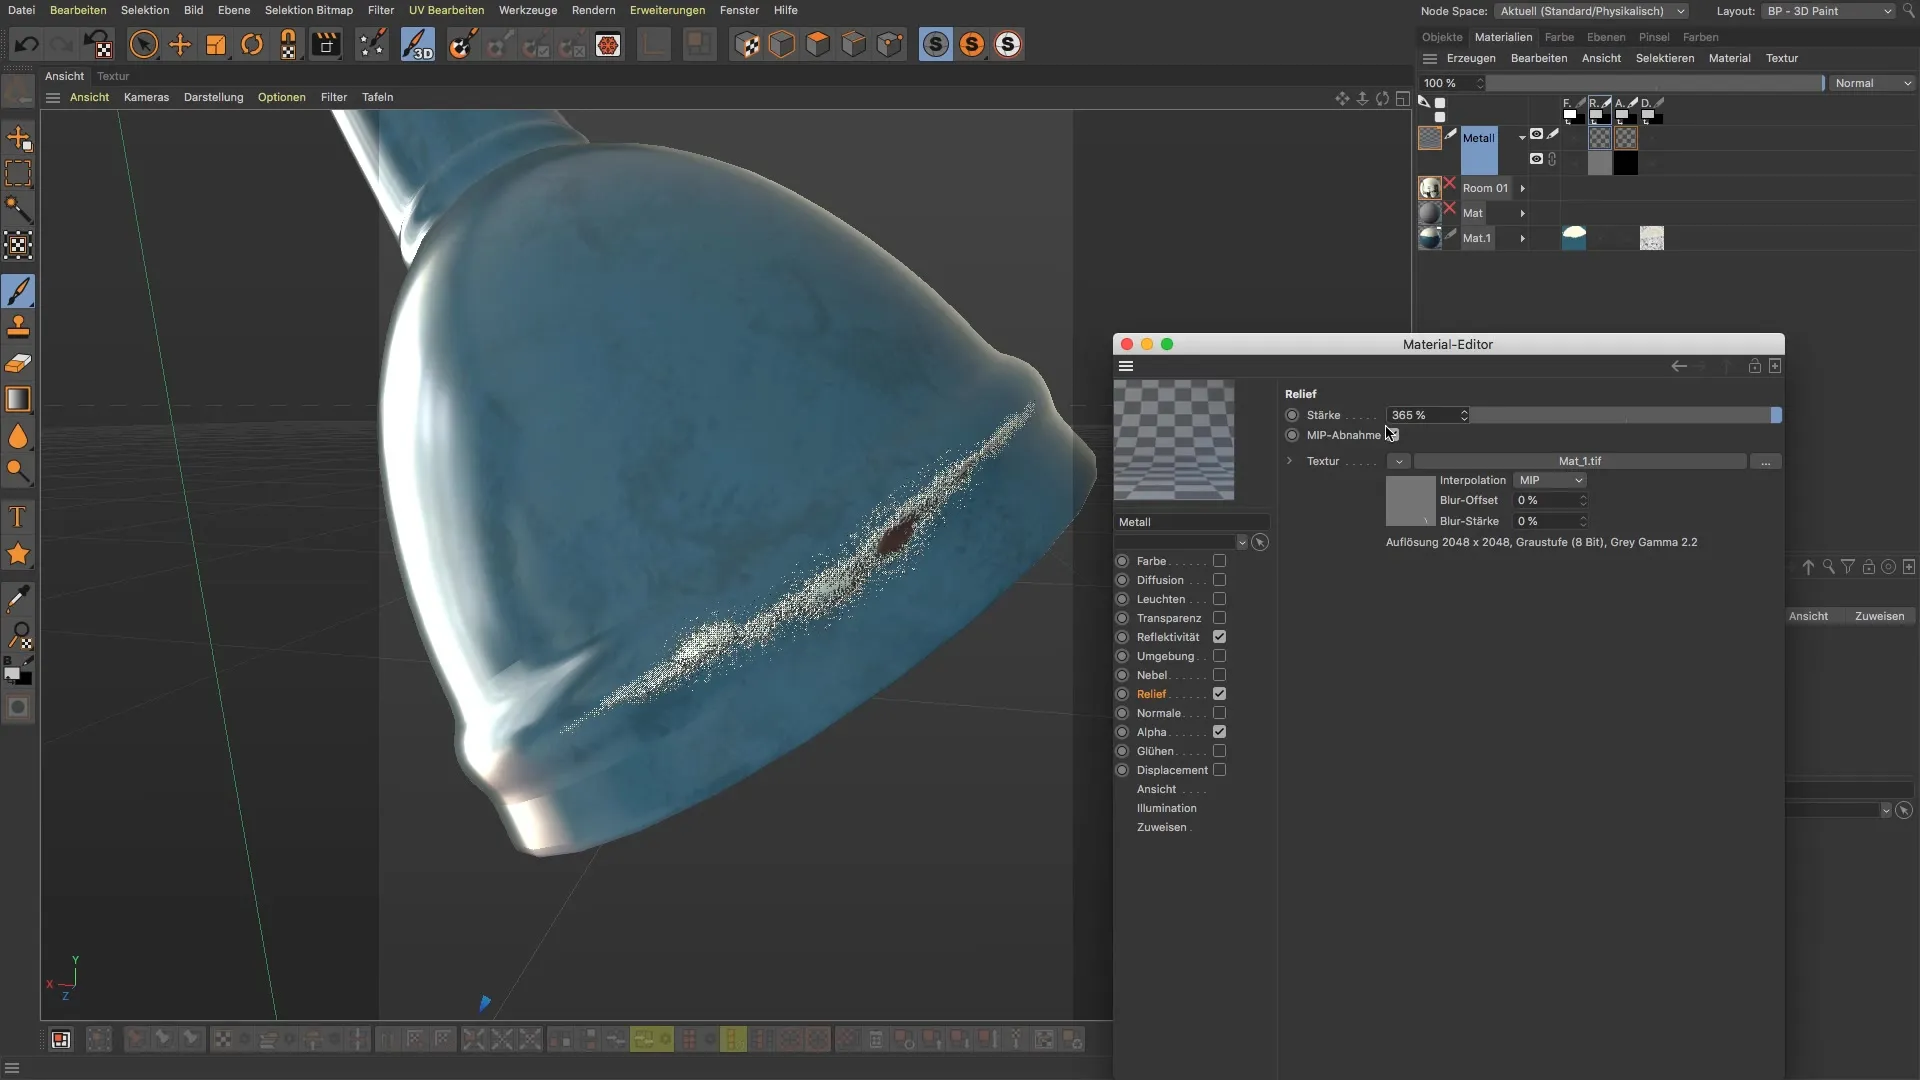
To check your previous work, you can view the clipping edges in the materials. Check the settings in the relief channel to display the drawings, and adjust the values as needed for better transparency. If necessary, you can also adjust the opacity from 20 to a higher value to achieve stronger effects.
Fine-tuning the Textures
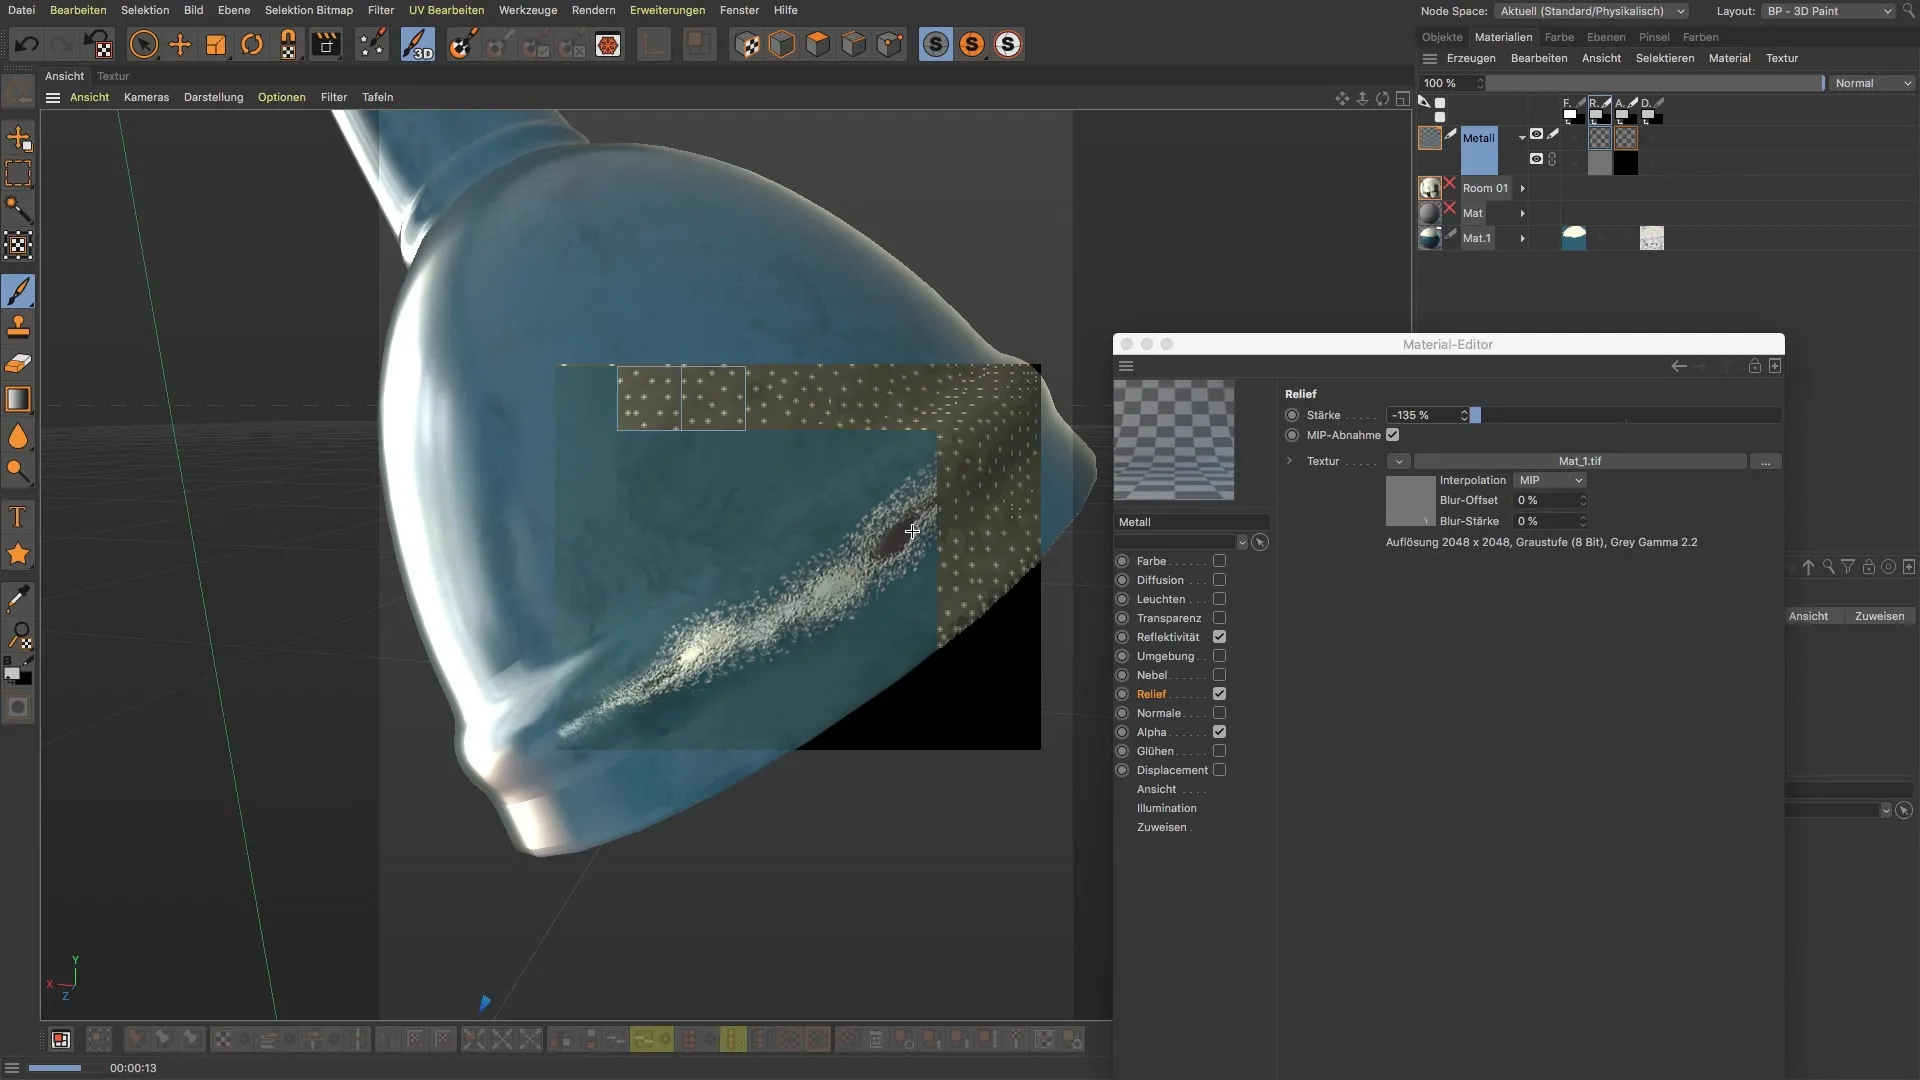
Don't stick rigidly to your initial results. It will often be necessary to make adjustments here and there. Play around with the thickness of the paint and the exposure to make the texture of the metal truly come alive. This experimentation often leads to the best results.
Summary
In this tutorial, you have learned how to create custom brushes in Photoshop to use in BodyPaint. The interaction between the alpha channel and the relief channel is fundamental for realistic metal textures. With the right tools and some practice, you can achieve impressive effects.
Frequently Asked Questions
How do I create a custom brush in Photoshop?You create a new texture, paint with black, save the image, and invert it before saving.
How do I load a brush in BodyPaint?Click on "Load" and select the saved brush to use it in BodyPaint.
How do I adjust the brush settings in BodyPaint?You can adjust the spacing and opacity in the brush settings to suit your requirements.
How do I work in the alpha channel and relief channel simultaneously?Create a new layer in both the alpha channel and relief channel, and start painting in both channels.
How can I check the textures?Use the clipping edges feature in the materials to see the applied effects.
